Have you noticed the “embroidery hoop craze” that is going around? Just search “embroidery hoop” on Pinterest and see what I mean… everything from chalkboards, cork boards, picture frames, and wall art. I thought I’d jump on the Embroidery Hoop bandwagon and I need a clock in the living room, perfect! Fun fact: I went through a small phase in 8th grade when I wanted to collect clocks then I realized they are really noisy at night and got rid of them all.
Meet The Color Wheel Clock.
You can get really creative with this, I actually went to the store for an embroidery hoop and a Clock Kit then came home and decided on the Color Wheel and fabric idea. You can use anything for the “hours” of the clock. I thought about buttons, rocks and abstract numbers. But being an art dork I really loved the Color Wheel.
What You Need:
-Clock Kit (I got mine at Hobby Lobby for $5.99)
– One fat quarter for the background of the clock
-Embroidery Hoop (mine is 10″)
-fabric scraps in 12 different colors
– fusible interfacing
Directions:
Cut your fabric Scraps out and iron the fusible interfacing to the wrong side of the fabric
Trace a 1″ circle on the back of the interfacing and cut it out
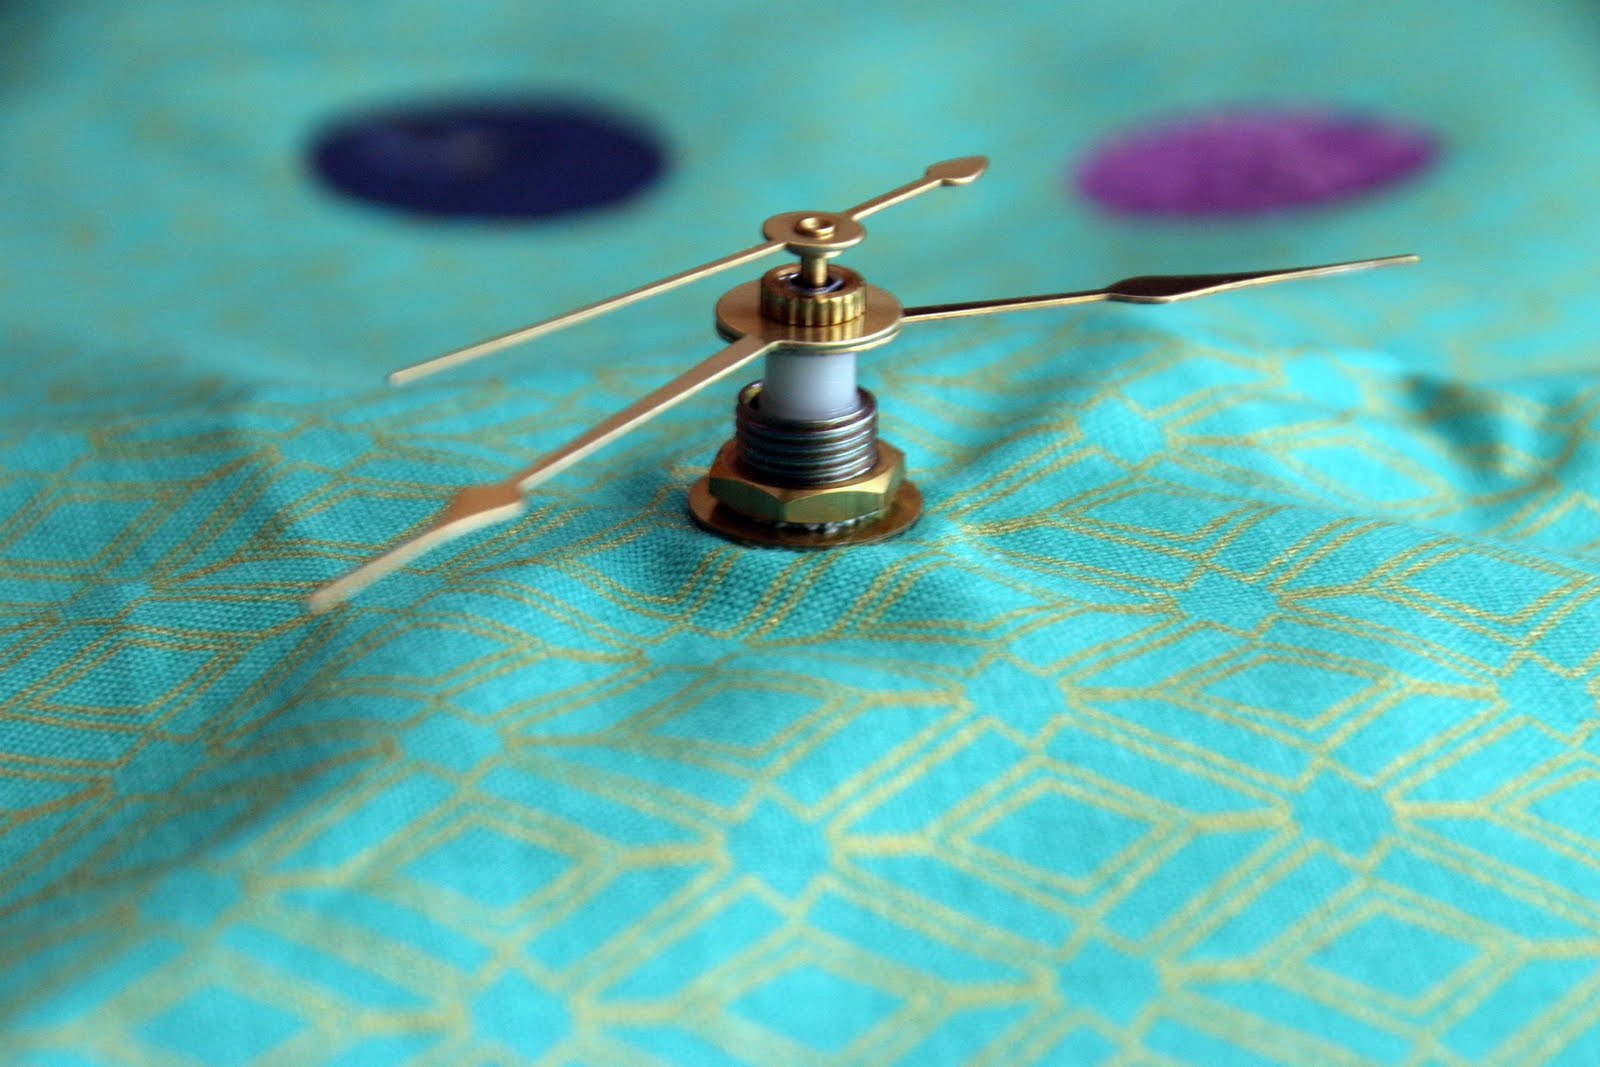
I painted the outside of my embroidery hoop gold to match the clock hands and the screw on the hoop
Fit your background fabric on the embroidery hoop. Measure 5″ from side to side and top to bottom to find the exact center and mark it.
Also mark the spots for each hour
Remove the fabric from the hoop and start placing the color wheel circles in place. Do this on your ironing board so you don’t have to move it once everything is in place. Don’t forget to remove the paper on the back of the interfacing. Iron them down.
Read the instructions on that came with your clock… (it was boring enough the first time so I don’t remember the exact steps; but I did take a pic) It looks daunting but it was really simple.
Cut a little “X” in the middle where you marked your center spot
Push the clock back through and assemble the clock.
Trim the excess fabric around the hoop
I think I am addicted to embroidery hoops now, I have already bought three more, good thing they are only about $2 each! What have you made with embroidery hoops that I need to know about? Or even better if you have a picture upload them to the Taylor Made flickr group and show me what ur workin with.
This year I thought the boys could help me make Bryan’s Fathers Day gift. That thought might have been a little premature considering my boys are 4 months and almost 2 years old. This project didn’t turn out exactly as I had planned in my head, but they boys were actually involved so that’s even better right :) Aren’t the little hand prints so cute?
I saw this cute picture on Pinterest a few weeks ago. Then, I drilled down to where it came from and it was an Etsy Shop called Personalized Prints. She has some really cute stuff (love the wedding fingerprint tree). Her example was for a bare tree and you add your kids hand prints for the leaves. She must not have a two year old boy because this is not what happened to me. I couldn’t even take a picture of it because the picture’s life was on the line and I had to act quickly to save it.
I cut the tree and letters out from my Silhouette. Use tweezers for the thin paper branches and tiny letters.
I placed everything backward on a piece of scrap paper and used spray adhesive to stick the letters and tree to the paper.
Stick the tree and letters to the page. Love those pudgy little hands! He even helped me with the letters.
Six very messy hands (mine included) and a few hours later, here is what we came up with…
My “2001” had a little fight with Clyde and Clyde won, so I added a thumbprint heart and wrote the year in the corner.
I used a 13″x10″ frame and used white paper behind our painting.
Happy Father’s Day to all of the daddy’s out there.
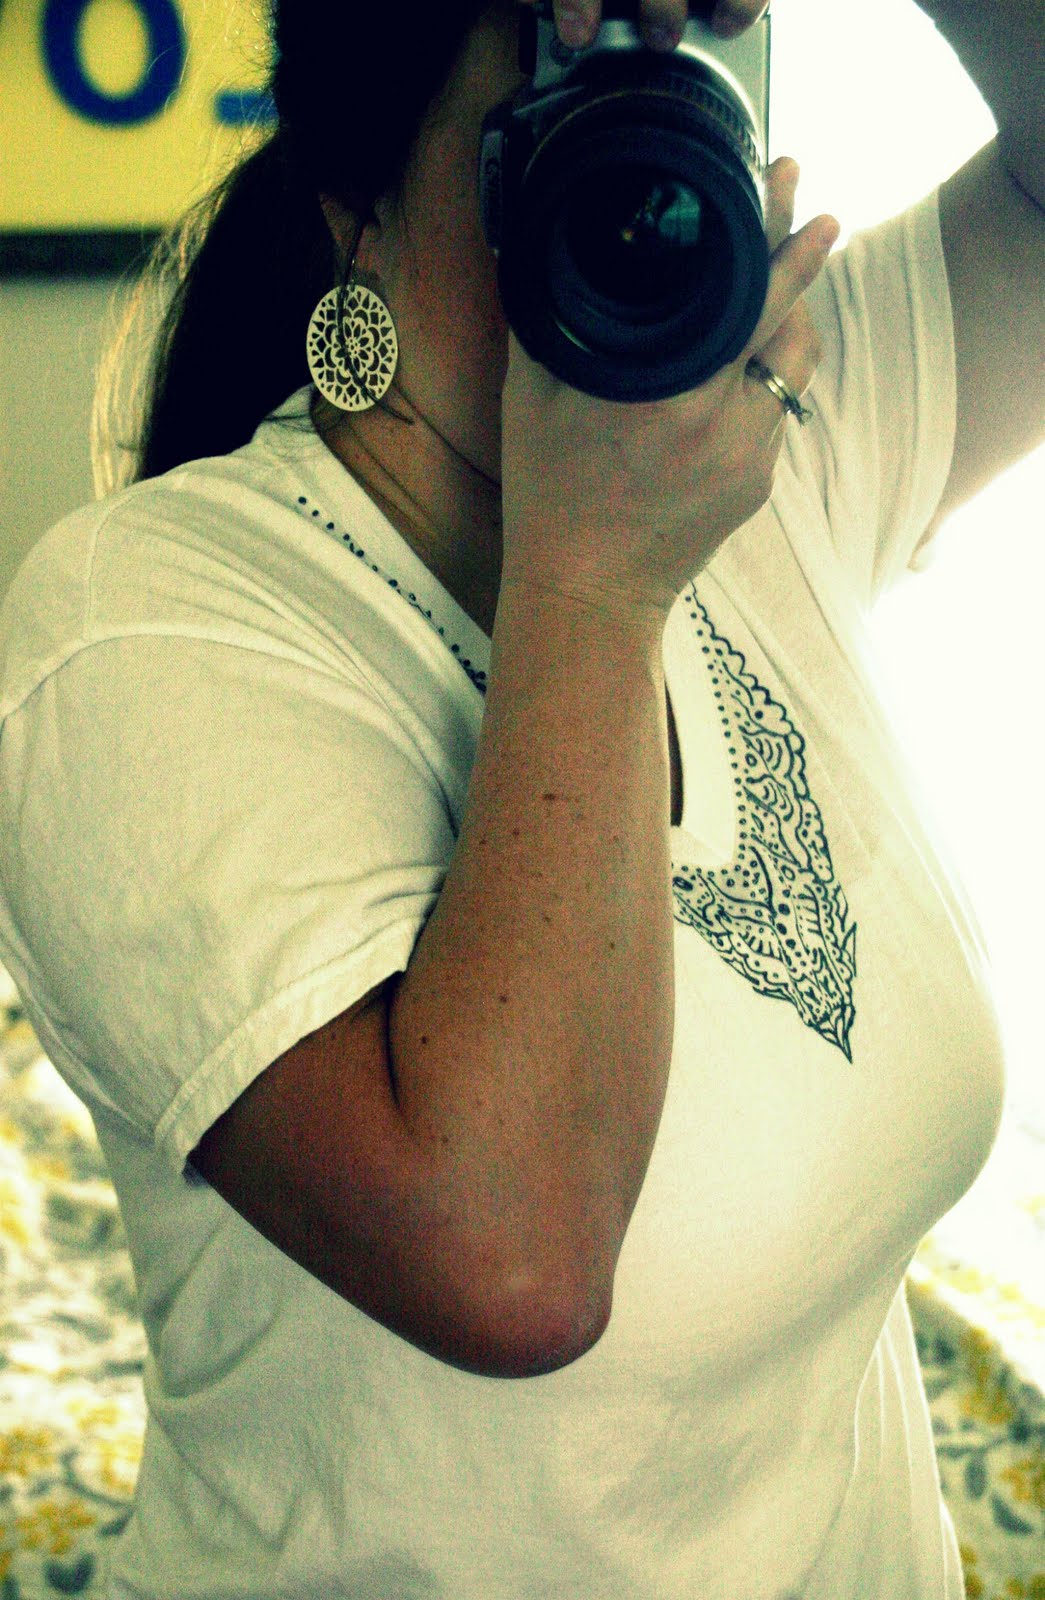
I saw something so amazingly pretty last week on Pinterest. Have you seen the Alisa Burke Blog? Its one of my new favorites. So, I had to replicate her Puff Paint Embellished Tee. I know what you are thinking, Puff Paint, like for making crafts in elementary school. Yes, but it is more sophisticated than that!
Didn’t it turn out pretty? Here is the original. It is super easy.
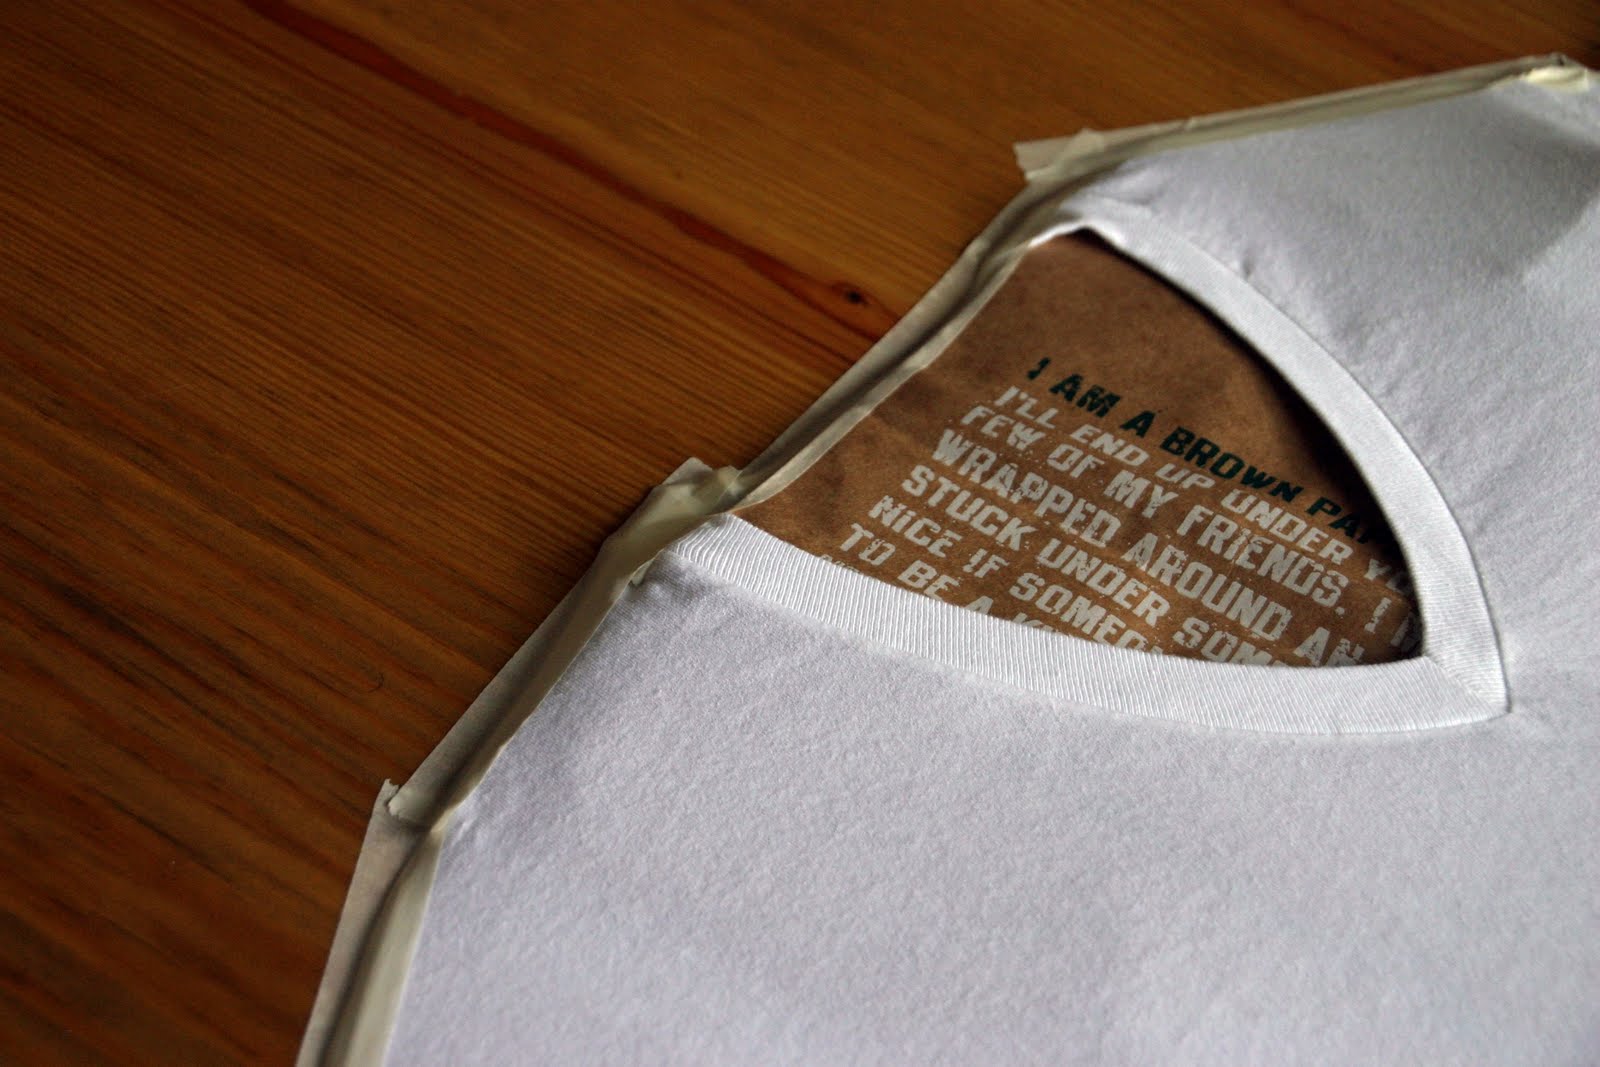
Start with a plain tee shirt or tank and tape it down so it wont move on you.
Add a paper bag to the inside of the shirt so the paint wont bleed.
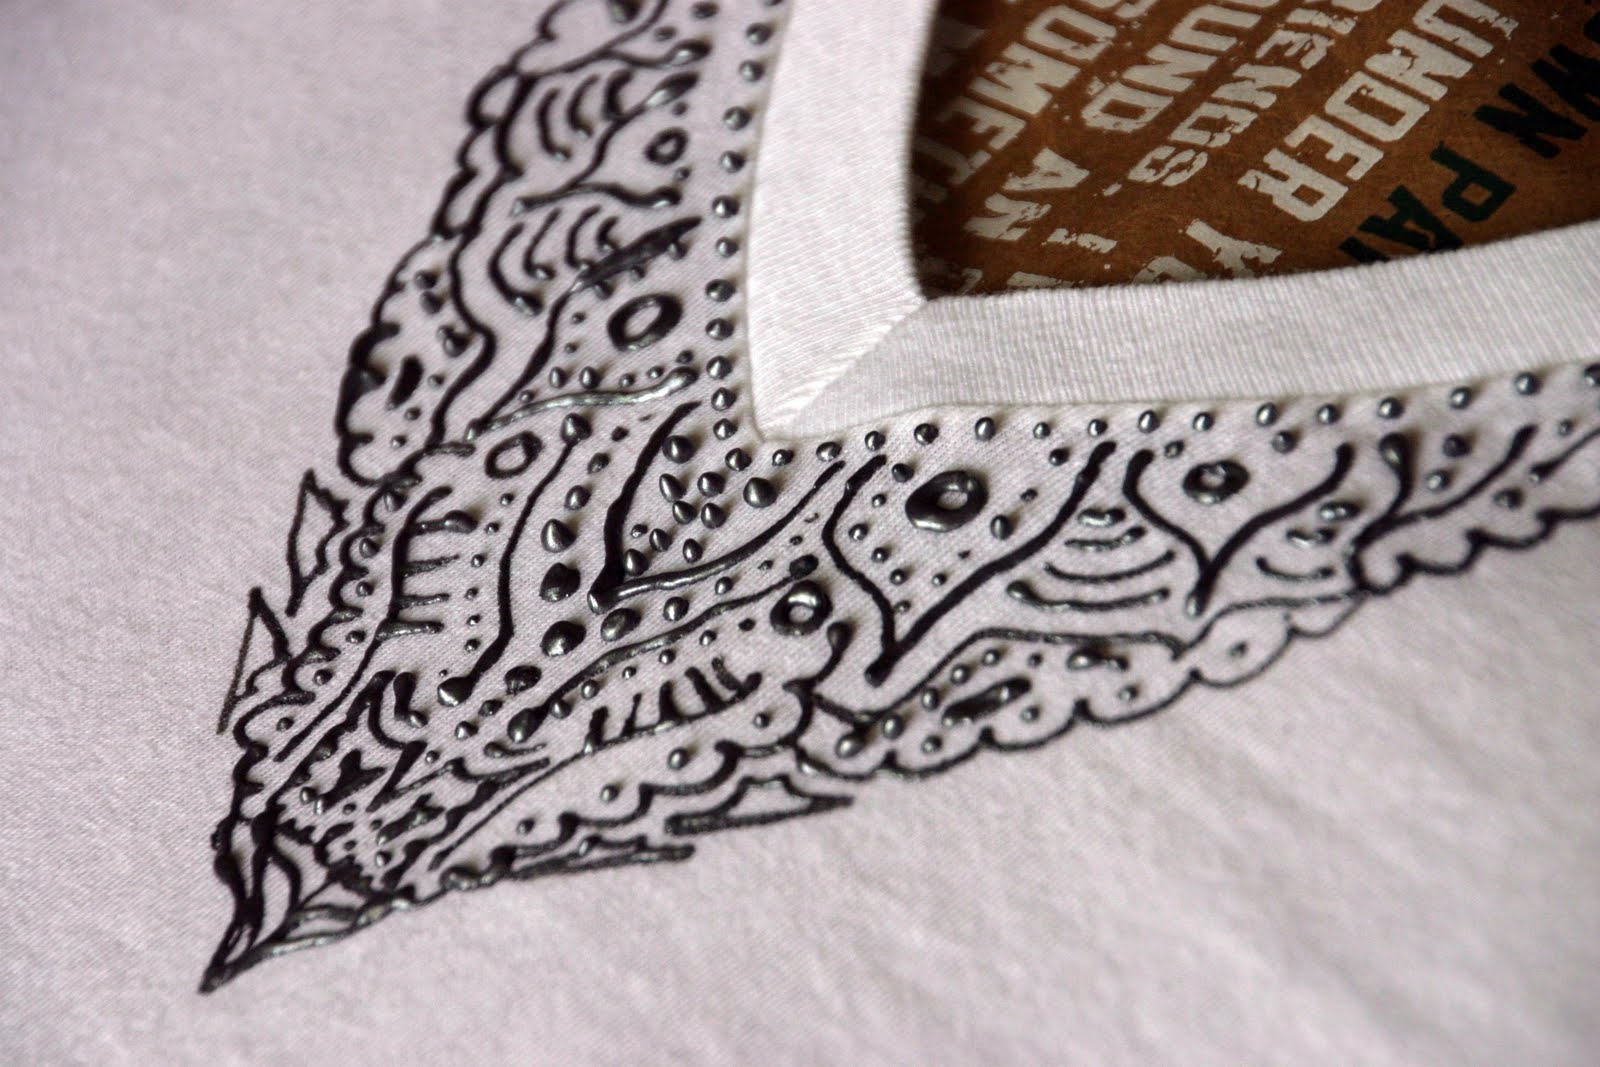
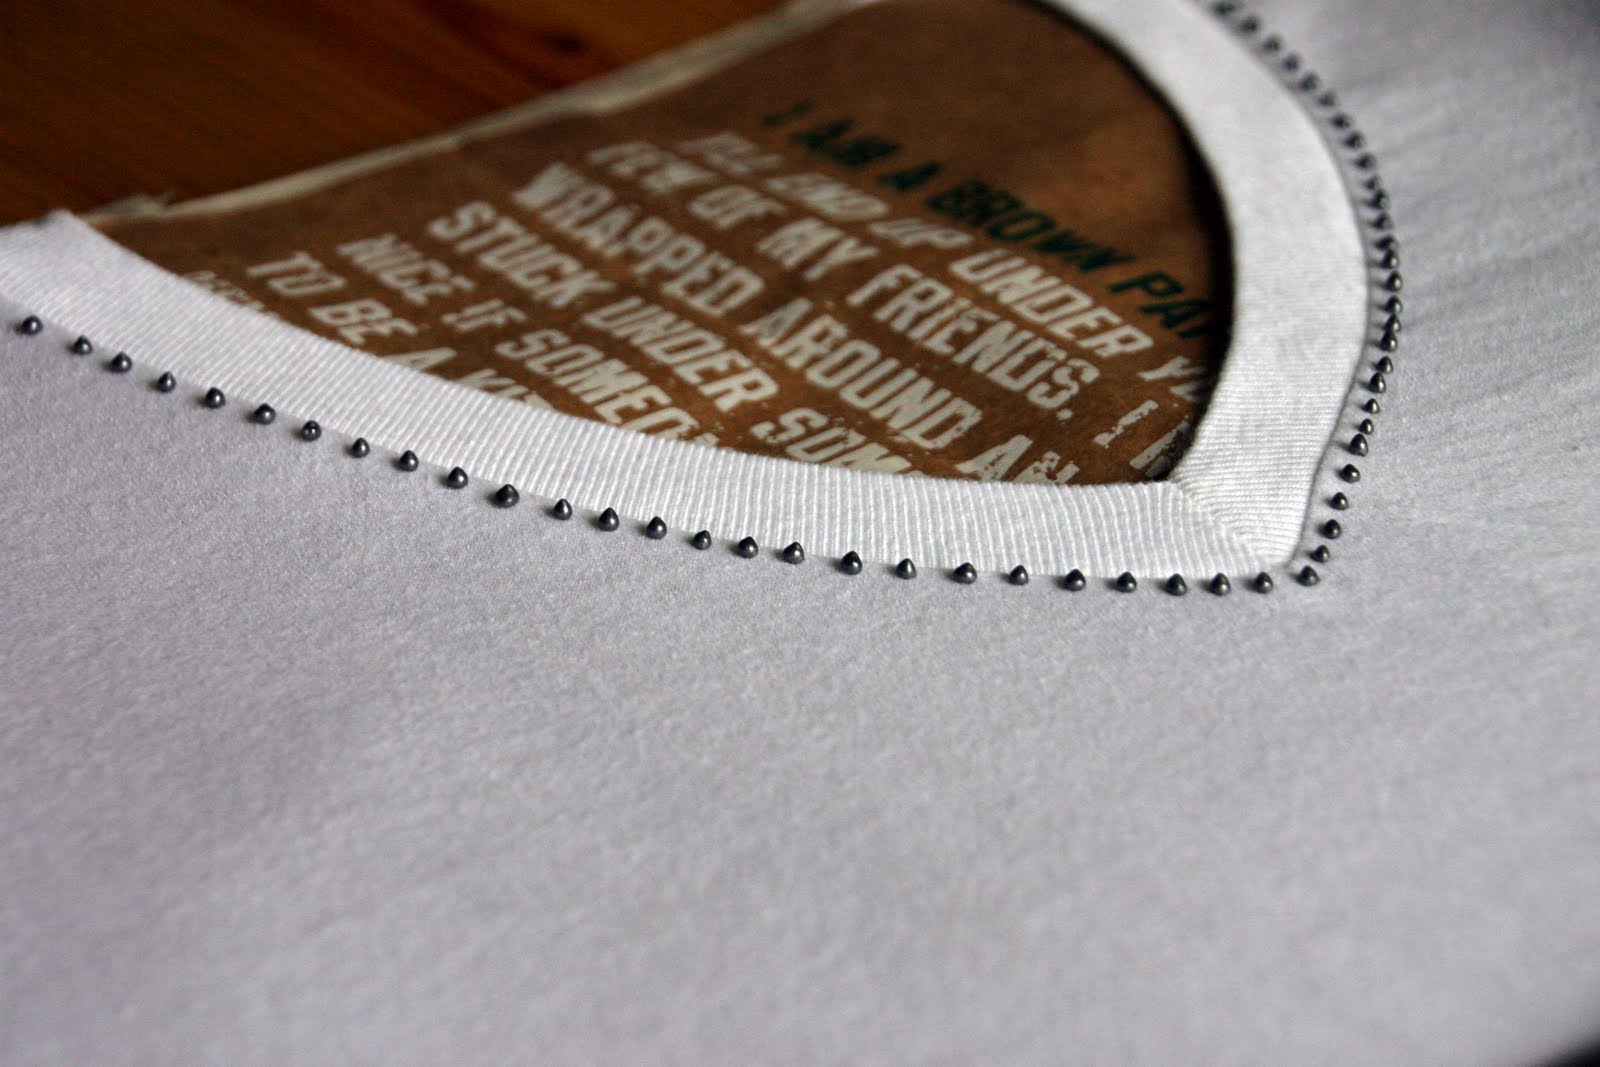
Just like Alisa, I started with dots around the collar.
From there you can just doodle a design as it comes to you, so fun. I have a re-discovered my love for puff paint.
I made this cute little plate for my mom for Mother’s Day. Super simple but I think it was a hit. I made a stencil with my Silhouette, vinyl and transfer paper and used etching cream to etch the glass plate. My mom is the “M” at the bottom of the tree and the initials of her “kids” are in the branches. My husband is an honorary “kid” and of course we couldn’t leave off Clyde and Finn- her grand kids.
Have you used the transfer paper with the vinyl? I was like, what is this roll of white stuff? Then I tried it and it really helps. With a plate like this you have to etch the back of the plate, therefore you need to mirror the image. Also, this is my second time with etching cream (first project here) and just a tip, the bottle says leave it on for 10 mins, I did 30… last time I thought it was too light.