TaylorMade

DIY, Home Decor & Sewing

  • Home
  • SHOP
  • DIY & Sewing
    • For the Home
    • Sewing
    • Costumes and Holidays
    • Cricut Projects
    • Crafting
  • Parties
  • Recipes
  • Home Tour
  • Favorites
  • About

Yo Gabba Gabba… Yoooooooo

December 10, 2010 By Taylor 1 Comment

 
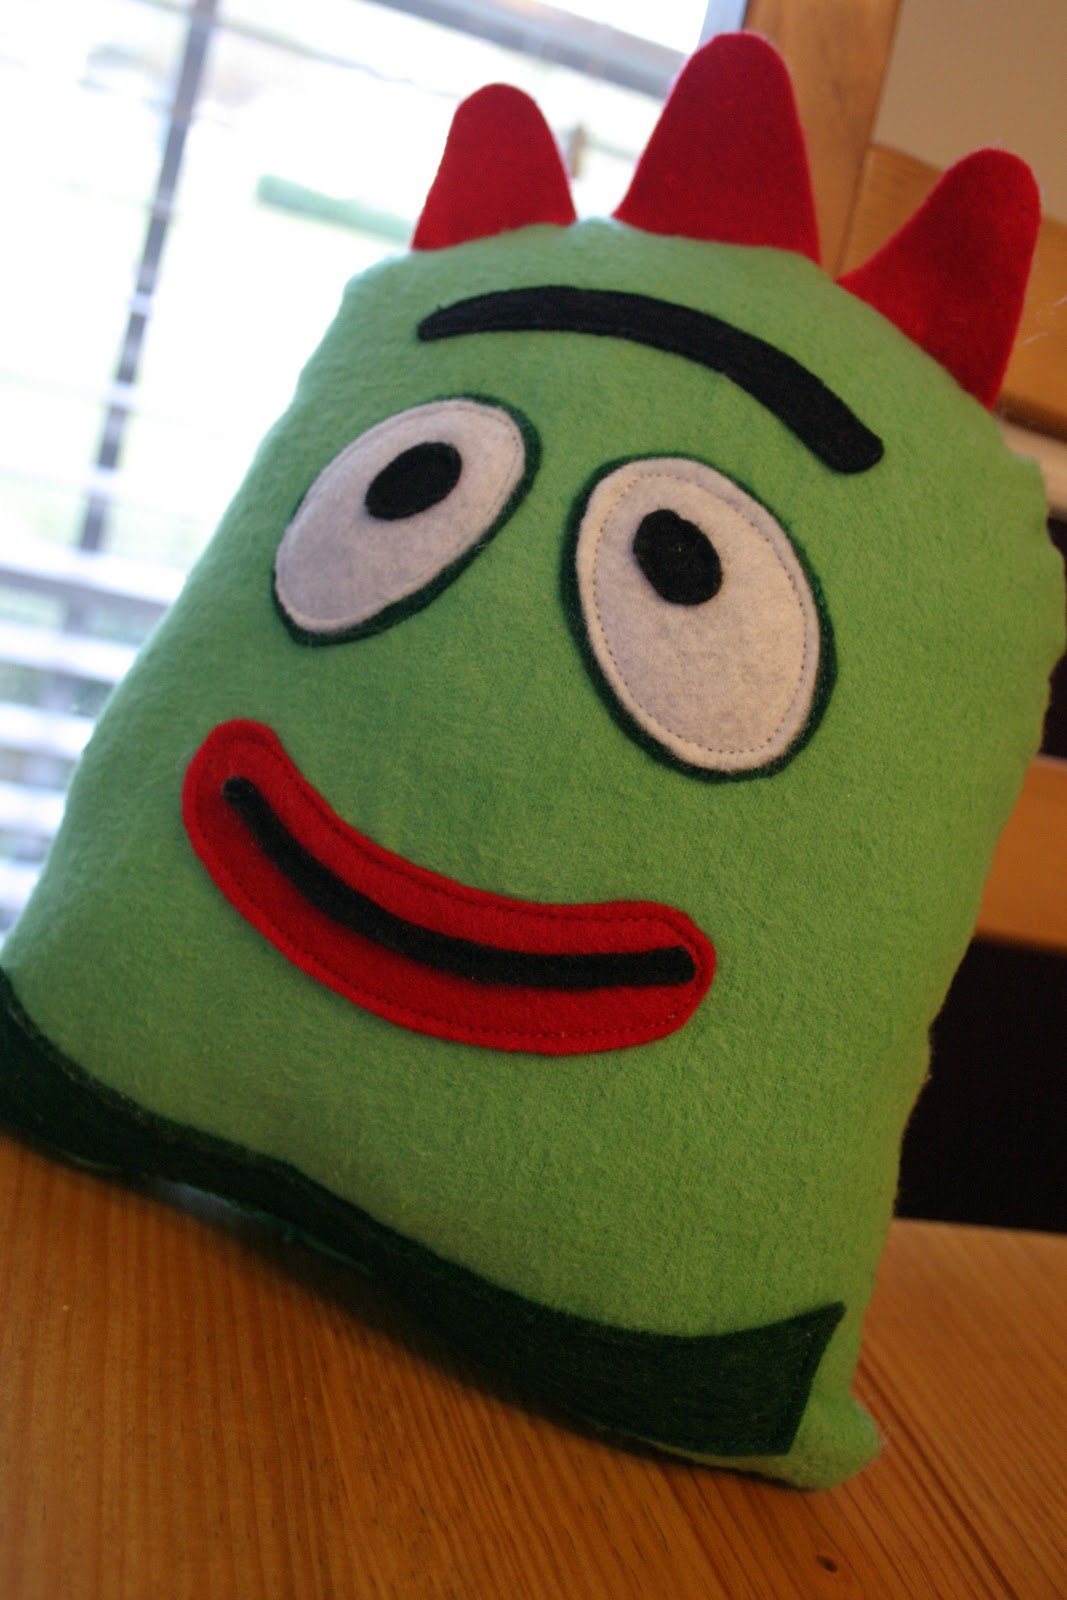
Finn loves Yo Gabba Gabba, at first I thought it was a little creepy, but I have to admit I kind of like it too. The other day we were playing a game online at Nick Jr.com and I saw a little section called crafts. So, of course, I had to interrupt the game and see what it was all about. My eye was suddenly drawn to… a Brobee Snuggle Pillow! Are you serious, Finn would love that. The Nick Jr website even has a template for all of the parts of the face and has all of the characters. Brobee is Finn’s favorite so I made him but I might make the others soon. Their version is a “No Sew” version, but sewing it will make it last so much longer. I also used a thin fleece for the back instead of felt so it will be even softer. 


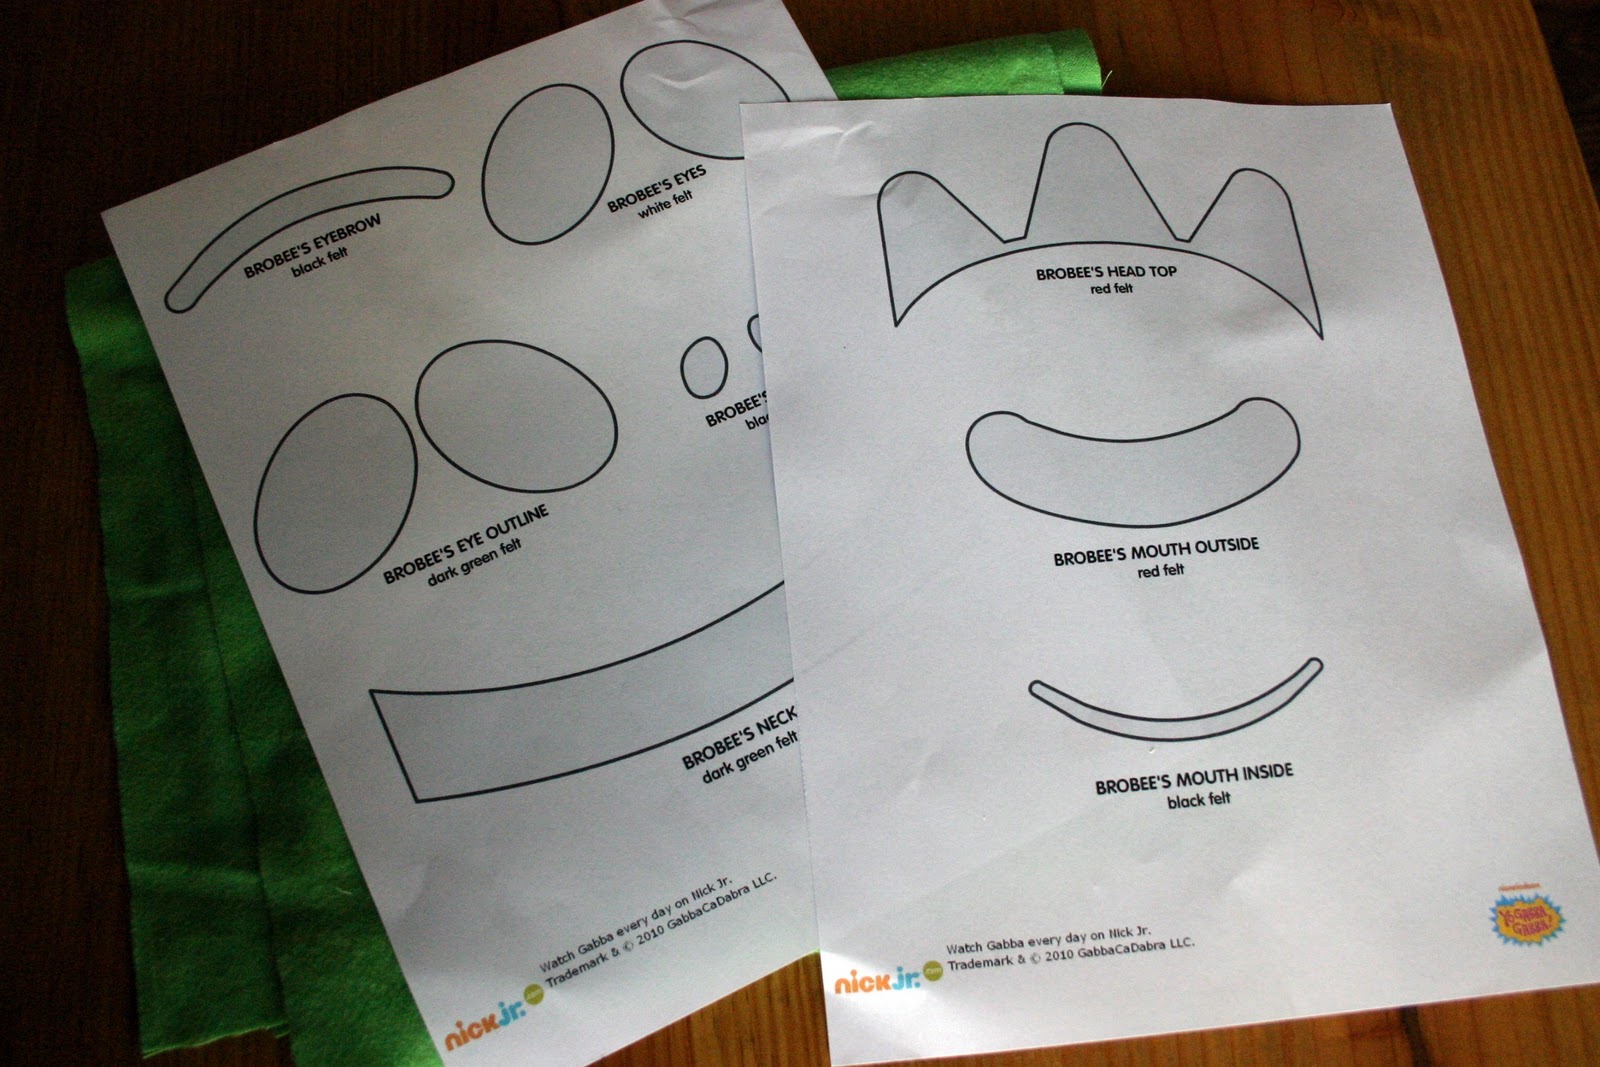
You can print the template right from the website HERE! Hi Brobee.


Finn is going to be so excited… I hope I cant wait until Christmas, only 14 days!

Filed Under: craft, fabric, felt, kid stuff Tagged With: kids

Christmas Calendar

December 2, 2010 By Taylor 2 Comments

My calendar that is!! Aaaand I made it by December 1st. This is exciting because it only took 4 weeks, geez I didn’t think all of those little ornaments would take so long. I am so happy with the finished product and I know “the kids” will love it when they get older. I didn’t take a picture of the tree with ornaments on it because I want to be surprised :)
 
 
Here are the remaining ornaments I made; I don’t love the presents but I wanted something hanging from under the tree.
 
 
I made an ornament to “represent” everyone in my family; Bryan got a t-bone steak, Finn of course got a ball and I got 2 because I made the calendar he-he
 
 
My Mom is the acorn, my sister is the diamond, and my dad is the football, also the heart is a replica of the tattoo on my foot!
 
 
I loved Katie’s hot cocoa from her blog so I had to make my own. The star is the tree topper.
 
 
For some reason, this one is my favorite so it got its own picture.
 
 
And there you have it, my finished Advent Calendar that we will have forever! Look at all the little “surprises” in their squares… Happy December!


Filed Under: Christmas, craft, felt, holidays Tagged With: holidays

Felt Food Factory….

November 4, 2010 By Taylor 1 Comment

There are TONS of felt food ideas all over the web but until last week, I had never made any. Now I have to admit, I have a felt food problem. Seriously it is addicting, I am going back to hobby lobby tomorrow to get more colors! We are making Finn a play kitchen out of a nightstand for Christmas so we have to have some play food, right? I have so many ideas but last weekend I tried just a few of them. Be ready for more pics from the Felt Food Factory coming soon…
 
 
Burger (bun soon to come)
 
 
Grocery Sack
 
 
Peel-able Banana 
 

Filed Under: baby stuff, craft, sewing Tagged With: kids

Easy Light Switch Covers

October 21, 2010 By Taylor 3 Comments


This is a really simple project and I have them all over the house. Basically all you have to do is find scrapbook paper that matches the room, use the existing light-switch cover and Mod-Podge away!
 
Light-switch Covers
 
 
Here is your super boring light-switch cover before:
 
Cut your scrapbook paper a little larger than the cover.
 
Bring out your ole trusty friend Mod Podge and cover the front of the light-switch with it. (I like to use the cheapy sponge brushes with Mod Podge because it will ruin a nice brush)
 
 
Place the paper on top of the light switch. Fold the sides toward the back.
 
Snip the corners to make it easier to glue and less bunchy.
 
Glue (with a glue gun) all the way around the back edge of the light switch cover. Go side by side and immediately press the paper down before it has time to dry.
 
Glue down all of the sides and trim the excess paper.
 
 
CAREFULLY puncture a little hole in the middle of the light switch area
Cut a diamond to the corners and glue gun them down.
 
Same thing with the screw area… (don’t know what else to call that)
 
Mod Podge on top of the finished product with 2 coats. Wait about 10 minutes between the coats.
 
Here is one in my kitchen,
 
and in my breakfast room, 
and now my bedroom!
 
Related Posts Plugin for WordPress, Blogger...

Filed Under: craft, home goods, Mod Podge, paper, tutorial Tagged With: crafting

  • « Previous Page
  • 1
  • …
  • 9
  • 10
  • 11

Welcome to Taylor Made

http://www.taylormadecreatesblog.com/about-me Hi Yall! I'm Taylor... an artsy mom of three from Houston, TX. I love sewing, collecting floral fabric, eating Mexican Food, photography, brights colors, rearranging, and rolling clay. Taylor Made Creates is all about creating a fun, colorful home, sewing cute things and eating good food. Check out my SHOP HERE HERE! Thanks for stopping by!

Search

Pin with me!

Like Me :)

Facebook Pagelike Widget

More Recent Posts

  • Kid's Animal Room
  • Kids Camping Shirts
  • Mermaid Birthday Party
  • Conversation Heart Cold Packs
  • Holiday Apple Tea Punch
  • Purple Princess Costume
  • Letterboard Costume
  • La Croix Costume

FAVORITES

  • Vintage Sheet Quilt
  • How to Glaze Furniture
  • Octopus Costume
  • DIY Leather Tote
  • Winged Peasant Dress
  • Color Wheel Clock
  • Siberian Husky Costume
  • Adorable Girl Clothing (found on Amazon)
  • Embroidery Hoop Art

Copyright © 2026 · Web Hosting By RFE Hosting