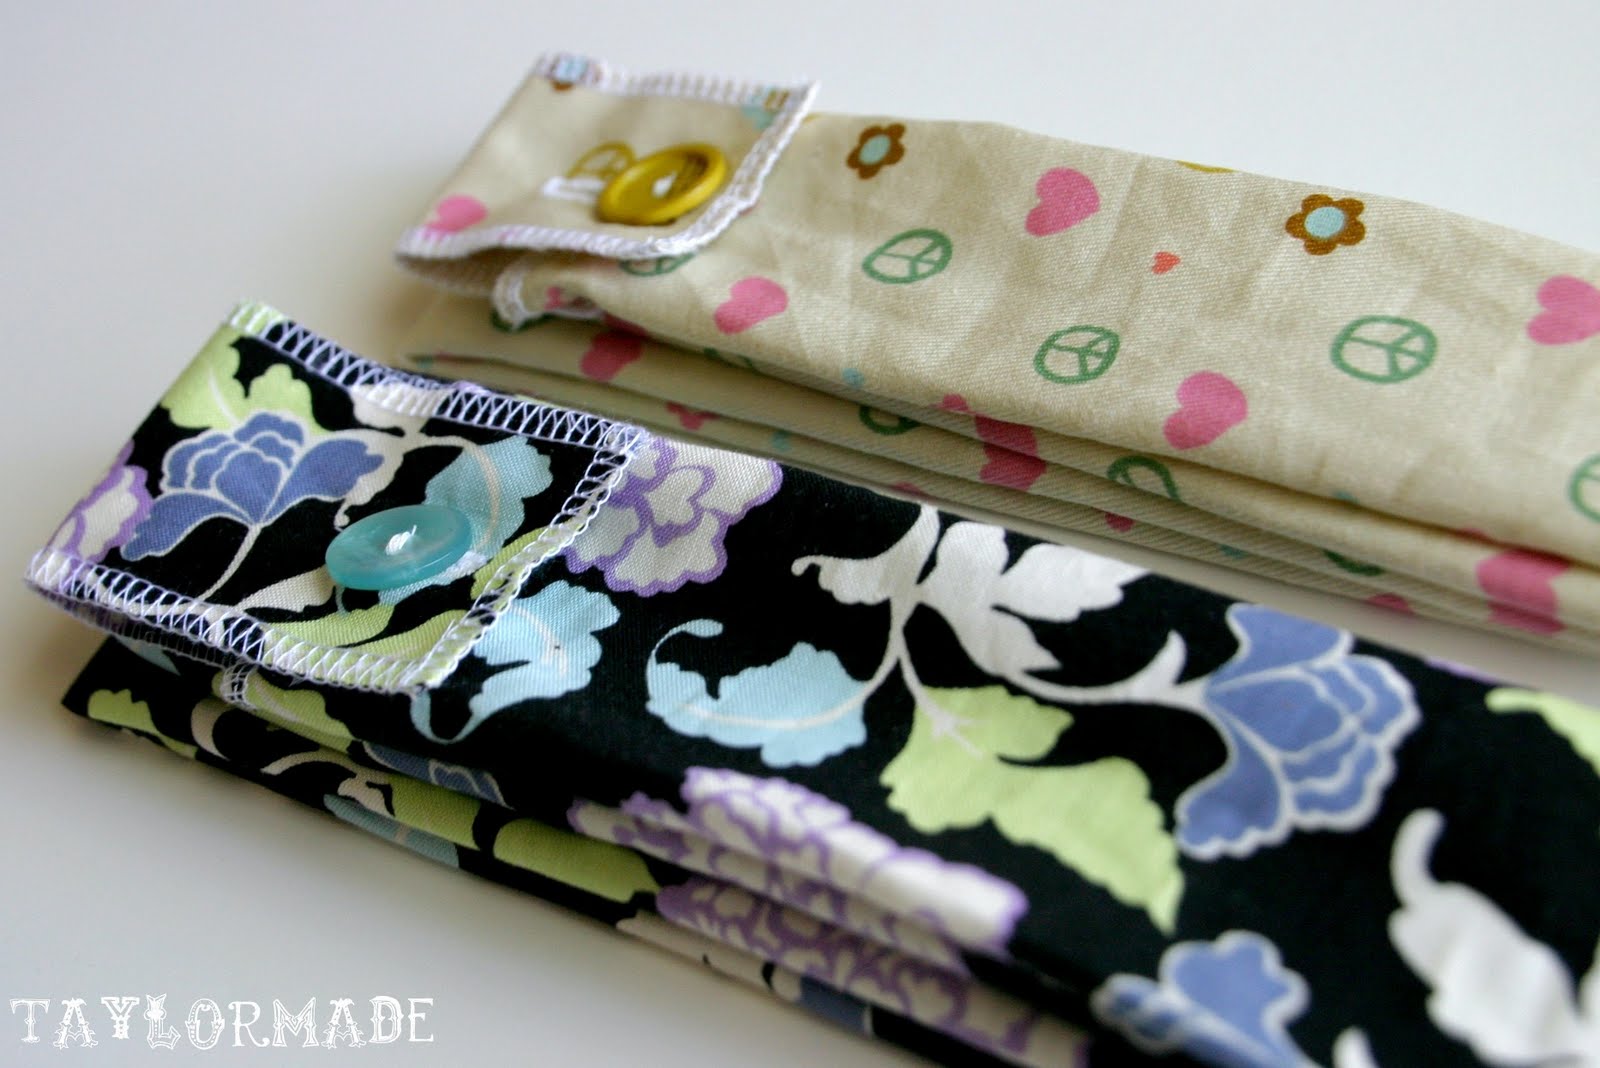
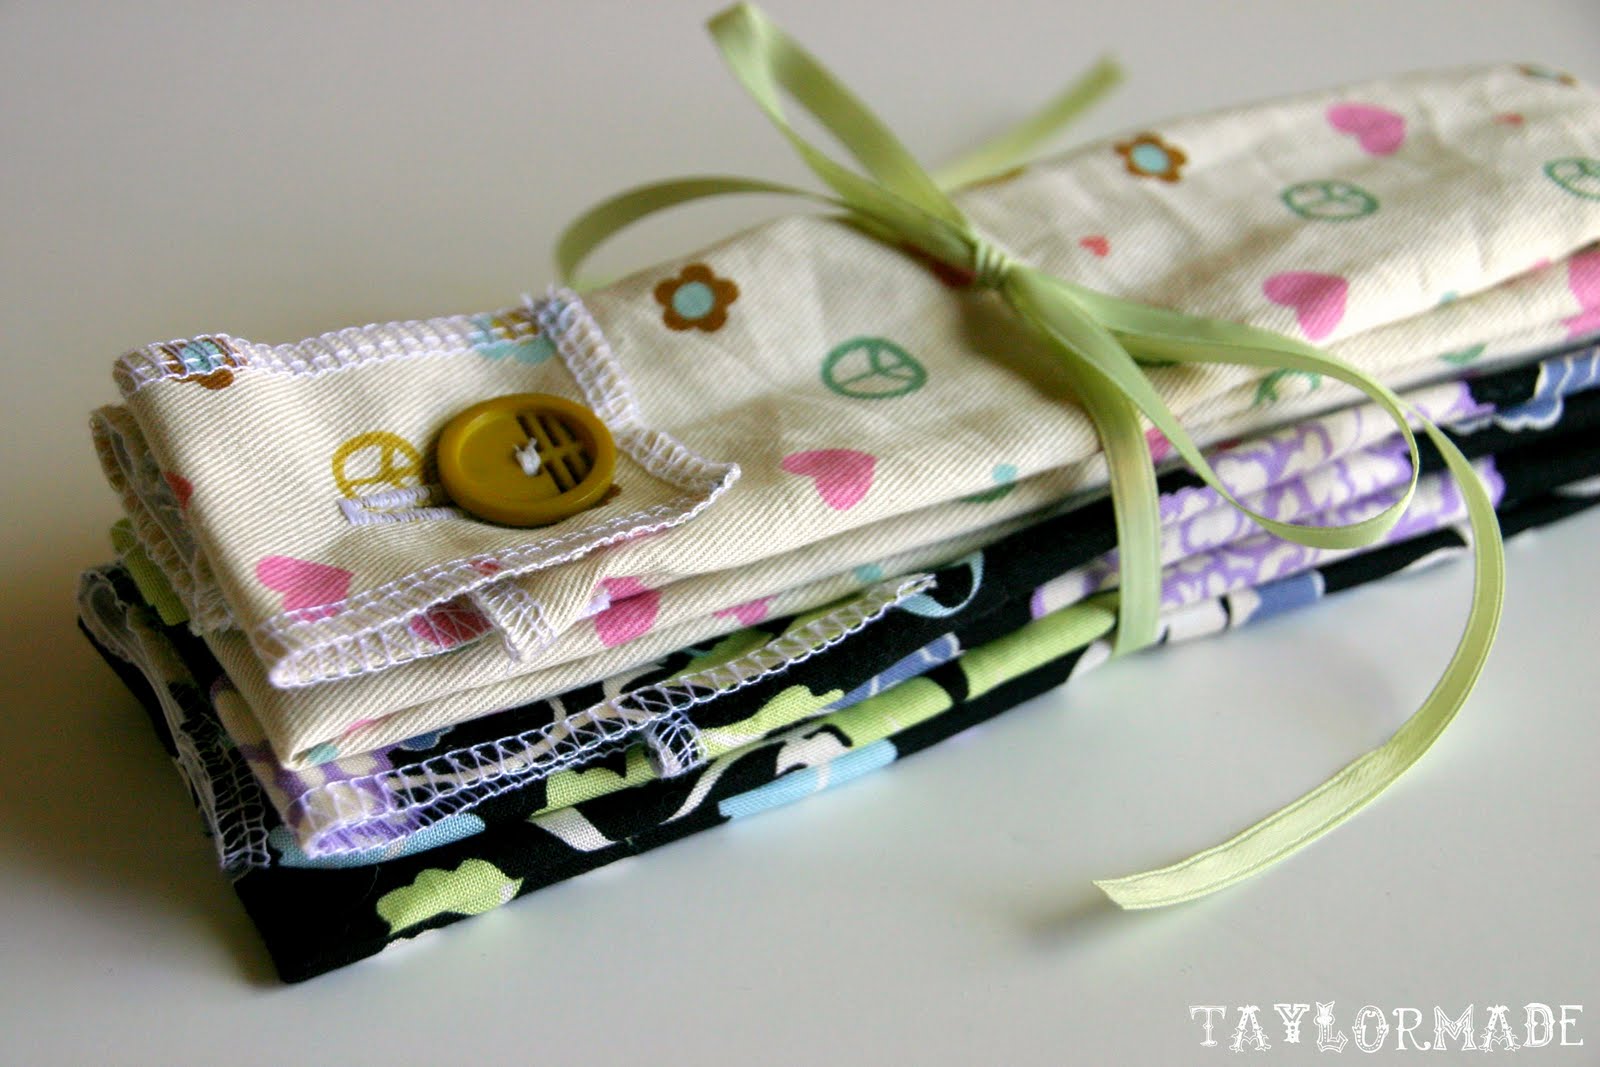
Do you have a special nurse in your life? ‘Cause I do… my sister hehe! Not only is she about to graduate from nursing school but it is also her birthday this week. (Last year I made her this) So, I cant think of a better gift than some handmade Stethoscope Covers. The sad part is after I decided to make her a few, I realized – I don’t have a stethoscope to try them onto. Oops, I hope they fit.
Materials:
– one yard of fabric (you wont use it all, you just need it for length)
– button
– elastic
– sewing machine
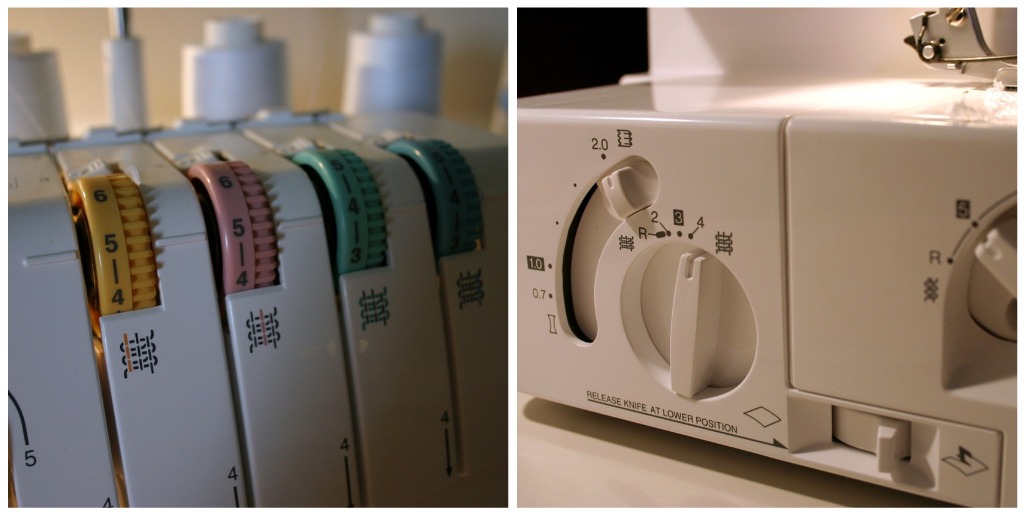
– serger (optional)
Directions:
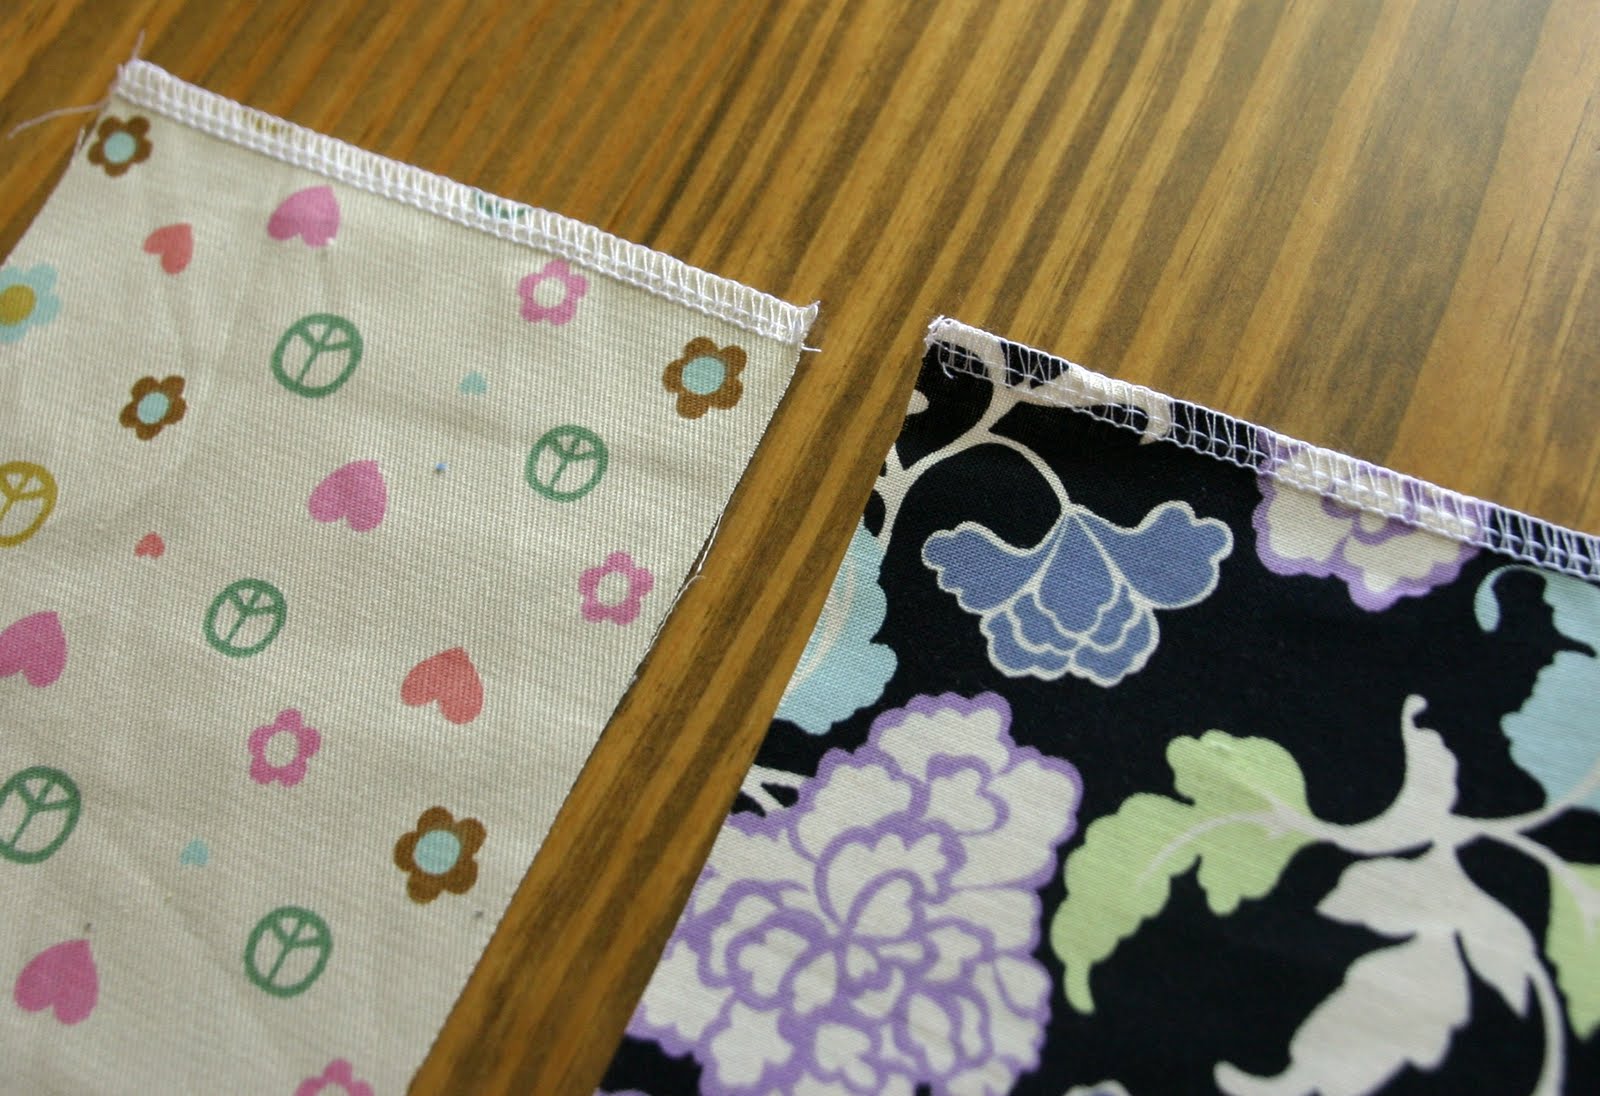
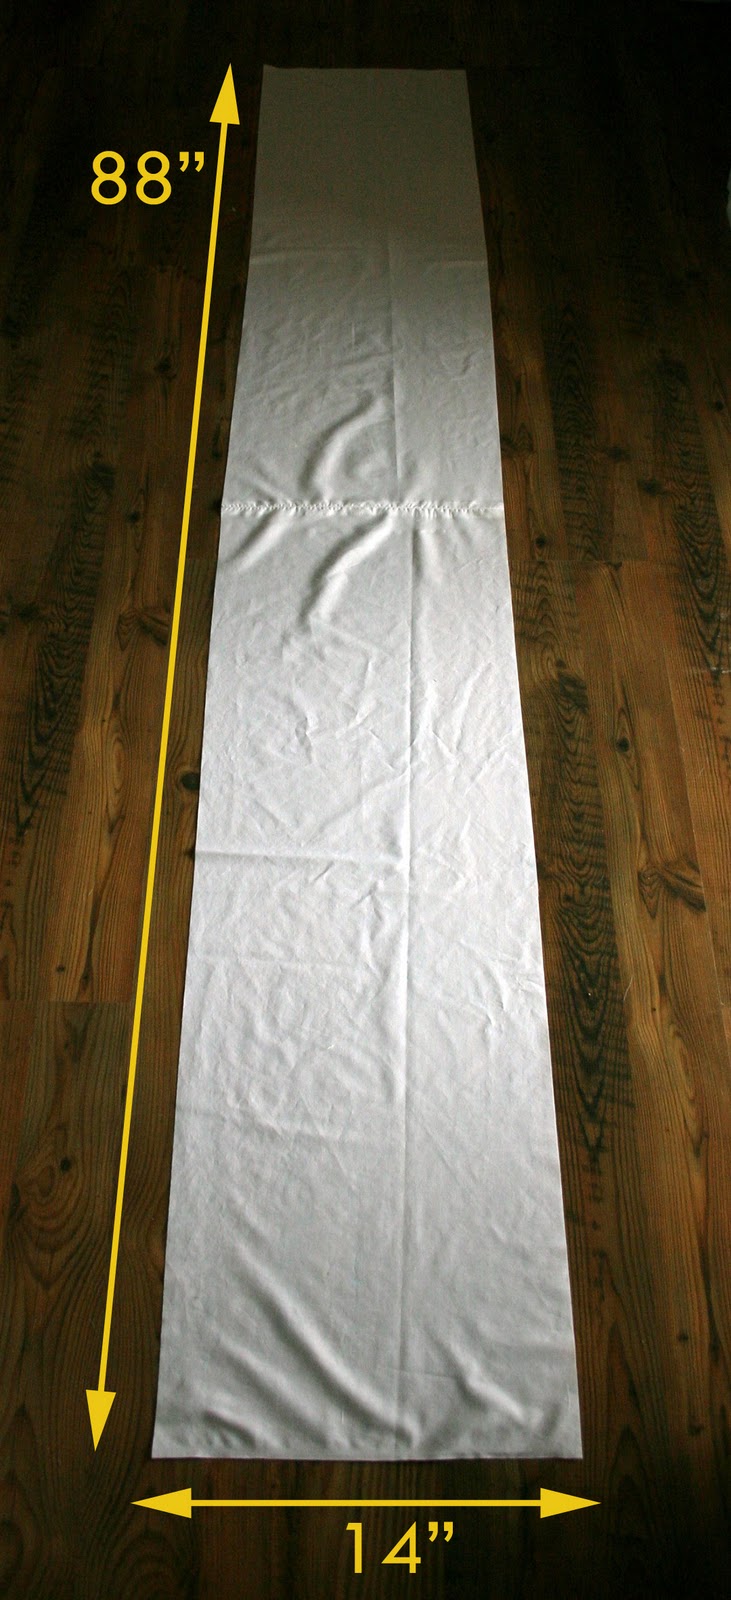
Cut your fabric into a piece that is 34″ x 6″

Serge the ends (the sides that are 6″ in length) If you do not have a serger, get online right now and buy one you will have to press the ends and sew a clean edge. Do this to both the top and bottom of the cover.
Next we will add the elastic to the bottom of the cover. If your fabric is a print like the floral one I have then just pick a bottom. My other fabric with the hearts has a specific bottom and top so don’t confuse the ends.
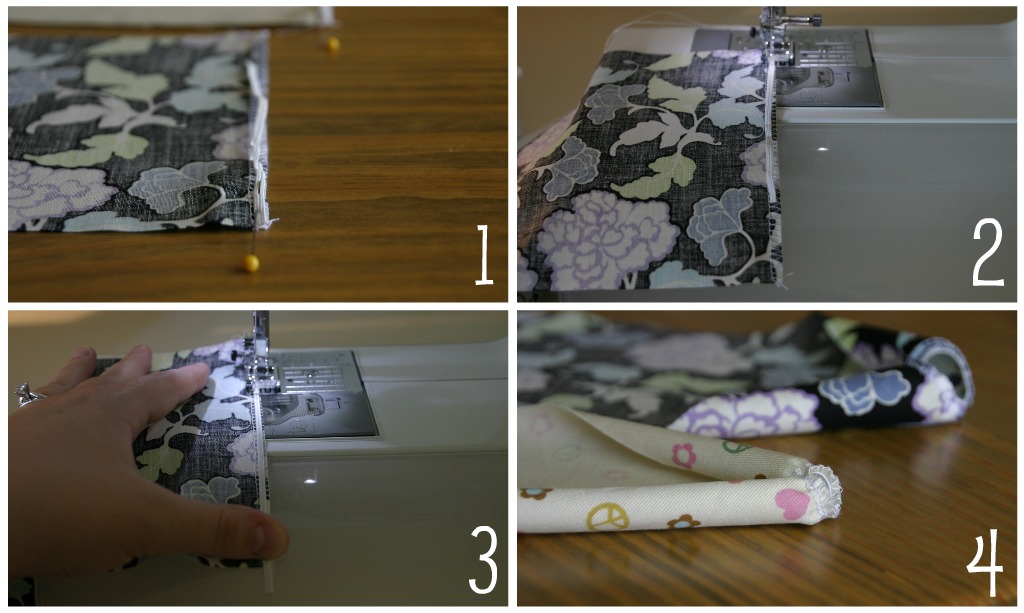
1. Cut the elastic about 2″ shorter than your width, so in our case 4″. Pin it to the bottom of the cover.
2. Start sewing it on.
3. Once it is on, pull the elastic with your hand while you are sewing.
4. It will look like this when you are done.
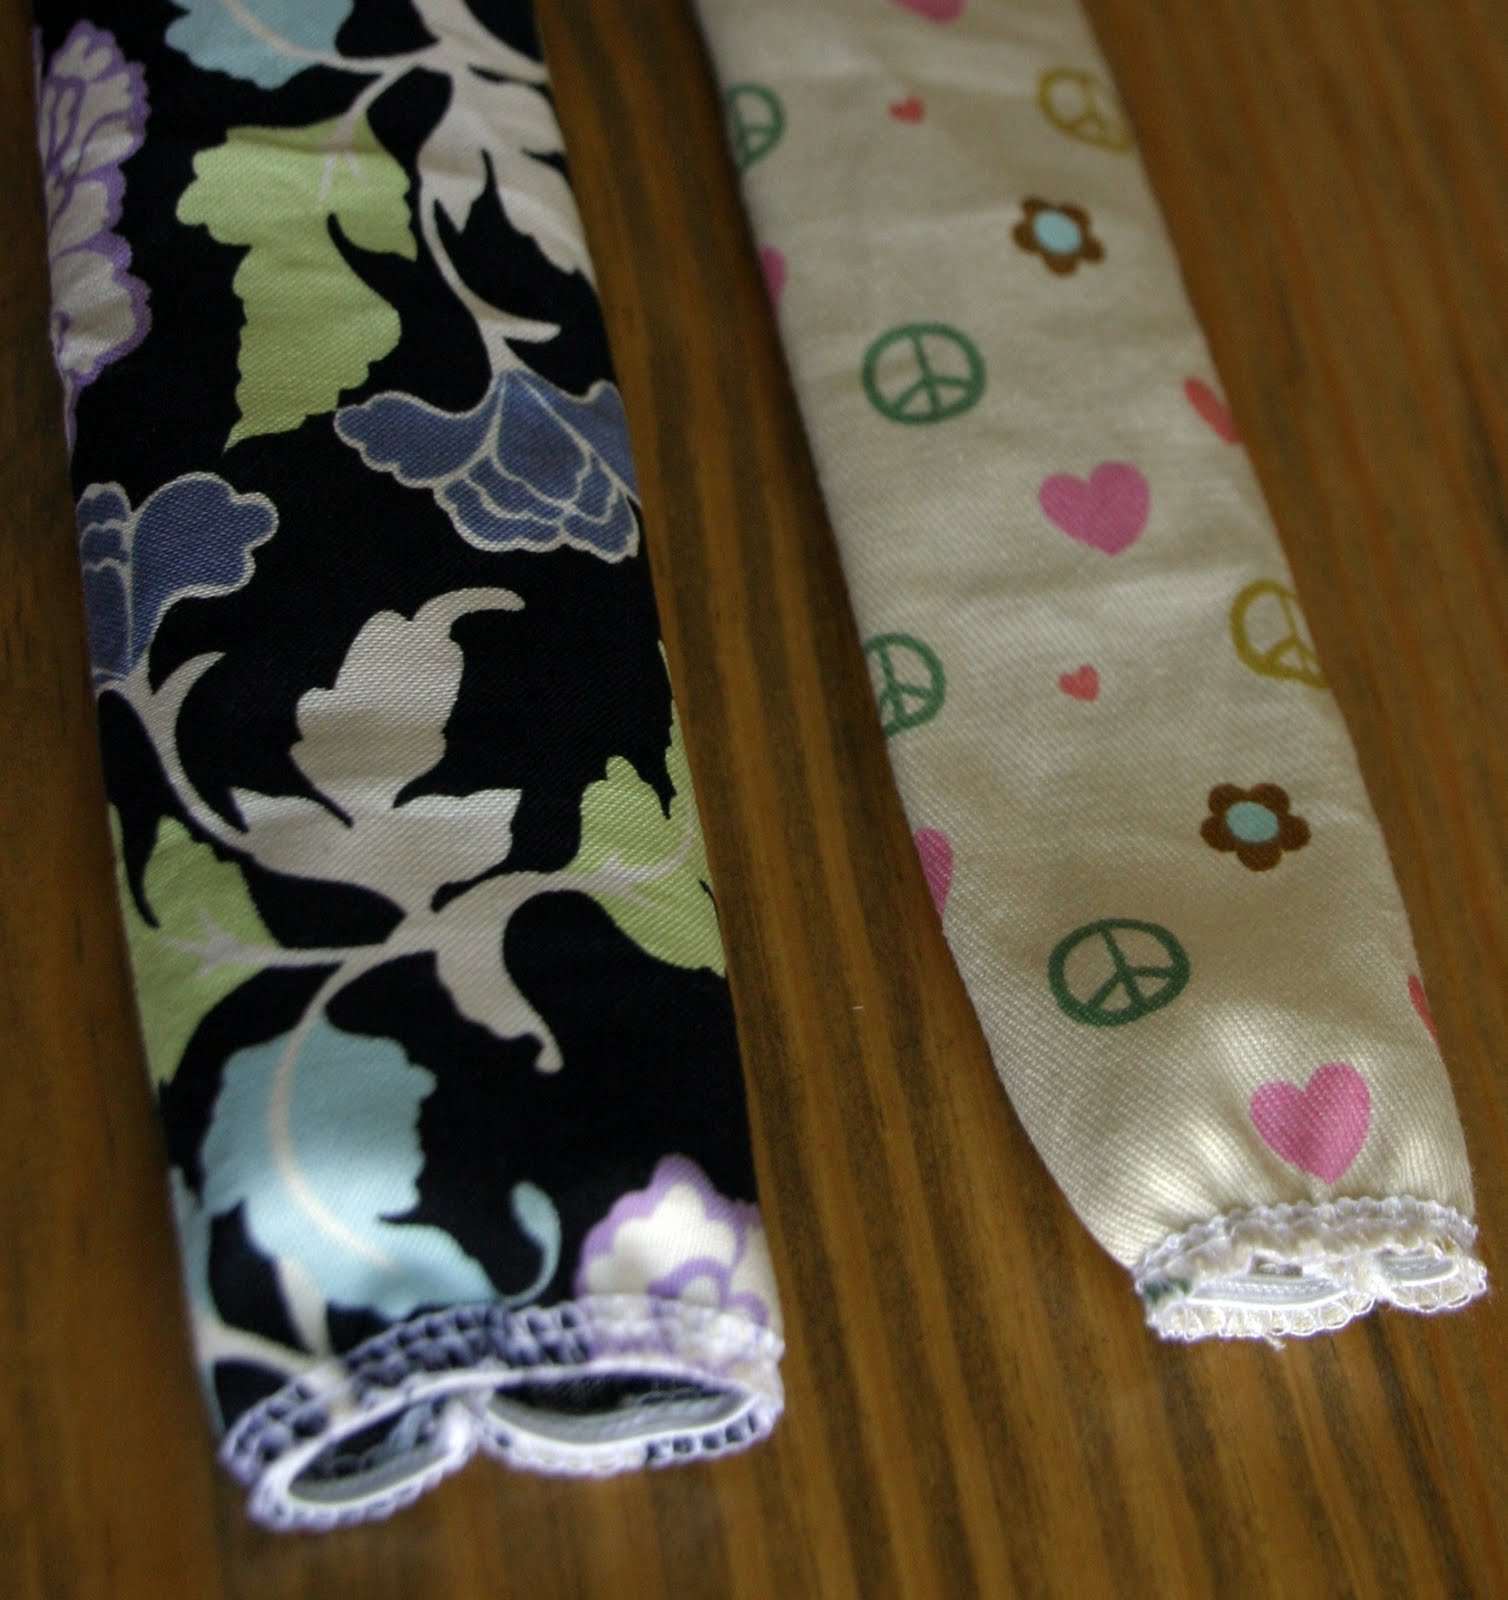
Next, pin right sides together lengthwise all the way down the cover and sew.

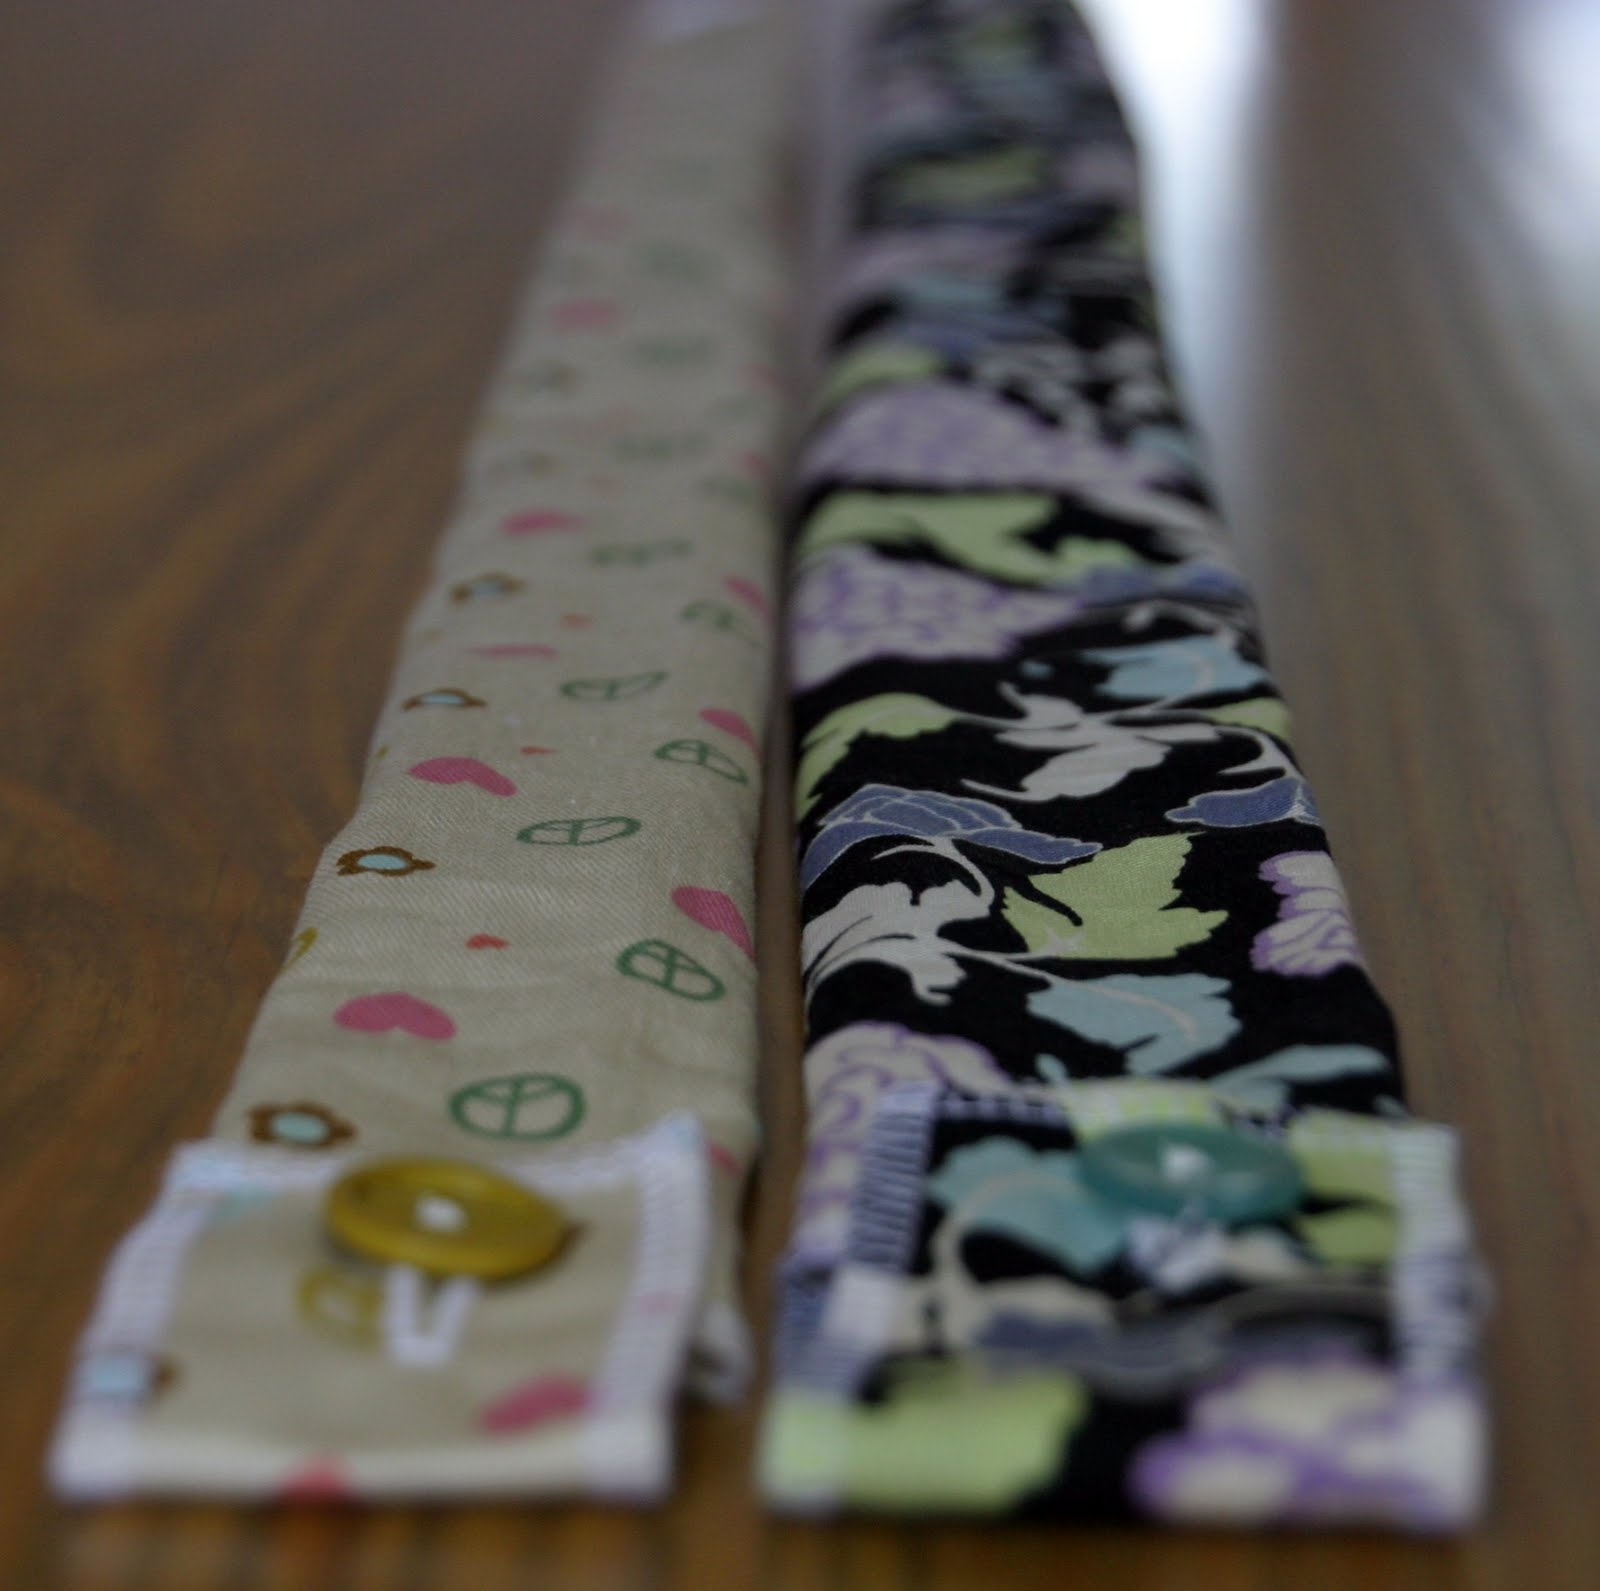
Turn the cover right side out. This is the main part of our cover. You can tell that my covers are a little different in width. I used two different seam allowances only because I wanted them to look a little different.
At this point I realized I had to come up with a way for the cover to stay on the Stethoscope. Do you see where it has a “Y” in the top. I decided to use a little flap with a button and a button hole. You could use Velcro, snaps, etc.

I had scraps left over from the original cutting of the fabric so I used these two scraps. I folded it in half with wrong sides together and serged it into a rectangle flap. Sorry, I don’t have an exact measurement. Again if you don’t have a serger then you will have to sew right sides together leaving an opening, turn it right side out and sew again. Make sure the flap is the same width as your cover, length does not matter.


1. I added my TaylorMade label (tutorial here) to the back of the flap
2. Make a button hole on the flap
2. Make a button hole on the flap
3. Pin the flap to the back of the cover
Sew the flap to the back of the cover

Last step is to add the button to the front side of the cover
Don’t you love this vintage mustard button?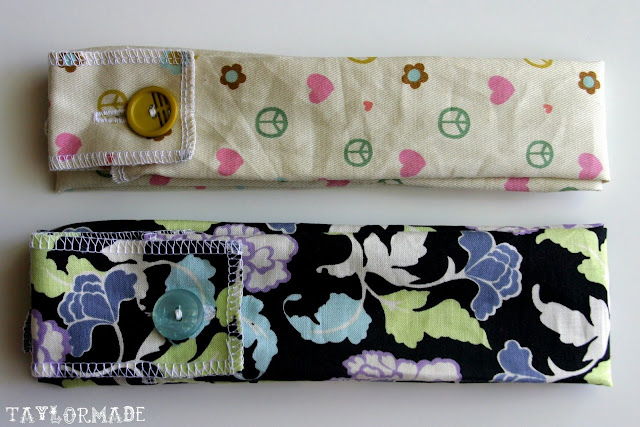

Happy Birthday Sis!


