TaylorMade

DIY, Home Decor & Sewing

  • Home
  • SHOP
  • DIY & Sewing
    • For the Home
    • Sewing
    • Costumes and Holidays
    • Cricut Projects
    • Crafting
  • Parties
  • Recipes
  • Home Tour
  • Favorites
  • About

Octopus Costume

October 26, 2011 By Taylor 54 Comments

In keeping with our “under the sea” theme this year… Clyde will be fashioning an Octopus Costume :)
 

Trying to get a crawling nine month old to sit still for an octopus photo shoot isn’t the easiest of tasks… but we got a few pictures. Just like his brother’s,  I made sure his costume is comfortable because my boys will rip clothes off if they don’t like them. 

This is what I started with…
-light blue onesie with a truck on it
-blue pants
-XL men’s blue shirt on clearance

My main problem was that all of the blues were a different shade so I tie-dyed all of them along with Poseidon’s pillow case. Also, I tried to seam rip that embroidered car which almost resulted in a major fail… saved it by adding felt octopus eyes. 

For the “octopus leg belt”, I created a sock shape and cut out 12 halves from the XL men’s shirt. Then I sewed them together but left the tops open. I stuffed the legs and made “bias tape” (not actually on the bias- just from the tshirt scraps). To close the legs, I sandwiched them into the bias tape. The whole belt has a Velcro closure. 

Lastly, I kind of cheated and fabric glued felt “o’s” for the suckers to the back of the legs… I mean after cutting 35 “o’s” out I wasn’t abut to hand sew them on… Halloween is one day people. 

and this pretty much sums up how he felt about this little photo shoot…  bye mom.

Pin It

Filed Under: boy, costume, halloween, holidays Tagged With: costumes, holidays

Poseidon – King of the Sea… a costume

October 24, 2011 By Taylor 7 Comments

If you ask Finn about his costume for Halloween not only is he excited to put it on (because it involves a Trident) but he will also tell you he is the King of the Sea. 

At first he called his Trident a fork and ran around trying to “eat” everything with it. I have to give full credit to my mom for the idea. I though of Clyde’s costume (pics coming later this week) and wanted an Under the Sea theme. My Mom came up with Poseidon… KING OF THE SEA. Finn loves it. He even cried for at least 10 minutes after I made him take it off.

I don’t have a tutorial because Poseidon is pretty obscure, right?
Here are the components:
-a tie-dyed pillowcase 
-gold pleather belt with felt waves hand embroidered with a Velcro closure
-gold pleather shoulder “wrap”
– black taffeta trident with gold pleather tips and a wooden dowel inside and stuffed to make it soft

The best part is that it is super comfortable for him so he can run for hours in it :)

(ps… our poor dog was not harmed in the chasing with the trident pictures :)

Filed Under: boy, costume, halloween, holidays, sewing Tagged With: costumes, holidays

Casserole Carrier

October 18, 2011 By Taylor 68 Comments

I like to make homemade wedding gifts whenever I can. I saw this Casserole Carrier Tutorial from Two Little Hooligans and I was allll over it. She has really detailed instructions. The only thing that I didn’t do (and should have) was add a little extra length because the Pyrex that I found had built in glass handles. But I still love how it turned out. Halfway through I remembered an old post from Jill where she added belting instead of making the handles. She also etched the couples last name into the Pyrex. Done. I shamelessly copied two crafters!

I used a super bold print for the outside and a cute little dot pattern for the inside.

I also added a label.

And etched the glass.

And now I want one :) Have you made any homemade wedding gifts lately?
Pin It

Filed Under: etched, fabric, gift, sewing Tagged With: home goods

The Bandit Bib

October 10, 2011 By Taylor 6 Comments


The Bandit Bib. It might be the next big thing :) I get bored with “regular” bibs so this is a little more exciting.

What you need:
– 1 fat quarter for the front
– 1 fat quarter for the back (I use flannel, jersey or terrycloth for the backs)
– snap kit
– TaylorMade Bandit Bib Pattern
Lets get started:
Print the pattern for the Bandit Bib HERE (just save it to your computer and print on a full page :) Cut out a front and a back. I like to use an absorbent fabric for the backs of my bibs like terry cloth or flannel. 

Put right sides together, pin and sew. Leave a small opening so you can flip it. 

Don’t forget to clip the corners and the round tip. 

Press and top stitch around the bib.

Time for snaps (which I love). If you have never used them, they are very simple and your kit will come with instructions on the back. Each snap has two parts and the fun part is hammering them together :)

Most importantly, make sure your snaps are facing opposite directions so you can snap them together correctly. The first time I did a snap, I made this mistake. 

Admire your new and more exciting Bandit Bib. And make a few.

Look at my cute little Bandit :) 
Pin It

Filed Under: baby stuff, boy, clothes, fabric, kid stuff, sewing Tagged With: kids

Chili Blanco

October 6, 2011 By Taylor 2 Comments

Remember when White Chicken Chili was all trendy in the 90’s? Is it vintage yet to bring it back? Cause I just did. I needed something different from the usual red chili I guess. Vintage or not, it was really good. 


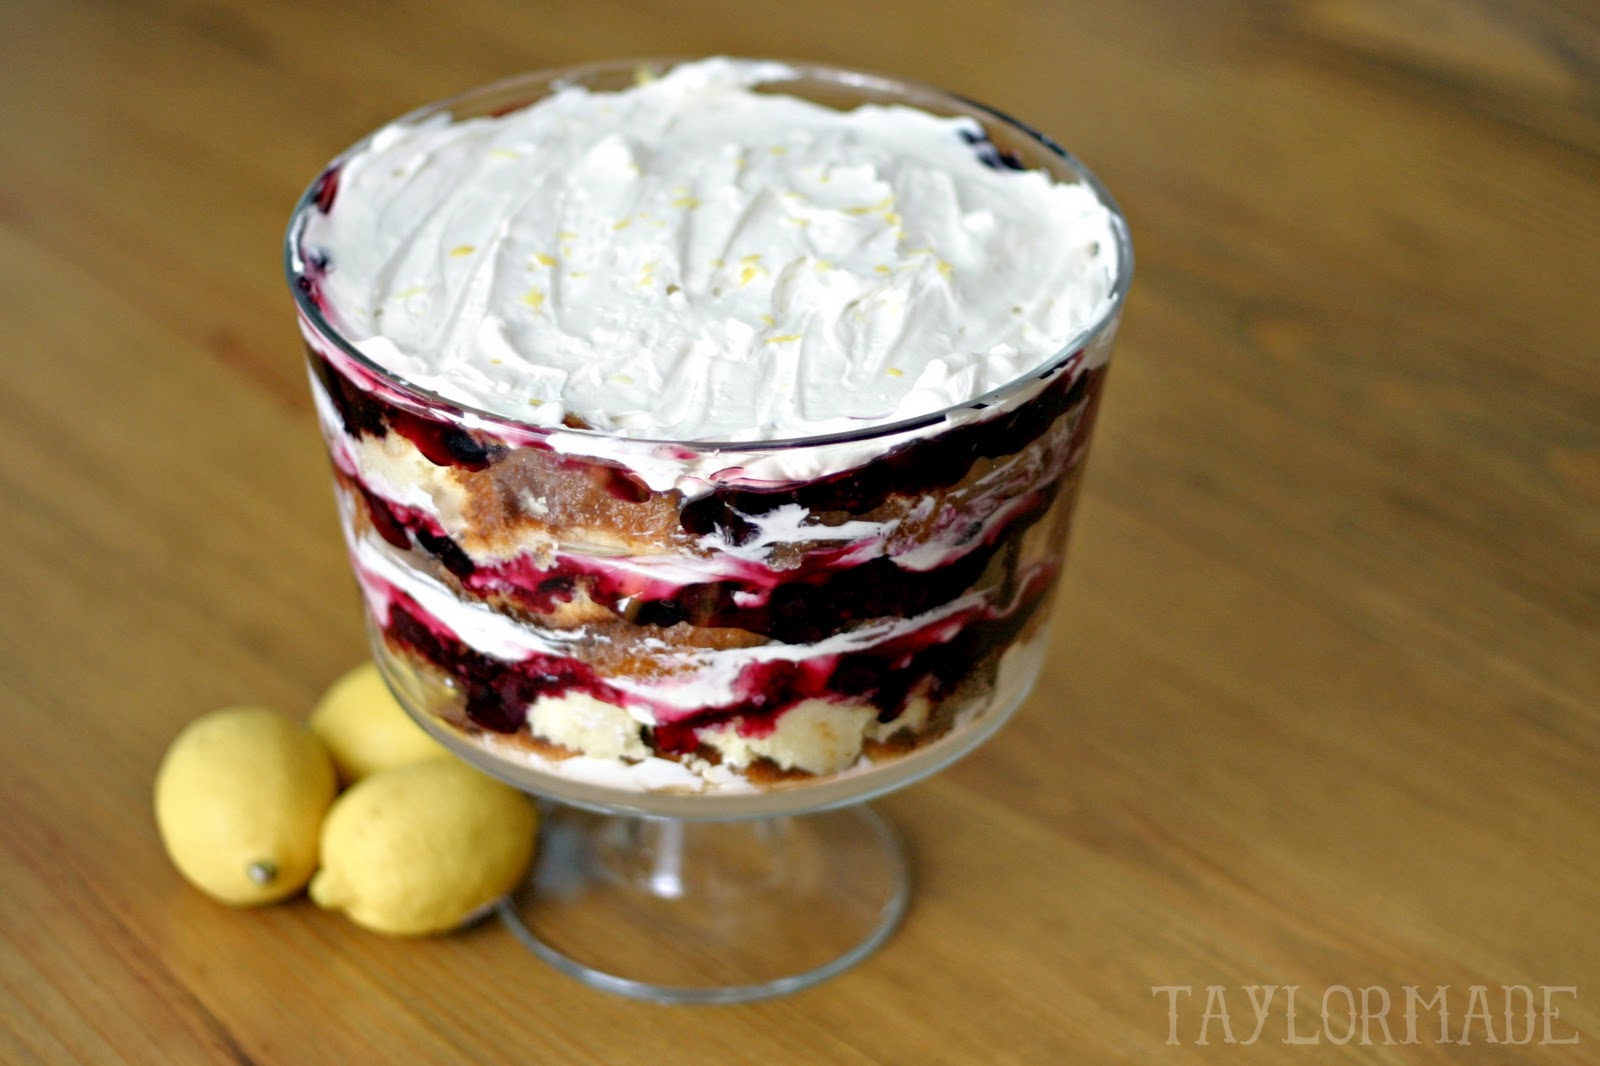
I adapted this from the Neiman Marcus Chili Blanco Recipe. I say adapted because when I searched online for the recipe, it was hard to find and every recipe was a little different. Truly is vintage. I settled for a recipe that must have been translated from a different language, because it was confusing and used words like guste. I did my best. I also added carrots and celery because I love the flavor. And left out the oregano because I have bad memories with oregano (it involves elementary school pizza).

So, here is what I could read/came up with:
Chili Blanco:
1lb dry great northern beans
2lbs chicken breast
1tbsp olive oil
1 chopped onion
4 chopped garlic cloves
2 cans mild green chilies 4 oz
2 tsp cumin
1/4 tsp cayenne pepper
6 cups chicken broth
1 cup Monterrey jack Cheese (plus more for garnish)
1 bunch carrots
1 bunch celery
Optional
1 1/2  tsp dried oregano
Monterrey Jack Cheese
cilantro
-Rinse beans and place in heavy large pot, add water and soak overnight.
-Place chicken in large heavy saucepan. Add cold water, cover and bring to a simmer. Cook for about 15 minutes or until just tender. Drain and cool. Cut chicken into cubes.
-Drain beans, and set aside. 
-Heat oil in the large pot over medium heat. Add onions and sauté until translucent, about 10 minutes. Stir in garlic, then chilies, cumin, oregano, and cayenne and sauté 2 minutes. Add beans, chopped carrots and celery. Add chicken broth and bring to a boil. Reduce heat and simmer until beans are very tender, stirring occasionally, about 2 hours. Lastly add one cup of shredded cheese to chili and stir until cheese melts. Season to taste with salt and pepper.
-Garnish with shredded cheese and cilantro.

Pin It

Filed Under: dinner, recipe Tagged With: food

Halloween Crayon Bats

September 29, 2011 By Taylor 5 Comments

Are you in the Halloween spirit yet? Me either, could be because it is still in the high 90’s here in Texas. I usually look forward to October 1st because that is when I break out the Halloween Decor. I keep forgetting that is in one day…. It literally feels like the middle of summer :(
In hopes of feeling fall-ish, I turned to my trusty craft supplies. I remember doing this craft when I was little and making “stained glass”. Martha makes Valentines Hearts this way too. But today friends we are making Bats, or according to my 2 yr old son- “Batmans”. This is a great craft to do with the kids, actually- if my “active, just turned two, independent boy” can do it, then your dog can probably help you.
Supplies:
old crayons
wax paper
scissors
iron
paper towels
(I would like to tell you that this is just my craft iron and I have another one for clothes but this is just my craft iron… I don’t iron clothes for real life)
Break your crayons and remove the wrappers. This is the best job for kids, who doesn’t love to break stuff?
Use the scissors and make shavings from the crayons. Place the shavings on a piece of wax paper. Let the kids arrange the shavings and pick the colors. Then cover it with another piece of wax paper.

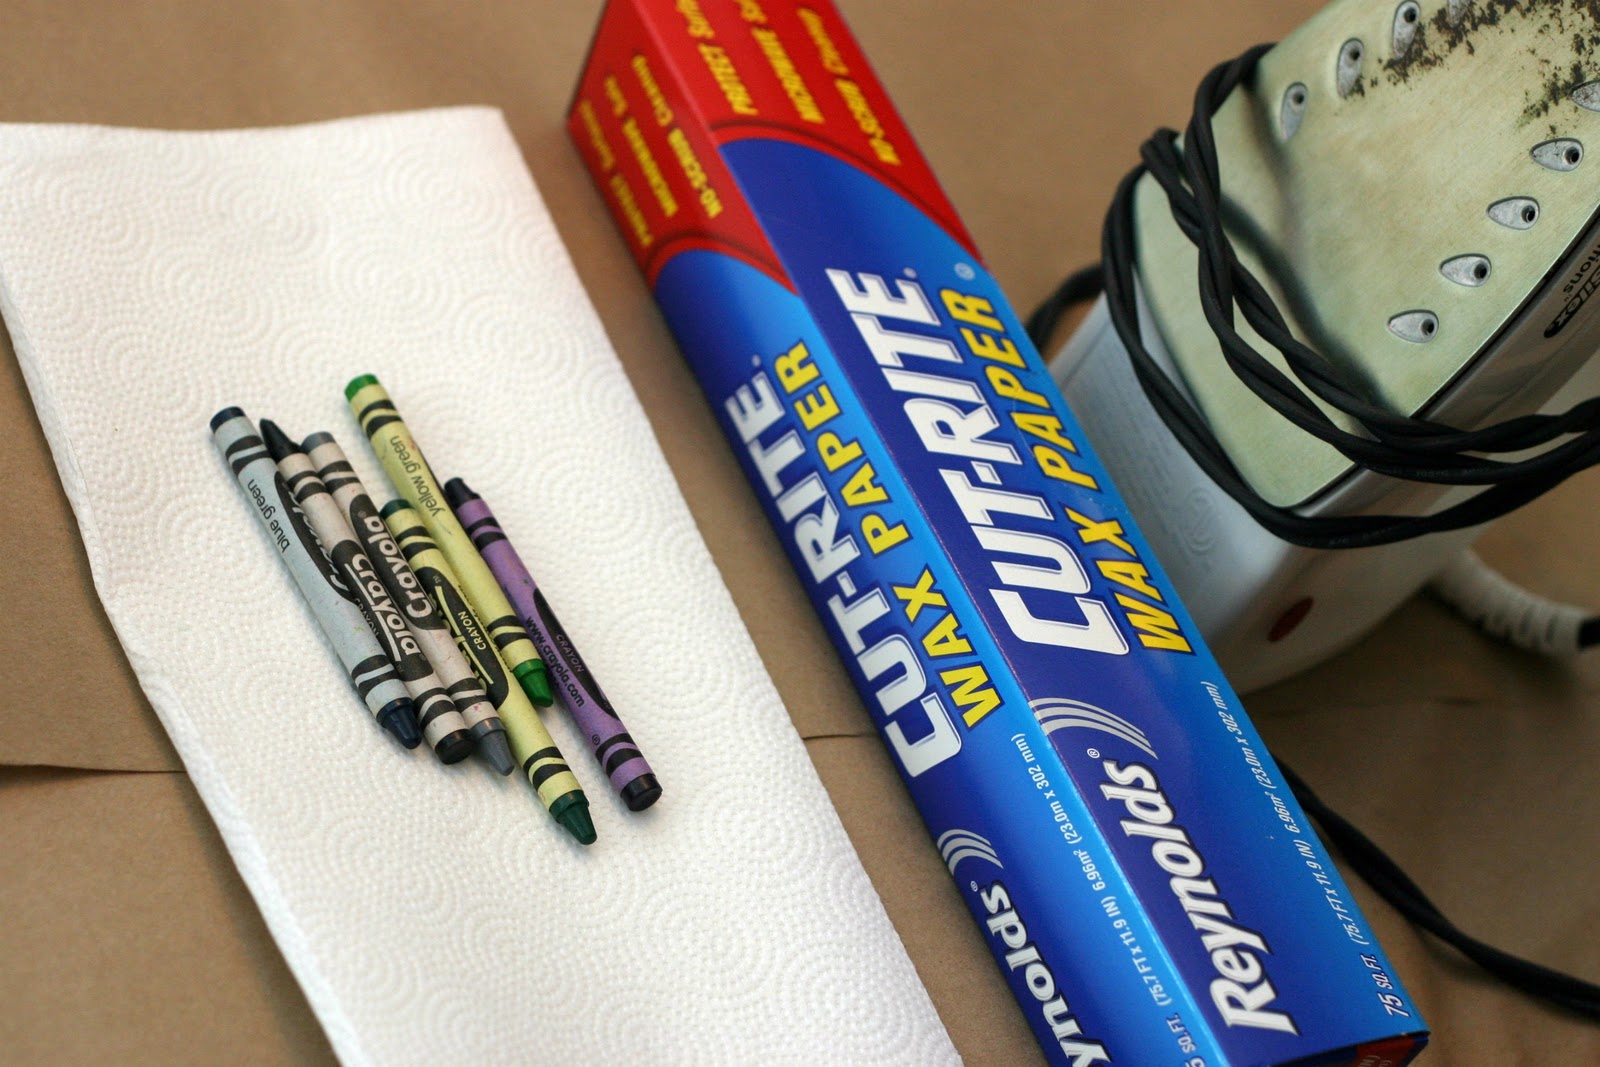
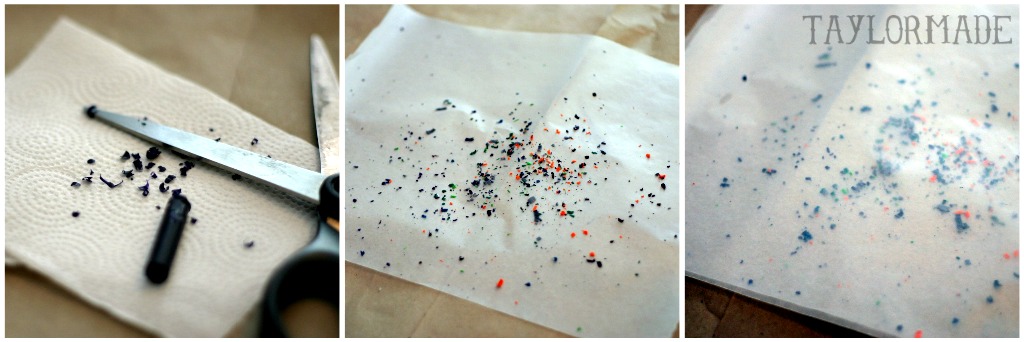
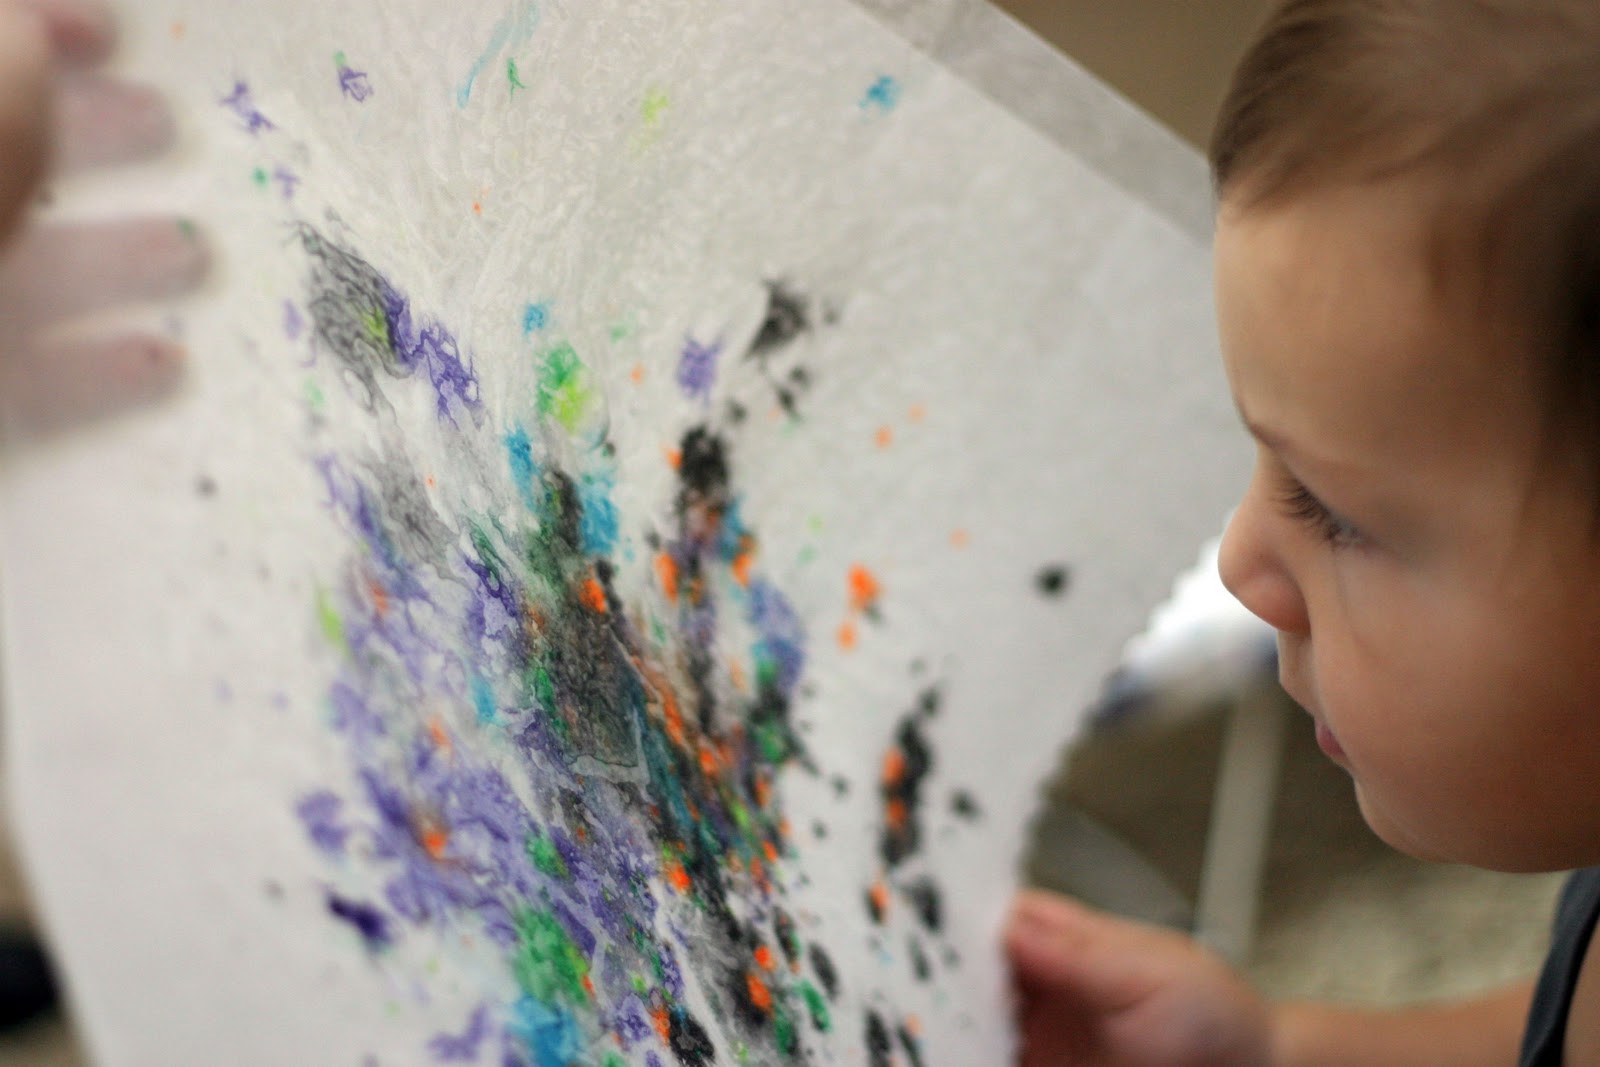
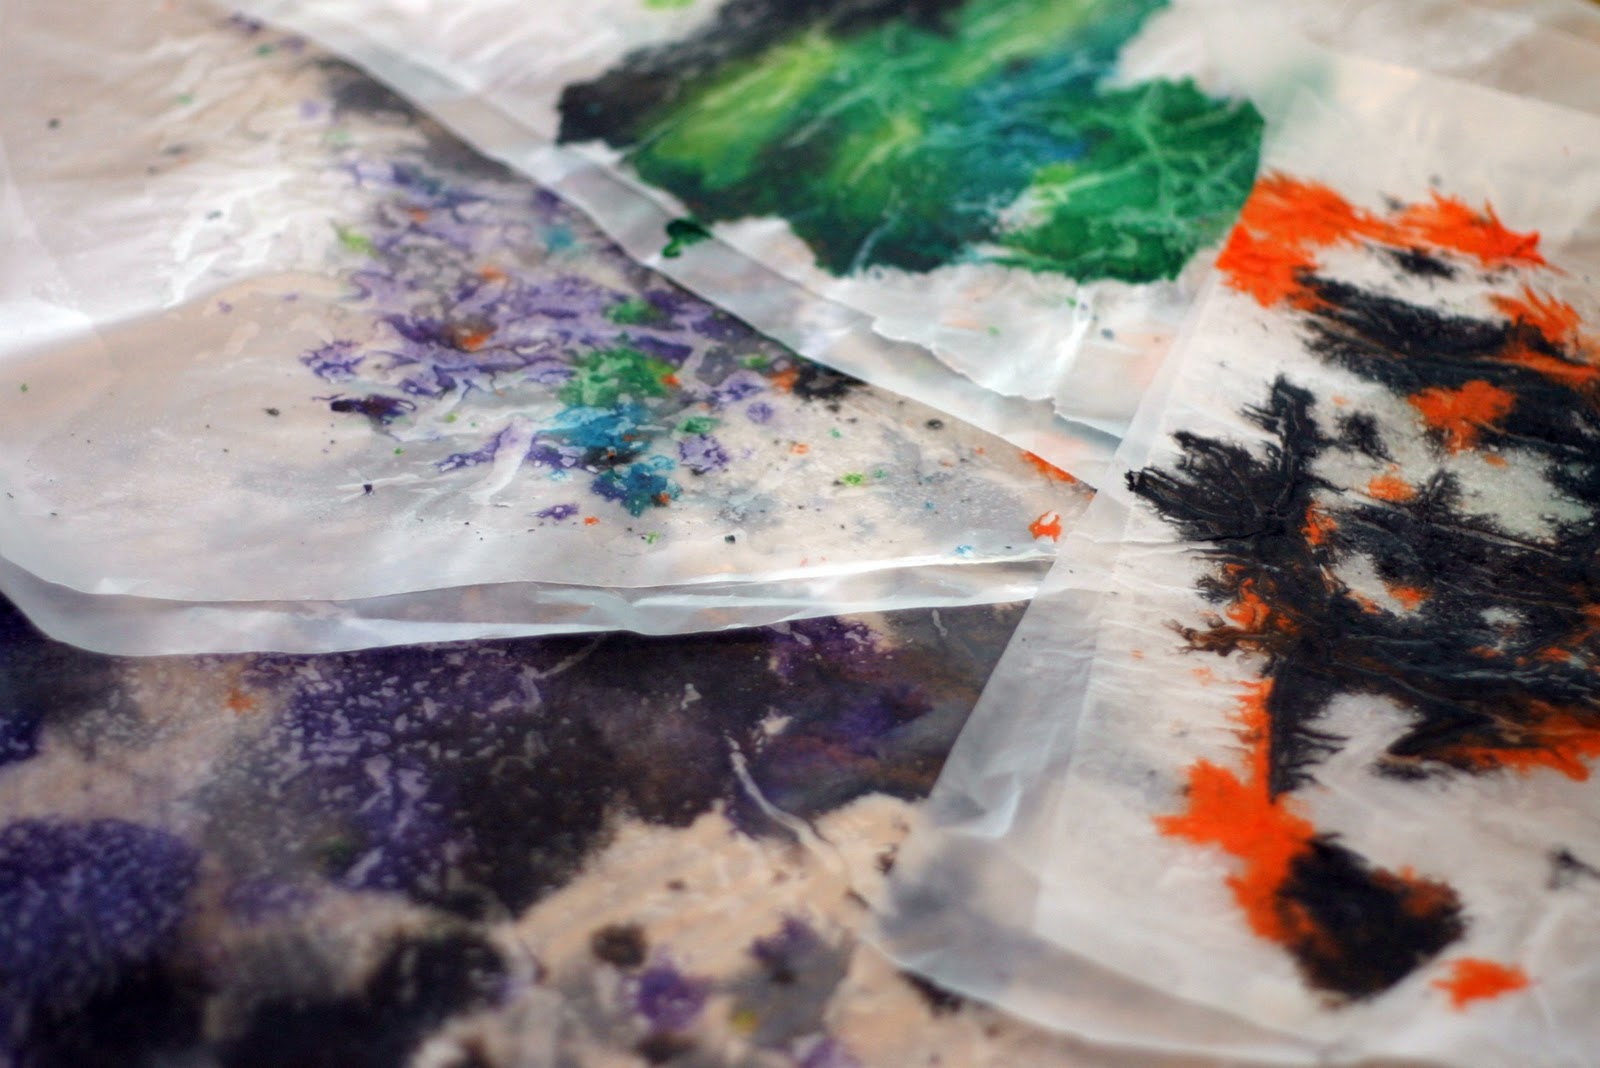
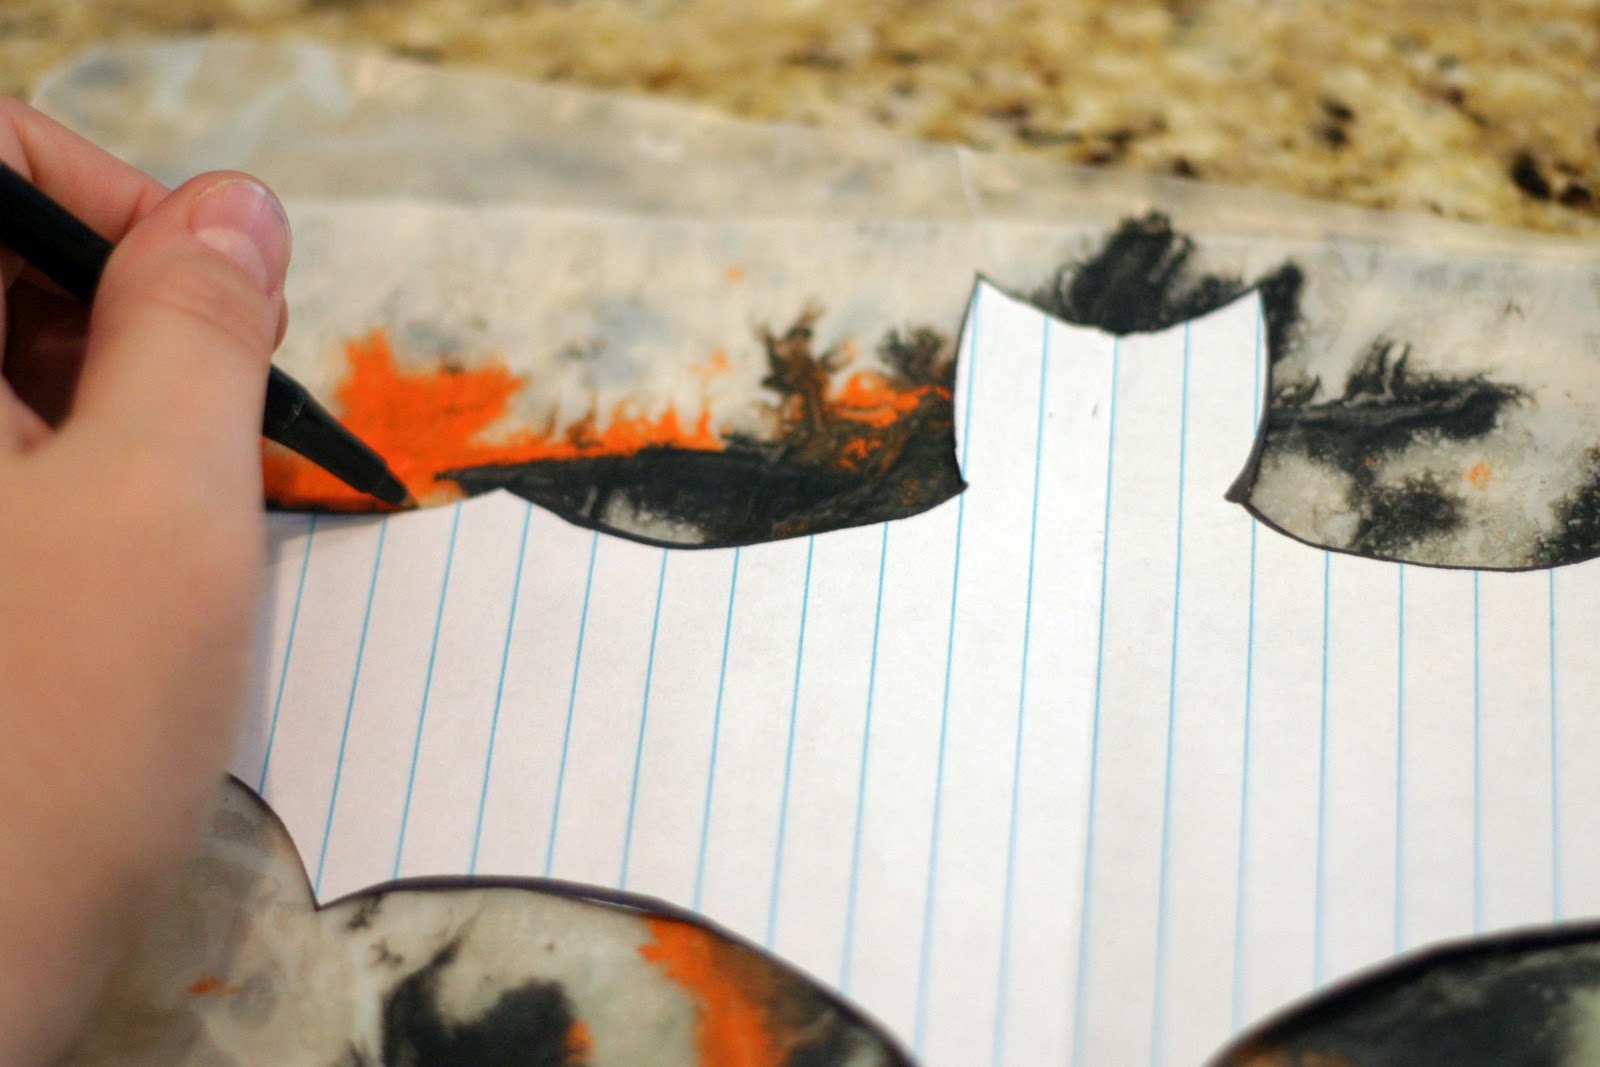
Make sure to use 2-3 paper towels under the wax paper and over it. The shavings kind of seeped through and I wouldn’t want your iron to look like mine. Melt the crayons for a few seconds.

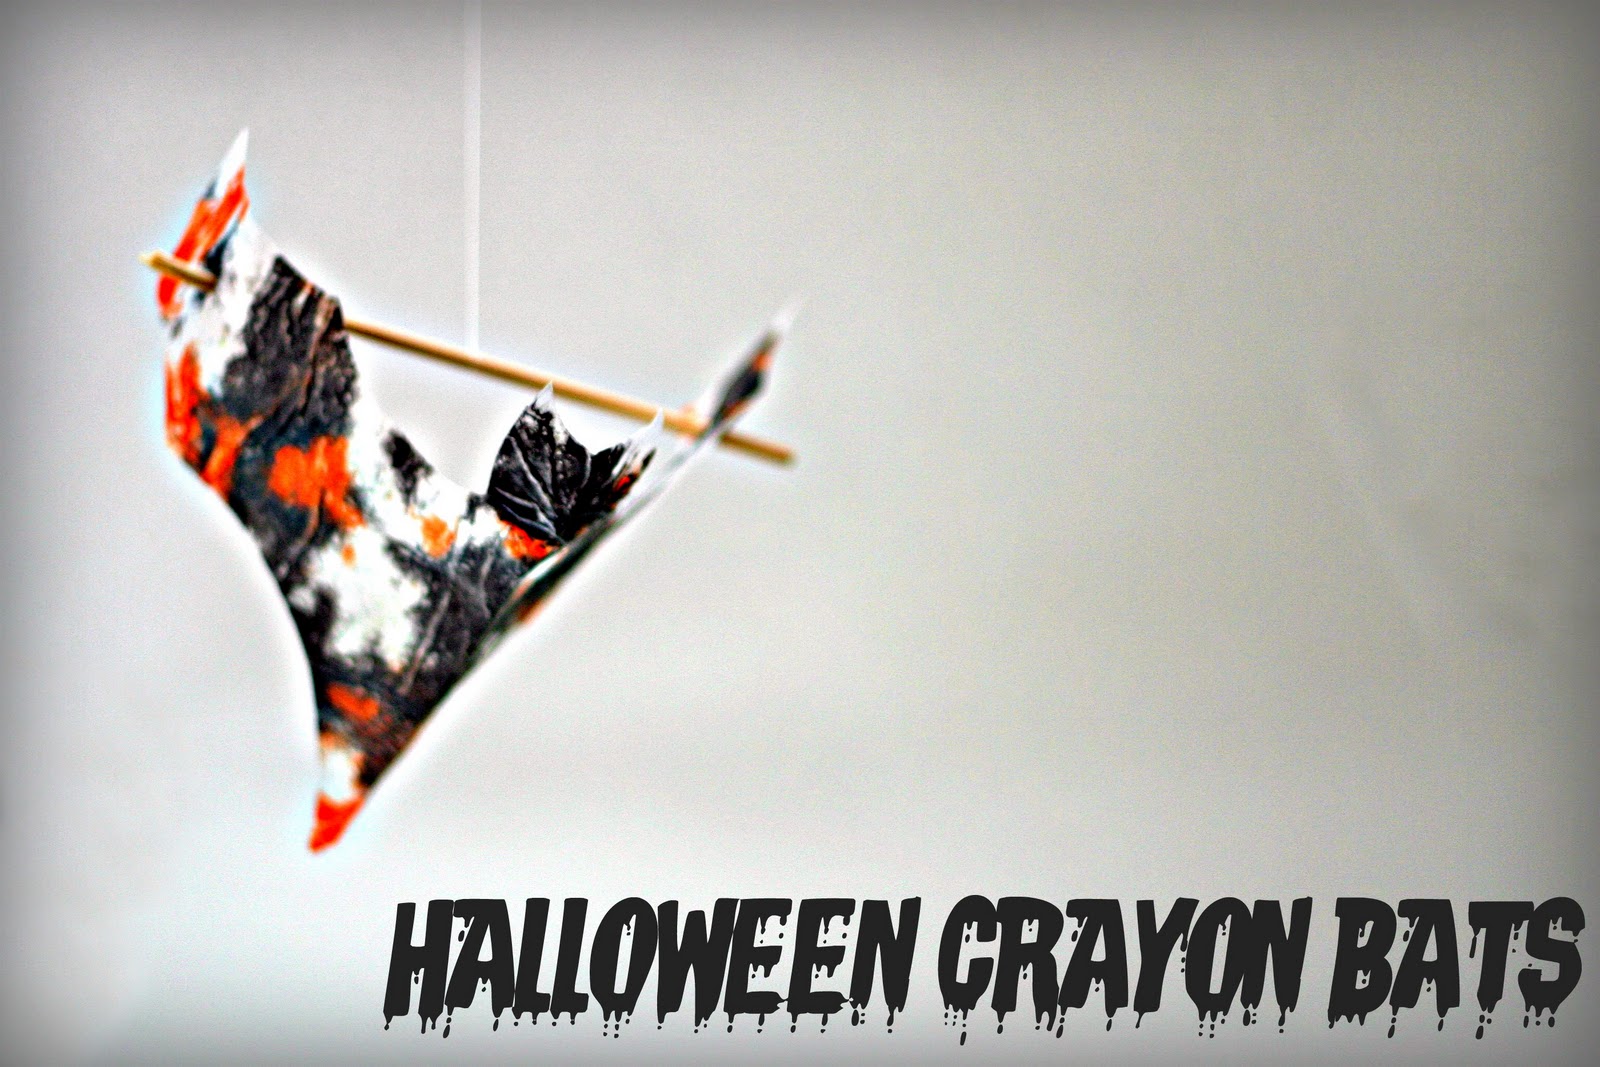
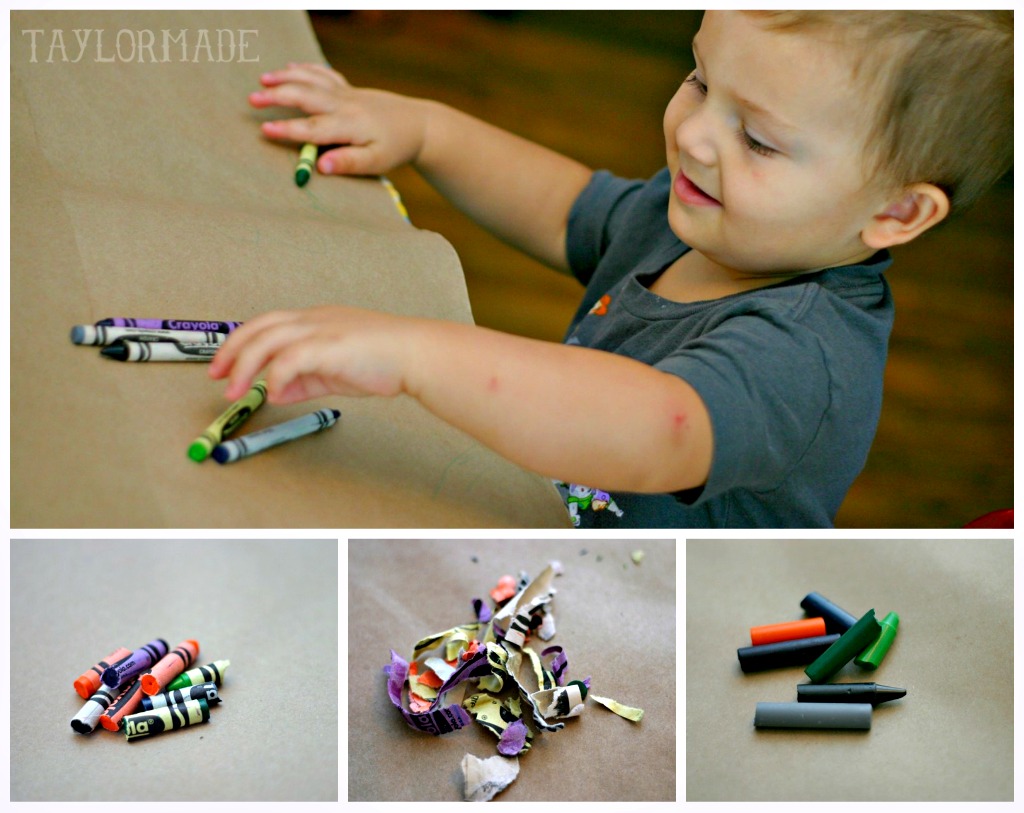
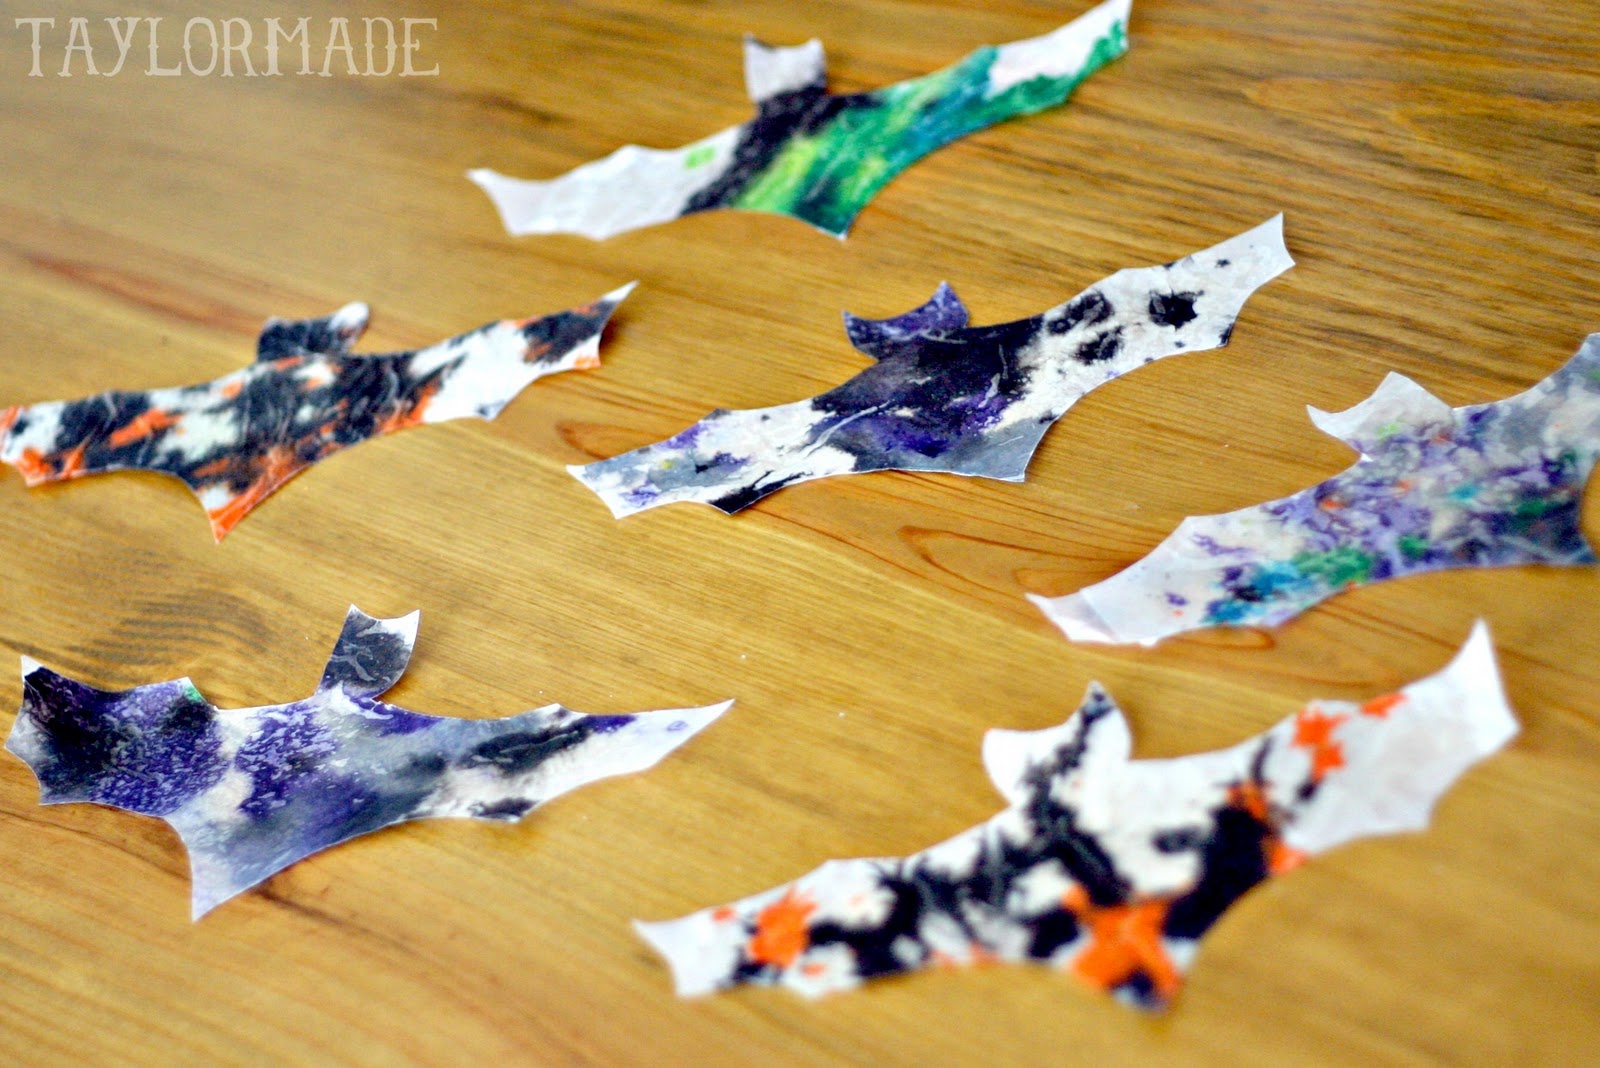
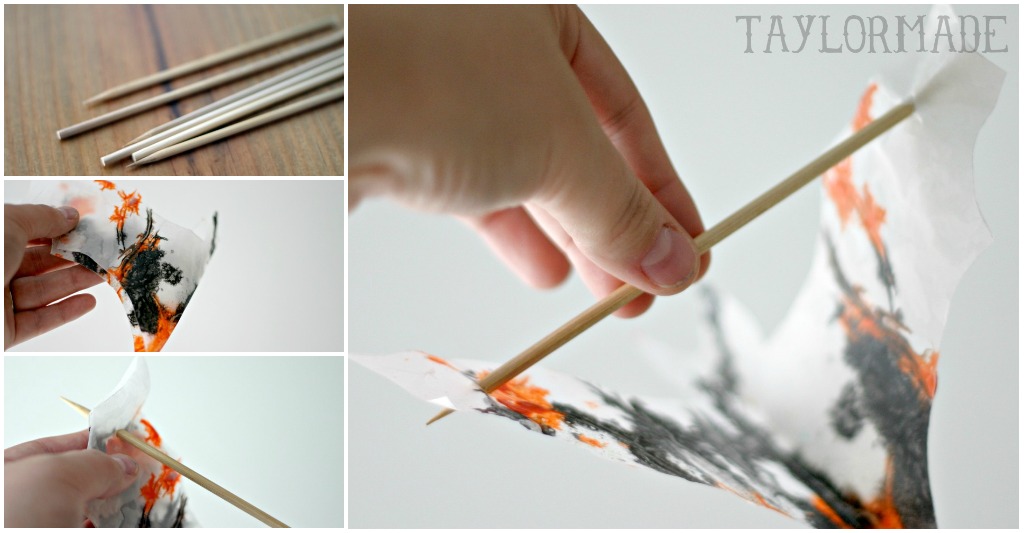
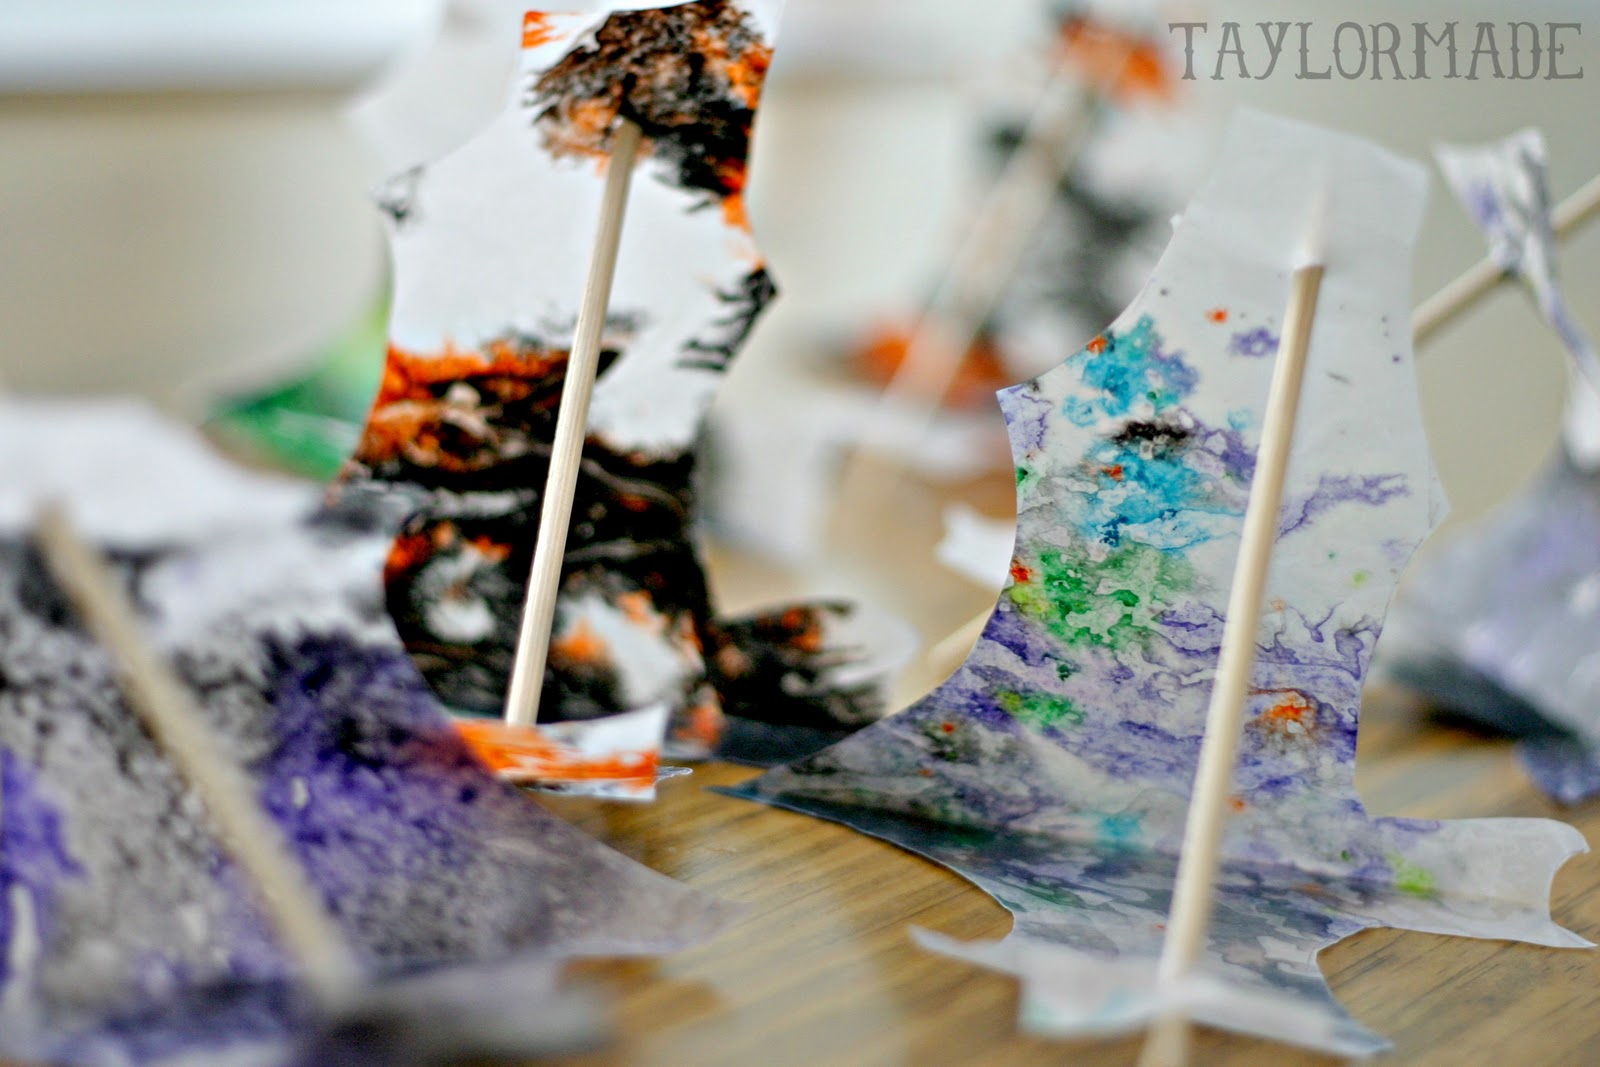
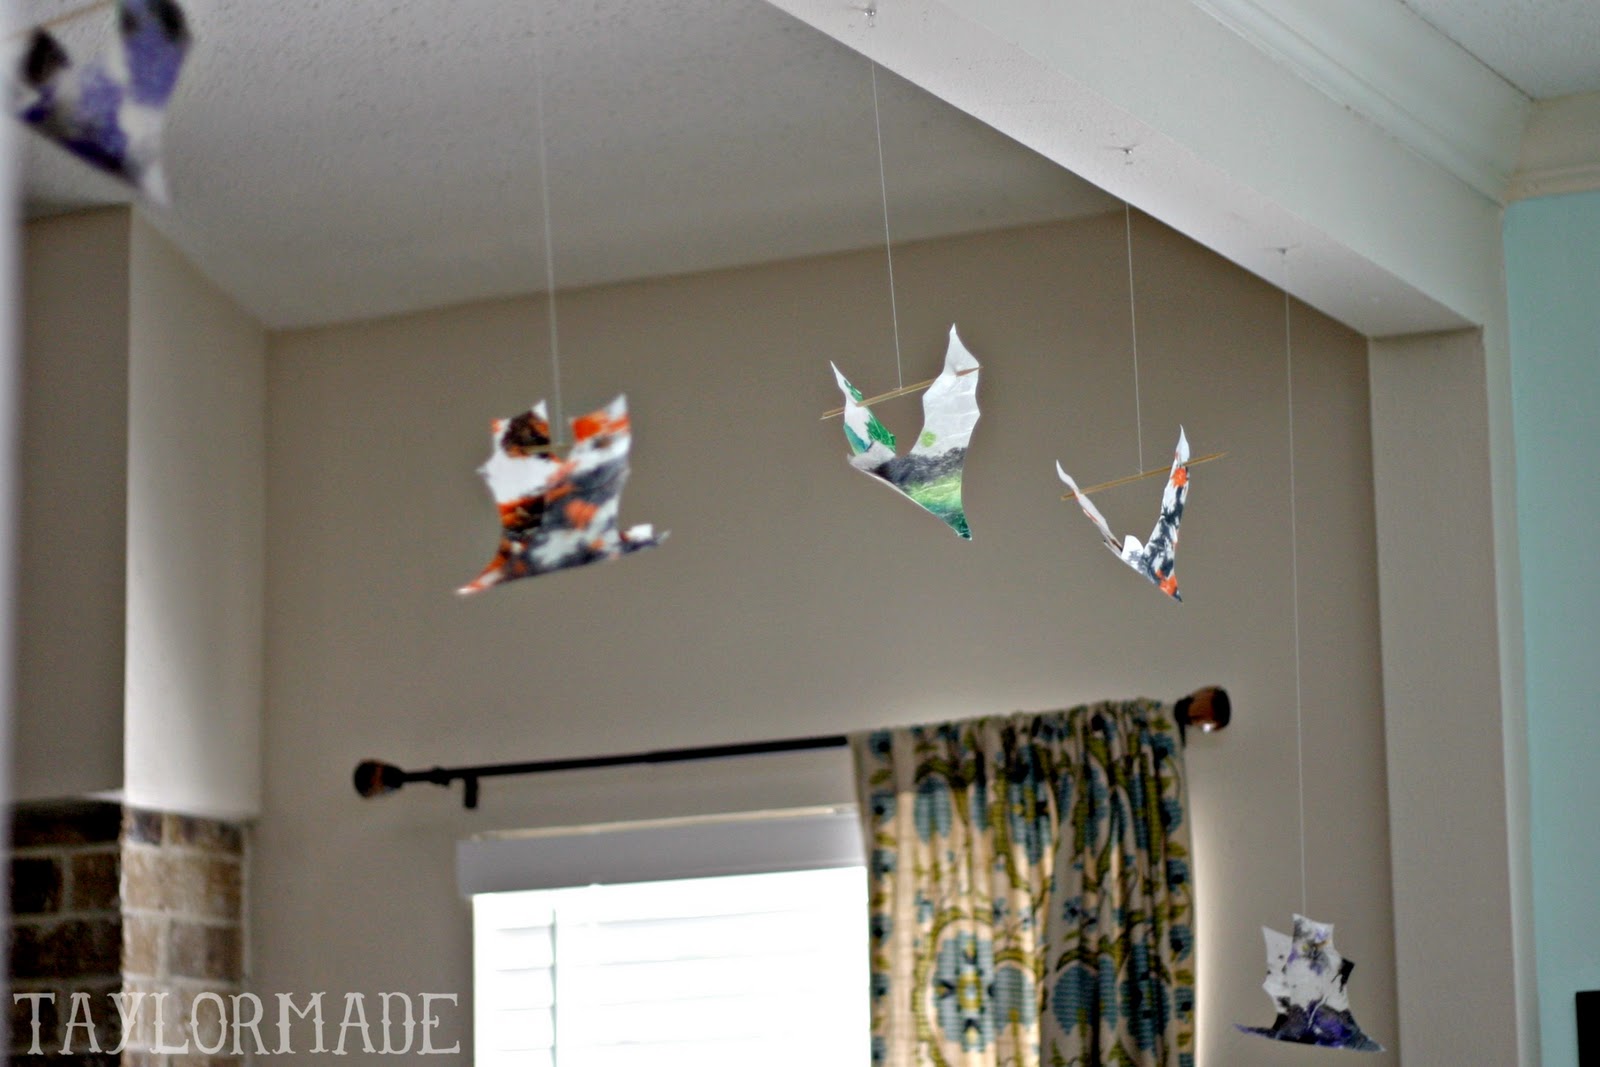
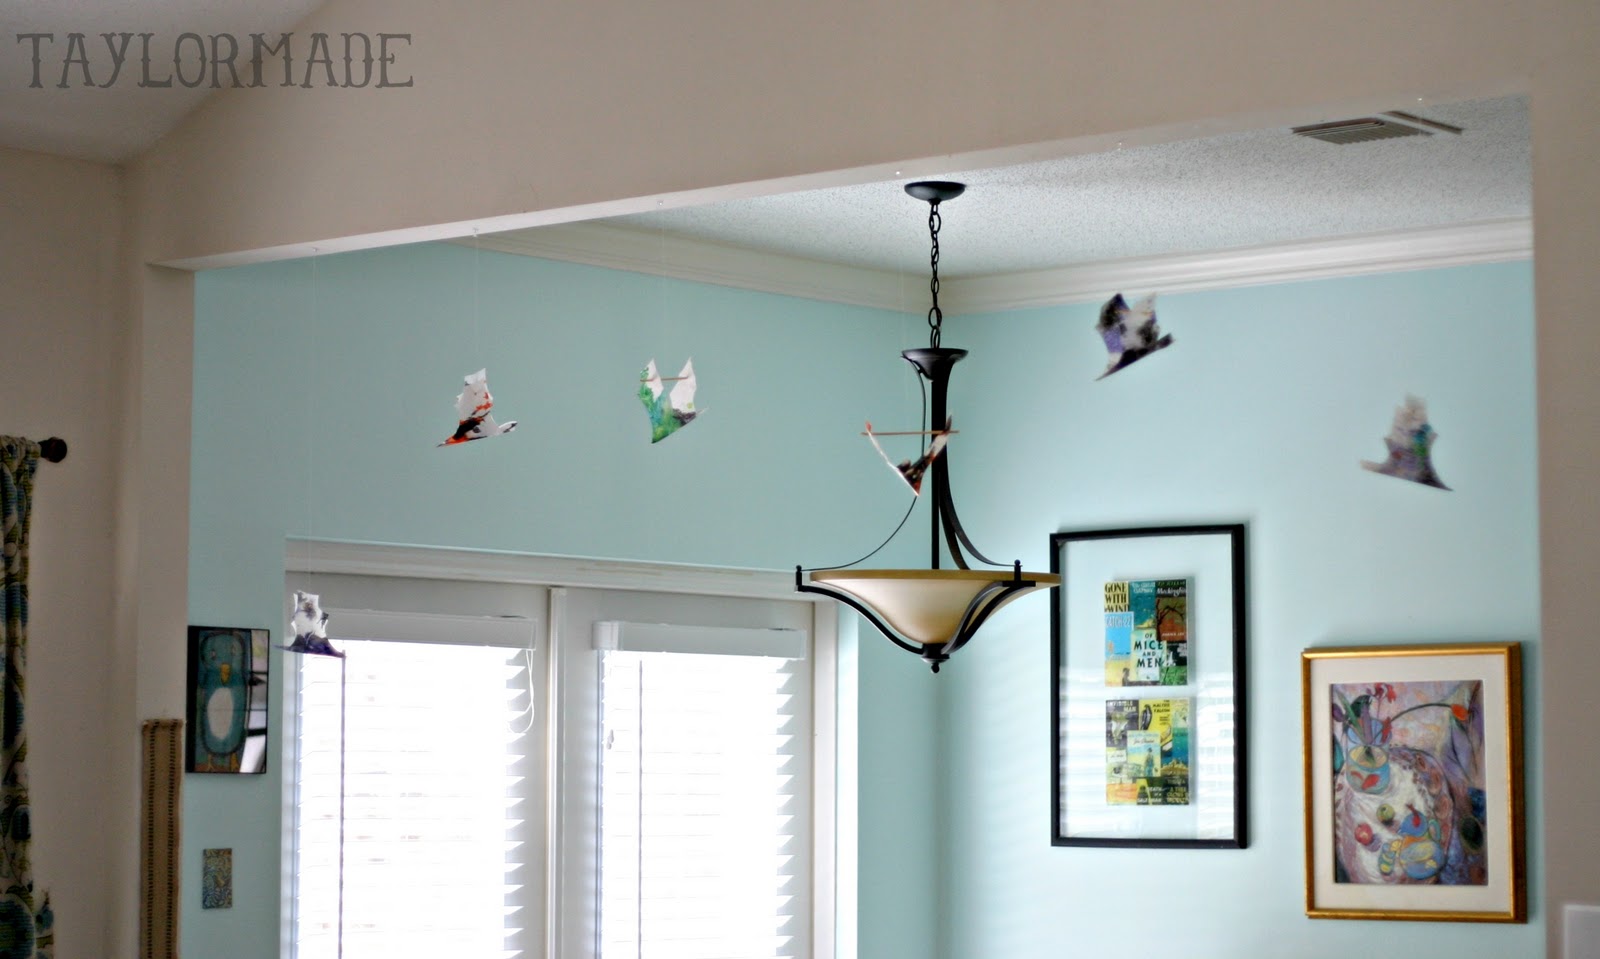
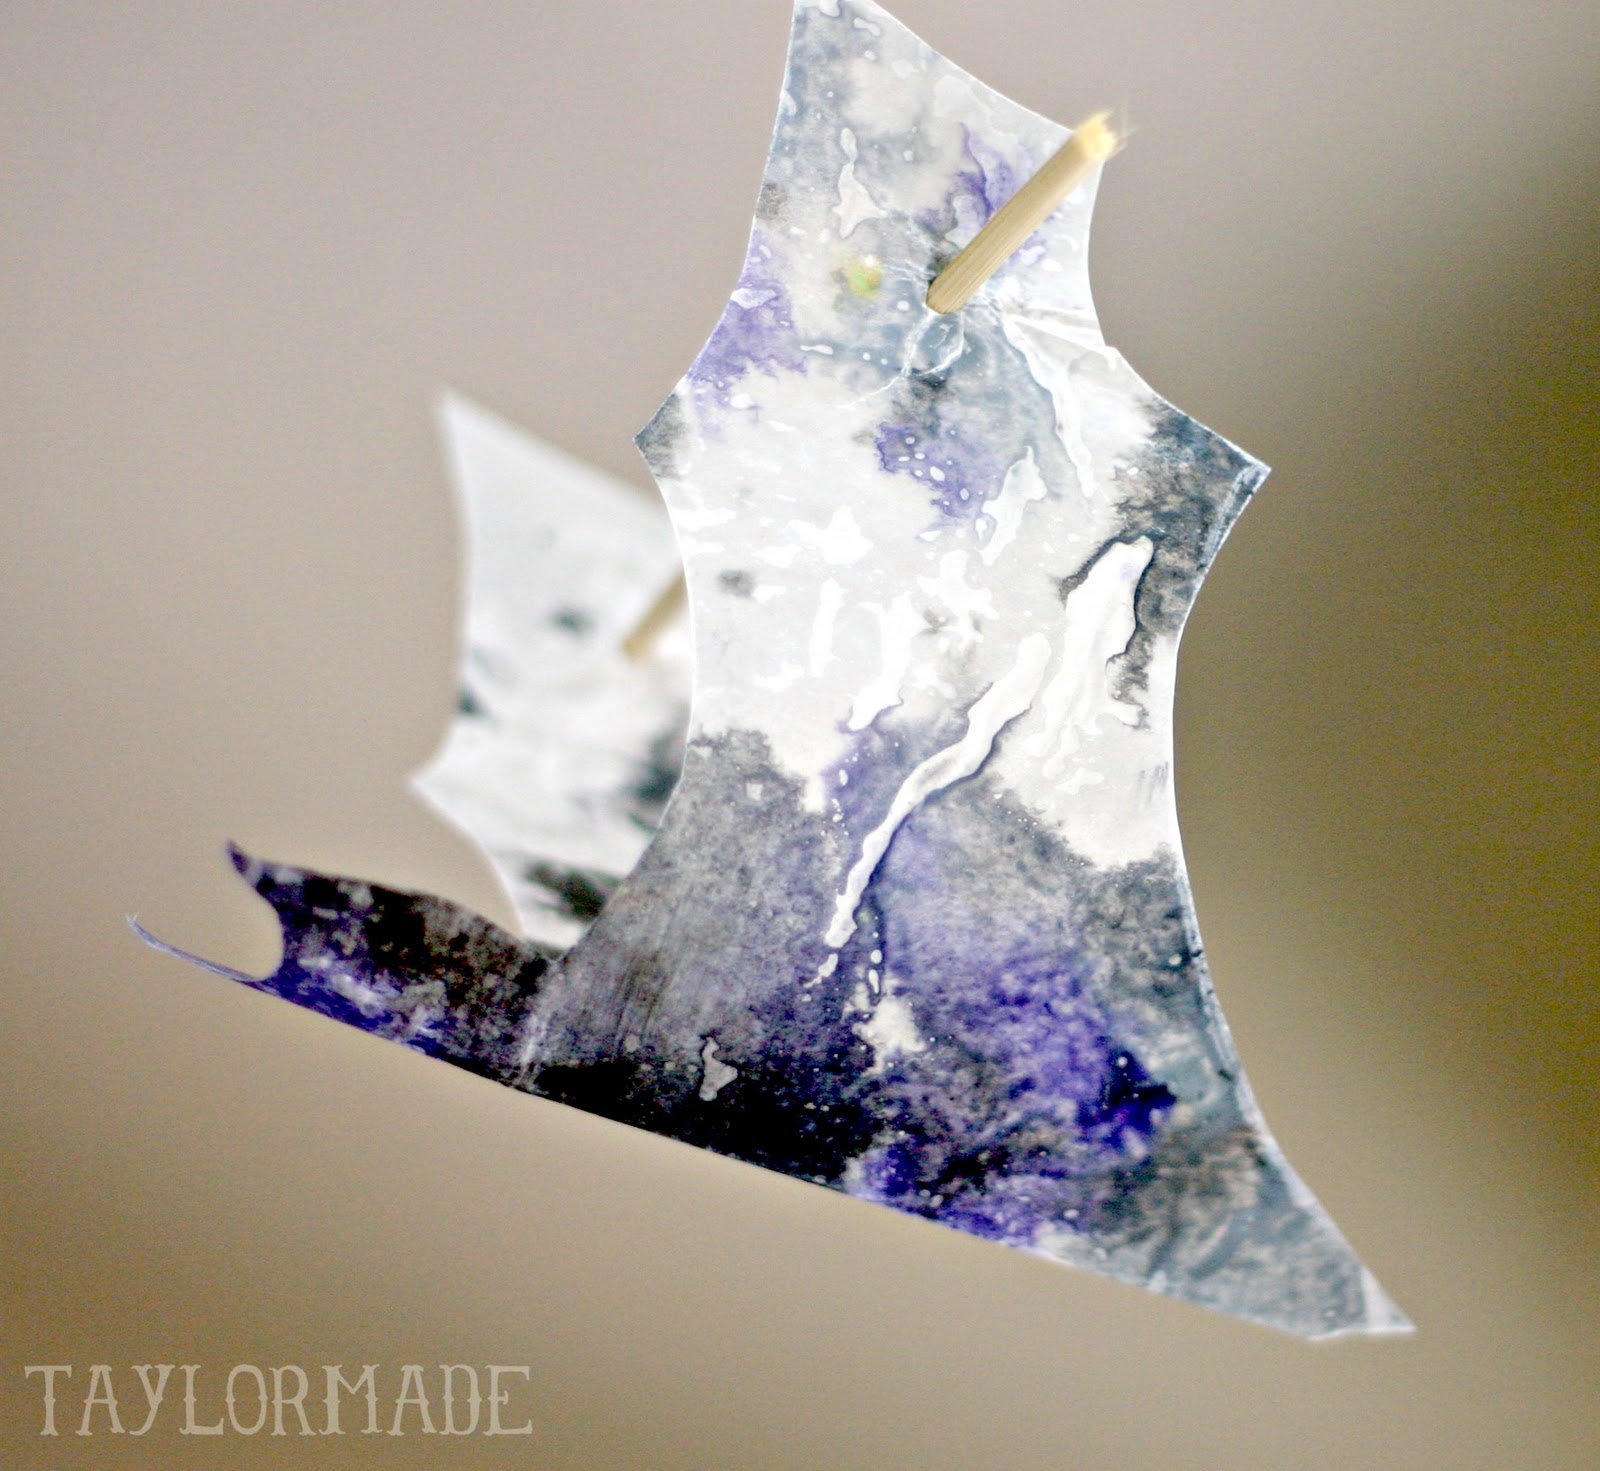
Here is what we came up with:

Use the Taylor Made Bat Template found HERE and cut out a few bats from the paper.
You can hang them as is or make them fly. Use Bamboo skewers, fold the bat in half down the middle, then push the skewer through the ends of the wings.
Use thread or fishing line to hang them.
Spooky Batman. Have you decorated for Halloween yet? And please give me some fall-ish details :)

Pin It

Filed Under: craft, crafts with kids, halloween, holidays, kid stuff Tagged With: holidays

Blueberry Mascarpone Whip Trifle

September 22, 2011 By Taylor 5 Comments

Turns out, I really like to say “Mascarpone”. Maybe that is part of the reason I made this dessert? That and it’s really, really pretty, and I love trifles.

I found this original recipe on Pinterest. I have started using Pinterest as my personal cookbook. I jumped on the pinning bandwagon early and while it holds a special place in my heart, some of the DIY projects are overdone. Like everyone has seen it. But the recipes keep me coming back. 
I made this for my Dad’s birthday last weekend and it was a really big hit! The original pin comes from a pretty blog called My Baking Addiction, you can see the recipe HERE. She serves hers in individual jars which is so precious. But I like to do as few dishes as possible :) So trifle dish it is.

Ingredients:
-pound cake
-blueberry pie filling
-heavy whipping cream
-mascarpone cheese
-lemons
-vanilla
-sugar
I “TaylorMade” a few changes…
Her original recipe has an option for making the Blueberry Sauce from scratch but I found organic Blueberry pie filling and it was all natural so I figured it wasn’t too far off. Also, I couldn’t find pound cake at the store but I could find something called “Sour Cream Pudding Cake”… Ohhh Kay! And like I said, I did my dessert in a trifle dish so I have more layers too.
Head to My Baking Addiction for the full recipe.

I also might start putting the Mascarpone Whip upon everything, it is pretty much to die for. Do you love trifles as much as I do and do you like to say Mascarpone (it makes me feel like Giada)?

Filed Under: dessert, recipe Tagged With: desserts

Turkey Tostadas and Homemade Pico

September 15, 2011 By Taylor 6 Comments

I might be sparking a debate here but… I have an addiction to Mexican Food, I blame it on living in Houston my whole life. Texas has the best Mexican Food in the world. Let me back up by saying our food here in Houston is technically Tex-Mex… but I think it is better than authentic Mexican. Tex-Mex is more flavorful to me… more cumin, cilantro, cheese and meat. I grew up eating Tex-Mex so authentic Mexican is a little bland in my humble opinion. Speaking of my opinion, I have tried “Mexican Food” in other parts of the country and it shouldn’t even be allowed to claim the name. Ask anyone who has left Texas what they miss and Mexican Food is on the list. 
Tostadas are a favorite at our house and I think I have found the perfect order of ingredients :) I also like to use ground turkey instead of beef. 
Turkey Tostadas:
-Tostada Shells
-Refried Black Bean (you need some glue)
-Ground Turkey (add a taco seasoning packet)
-Shredded Lettuce
-Homemade Pico 
-Queso Fresco or Greek Yogurt (or both)

Homemade Pico
-2 tomatoes
-1 small white onion
-1 jalapeno  
-1 bunch of cilantro
-juice of 2 limes
-1/2 tsp salt
Back to the controversy of Mexican Food. What do you like better? Have you had TexMex in Houston… why not? Do you live in an area where you “think” you are eating good Mexican Food :) And while I’m asking a bunch of questions… why do some restaurants call them Tostadas and some call them Chalupas? Same with Taquitos and Flautas?? Please discuss.
 

Filed Under: dinner, recipe Tagged With: food

Girl Clothes

September 7, 2011 By Taylor 7 Comments

Say whaaaat? It’s true, I made some girl clothes a few weeks ago. 

Finn’s friend had a birthday and I took it as an opportunity to make girl clothes :) Here is how the conversation went in my head. “Oh your daughter wants a certain toy and will be bored if she has to open clothes? Welp, I have two boys and would like to make a skirt.” I think it’s the perfect situation- I get my two funny, rowdy, crazy boys and I will make all of our girl friends dresses so I won’t have to miss out on that. One thing I will gladly miss out on… the drama-filled, moody, teenage girl years.
I used Dana’s Simple Skirt Pattern for the skirt. Her pattern is for 3-4T so I just subtracted 2 inches or so for a 2T. It was really easy and quick. 

For the top, I started with a plain off white t-shirt. Ironed fusible web to a scrap piece of the skirt. Cut out the letter “K” and ironed it in place. Then I hand embroidered around the edge of the letter. Lastly,  I added a little heart just to girl it up even more.

I added a taylormade tag.

And wrapped it up.

Filed Under: gift, girl, kid stuff, monogram, pattern, sewing Tagged With: kids

Truck Table

September 5, 2011 By Taylor 20 Comments

If you ask my son, “What do you want to do today?” you will get the same answer every single day. “Pway Twucks “. So in order to have even more truck playing time in my life, I made him a truck table for his birthday. I actually started out looking to buy one but they were all so bulky and expensive… DIY to the rescue.

Here is how the truck table magic happened:
I started with a cheap coffee table from Walmart. First step is to prep the table top. I did most of this but I had my husband pose for the pictures. The man can build anything but can’t take a picture to save his life.

Tips for the table prep:
– Don’t attach the legs
– Brush off the extra dust after sanding
– Make sure the tape goes all the way to the edge
– Apply 2-3 thin coats of primer and let that dry overnight
Now you want to tape off your “roads”. Just get creative. I measured two matchbox cars side by side and figured 3″ could be a good width for the cars to pass each other. So all of my roads are 3″ wide. Use painters tape to cover where the roads will be. I made a big square for the parking lot.

I painted green for the grass and added a lake in the corner. 

Remove the tape…

Paint your roads in with black paint.

For the street lines, I used white vinyl and cut it into tiny strips.

Cover the whole table with a clear coat.

My favorite part is the drawer that I thought of  :) Pretty much just an “L” shaped rail that we screwed to the bottom of the table. Make sure to get a tupperware with a lip so it can slide in and out.

I would say it was a successful bday present! I knew about sports but no one warned me when I had boys  I would play trucks every day :) But I am ok with it. 

Related Posts Plugin for WordPress, Blogger...

Filed Under: birthday, boy, furniture, gift, paint, wood Tagged With: DIY

  • « Previous Page
  • 1
  • …
  • 18
  • 19
  • 20
  • 21
  • 22
  • …
  • 27
  • Next Page »

Welcome to Taylor Made

http://www.taylormadecreatesblog.com/about-me Hi Yall! I'm Taylor... an artsy mom of three from Houston, TX. I love sewing, collecting floral fabric, eating Mexican Food, photography, brights colors, rearranging, and rolling clay. Taylor Made Creates is all about creating a fun, colorful home, sewing cute things and eating good food. Check out my SHOP HERE HERE! Thanks for stopping by!

Search

Pin with me!

Like Me :)

Facebook Pagelike Widget

More Recent Posts

  • Kid's Animal Room
  • Kids Camping Shirts
  • Mermaid Birthday Party
  • Conversation Heart Cold Packs
  • Holiday Apple Tea Punch
  • Purple Princess Costume
  • Letterboard Costume
  • La Croix Costume

FAVORITES

  • Casserole Carrier
  • Triangle Baby Quilt
  • Happy Rocks
  • Foodie Napkin Rings
  • a Happy Birthday Quilt Block
  • DIY Headboard
  • Cricut Maker Review
  • Mexican Cheesecake
  • 10 Things you didn’t know about Cricut Design Space

Copyright © 2026 · Web Hosting By RFE Hosting