TaylorMade

DIY, Home Decor & Sewing

  • Home
  • SHOP
  • DIY & Sewing
    • For the Home
    • Sewing
    • Costumes and Holidays
    • Cricut Projects
    • Crafting
  • Parties
  • Recipes
  • Home Tour
  • Favorites
  • About

Mini Journals

January 13, 2012 By Taylor 2 Comments

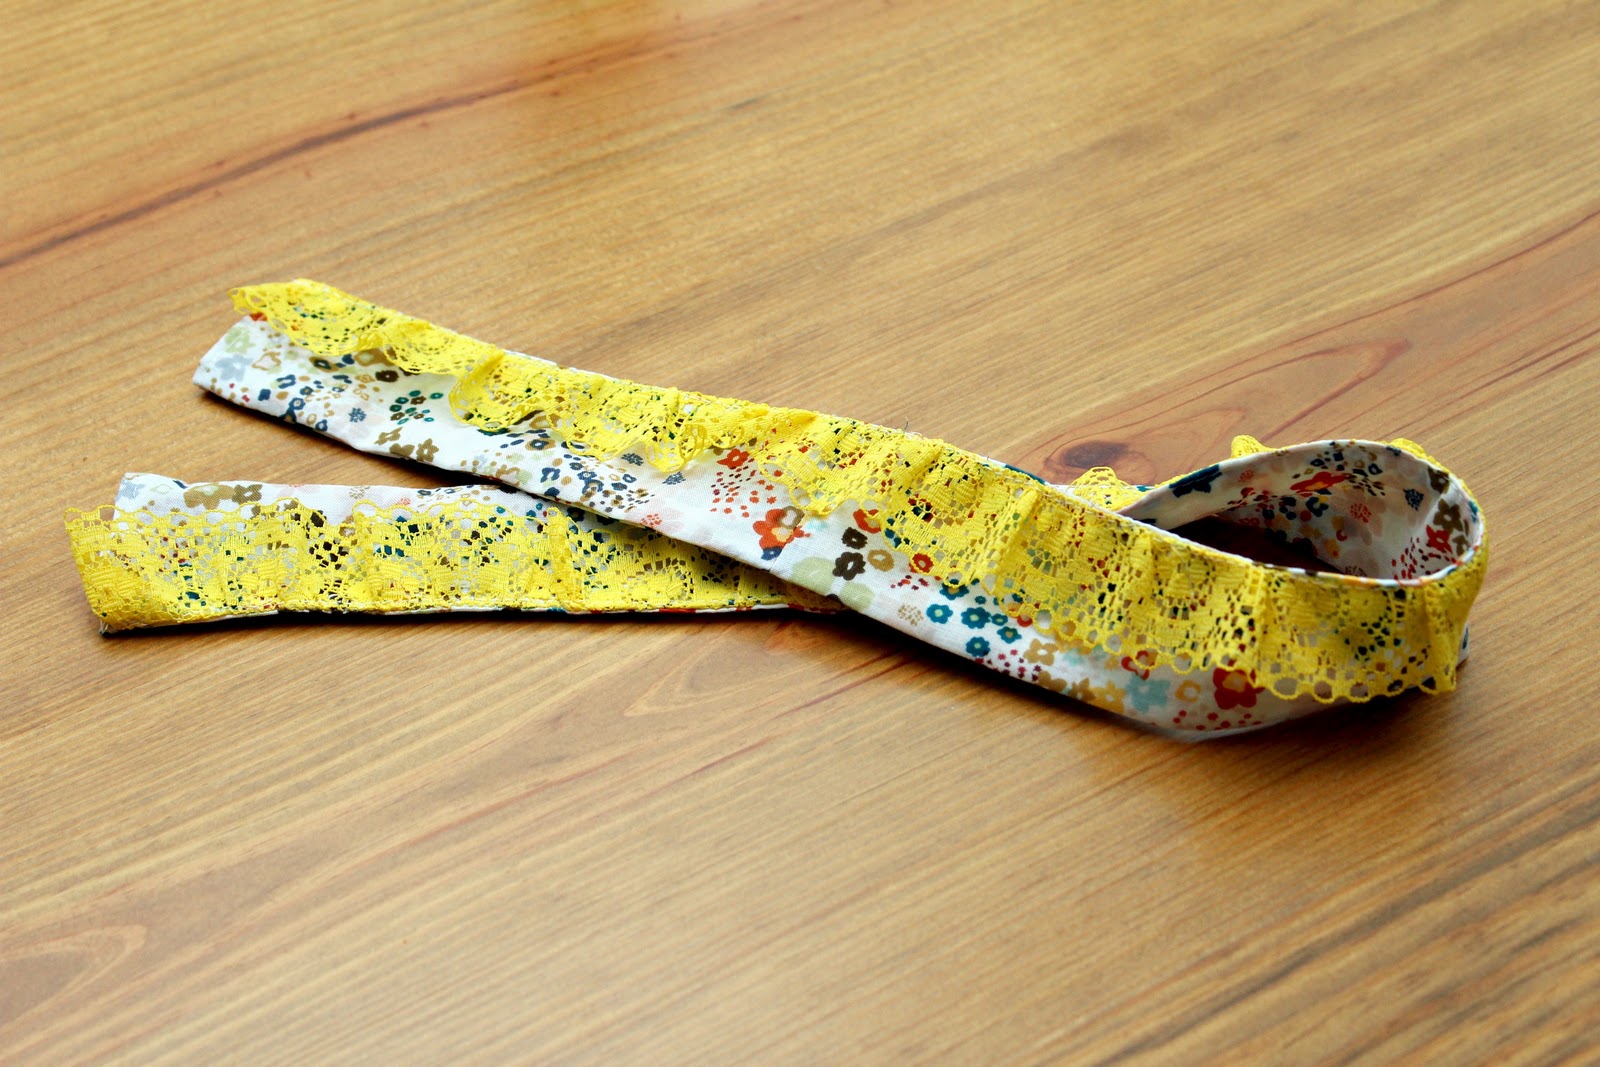
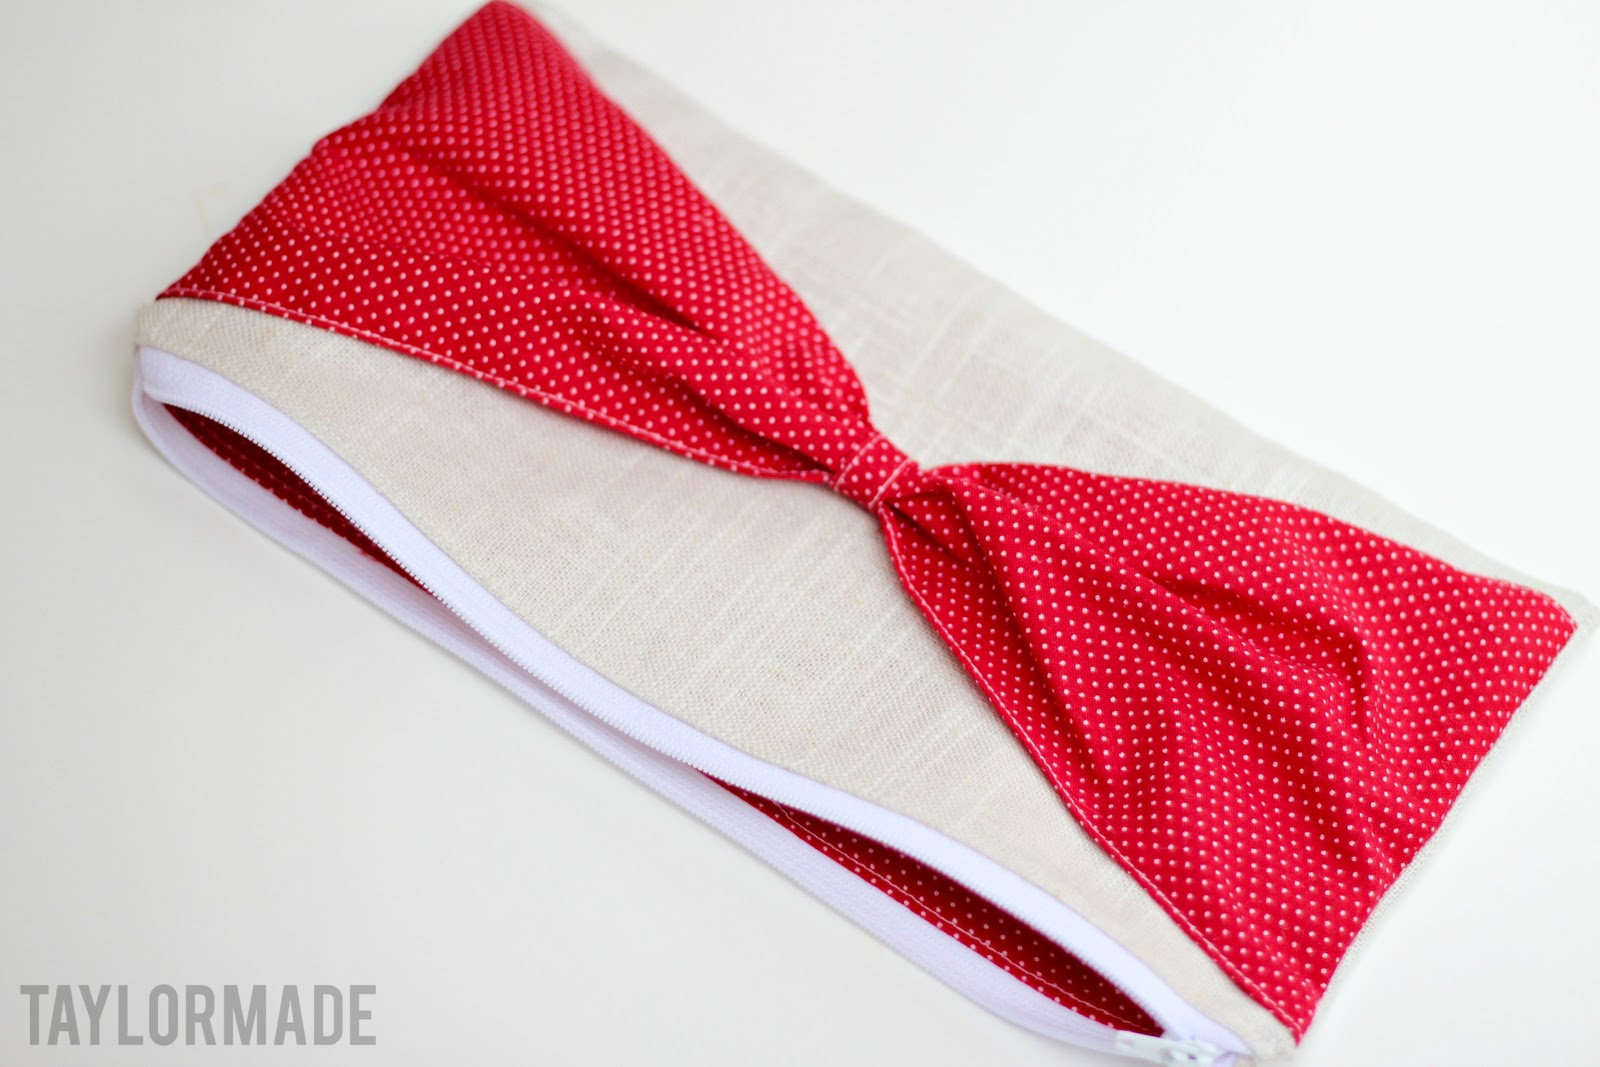
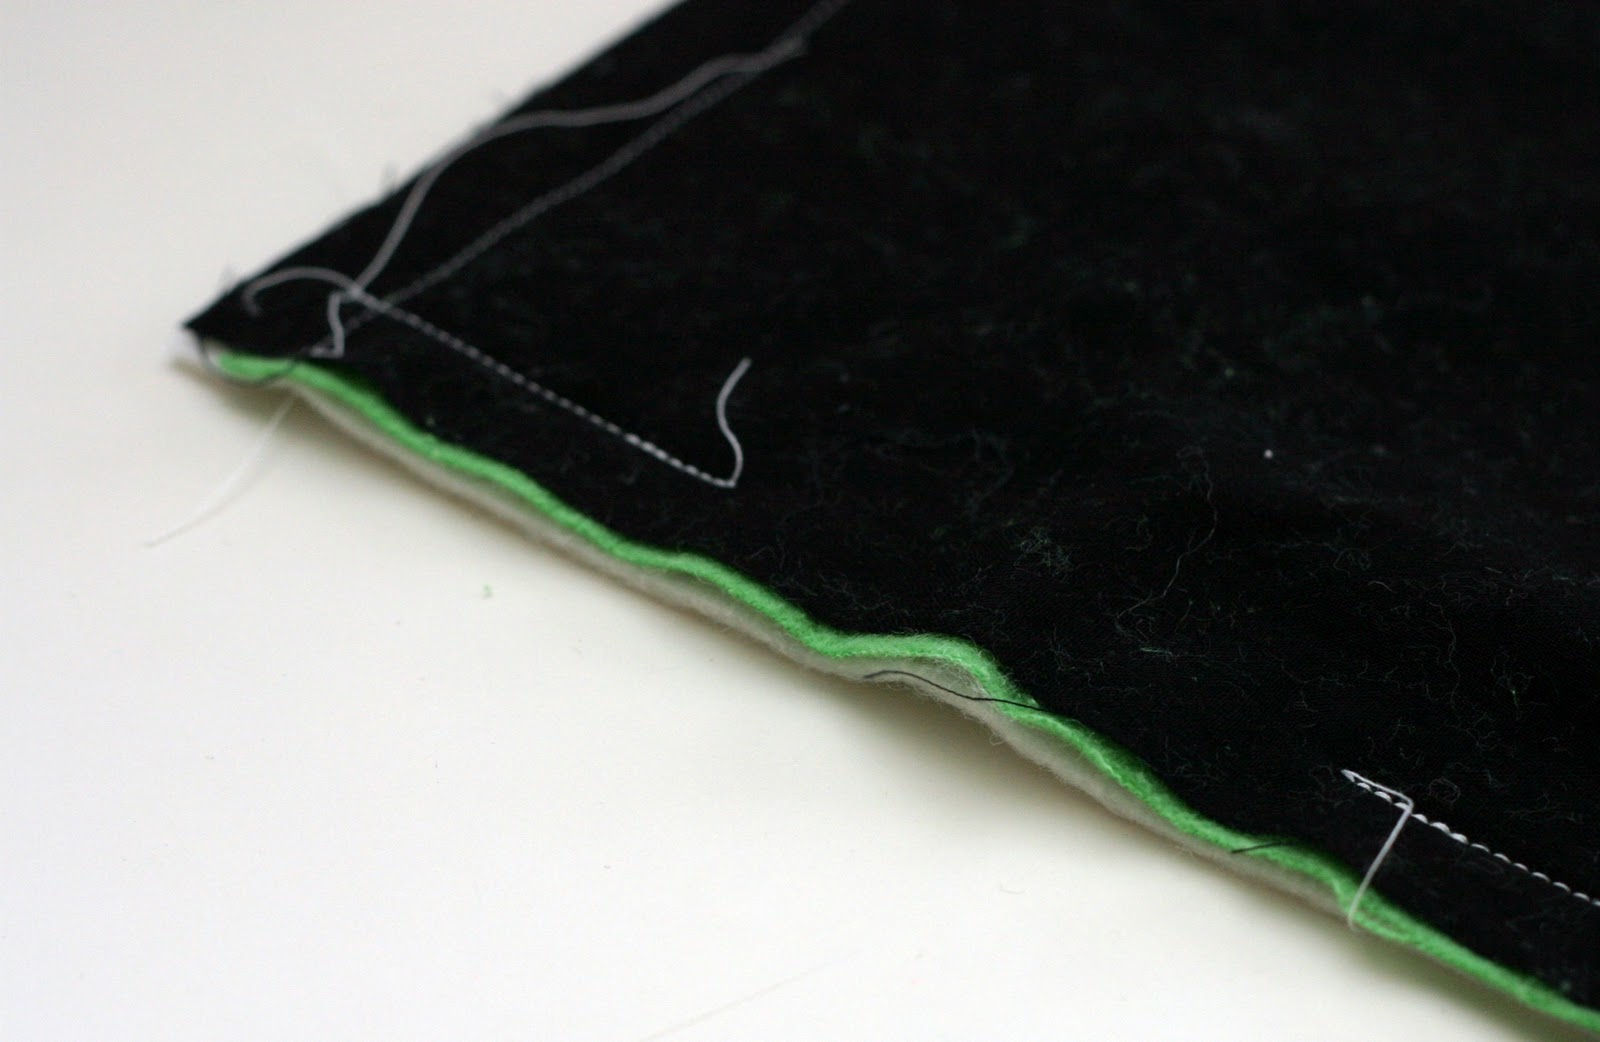
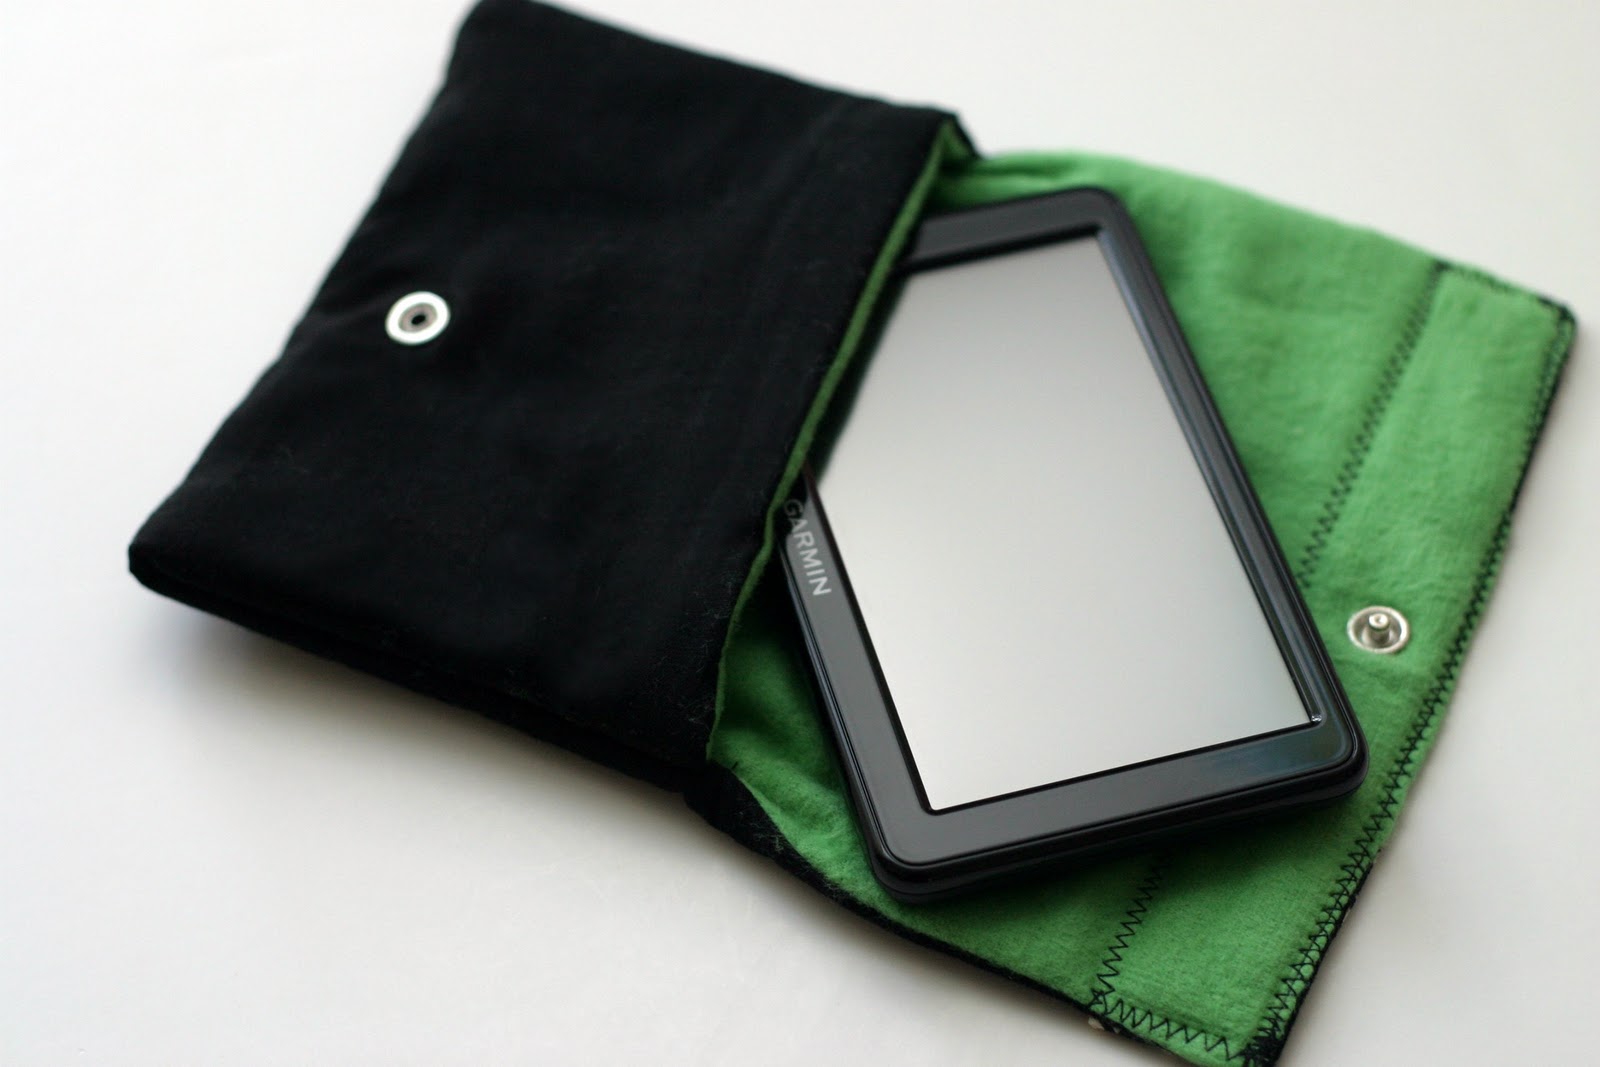
I’m still catching up on all of my gift posts that I couldn’t show you because I was way to busy to blog about anything they were gifts and I didn’t want to ruin the surprise :) I found this tutorial for Journal Covers at a blog called Bloom. It’s a cute blog about gardening and quilting but I seriously fell in love with the Journal Covers she made. I actually wanted to make an exact replica but it was the night before my son’s school party and I was under prepared. So I came up with these for his teachers. They are so sweet to him and because I used to be a teacher I know about teacher gifts. I mean I know its the thought that counts and I’m not complaining but I don’t really trust baked goods from your house that traveled an hour with your 7 yr old before they got to me… just saying.
It took me no time at all to whip these two up and I think they really loved them. Head over HERE to find the full tutorial. (I’m telling you the original is much prettier and I will be making one in the future :)
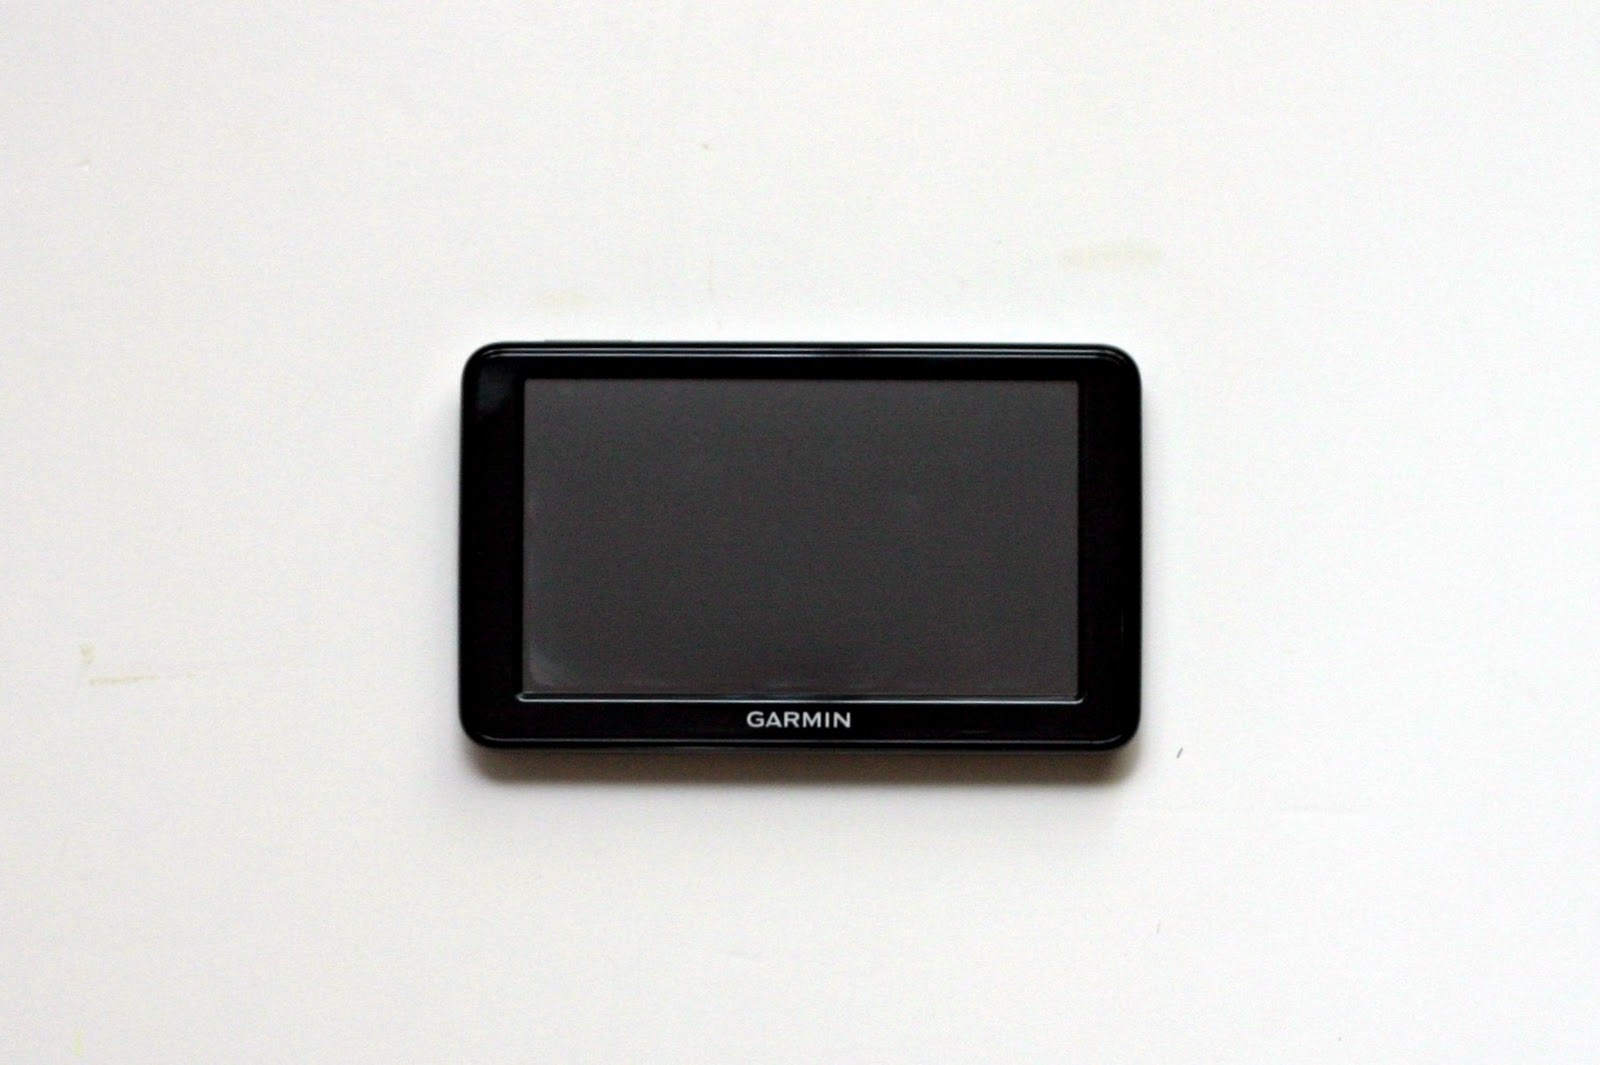
In the original tutorial she mentions a certain art journal that I have never seen, but I think she is located in Australia… kinda far from Texas. So I found these at Walmart and had to just figure out the correct dimensions.
And Finn helped me wrap them too, so cute.
Happy Journaling.

Pin It


Filed Under: fabric, gift, sewing Tagged With: accessories

Another Camera Strap Tutorial

January 4, 2012 By Taylor 7 Comments

First tutorial of the year, yay. I made another Camera Strap as a gift for Christmas. This one is a cover which I love because you can take it off to wash it… and I get sick of things really easily. It also includes lace which is always a good thing. Firstly, you need to measure your own camera strap and because this is a cover, it needs to fit snug.
What you need:
-1/4 yd fabric for front of strap
-1/4 yd fabric for back of strap
-lace or trim
-thread 
Add about one inch to the length and one inch to the width of your current camera strap. Once you have your dimensions, cut a piece of the fabric for the front and a piece for the back. I did the same fabric for both. Also, I used fat quarters so I actually sewed two pieces together to get the length.

I serged the ends and hemmed them but if you don’t have a serger, just fold, press and hem.

Pin the lace to the right side of the fabric on the front strap, lining up the edges.
Sew the lace to the front piece.
Pin right sides together and sew.
Lastly, flip the strap right side out and  top-stitch the lace down.
A cute and easy gift, and once again, I need to make myself one :)
Also… shout out to my husband on his birthday… love you babe! Birthday wishes for him are welcome.

Filed Under: fabric, serger, sewing, tutorial Tagged With: accessories

More Casserole Carriers

December 29, 2011 By Taylor 57 Comments

My last Casserole Carrier was such a big hit that I have been busy. My original has gone crazy on Pinterest – you can find the first post HERE. I found the pattern from Two Little Hooligans and I love it, clearly… I made five more for Christmas! HERE is the pattern, really easy to follow and much easier in bulk because you can do an assembly line :) 

I also said this in my last post but I followed Homemade by Jill‘s post about the cotton belt straps. I like the look of it better and I think it’s easier. 


And of course I etched the last names into all of the pyrex. PS… not even kidding, I went to three different parties during the past month and brought a dish in an unetched, naked pyrex. I need one for myself, hello… the life of a crafter always making things for other people, I’m so noble. 

Pin It

Filed Under: etched, fabric, sewing Tagged With: home goods

Christmas Candy Tablecloth

December 20, 2011 By Taylor 51 Comments


Just four days left until Christmas and I’m sure I’m not the only one crafting into the wee hours to get everything done. Sure, the majority of my gifts are store bought but I always like to have at least one homemade thing for everyone. Homemade gifts are always better! The only bad part- I can’t share them on the blog yet. I literally have a folder full of projects that are blog ready… but they will have to wait. 
So, I give you a tablecloth that I made a year ago. I was scrambling then too, imagine that! I had great plans for a tutorial but when the night before my dinner party came and I had no tablecloth, I thought… these crafty people can figure it out on their own :) 
This is what I did:
-started with red tulle and trimmed it up
-made wide bias tape with green and white polka dot fabric
-sewed the bias tape all around the tulle
-made “Christmas candies” out of felt
-glued (with fabric glue) the candy into the overhanging part of the tablecloth
-used a piece of felt cut to the exact size of the table under the tulle
Felt “Candy”
gumdrops in blue, yellow, green and purple with clear sugar beads

candy canes and peppermints – duh
Christmas Cookies
My favorite/hardest part was the bias tape binding. I love the final product, it’s really cute but it really wasn’t easy. A single layer of tulle is really hard to see haha! It kept slipping and I didn’t even know… clearly I’m still bitter a year later.
I had more candies planned too but due to my time constraints/tulle issues I didn’t get them on. Even still,  I love the finished product. What else should I add? It’s a work in progress… maybe it will be done by Christmas 2012?
Pin It

Filed Under: Christmas, felt, holidays, sewing Tagged With: holidays

The Bow Clutch

December 14, 2011 By Taylor 15 Comments

You know the saying great minds think alike? Well this happens in the art world, about 5x a week for me. Artists/crafters/creators get inspiration from everywhere and even subconsciously. So last week I “thought” of a great idea… how about a bow on the front of a clutch. Not novel, but I thought it was an original idea of mine. Then the day after I whipped it up, I saw this post from a blog called Simply Homemade. It’s like the fraternal twin of my bow clutch. In the past I might have been like who thought of this first? Well, since either of us invited a bow, or a clutch now I just think it is cool that two random strangers thought of making the same thing at the same time… I guess great minds do think alike :) 

For my clutch, I used a different fabric for the bow and the lining and of course I used linen for the main part of the bag. I have a linen obsession. 
I don’t have a full tutorial, but basically you make a standard clutch or zippered pouch for the unfancy and you cut an extra piece for the bow that is a little larger. I serged the edges and hemmed the edge of the bow. Then I made a little piece of bias tape for the center of the bow. Then, I just sandwiched the bow when I stacked the layers for the clutch. Cute with endless color options. I also added a label to the inside. 

I think my colors are so festive- I made this for a gift exchange because what girl can’t use an extra clutch? Perfect for wearing or giving at a Holiday Party.

Filed Under: fabric, girl, holidays, serger, sewing Tagged With: accessories

A “Make Your Own Ornament” Party

December 5, 2011 By Taylor 23 Comments

Ah sequins, so festive. 
I have a group of girlfriends who I have remained close with through the years and we all are living back in the same area again. We go by the “coyotes” – don’t judge I think we made up the name when we were 14ish. We grew up together and have been a group since 6th grade, some of us were even in the same kindergarten class! I am lucky to have them because I know its rare. Once a month, we take turns hosting “Coyote Night” and this past month it was my turn… craft hour and wine… yes please. 

How to host your own Ornament Party:
sequins, sequins, sequins – I got an array of colors and sizes

I also got a variety pack 

You need sequin pins, which are not the same as sewing pins and will be located by the sequins at the craft store. I bought gold and silver, and we were picky about which ones we used, then we realized you couldn’t even tell the difference.

Styrofoam Balls, these came in a 6 pack 

extras: ribbon for the hanging part, foam glue is optional, extra little dishes for each person

There doesn’t have to be any rhyme or reason to the ornament making and that is why it was fun. It is perfect for a girl get together because it it mindless so you can still talk, eat and drink :)

Some of us had a color scheme, some did a pattern, and some were totally random, I love them all!

Progress… it does take a while, thankfully for us we never run out of things to say.

A little later…

I wanted to keep all of them :)

This is the one I made, happy on my tree. 

 Has anyone else had a “make your own ornament party” yet? I think you should.

Filed Under: Christmas, craft, girl, holidays, party Tagged With: holidays, parties

Cranberry Chutney Recipe

November 28, 2011 By Taylor 4 Comments

Hello real world, did everyone have a great Thanksgiving? I felt like it was Saturday for five days, and I love Saturdays :) You might ask, why are you giving us a Cranberry Recipe the week after Thanksgiving? Well, cranberries are good for the whole holiday season. That and I made this for my Mom’s Thanksgiving which was the day after and I took pictures as I went, ha. 

A little back story: My aunt made this for Thanksgiving and brought it to my Mom’s house about six years ago. It was a REALLY big hit with us. Now, I wonder why every family doesn’t make it. It it the perfect accompaniment to every holiday feast. The citrus and black pepper cut the sweet and savory perfectly. Actually, just yesterday my Mom said. “I think I just need to have this on hand for life”. It’s that good. So, we emailed my uncle to get the recipe. Then I was curious and I googled it, I found many similar recipes that were named Cranberry Salsa but none exactly like this one. Does anyone make anything like this? If not, do yourself a favor and whip some up for Christmas. I followed my Aunt and Uncle’s recipe exactly. My Uncle called it “Hudson’s on the Bend Cranberry Chutney” which is a restaurant in Austin, TX, where they live. I wonder if this is some coveted secret?? My Uncle said “The trick to this recipe is to trust the ingredients…..don’t add to or subtract from”.

Hudson’s on the Bend Cranberry Chutney
12 oz pkg of cranberries
½ cup fresh lime juice and ZEST
2 shallots
½ tsp of salt
1 whole bunch of Cilantro
2-3 cloves of garlic
1-2 seeded jalapenos
1 ¼ cup light brown sugar
¼ cup coarse ground pepper
 

Blend together in food processor 
 

My food processor isn’t large enough so I mixed everything together in a bowl then “chopped” in batches
 

I put mine in mason jars and added a fake fall leaf with twine. But lets be honest, you could serve this out of some old tupperware with a plastic spork and it would be pretty. 

So… was this one anyone else’s Thanksgiving plate? All of the recipes I found online called for green onion and white sugar with no black pepper (which I have to say is a definite must). And does anyone have a secret family side that is out of the norm?

Filed Under: holidays, recipe Tagged With: food, holidays

GPS Case Tutorial

November 22, 2011 By Taylor 4 Comments

It’s not too often around here that my husband gets something “TaylorMade”. Sad but true. It’s hard enough to sew for boys let alone old boys. But last week he actually had a special request. That never happens. He asked for a case for his new GPS. 

I came up with this…

Is it manly enough? Houndstooth is about as boyish as my fabric stash gets. And black is always masculine. 
This is so easy I can hardly call it a tutorial but, you need:
-outer fabric
-inner fabric (something soft, I used flannel)
-small piece of batting
-snap set
-scrap piece of trim is optional
For Bryan’s GPS’s size I cut my fabric to 14″ x 8″.  Layer the fabric with right sides together and the batting on bottom. Y’all… I had a serious flannel lint problem! I had to use my lint roller between every step. Once its together its not so bad but during construction, I almost threw the whole thing away… see!

Sew the bundle together leaving an opening and clip the corners.

Flip it right side out.

With the outer fabric touching the GPS, place the GPS in the center of the rectangle and fold one side up to form a pocket.

Pin and sew up the sides of the pocket. Then flip right side out.

Add your snaps.
I added a scrap to the outside by folding and pressing a scrap to fit the outer flap them sewing it on with a zig-zag stitch. This will also close up the opening that you made to flip the rectangle.
The GPS now has a manly home :)
This could be a good stocking stuffer, quick and easy. What kind of man crafting do you do?
Pin It

Filed Under: boy, fabric, gift, sewing Tagged With: accessories

How to Glaze Furniture

November 7, 2011 By Taylor 24 Comments

I love that a blog post can jump-start the finishing of a project. This series, Craft Spaces, made me finish my green table that I thought about painting for a long time. So, I finally did. Yay for making goals and actually completing them, even if it is only painting a table :) So here is a little “How To” for your Monday enjoyment.

I really like the look of Glazed Furniture, I think it adds the perfect amount of dullness to a bright paint color. That and I have an issue with too many conflicting wood colors. The key to glazing is finding the right piece of furniture. Make sure there are a lot of nooks and crannies. This table almost doesn’t have enough but I was OK with that. The glaze sticks into the cracks to give it the antiqued look. 
This Queen Ann Table was in our house growing up, it was modern in the early 90’s. And I LOVE the lines and the scroll of it. My Mom let me have it when we bought our first house. She is good about getting rid of outdated furniture. And that it was, super solid but just a little outdated…

Supplies:
– sandpaper
– base paint (I used Behr in Granny Smith Apple)
– metallic glaze (I used Martha Stewart in Black Coffee)
– paint brush and foam brush
– an old rag

Directions:

I sometimes had to do this step a few times, I would wipe too much off. I tried it with a damp towel and a dry one, they have different effects so play around with it.

And here she is in lighting up the Craft Room.

Very doable and I love the outcome… perfect for garage sale finds, do you think you can do it?
Pin It

Filed Under: furniture, home goods, paint Tagged With: furniture

Linen Scallop Diaper Tote

October 27, 2011 By Taylor 21 Comments

It is no secret that I am a big fan of See Kate Sew. So, when she decided to celebrate her blog’s birthday with a Scallop-Sew-Along, how could I say no? It was actually perfect timing because I was on the prowl for a new diaper bag pattern. I only have like 5 or 6 diaper bags so clearly I need a new one. Is it just me or is anyone else constantly searching for the perfect one? They are either too big, too small, too mommish, too pursish, not enough pockets, too many pockets. I think I just hate lugging around two different size diapers, snacks, batman, toy cars, bibs, blankets and a change of clothes for each kid. Maybe I’m taking it out on my diaper bag?
Anyway, I made a diaper bag. With this pretty little scallop pattern from Kate. I used the pattern for the scallops and I used her strap dimensions. I designed the rest of the bag to my liking (or to my picky standards). 

Not only do I love scallops but I LOVE linen (who doesn’t?), so I used that for the base of the bag. I ironed some interfacing to one side of the linen so it stands up better.

I also made bias tape for the edge of the side pockets (which are all lined for more stability).

The back has a large pocket that is split, for sippy cups or toys- gawd my life is glamorous.

I added my fabric label.

And of course added three pockets to the inside, two for diapers and I get that one little square houndstooth number – with more handmade bias tape.
And everything is so organized now. See, I wasn’t lying about carrying batman everywhere.

Thanks Kate for the Sweet Scallop Pattern, and a deadline :)

Pin It
ps… Next Tuesday kicks off Craft Spaces – a little series here on Taylor Made that is going to be filled with tips, tours and talented guest bloggers. If you are interested in showing off your room, sharing a tip or a tutorial – email me at taylor.taylormade@gmail.com. See you back here next week :)
Related Posts Plugin for WordPress, Blogger...

Filed Under: baby stuff, fabric, sewing Tagged With: accessories

  • « Previous Page
  • 1
  • …
  • 17
  • 18
  • 19
  • 20
  • 21
  • …
  • 27
  • Next Page »

Welcome to Taylor Made

http://www.taylormadecreatesblog.com/about-me Hi Yall! I'm Taylor... an artsy mom of three from Houston, TX. I love sewing, collecting floral fabric, eating Mexican Food, photography, brights colors, rearranging, and rolling clay. Taylor Made Creates is all about creating a fun, colorful home, sewing cute things and eating good food. Check out my SHOP HERE HERE! Thanks for stopping by!

Search

Pin with me!

Like Me :)

Facebook Pagelike Widget

More Recent Posts

  • Kid's Animal Room
  • Kids Camping Shirts
  • Mermaid Birthday Party
  • Conversation Heart Cold Packs
  • Holiday Apple Tea Punch
  • Purple Princess Costume
  • Letterboard Costume
  • La Croix Costume

FAVORITES

  • Triangle Baby Quilt
  • Casserole Carrier
  • Happy Rocks
  • Foodie Napkin Rings
  • How to Shorten a Shirt
  • Black Bean Salad
  • Swan Wings + Hello Ollie Fabrics
  • Morton Salt Girl Costume
  • DIY Baby Gift Set

Copyright © 2026 · Web Hosting By RFE Hosting