TaylorMade

DIY, Home Decor & Sewing

  • Home
  • SHOP
  • DIY & Sewing
    • For the Home
    • Sewing
    • Costumes and Holidays
    • Cricut Projects
    • Crafting
  • Parties
  • Recipes
  • Home Tour
  • Favorites
  • About

Truck Table

September 5, 2011 By Taylor 20 Comments

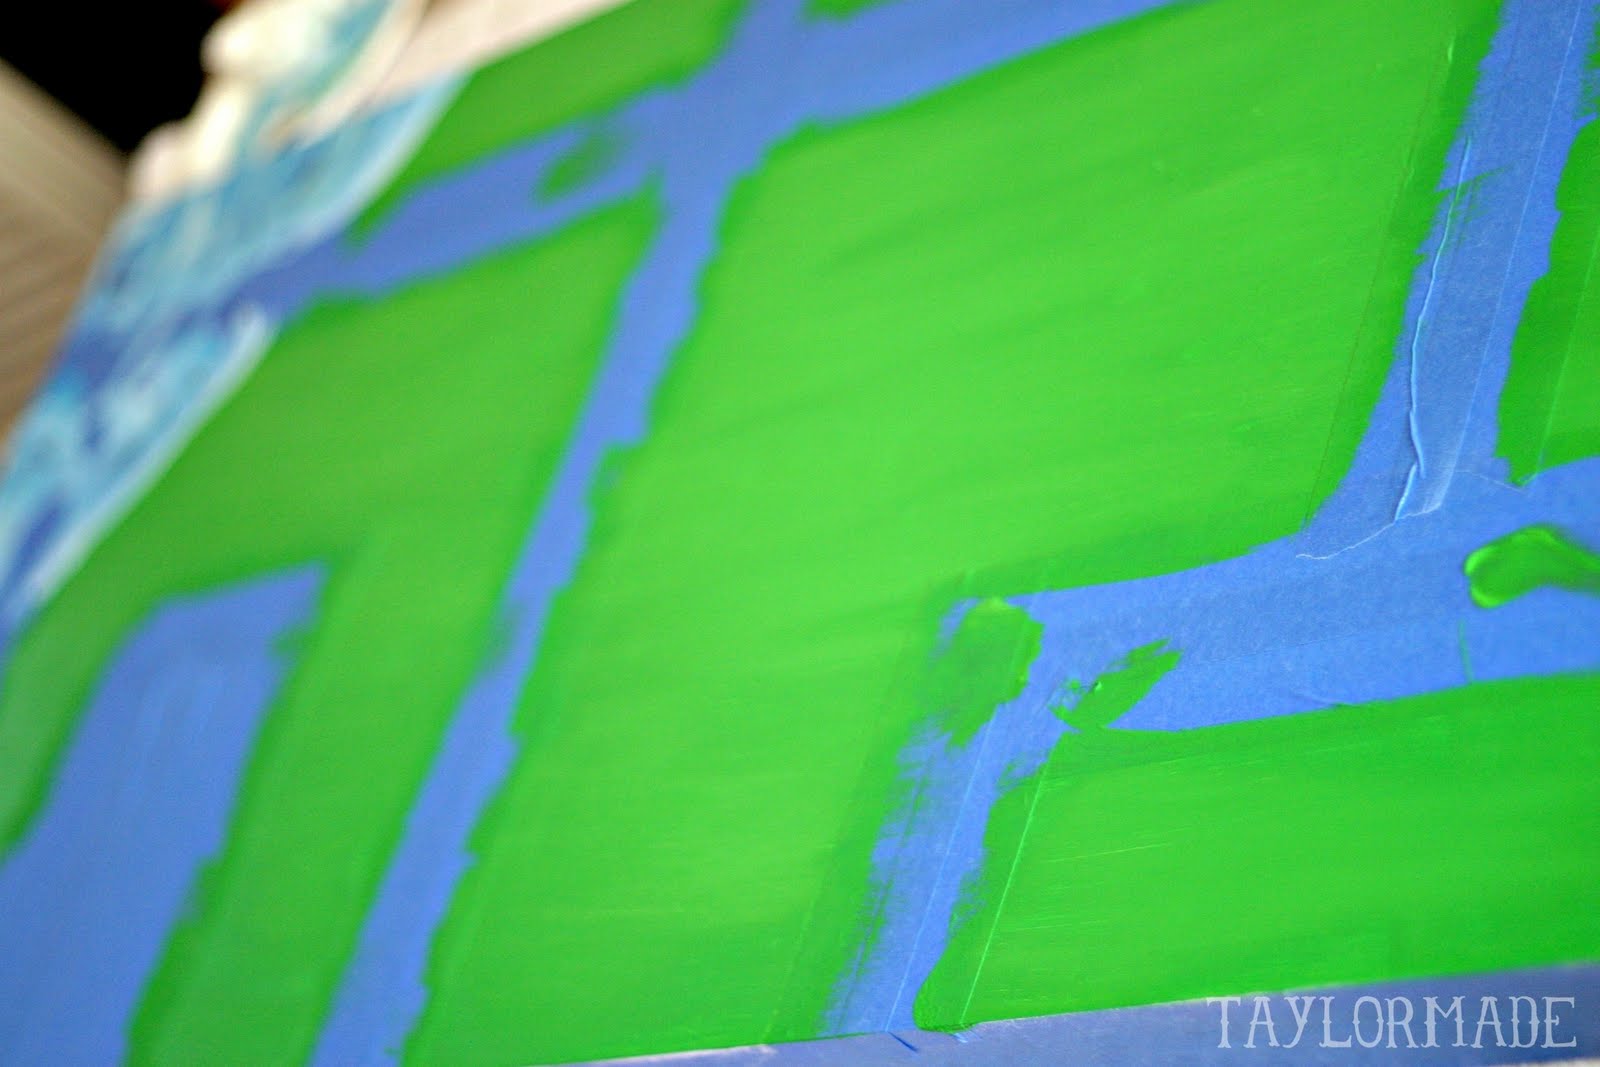
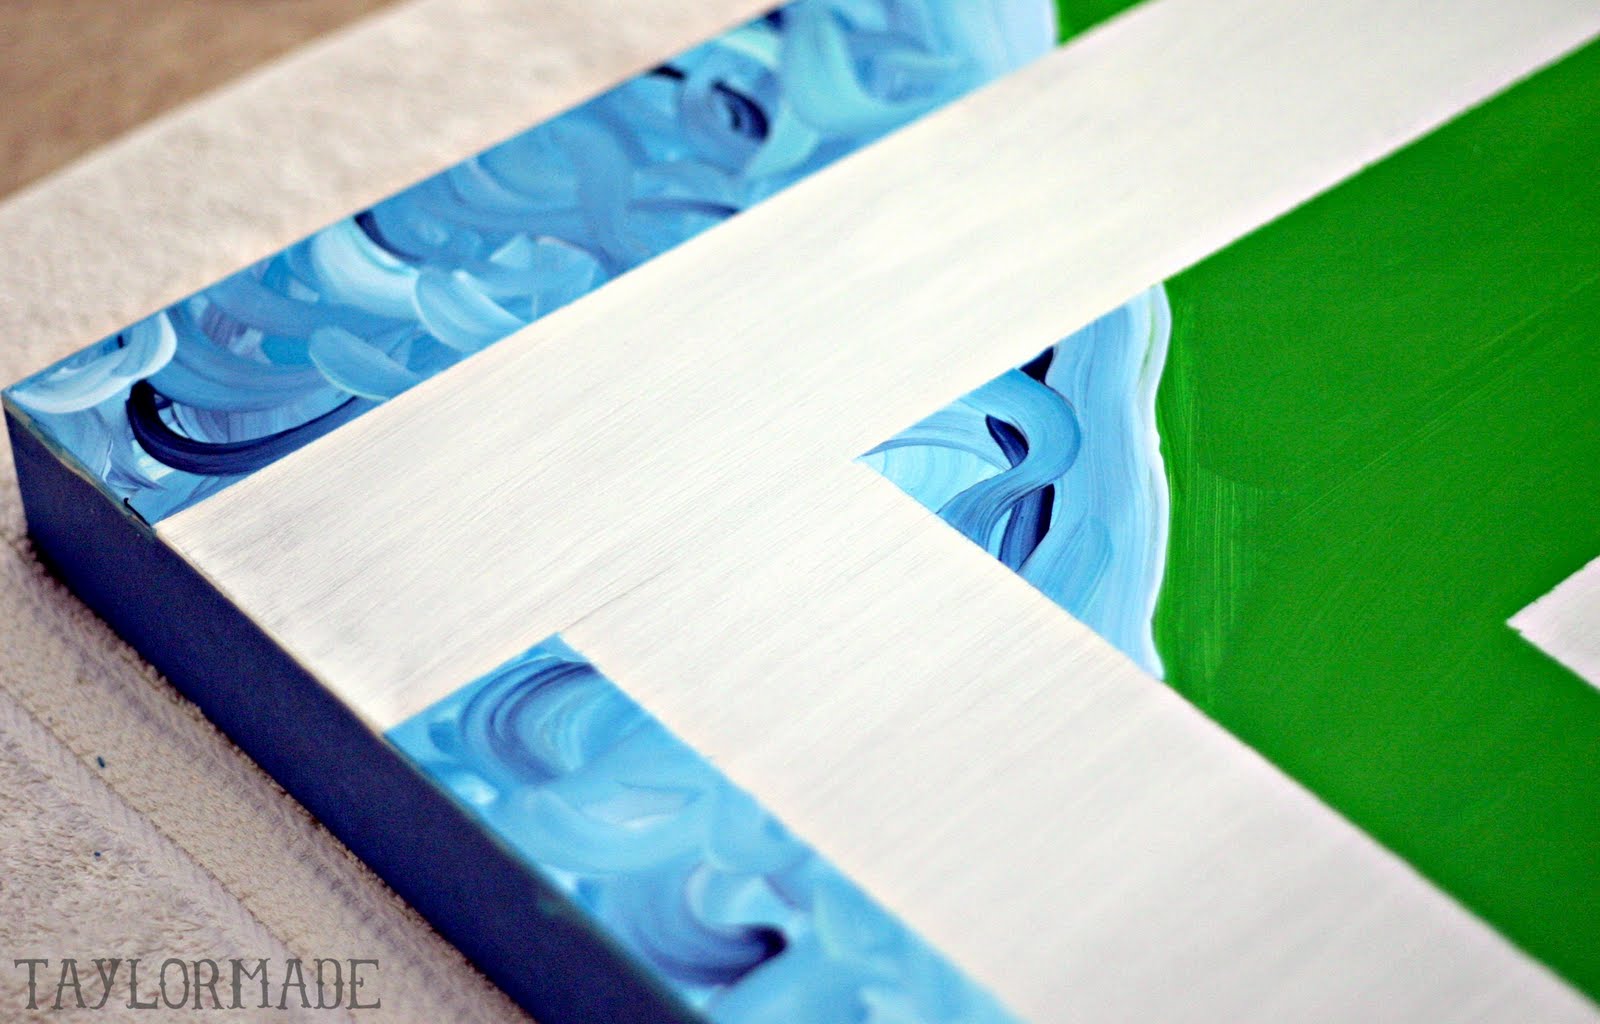
If you ask my son, “What do you want to do today?” you will get the same answer every single day. “Pway Twucks “. So in order to have even more truck playing time in my life, I made him a truck table for his birthday. I actually started out looking to buy one but they were all so bulky and expensive… DIY to the rescue.

Here is how the truck table magic happened:
I started with a cheap coffee table from Walmart. First step is to prep the table top. I did most of this but I had my husband pose for the pictures. The man can build anything but can’t take a picture to save his life.

Tips for the table prep:
– Don’t attach the legs
– Brush off the extra dust after sanding
– Make sure the tape goes all the way to the edge
– Apply 2-3 thin coats of primer and let that dry overnight
Now you want to tape off your “roads”. Just get creative. I measured two matchbox cars side by side and figured 3″ could be a good width for the cars to pass each other. So all of my roads are 3″ wide. Use painters tape to cover where the roads will be. I made a big square for the parking lot.

I painted green for the grass and added a lake in the corner. 

Remove the tape…

Paint your roads in with black paint.

For the street lines, I used white vinyl and cut it into tiny strips.

Cover the whole table with a clear coat.

My favorite part is the drawer that I thought of  :) Pretty much just an “L” shaped rail that we screwed to the bottom of the table. Make sure to get a tupperware with a lip so it can slide in and out.

I would say it was a successful bday present! I knew about sports but no one warned me when I had boys  I would play trucks every day :) But I am ok with it. 

Related Posts Plugin for WordPress, Blogger...

Filed Under: birthday, boy, furniture, gift, paint, wood Tagged With: DIY

« Rawr! Dino Pattern
Girl Clothes »

Comments

  1. Michelle says

    September 5, 2011 at 10:23 pm

    What a special birthday present! Very creative.

    Reply
  2. Katie says

    September 5, 2011 at 10:53 pm

    amazing idea! really, really loving this :) you are such a good momma!

    Reply
  3. Ashley says

    September 6, 2011 at 12:32 am

    ah how cute!!! i love this:)
    http://jaysonandashley.blogspot.com/
    ash

    Reply
  4. CupcakesOMG! says

    September 6, 2011 at 8:30 am

    this is incredible! your crafts never cease to amaze me!!

    CupcakesOMG!

    Reply
  5. Amy says

    September 6, 2011 at 9:43 am

    This is so cute! I love the storage compartments under the table! Thanks for sharing!!

    Reply
  6. Andrea says

    September 6, 2011 at 2:06 pm

    that is really cute!! what a great idea! i don’t have a boy, but maybe one day and this is a perfect gift idea!

    Reply
  7. BKWilliams says

    September 6, 2011 at 10:57 pm

    Check out my 12-31-10 blog post with the cars Chest of Drawers I did for my grandson. Your little guy would love it.

    http://bkwilliams-catskidsandcrafts.blogspot.com/

    Reply
  8. Life In The Thrifty Lane says

    September 7, 2011 at 9:45 am

    Awesome idea! I love how you can store a bin full of toys at the bottom. Thanks for sharing. Visiting from Someday Crafts

    Reply
  9. Paige @ The Crunchy Mamacita says

    September 7, 2011 at 1:39 pm

    Great idea! I have 3 boys :)

    Paige @ thecrunchymamacita.blogspot.com

    Reply
  10. Mandy @ Sugar Bee Crafts says

    September 7, 2011 at 2:09 pm

    Thanks for linking to TAke-A-Look Tuesday – you were featured today!!
    –Mandy, http://www.SugarBeeCrafts.com

    Reply
  11. Kimberly says

    September 8, 2011 at 2:52 pm

    So Cute!! My little boy is the same way! Cars all day everyday, he would love this! Great Job!

    Reply
  12. Amanda says

    September 8, 2011 at 5:42 pm

    VERY cute! I love the storage underneath. Great idea. I’d have to add train tracks for my son, and maybe a construction site, but I’m sure he’d LOVE this table. :)

    Reply
  13. Nicole Mariana says

    September 8, 2011 at 8:01 pm

    Hi! I’m Nicole from Romanian Princess. I saw your blog on a link up and decided I better add you! Please return the favor and follow me back at:

    http://www.romanianprincess.com!

    XoXo Nicole Mariana

    Reply
  14. von Hand zu Hand says

    September 12, 2011 at 12:01 am

    great idea.
    i wish i saw that several years before…

    I linked to your tutorial on my blog – thanks for sharing!

    doro K.

    Reply
  15. Melissa says

    September 12, 2011 at 5:47 am

    I came across this tutorial via One Pretty Thing. I love this idea. My son is also truck mad. He would LOVE one of these! Thanks for sharing it. I also like the container under the table!

    Reply
  16. shiloh says

    September 12, 2011 at 11:04 am

    This is such a fun idea! What good use for a table.:) I’m a new follower from Making Mondays:)

    Reply
  17. I♥naptime w/ Chocolate Sundaes says

    September 17, 2011 at 12:14 am

    This is SO cute! My son would LOVE this! You are so creative!

    xo-Jamielyn
    I ♥ Nap Time

    Reply
  18. Casey says

    September 17, 2011 at 10:08 am

    this is such a great idea! I hope I get around to making this!

    Reply
  19. Princess of Everything (and then some) says

    June 24, 2012 at 5:07 pm

    I had this pinned on my boards on pinterest. I re-did an old toy box for my grandsons and did this on top of it. Thank you so much for the idea! They love it!!

    Reply

Trackbacks

  1. 10 Cool DIY Play Table Ideas for Kids - Hobby Lesson says:
    December 6, 2016 at 10:37 am

    […] 3. Play table with road tracks on it: Most of the kids love to run cars and trucks. And the whole day they make sounds like ‘bnooooooo, woooooo’ as if a truck is running. So just to encourage him you can make a DIY truck or car table for him. Start with any normal table and paint road tracks, grass lands and ponds on it to make it look real. This tutorial comes at your rescue. […]

    Reply

Leave a Reply Cancel reply

Your email address will not be published.

This site uses Akismet to reduce spam. Learn how your comment data is processed.

Welcome to Taylor Made

http://www.taylormadecreatesblog.com/about-me Hi Yall! I'm Taylor... a crafty mom of three from Houston, TX. I love sewing, collecting floral fabric, eating Mexican Food & Margaritas, photography, brights colors, rearranging, and decorating. Taylor Made Creates is all about creating a fun, colorful home, sewing cute things and eating good food. Check out my SHOP HERE HERE! Thanks for stopping by!

Search

Pin with me!

Like Me :)

Facebook Pagelike Widget

More Recent Posts

  • Kid's Animal Room
  • Kids Camping Shirts
  • Mermaid Birthday Party
  • Conversation Heart Cold Packs
  • Holiday Apple Tea Punch
  • Purple Princess Costume
  • Letterboard Costume
  • La Croix Costume

FAVORITES

  • Casserole Carrier
  • DIY Leather Tote
  • How to do a Patterned Dot Wall
  • a Happy Birthday Quilt Block
  • More Casserole Carriers
  • Triangle Baby Quilt
  • Winged Peasant Dress
  • DIY Headboard
  • Stethoscope Covers

Copyright © 2023 · Web Hosting By RFE Hosting