TaylorMade

DIY, Home Decor & Sewing

  • Home
  • SHOP
  • DIY & Sewing
    • For the Home
    • Sewing
    • Costumes and Holidays
    • Cricut Projects
    • Crafting
  • Parties
  • Recipes
  • Home Tour
  • Favorites
  • About

Love Sign with a Fence Frame

January 21, 2011 By Taylor 7 Comments


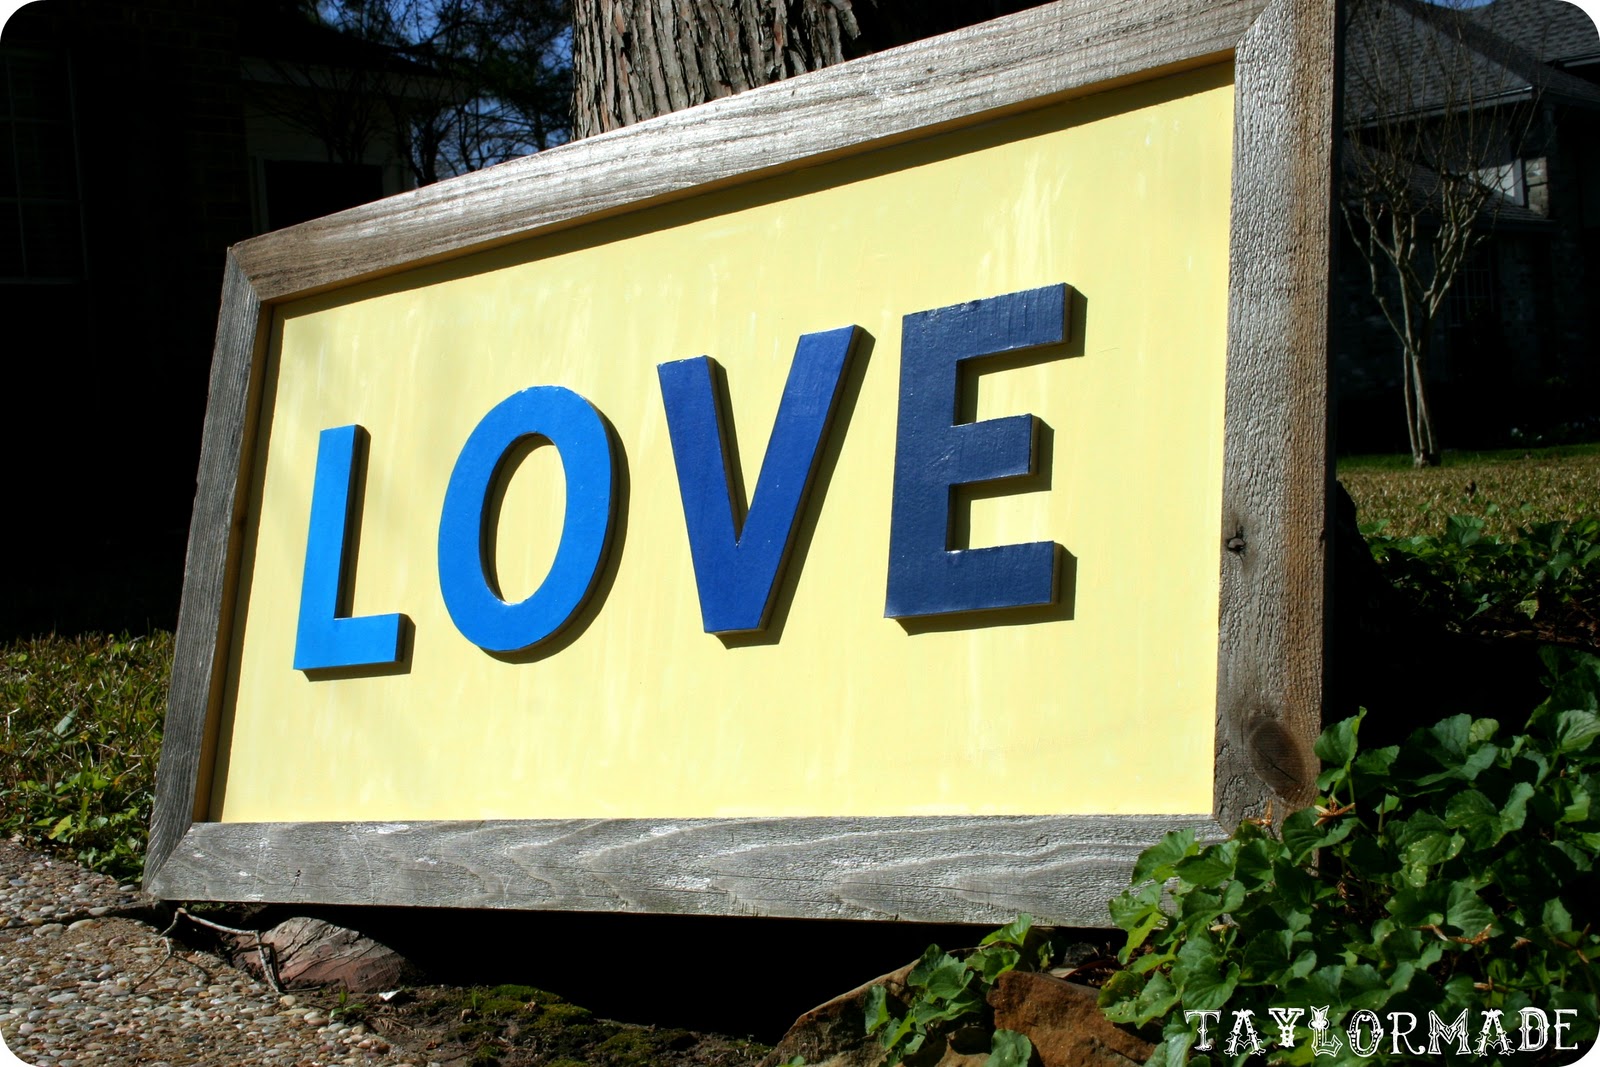
I know, I know, this should be in pink and red… but its going in my bedroom and staying up all year so yellow and blue it is. You could actually write anything, I thought about our last name but I like the way “LOVE” looks. My favorite part of this project is actually the frame which my husband whipped up. I got the supplies and told him what to do (naturally, hehe) but he made the actual cuts so I will give him some credit. I think this project is so simple that I really didn’t even take any pics of the steps for a tutorial, just the final product.


My mom had some fence posts she was going to throw away so I kept a few because I liked that they were weathered looking. So Bryan cut them in half “lengthwise” and I gave him the dimensions and he made a very basic frame. (43 X 23)


I got a foam board from Hobby Lobby and cut it about a 1 in. smaller than the dimensions of the frame (42 X 22). Then, I painted the background yellow. When the yellow was dry, I stapled the foam board to the back of the Fence Frame.


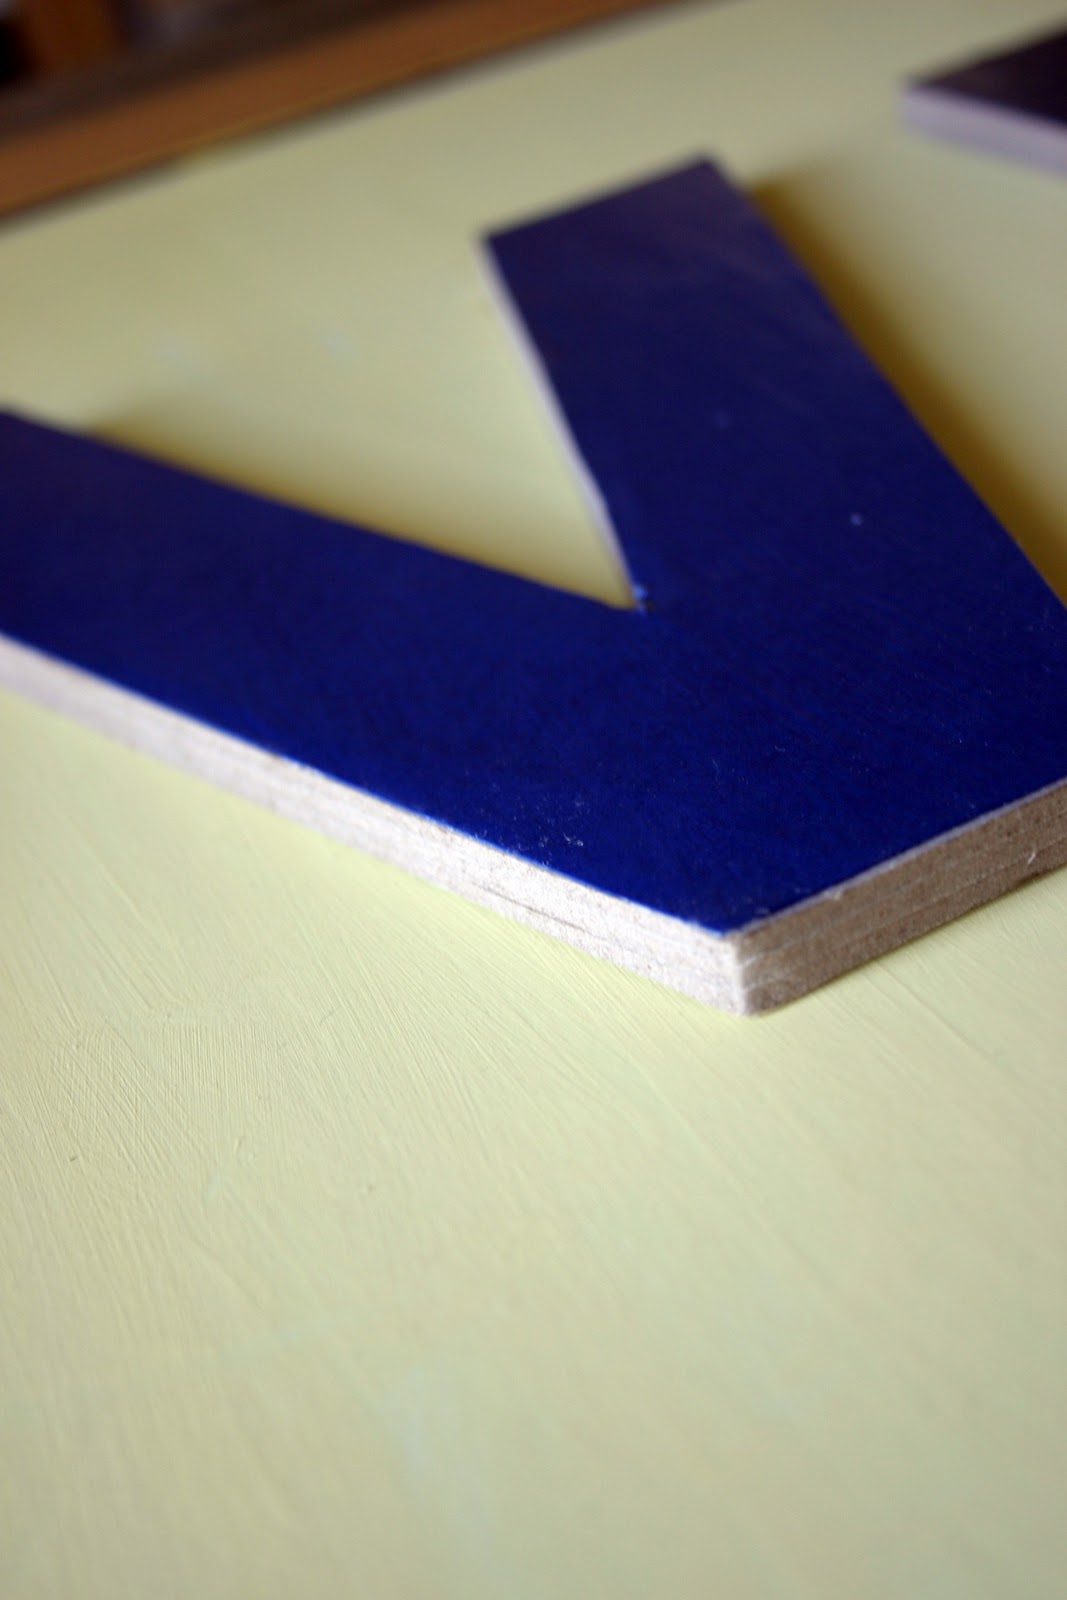
I also picked up some chipboard letters from HobLob and some blue paper. You could paint the letters too but the paper is much cheaper than buying 4 different colors of paint. I just traced the letters onto the paper, cut them out and applied 1 coat of Mod Podge between the letter and the paper. Then I used 2 coats on top of the letters (drying 20 mins between). Glue the letters on to the foam board. (My husband walked in at this point and wanted me to measure the distance between the letters to make sure they were evenly spaced… poor Bryan forgot who he married)


Lastly, I got a picture hanging kit from Home Depot and screwed it in to hang my “work of art”.

 
This reminds me that I need to get to work on the Valentine’s Day banner that I have been dreaming up for my mantle. Lets see if it happens :) Have a great weekend!
 

Filed Under: bedroom, craft, home goods, Mod Podge, paper, wood Tagged With: decor

Spinach Artichoke Pasta Bake

January 17, 2011 By Taylor 4 Comments

What is for dinner tonight at your house? You don’t know either do you? Well here is an option… Spinach Artichoke Pasta Bake. I saw this recipe in Real Simple Magazine a few months ago and had to try it. By the way I loooove getting my real simple magazine in the mail, its like a little treasure and it usually comes on the same day as my Martha Magazine, double whammy. Anyway here it is; I changed the recipe a little so here is my TaylorMade version:

Ingredients:
8 oz penne pasta
14 oz can of artichokes (rinsed and chopped)
9 oz pkg of frozen creamed spinach (thawed)
1/4 c grated Parmesan
2 c grated mozzarella
black pepper
(optional) I added some chopped Italian ham

  • Heat your broiler
  • Cook pasta according to instructions on package, drain and return to pot
  • Add artichokes, spinach, Parmesan, half of the mozzarella, and 1/4 tsp black pepper (and ham if using) to the pasta and toss
  • Transfer to a baking dish and sprinkle remaining mozzarella on top
  • Broil for about 5-8 minutes or until cheese is browned on top

I love that it only uses 2 pots/dishes for the whole recipe! Before Bryan and I lived in our current house, we didn’t have a dishwasher so we became really good at using as few dishes as possible! What is a recipe you make that only uses a few dishes? Do share!

Filed Under: dinner, kitchen, recipe Tagged With: food

Bulls-eye Pillow

January 12, 2011 By Taylor 6 Comments

My house is feeling the effects of the “nesting phase”. I had a productive weekend and almost have the “babies” rooms switched out (Yes, I am still calling Finn an baby!). With all the baby preparedness I have been doing, I thought I would take a little break and do a quick craft for my own room. I whipped out this super easy pillow in 40 minutes! I saw something yesterday that reminded me of my Mom’s old bedding from when she was little (because she still has the pillowcases to prove it). So here is the 60’s inspired Bulls-eye Pillow.

 
This is the most unscientific tutorial ever!
 
Supplies:
– 4 pieces of felt
– stuffing
– 1/2 yd of solid fabric
 
Directions:
-Cut 2 14″ squares from your solid fabric
 
 
-Pick out 4 pieces of felt (in a monochromatic family and sort lightest to darkest)
 
 
– Use a template of some sort (even a bowl) to trace your smallest circle. Mine is about 5″ in diameter. Sew that circle onto your next color. Use a very small seam allowance. Then carefully cut around it about 1/2″ all the way around. (I told you this is not scientific)


-Keep doing this with all of the “layers”. Then pin the bulls-eye to the front of the pillow and sew into it the same way you were sewing onto the felt.
 
 
– Finish just like you would any pillow, pin and sew right sides together leaving room for flipping. Stuff and hand-sew the opening. Voila!


Look at it’s new happy home :)


Filed Under: bedroom, fabric, felt, home goods, sewing, tutorial Tagged With: home goods

Foodie Napkin Rings

January 6, 2011 By Taylor 4 Comments

First tutorial of 2011! These napkin rings have been on my to-do list for over 6 months but I was a little busy with Christmas so I am finally getting around to them. Poor Finn is loosing a craft room toy. They have been cut and on my shelf forever and he loves to play with them. Maybe I will make him some more?


Supplies:
– one 2′ x 1 1/2″ section of PVC pipe (cut into 2″ sections)
– an old magazine
– Mod Podge and brush

Directions:

1. Cut your PVC pipe into 2″ sections. My PVC pipe was 1 1/2″ in diameter. My husband controls the power tools over here so mine magically showed up in my craft room, cut perfectly! I asked him to cut 10 for me.


2. I wanted my napkin rings to look “foodish” so I used a Martha Stewart Whole Living magazine, they have really clean, pretty pictures. You can use whatever magazine or paper you like; newspaper, a book, fashion mag, an old map, scrapbook paper… get creative.


3. Go through and rip about 10-12 pages that are interesting to you. I looked for bright colors, cool bold words, and recipes.


4. Cut them into 2″ x 7″ strips. Cut them from the middle of the paper so you get interesting parts of the  pictures. Pick out your favorite strips and set them aside.


5. Apply a thin layer of Mod Podge (I’m using matte finish) to a napkin ring. Carefully place the strip of magazine into the ring. Gently smooth out the paper as you go. There will be a little excess paper just add a little Mod Podge underneath so it sticks. Do this to all the rings.


6. Once all 10 strips and rings have become one, we are going to apply the 1st topcoat of Mod Podge. There will be some air bubbles so just smooth them out with your fingers first. This layer should also be thin. Wait about 15-30 minutes for this coat to dry.


7. Apply your second coat of Mod Podge, a little thicker this time but not too thick. Let this coat dry for several hours. If you live in Houston like me, you should probably just wait overnight because it is January and a muggy 80 degrees :(


8. This step is optional: I am going to add a little pop to my napkin rings with a sequin ribbon. You can embellish with any ribbon or buttons or whatever you have. I cut my ribbon into 7″ sections. Glue them on with Elmer’s Glue and wait a few more hours to dry.


These babies will really add some pop to your table! If you are like me this makes you want to host a dinner party now. Happy Hosting!


Also, Don’t forget to enter the Taylor Made giveaway this week, you can read all about it HERE 


Related Posts Plugin for WordPress, Blogger...

Filed Under: craft, Martha Stewart, Mod Podge, paper, tutorial Tagged With: crafting

  • « Previous Page
  • 1
  • …
  • 60
  • 61
  • 62
  • 63
  • 64
  • …
  • 66
  • Next Page »

Welcome to Taylor Made

http://www.taylormadecreatesblog.com/about-me Hi Yall! I'm Taylor... an artsy mom of three from Houston, TX. I love sewing, collecting floral fabric, eating Mexican Food, photography, brights colors, rearranging, and rolling clay. Taylor Made Creates is all about creating a fun, colorful home, sewing cute things and eating good food. Check out my SHOP HERE HERE! Thanks for stopping by!

Search

Pin with me!

Like Me :)

Facebook Pagelike Widget

More Recent Posts

  • Kid's Animal Room
  • Kids Camping Shirts
  • Mermaid Birthday Party
  • Conversation Heart Cold Packs
  • Holiday Apple Tea Punch
  • Purple Princess Costume
  • Letterboard Costume
  • La Croix Costume

FAVORITES

  • Union Jack End Table
  • DIY Leather Tote
  • Handmade Mother’s Day: Recipe Oven Mitt
  • Octopus Costume
  • How to Shorten a Shirt
  • The Frozen Fox
  • Sweet Dreams Puppy Pillow
  • How to do a Patterned Dot Wall
  • Winged Peasant Dress

Copyright © 2026 · Web Hosting By RFE Hosting