TaylorMade

DIY, Home Decor & Sewing

  • Home
  • SHOP
  • DIY & Sewing
    • For the Home
    • Sewing
    • Costumes and Holidays
    • Cricut Projects
    • Crafting
  • Parties
  • Recipes
  • Home Tour
  • Favorites
  • About

Casserole Carrier

October 18, 2011 By Taylor 68 Comments

I like to make homemade wedding gifts whenever I can. I saw this Casserole Carrier Tutorial from Two Little Hooligans and I was allll over it. She has really detailed instructions. The only thing that I didn’t do (and should have) was add a little extra length because the Pyrex that I found had built in glass handles. But I still love how it turned out. Halfway through I remembered an old post from Jill where she added belting instead of making the handles. She also etched the couples last name into the Pyrex. Done. I shamelessly copied two crafters!

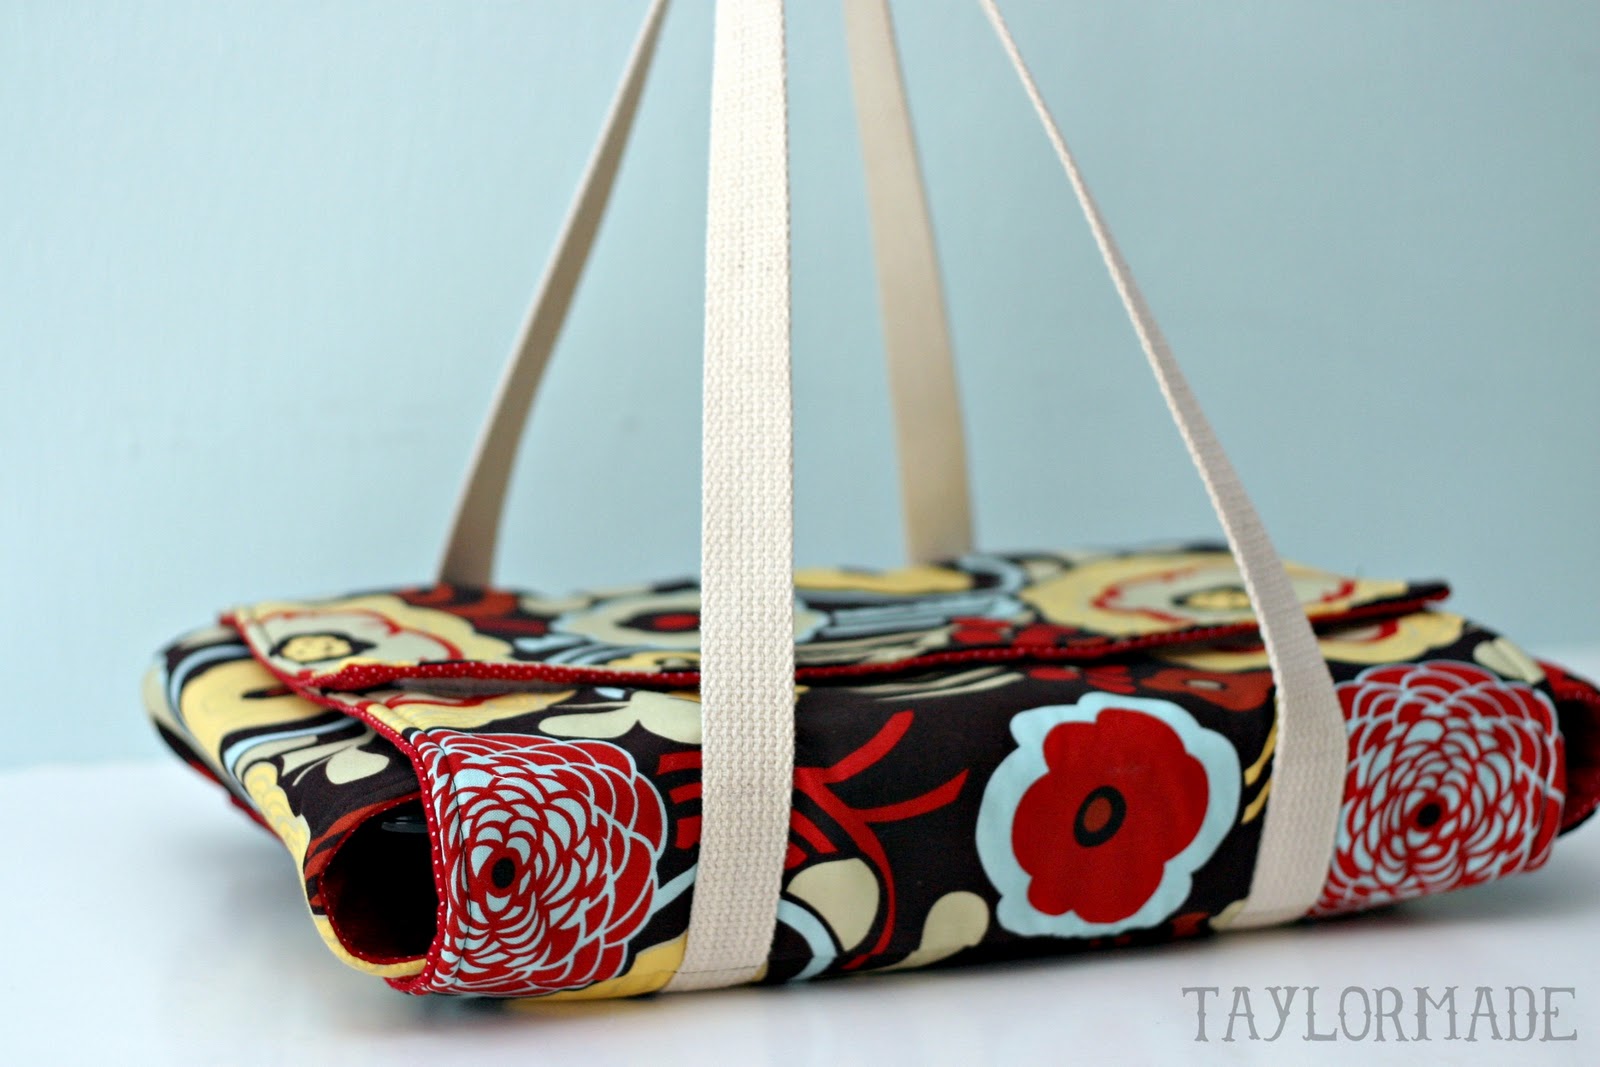
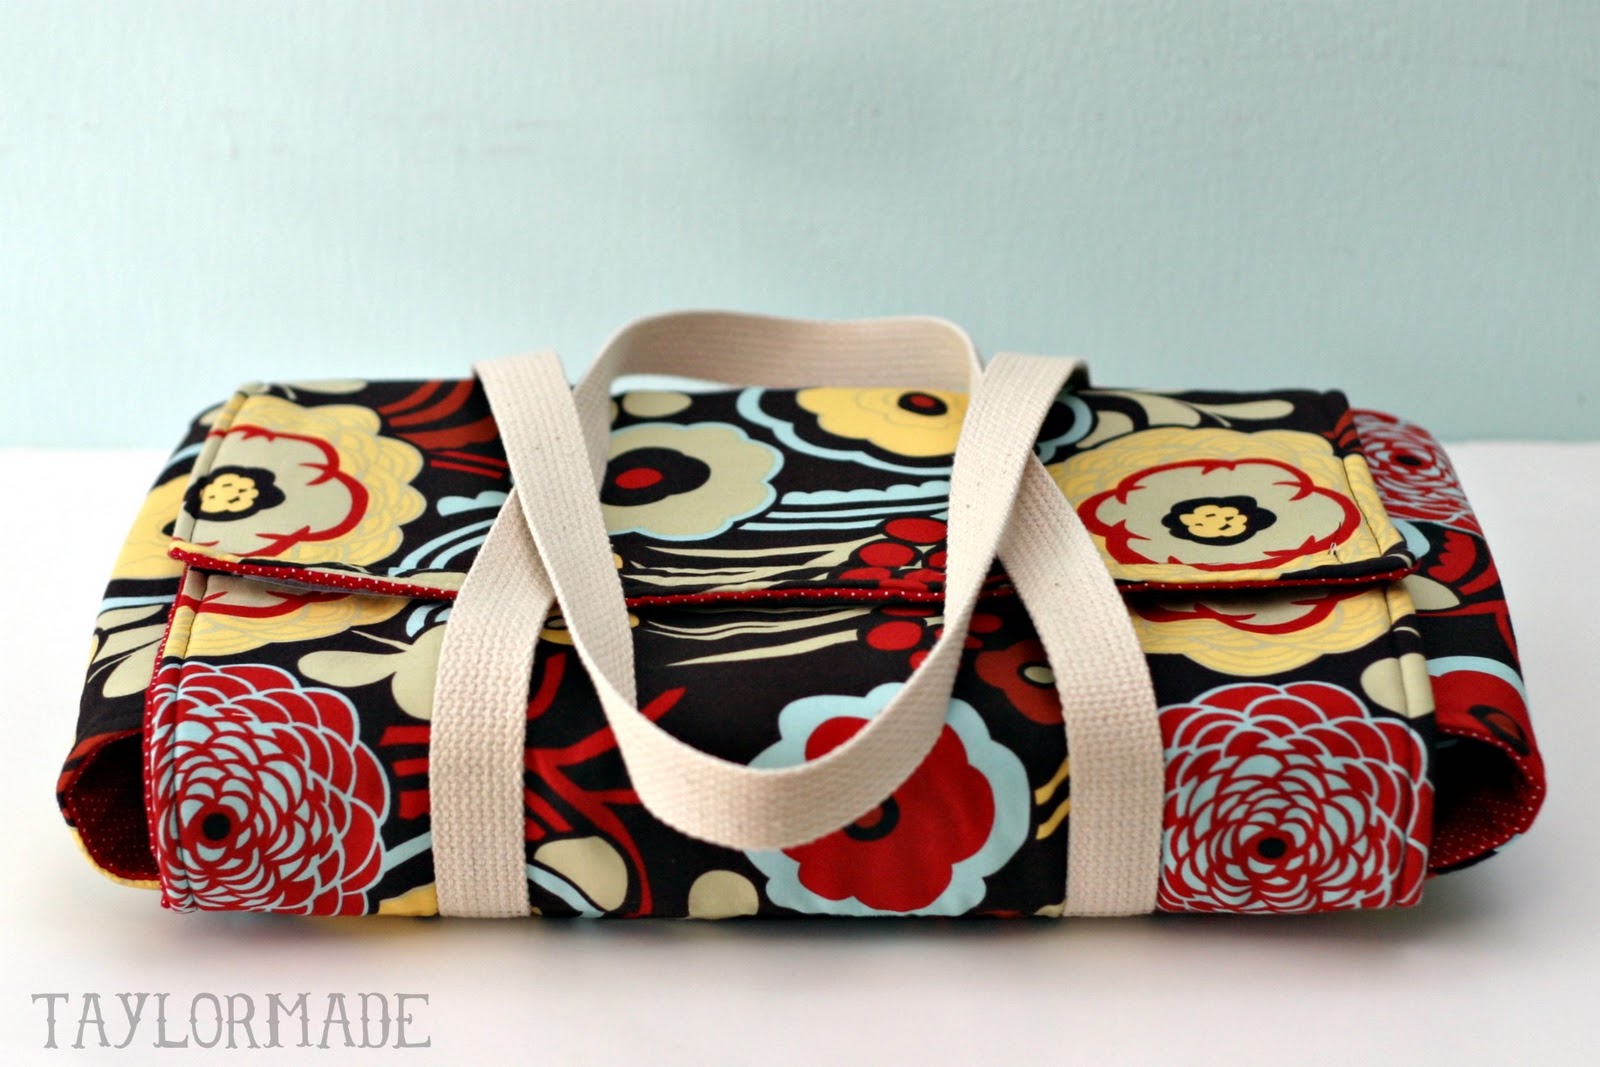
I used a super bold print for the outside and a cute little dot pattern for the inside.

I also added a label.

And etched the glass.

And now I want one :) Have you made any homemade wedding gifts lately?
Pin It

Filed Under: etched, fabric, gift, sewing Tagged With: home goods

The Bandit Bib

October 10, 2011 By Taylor 6 Comments


The Bandit Bib. It might be the next big thing :) I get bored with “regular” bibs so this is a little more exciting.

What you need:
– 1 fat quarter for the front
– 1 fat quarter for the back (I use flannel, jersey or terrycloth for the backs)
– snap kit
– TaylorMade Bandit Bib Pattern
Lets get started:
Print the pattern for the Bandit Bib HERE (just save it to your computer and print on a full page :) Cut out a front and a back. I like to use an absorbent fabric for the backs of my bibs like terry cloth or flannel. 

Put right sides together, pin and sew. Leave a small opening so you can flip it. 

Don’t forget to clip the corners and the round tip. 

Press and top stitch around the bib.

Time for snaps (which I love). If you have never used them, they are very simple and your kit will come with instructions on the back. Each snap has two parts and the fun part is hammering them together :)

Most importantly, make sure your snaps are facing opposite directions so you can snap them together correctly. The first time I did a snap, I made this mistake. 

Admire your new and more exciting Bandit Bib. And make a few.

Look at my cute little Bandit :) 
Pin It

Filed Under: baby stuff, boy, clothes, fabric, kid stuff, sewing Tagged With: kids

Chili Blanco

October 6, 2011 By Taylor 2 Comments

Remember when White Chicken Chili was all trendy in the 90’s? Is it vintage yet to bring it back? Cause I just did. I needed something different from the usual red chili I guess. Vintage or not, it was really good. 


I adapted this from the Neiman Marcus Chili Blanco Recipe. I say adapted because when I searched online for the recipe, it was hard to find and every recipe was a little different. Truly is vintage. I settled for a recipe that must have been translated from a different language, because it was confusing and used words like guste. I did my best. I also added carrots and celery because I love the flavor. And left out the oregano because I have bad memories with oregano (it involves elementary school pizza).

So, here is what I could read/came up with:
Chili Blanco:
1lb dry great northern beans
2lbs chicken breast
1tbsp olive oil
1 chopped onion
4 chopped garlic cloves
2 cans mild green chilies 4 oz
2 tsp cumin
1/4 tsp cayenne pepper
6 cups chicken broth
1 cup Monterrey jack Cheese (plus more for garnish)
1 bunch carrots
1 bunch celery
Optional
1 1/2  tsp dried oregano
Monterrey Jack Cheese
cilantro
-Rinse beans and place in heavy large pot, add water and soak overnight.
-Place chicken in large heavy saucepan. Add cold water, cover and bring to a simmer. Cook for about 15 minutes or until just tender. Drain and cool. Cut chicken into cubes.
-Drain beans, and set aside. 
-Heat oil in the large pot over medium heat. Add onions and sauté until translucent, about 10 minutes. Stir in garlic, then chilies, cumin, oregano, and cayenne and sauté 2 minutes. Add beans, chopped carrots and celery. Add chicken broth and bring to a boil. Reduce heat and simmer until beans are very tender, stirring occasionally, about 2 hours. Lastly add one cup of shredded cheese to chili and stir until cheese melts. Season to taste with salt and pepper.
-Garnish with shredded cheese and cilantro.

Pin It

Filed Under: dinner, recipe Tagged With: food

Halloween Crayon Bats

September 29, 2011 By Taylor 5 Comments

Are you in the Halloween spirit yet? Me either, could be because it is still in the high 90’s here in Texas. I usually look forward to October 1st because that is when I break out the Halloween Decor. I keep forgetting that is in one day…. It literally feels like the middle of summer :(
In hopes of feeling fall-ish, I turned to my trusty craft supplies. I remember doing this craft when I was little and making “stained glass”. Martha makes Valentines Hearts this way too. But today friends we are making Bats, or according to my 2 yr old son- “Batmans”. This is a great craft to do with the kids, actually- if my “active, just turned two, independent boy” can do it, then your dog can probably help you.
Supplies:
old crayons
wax paper
scissors
iron
paper towels
(I would like to tell you that this is just my craft iron and I have another one for clothes but this is just my craft iron… I don’t iron clothes for real life)
Break your crayons and remove the wrappers. This is the best job for kids, who doesn’t love to break stuff?
Use the scissors and make shavings from the crayons. Place the shavings on a piece of wax paper. Let the kids arrange the shavings and pick the colors. Then cover it with another piece of wax paper.

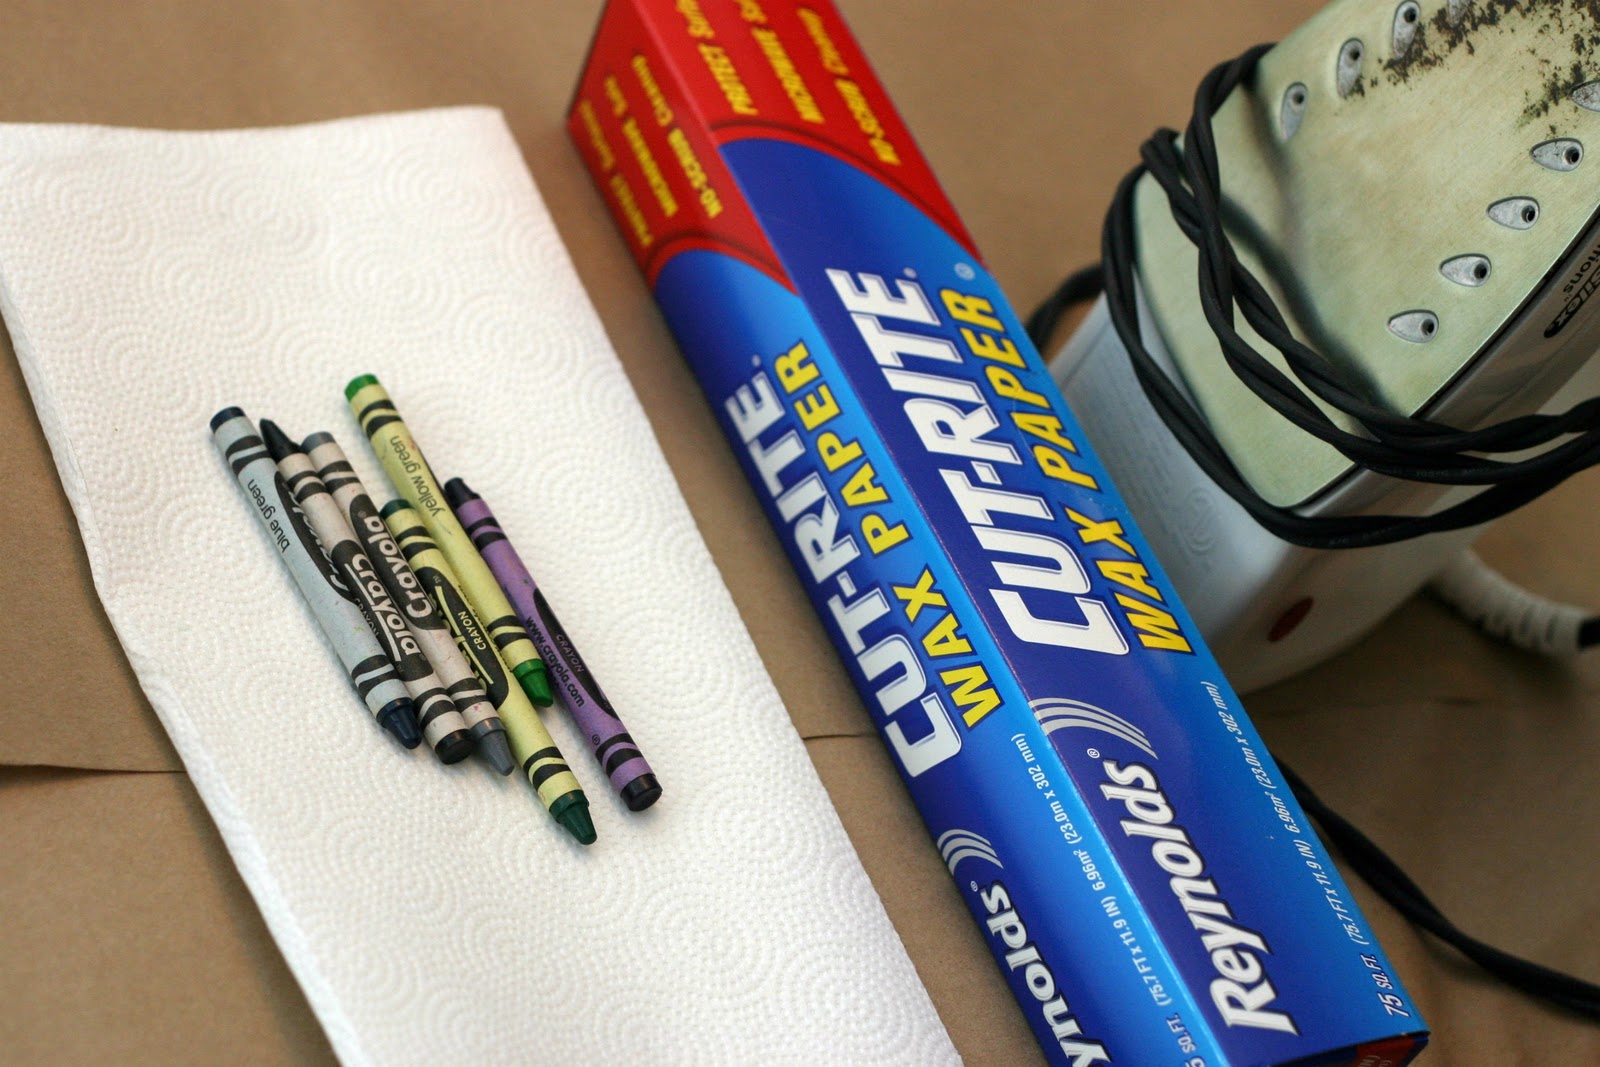
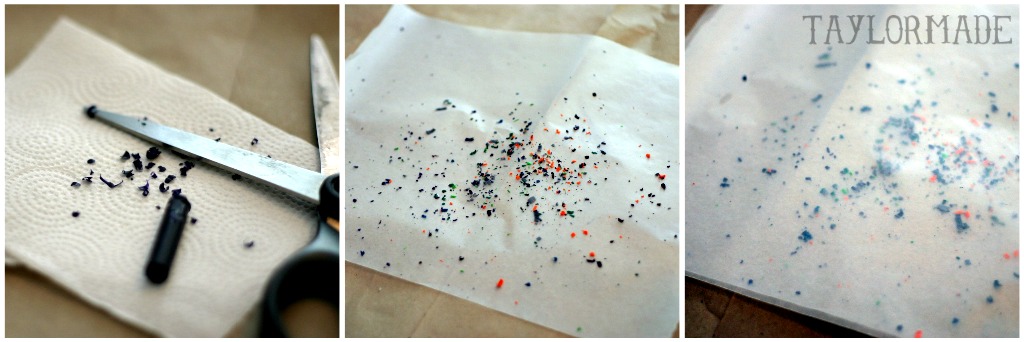
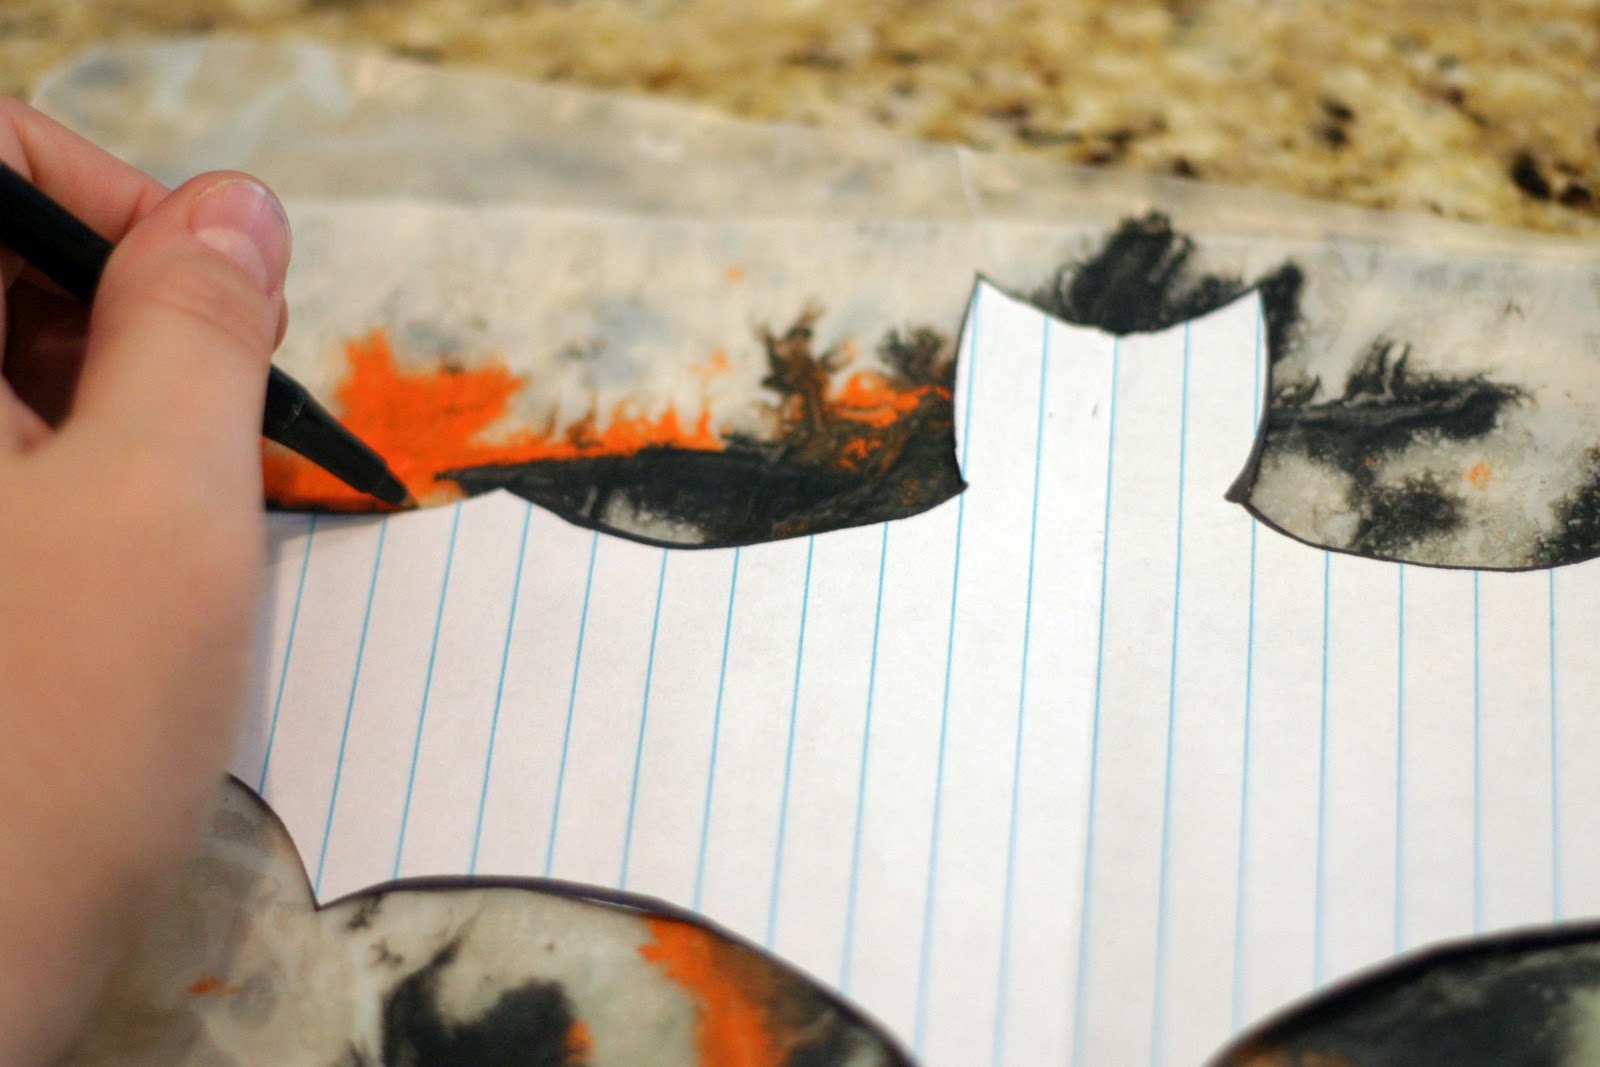
Make sure to use 2-3 paper towels under the wax paper and over it. The shavings kind of seeped through and I wouldn’t want your iron to look like mine. Melt the crayons for a few seconds.

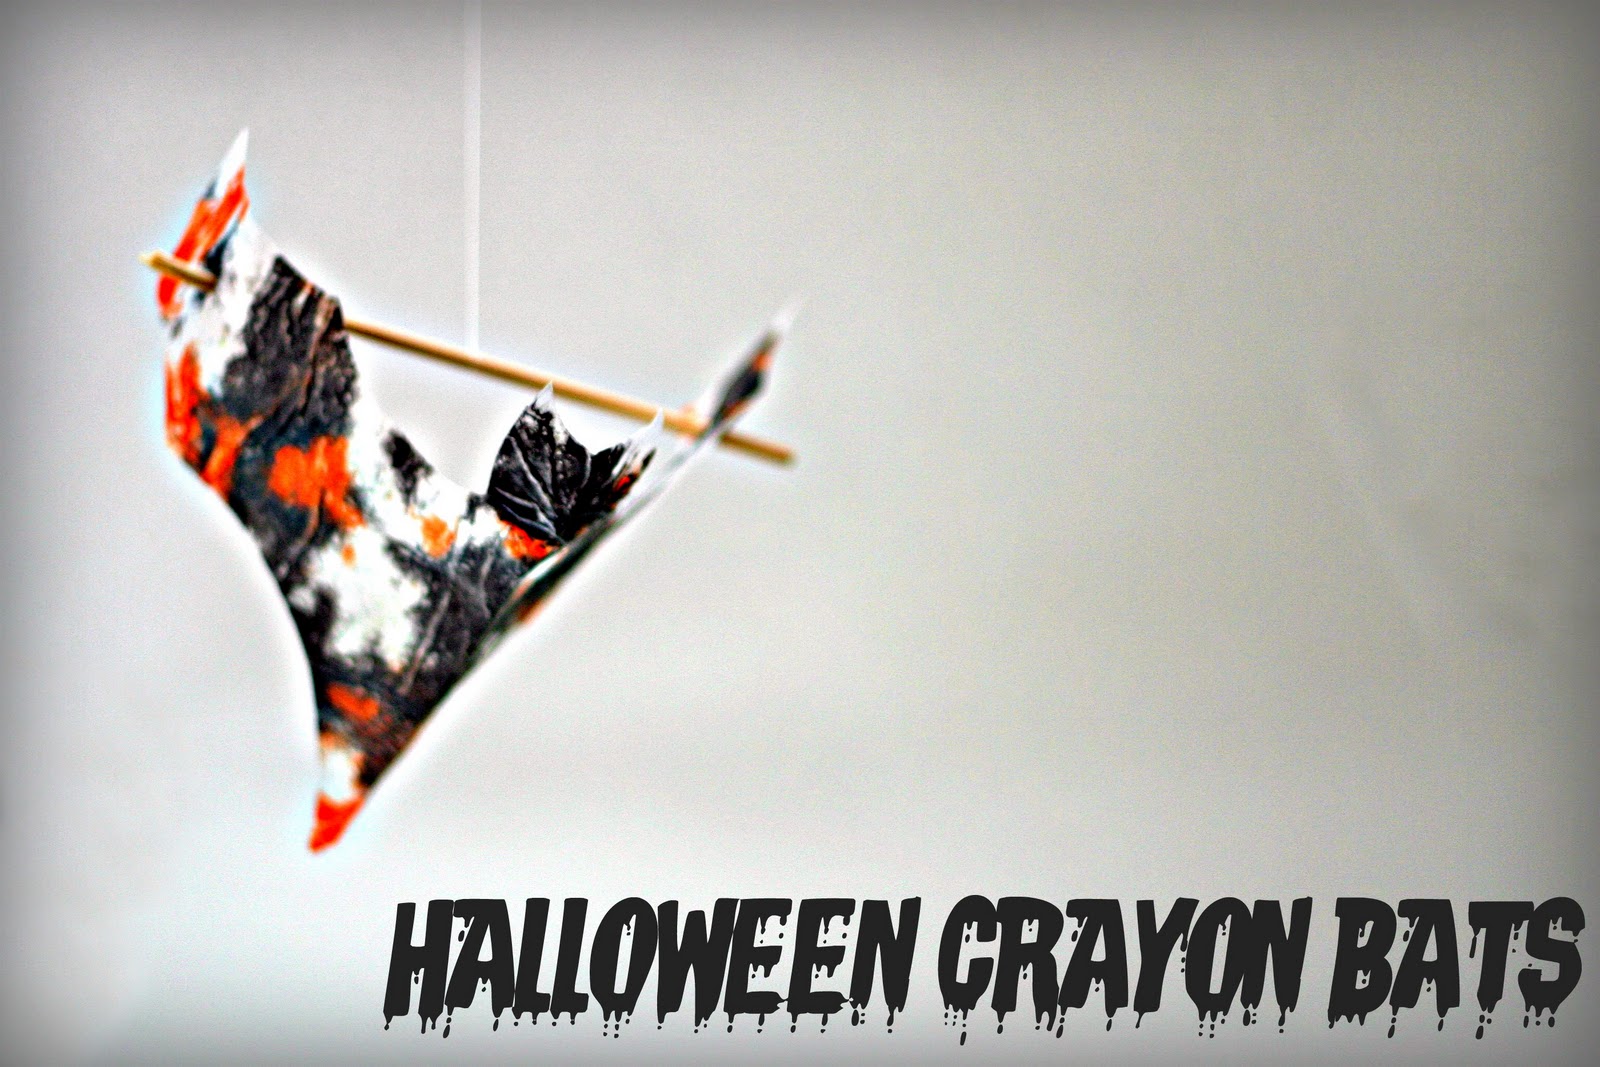
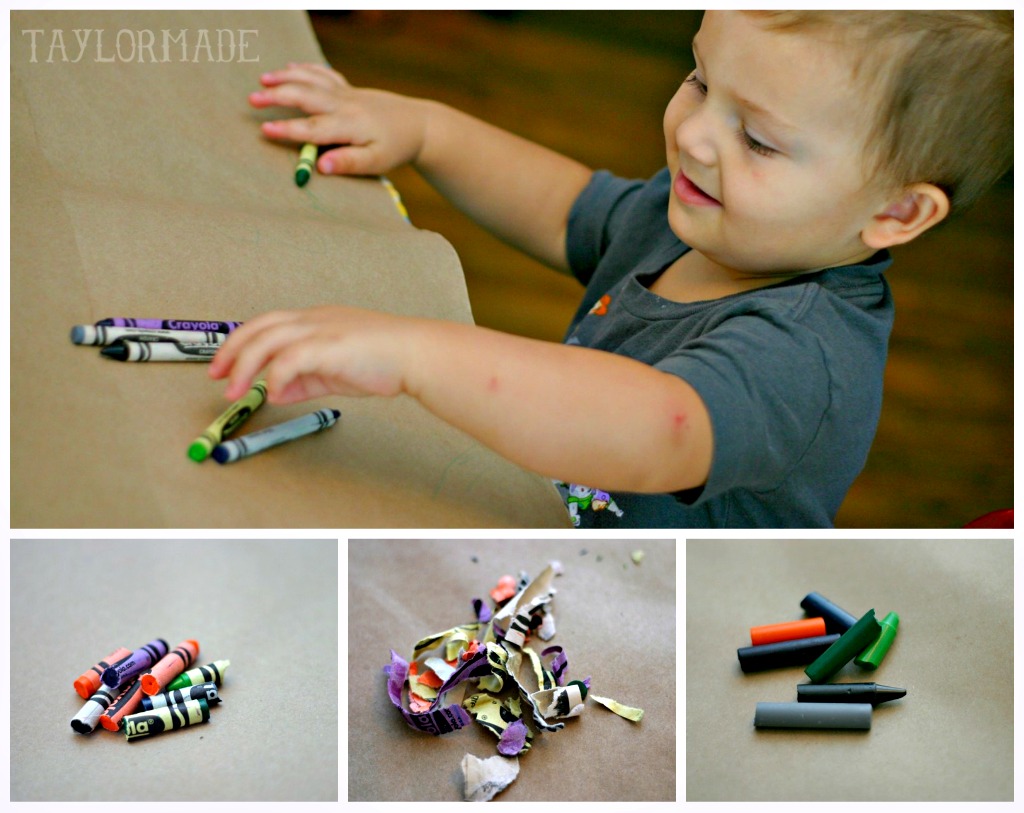
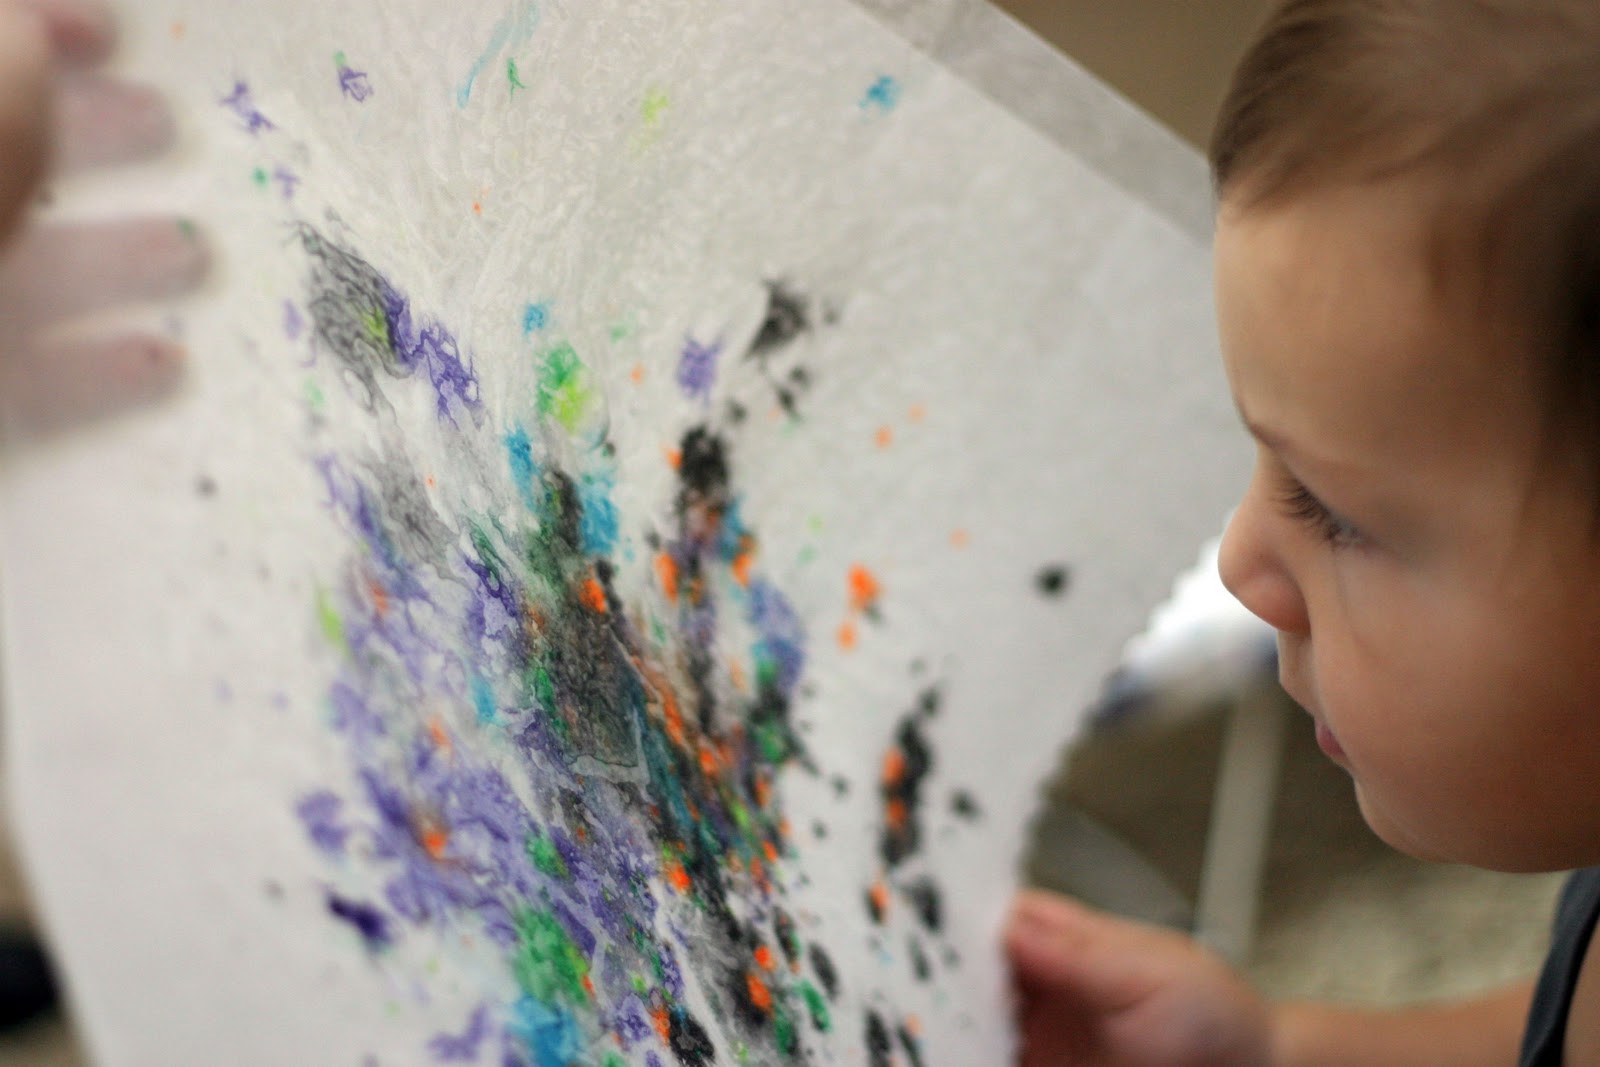
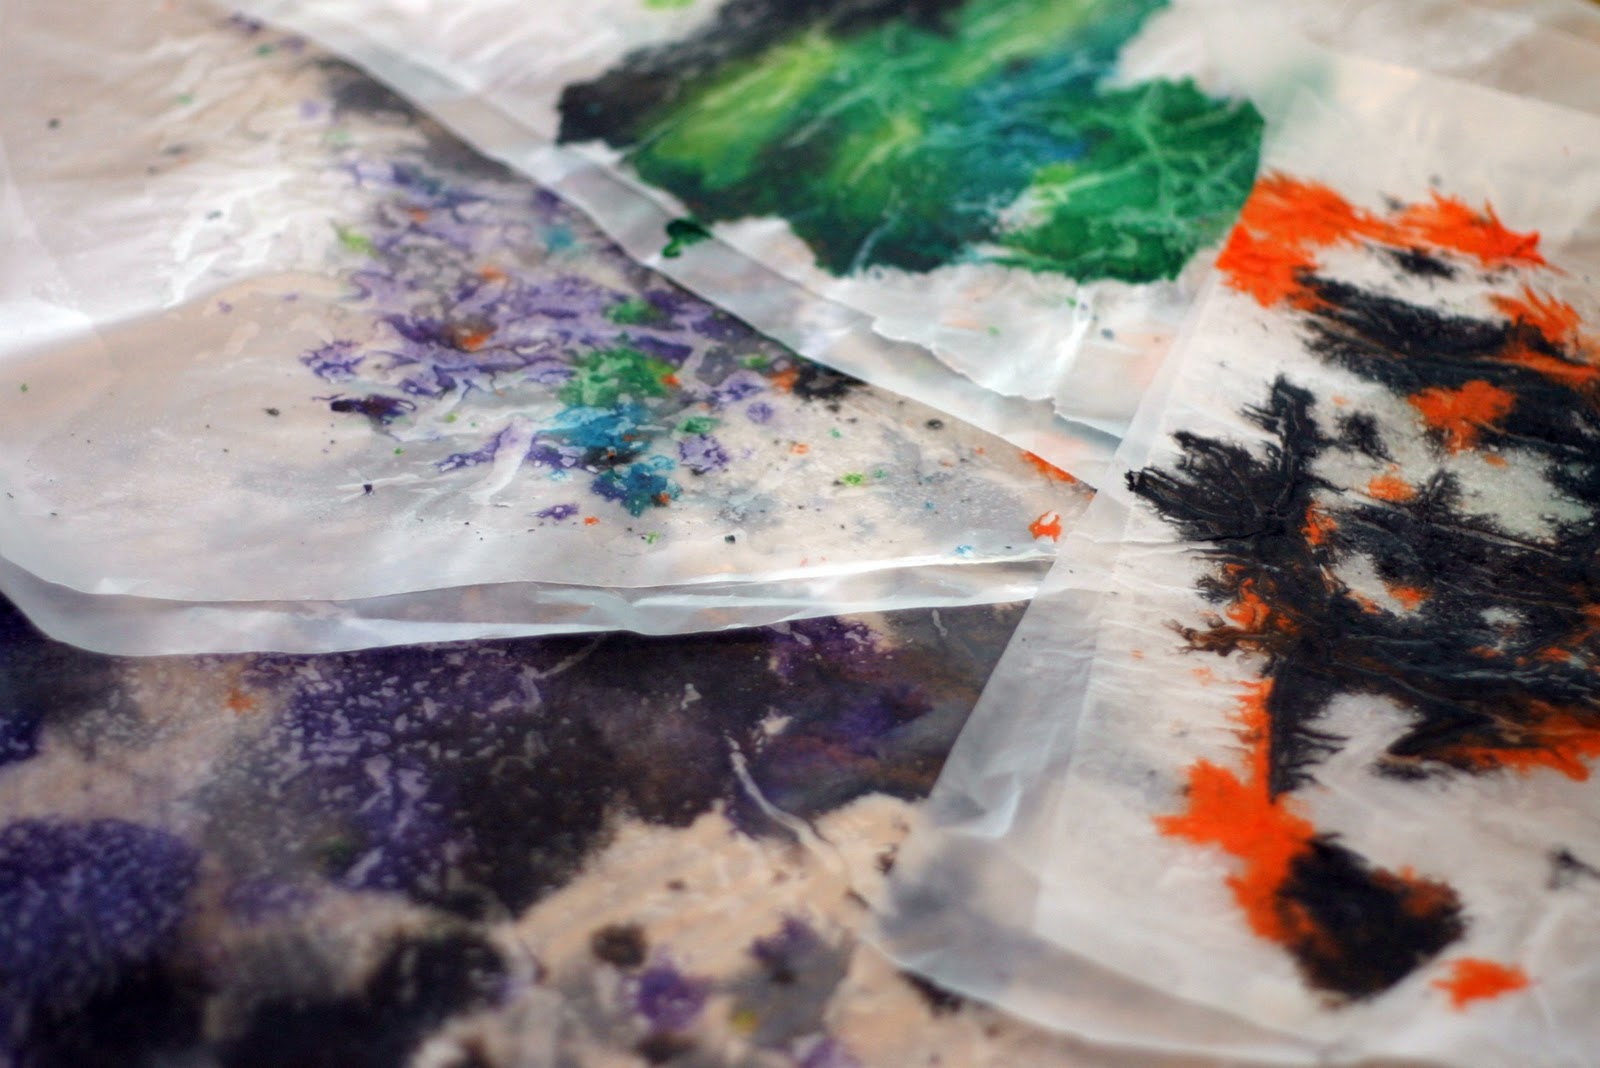
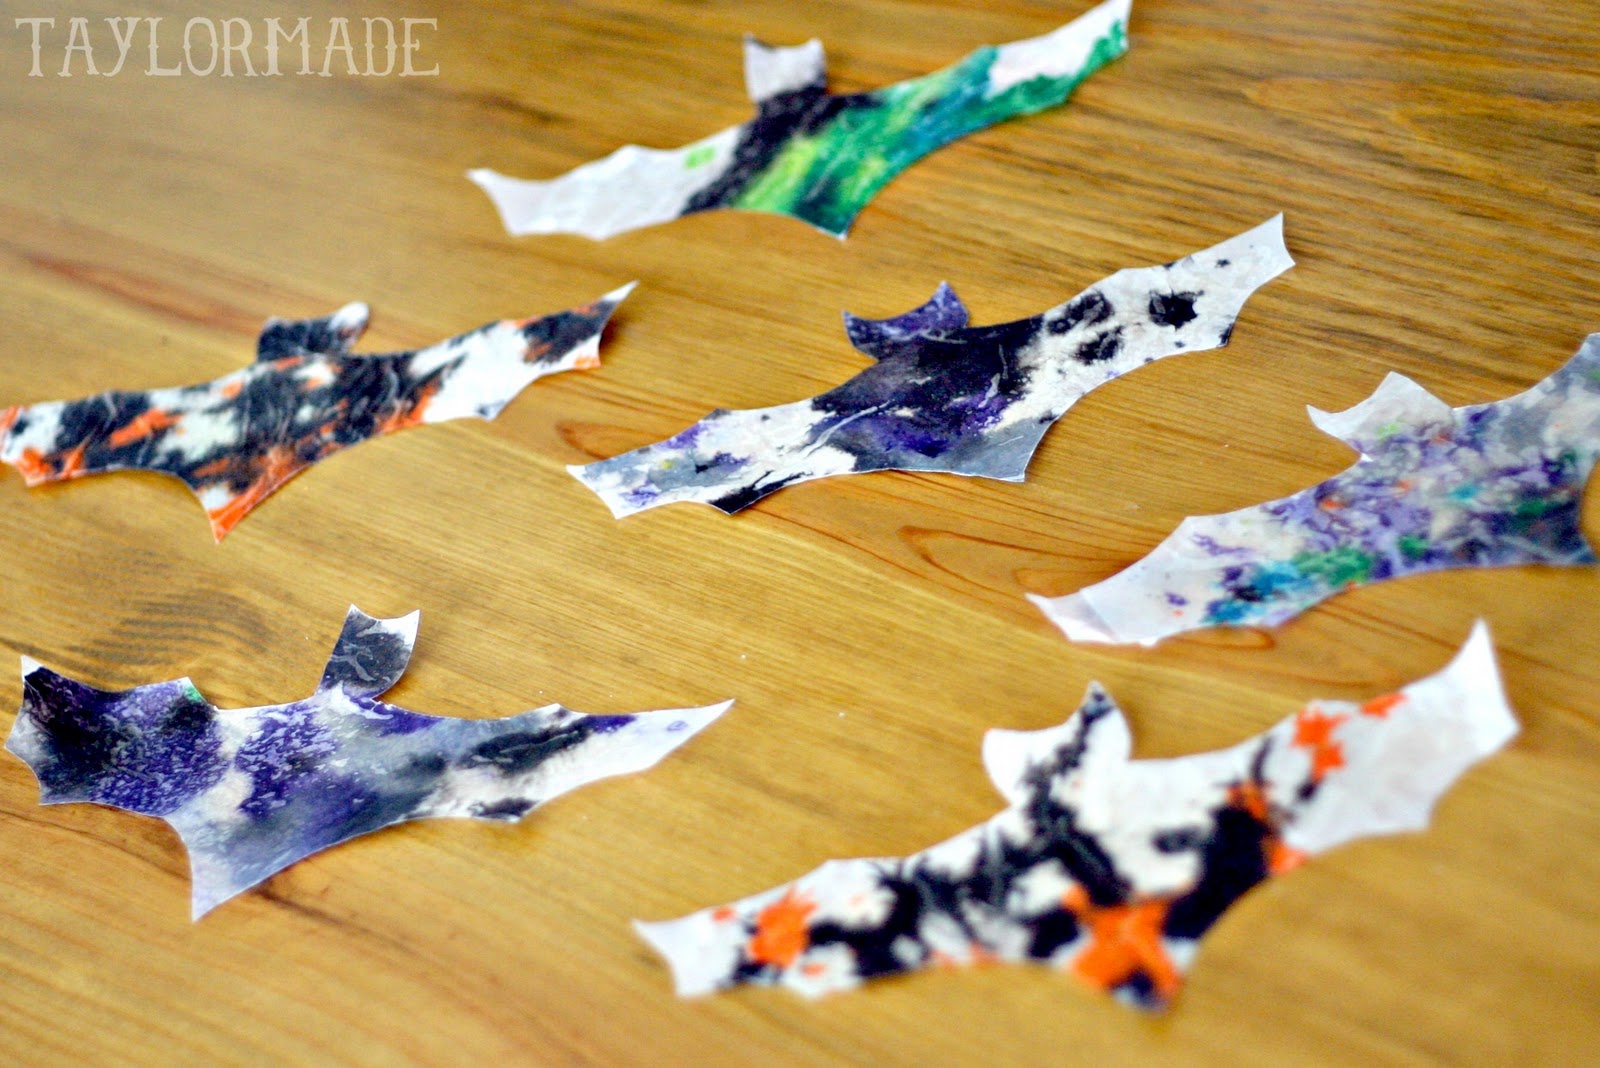
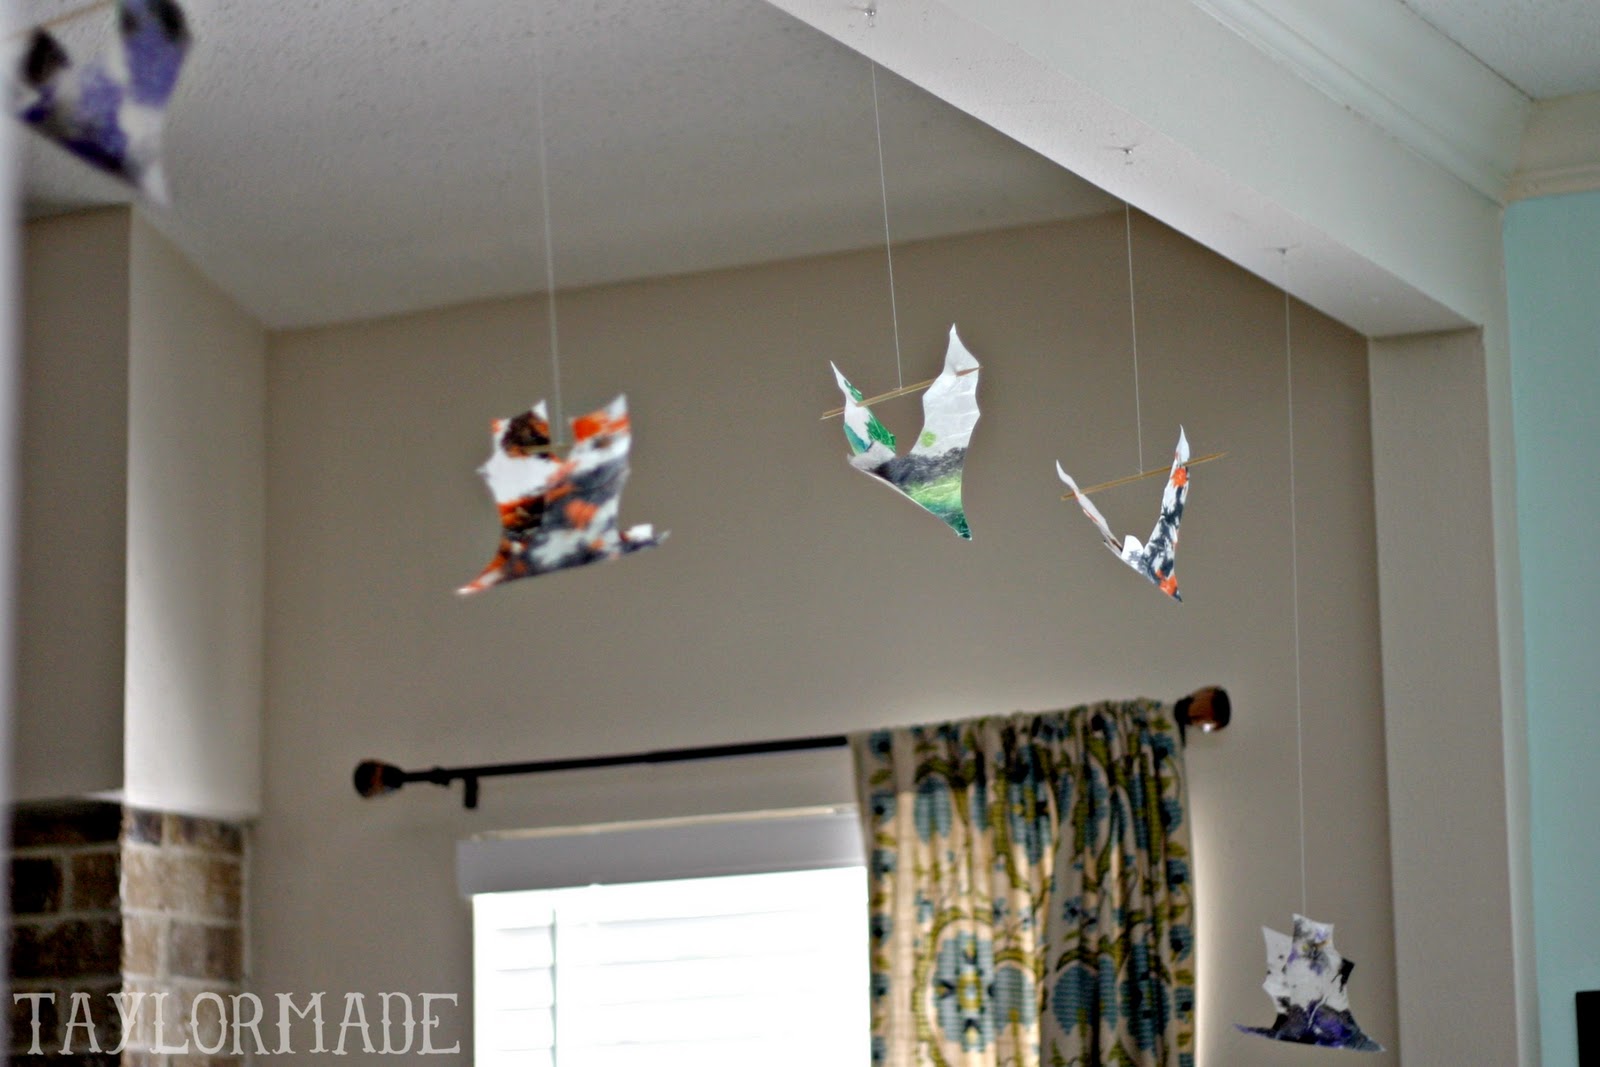
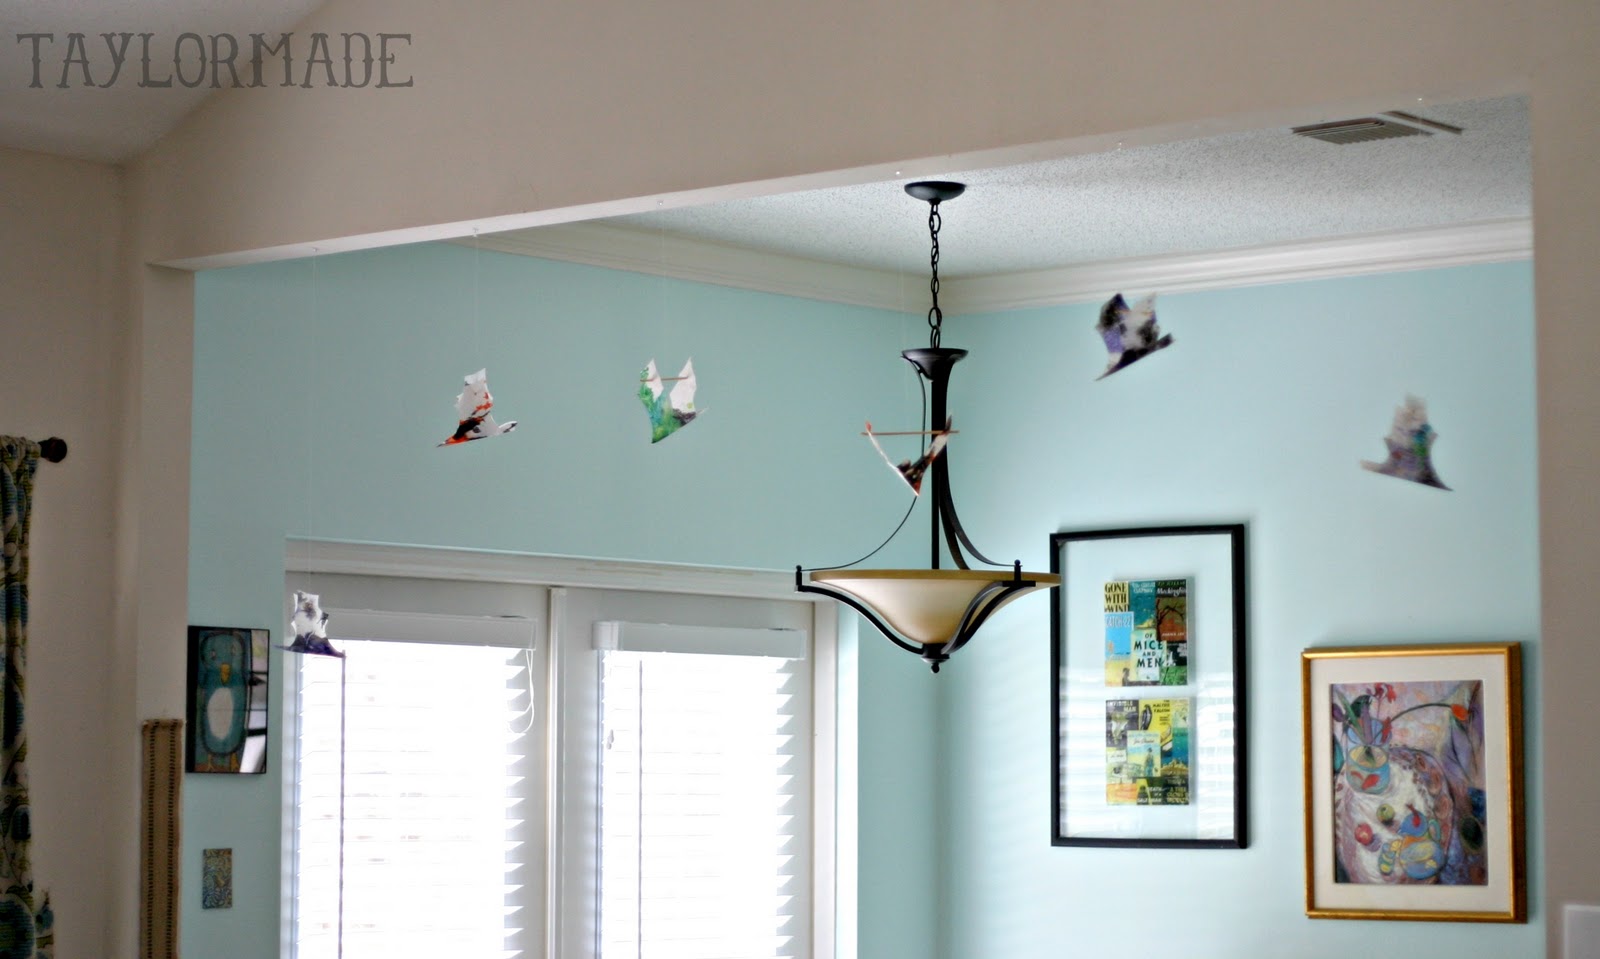
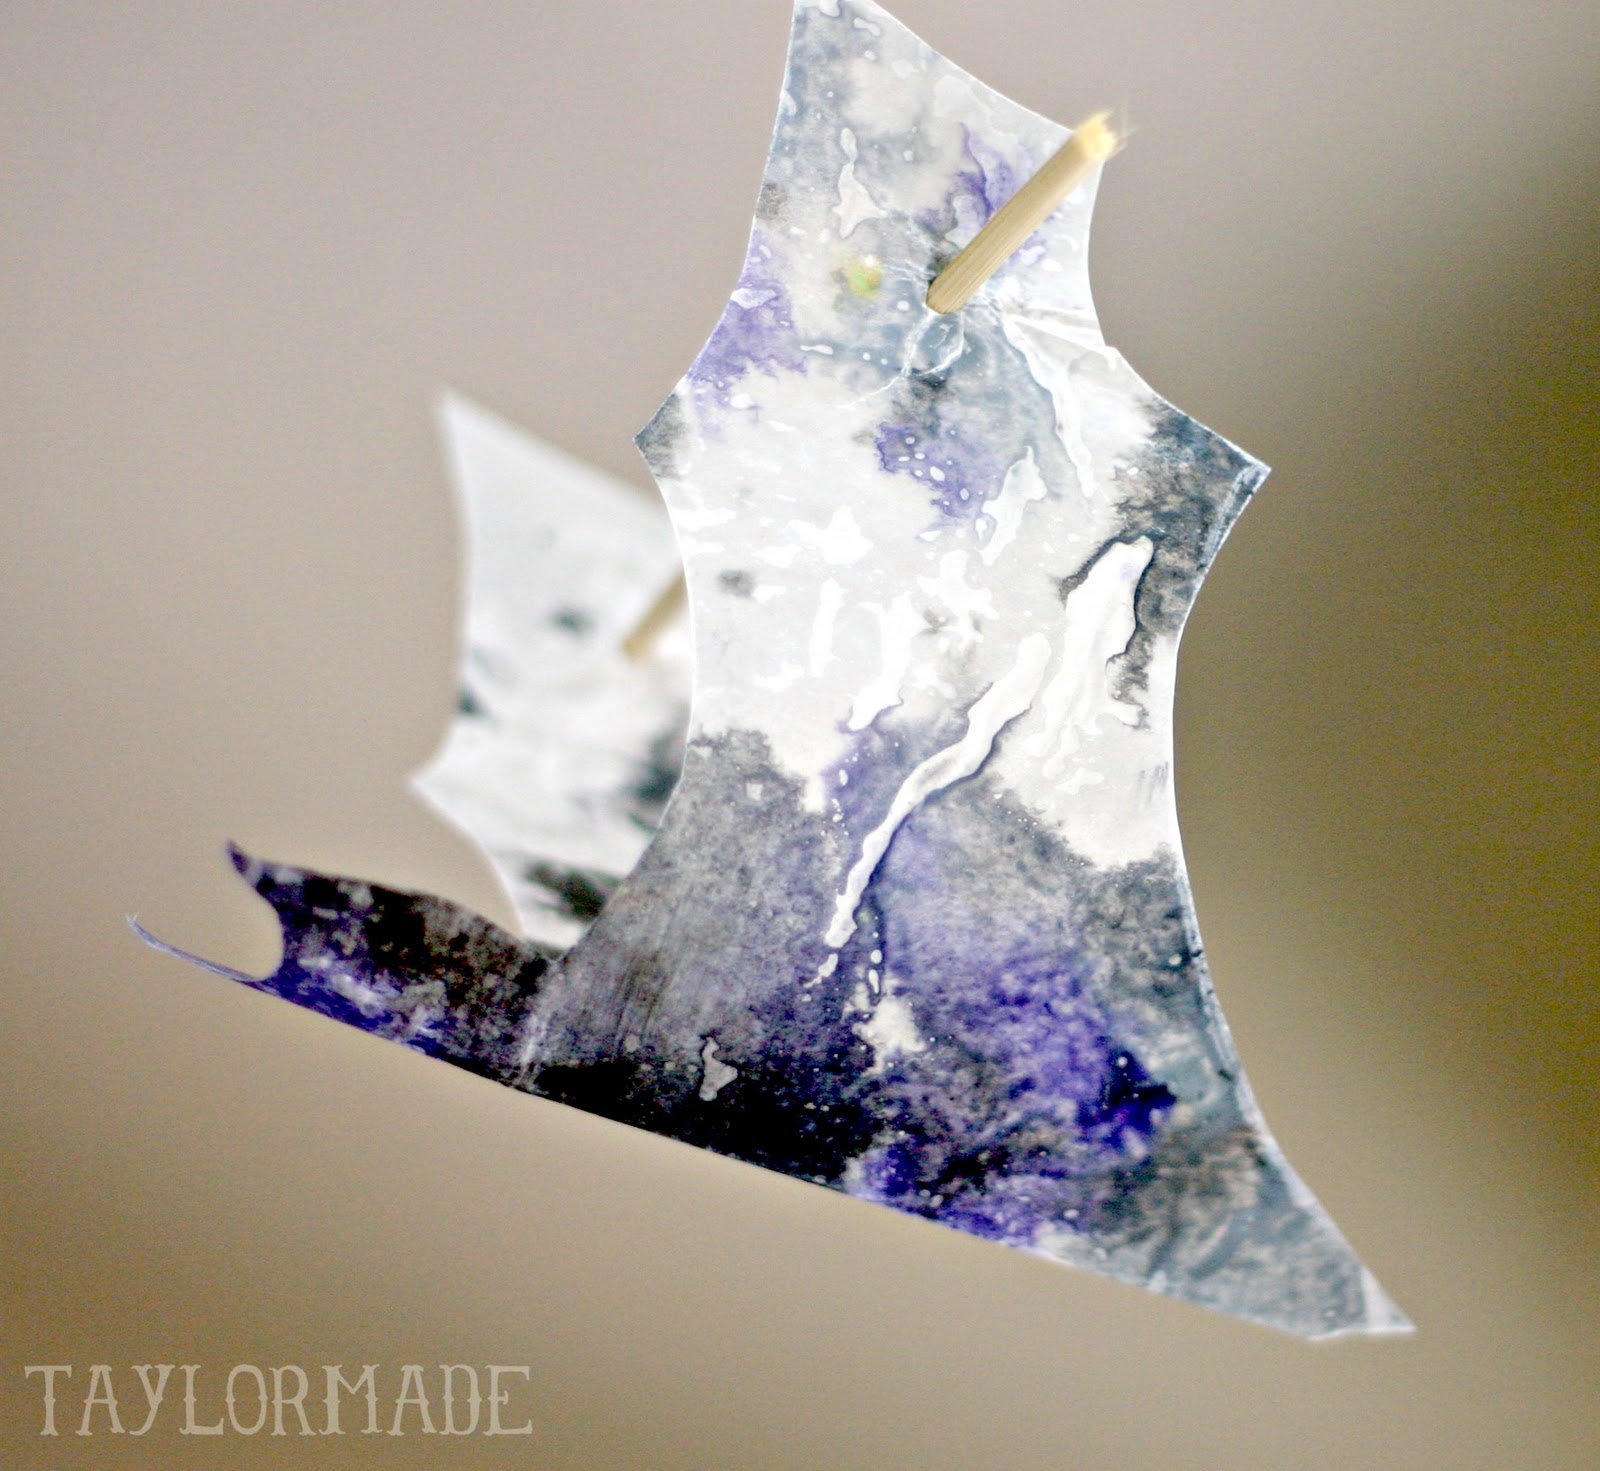
Here is what we came up with:

Use the Taylor Made Bat Template found HERE and cut out a few bats from the paper.
You can hang them as is or make them fly. Use Bamboo skewers, fold the bat in half down the middle, then push the skewer through the ends of the wings.
Use thread or fishing line to hang them.
Spooky Batman. Have you decorated for Halloween yet? And please give me some fall-ish details :)

Pin It

Related Posts Plugin for WordPress, Blogger...

Filed Under: craft, crafts with kids, halloween, holidays, kid stuff Tagged With: holidays

  • « Previous Page
  • 1
  • …
  • 47
  • 48
  • 49
  • 50
  • 51
  • …
  • 66
  • Next Page »

Welcome to Taylor Made

http://www.taylormadecreatesblog.com/about-me Hi Yall! I'm Taylor... an artsy mom of three from Houston, TX. I love sewing, collecting floral fabric, eating Mexican Food, photography, brights colors, rearranging, and rolling clay. Taylor Made Creates is all about creating a fun, colorful home, sewing cute things and eating good food. Check out my SHOP HERE HERE! Thanks for stopping by!

Search

Pin with me!

Like Me :)

Facebook Pagelike Widget

More Recent Posts

  • Kid's Animal Room
  • Kids Camping Shirts
  • Mermaid Birthday Party
  • Conversation Heart Cold Packs
  • Holiday Apple Tea Punch
  • Purple Princess Costume
  • Letterboard Costume
  • La Croix Costume

FAVORITES

  • Vintage Sheet Quilt
  • Swan Wings + Hello Ollie Fabrics
  • How to Glaze Furniture
  • Siberian Husky Costume
  • Adorable Girl Clothing (found on Amazon)
  • Color Wheel Clock
  • Winged Peasant Dress
  • Diaper Bag Tag
  • Briar Rose Strip Quilt

Copyright © 2026 · Web Hosting By RFE Hosting