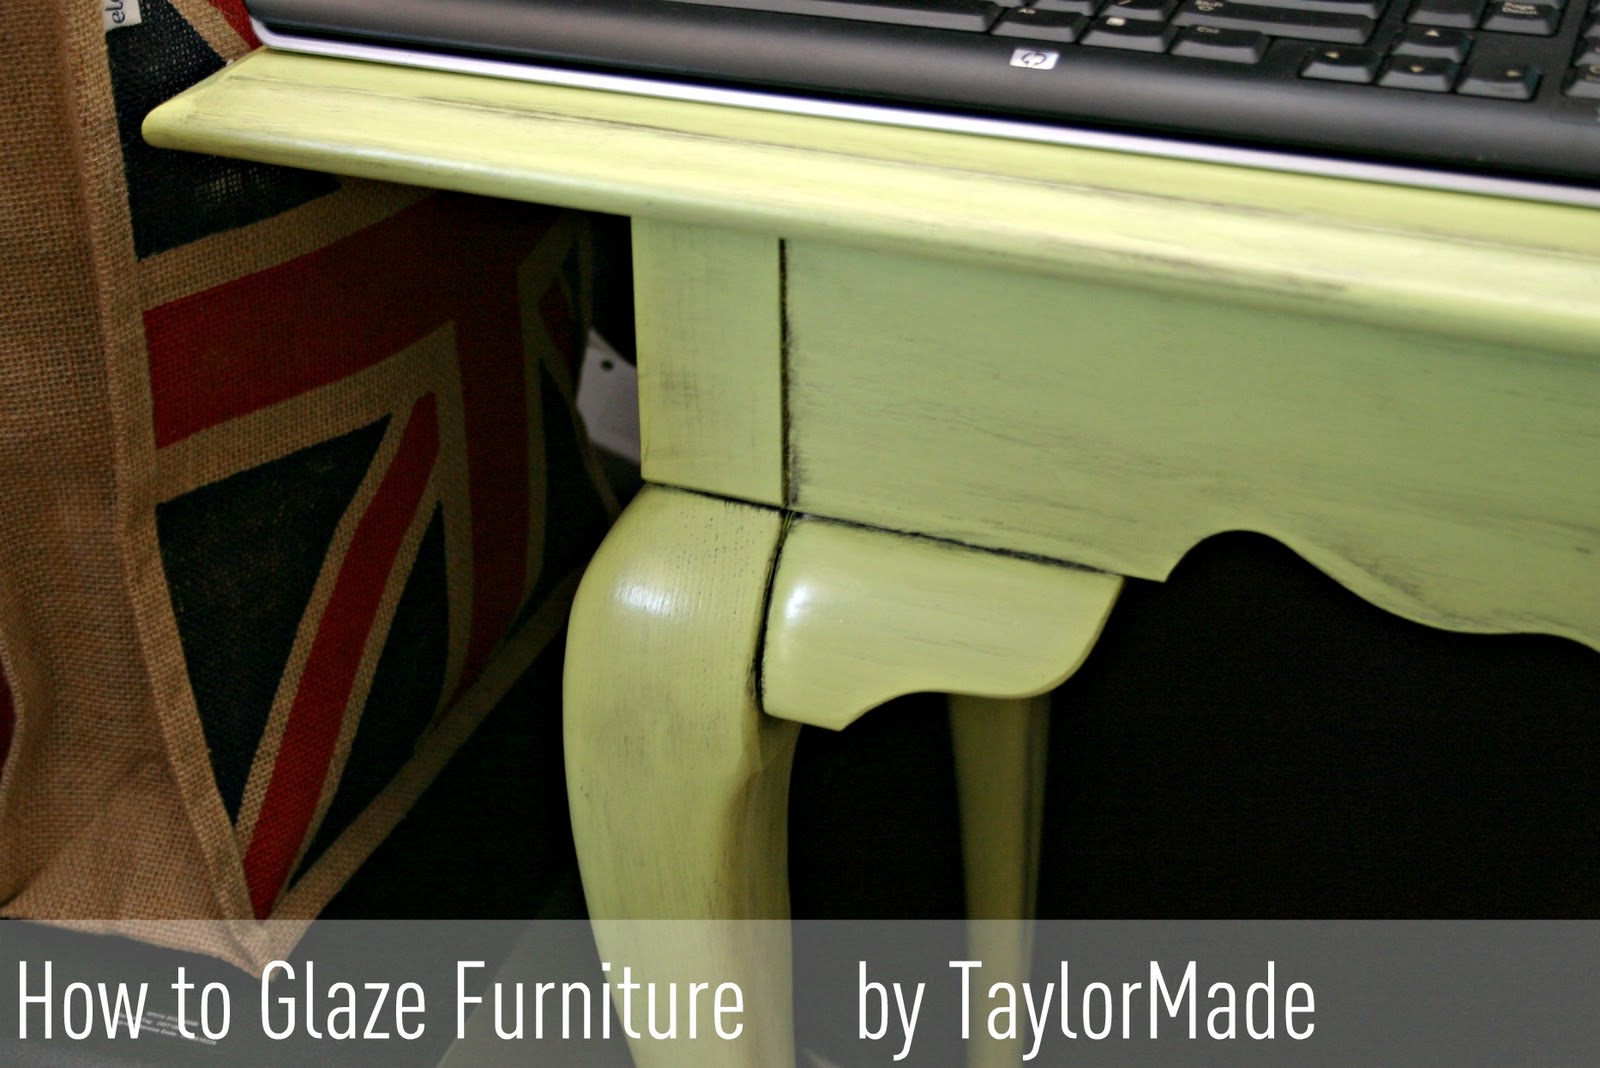
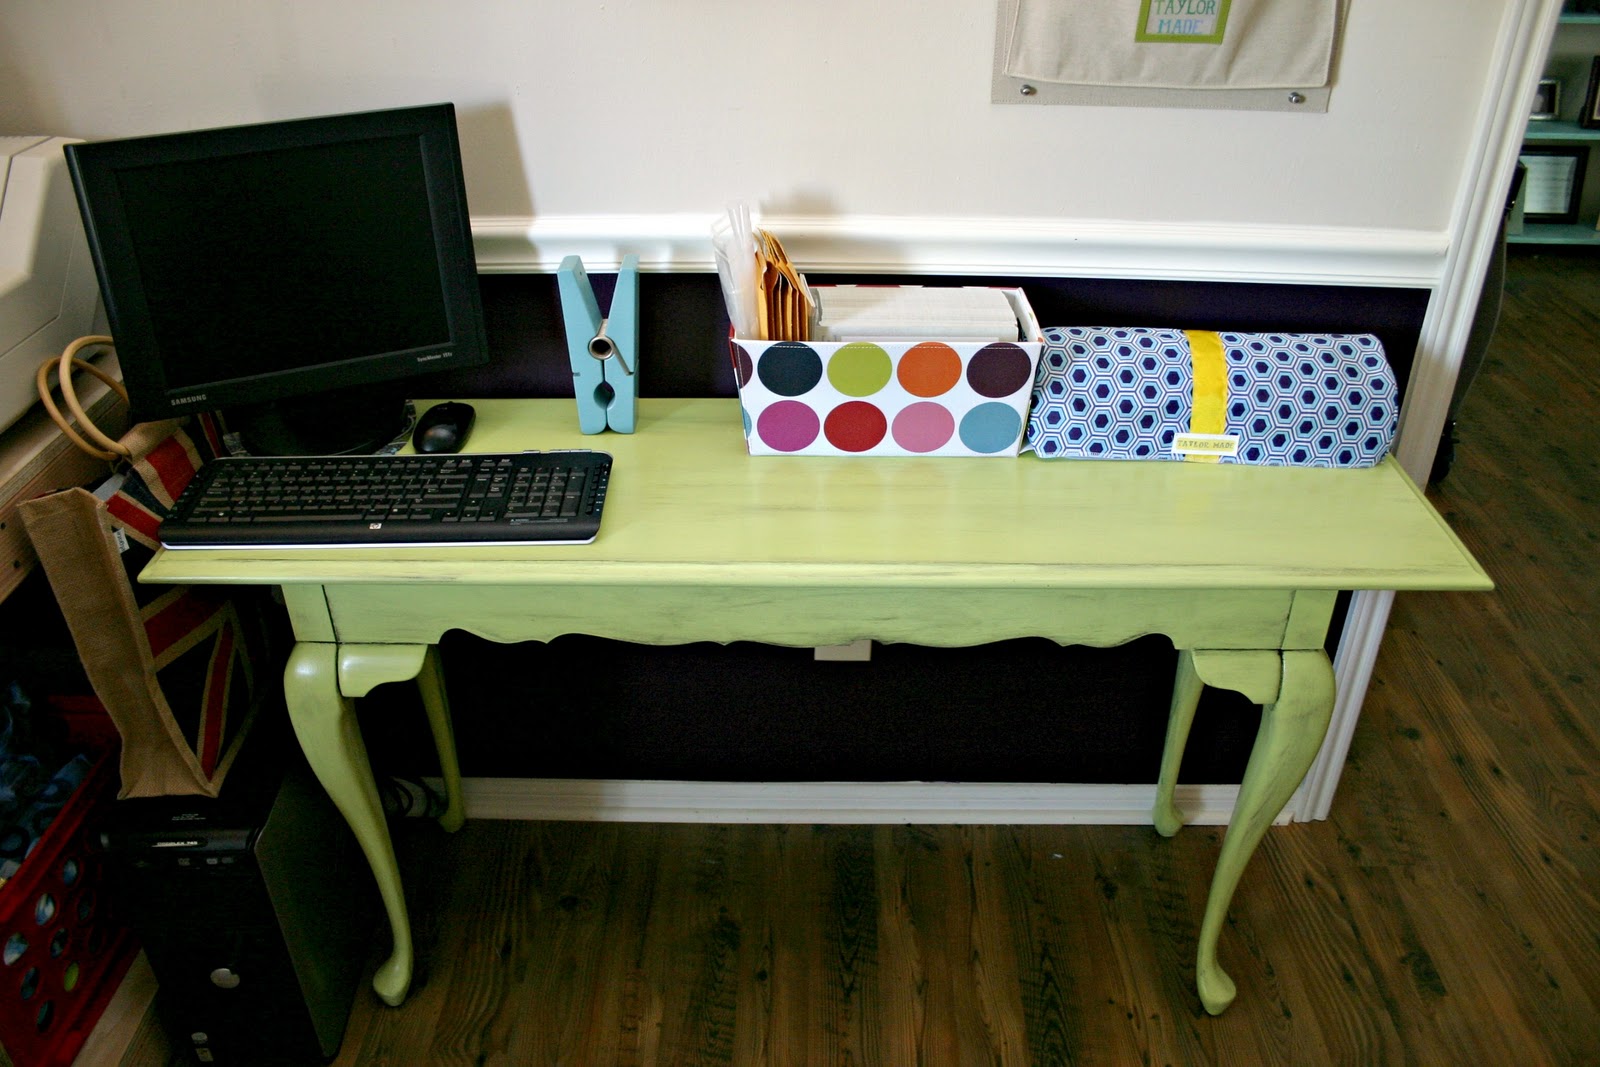
I love that a blog post can jump-start the finishing of a project. This series, Craft Spaces, made me finish my green table that I thought about painting for a long time. So, I finally did. Yay for making goals and actually completing them, even if it is only painting a table :) So here is a little “How To” for your Monday enjoyment.
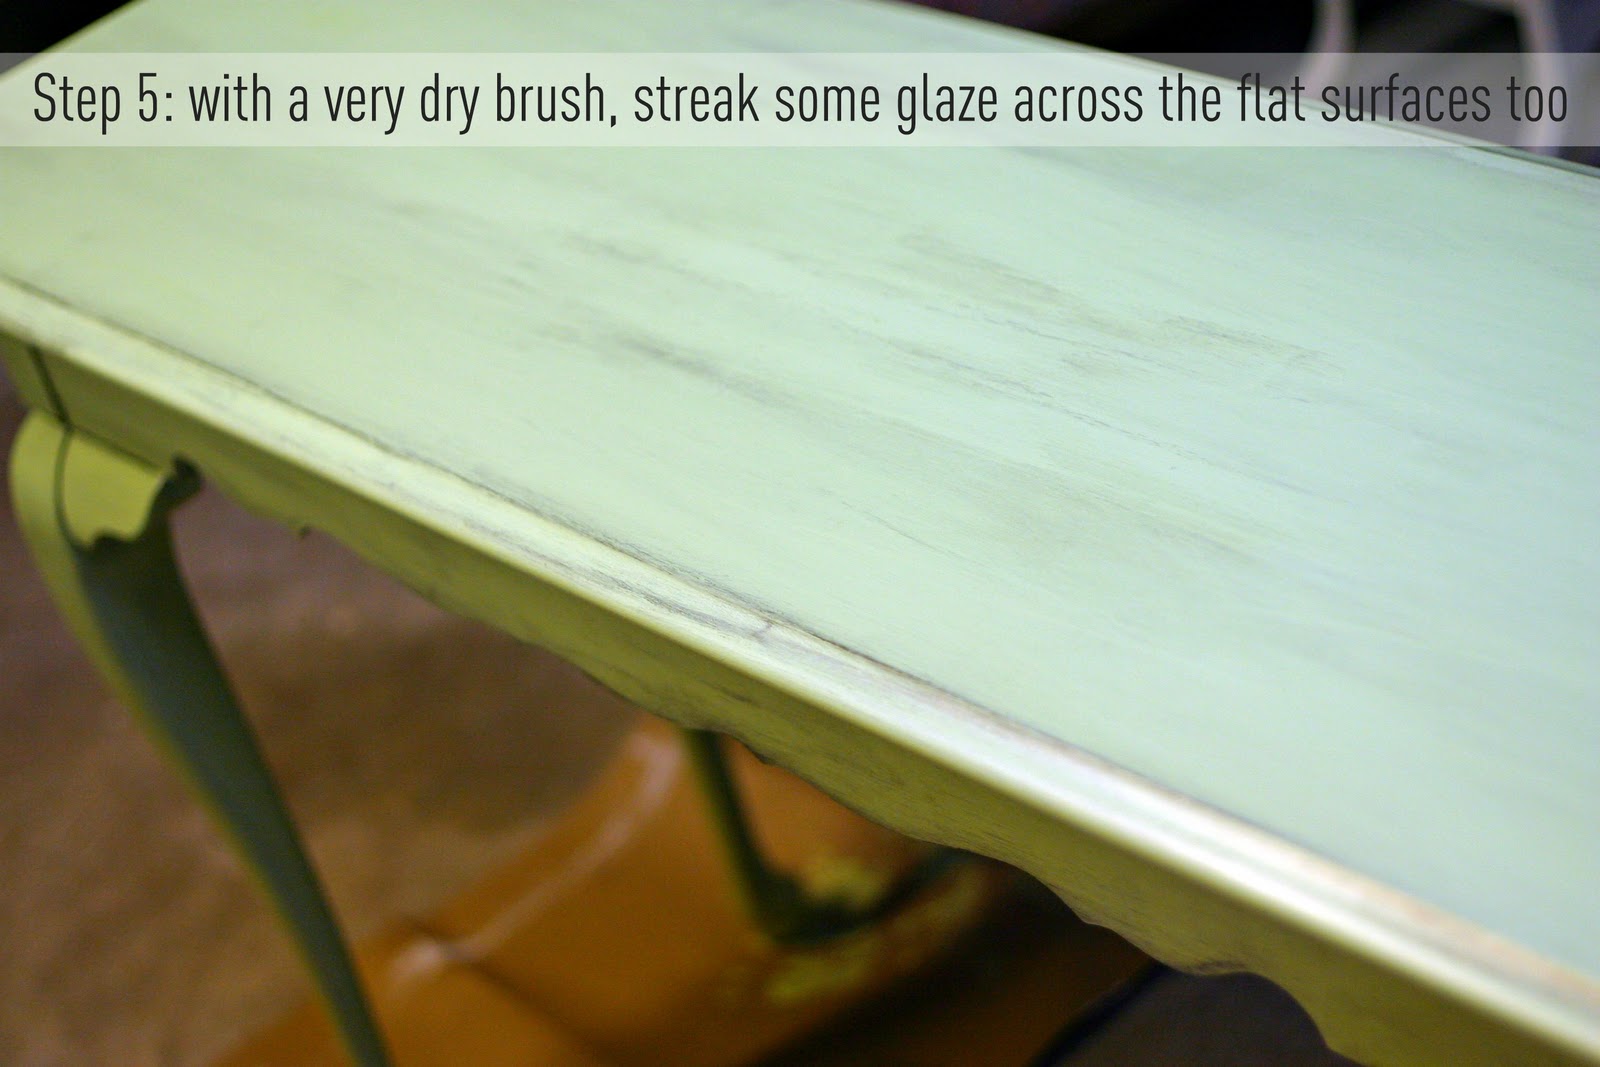
I really like the look of Glazed Furniture, I think it adds the perfect amount of dullness to a bright paint color. That and I have an issue with too many conflicting wood colors. The key to glazing is finding the right piece of furniture. Make sure there are a lot of nooks and crannies. This table almost doesn’t have enough but I was OK with that. The glaze sticks into the cracks to give it the antiqued look.
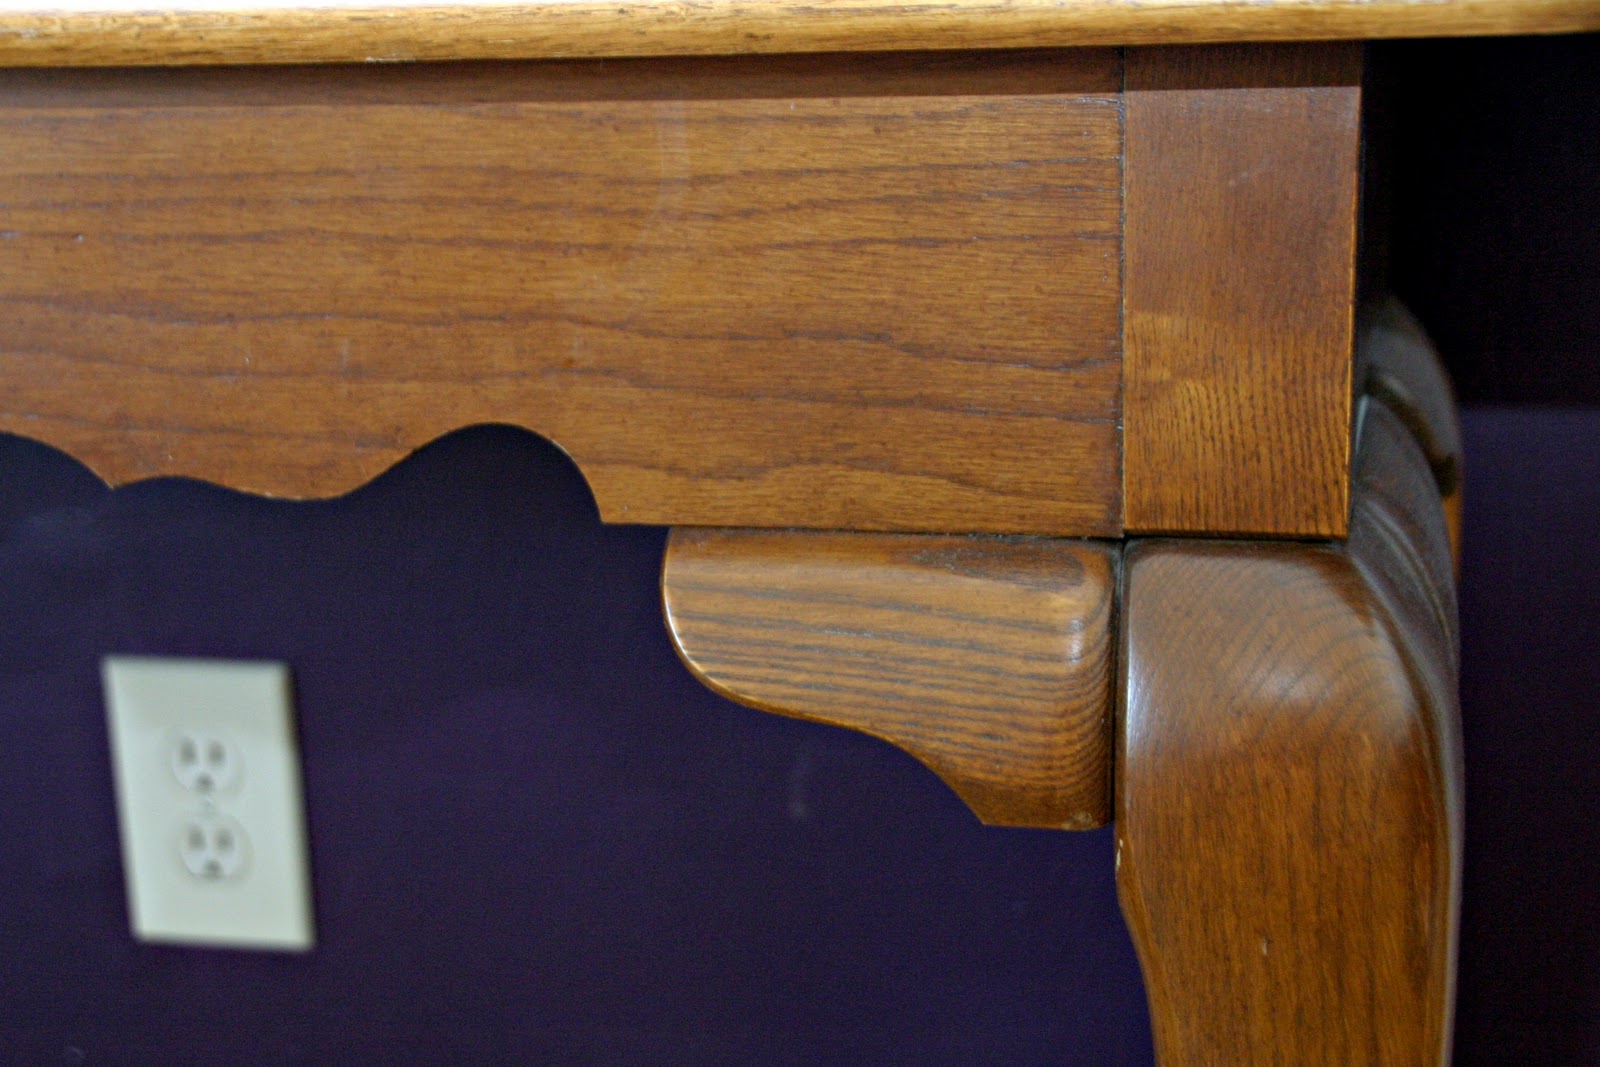
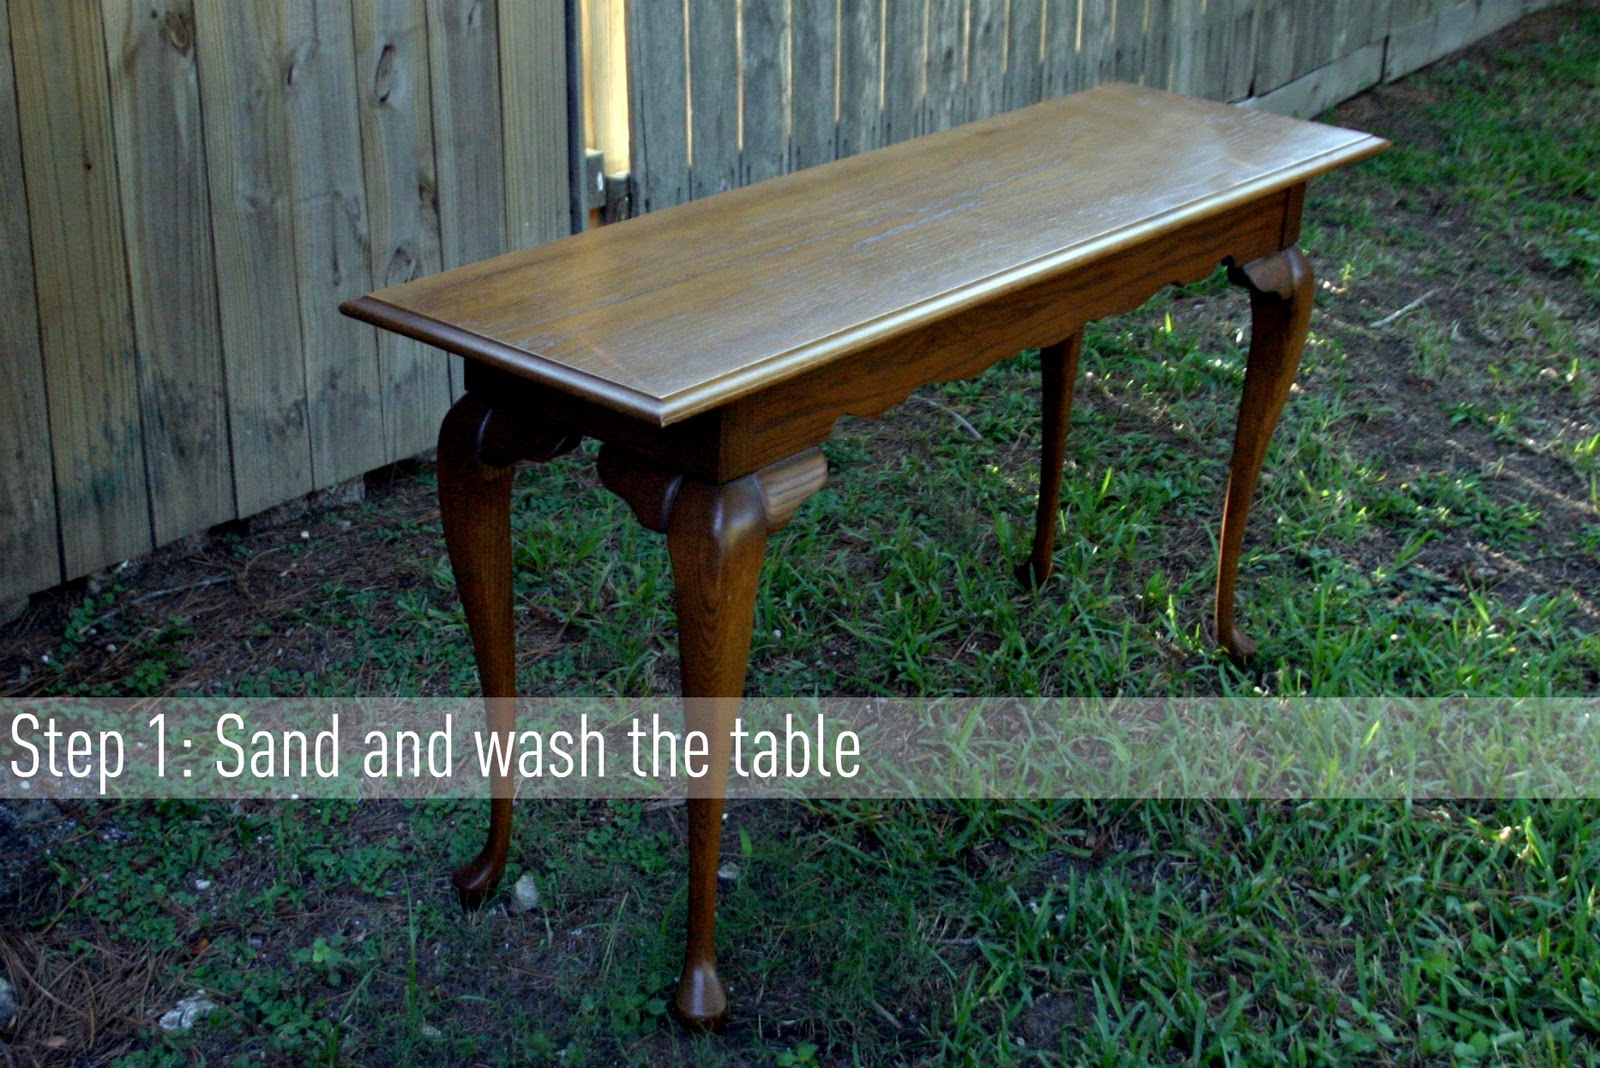
This Queen Ann Table was in our house growing up, it was modern in the early 90’s. And I LOVE the lines and the scroll of it. My Mom let me have it when we bought our first house. She is good about getting rid of outdated furniture. And that it was, super solid but just a little outdated…
Supplies:
– sandpaper
– base paint (I used Behr in Granny Smith Apple)
– metallic glaze (I used Martha Stewart in Black Coffee)
– paint brush and foam brush
– an old rag
Directions:
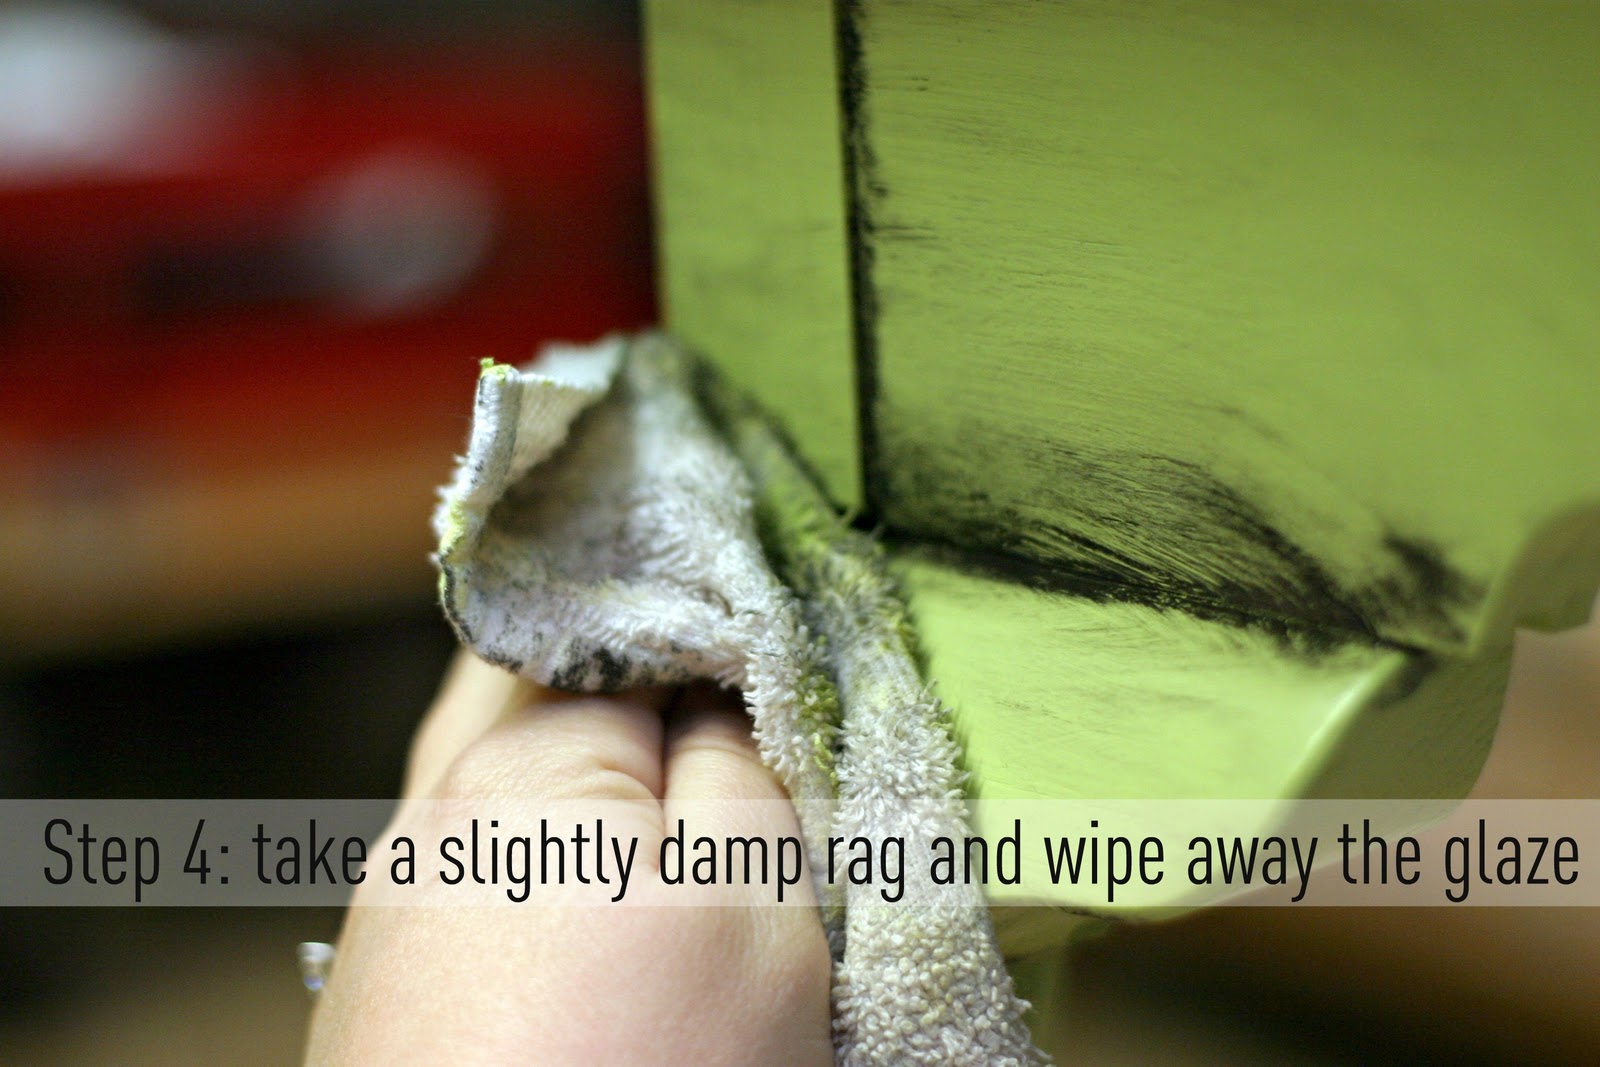
I sometimes had to do this step a few times, I would wipe too much off. I tried it with a damp towel and a dry one, they have different effects so play around with it.
It is no secret that I am a big fan of See Kate Sew. So, when she decided to celebrate her blog’s birthday with a Scallop-Sew-Along, how could I say no? It was actually perfect timing because I was on the prowl for a new diaper bag pattern. I only have like 5 or 6 diaper bags so clearly I need a new one. Is it just me or is anyone else constantly searching for the perfect one? They are either too big, too small, too mommish, too pursish, not enough pockets, too many pockets. I think I just hate lugging around two different size diapers, snacks, batman, toy cars, bibs, blankets and a change of clothes for each kid. Maybe I’m taking it out on my diaper bag?
Anyway, I made a diaper bag. With this pretty little scallop pattern from Kate. I used the pattern for the scallops and I used her strap dimensions. I designed the rest of the bag to my liking (or to my picky standards).
Not only do I love scallops but I LOVE linen (who doesn’t?), so I used that for the base of the bag. I ironed some interfacing to one side of the linen so it stands up better.
I also made bias tape for the edge of the side pockets (which are all lined for more stability).
The back has a large pocket that is split, for sippy cups or toys- gawd my life is glamorous.
I added my fabric label.
And of course added three pockets to the inside, two for diapers and I get that one little square houndstooth number – with more handmade bias tape.
And everything is so organized now. See, I wasn’t lying about carrying batman everywhere.
Thanks Kate for the Sweet Scallop Pattern, and a deadline :)
ps… Next Tuesday kicks off Craft Spaces – a little series here on Taylor Made that is going to be filled with tips, tours and talented guest bloggers. If you are interested in showing off your room, sharing a tip or a tutorial – email me at taylor.taylormade@gmail.com. See you back here next week :)
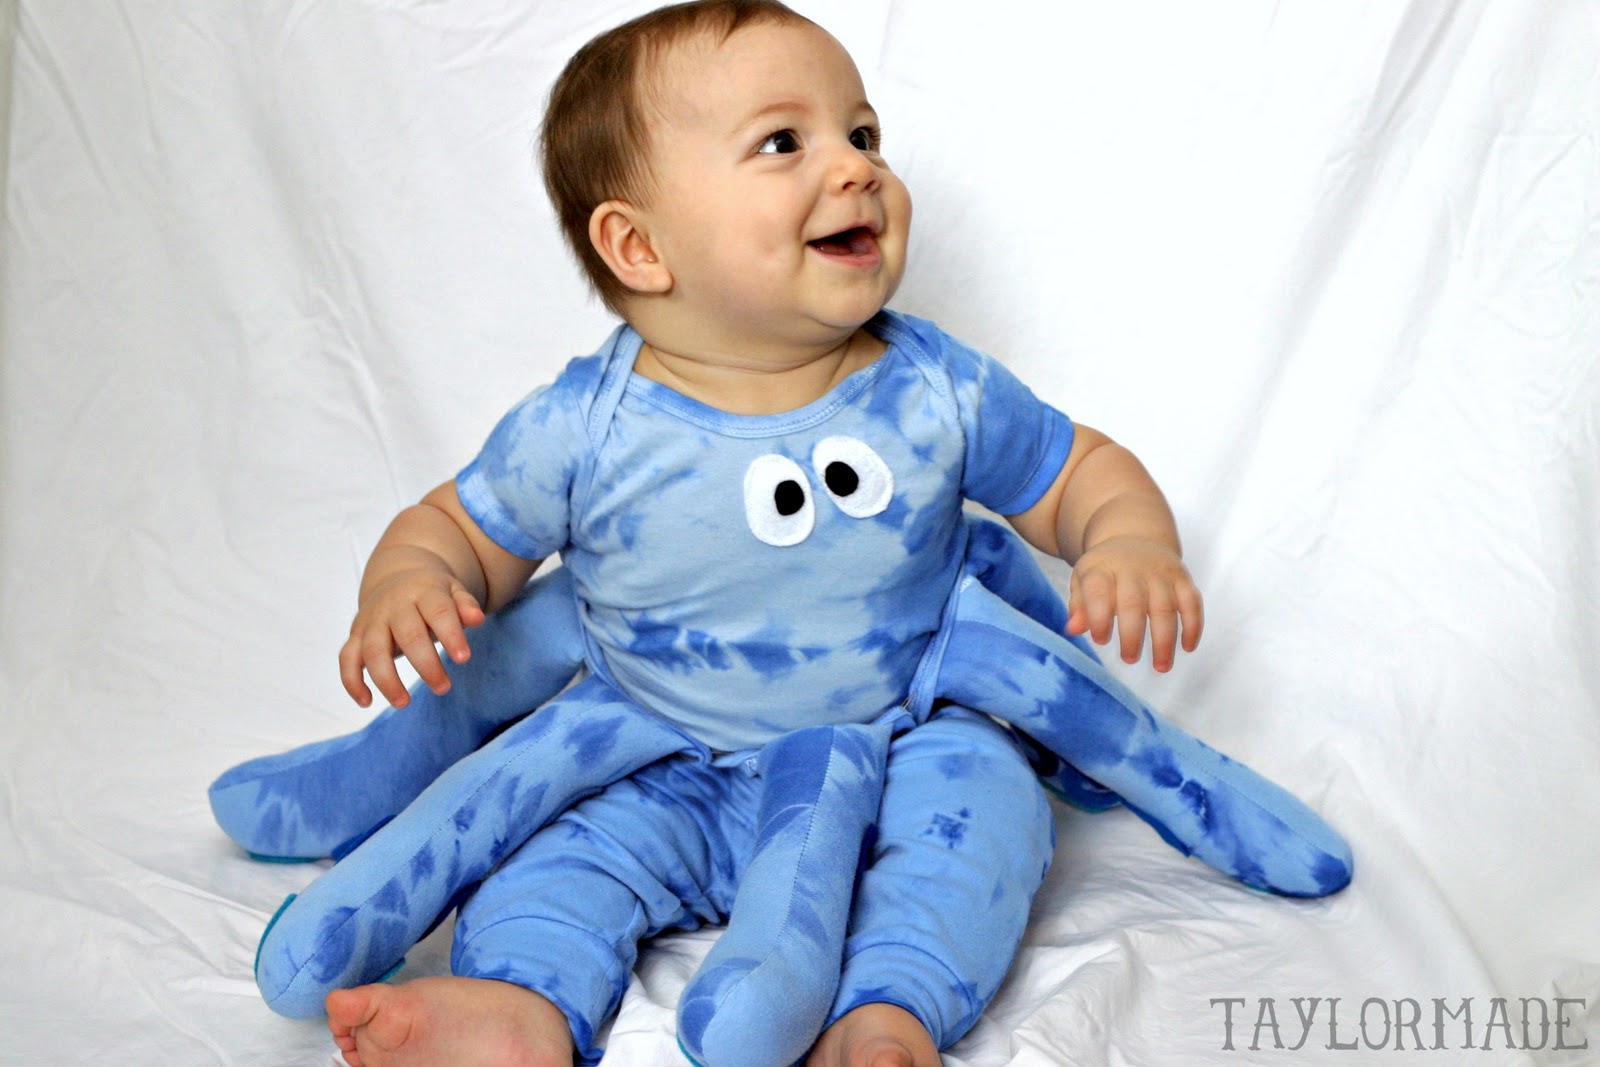
In keeping with our “under the sea” theme this year… Clyde will be fashioning an Octopus Costume :)
Trying to get a crawling nine month old to sit still for an octopus photo shoot isn’t the easiest of tasks… but we got a few pictures. Just like his brother’s, I made sure his costume is comfortable because my boys will rip clothes off if they don’t like them.
This is what I started with…
-light blue onesie with a truck on it
-blue pants
-XL men’s blue shirt on clearance
My main problem was that all of the blues were a different shade so I tie-dyed all of them along with Poseidon’s pillow case. Also, I tried to seam rip that embroidered car which almost resulted in a major fail… saved it by adding felt octopus eyes.
For the “octopus leg belt”, I created a sock shape and cut out 12 halves from the XL men’s shirt. Then I sewed them together but left the tops open. I stuffed the legs and made “bias tape” (not actually on the bias- just from the tshirt scraps). To close the legs, I sandwiched them into the bias tape. The whole belt has a Velcro closure.
Lastly, I kind of cheated and fabric glued felt “o’s” for the suckers to the back of the legs… I mean after cutting 35 “o’s” out I wasn’t abut to hand sew them on… Halloween is one day people.
and this pretty much sums up how he felt about this little photo shoot… bye mom.
If you ask Finn about his costume for Halloween not only is he excited to put it on (because it involves a Trident) but he will also tell you he is the King of the Sea.
At first he called his Trident a fork and ran around trying to “eat” everything with it. I have to give full credit to my mom for the idea. I though of Clyde’s costume (pics coming later this week) and wanted an Under the Sea theme. My Mom came up with Poseidon… KING OF THE SEA. Finn loves it. He even cried for at least 10 minutes after I made him take it off.
I don’t have a tutorial because Poseidon is pretty obscure, right?
Here are the components:
-a tie-dyed pillowcase
-gold pleather belt with felt waves hand embroidered with a Velcro closure
-gold pleather shoulder “wrap”
– black taffeta trident with gold pleather tips and a wooden dowel inside and stuffed to make it soft
The best part is that it is super comfortable for him so he can run for hours in it :)
(ps… our poor dog was not harmed in the chasing with the trident pictures :)


