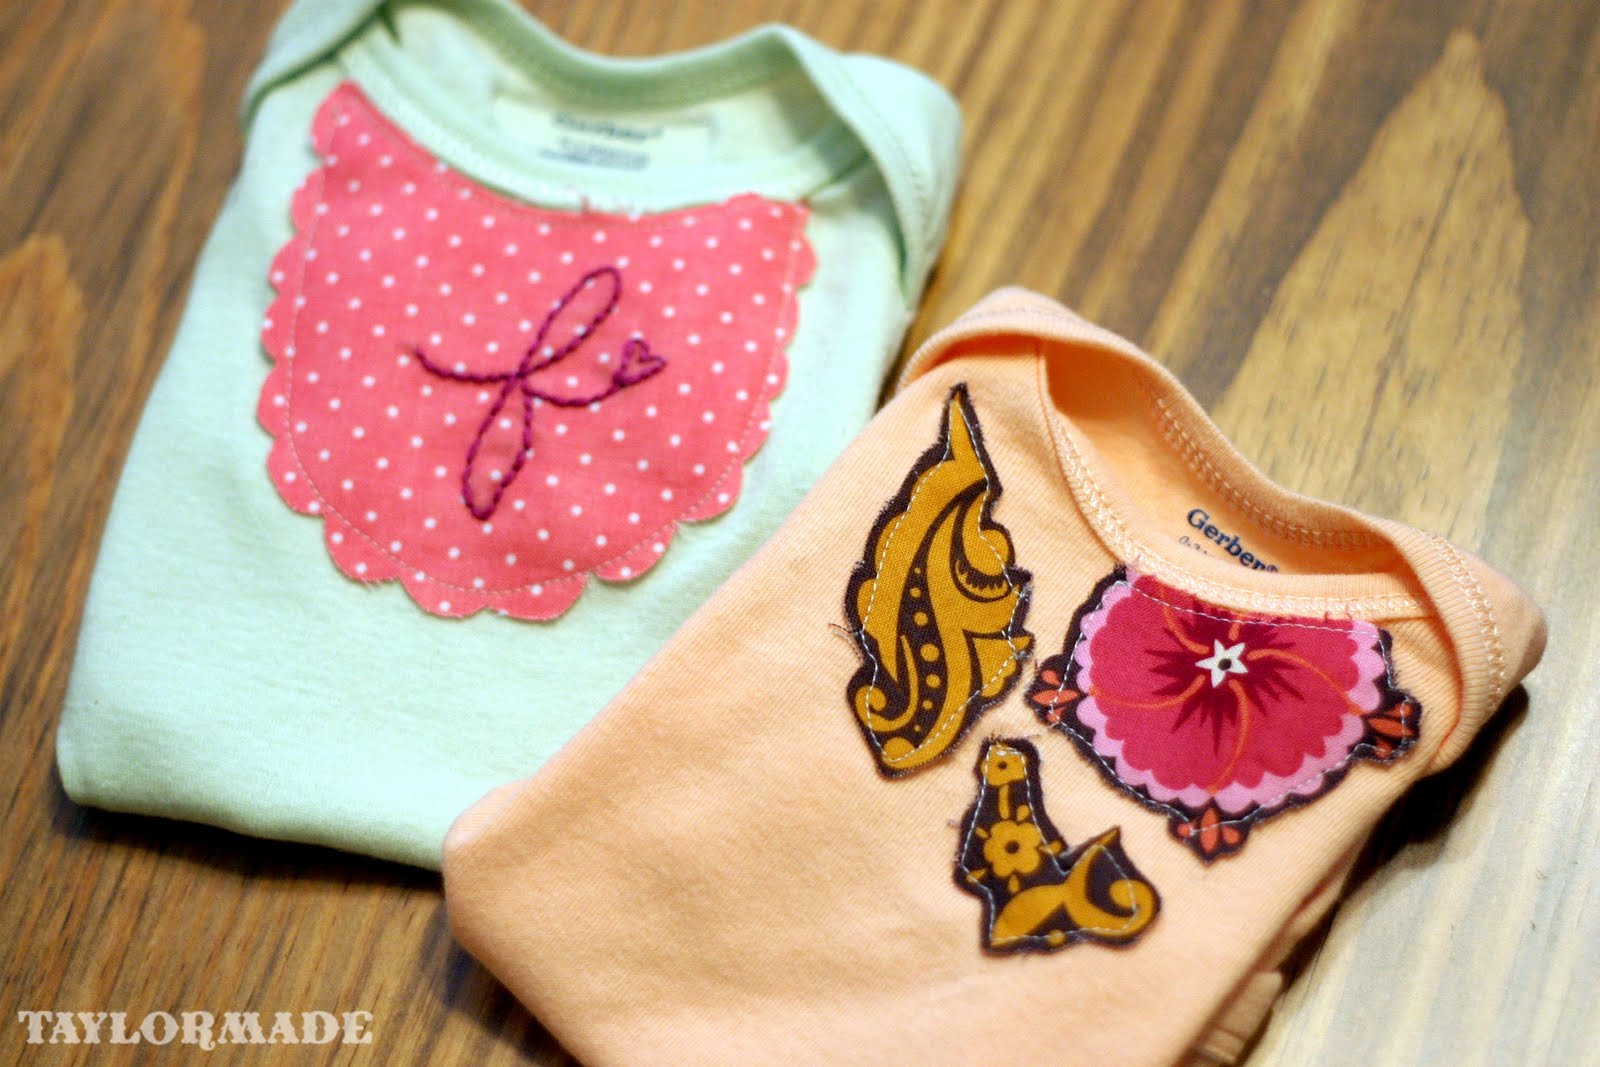
Take plain onesies and turn them into a baby fashion statement.
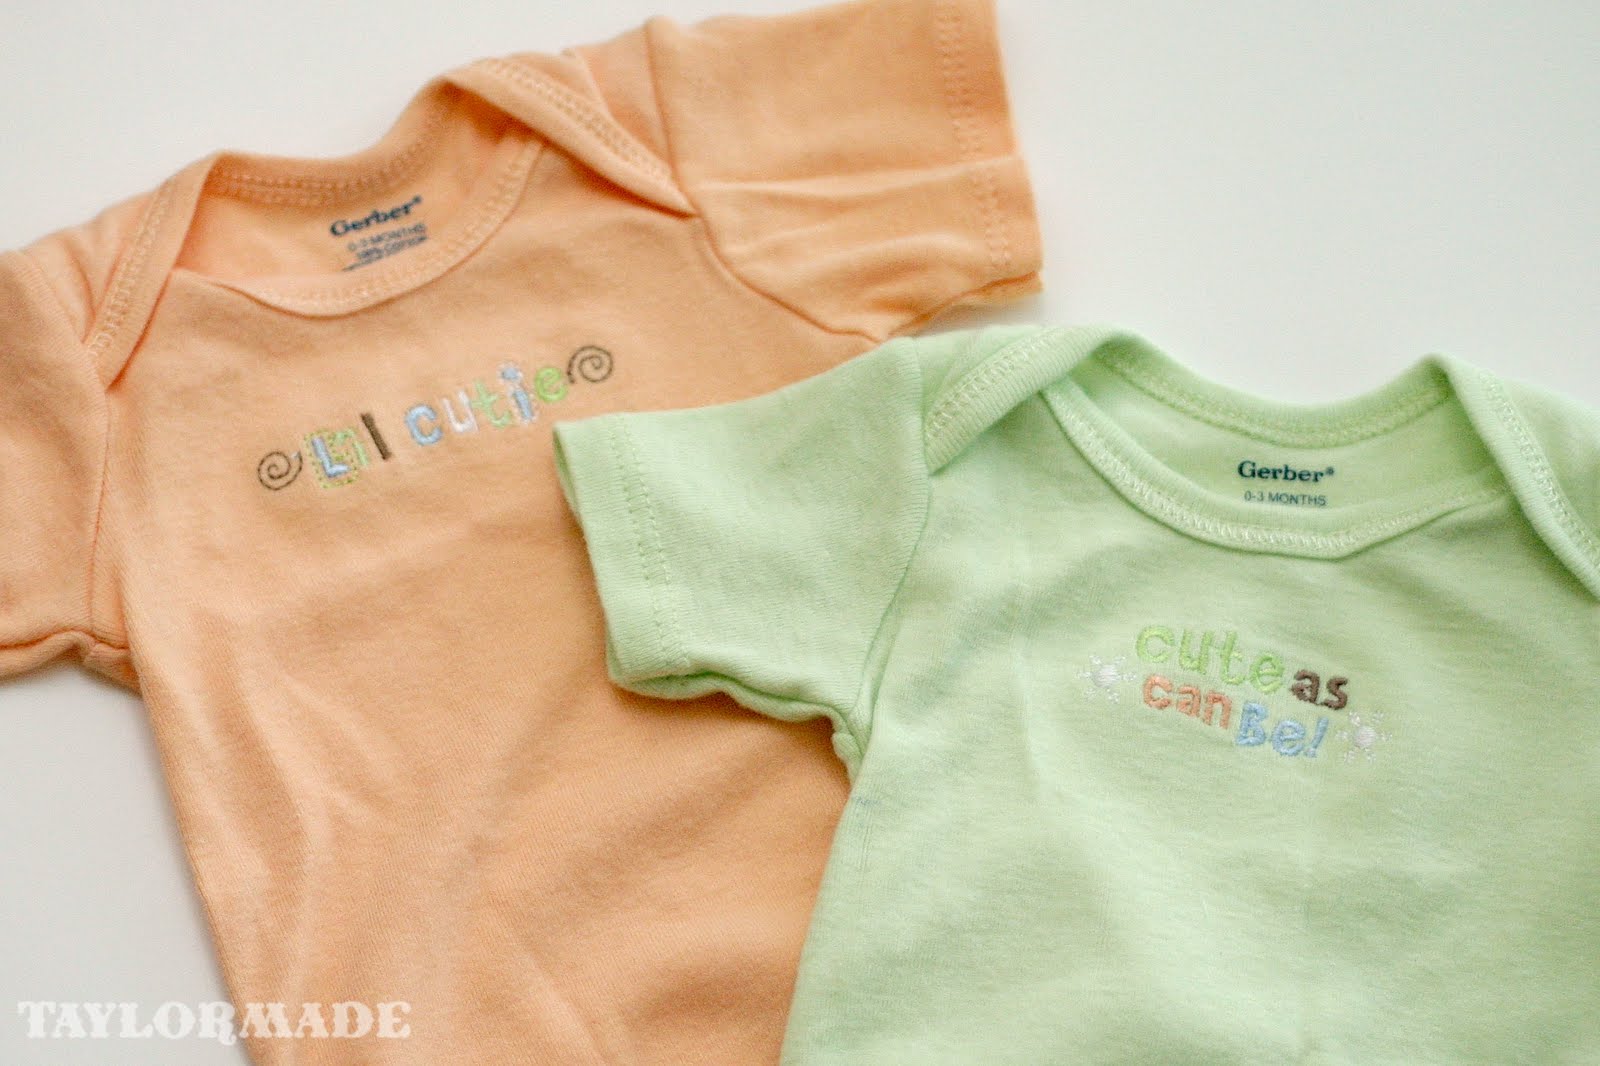
Babies need a little refashion sometimes too. These onesies were originally embroidered with a little “baby saying”… cute but I thought the colors were a little too girly for my Clyde. He never wore them, I refashioned and re-gifted! I just used some fabric scraps and some imagination.
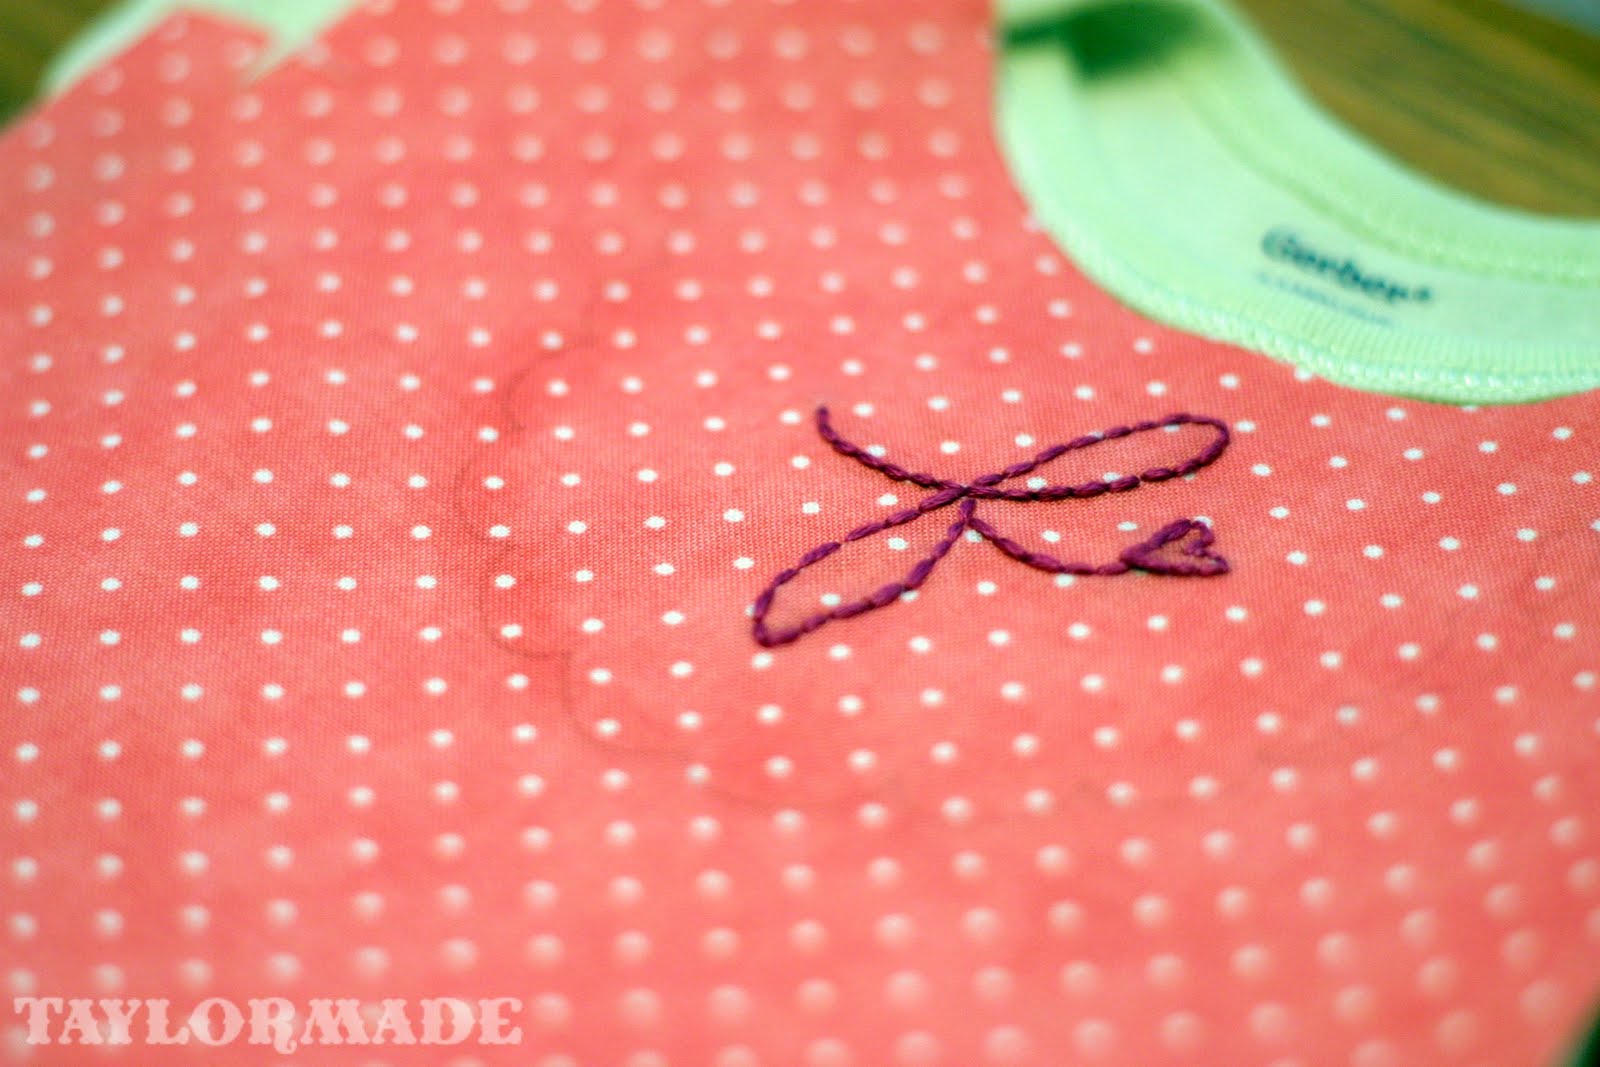
Before:
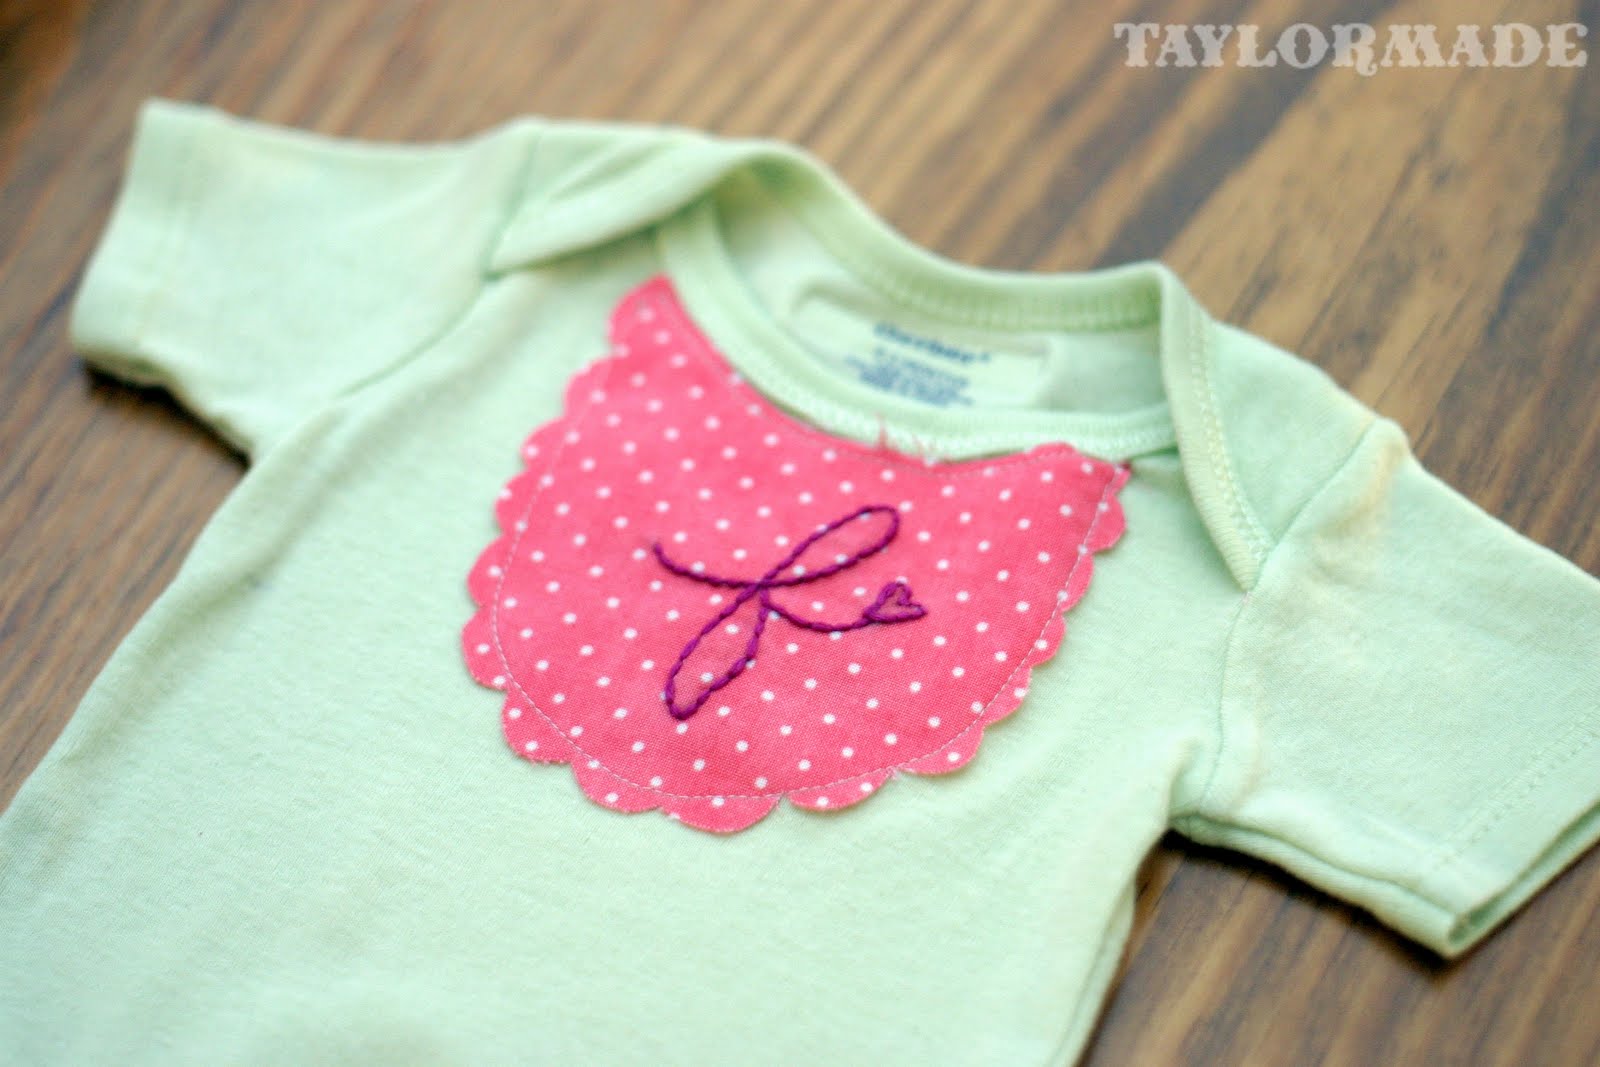
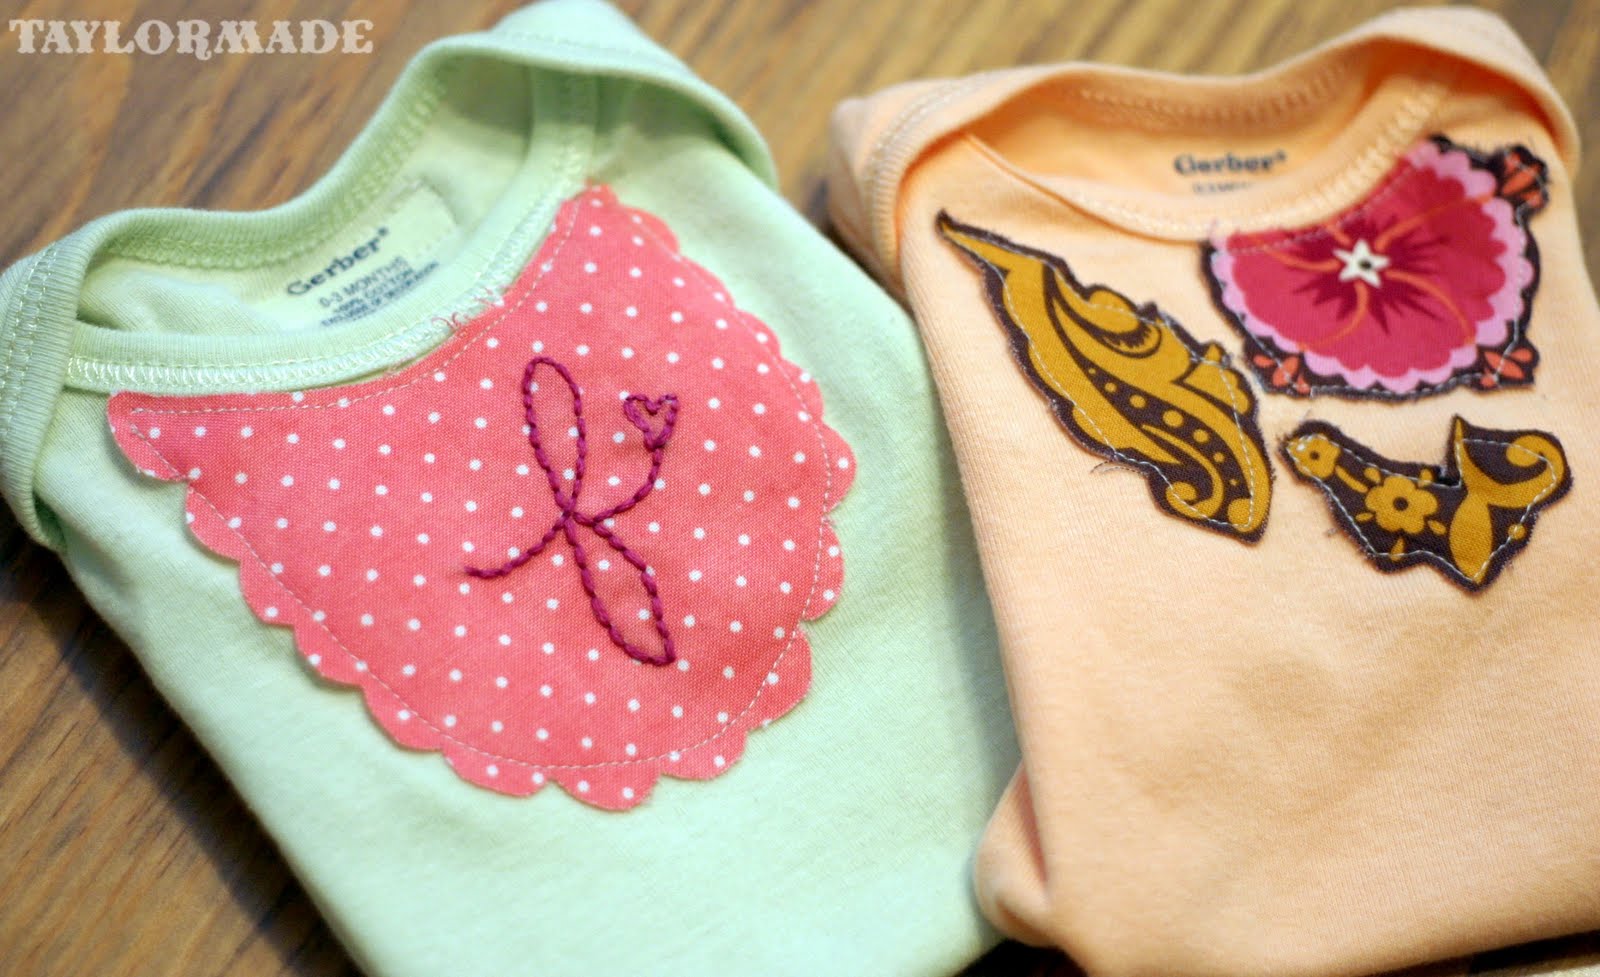
I made two; here is how I made the first one:
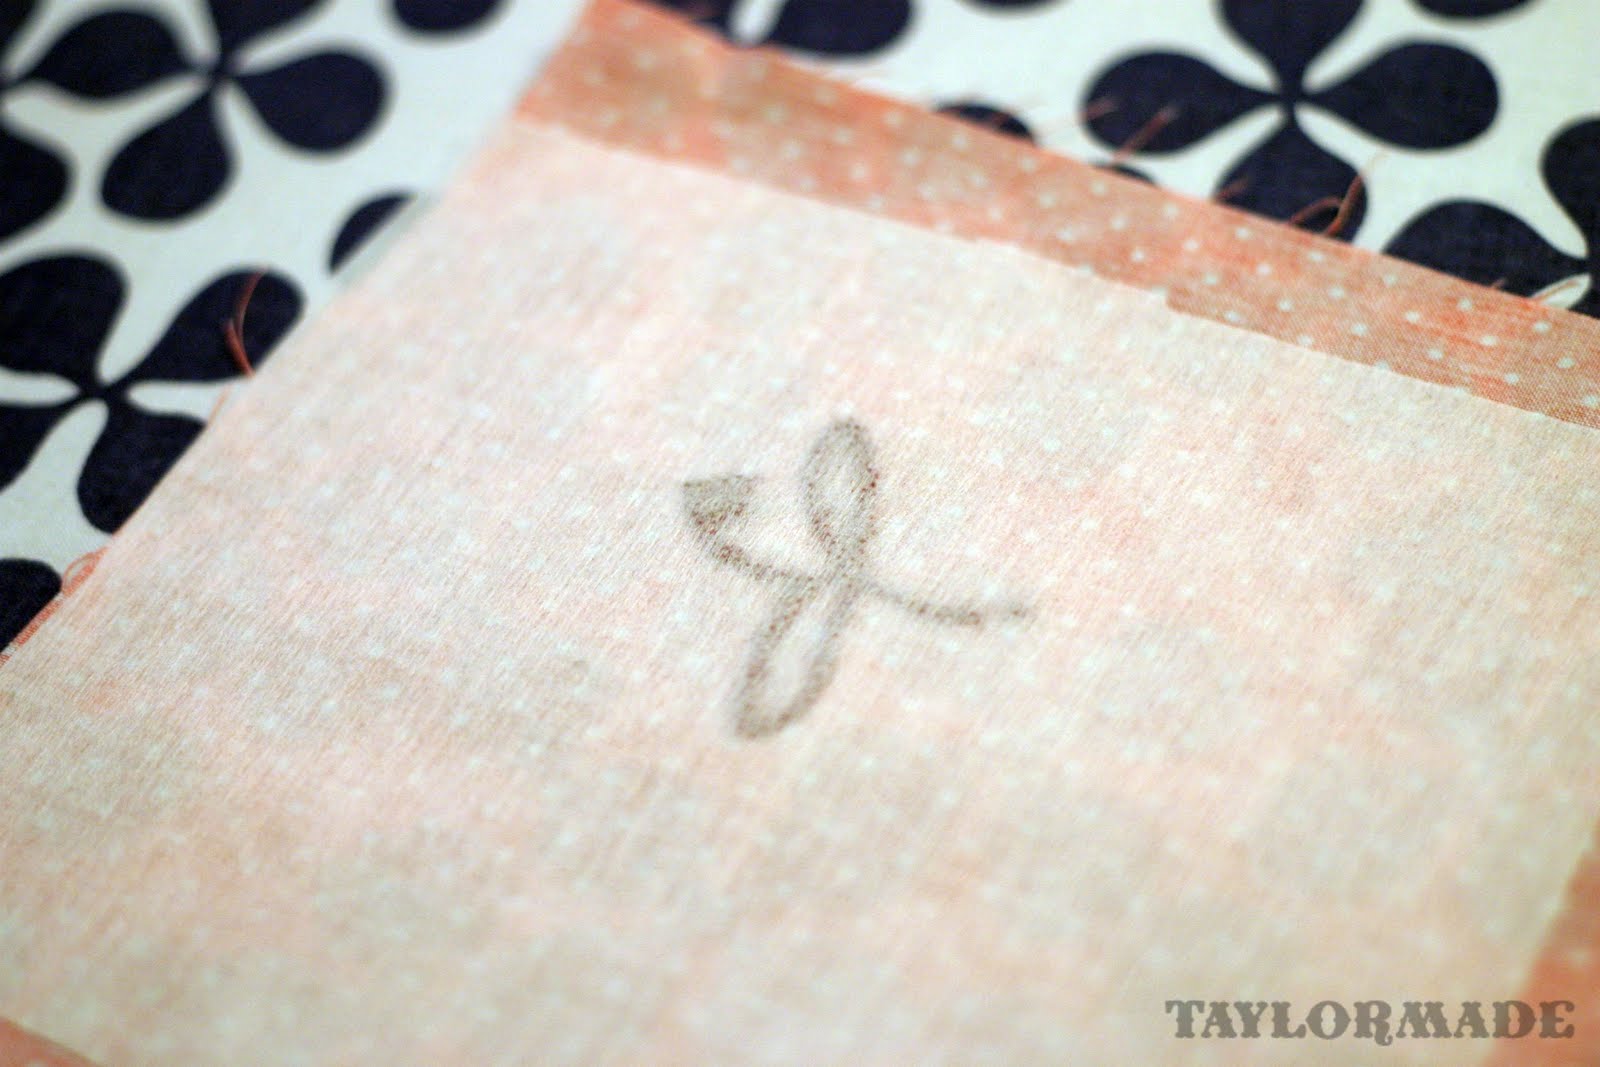
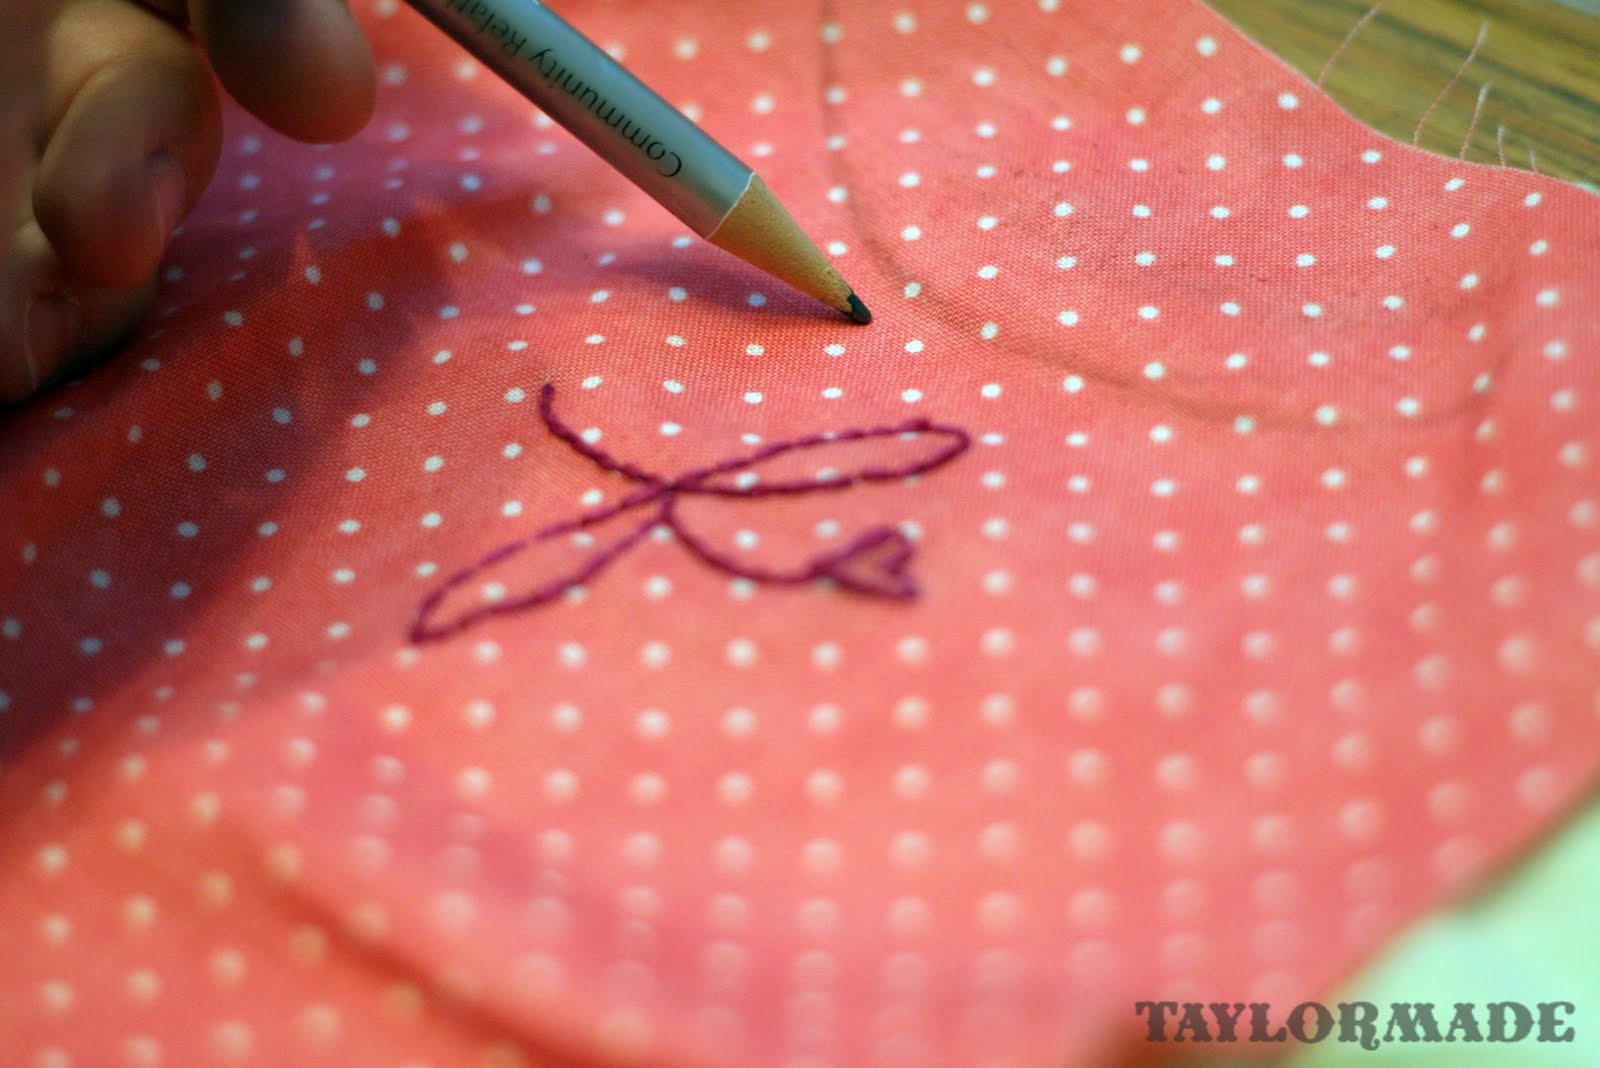
I started by embroidering the letter “f” on my fabric, I just penciled it freehand right on the fabric.


Next step is to iron interfacing to the back of the fabric. I went for the raw edge look and this way the fabric won’t fray as much.
Next, line the fabric up to the onesie and mark with a pencil where you will cut.
Sew around the new fabric that you are attaching.
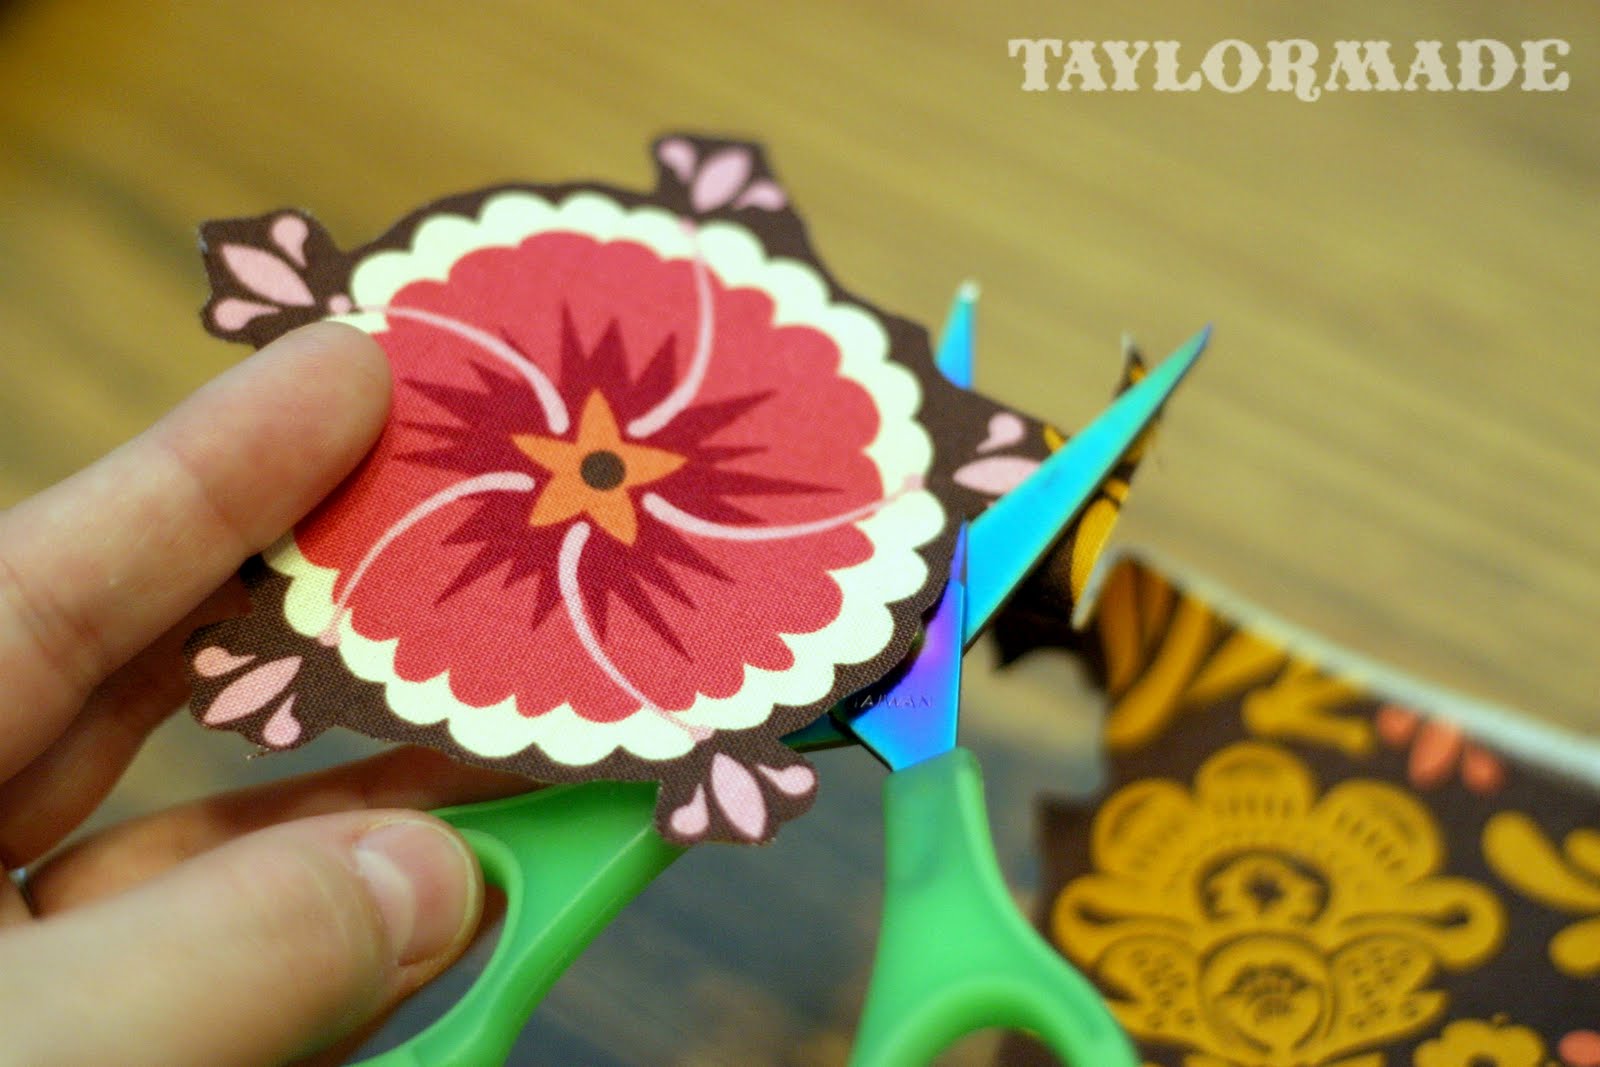
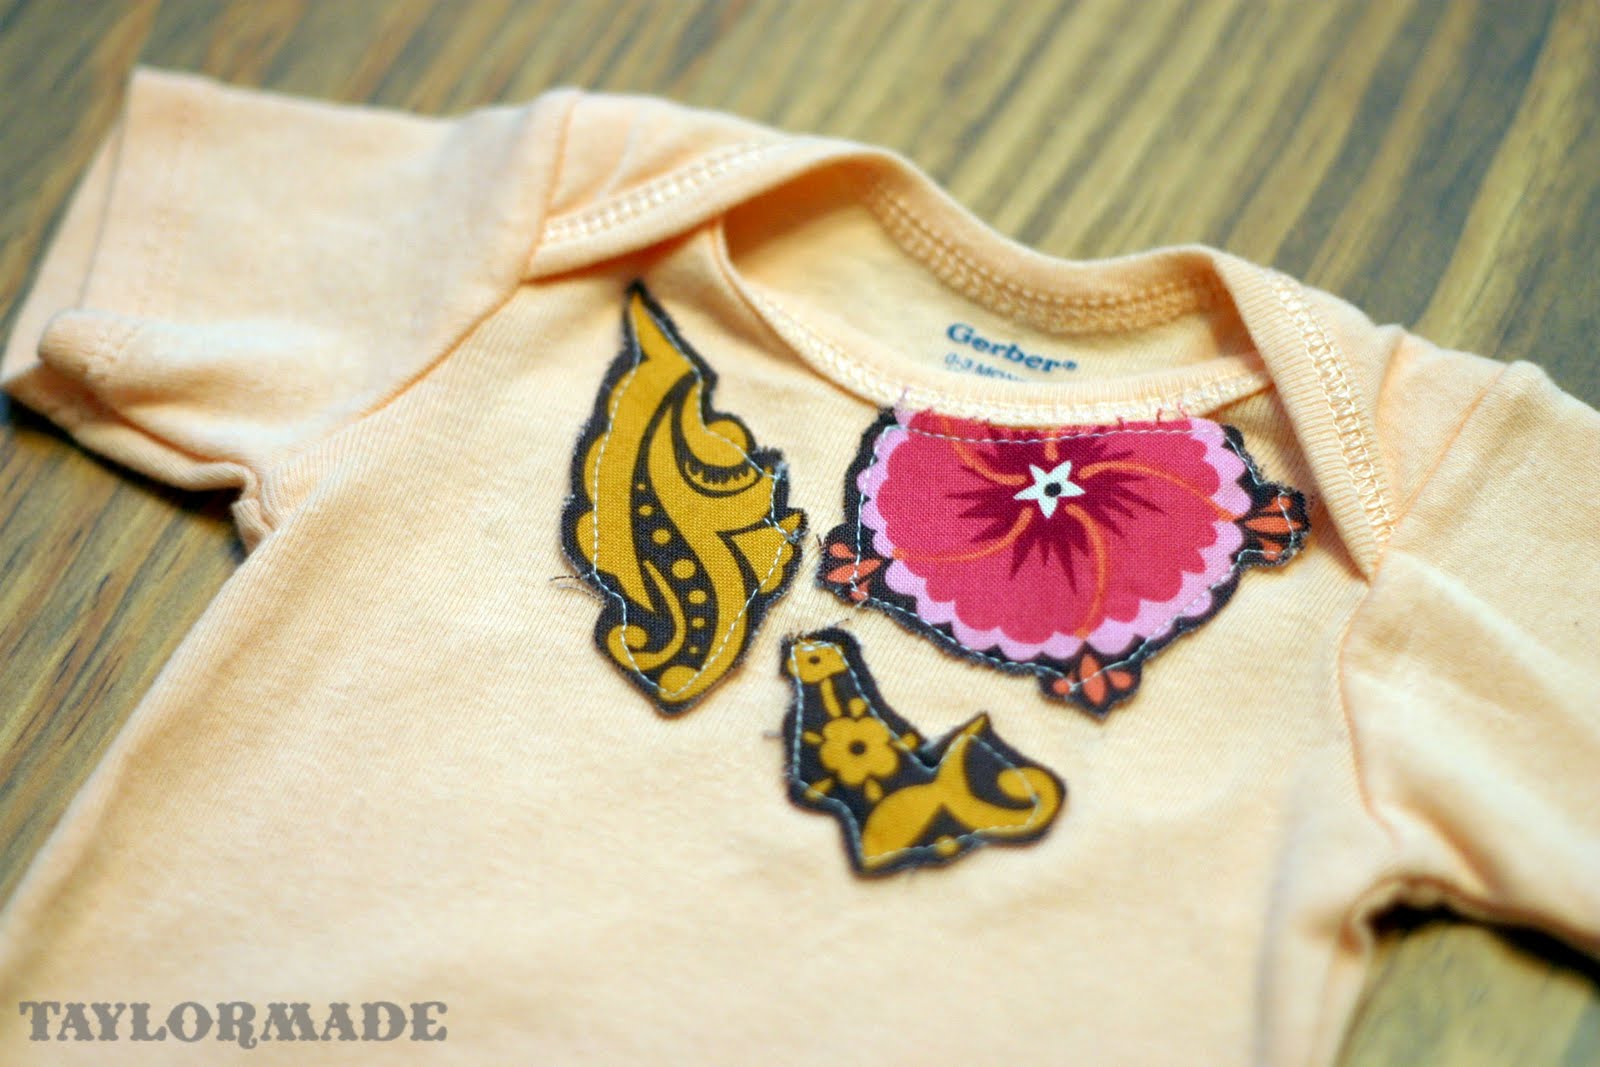
Onesie refashion number 2…
Add interfacing to the back of the fabric again and cut out some pieces of the pattern.

Pin the pieces on the onesie so you cover the old design.
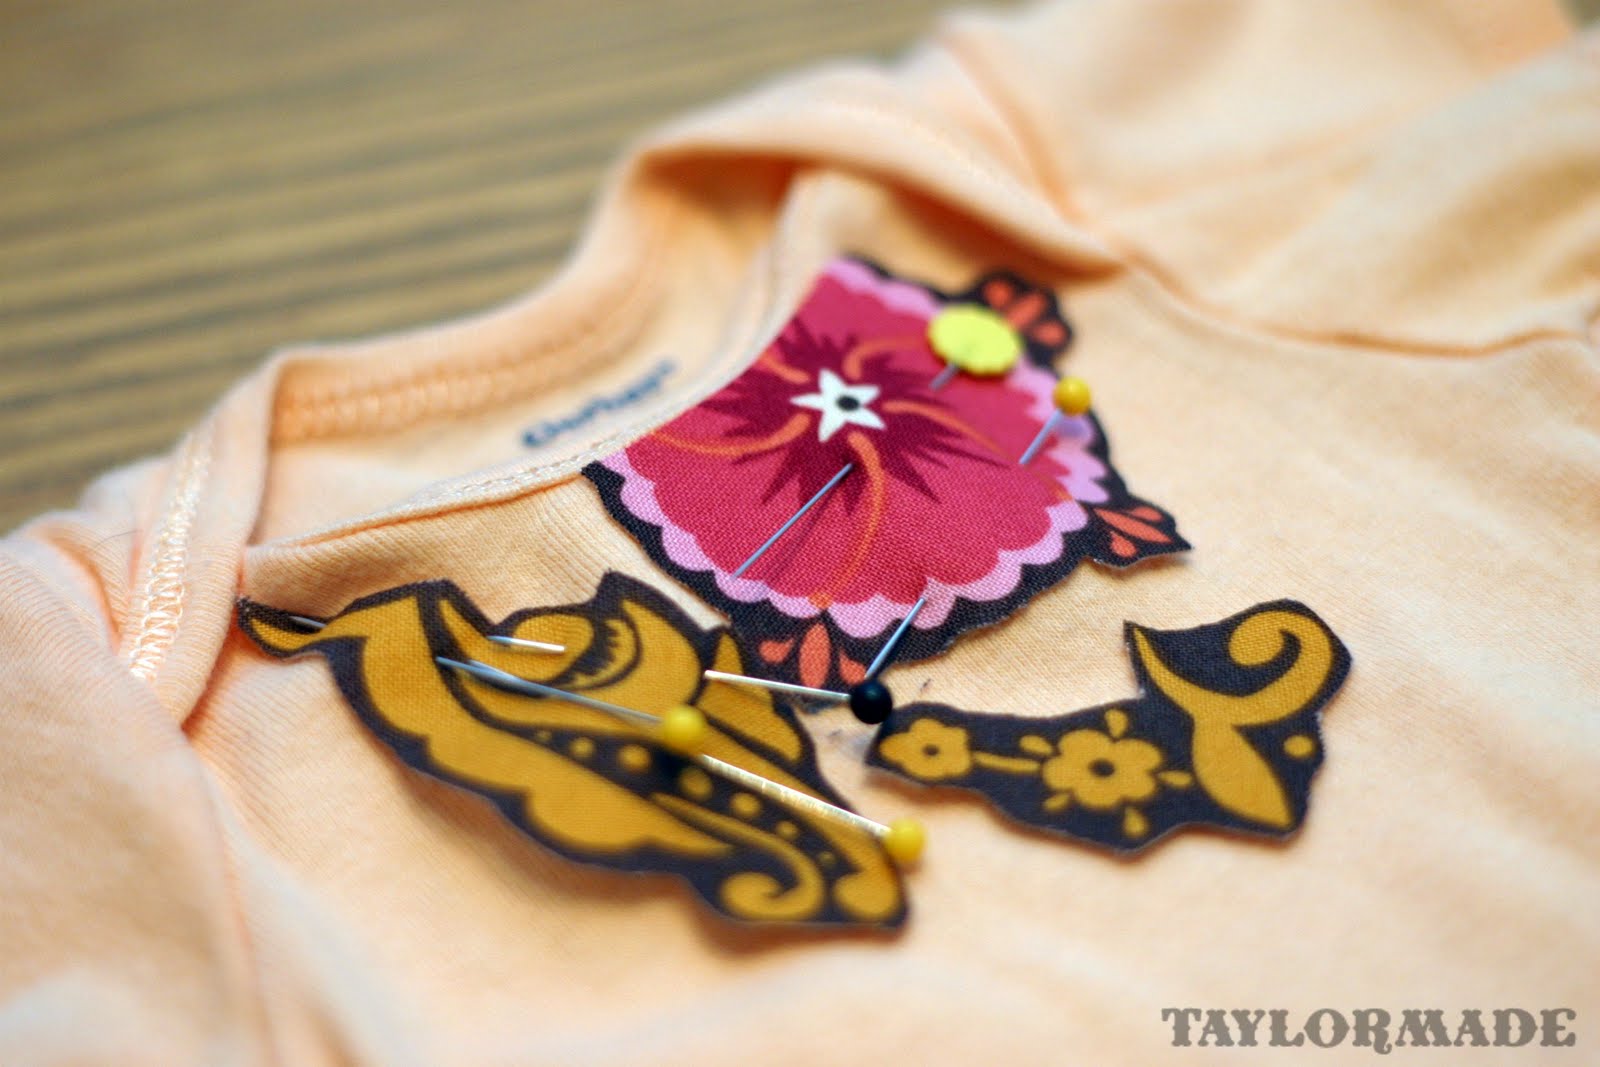
And sew. I again went for a messy sewn look. If you like a neater look you could do a tight zig-zag stitch around the perimeter of the fabric.
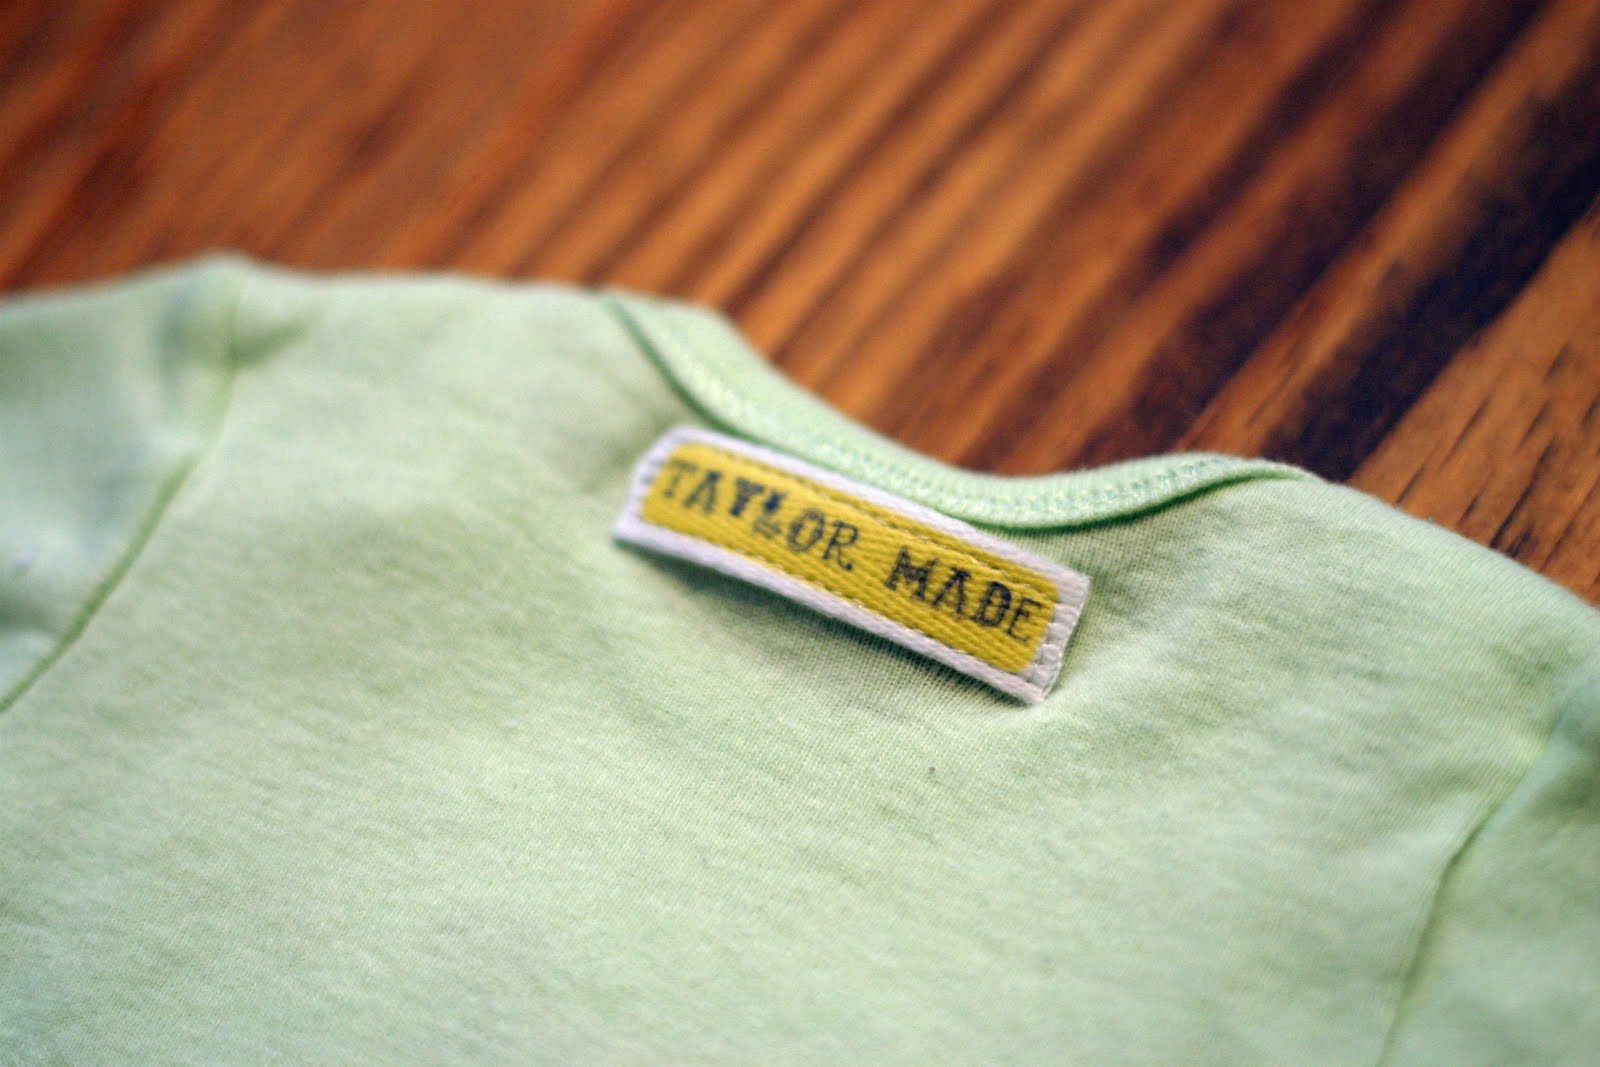
I added my fabric label…
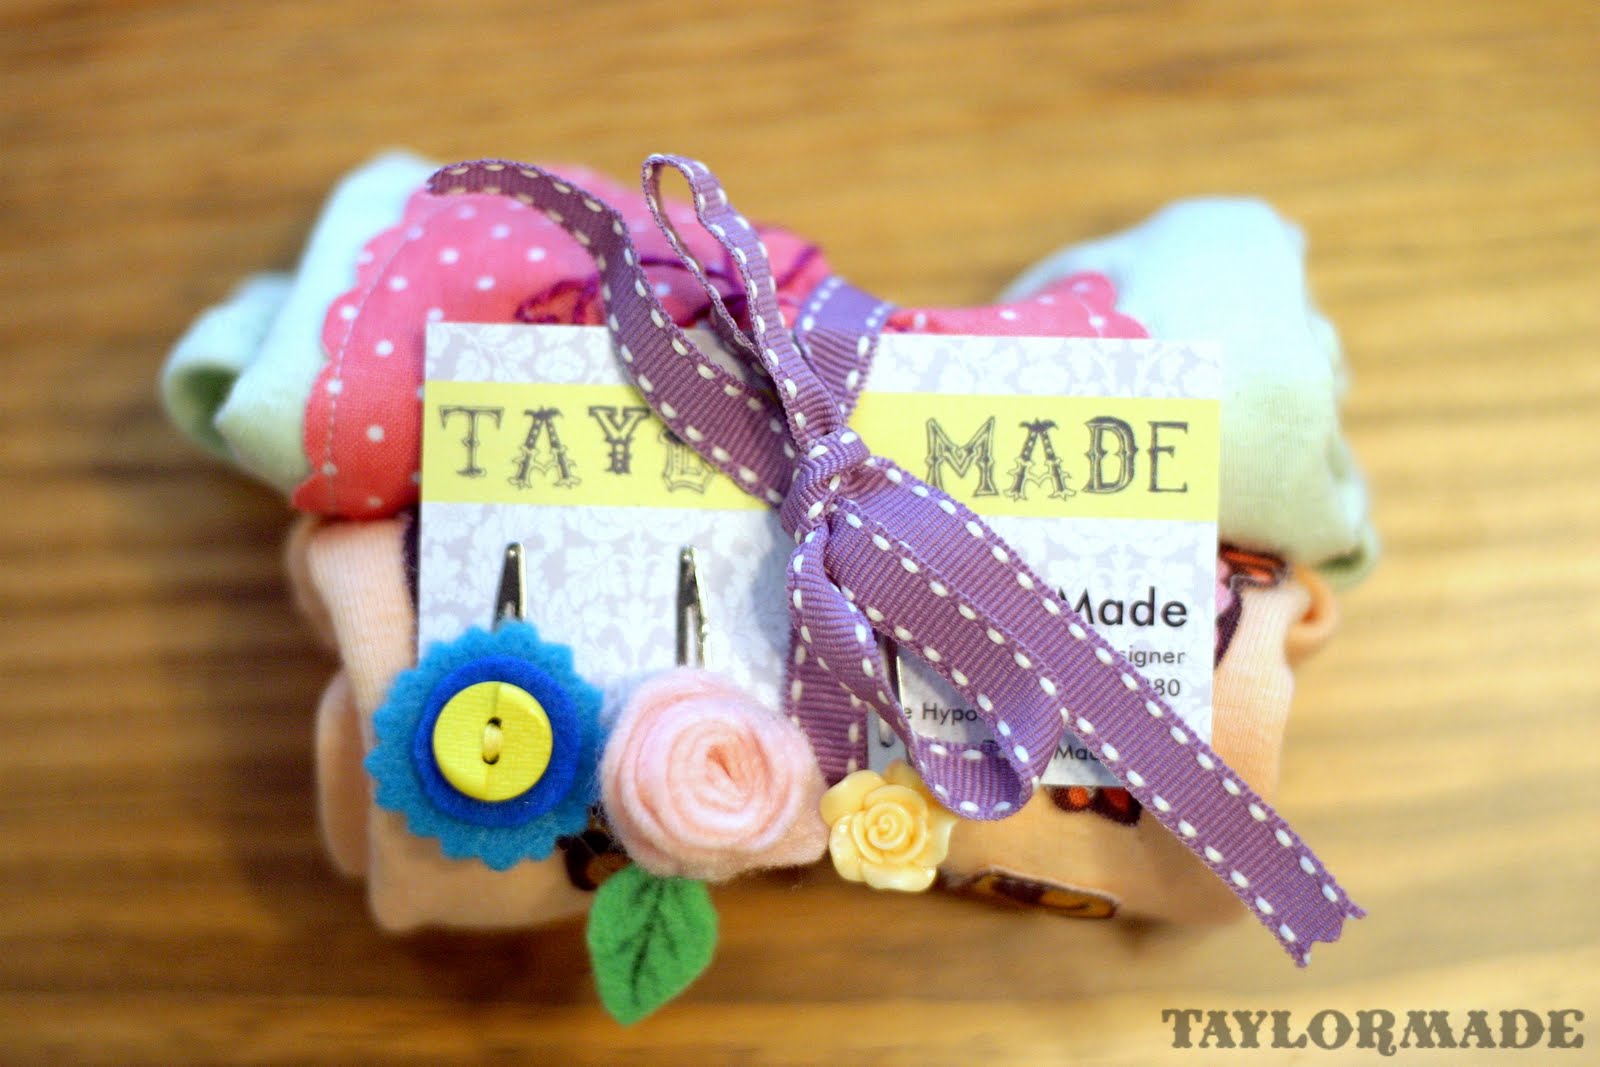
and wrapped them up in a cute little package. Add some clips and you have a perfect baby gift.

This is so adorable! I would love to make some for gifts. You are very creative!
I would love to have you share this at my first link party–
http://southernlovely.blogspot.com/2011/08/show-share-1.html
So sweet! I love the first one with the little “f” and the pink polka dot fabric!
So stinkin cute!! I have seen others dye plain white ones so your trick is just as great or greater!! I’m pinning them!
I love these. i featured them on my blog tonight.
Lovely! They are both gorgeous!
Great idea! So creative and cute.
That is so adorable!
Those are so cute! I love how you wrapped them up with the clips too! Great gift!
very cute! thank you for sharing
I love this! Best of all is your blogs name… My daughter’s name will be Taylor May! I love making her custom onuses!
Tewcrafty.blogspot.com
These are adorable! We are having a little girl soon and were given LOTS of clothes that are verrryy girly.
After having a boy, I’m not sure I can do all the flowers and frilly foo foo stuff but this is perfect!
Thanks for sharing!
Taylor – These are simply adorable. I love the monogram. Hope you have a wonderful week. ~ Stephanie Lynn
these are so darling! great job. :)
Super cute! You are so talented!
I’d love for you to link up to our Crafts for Under Twenty Somethings party going on now. It’s a blog hop specifically for kids and teens related “stuff”, so your post would be perfect!
Melanie
http://bearrabbitbear.blogspot.com/2011/08/crafts-for-under-twenty-somethings_24.html
These are absolutely adorable!
Admiring the time and effort you put into your blog and in depth information you offer.
It’s great to come across a blog every once in a while that
isn’t the same outdated rehashed information. Wonderful
read! I’ve saved your site and I’m including your RSS feeds to my Google
account.