Say whaaaat? It’s true, I made some girl clothes a few weeks ago.
Finn’s friend had a birthday and I took it as an opportunity to make girl clothes :) Here is how the conversation went in my head. “Oh your daughter wants a certain toy and will be bored if she has to open clothes? Welp, I have two boys and would like to make a skirt.” I think it’s the perfect situation- I get my two funny, rowdy, crazy boys and I will make all of our girl friends dresses so I won’t have to miss out on that. One thing I will gladly miss out on… the drama-filled, moody, teenage girl years.
I used Dana’s Simple Skirt Pattern for the skirt. Her pattern is for 3-4T so I just subtracted 2 inches or so for a 2T. It was really easy and quick.
For the top, I started with a plain off white t-shirt. Ironed fusible web to a scrap piece of the skirt. Cut out the letter “K” and ironed it in place. Then I hand embroidered around the edge of the letter. Lastly, I added a little heart just to girl it up even more.
Last week I got the chance to be a Pattern Tester for See Kate Sew‘s latest pattern. Jealous? Cause I was so excited, I love Kate’s Blog. She has original ideas and she has great tips for sewers of all skill levels. So I opened the pattern that she emailed over and it was a cute little Dino… presh! Here is how mine turned out…
Isn’t he so cute? His name is Hippie and Clyde loves him.The pattern was fun to make and simple. Quick too, you know how I love a quick project. I also added a hand embroidered a peace sign and Clyde’s initials.
You can check out See Kate Sew’s Shop for the pattern and check out her Blog too, cause its awesome :)
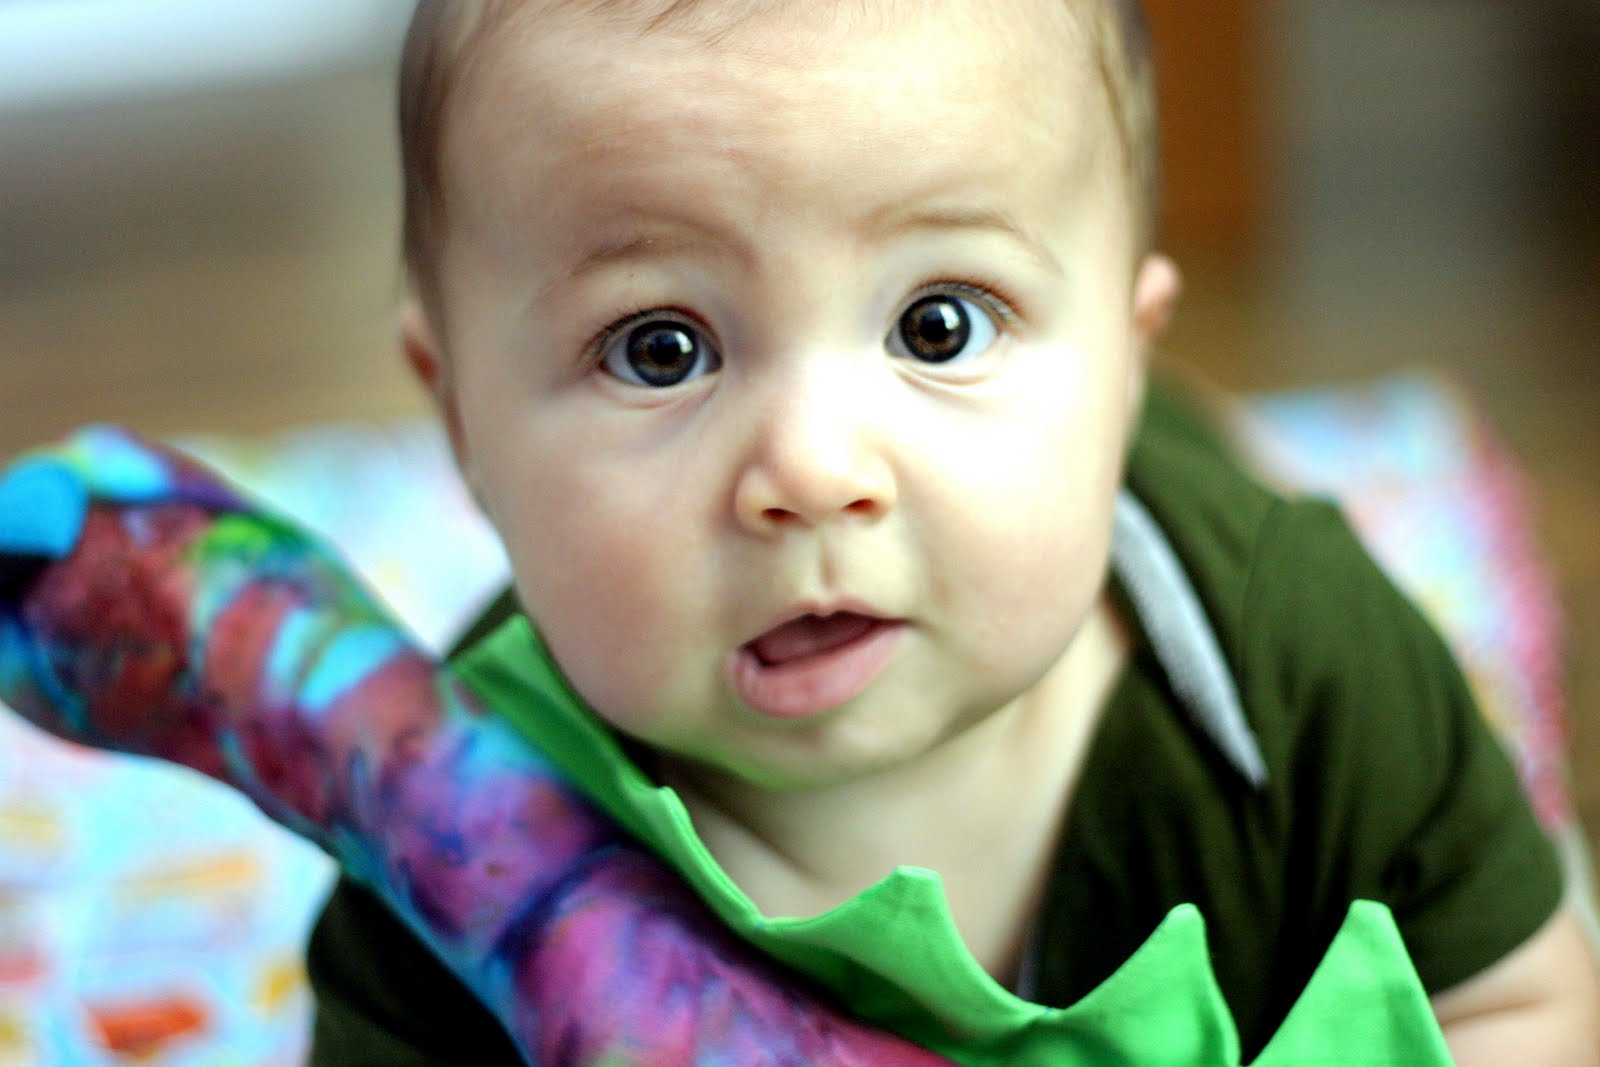
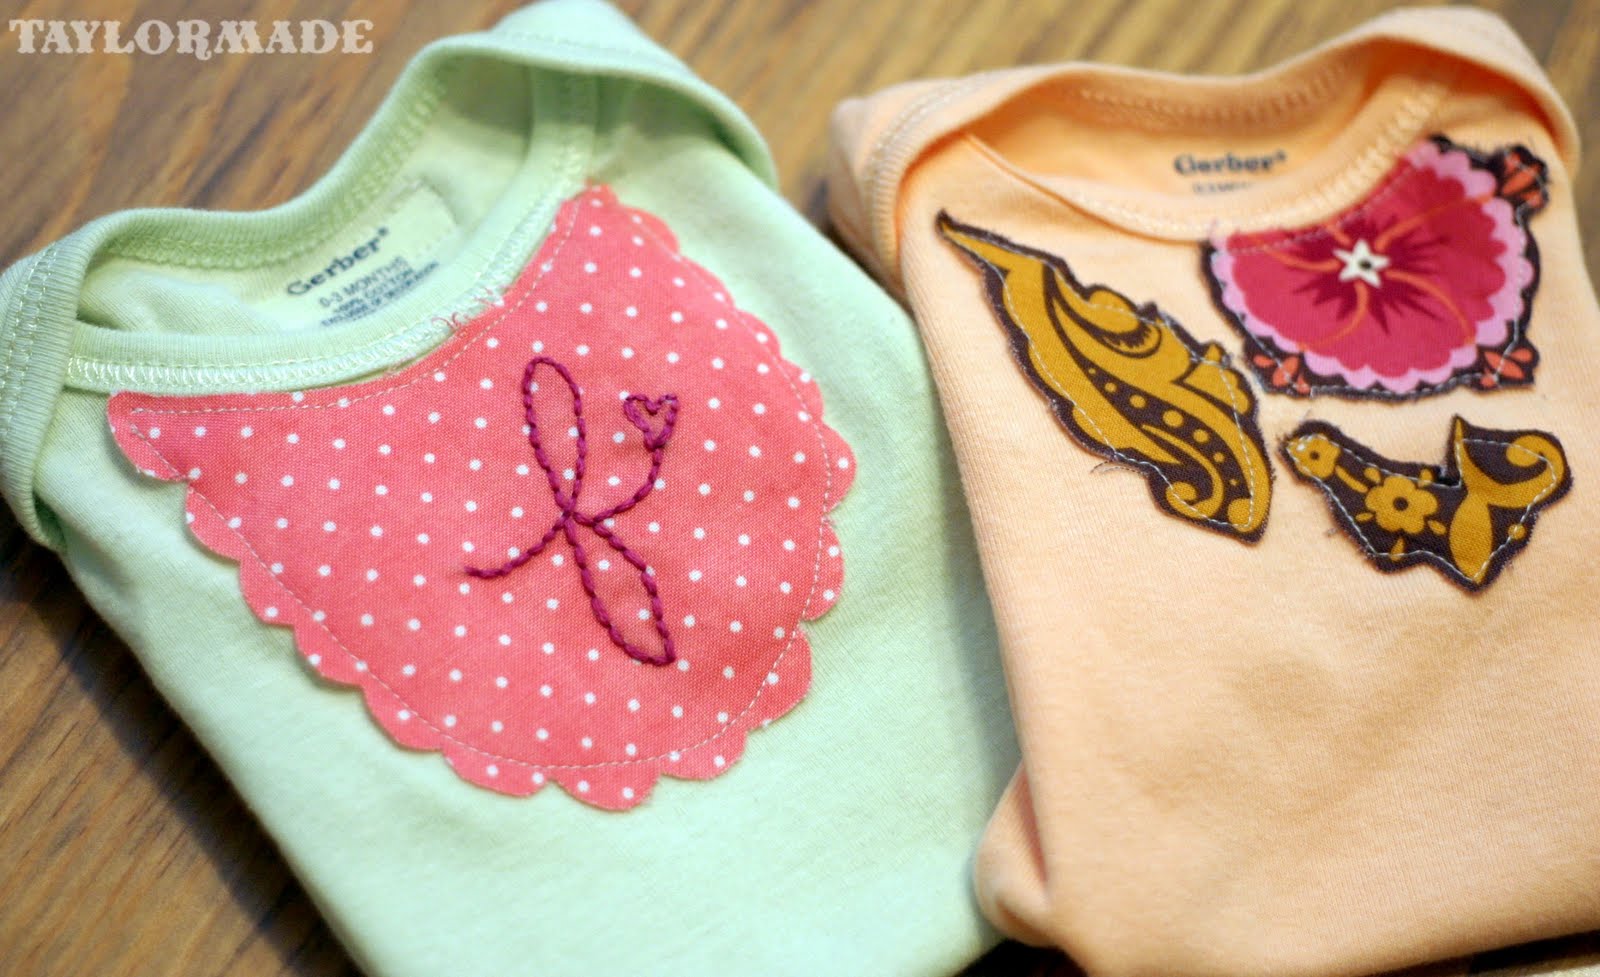
Take plain onesies and turn them into a baby fashion statement.
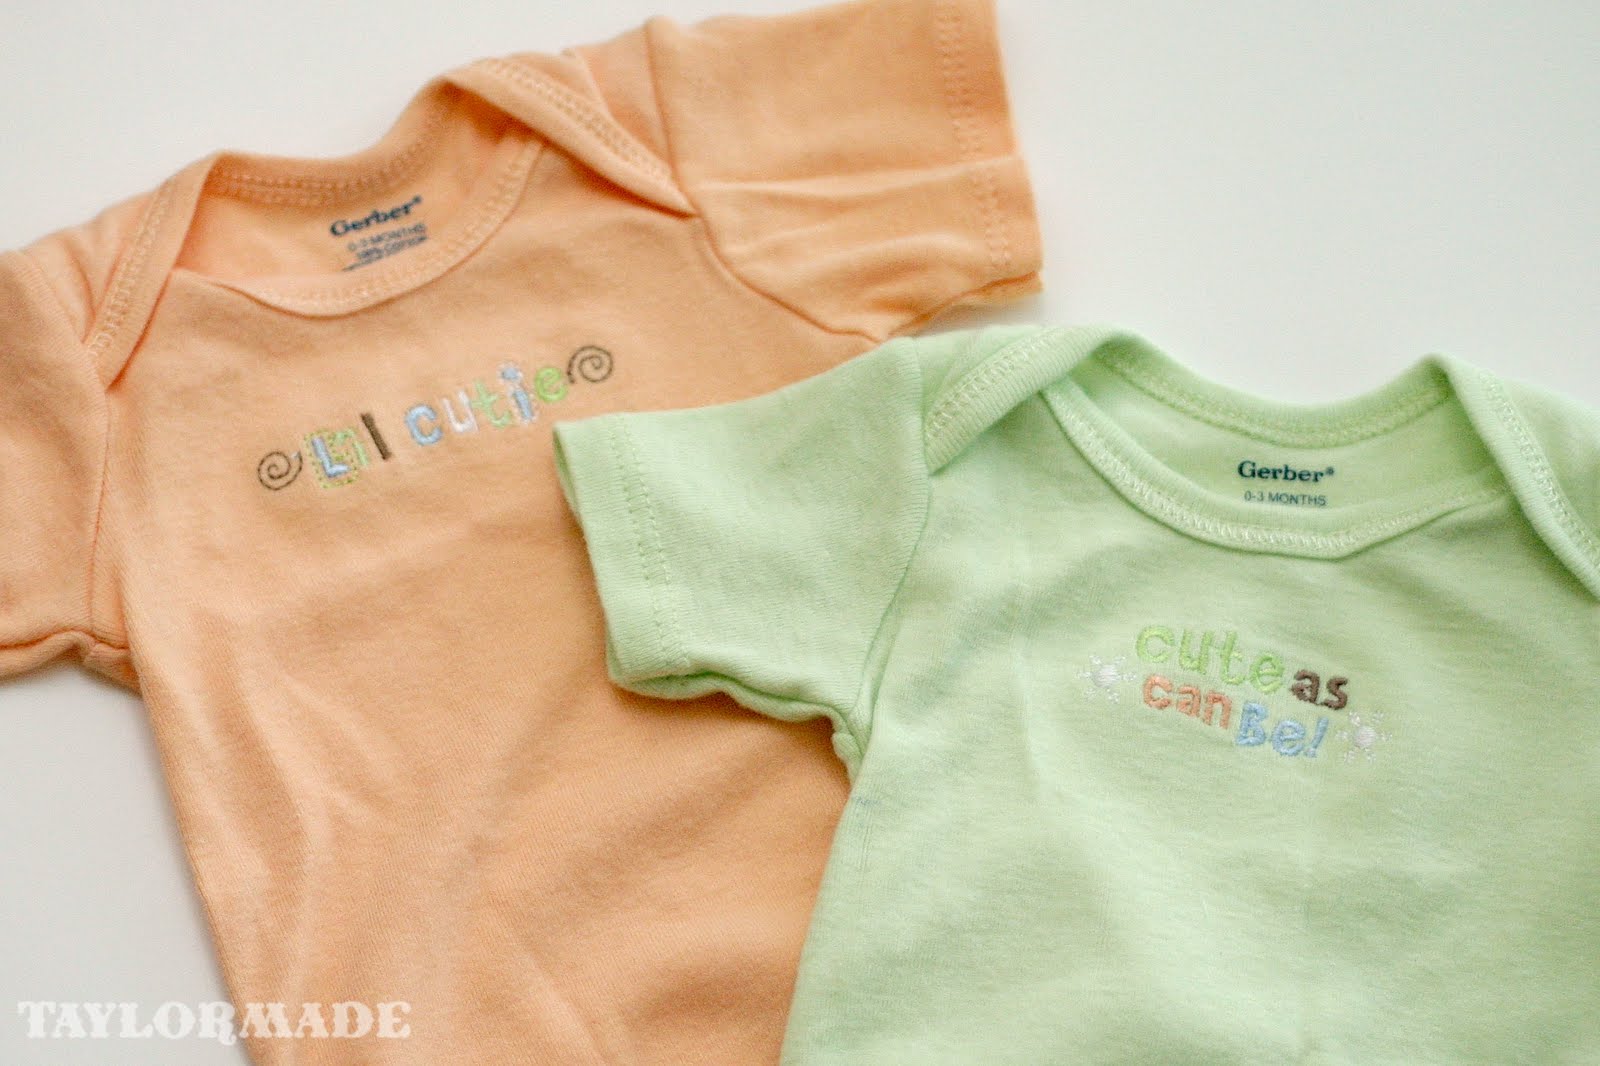
Babies need a little refashion sometimes too. These onesies were originally embroidered with a little “baby saying”… cute but I thought the colors were a little too girly for my Clyde. He never wore them, I refashioned and re-gifted! I just used some fabric scraps and some imagination.
Before:
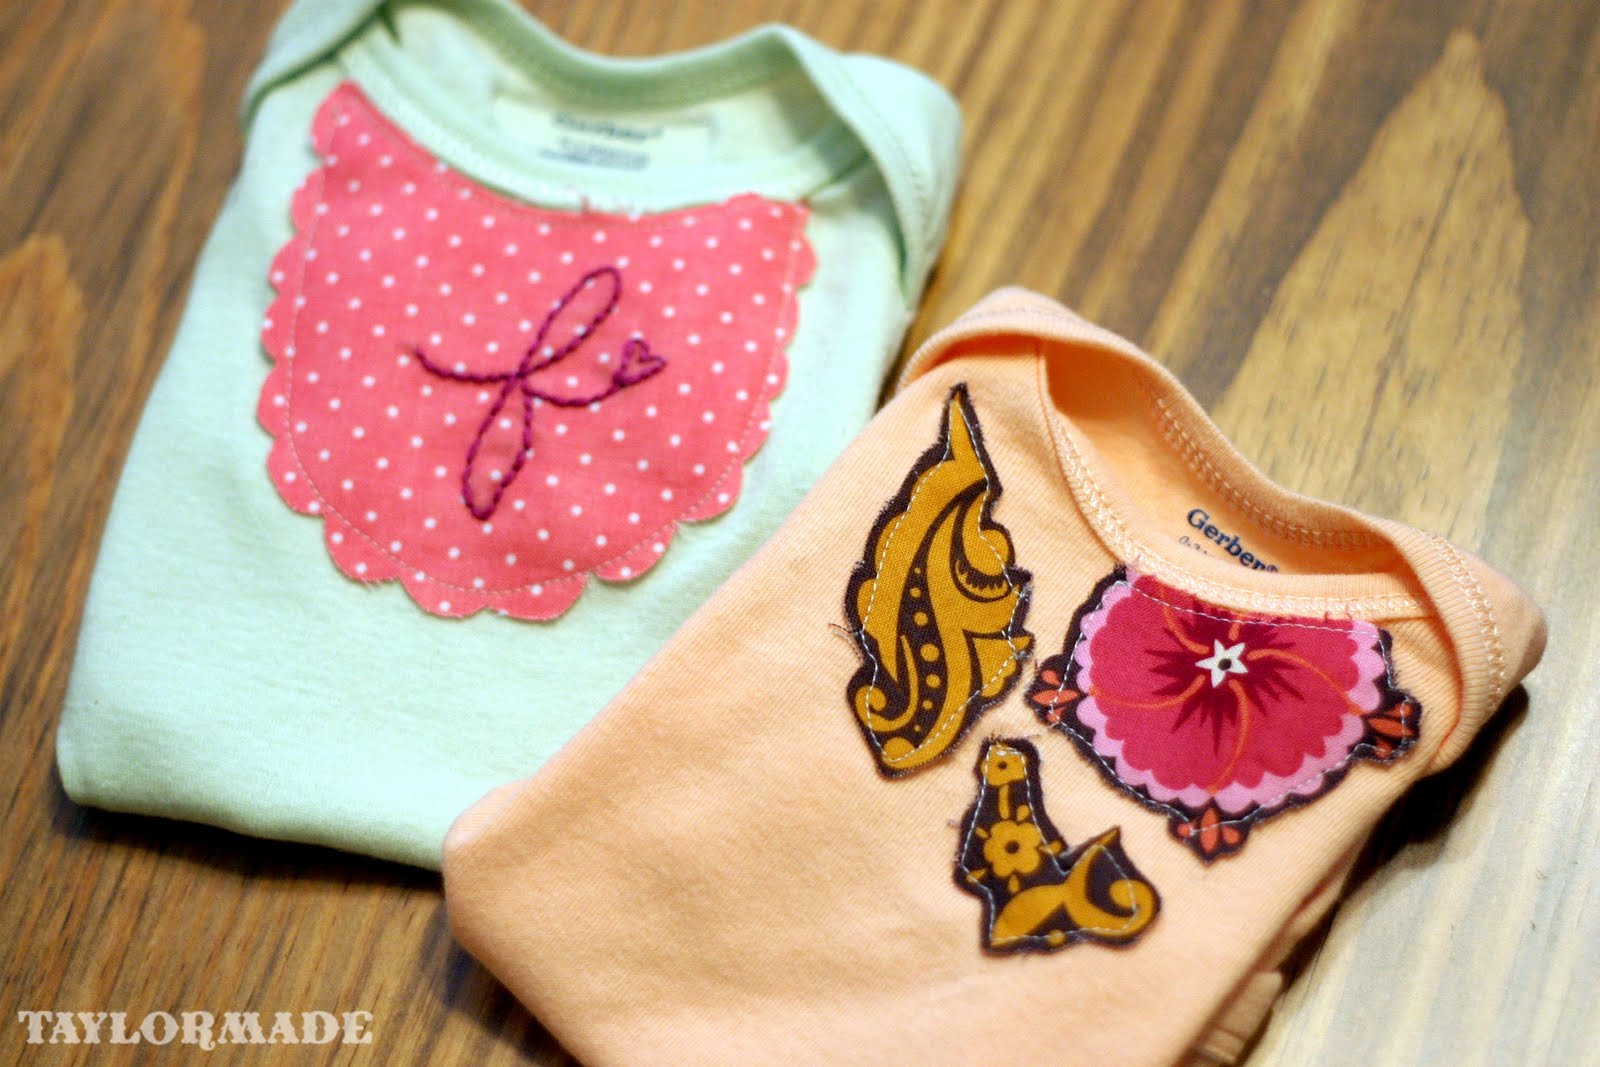
I made two; here is how I made the first one:
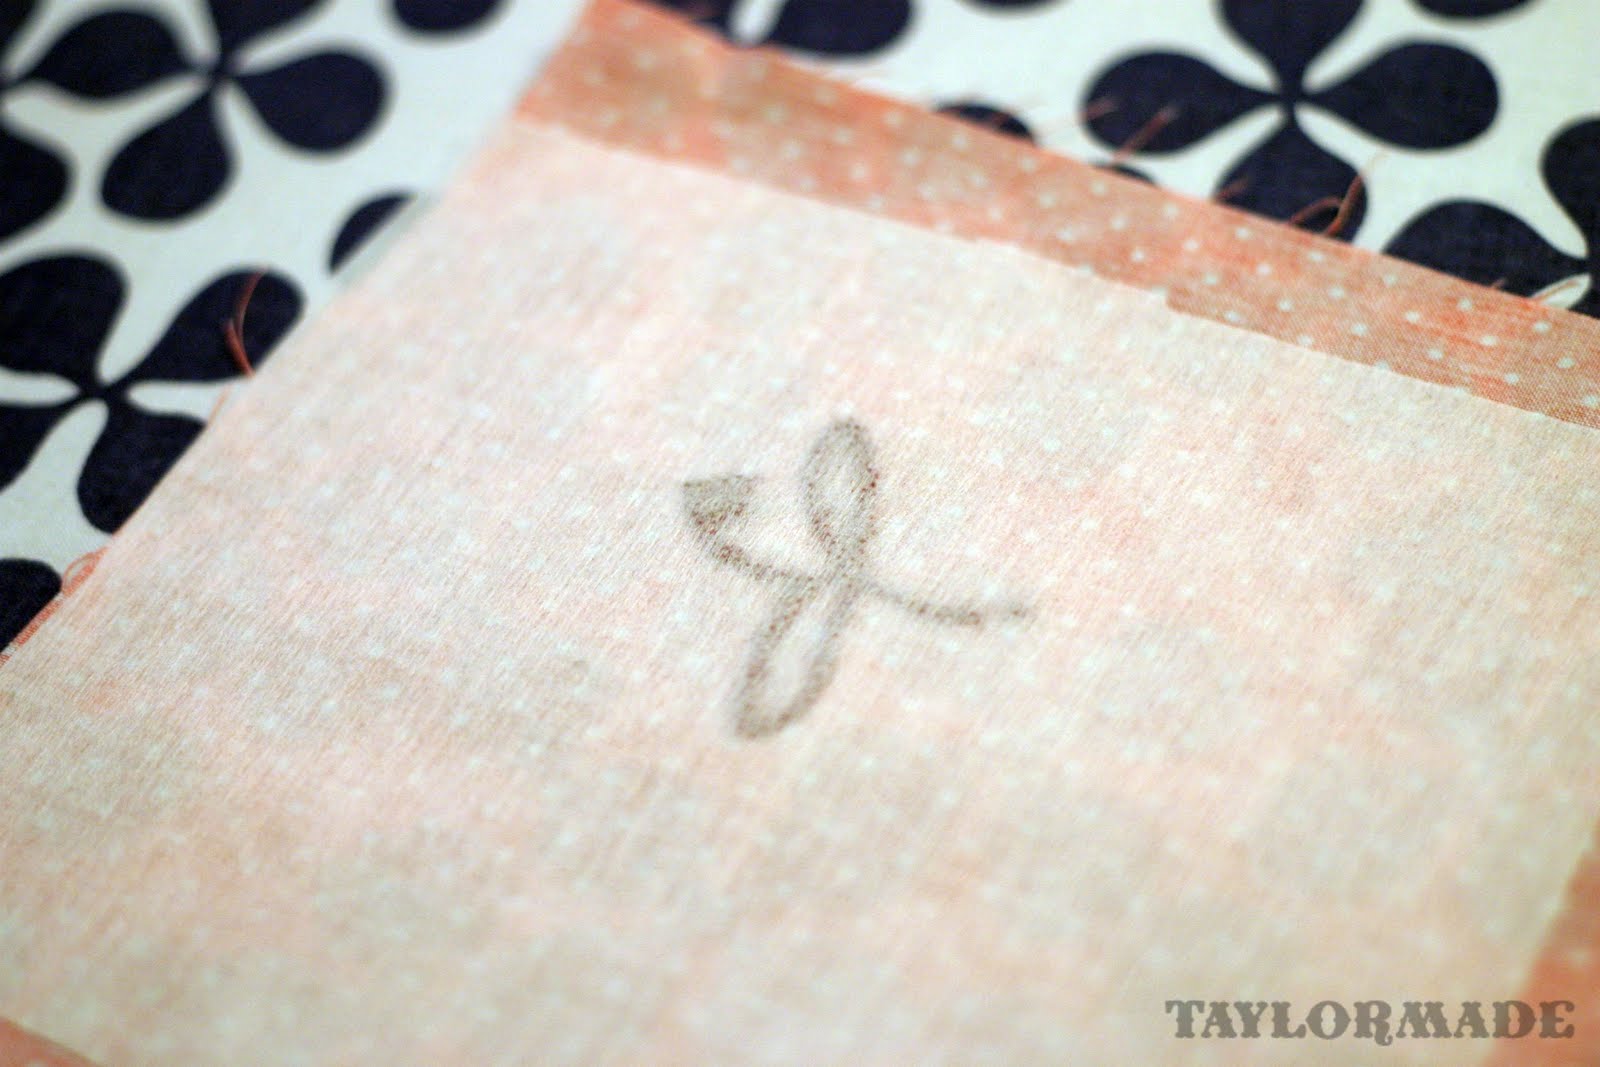
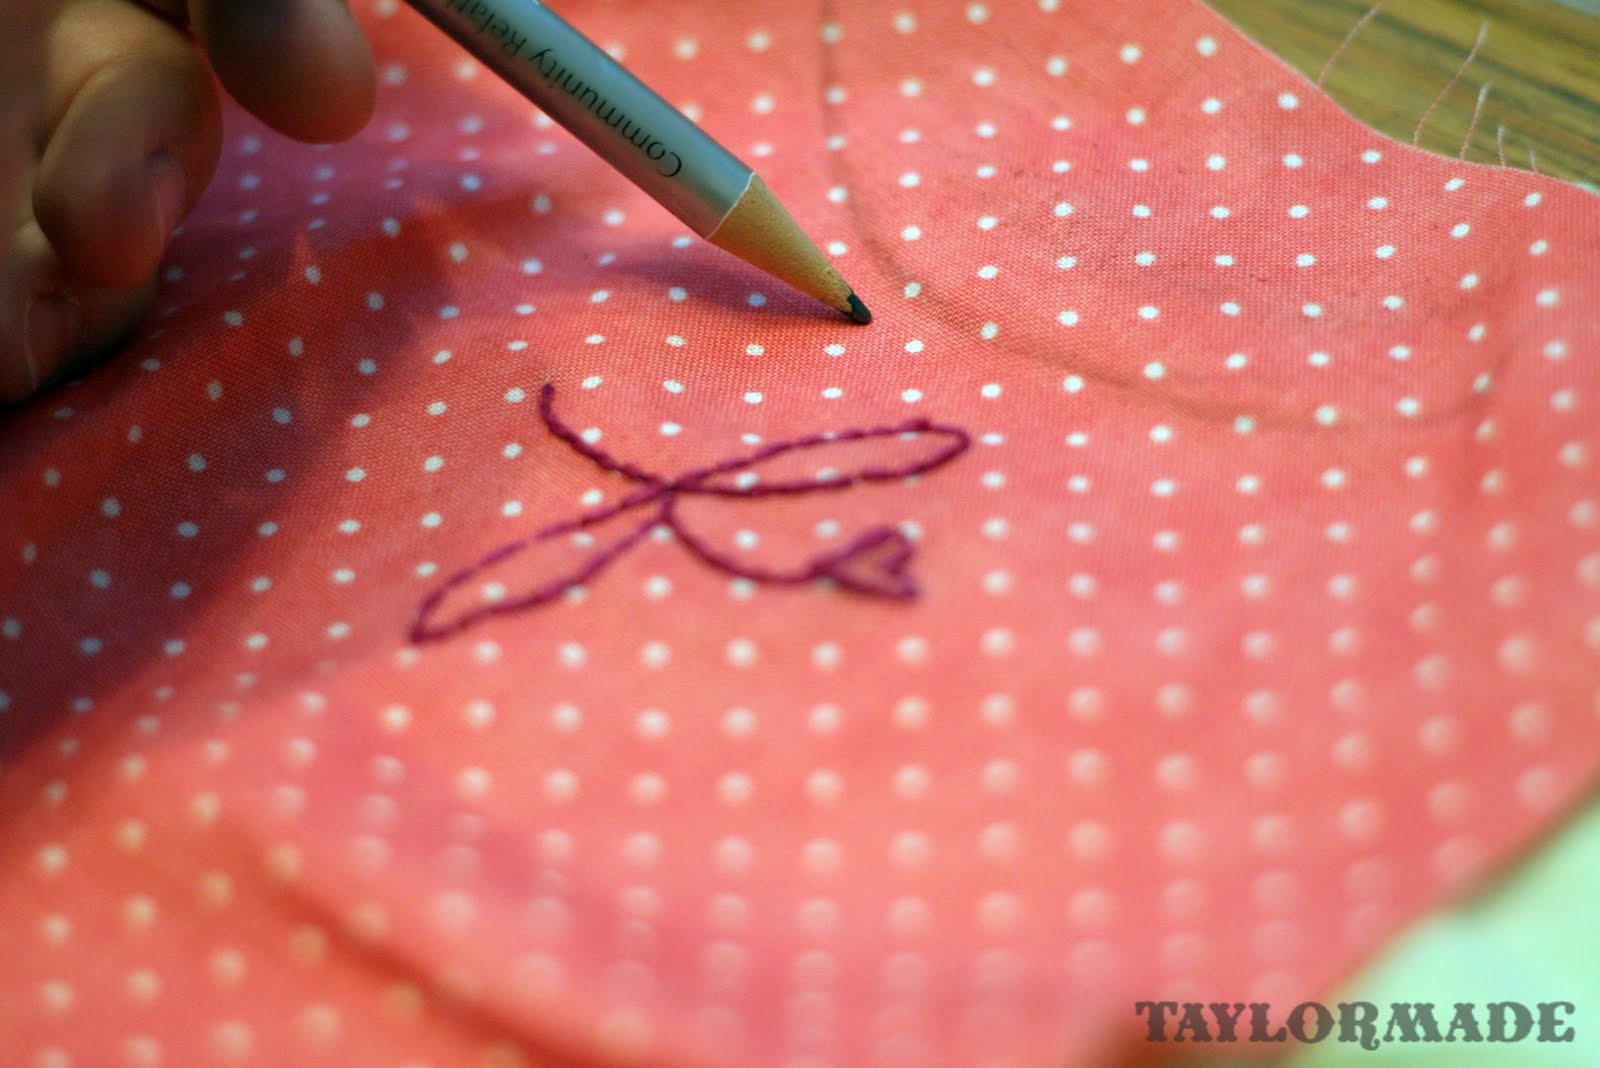
I started by embroidering the letter “f” on my fabric, I just penciled it freehand right on the fabric.
Next step is to iron interfacing to the back of the fabric. I went for the raw edge look and this way the fabric won’t fray as much.
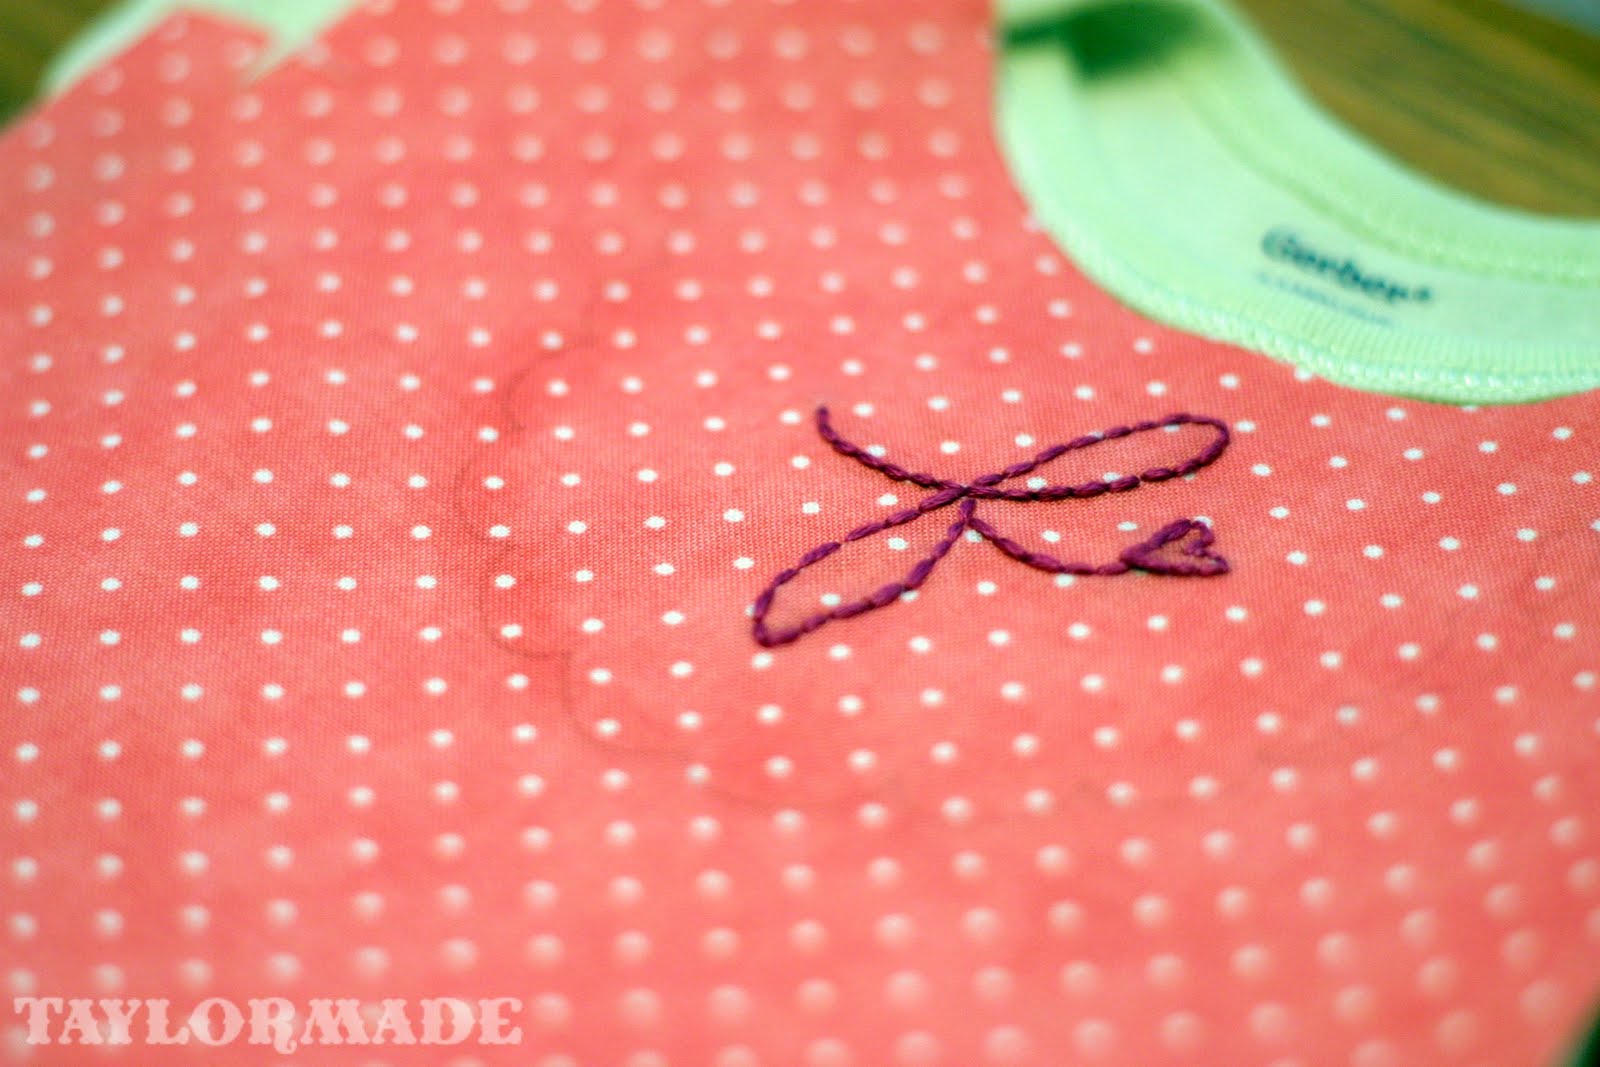
Next, line the fabric up to the onesie and mark with a pencil where you will cut.
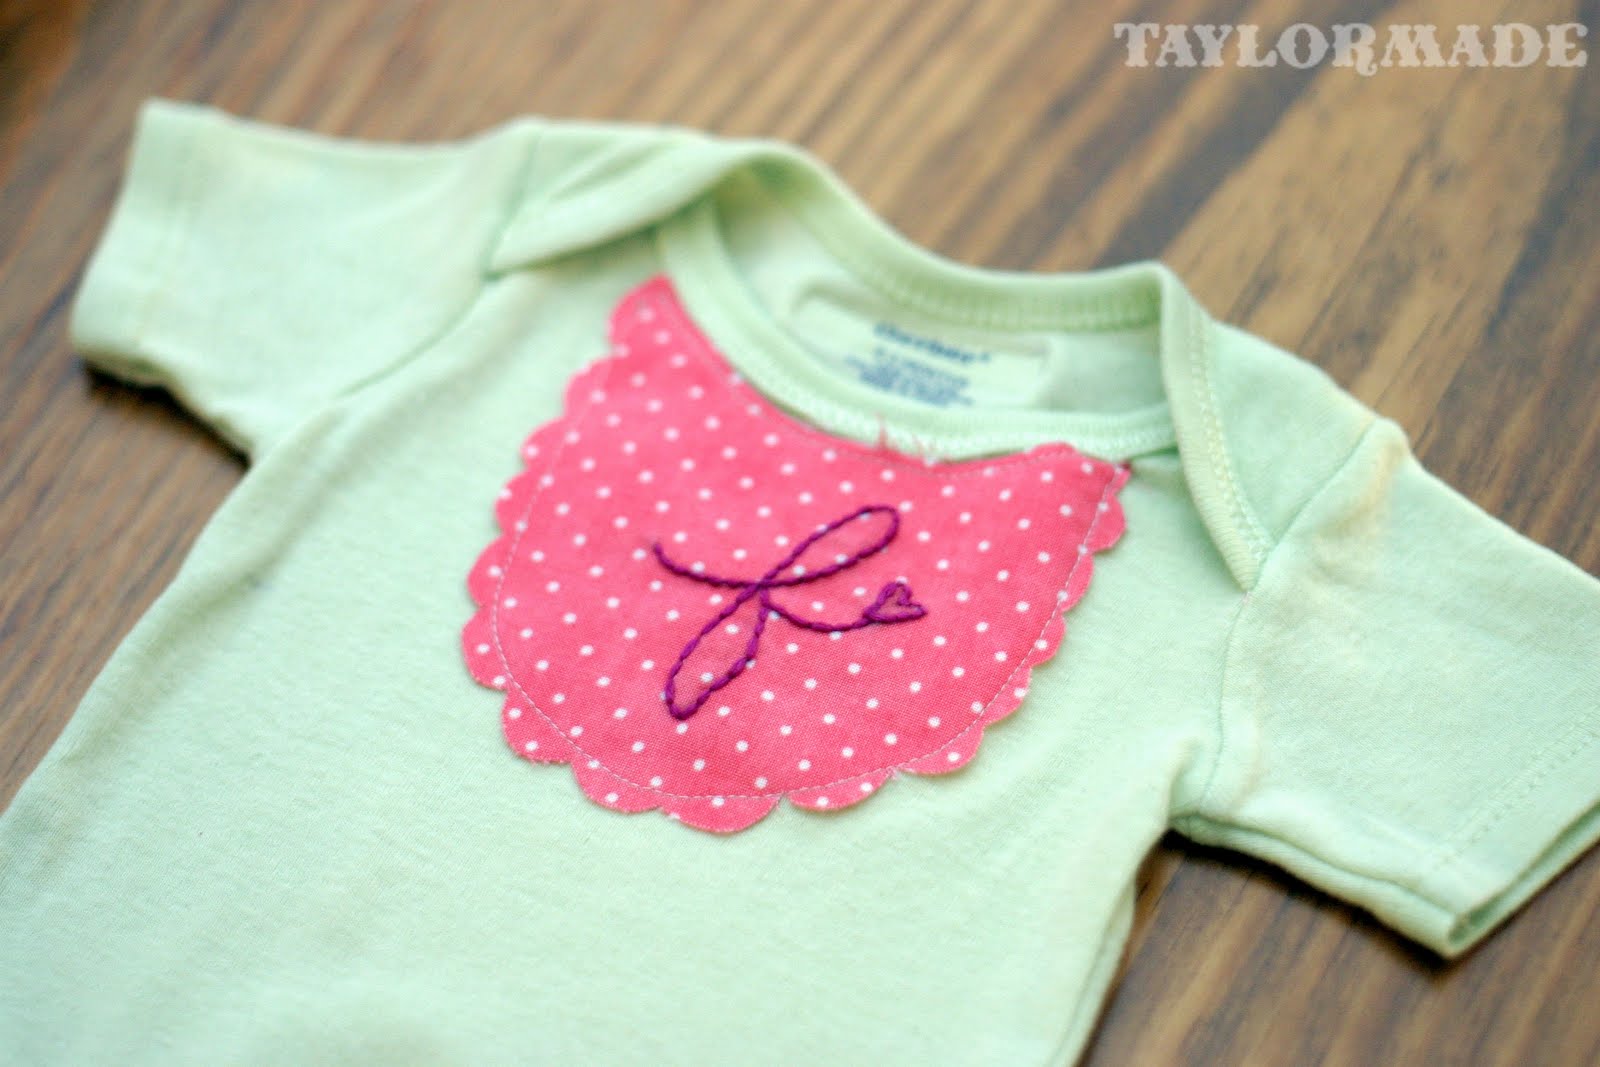
Sew around the new fabric that you are attaching.
Onesie refashion number 2…
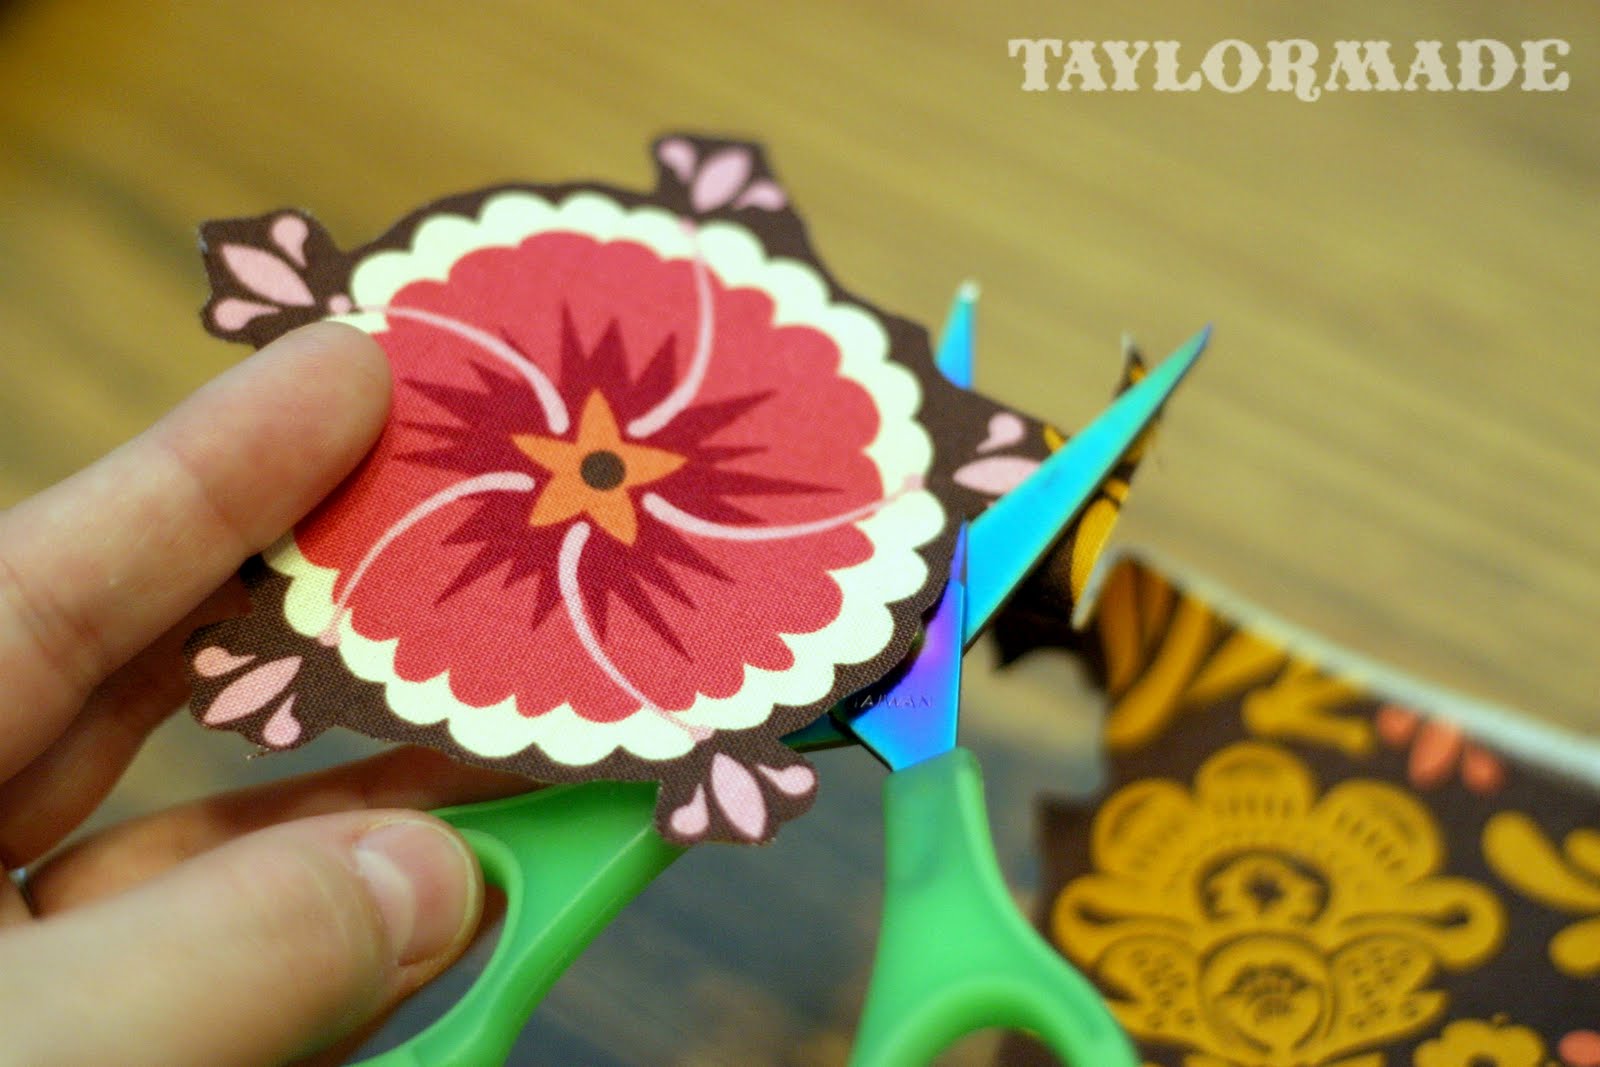
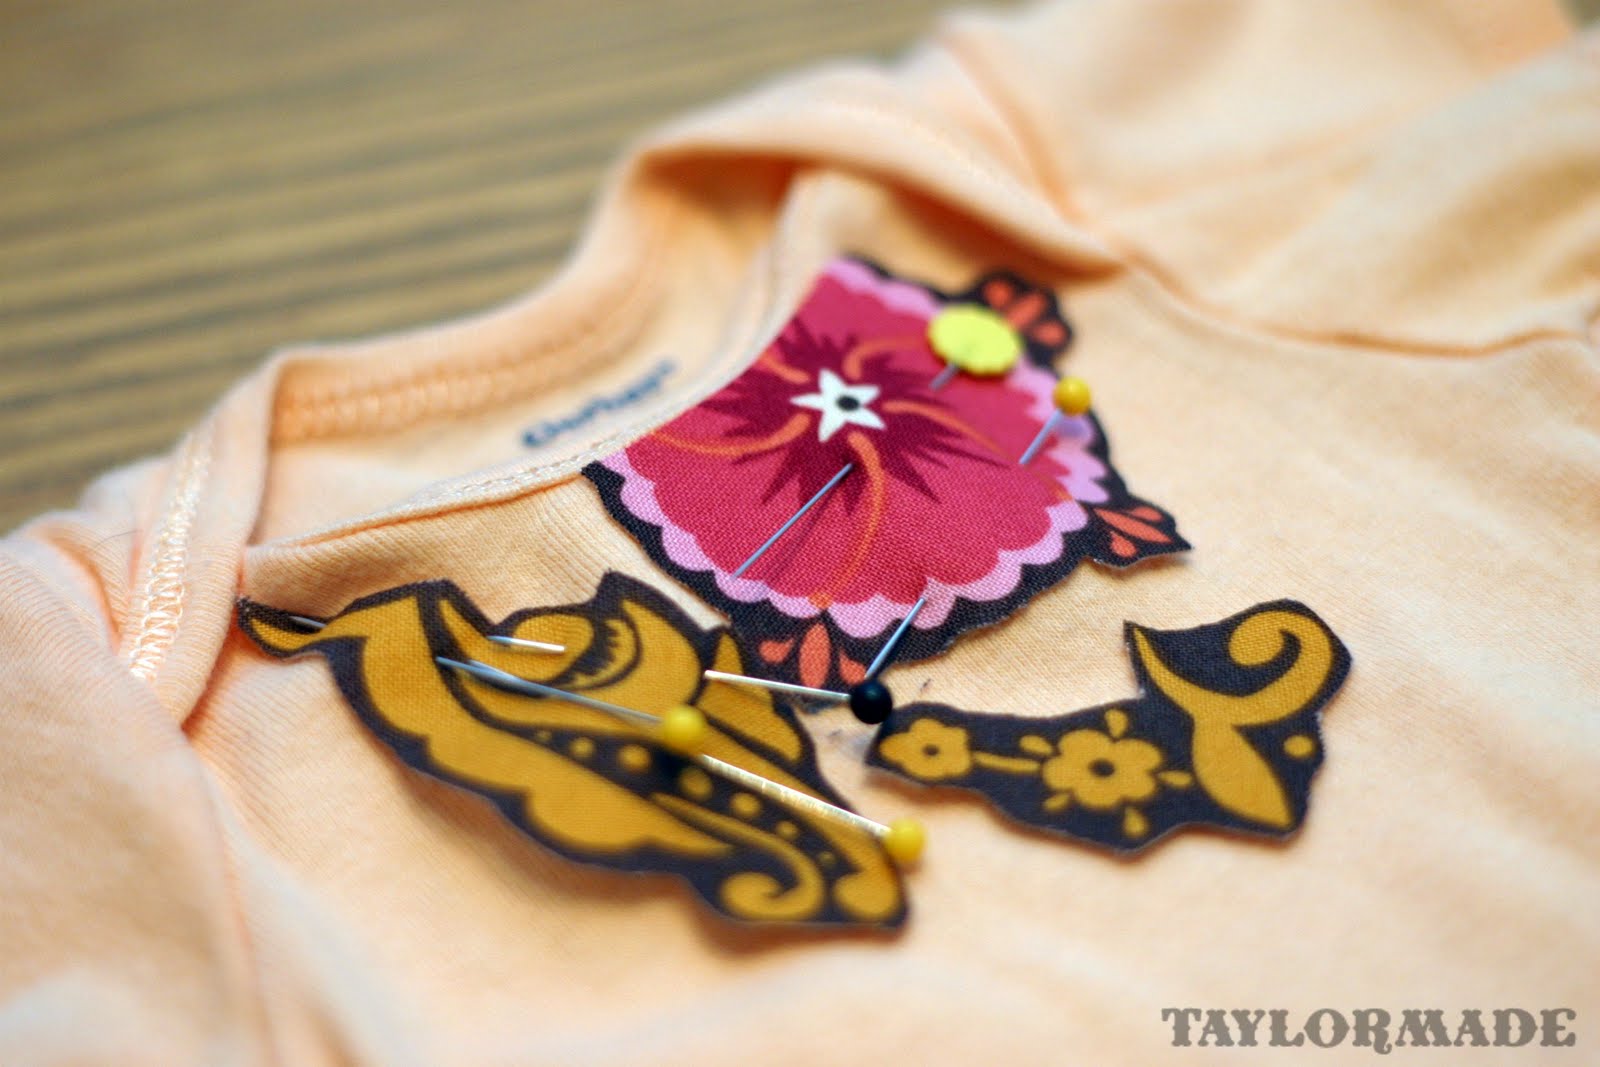
Add interfacing to the back of the fabric again and cut out some pieces of the pattern.
Pin the pieces on the onesie so you cover the old design.
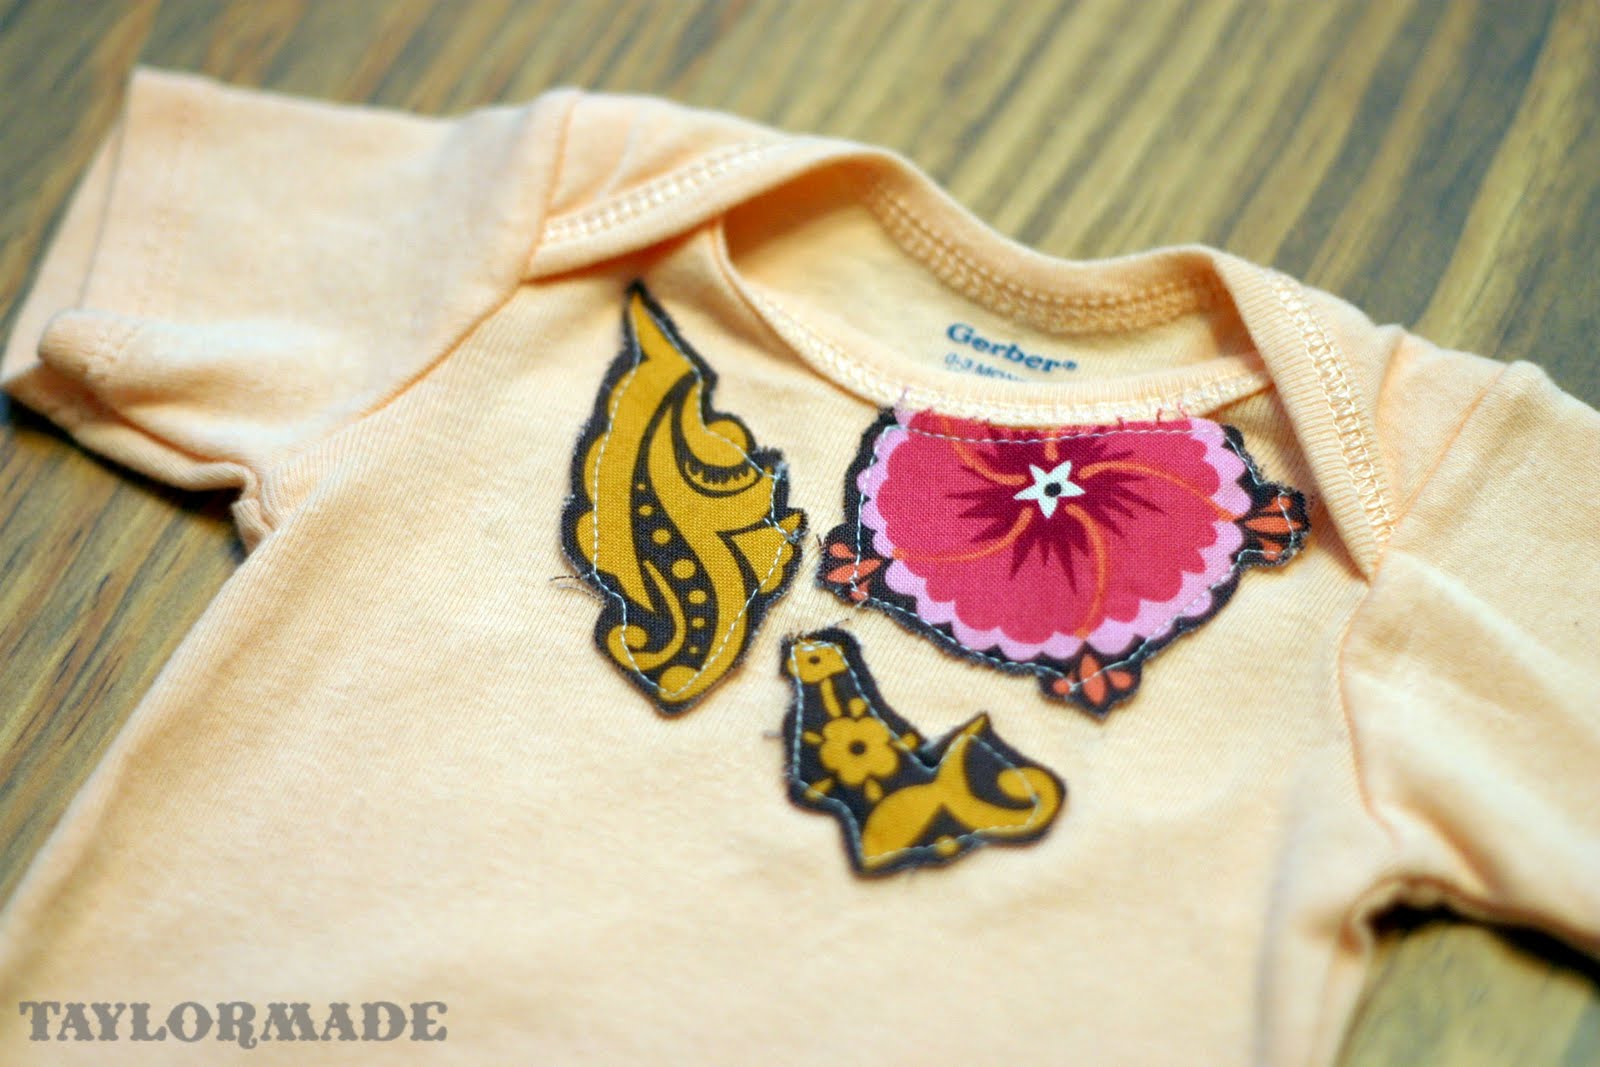
And sew. I again went for a messy sewn look. If you like a neater look you could do a tight zig-zag stitch around the perimeter of the fabric.
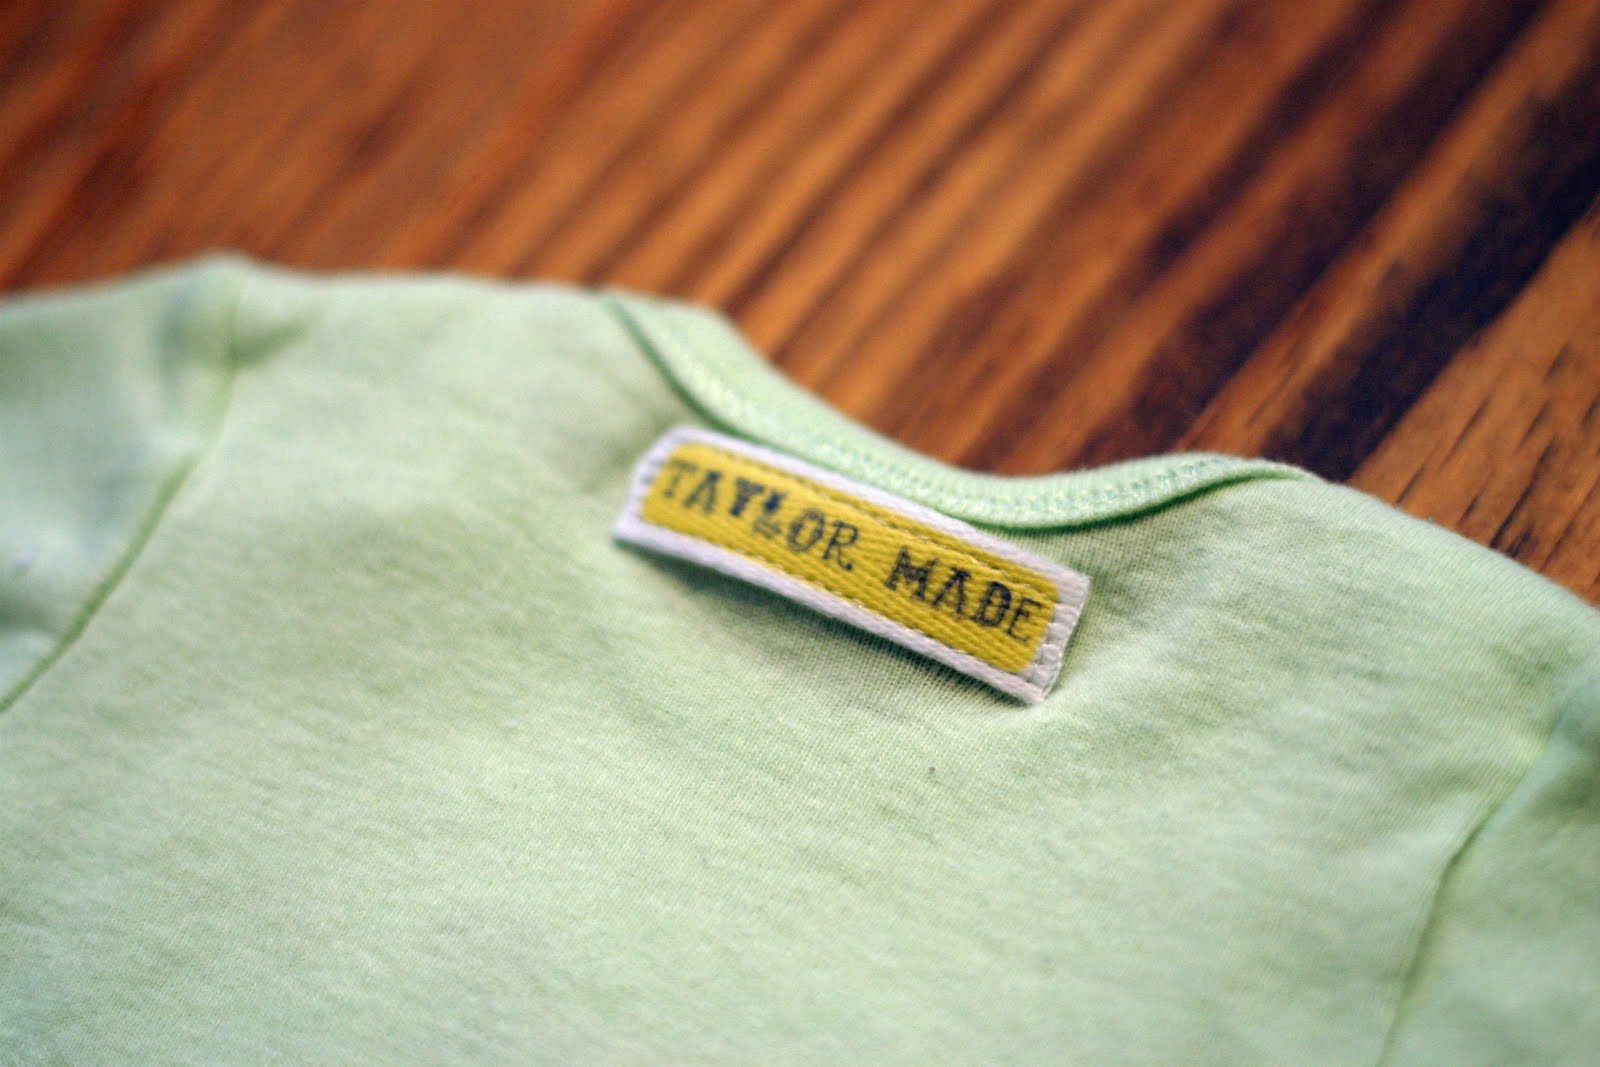
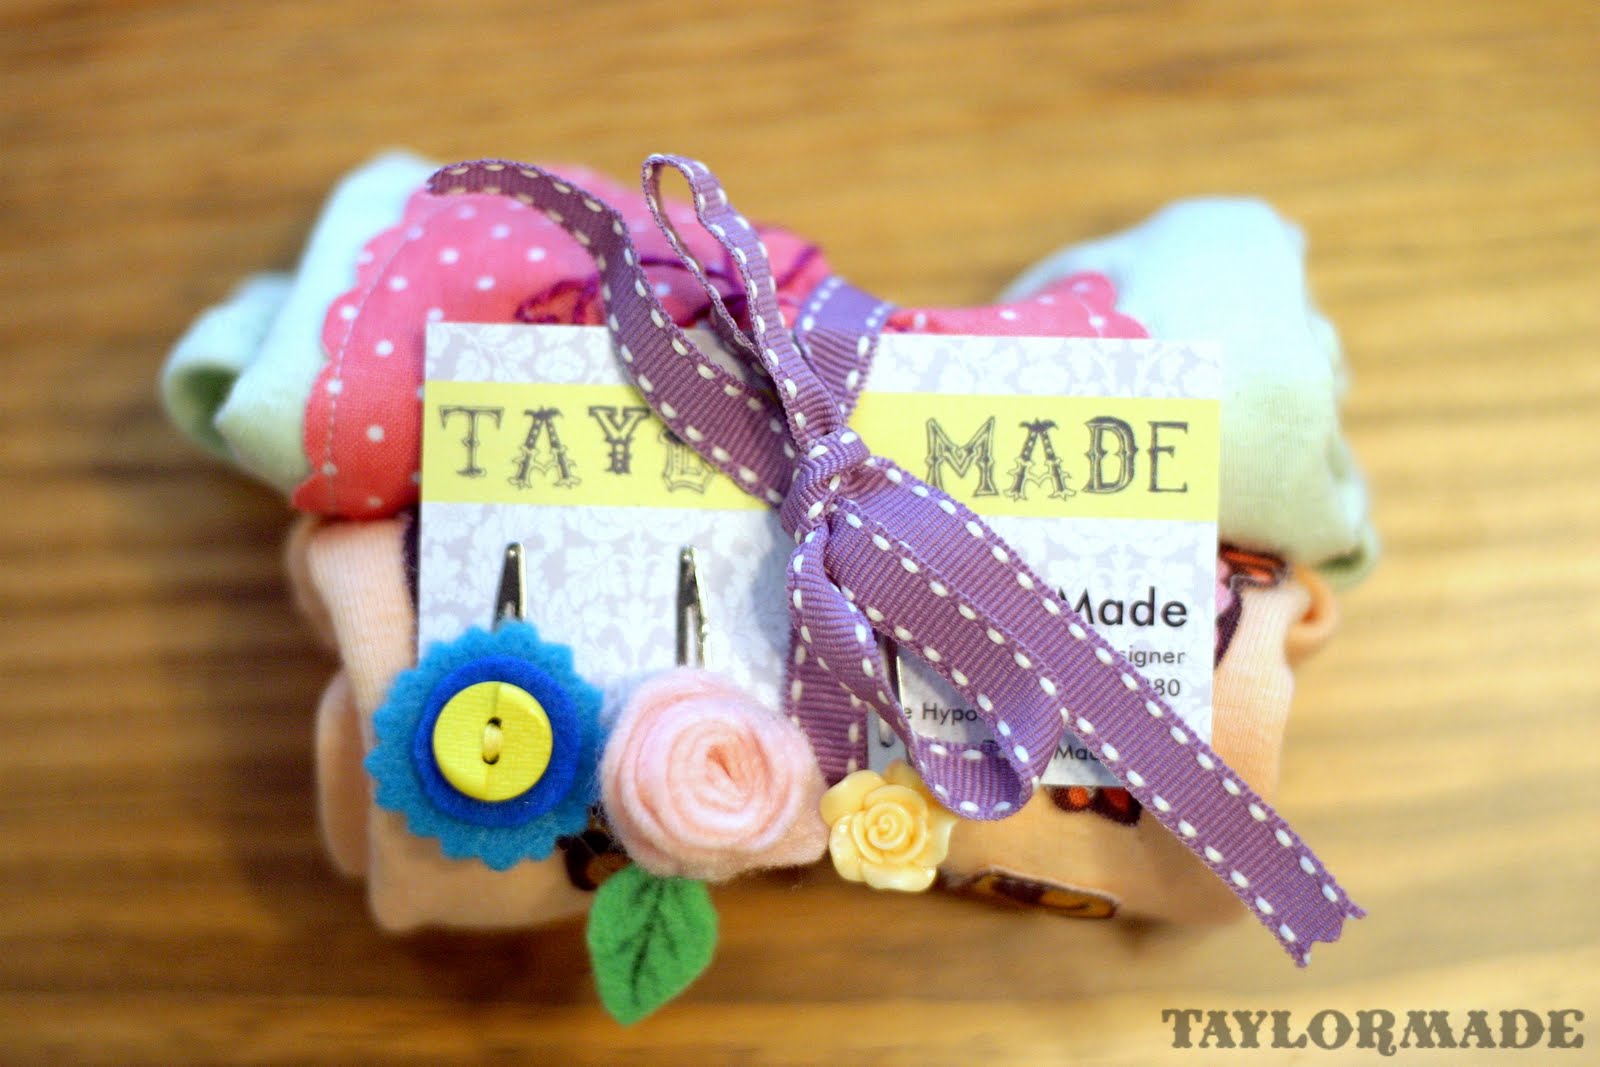
I added my fabric label…
and wrapped them up in a cute little package. Add some clips and you have a perfect baby gift.
Is it baby/wedding shower season for your too? Our calendar is packed over here with showers and weddings (and I like it).
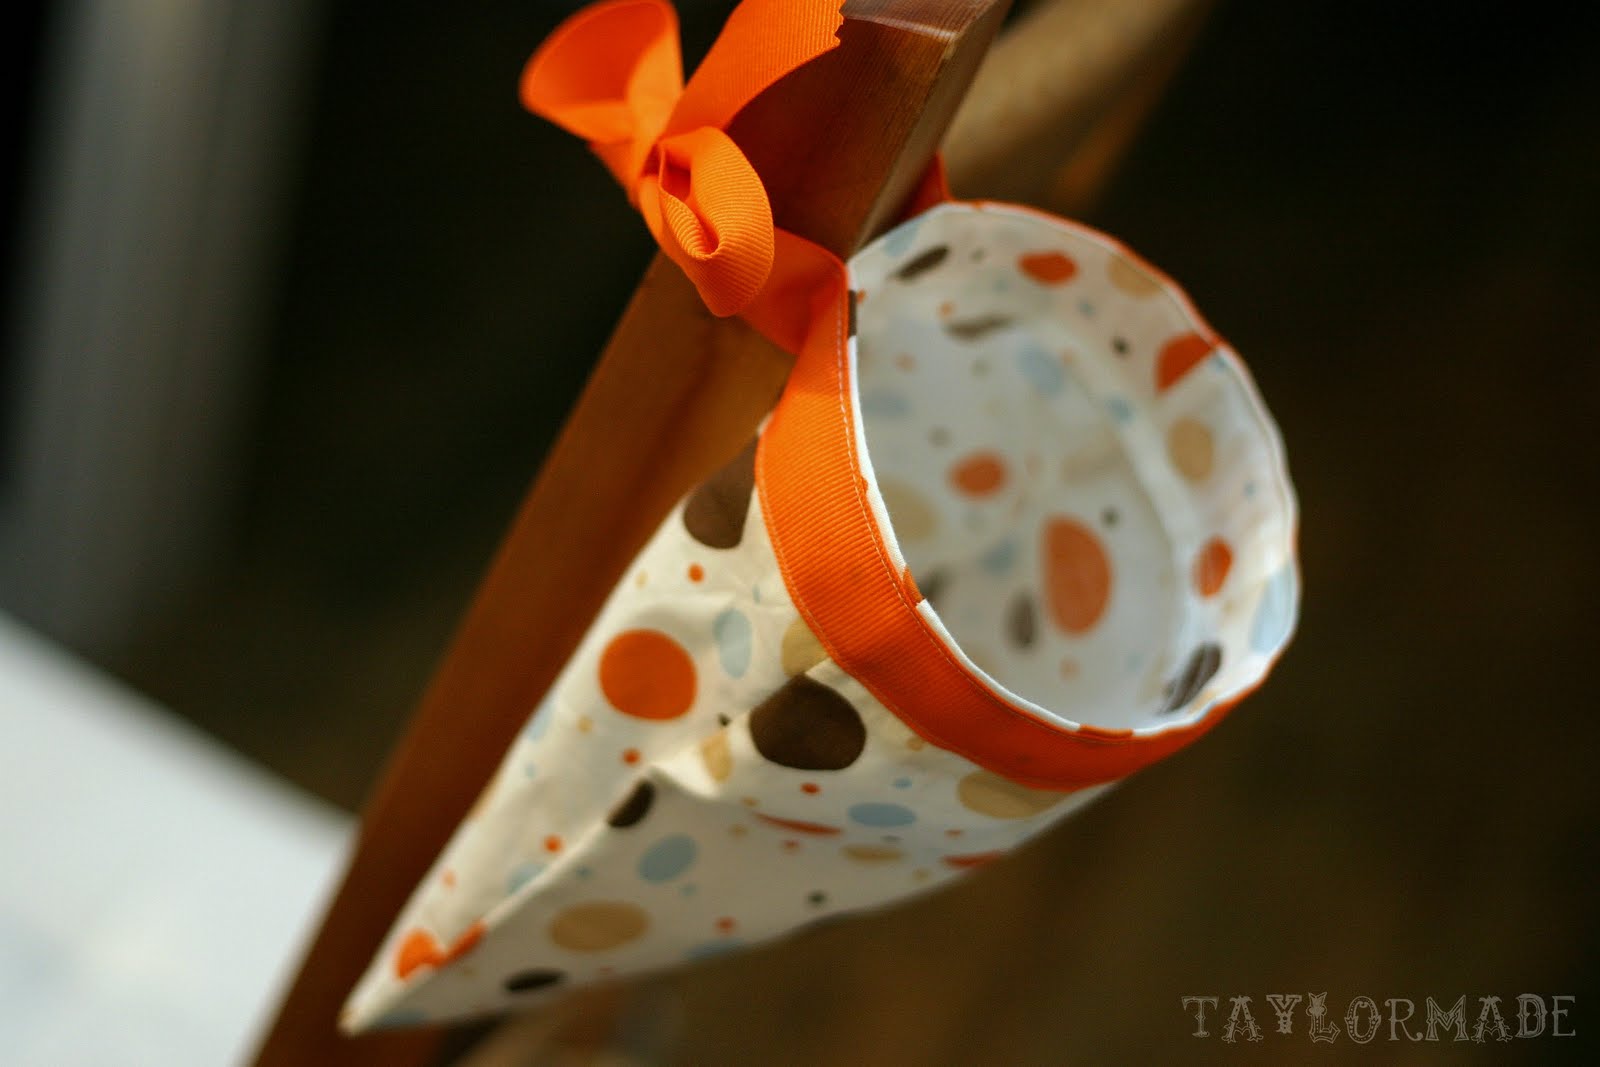
A common phrase at my house is… “where is the binky?”. So, I actually though about making something like this months ago for Clyde and his Binky Love (more of an obsession that I will regret later). We were invited to a diaper shower a few weeks ago and I always like to add something handmade. So I made a Binky Bag.
It is so easy I can barely even call this a tutorial- but I will :)
All you need is:
– a small piece of fabric (mine was 14″ x 10″)
– small piece of boning
-a ribbon
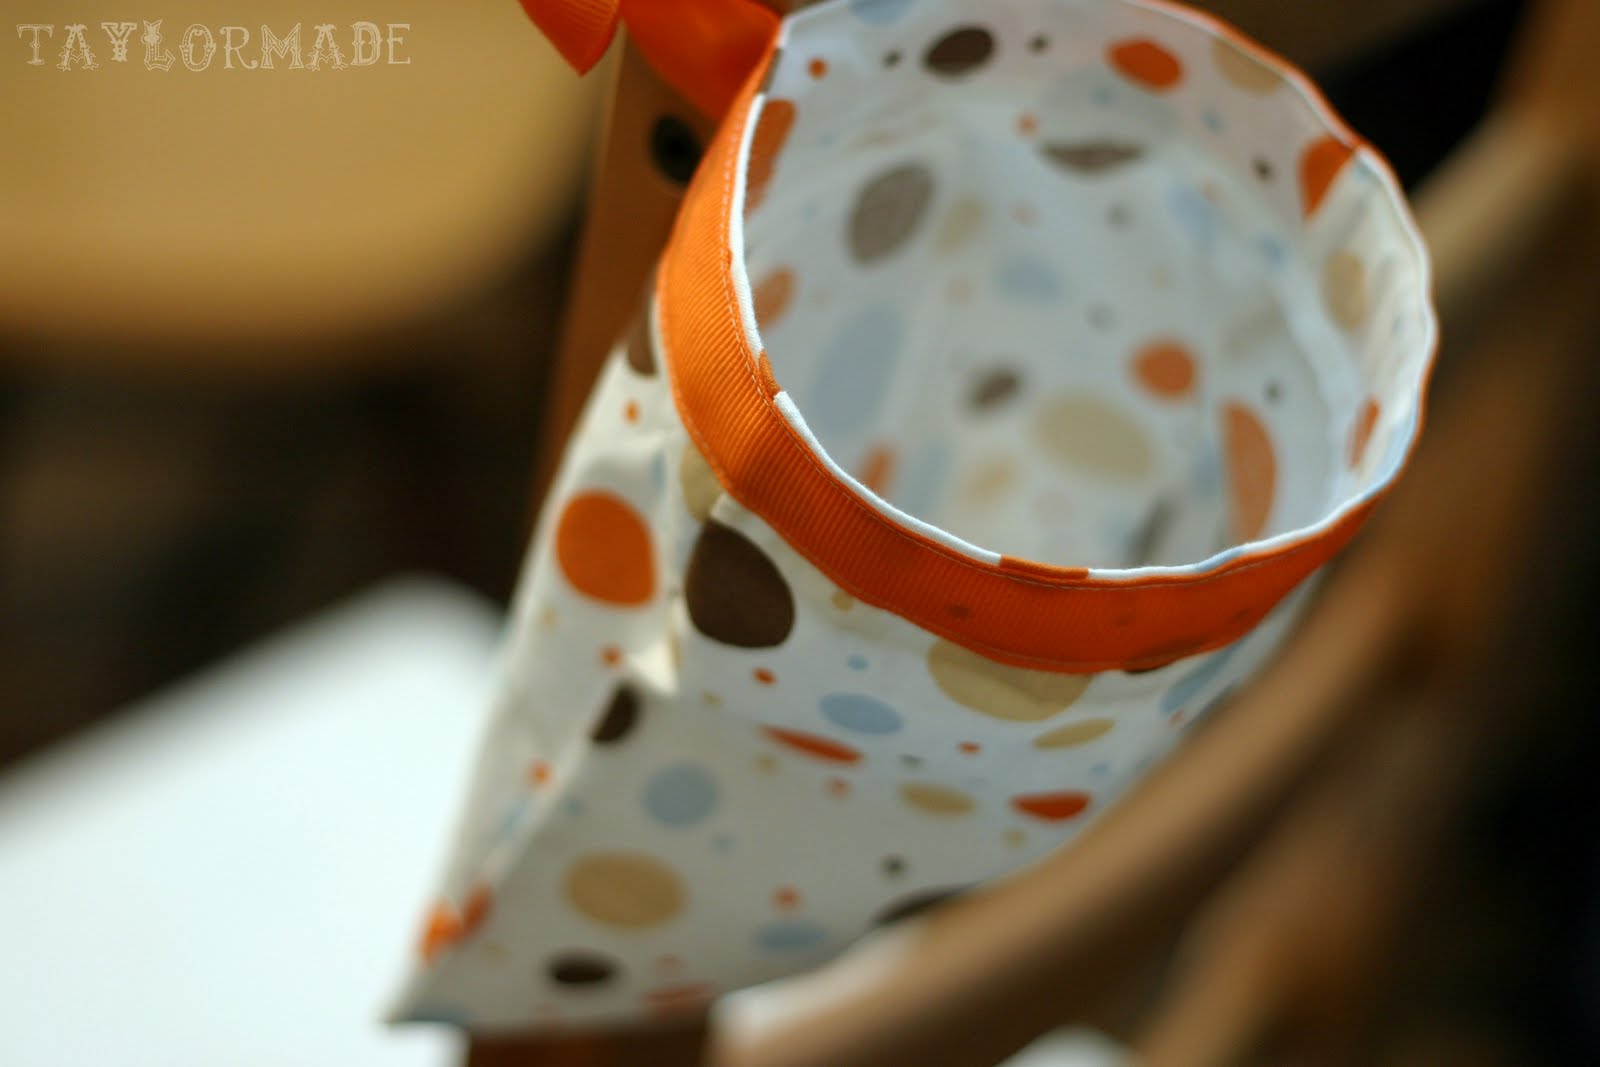
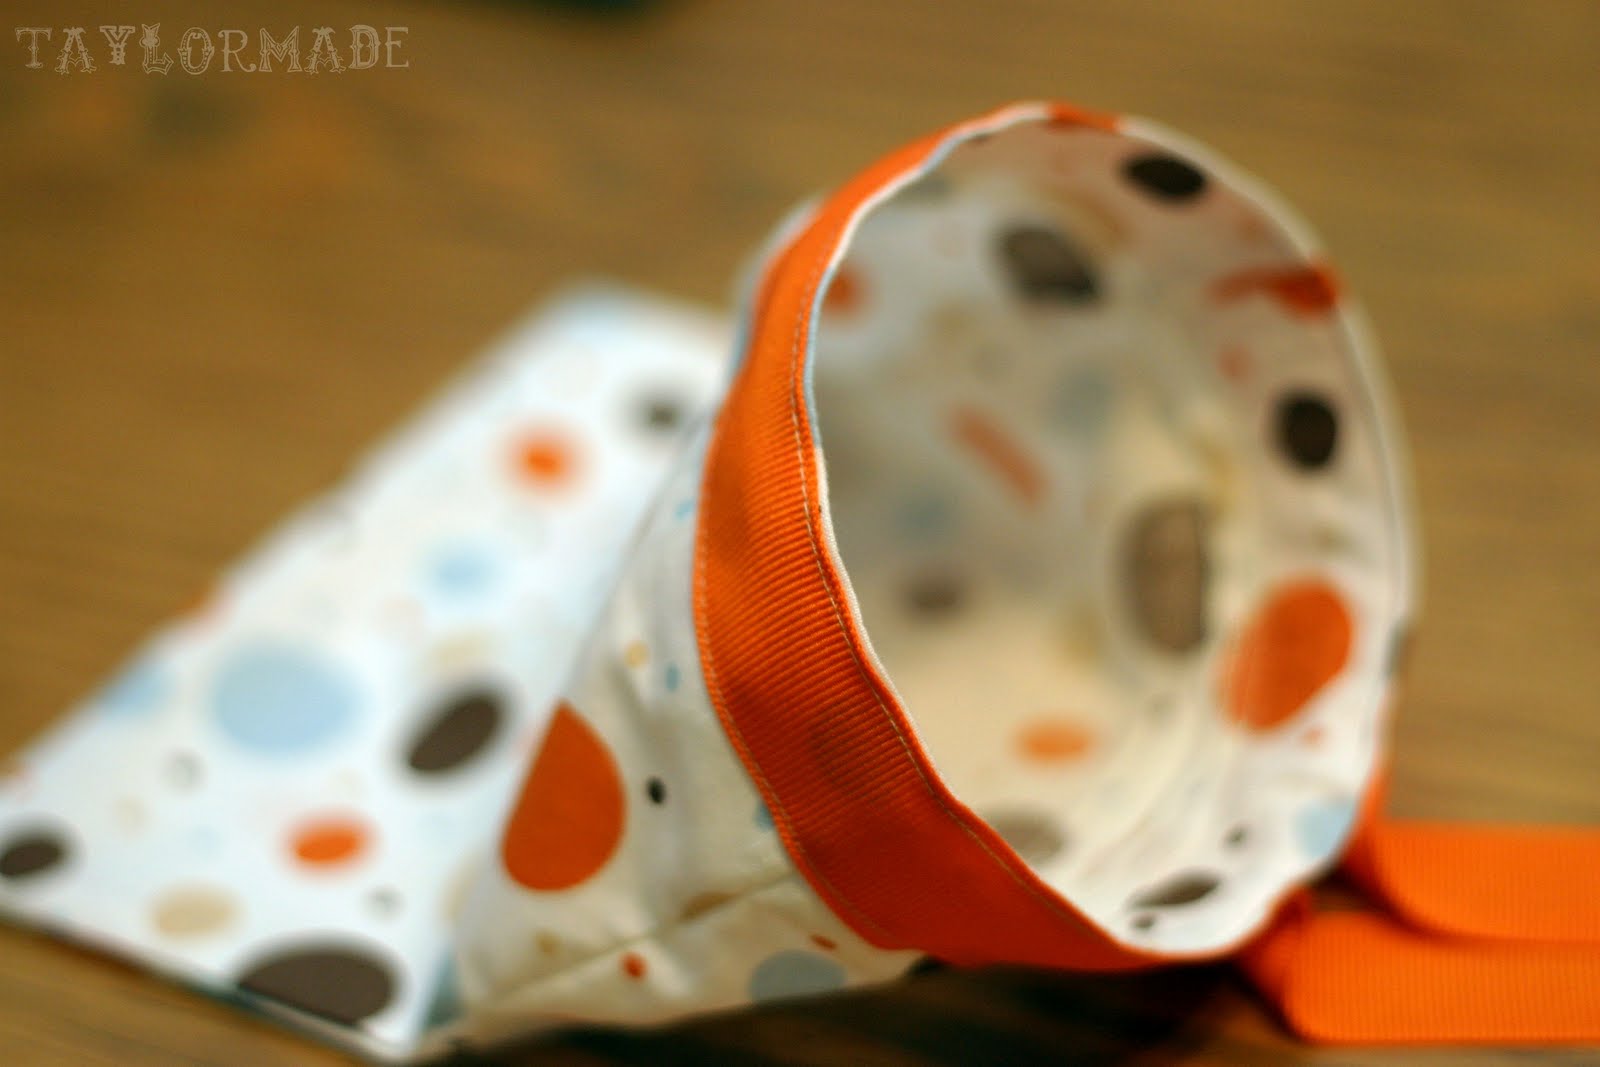
Basically all you do is create a pocket that is sewn on 3 sides and a 1″ hem on the 4th side so you can insert your boning inside and your bag will always be open. There are a ton of ways to modify it, here are the bare bones of the Binky Bag.
1. My piece of fabric was 14″x10″ and I folded it in half, right sides together, and stitched around 3 sides; leaving an entire side open
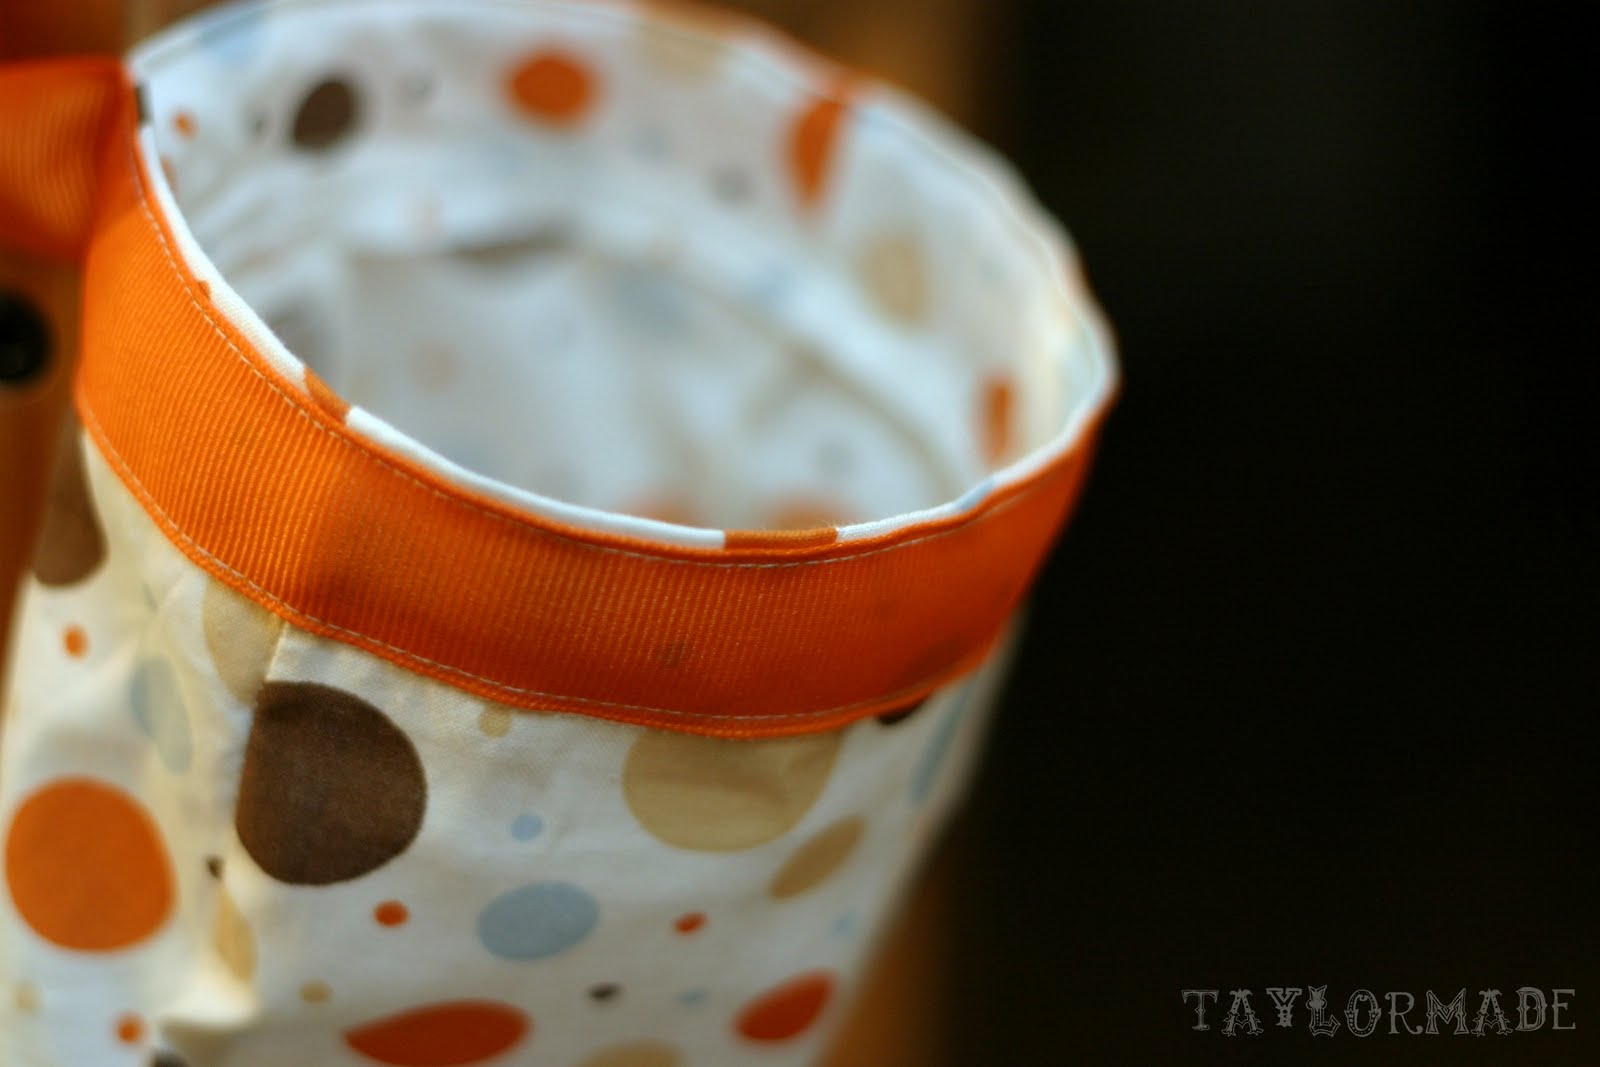
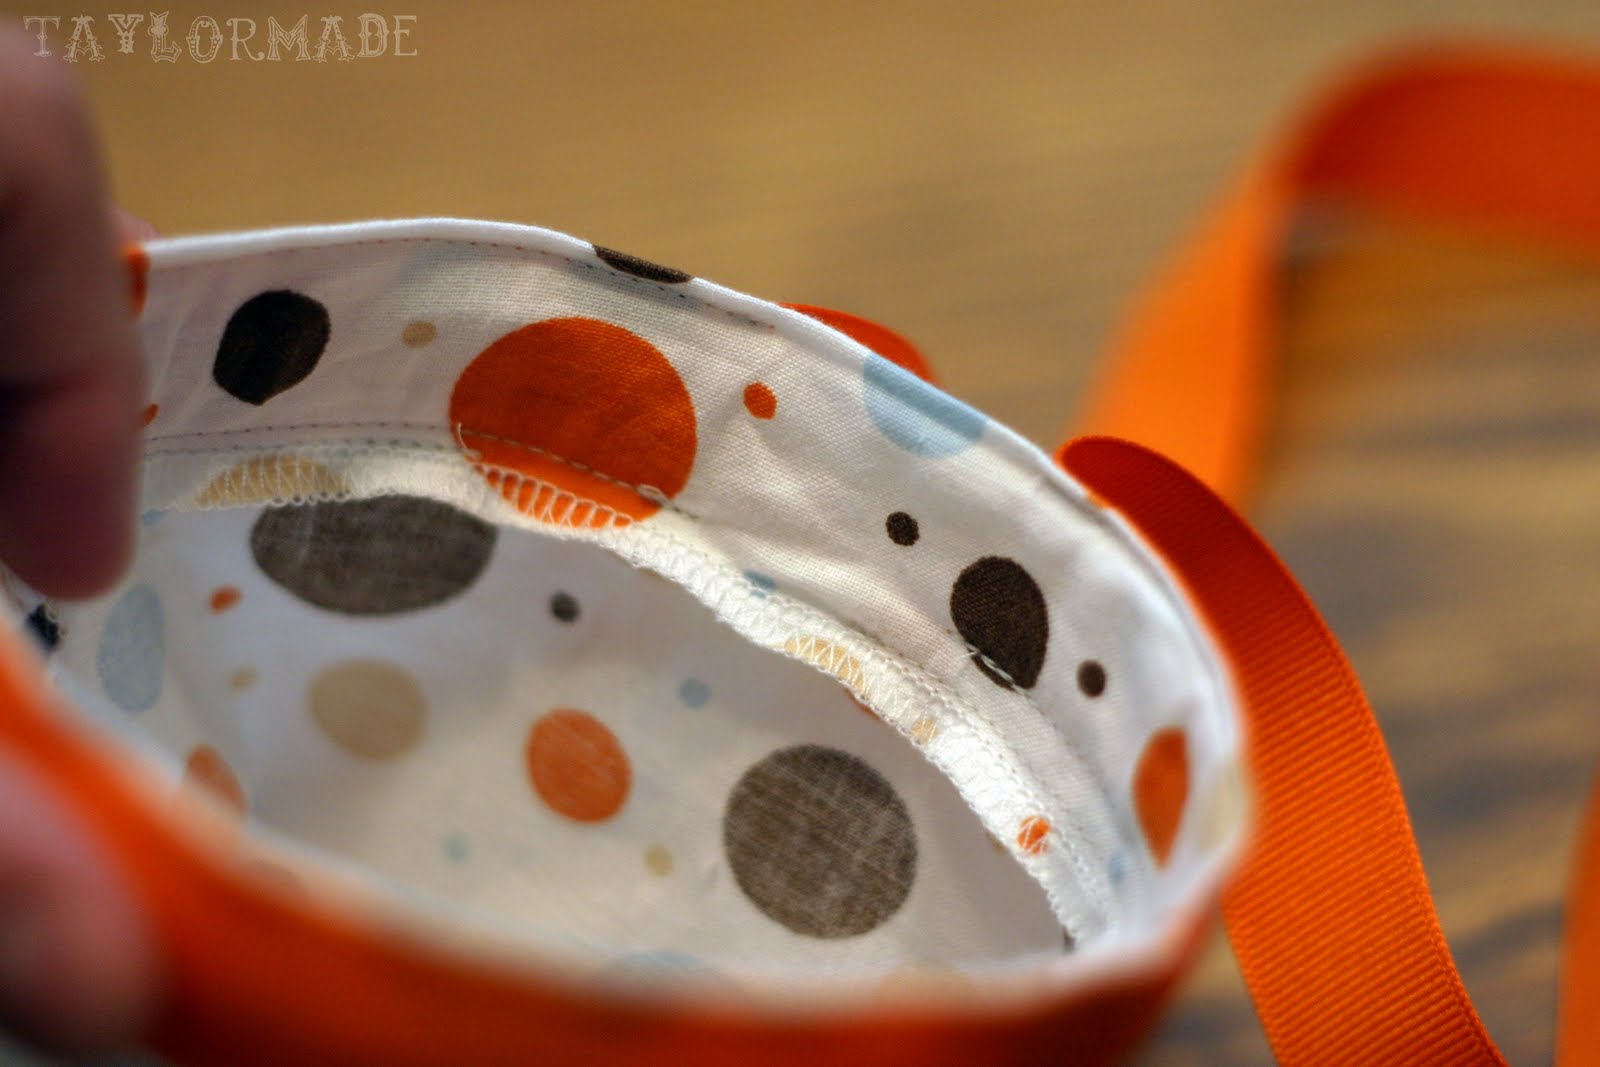
2. On the open side, serge around the top (or sew a hem)
3. With the bag still turned inside out, fold 1″ down
4. Sew around the fold leaving an opening
5. (the opening)
6. This is the boning that you will insert into that opening
7. Flip the bag right side out and pin a ribbon to the top of the bag
8. Make sure to leave a gap (about 1″) on the back of the bag so the ribbon doesn’t touch
9. Sew the ribbon to the bag
Lastly, insert the boning into the opening and stitch it closed.
Make sure to leave the gap in the ribbon so you can tie it to the side of the crib or changing table.
No more “where is the binky?” Happy Mommie, Happy Baby.