TaylorMade

DIY, Home Decor & Sewing

  • Home
  • SHOP
  • DIY & Sewing
    • For the Home
    • Sewing
    • Costumes and Holidays
    • Cricut Projects
    • Crafting
  • Parties
  • Recipes
  • Home Tour
  • Favorites
  • About

Boy Shorts – Stars and Checks

March 5, 2013 By Taylor 4 Comments

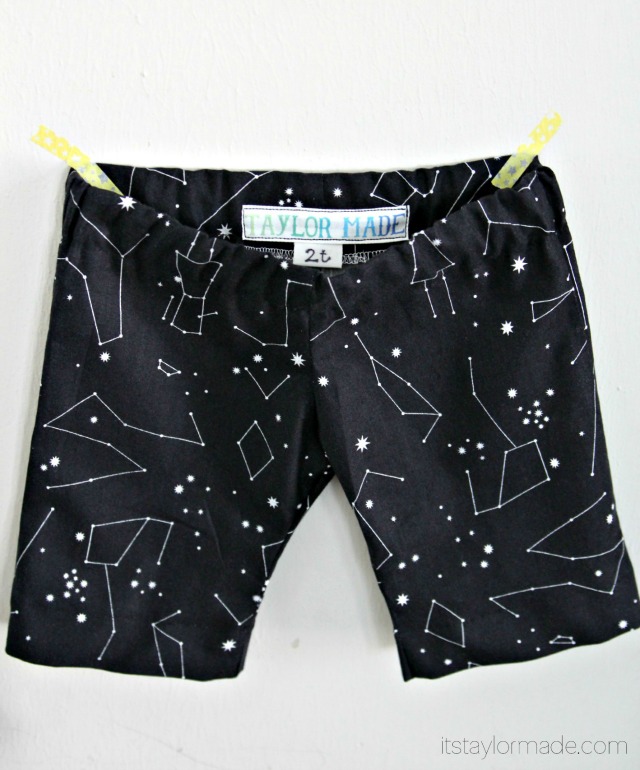
This week Dana and Rae are Celebrating “The Boy“. It might be one of my favorite blog series all year, boys need clothes too right. I was inspired to sew up some new shorts for the boys- I also needed a reason to buy some Lizzy House Constellations fabric. My youngest can totally pull off Constellation Shorts. My oldest likes more “traditional” prints, stripes, solids and plaid. He turned 3 and got picky about what he wears?!

I used Dana’s Kid Pant Pattern for the 2T and just cut them down to shorts. Her kiddos look super tall and skinny so I should have added even more width than I did. They fit for now but there isn’t a ton of growing room in the legs, my son is kind of on the edge of 2T-3T anyway (and kinda cute baby chubby still hehe).

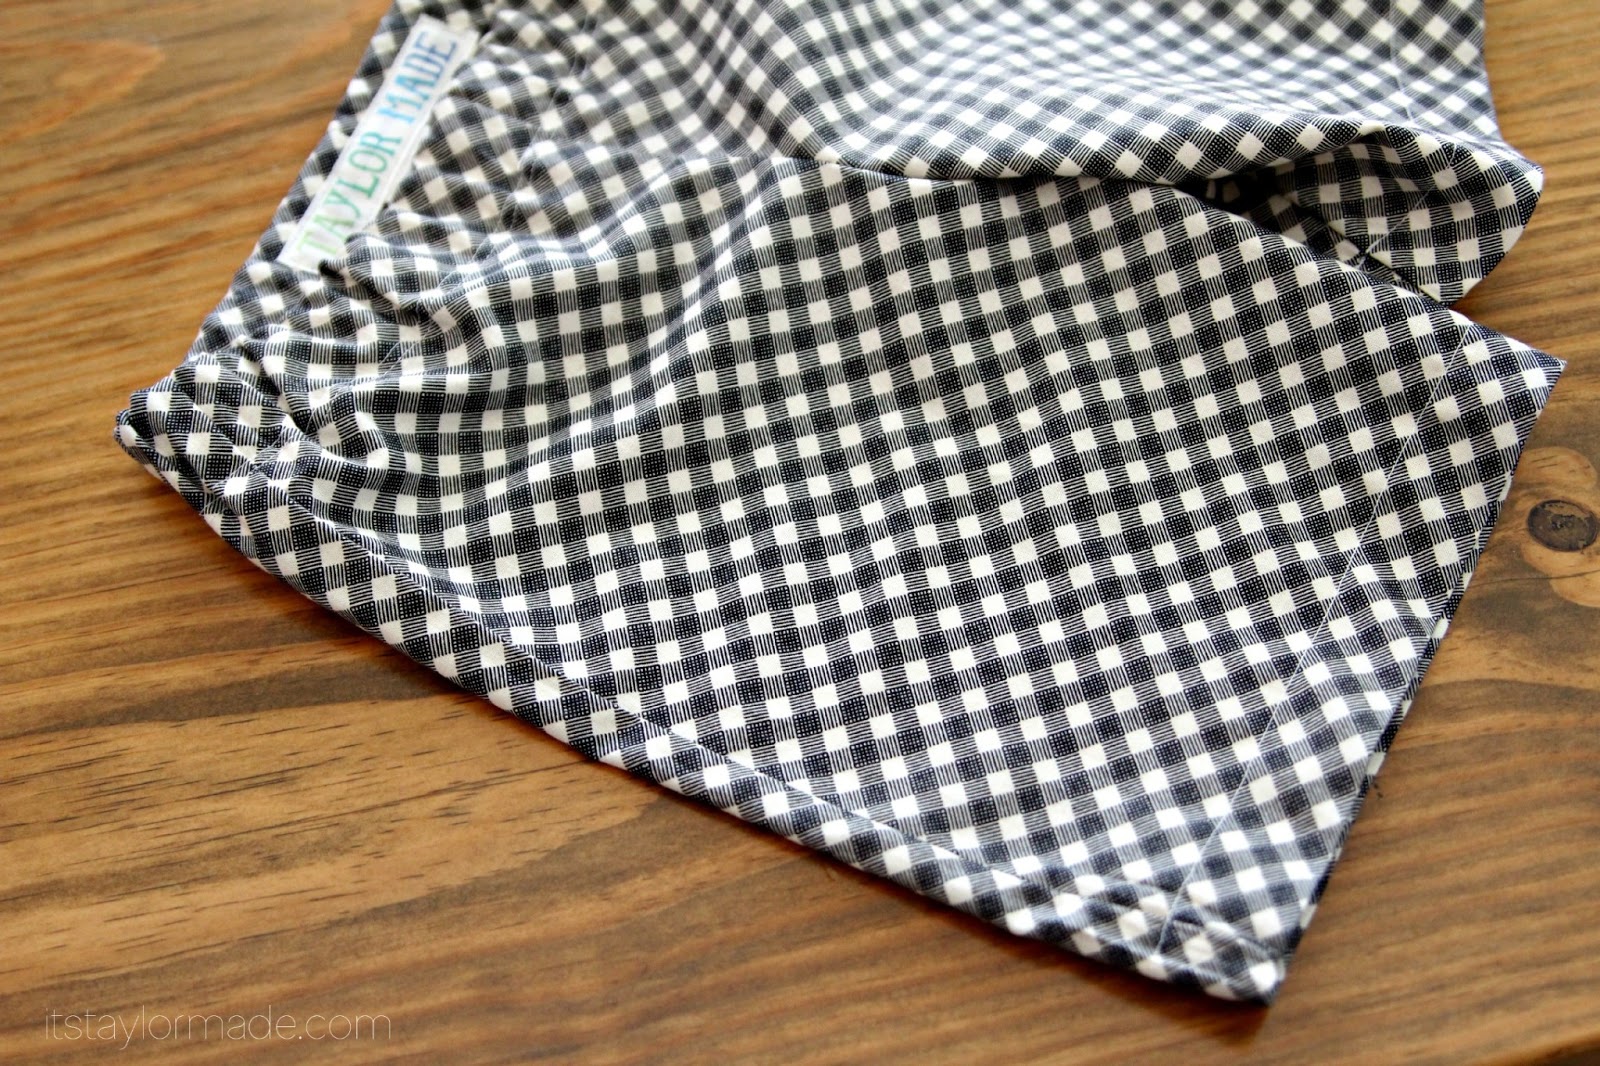
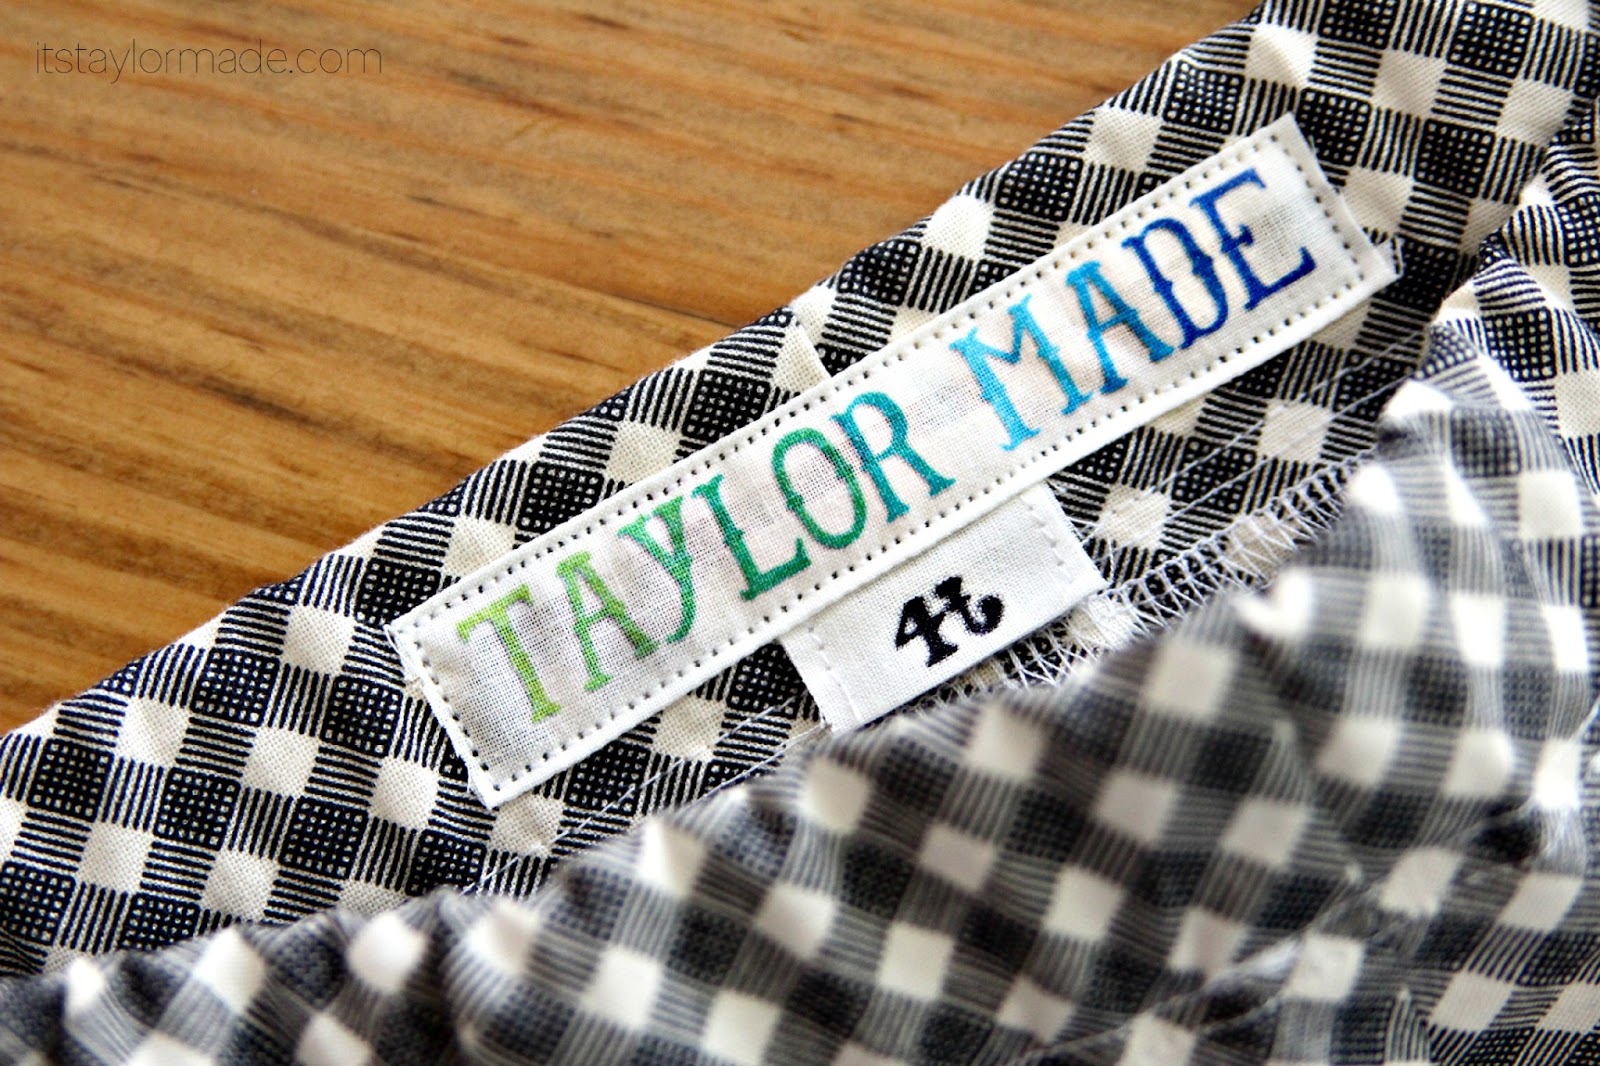
For the 4T I used a free pattern from My Growing Home. Those fit great!

I serged all of my seams and added labels with a size tag so I was feeling pretty professional :) However, I wasn’t feeling professional enough to change my serger thread color because that’s just too much work.

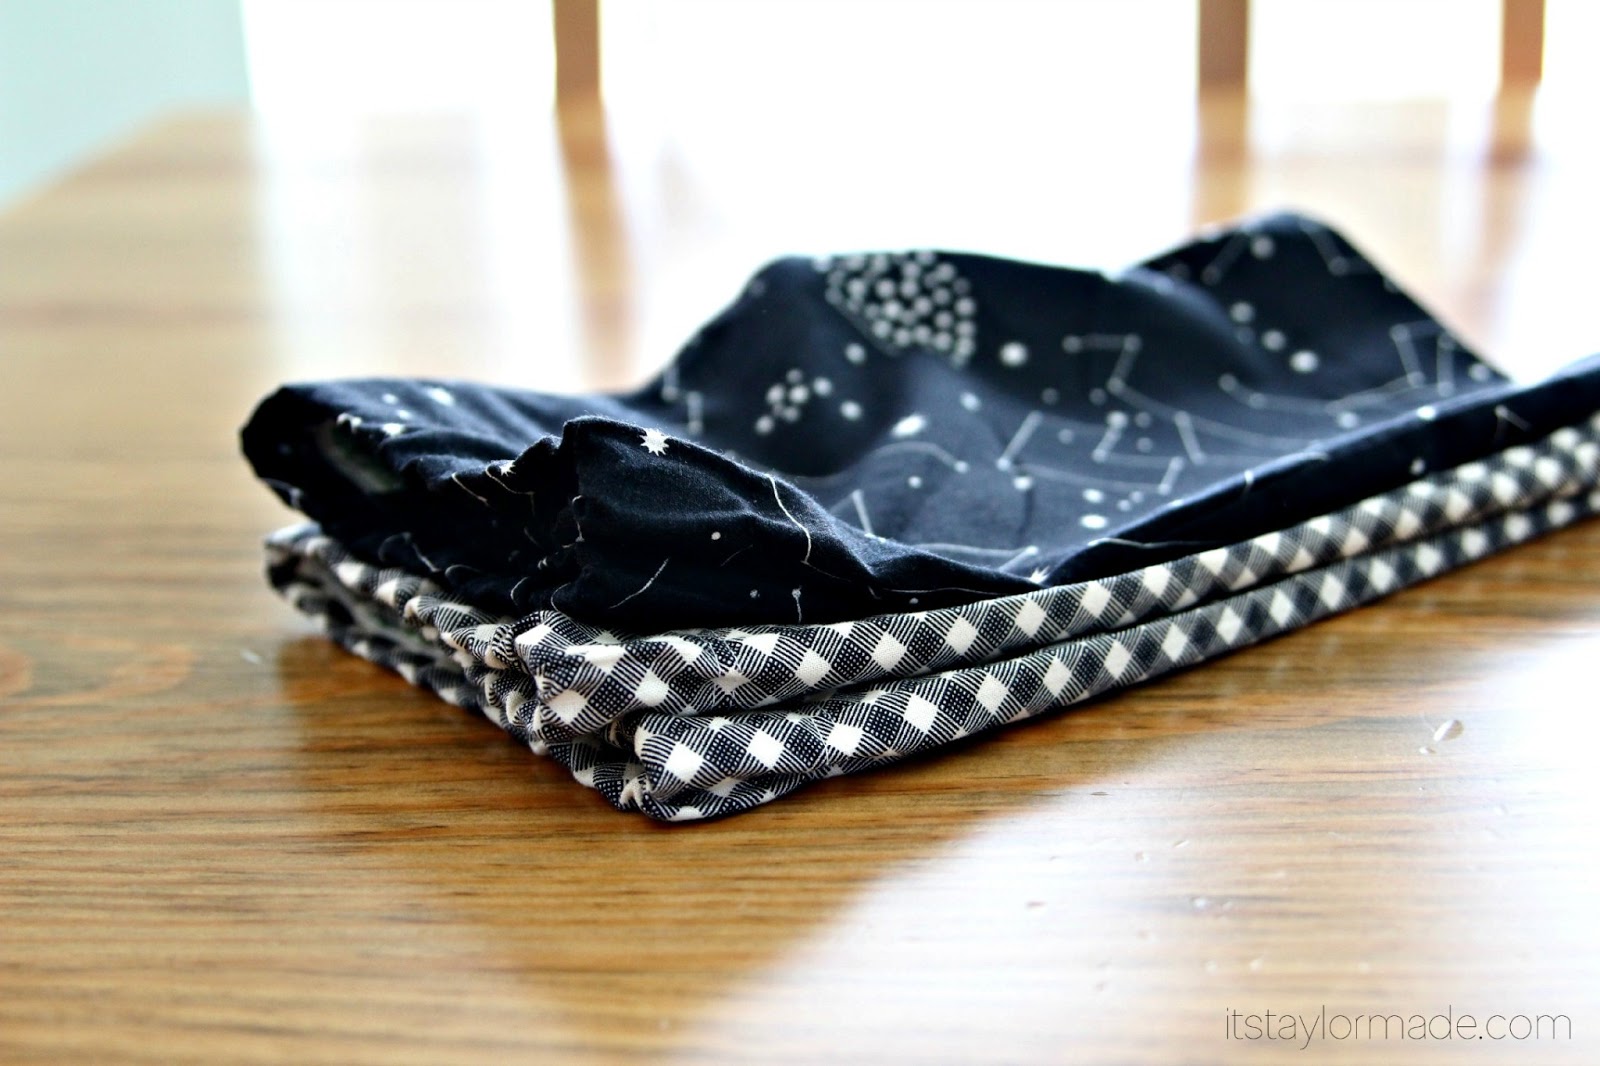
Each pair only used 1/2 yd so I have fabric left over, yay for fabric hoarding.

Look at these two scheming. These little outfits would be cute for St. Patty’s Day, now pretend you didn’t see them. Have you done any boy sewing lately? I will be honest, It’s hard to see all the cute dresses and tunic tops for girls everywhere but I love making stuff for my cute boys too :)

Pin It

Filed Under: boy, fabric, sewing Tagged With: kids

Diaper Bag Tag

February 1, 2013 By Taylor 3 Comments

Welcome to the last installment of the baby shower :) You can read more about the shower HERE and about the Baby Quilt I made HERE. I just needed a little something to add to the baby’s basket. I always wanted to make one of these for my boys, but they are kind of too big now. Big boy backpacks and lunchboxes that they hold themselves…. so sad.
For the tag, I kind of added as I went but I did snap a new (night) pics. First, I used my PSA Monogram Stamps and stamped right on the solid pink fabric. I used really stiff interfacing and sandwiched each fabric with that in between.
Then I started layering by sewing directly onto the next fabric.
I traced a tag shape onto the base fabric with fabric marker. Then added a ribbon and backed it with felt. I sewed directly on that line.
Then I put it all together.
This is really cute added to the wrapping of a baby gift too!

I also made little tags for the headband bar at the shower.

Remember this.

For the “activity” all of the guests made Gabby a headband.  I made 3 different sized headbands and I wanted Gabby to know who made which band. So I made these little gift tags and used my Cameo to cut uniform circles quickly.

Then I used another PSA stamp to add the cute little animals.

I added bakers twine and just hand wrote “size” and “from” on the back.

Last shot of what the new mommy got to take home :)

Whew… and there you have my (what took me two weeks) round up of the Baby Shower Events. It’s always fun to plan something crafty. I have another shower I’m co-hosting coming up in April, yay! 

For more ideas on how to use these stamps visit PSA Stamp Camp blog!

Pin It

Filed Under: baby stuff, fabric, felt, girl, paper Tagged With: kids

Baby Blanket with Name Applique

January 28, 2013 By Taylor 4 Comments


A new mom can never have too many baby blankets, right? Especially ones with names on them. You want every excuse to see your new baby’s name in action. And a handmade baby blanket is something you keep forever. Here is Gabby’s baby blanket I made for her Shower last week. (Shower details HERE)

I started by making the ruffled edges. I found pretty pink gingham and tore it into strips.

Then I used my ruffle foot. And ruffled, and ruffled and ruffled.

I used a yard of minky for the back and a yard of the floral print cotton for the front.
I rounded the corners with a bowl. Then, put the minky aside because its time for the appliqued name :)

For the applique, I ironed wonder-under to the back of the fabric. I printed out the name and traced the letters (BACKWARDS) on the back of the wonder-under.

Then I cut out the letters (and took the back of the WO off) and placed them on the fabric. Next, Iron.

Then I used a very sloooow zig zag stitch around each letter. Voila, easy applique done.

To put the quilt together, I actually sewed my ruffle to the minky first. The minky can get slippery and I tend to get messy so this made it nice and neat.

Then, put right sides together with the ruffle in between. The line from the ruffle serves as a guide, I used a 1/4″ seam allowance from that seam. Don’t forget to leave an opening to flip.

Once you have flipped, Press the seams down and top stitch all the way around.

What baby girl doesn’t love pink minky?

Pretty pink package :)

Stay tuned later this week for more shower details, including flag bunting that I may or may not have wanted to keep, a baby bag tag and some cute stamped gift tags!

Pin It


Filed Under: fabric, girl, quilt, sewing Tagged With: kids

a baby gift and the perfect burp cloths

November 9, 2012 By Taylor 3 Comments

I thought I liked making baby gifts a few years ago because I had babies. But now that I have toddlers, I like making baby gifts even more. Especially if you are having a girl, I have to throw something homemade in…  all of those stacks and stacks of girly fabric are going to become “vintage” before I get to use them. So, I made three burp cloths (using my favorites- gerber’s cloth diapers) and added girly fabric.

This is what I have learned from making and owning many burp cloths. If fabric is on both sides or it’s too thick it doesn’t absorb well. Also, you could have issues with washing the gunk out :/ Gross. So, I keep it as thin as possible. For the ones with the strip at the bottom, I measure the total width of the burp cloth by 3ish inches. Then I serge a piece of fabric that exact size and attach it to the cloth diaper. If you don’t have a serger, then just  make the fabric a little larger and fold/press it down to the correct size. I added a ribbon right on top of this one.

You can also use the same technique but attach your fabric down that middle section of the cloth diaper.

Or you can add an applique of another fabric on top.

This brand is my particular favorite, the no name cloth diapers are too long. The cute terry cloth burp cloths are way too thin. Obviously I’m a burp cloth connoisseur. Another tip is when you clean up a baby mess, try to wash these as soon as possible, they are 3-ply so they will mildew if they sit for too long.

Simple easy gift that you know will get used more than almost everything :) Here are some simple boys ones I made a few years ago, not as cute as girl ones though.

I also whipped up some happy garland via MADE. I was looking for an excuse to make some and this little girls nursery is grey, cream, purples and coral. I couldn’t find coral felt though… but I still love it.

What is your go to baby gift? PS I think I need happy garland in every room of my house :)

Pin It

Related Posts Plugin for WordPress, Blogger...

Filed Under: baby stuff, fabric, felt, girl Tagged With: kids

  • « Previous Page
  • 1
  • …
  • 6
  • 7
  • 8
  • 9
  • 10
  • …
  • 12
  • Next Page »

Welcome to Taylor Made

http://www.taylormadecreatesblog.com/about-me Hi Yall! I'm Taylor... an artsy mom of three from Houston, TX. I love sewing, collecting floral fabric, eating Mexican Food, photography, brights colors, rearranging, and rolling clay. Taylor Made Creates is all about creating a fun, colorful home, sewing cute things and eating good food. Check out my SHOP HERE HERE! Thanks for stopping by!

Search

Pin with me!

Like Me :)

Facebook Pagelike Widget

More Recent Posts

  • Kid's Animal Room
  • Kids Camping Shirts
  • Mermaid Birthday Party
  • Conversation Heart Cold Packs
  • Holiday Apple Tea Punch
  • Purple Princess Costume
  • Letterboard Costume
  • La Croix Costume

FAVORITES

  • White Wine Sangria
  • Handmade Mother’s Day: Recipe Oven Mitt
  • Black Bean Salad
  • Stethoscope Covers
  • Tips for Catching up on Project Life
  • DIY TeePee with Forest Fables Fabric
  • Playroom Reveal
  • Fresh Peach Dump Cake – a Recipe
  • Salt Dough Napkin Holders

Copyright © 2026 · Web Hosting By RFE Hosting