Is it baby/wedding shower season for your too? Our calendar is packed over here with showers and weddings (and I like it).
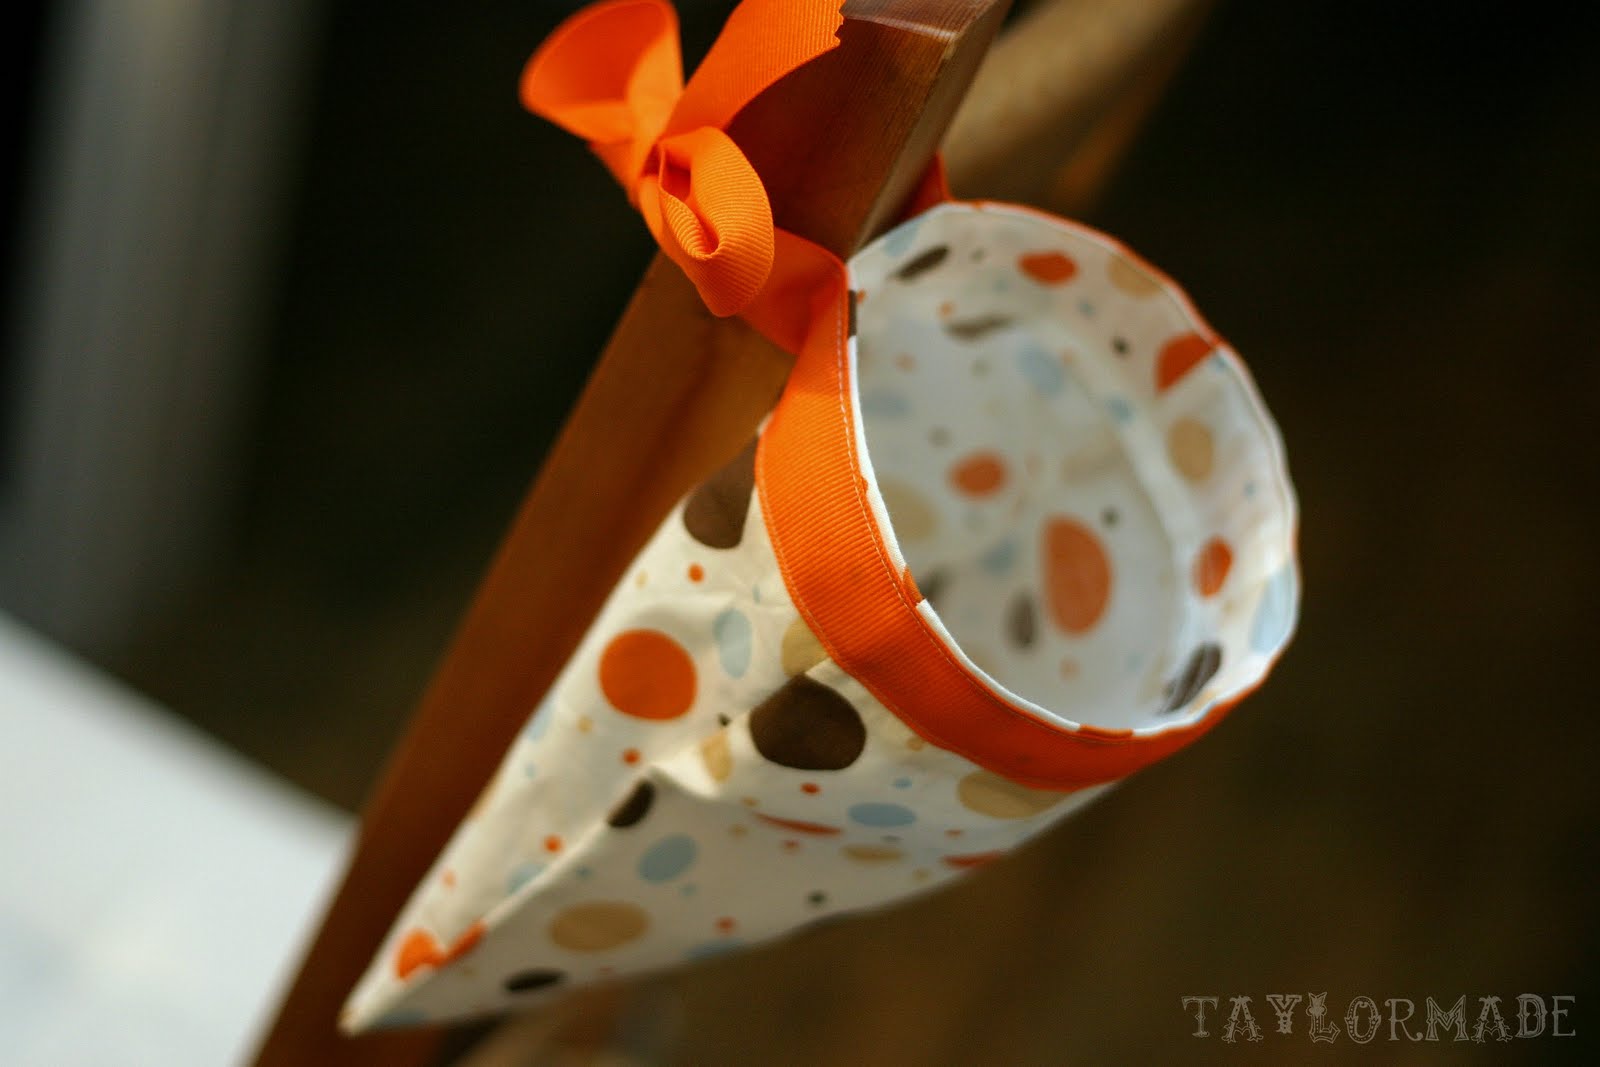
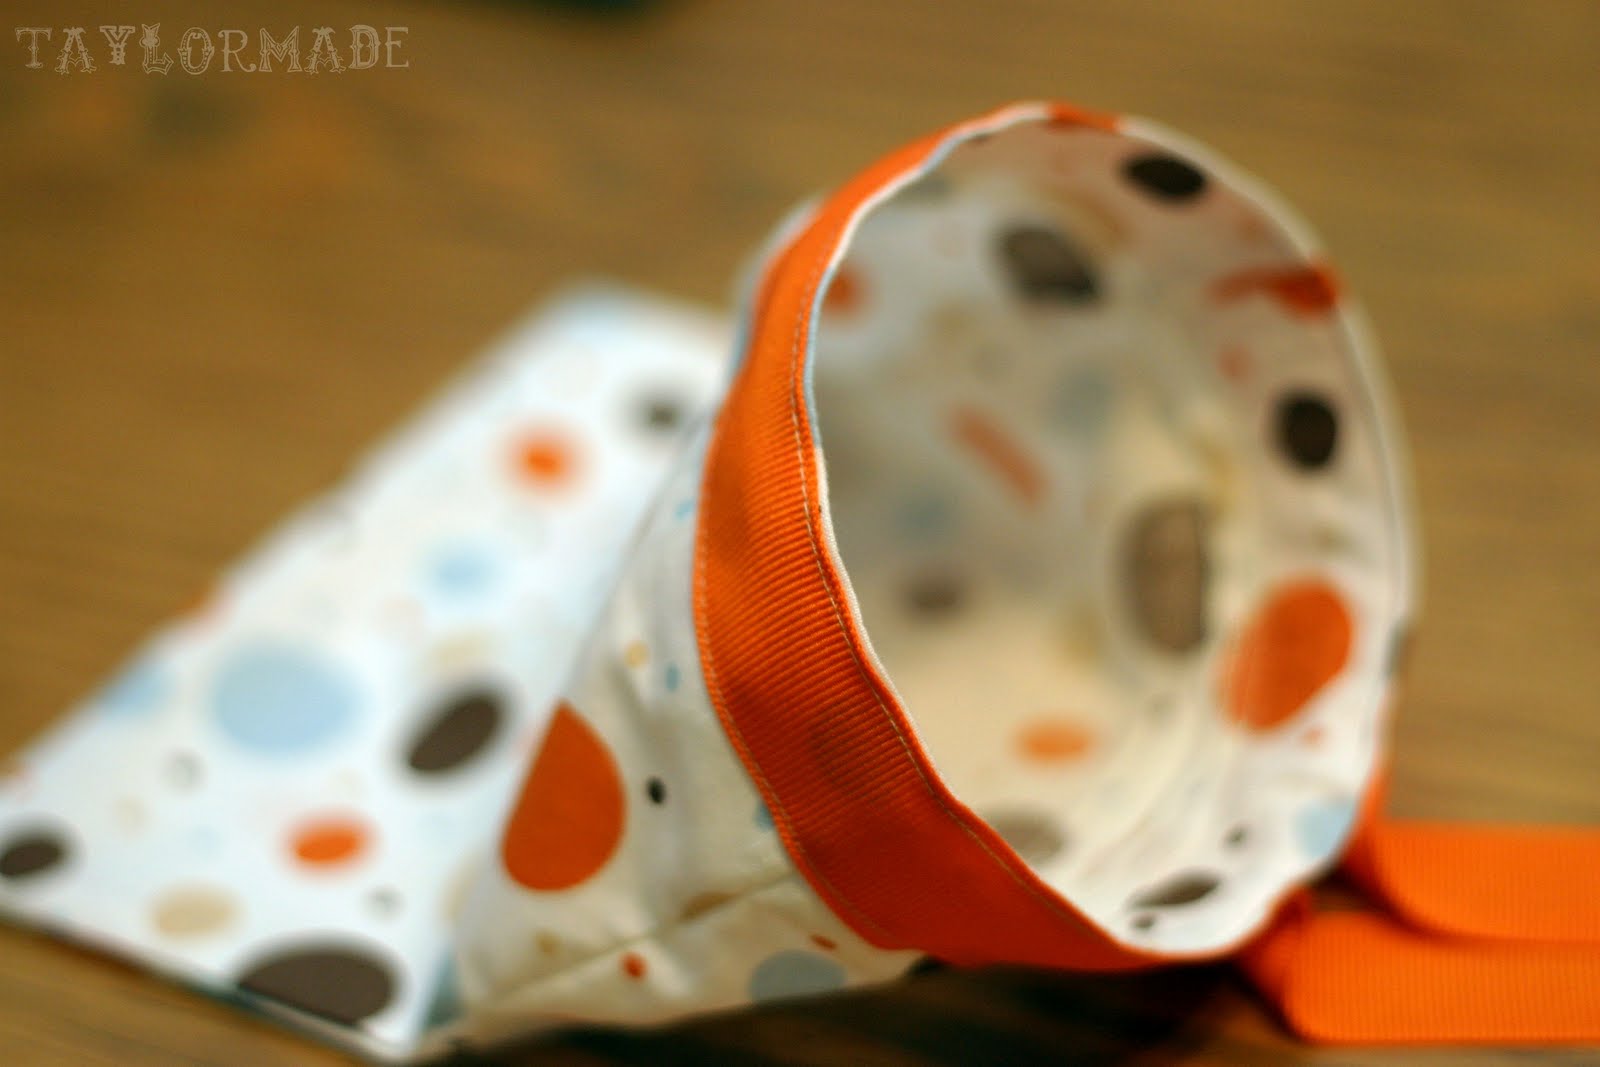
A common phrase at my house is… “where is the binky?”. So, I actually though about making something like this months ago for Clyde and his Binky Love (more of an obsession that I will regret later). We were invited to a diaper shower a few weeks ago and I always like to add something handmade. So I made a Binky Bag.
It is so easy I can barely even call this a tutorial- but I will :)
All you need is:
– a small piece of fabric (mine was 14″ x 10″)
– small piece of boning
-a ribbon
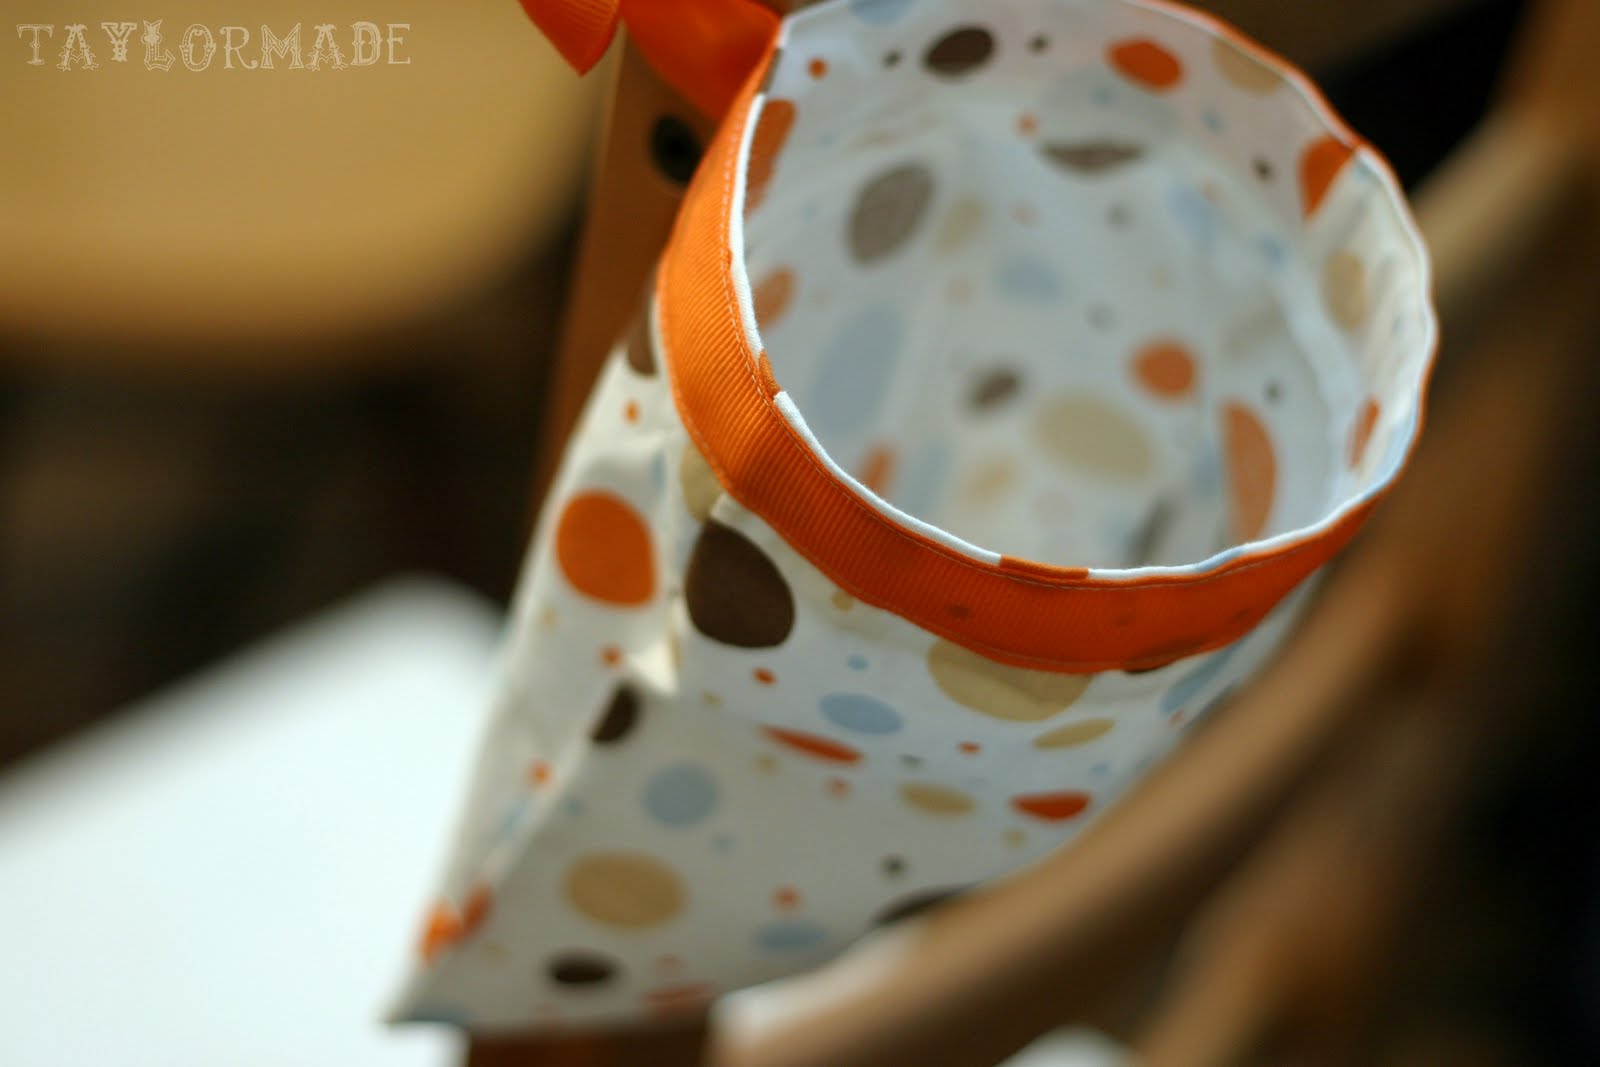
Basically all you do is create a pocket that is sewn on 3 sides and a 1″ hem on the 4th side so you can insert your boning inside and your bag will always be open. There are a ton of ways to modify it, here are the bare bones of the Binky Bag.
1. My piece of fabric was 14″x10″ and I folded it in half, right sides together, and stitched around 3 sides; leaving an entire side open
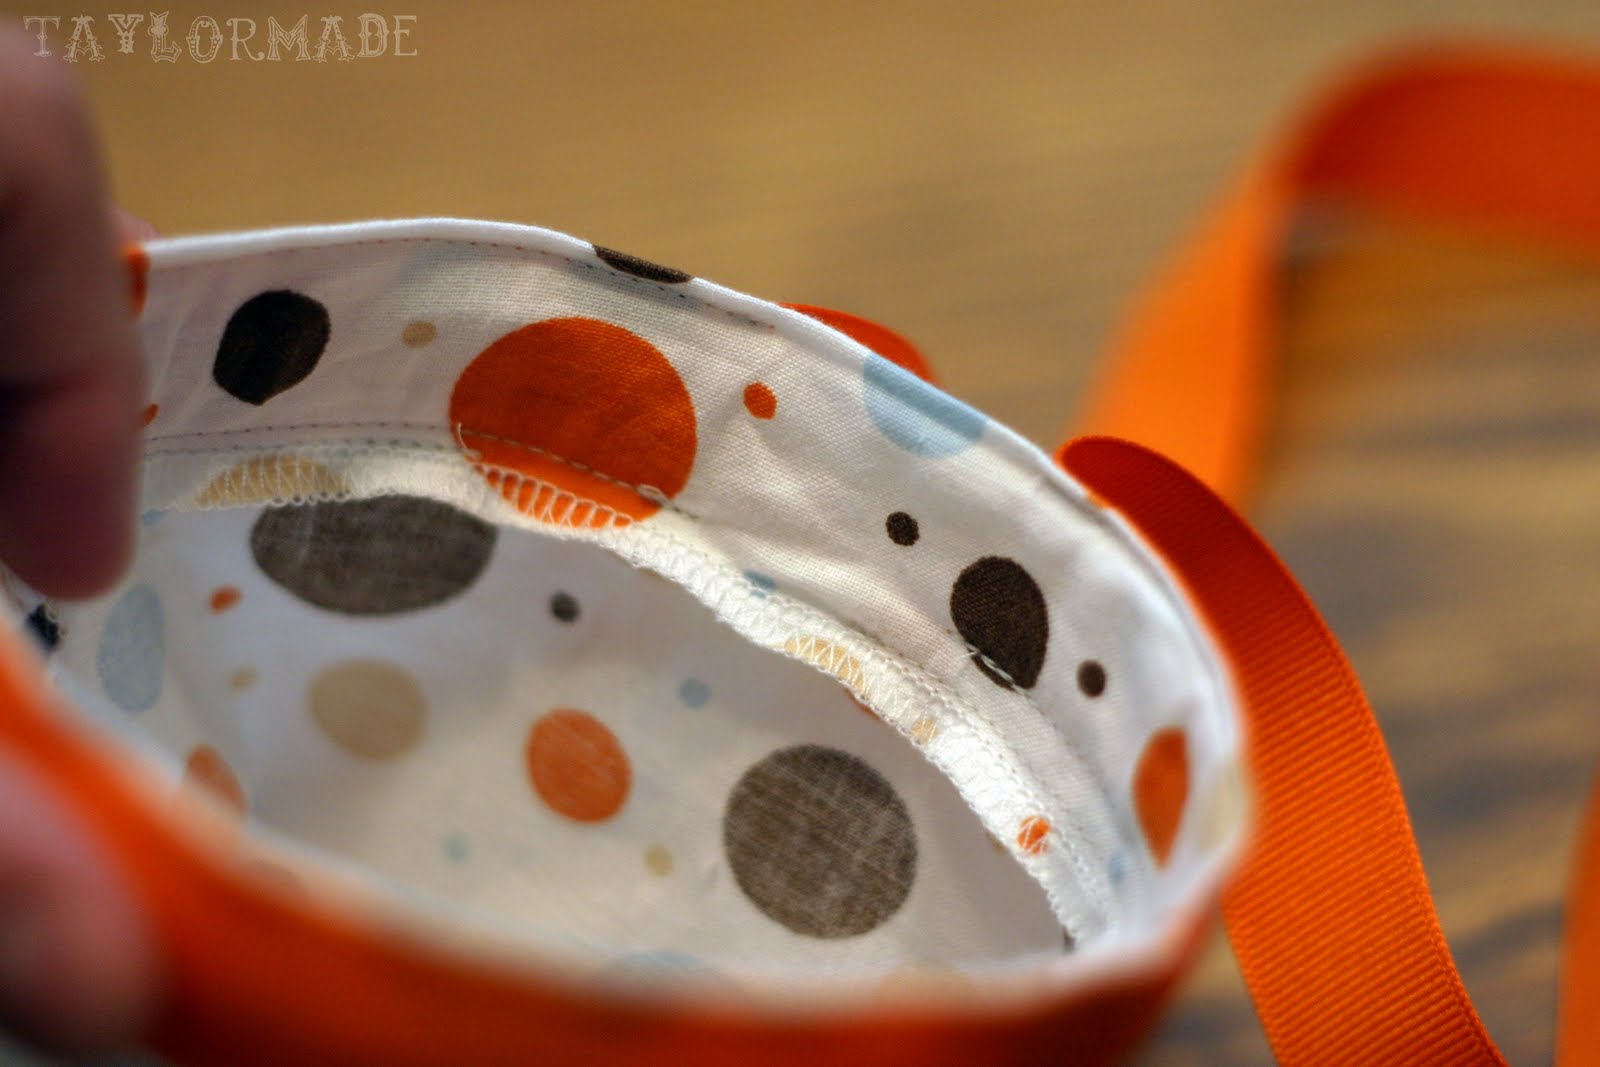
2. On the open side, serge around the top (or sew a hem)
3. With the bag still turned inside out, fold 1″ down
4. Sew around the fold leaving an opening
5. (the opening)
6. This is the boning that you will insert into that opening
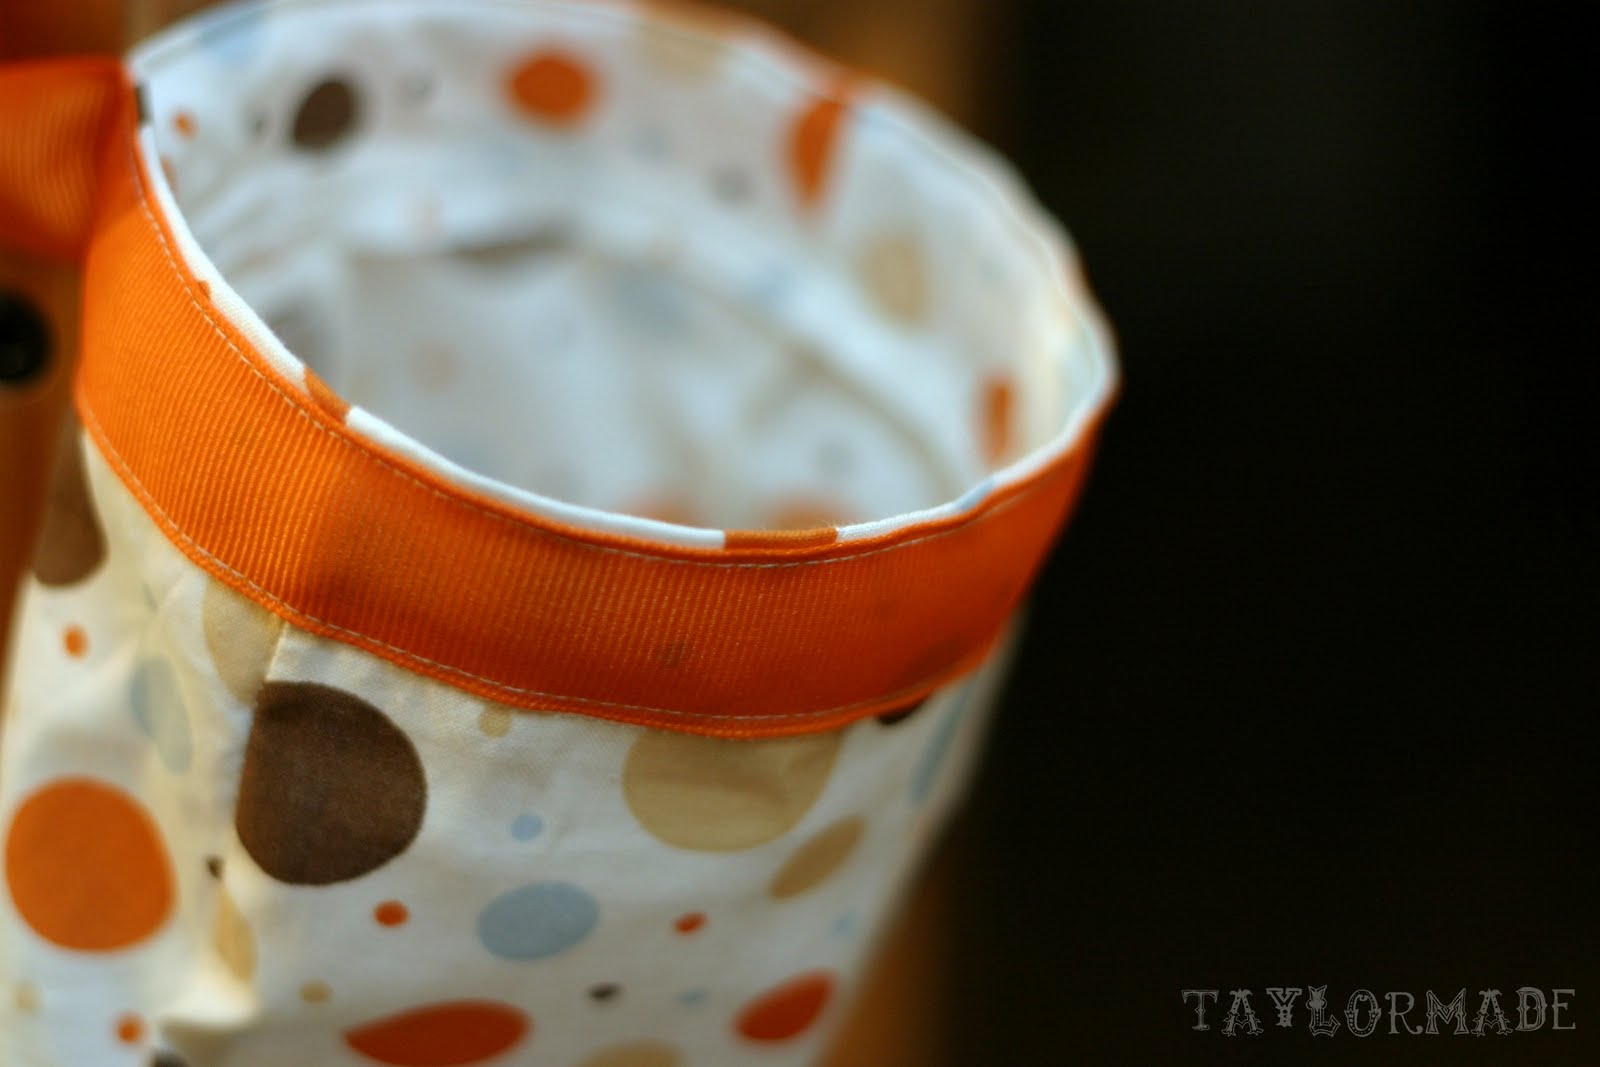
7. Flip the bag right side out and pin a ribbon to the top of the bag
8. Make sure to leave a gap (about 1″) on the back of the bag so the ribbon doesn’t touch
9. Sew the ribbon to the bag
Lastly, insert the boning into the opening and stitch it closed.
Make sure to leave the gap in the ribbon so you can tie it to the side of the crib or changing table.
No more “where is the binky?” Happy Mommie, Happy Baby.
I made a binkie bag a while back, and it is a life saver! Great directions! Love the fabrics you used too. Visiting from Take-A-Look Tuesday. ~ Kimberlee at The Spunky Diva
What a cute idea and great gift for showers! Please stop by http://www.laughloveandcraft.com and link up to my Share the Wealth Wednesday Link Party! I’m your newest follower!
Awesome! I love the colors you used. I make binky bags too, they’re soooo handy to have around! I pinned this on pinterst and featured you today on my favorite things :)




Great tutorial! I love the fabric/ribbon combo you chose. Thanks for sharing! :)
Thanks for a great idea! Maybe if I make this the hubby will stop loosing the little one’s pacis… :)
bearrabbitbear.wordpress.com
I made a binkie bag a while back, and it is a life saver! Great directions! Love the fabrics you used too. Visiting from Take-A-Look Tuesday.
~ Kimberlee at The Spunky Diva
What a cute idea and great gift for showers! Please stop by http://www.laughloveandcraft.com and link up to my Share the Wealth Wednesday Link Party! I’m your newest follower!
This is so easy and so practical. I would love for you to share it on my mommy solution meme!
http://www.crystalandcomp.com/2011/07/the-mommy-club-share-your-resources-and-solutions-2/
Very cute! I made a binkie bag last year for my daughter and we love it, no more lost binkies!
Nicole @ http://www.thebakingmom.blogspot.com
Cute! A place for everything and everything in it’s place! I bet this would help out a ton!
that is such a nifty idea. i want to make a bunch and stick them everywhere.
Awesome! I love the colors you used. I make binky bags too, they’re soooo handy to have around! I pinned this on pinterst and featured you today on my favorite things :)
http://sunshineandchaucer.blogspot.com/2011/07/what-ive-been-pinning-today_30.html