TaylorMade

DIY, Home Decor & Sewing

  • Home
  • SHOP
  • DIY & Sewing
    • For the Home
    • Sewing
    • Costumes and Holidays
    • Cricut Projects
    • Crafting
  • Parties
  • Recipes
  • Home Tour
  • Favorites
  • About

Rawr! Dino Pattern

September 2, 2011 By Taylor 5 Comments

Last week I got the chance to be a Pattern Tester for See Kate Sew‘s latest pattern. Jealous? Cause I was so excited, I love Kate’s Blog. She has original ideas and she has great tips for sewers of all skill levels. So I opened the pattern that she emailed over and it was a cute little Dino… presh! Here is how mine turned out…
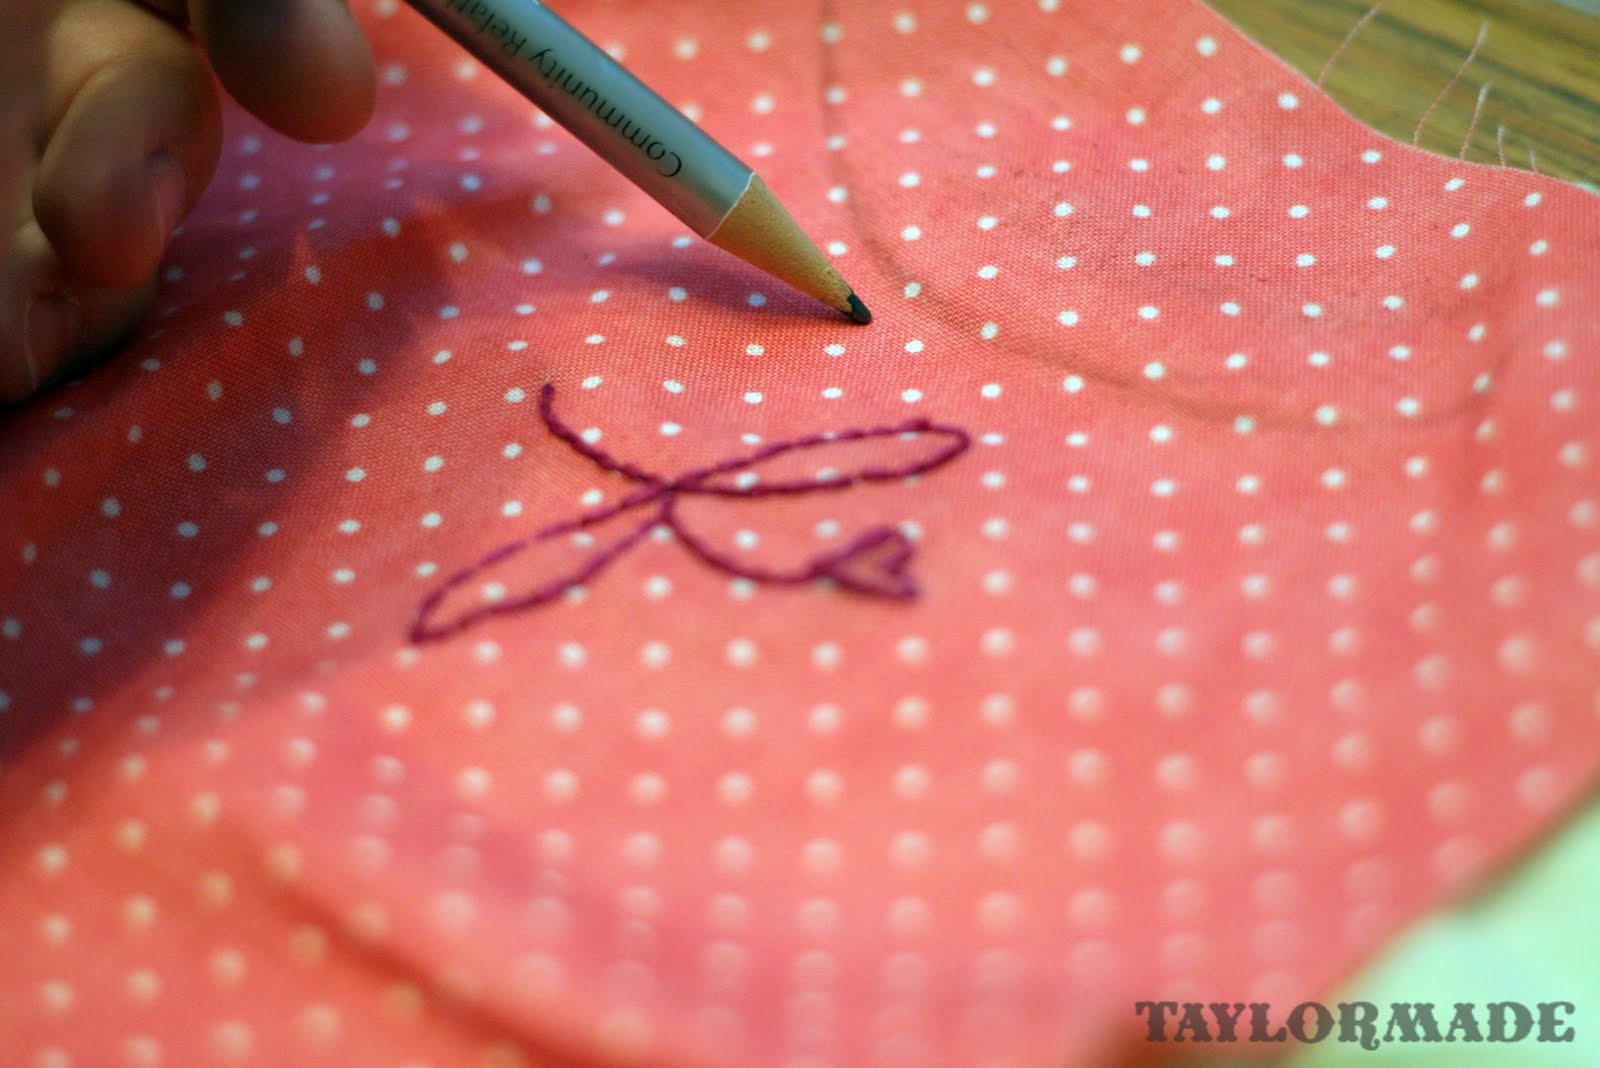
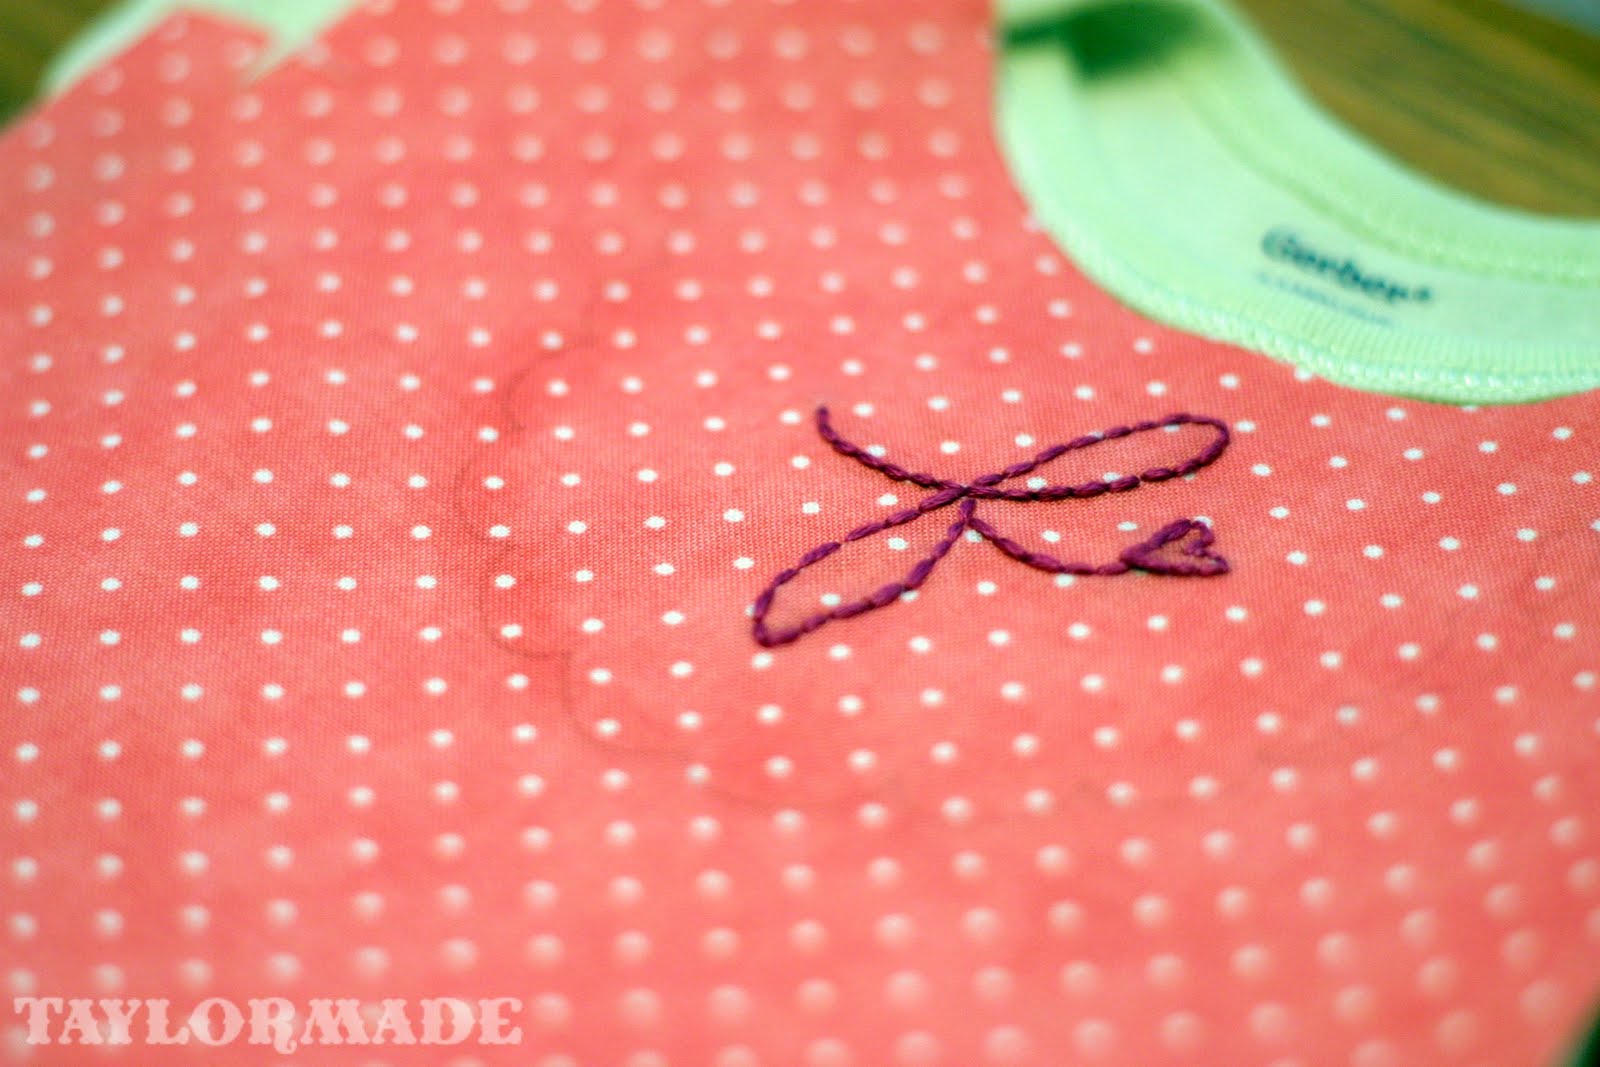
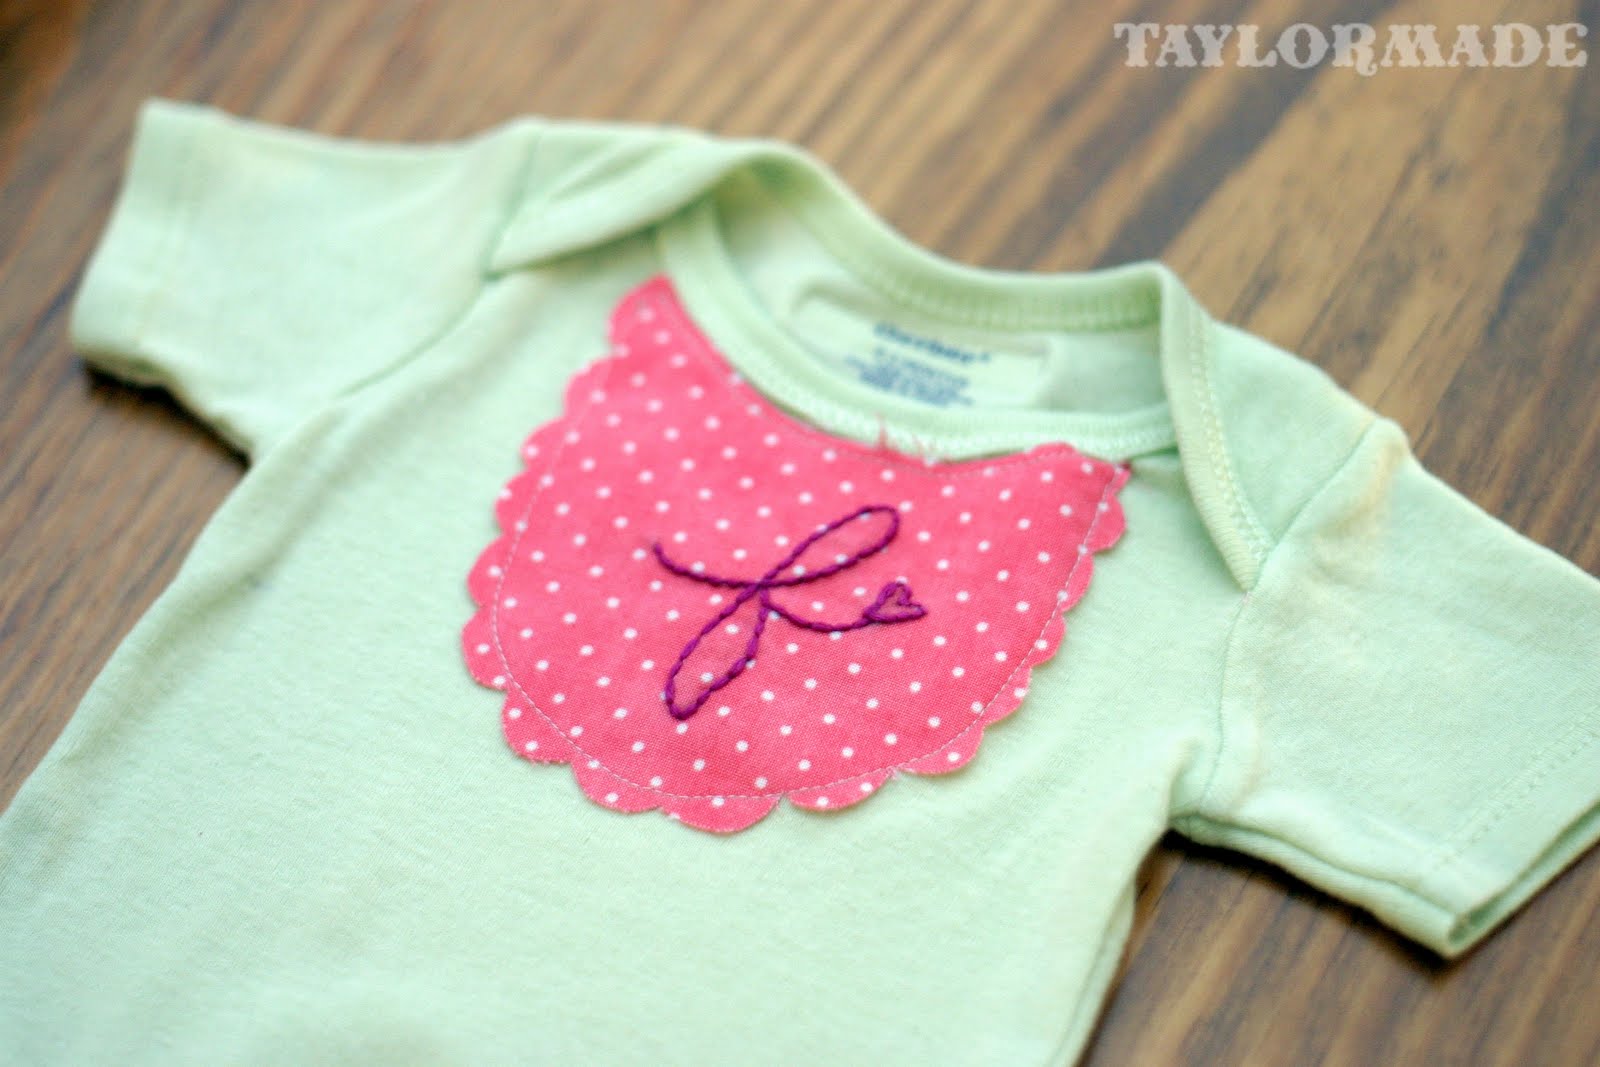
Isn’t he so cute? His name is Hippie and Clyde loves him.The pattern was fun to make and simple. Quick too, you know how I love a quick project. I also added a hand embroidered a peace sign and Clyde’s initials.
You can check out See Kate Sew’s Shop for the pattern and check out her Blog too, cause its awesome :)
I will leave you with this…
Cute boy.


Filed Under: baby stuff, kid stuff, pattern, sewing Tagged With: kids

Baby Onesie Refashion

August 19, 2011 By Taylor 16 Comments

Take plain onesies and turn them into a baby fashion statement.
Babies need a little refashion sometimes too. These onesies were originally embroidered with a little “baby saying”… cute but I thought the colors were a little too girly for my Clyde. He never wore them, I refashioned and re-gifted! I just used some fabric scraps and some imagination.
Before:
I made two; here is how I made the first one:
I started by embroidering the letter “f” on my fabric, I just penciled it freehand right on the fabric.
Next step is to iron interfacing to the back of the fabric. I went for the raw edge look and this way the fabric won’t fray as much.
Next, line the fabric up to the onesie and  mark with a pencil where you will cut.
Sew around the new fabric that you are attaching.
Onesie refashion number 2…
Add interfacing to the back of the fabric again and cut out some pieces of the pattern.
Pin the pieces on the onesie so you cover the old design.
And sew. I again went for a messy sewn look. If you like a neater look you could do a tight zig-zag stitch around the perimeter of the fabric.
I added my fabric label…
and wrapped them up in a cute little package. Add some clips and you have a perfect baby gift.
There are more Onesie ideas HERE and HERE.

Filed Under: baby stuff, clothes, gift, girl, sewing, tutorial Tagged With: kids

Binky Bag

July 25, 2011 By Taylor 9 Comments

Is it baby/wedding shower season for your too? Our calendar is packed over here with showers and weddings (and I like it). 

A common phrase at my house is… “where is the binky?”. So, I actually though about making something like this months ago for Clyde and his Binky Love (more of an obsession that I will regret later). We were invited to a diaper shower a few weeks ago and I always like to add something handmade. So I made a Binky Bag. 

It is so easy I can barely even call this a tutorial- but I will :)
All you need is:
– a small piece of fabric (mine was 14″ x 10″)
– small piece of boning
-a ribbon

Basically all you do is create a pocket that is sewn on 3 sides and a 1″ hem on the 4th side so you can insert your boning inside and your bag will always be open. There are a ton of ways to modify it, here are the bare bones of the Binky Bag.

1. My piece of fabric was 14″x10″ and I folded it in half, right sides together, and stitched around 3 sides; leaving an entire side open
2. On the open side, serge around the top (or sew a hem)
3. With the bag still turned inside out, fold 1″ down
4. Sew around the fold leaving an opening
5. (the opening)
6. This is the boning that you will insert into that opening
7. Flip the bag right side out and pin a ribbon to the top of the bag
8. Make sure to leave a gap (about 1″) on the back of the bag so the ribbon doesn’t touch
9. Sew the ribbon to the bag

Lastly, insert the boning into the opening and stitch it closed.

Make sure to leave the gap in the ribbon so you can tie it to the side of the crib or changing table.

No more “where is the binky?” Happy Mommie, Happy Baby.

Filed Under: baby stuff, fabric, gift, kid stuff, serger, sewing Tagged With: kids

Stake Your Claim Beach Towel

July 11, 2011 By Taylor 15 Comments

This “Stake Your Claim Beach Towel” just might be a genius idea. I know it is a very simple idea but how many times have you been to the beach and had to struggle to keep your beach towel down because of the wind then it gets all sandy? Here is your solution!

The Stake Your Claim beach towel is one of the most simple/useful crafts I have done all summer. I have already used it a handful of times, even in my backyard. All you need are a few supplies. I found my tent stakes ($1.50) and my beach towel ($6) at Academy.

Do you have a button hole foot on your machine? I don’t know what I would do without mine. You have to use a button in the button hole foot because that tells your machine how long to make the button hole. I chose a button slightly larger than my stakes. Just put your button in the slot and pull down.

Mark a dot on all of the four corners of your beach towel. Line the dot up with the center of the button hole foot, choose the button hole stitch and just start sewing; it does all of the work for you!

Now you have your stitched button hole. Take a seam ripper and carefully open the hole.

You now have your button holes so you can Stake Your Claim. In your backyard or at the Beach.

There you have the super simple/genius Stake Your Claim Beach Towel :) I think it would work perfect as a fun summer Birthday Gift too.

Some people have asked if grommets would work. Of course they would. To be honest, I planned with grommets and went to Hobby Lobby then they were sold out :( But a good crafter always has a back up plan. So, if you don’t have a button hole foot or don’t sew, just put your grommets in the corners and make sure they are slightly larger than your stakes.
Related Posts Plugin for WordPress, Blogger...

Filed Under: craft, gift, sewing Tagged With: crafting

  • « Previous Page
  • 1
  • …
  • 17
  • 18
  • 19
  • 20
  • 21
  • …
  • 24
  • Next Page »

Welcome to Taylor Made

http://www.taylormadecreatesblog.com/about-me Hi Yall! I'm Taylor... an artsy mom of three from Houston, TX. I love sewing, collecting floral fabric, eating Mexican Food, photography, brights colors, rearranging, and rolling clay. Taylor Made Creates is all about creating a fun, colorful home, sewing cute things and eating good food. Check out my SHOP HERE HERE! Thanks for stopping by!

Search

Pin with me!

Like Me :)

Facebook Pagelike Widget

More Recent Posts

  • Kid's Animal Room
  • Kids Camping Shirts
  • Mermaid Birthday Party
  • Conversation Heart Cold Packs
  • Holiday Apple Tea Punch
  • Purple Princess Costume
  • Letterboard Costume
  • La Croix Costume

FAVORITES

  • Swan Wings + Hello Ollie Fabrics
  • Color Wheel Clock
  • Pippa Peplum Piggy Dress
  • Mini Fabric Lamps
  • Triangle Baby Quilt
  • How to Glaze Furniture
  • Briar Rose Strip Quilt
  • Stethoscope Covers
  • Union Jack End Table

Copyright © 2026 · Web Hosting By RFE Hosting