TaylorMade

DIY, Home Decor & Sewing

  • Home
  • SHOP
  • DIY & Sewing
    • For the Home
    • Sewing
    • Costumes and Holidays
    • Cricut Projects
    • Crafting
  • Parties
  • Recipes
  • Home Tour
  • Favorites
  • About

Christmas Candy Tablecloth

December 20, 2011 By Taylor 51 Comments


Just four days left until Christmas and I’m sure I’m not the only one crafting into the wee hours to get everything done. Sure, the majority of my gifts are store bought but I always like to have at least one homemade thing for everyone. Homemade gifts are always better! The only bad part- I can’t share them on the blog yet. I literally have a folder full of projects that are blog ready… but they will have to wait. 
So, I give you a tablecloth that I made a year ago. I was scrambling then too, imagine that! I had great plans for a tutorial but when the night before my dinner party came and I had no tablecloth, I thought… these crafty people can figure it out on their own :) 
This is what I did:
-started with red tulle and trimmed it up
-made wide bias tape with green and white polka dot fabric
-sewed the bias tape all around the tulle
-made “Christmas candies” out of felt
-glued (with fabric glue) the candy into the overhanging part of the tablecloth
-used a piece of felt cut to the exact size of the table under the tulle
Felt “Candy”
gumdrops in blue, yellow, green and purple with clear sugar beads

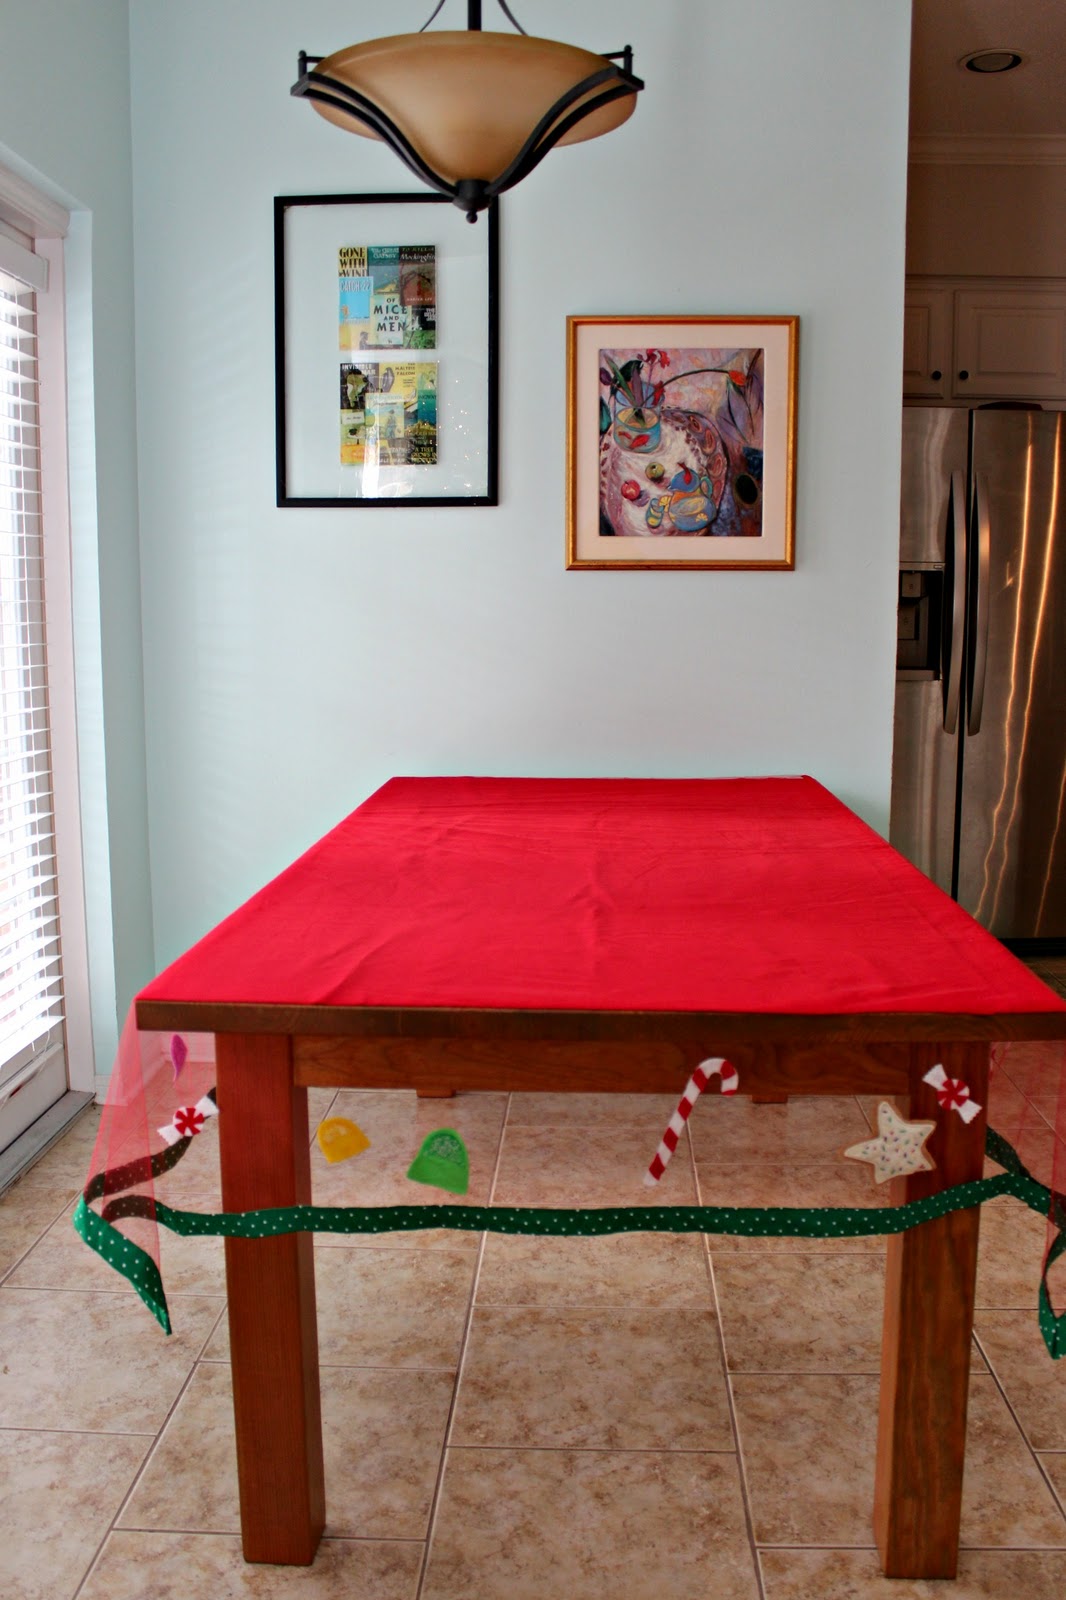
candy canes and peppermints – duh
Christmas Cookies
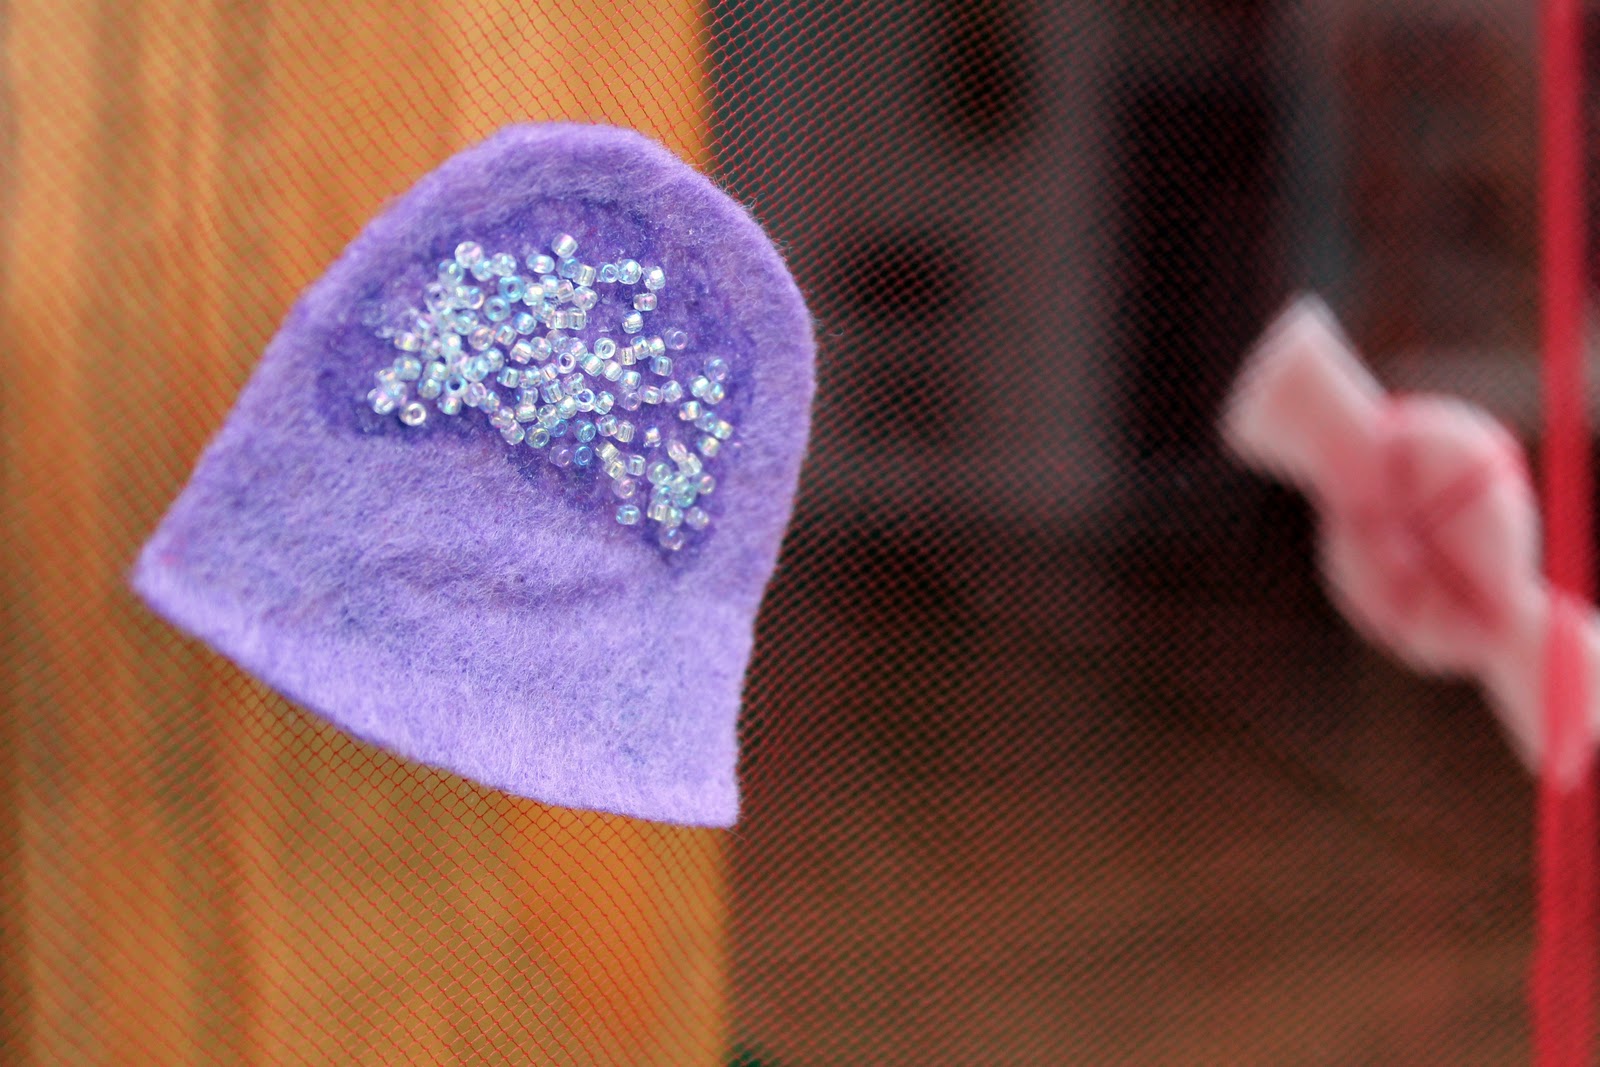
My favorite/hardest part was the bias tape binding. I love the final product, it’s really cute but it really wasn’t easy. A single layer of tulle is really hard to see haha! It kept slipping and I didn’t even know… clearly I’m still bitter a year later.
I had more candies planned too but due to my time constraints/tulle issues I didn’t get them on. Even still,  I love the finished product. What else should I add? It’s a work in progress… maybe it will be done by Christmas 2012?
Pin It

Filed Under: Christmas, felt, holidays, sewing Tagged With: holidays

The Bow Clutch

December 14, 2011 By Taylor 15 Comments

You know the saying great minds think alike? Well this happens in the art world, about 5x a week for me. Artists/crafters/creators get inspiration from everywhere and even subconsciously. So last week I “thought” of a great idea… how about a bow on the front of a clutch. Not novel, but I thought it was an original idea of mine. Then the day after I whipped it up, I saw this post from a blog called Simply Homemade. It’s like the fraternal twin of my bow clutch. In the past I might have been like who thought of this first? Well, since either of us invited a bow, or a clutch now I just think it is cool that two random strangers thought of making the same thing at the same time… I guess great minds do think alike :) 

For my clutch, I used a different fabric for the bow and the lining and of course I used linen for the main part of the bag. I have a linen obsession. 
I don’t have a full tutorial, but basically you make a standard clutch or zippered pouch for the unfancy and you cut an extra piece for the bow that is a little larger. I serged the edges and hemmed the edge of the bow. Then I made a little piece of bias tape for the center of the bow. Then, I just sandwiched the bow when I stacked the layers for the clutch. Cute with endless color options. I also added a label to the inside. 

I think my colors are so festive- I made this for a gift exchange because what girl can’t use an extra clutch? Perfect for wearing or giving at a Holiday Party.

Filed Under: fabric, girl, holidays, serger, sewing Tagged With: accessories

GPS Case Tutorial

November 22, 2011 By Taylor 4 Comments

It’s not too often around here that my husband gets something “TaylorMade”. Sad but true. It’s hard enough to sew for boys let alone old boys. But last week he actually had a special request. That never happens. He asked for a case for his new GPS. 

I came up with this…

Is it manly enough? Houndstooth is about as boyish as my fabric stash gets. And black is always masculine. 
This is so easy I can hardly call it a tutorial but, you need:
-outer fabric
-inner fabric (something soft, I used flannel)
-small piece of batting
-snap set
-scrap piece of trim is optional
For Bryan’s GPS’s size I cut my fabric to 14″ x 8″.  Layer the fabric with right sides together and the batting on bottom. Y’all… I had a serious flannel lint problem! I had to use my lint roller between every step. Once its together its not so bad but during construction, I almost threw the whole thing away… see!

Sew the bundle together leaving an opening and clip the corners.

Flip it right side out.

With the outer fabric touching the GPS, place the GPS in the center of the rectangle and fold one side up to form a pocket.

Pin and sew up the sides of the pocket. Then flip right side out.

Add your snaps.
I added a scrap to the outside by folding and pressing a scrap to fit the outer flap them sewing it on with a zig-zag stitch. This will also close up the opening that you made to flip the rectangle.
The GPS now has a manly home :)
This could be a good stocking stuffer, quick and easy. What kind of man crafting do you do?
Pin It

Filed Under: boy, fabric, gift, sewing Tagged With: accessories

Linen Scallop Diaper Tote

October 27, 2011 By Taylor 21 Comments

It is no secret that I am a big fan of See Kate Sew. So, when she decided to celebrate her blog’s birthday with a Scallop-Sew-Along, how could I say no? It was actually perfect timing because I was on the prowl for a new diaper bag pattern. I only have like 5 or 6 diaper bags so clearly I need a new one. Is it just me or is anyone else constantly searching for the perfect one? They are either too big, too small, too mommish, too pursish, not enough pockets, too many pockets. I think I just hate lugging around two different size diapers, snacks, batman, toy cars, bibs, blankets and a change of clothes for each kid. Maybe I’m taking it out on my diaper bag?
Anyway, I made a diaper bag. With this pretty little scallop pattern from Kate. I used the pattern for the scallops and I used her strap dimensions. I designed the rest of the bag to my liking (or to my picky standards). 

Not only do I love scallops but I LOVE linen (who doesn’t?), so I used that for the base of the bag. I ironed some interfacing to one side of the linen so it stands up better.

I also made bias tape for the edge of the side pockets (which are all lined for more stability).

The back has a large pocket that is split, for sippy cups or toys- gawd my life is glamorous.

I added my fabric label.

And of course added three pockets to the inside, two for diapers and I get that one little square houndstooth number – with more handmade bias tape.
And everything is so organized now. See, I wasn’t lying about carrying batman everywhere.

Thanks Kate for the Sweet Scallop Pattern, and a deadline :)

Pin It
ps… Next Tuesday kicks off Craft Spaces – a little series here on Taylor Made that is going to be filled with tips, tours and talented guest bloggers. If you are interested in showing off your room, sharing a tip or a tutorial – email me at taylor.taylormade@gmail.com. See you back here next week :)
Related Posts Plugin for WordPress, Blogger...

Filed Under: baby stuff, fabric, sewing Tagged With: accessories

  • « Previous Page
  • 1
  • …
  • 15
  • 16
  • 17
  • 18
  • 19
  • …
  • 24
  • Next Page »

Welcome to Taylor Made

http://www.taylormadecreatesblog.com/about-me Hi Yall! I'm Taylor... an artsy mom of three from Houston, TX. I love sewing, collecting floral fabric, eating Mexican Food, photography, brights colors, rearranging, and rolling clay. Taylor Made Creates is all about creating a fun, colorful home, sewing cute things and eating good food. Check out my SHOP HERE HERE! Thanks for stopping by!

Search

Pin with me!

Like Me :)

Facebook Pagelike Widget

More Recent Posts

  • Kid's Animal Room
  • Kids Camping Shirts
  • Mermaid Birthday Party
  • Conversation Heart Cold Packs
  • Holiday Apple Tea Punch
  • Purple Princess Costume
  • Letterboard Costume
  • La Croix Costume

FAVORITES

  • Swan Wings + Hello Ollie Fabrics
  • Mini Fabric Lamps
  • Triangle Baby Quilt
  • How to Glaze Furniture
  • Color Wheel Clock
  • Pippa Peplum Piggy Dress
  • Diaper Bag Tag
  • Super easy Midi Apron
  • DIY Chalkboard

Copyright © 2026 · Web Hosting By RFE Hosting