TaylorMade

DIY, Home Decor & Sewing

  • Home
  • SHOP
  • DIY & Sewing
    • For the Home
    • Sewing
    • Costumes and Holidays
    • Cricut Projects
    • Crafting
  • Parties
  • Recipes
  • Home Tour
  • Favorites
  • About

Dyed Ombre Lamp

July 18, 2012 By Taylor 13 Comments

IMG_2866intro

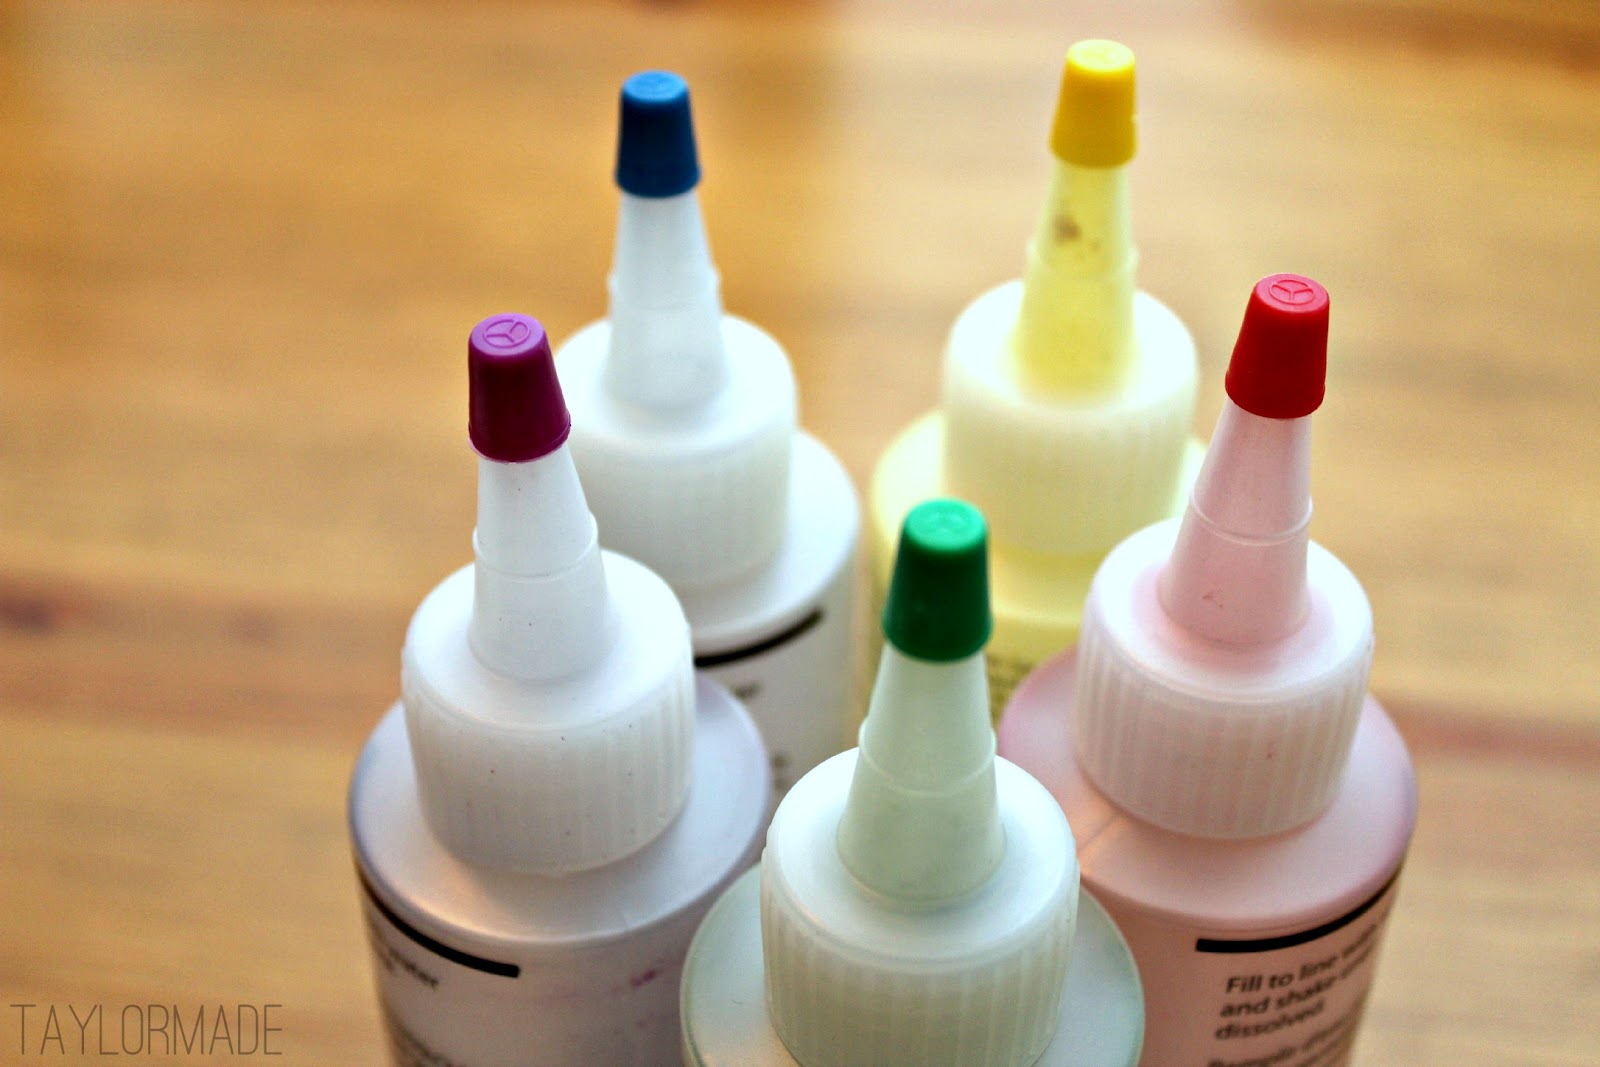
Last month I received one of my favorite things in the mail… a Tie Dye Kit from Tulip. Seriously, I have Tie Dye problem… sometimes my husband calls me Rupert (survivor fans?). I’m not kidding, I am drawn to it like an old hippie and I am know to sport multiple Tie Dyed shirts around my house in one week. Anyway, I was obviously excited to see this when I opened my Tulip Box…

Tulip Tie Dye Kit, Surface Cover and Gloves- all available at Micheals, Hobby Lobby, Joanns and Walmart.

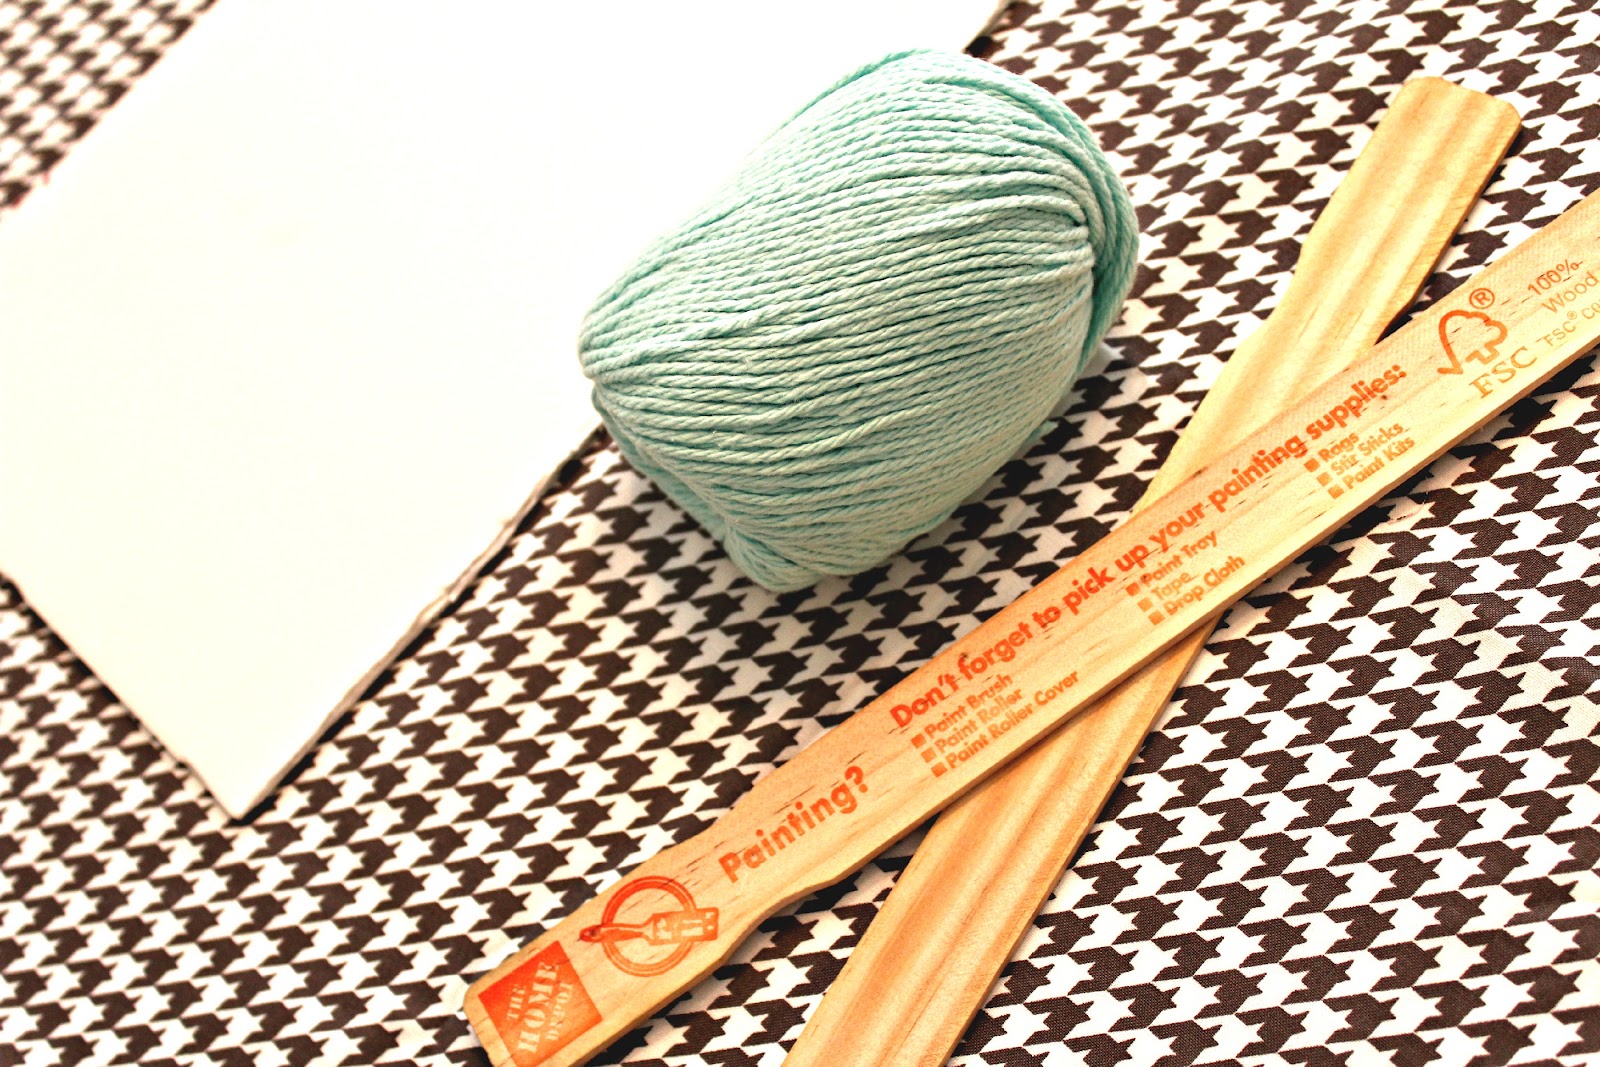
With my surplus of shirts, I wanted to make something for my house. So I did a really quick and easy Lamp Makeover for my bedroom. I have had this lamp for a year or so; the shade and the base are from Ikea and my nightstand needed some color. Enter the before and after:

I started with a 5 gallon bucket (which is a must need for crafters) and filled it with a tiny amount of water. I wanted a turquoise color so I mixed the Blue and the Green Dye together in my bucket.

Then I placed my lampshade into the dye bucket, moving it up and down in the dye a few times to get it good and saturated.

I left it there for about 30 minutes, then added a little water.

I continued doing this same thing throughout the day. Diluting the water with each step is what created the ombre effect.  I set my alarm each time for 30 minutes but looking back I think I would have done each step even longer for a brighter color.

I also taped off the base cord and top of the lamp and gave it a few coats of gold stray paint.
I really love it in it’s new home, a much needed pop of color.

So how do you feel about tie dye? Check out more ideas at:
 www.iLovetoCreate.com
http://twitter.com/ilovetocreate 
https://www.facebook.com/ilovetocreate

Pin It
 

*I wrote this post as part of a paid campaign with iLoveToCreate.com and Blueprint Social. The opinions in this post are 100% my own*

Filed Under: craft, home goods Tagged With: DIY

Spool of Thread Wall Art

April 17, 2012 By Taylor 16 Comments

Hi. I have had a crazy week- with the store, and a fun event, a trip to the ER, colds (maybe the flu?) and sinus infections, crafts get put on the back burner… but I’m back, yay. As you all know my craft room is a forever work in progress. If you are new around here, check out craftspaces. I have a few blank walls that need some help. I want to get a huge pair of scissors; like a real working huge pair of scissors. I thought of this spool idea months ago and thought it would be cute. I love spools, I think they are really pretty. 

I used foam board for the middle part of the spool and I used paint stir sticks for the top and bottom.
Hot glue the stir sticks to the foam core board. I also added a little batting on the front of the spool but that is optional.
Glue the beginning of the yarn to the back. Then just start wrapping.
Then I hung it with some twisted metal wire around the sticks.

Now if I could find my huge pair of working scissors then it would be perfect :)

Filed Under: craft, home goods, wood Tagged With: crafting

Happy Rocks

April 5, 2012 By Taylor 8 Comments

I don’t know if I have mentioned it but I LOVE LOVE LOVE the blog Color Me Katie. It’s amazing. Katie’s pictures and her apartment will actually put you in a better mood! I kept thinking about THIS post from a few months ago. Why didn’t I think of something so fun and easy? Katie put her rocks back into nature where people would find these little surprises, so cute right. I live in the suburbs so that wouldn’t be as fun, But they look really cute in my house. Do you have a blog that instantly makes you happy? Do share.

Pin It


Filed Under: home goods, paint Tagged With: crafting

Burlap Pennant Banner and Bias Tape

February 1, 2012 By Taylor 12 Comments

Happy February! Don’t you just love February, its so festive and fun and for me it means Baby Boy’s Birthday, Rodeo, the beginning of Spring and of course the obvious – Valentine’s Day. I wanted to make a Valentine Banner for my mantle but then I realized how long the word “V-A-L-E-N-T-I-N-E” really is. And “LOVE” and “BE MINE” are a little overplayed (which I don’t really even mind ha :) So I came up with the word “HEART”, it fits right?

The “burlap pennant” craze has taken over and it really is such an easy craft, so if you are new at crafting its a great simple little project. Not to mention burlap is super cheap. 
Simple Steps:
Cut your burlap into the flags. If you plan on keeping this decoration then I recommend doing a zig-zag stitch around each flag to keep from fraying. 

Then use a stencil to spell out your word. You can just use regular cheap acrylic craft paint and a sponge brush.

Once the flags dry, you can attach them a number of ways… you could just hot glue them to some twine or yarn, but I sewed mine onto bias tape. 

Let’s talk about bias tape… there are options. You can get most solid colors at the fabric store in various sizes. For projects where the bias tape is going to add a lot, like a quilt or this tablecloth, I like to make my own.

It speed things up if you have a bias tape maker. They even make bias tape maker machines. Fancy Pants.

Once you have made/bought your bias tape, just sandwich your flags between and sew directly over the bias tape.


I’m not getting crazy with the V-day decor cause little man’s Bday is next week. If you know me at all you know that I don’t think it’s festive unless we have streamers and balloons. I hope he likes red.

So how do you feel about bias tape, do you make your own? I think it is much cuter than store bought, and does anyone have that machine? I eyeball it all the time and wonder if anyone has one.

Pin It


Related Posts Plugin for WordPress, Blogger...

Filed Under: craft, fabric, holidays, home goods, sewing, tutorial Tagged With: decor

  • « Previous Page
  • 1
  • …
  • 8
  • 9
  • 10
  • 11
  • 12
  • 13
  • Next Page »

Welcome to Taylor Made

http://www.taylormadecreatesblog.com/about-me Hi Yall! I'm Taylor... an artsy mom of three from Houston, TX. I love sewing, collecting floral fabric, eating Mexican Food, photography, brights colors, rearranging, and rolling clay. Taylor Made Creates is all about creating a fun, colorful home, sewing cute things and eating good food. Check out my SHOP HERE HERE! Thanks for stopping by!

Search

Pin with me!

Like Me :)

Facebook Pagelike Widget

More Recent Posts

  • Kid's Animal Room
  • Kids Camping Shirts
  • Mermaid Birthday Party
  • Conversation Heart Cold Packs
  • Holiday Apple Tea Punch
  • Purple Princess Costume
  • Letterboard Costume
  • La Croix Costume

FAVORITES

  • Stethoscope Covers
  • Bow Ties
  • More Casserole Carriers
  • Casserole Carrier
  • El Cid Chili
  • A Yo Gabba Gabba Birthday Party
  • A Yo Gabba Gabba Invitation
  • Padded Camera Strap
  • Easy Legging Tutorial

Copyright © 2026 · Web Hosting By RFE Hosting