
Leggings are one of the the easiest things that I keep in my sewing arsenal! I’ve been using this method for years, first with my boys and now with my girl. The best part is you don’t need a pattern, you just need an existing pair of leggings that currently fit! Knits can be a little intimidating but all you really need is the right needle and some good quality fabric.

I had the pleasure of trying out some Charley Harper Birch Organic Knit and I can’t even explain how good this stuff is! It doesn’t even sew like a knit because it’s so soft and has such a nice rich thickness to it! Knit fabric sometimes has the tendency to slip around while you’re sewing but not this. I highly, highly recommend it… and especially this line, Maritime. You had me with clouds, fish and these amazing flamingos :) I have to get my hands on the octopus and sandling fabric to make my boys some shorts! Let’s get started on some leggings…


You will need: knit fabric (about a yard give or take depending on the size you are making), elastic, a knit needle (ballpoint needle) for your sewing machine, thread and pins, and an existing pair of leggings that fit your kiddo.

Start with your existing leggings, I like to size up when I’m making handmade clothes so they can wear it for a really long time :)

Fold the leggings and your fabric in half longways and place the leg seam of the leggings on the fold of your knit making sure to line that up.


Using a pencil or a water soluble marker, add in your seam allowance and trace. I add in about 1 1/2″ for both the waistband and the bottom of the legs, and about 3/4″- 1″ on the inner seam depending on what kind of seam allowance you like. Cut out your knit.

 You will need to make two cuts just like this so do this same thing twice so that you have two pieces that look like this:

I like to hem up the bottom of the leggings at this point because I find the opening to be too tiny for me to make them as pretty once everything is assembled. Fold the bottom of the pants (the more narrow side) up 1/2″ then press and another 1/2″ and press down. Pin that and sew it down for both legs. I like to hem with double lines but that’s not necessary, a zig zag stitch also works well if your fabric is really tight. DON’T FORGET YOUR BALL POINT NEEDLE… PSA of the day!


Next, lay the knit pieces on top of each other, right sides together. You want to sew starting at the top where the waist is and down the curve then stop once you get to the legs.

Then turn them and lay the legs together, right sides together. Now you want to sew from one inner leg all the way around to the other inner leg matching up seams and the ends of the legs.

 Next, fold the waistband part under by 1 1/2″. Sew all the way around but make sure to leave a 1″-2″ opening for your elastic. I like to mark my opening so I don’t forget.


Almost done! Time to cut your elastic, measure your baby’s waist and cut the elastic to that measurement. If you add anything it will be too loose so I always cut it to the exact measurement. Once you have sewn all the way around, insert your elastic with a safety pin making sure it stays flat. Bring it out and around the other side.

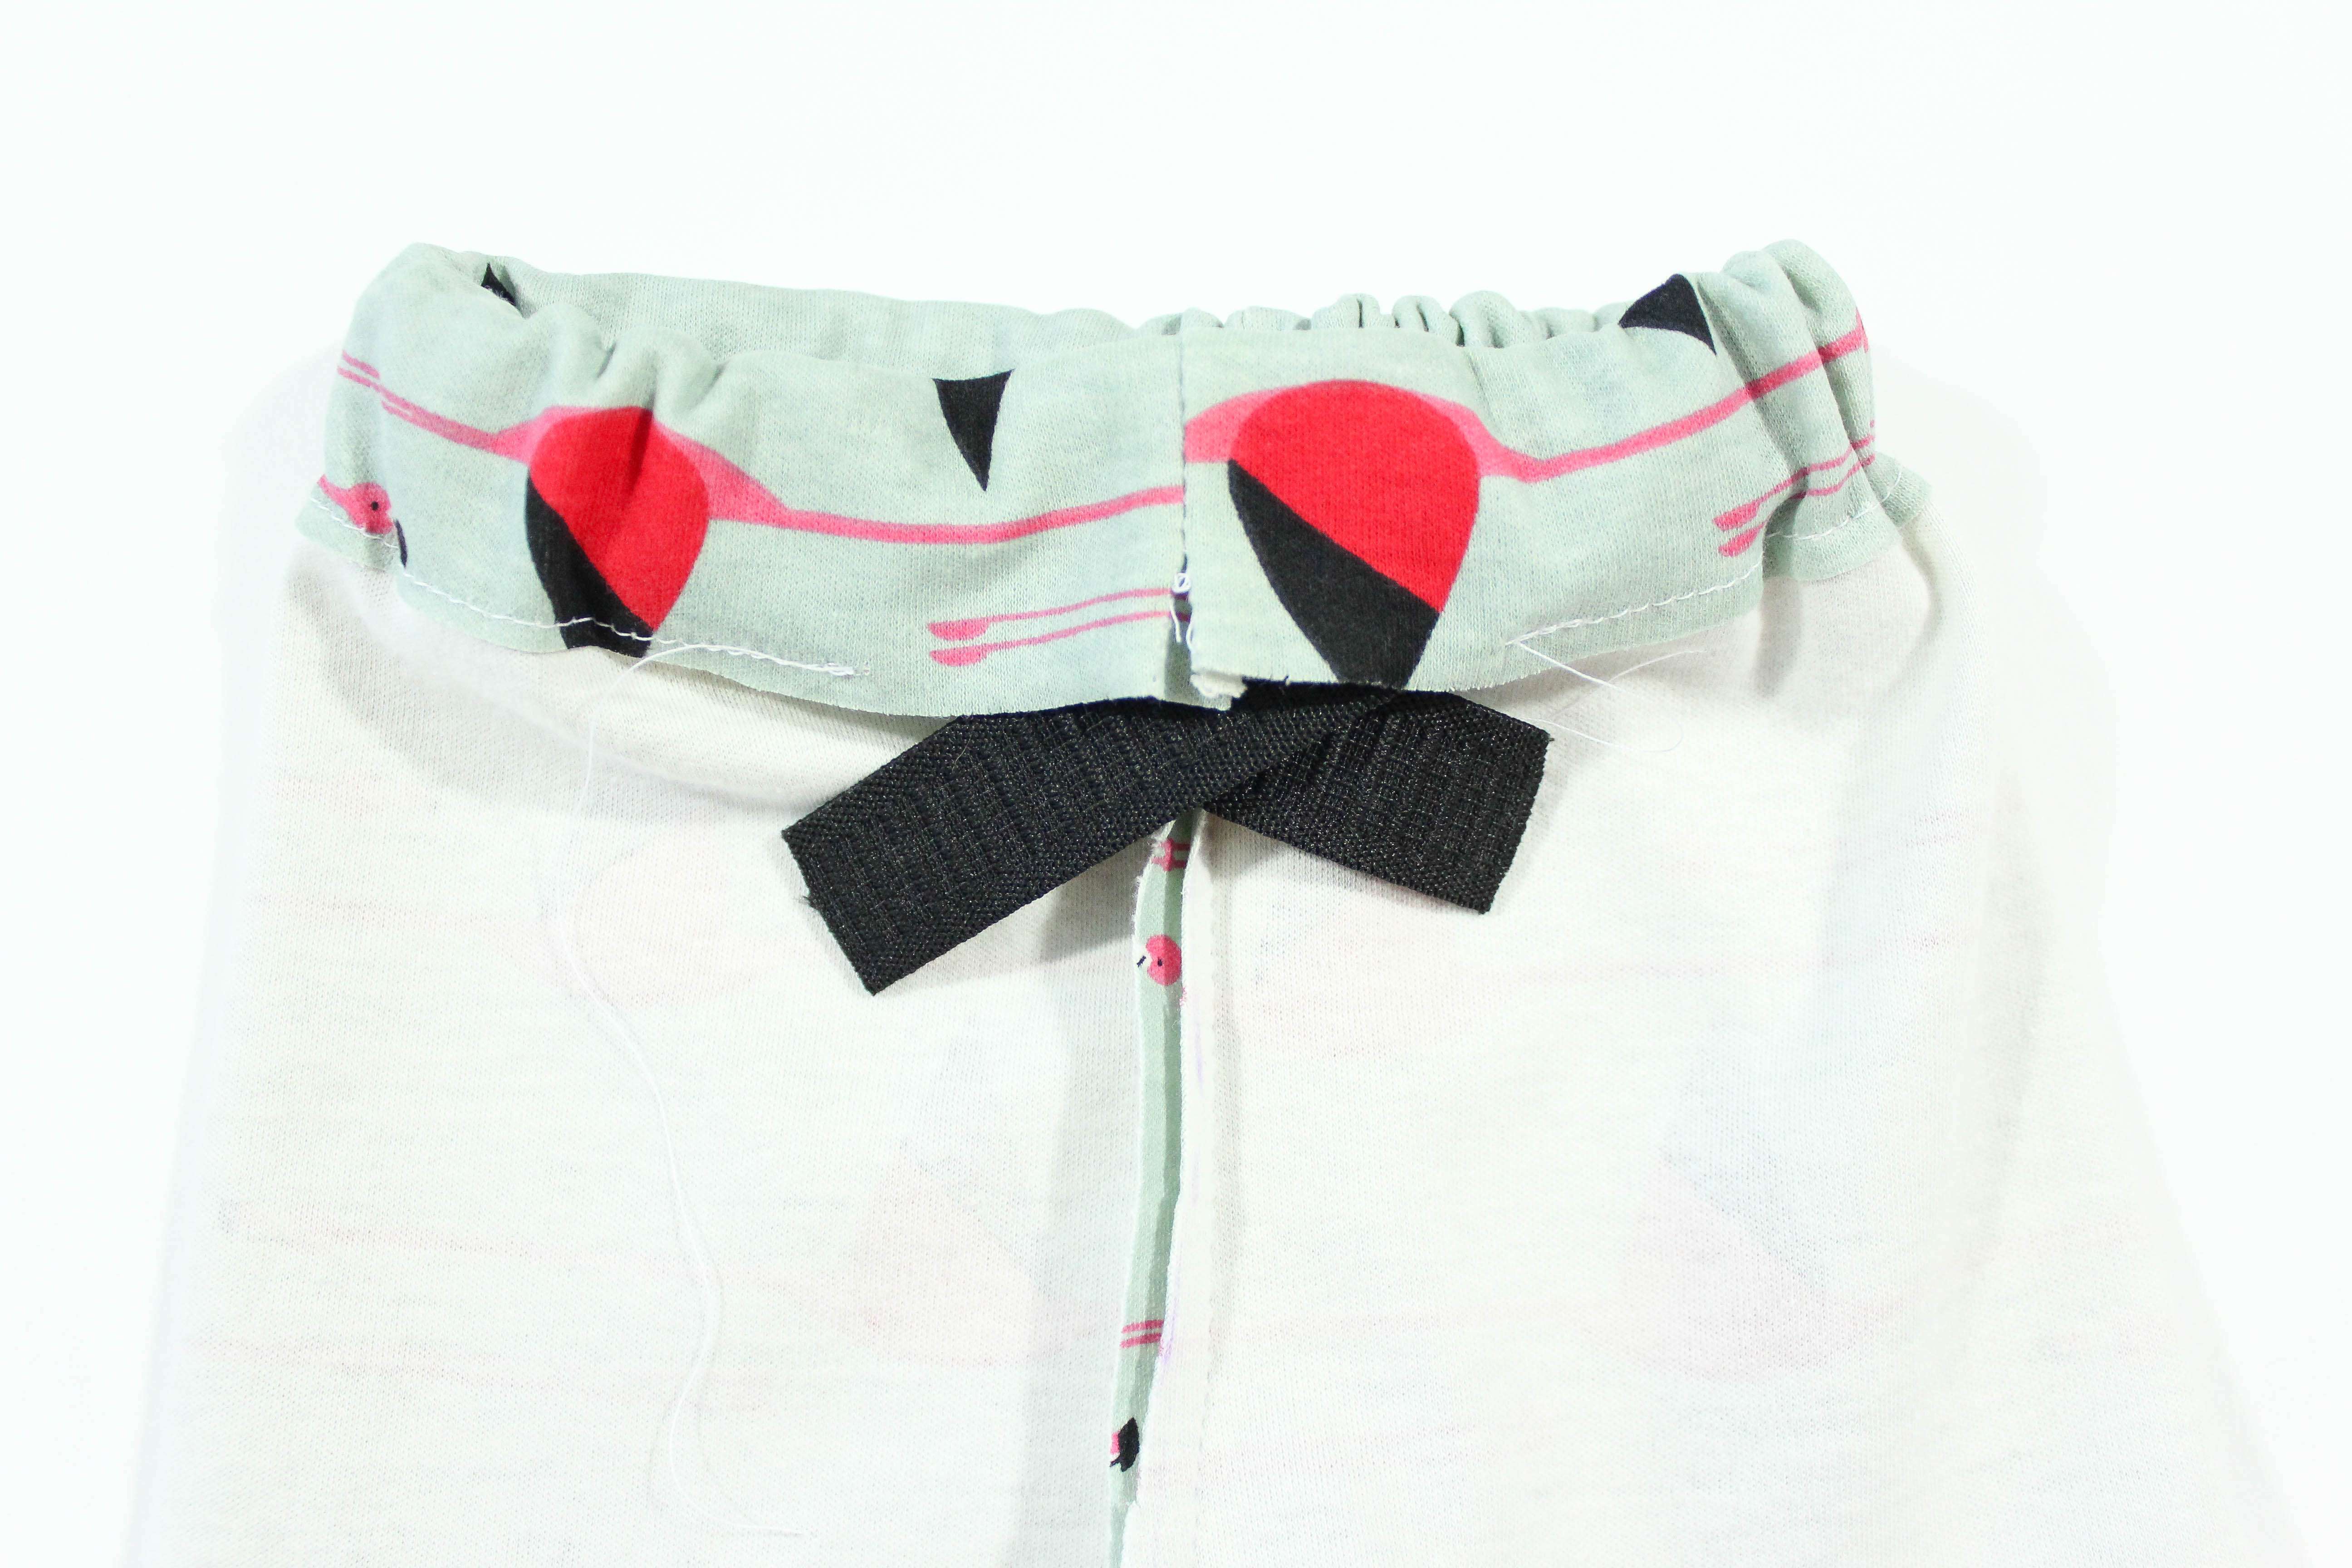
Now use a zig zag stitch and sew up the elastic overlapping it by 1/2″ on both pieces.

Last step… close up that hole on the back of the waistband where we inserted the elastic.
 TaDa! We made leggings! Super simple right?!

Now it’s time to break in your new leggings! Baby aerobics optional :)


You make it look so easy, you almost make me want to try!!! And holy crap, she is cute!