
Remember Finn’s Fish Party last week? I was pretty casual about the whole thing because the biggest slip-n-slide ever was the main event :) But I did make the kiddies party favors. It was almost a craft fail, but I saved it and it ended up OK. Seriously though, I almost ruined the only homemade aspect of the bday party… tragedy!
When I was looking up fish party ideas, I came across this Martha Stewart Tutorial. Of course, Martha’s “Fish in a Bag Soap” were way better looking than mine- in my defense I found this the Thursday before the Saturday party. My BFF and my mom totally came to the rescue with supplies!
What you need:
Pure Glycerin
Scented Oil (optional)
Plastic Treat Bags
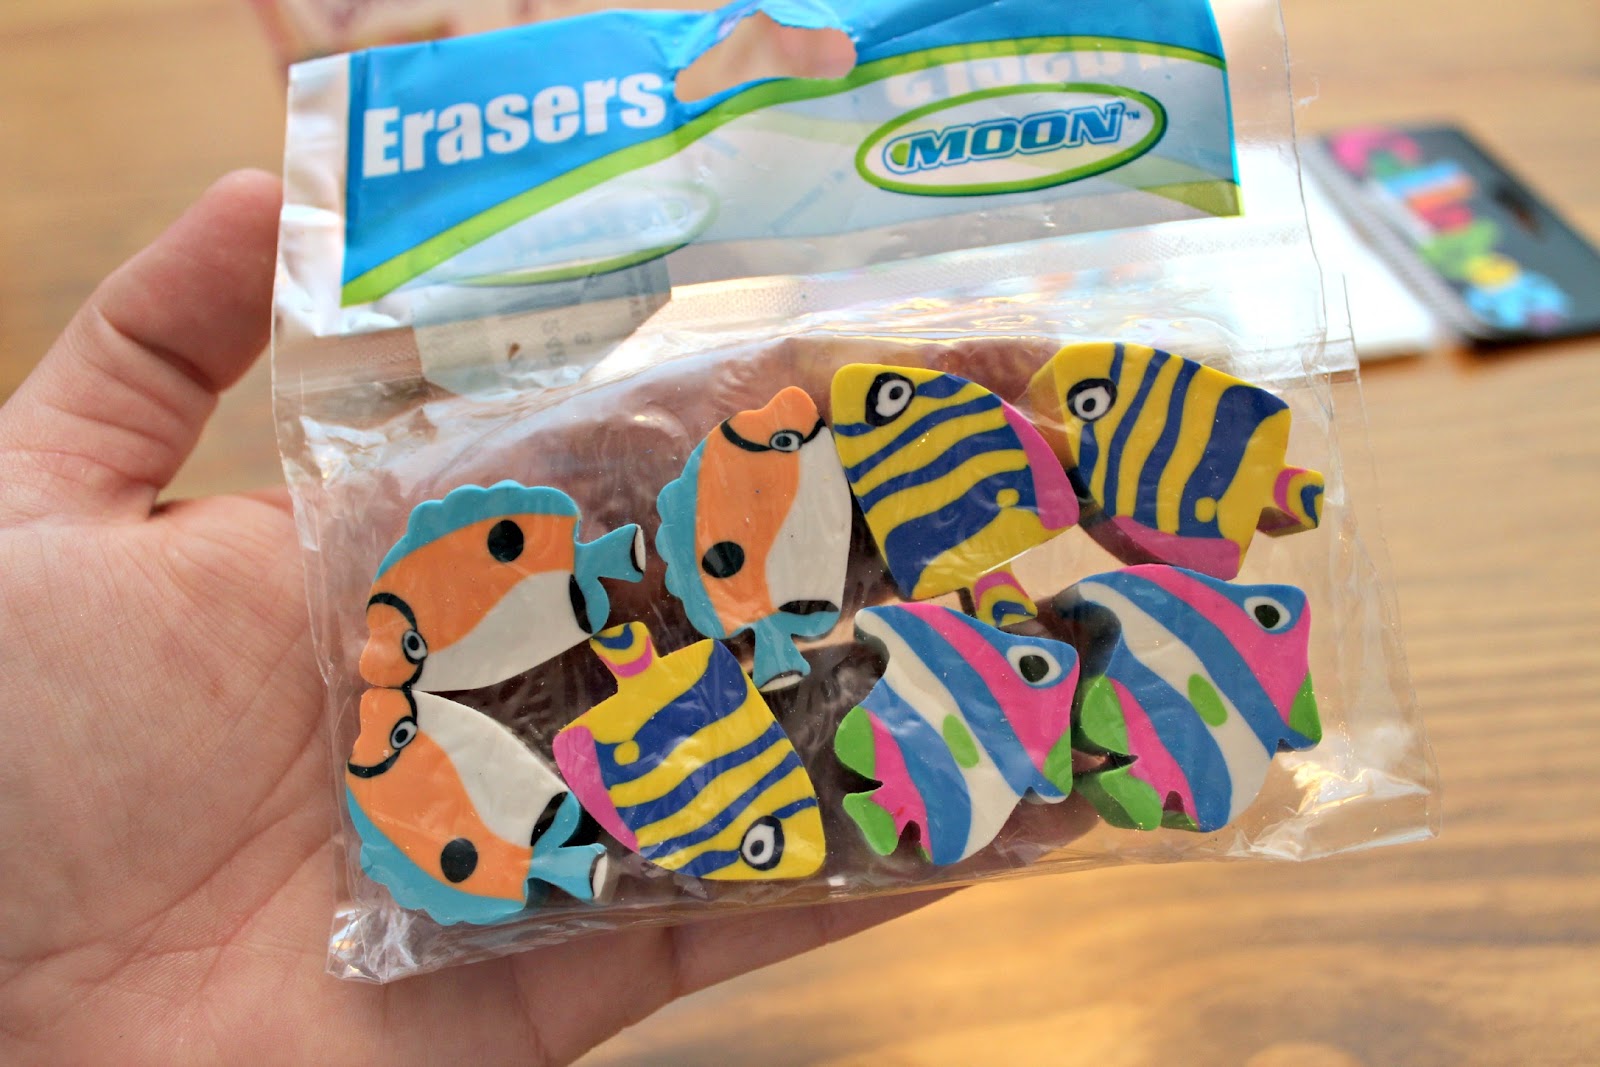
Fish
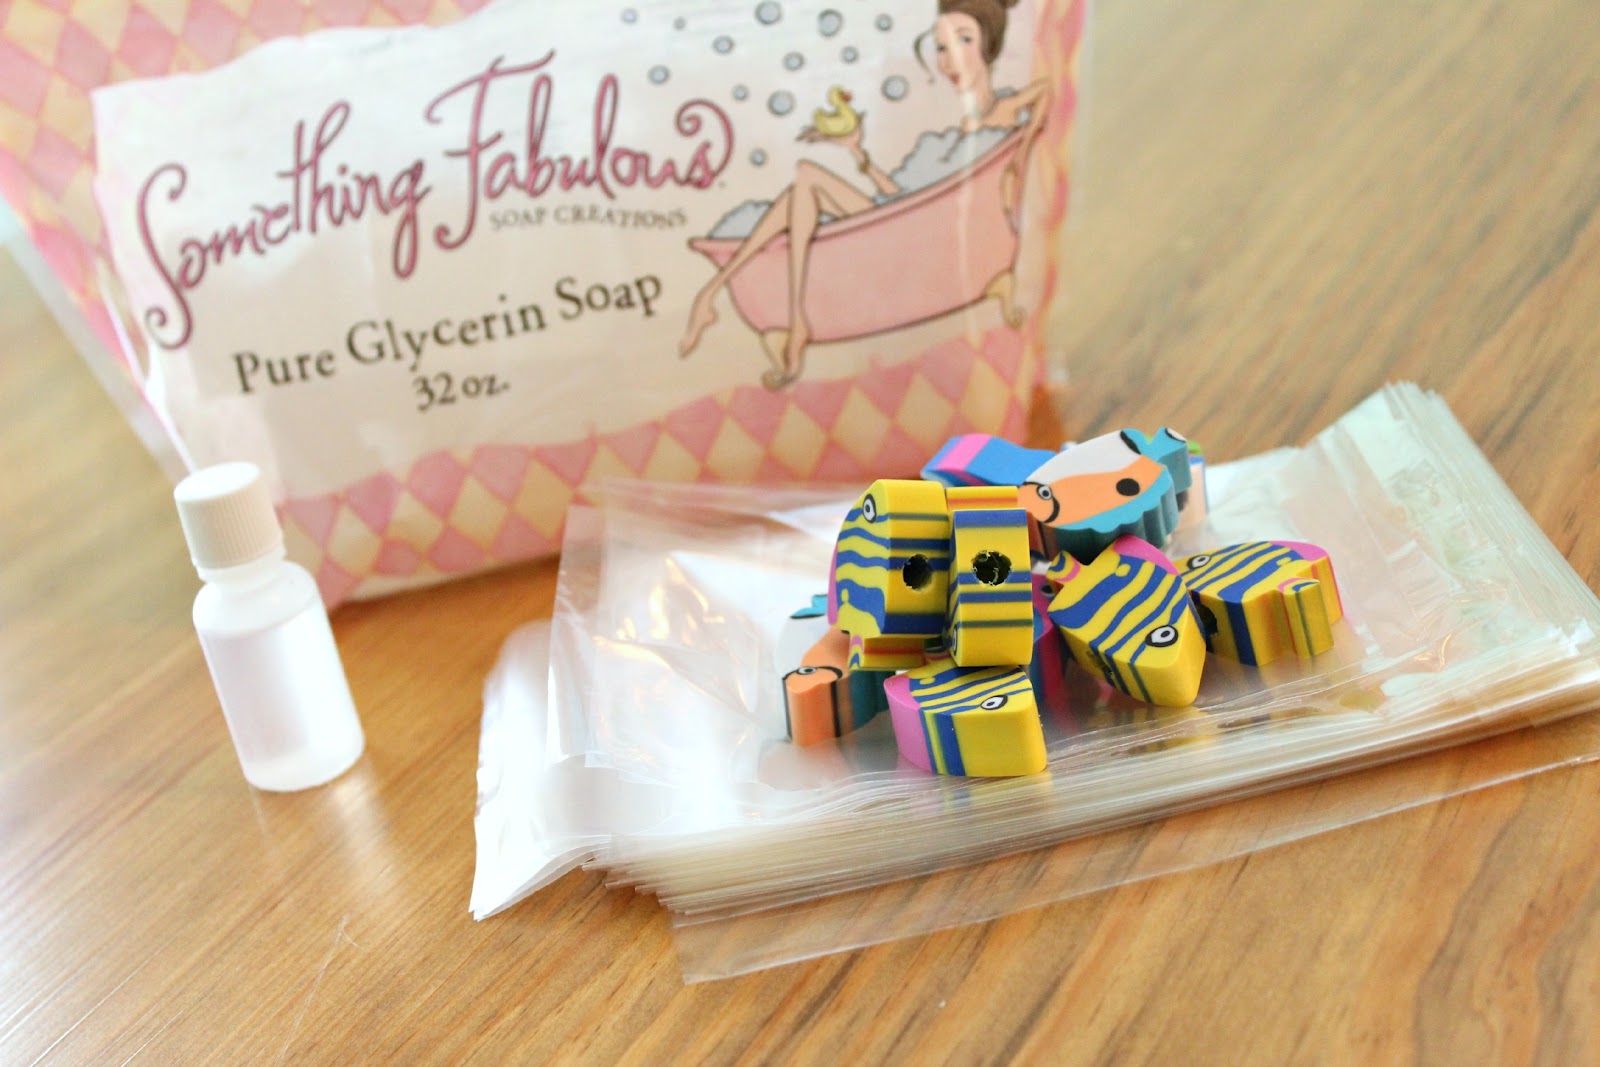
I wanted to find plastic fish but I couldn’t find them anywhere. My BFF called me and told me she found these erasers, perfect! I later found out the fish I wanted were available on Oriental Trading.com and Amazon. But the erasers looked good too.
About the bags, I originally bought craft bags with a pleat on the side, and the soap got stuck after drying… boo! You HAVE to get the bags with only one seam on the side and no folds. My mom came to the rescue because I found this out the day before the party.
What I Did:
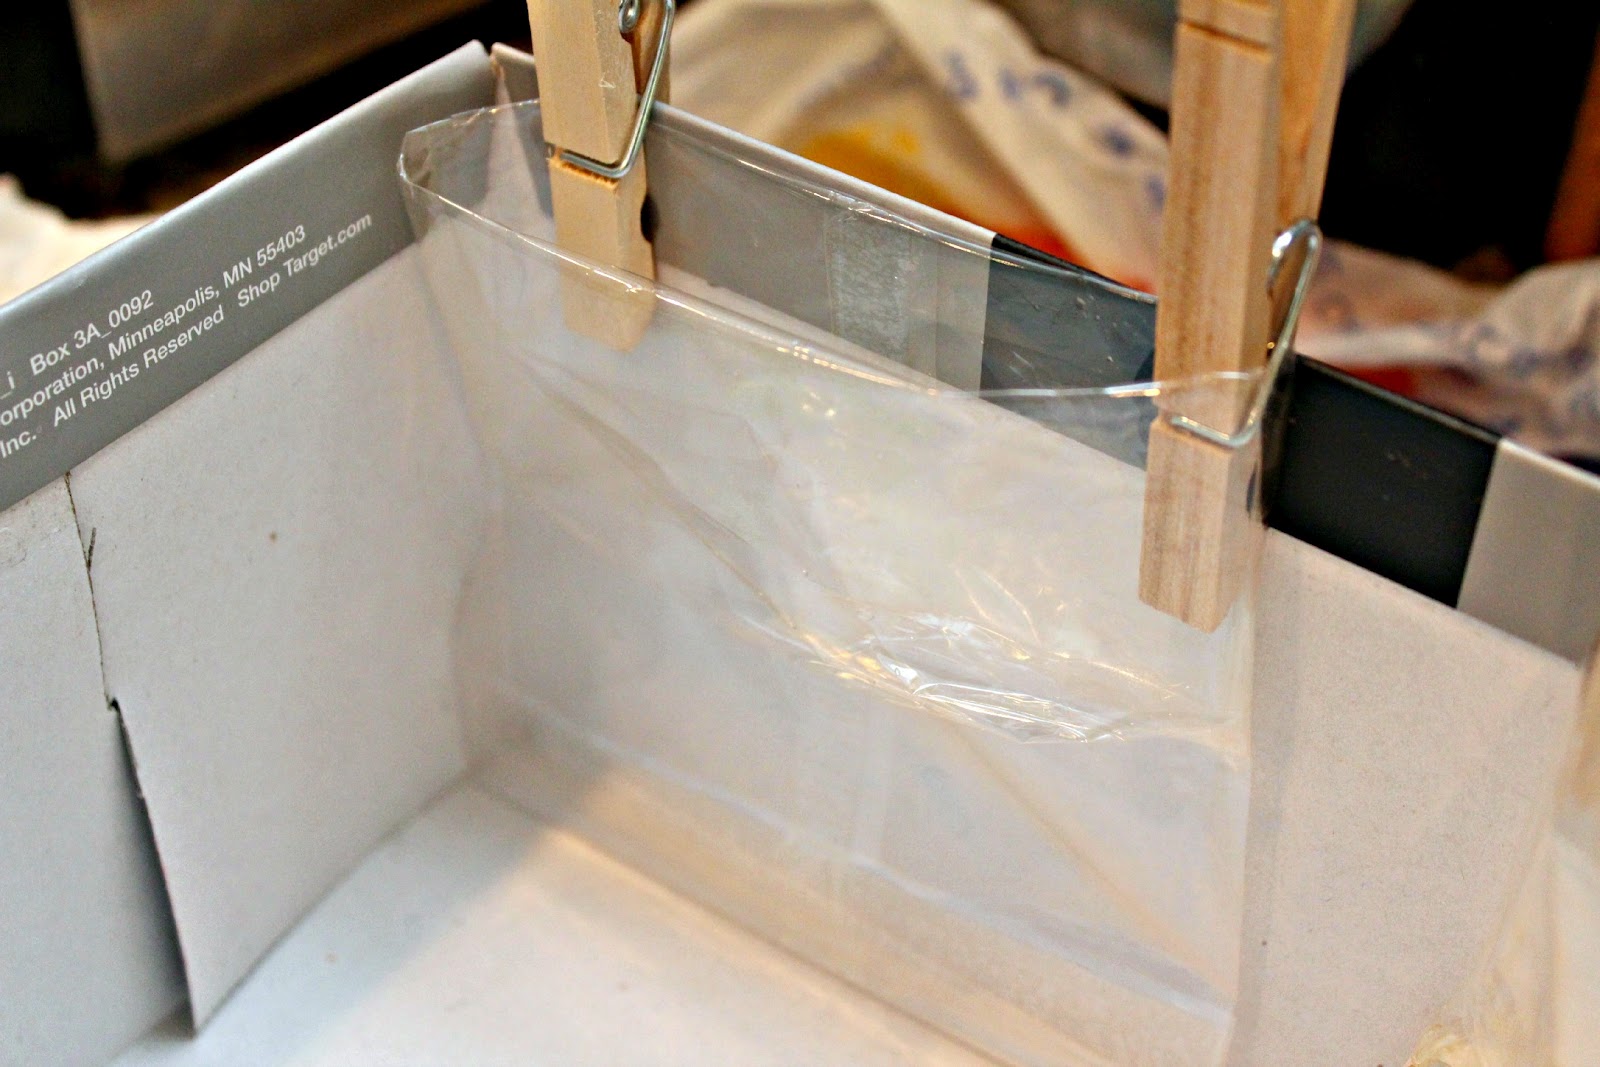
Fold the bag down (about halfway)

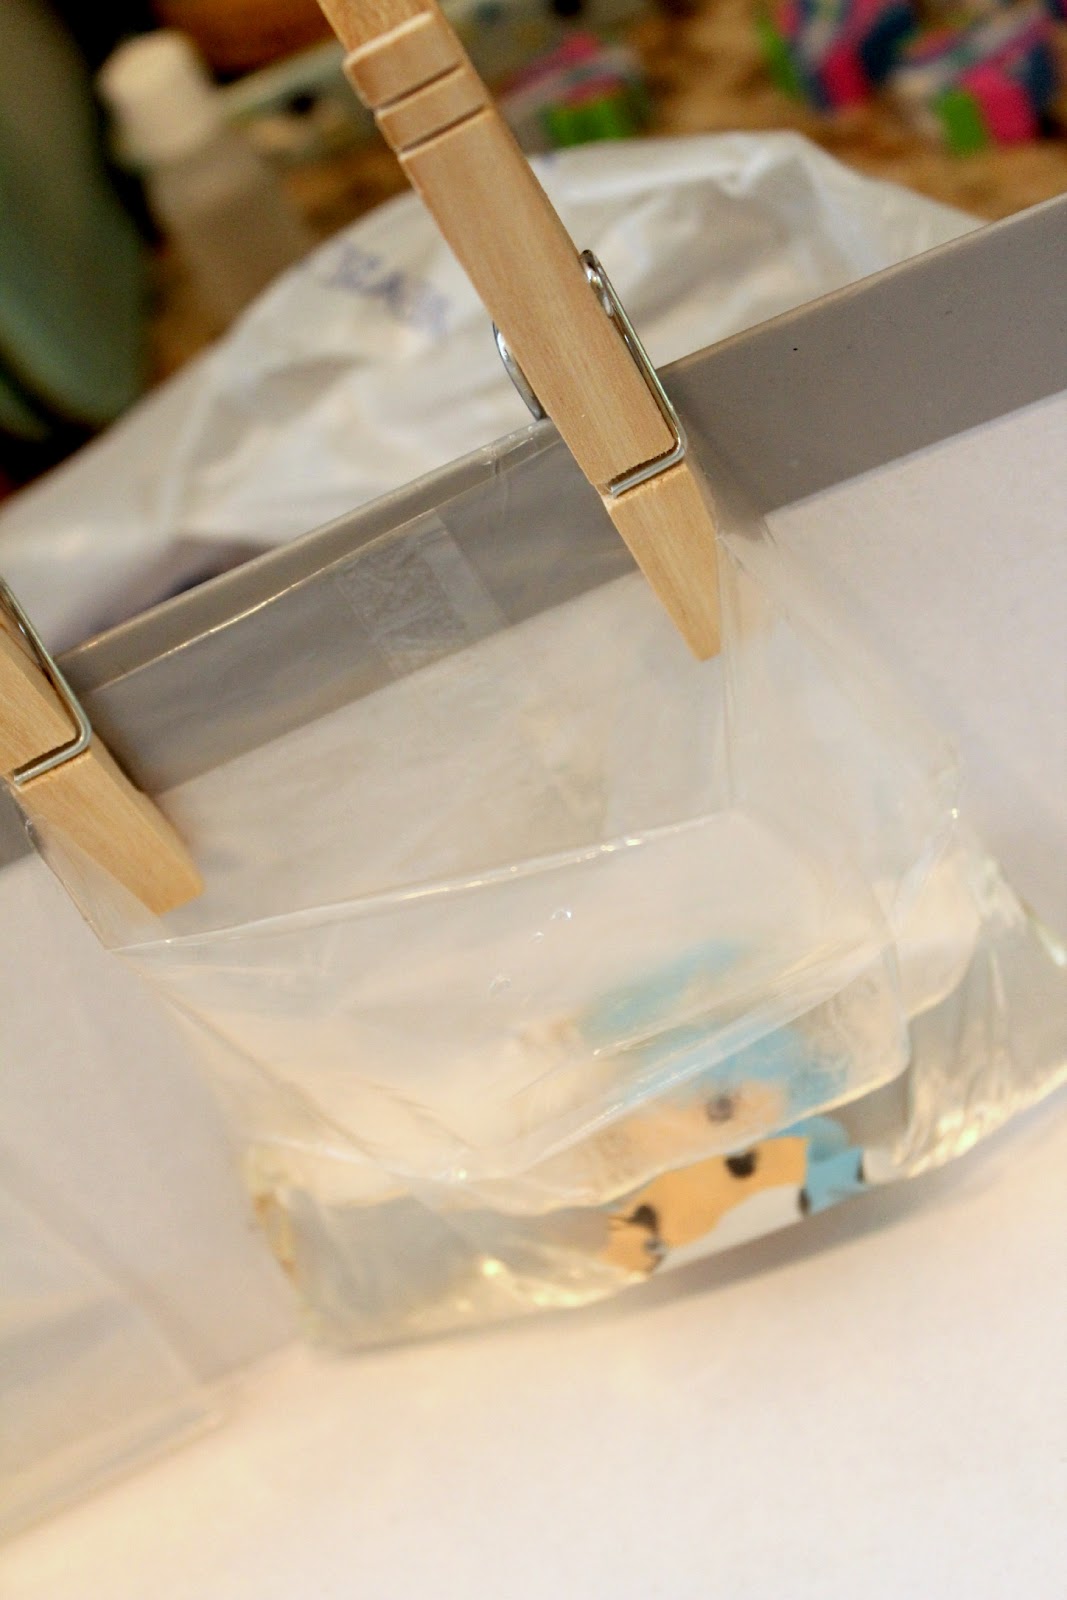
I used clothespins and an old shoe box and clipped the bag to the side of the box, making sure the bag was touching the bottom too.
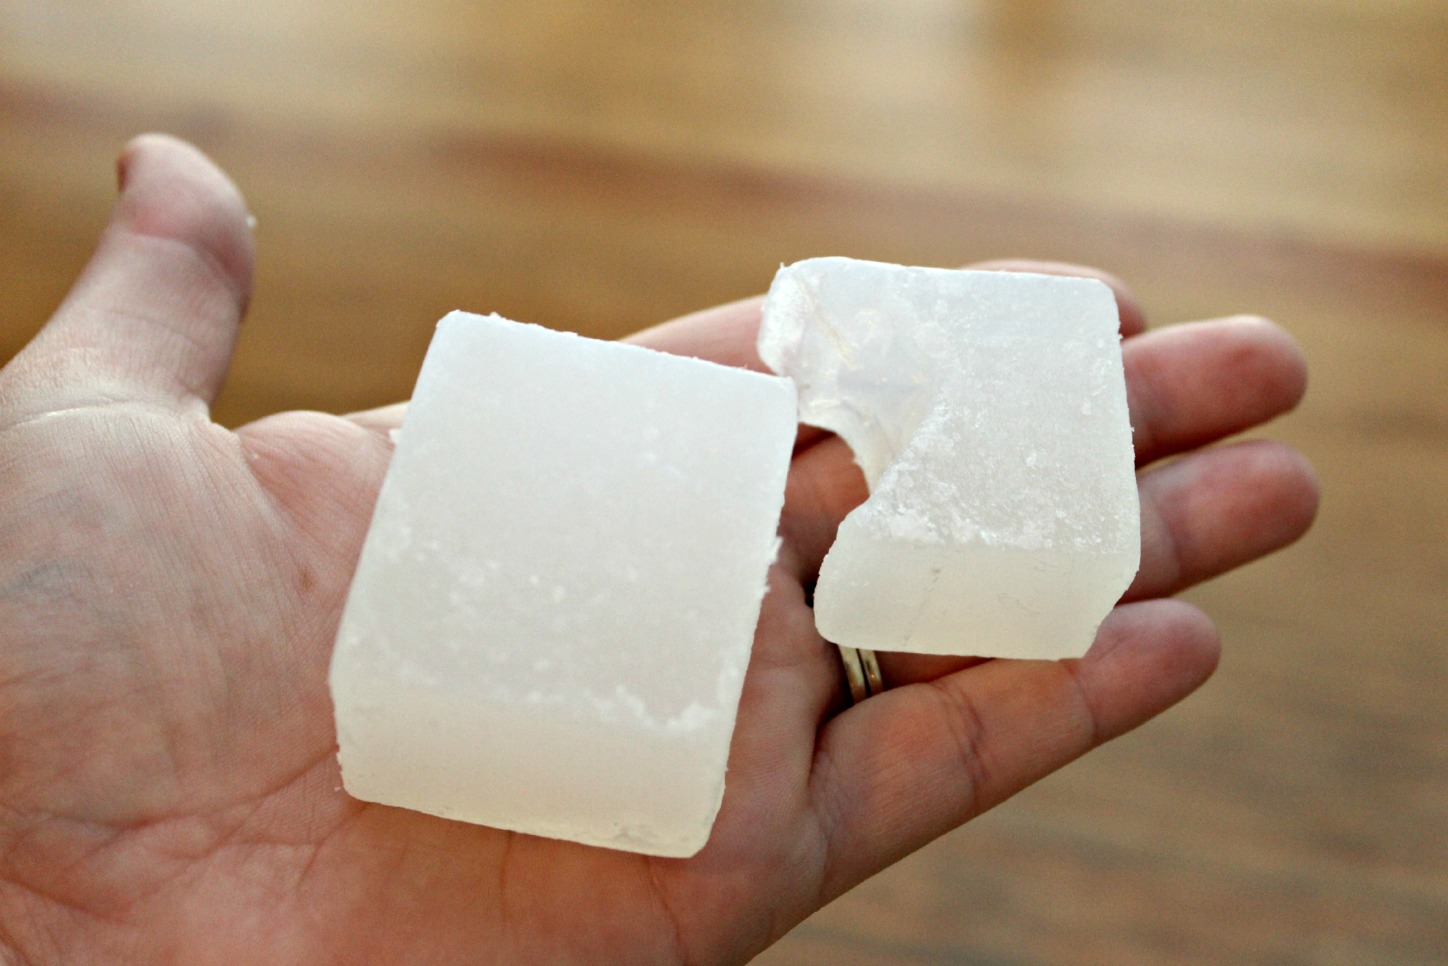
My glycerin came pre-cut, so I used one and a half squares of glycerin. Then using a glass measuring cup, I melted it in the microwave for 45ish seconds. That is when I added my Grapefruit Citrus oil, just one drop.
Then pour the melted soap into the bag carefully, you don’t want to get soap on the sides of the bag, a funnel would help but I didn’t have one… procrastinator.

Carefully place a fish eraser into the bag, make sure not to splash.
Continue with these steps and let them cool.

I used ribbon to tie them up. Because of the clear color they are kind of hard to photograph but they turned out really cute. And for twelve fishies I spent about $15ish which I was pretty happy with.


Have you ever made your own soap? I really liked doing it, I want to do another girl craft party with different girly soaps. We could use mint leaves and lemons and other cool fresh ingredients!


