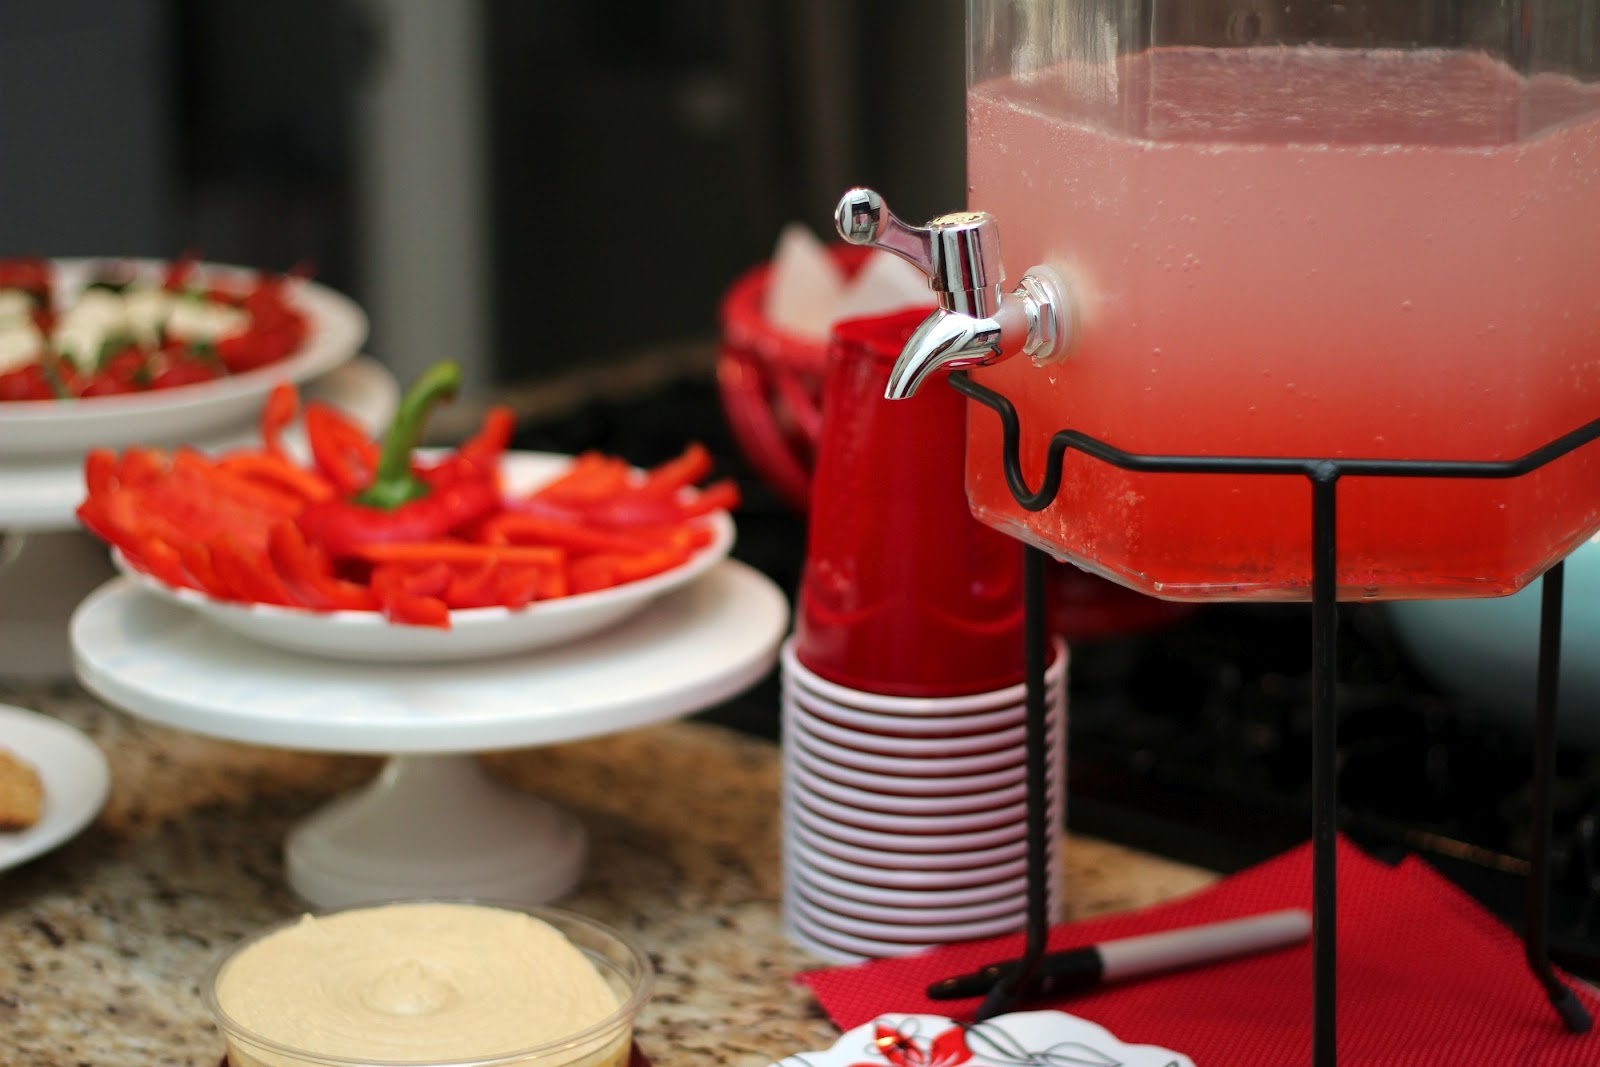
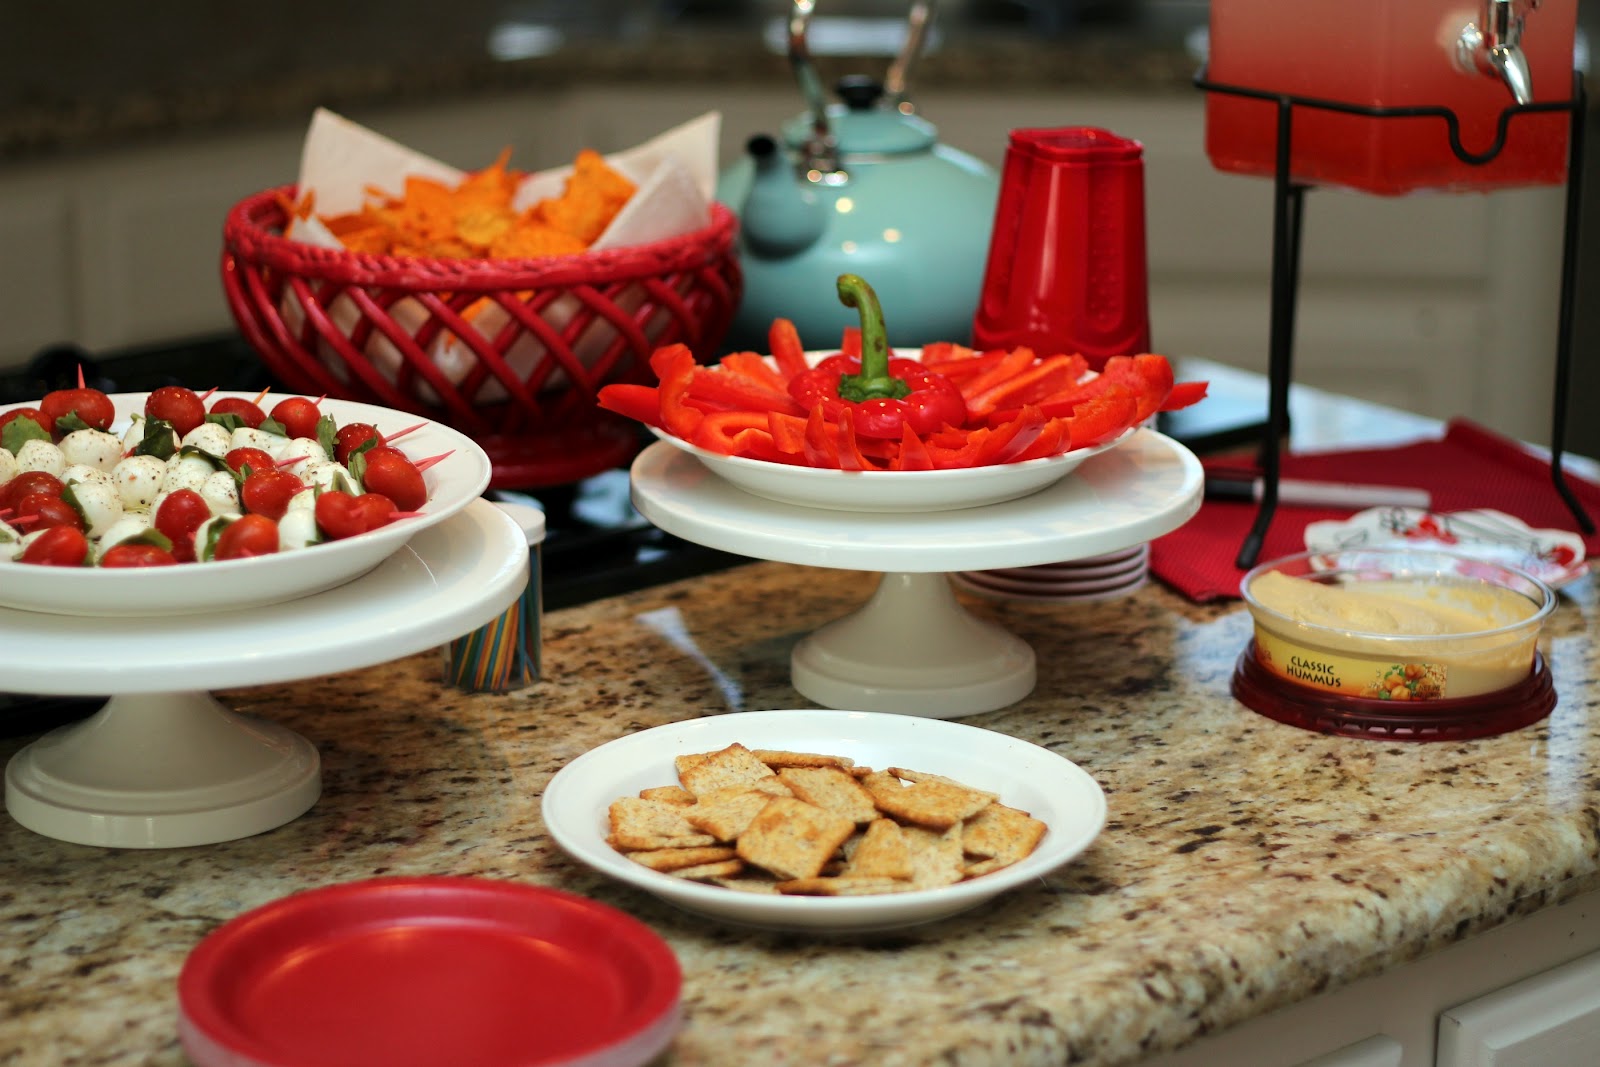
Remember when I told you that my little man turned one last week?! Time Flies! His birthday fell on a Monday this year so we had our families over and I asked everyone to wear Red. It is a week until Valentines Day so the color RED has been readily available so I went with a RED theme. red decor, red balloons and red food!
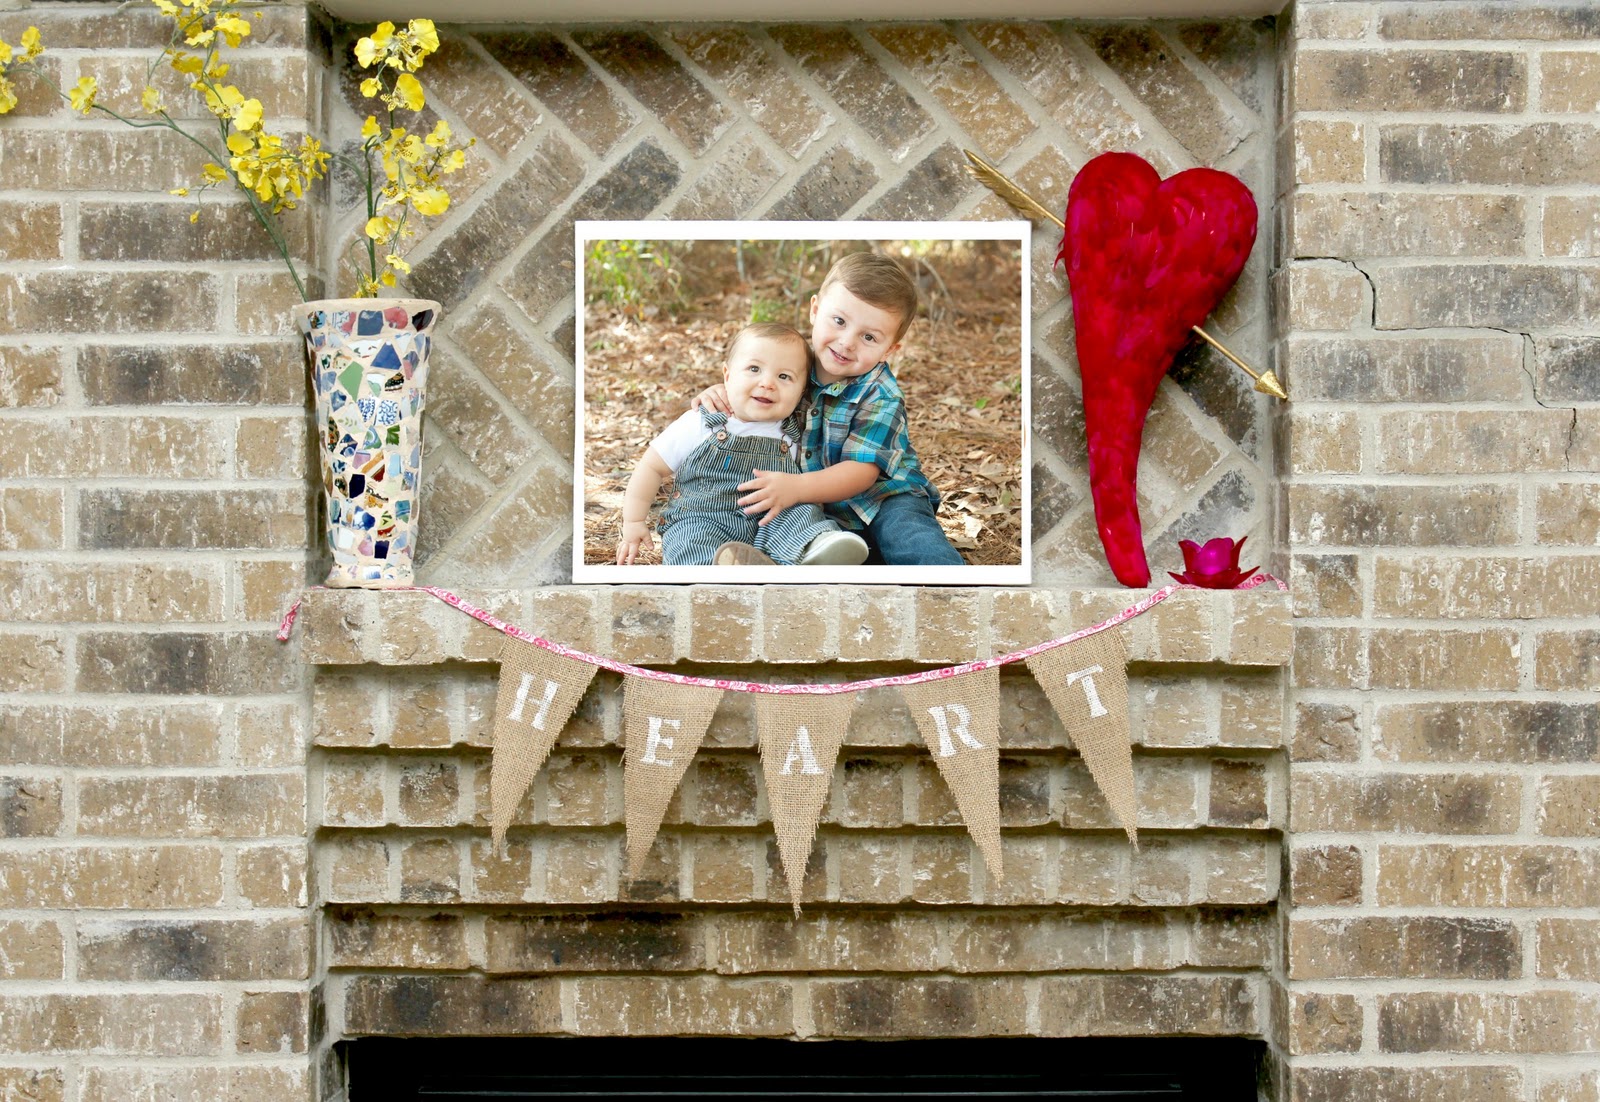
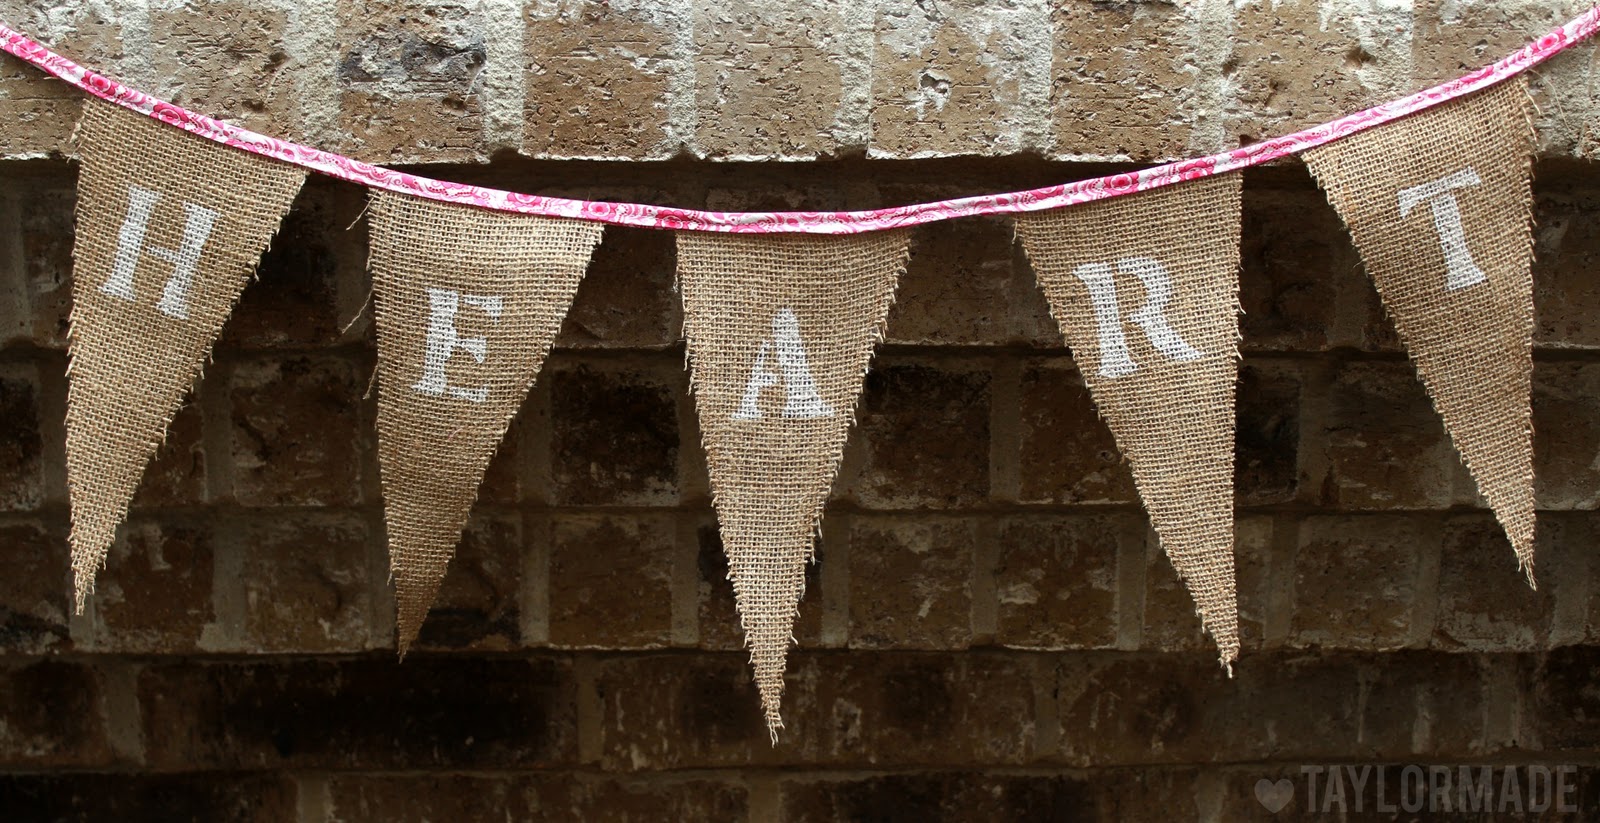
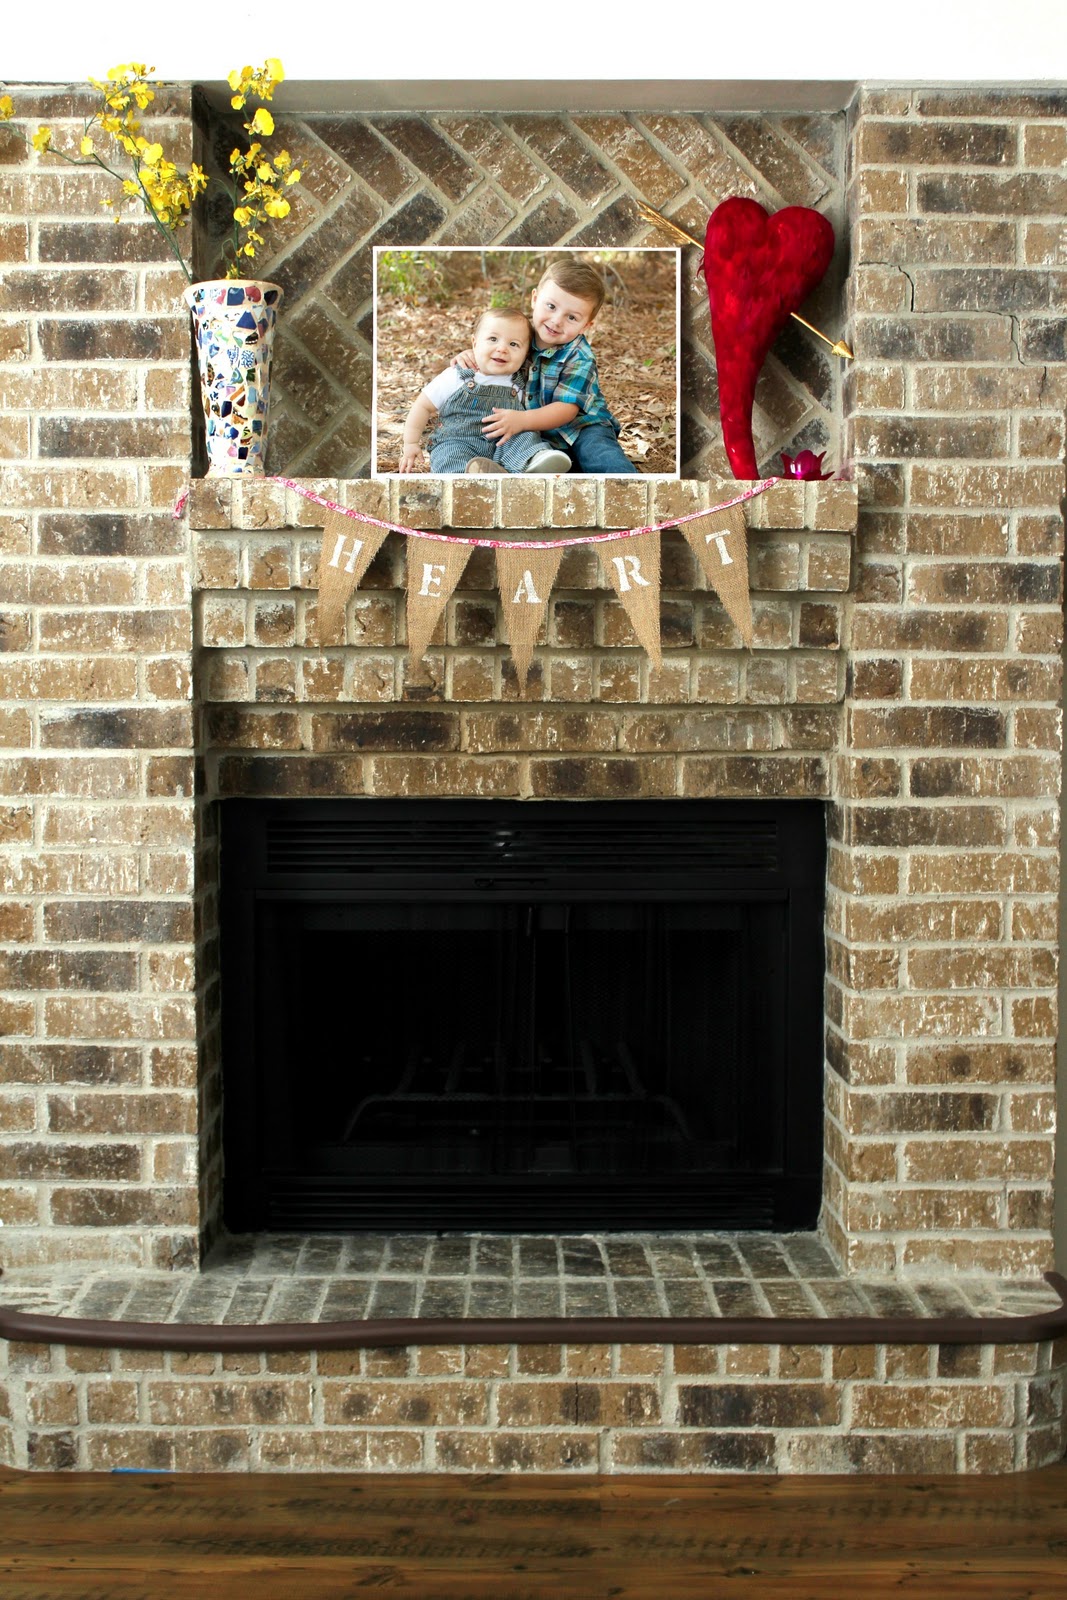
Happy February! Don’t you just love February, its so festive and fun and for me it means Baby Boy’s Birthday, Rodeo, the beginning of Spring and of course the obvious – Valentine’s Day. I wanted to make a Valentine Banner for my mantle but then I realized how long the word “V-A-L-E-N-T-I-N-E” really is. And “LOVE” and “BE MINE” are a little overplayed (which I don’t really even mind ha :) So I came up with the word “HEART”, it fits right?
The “burlap pennant” craze has taken over and it really is such an easy craft, so if you are new at crafting its a great simple little project. Not to mention burlap is super cheap.
Simple Steps:
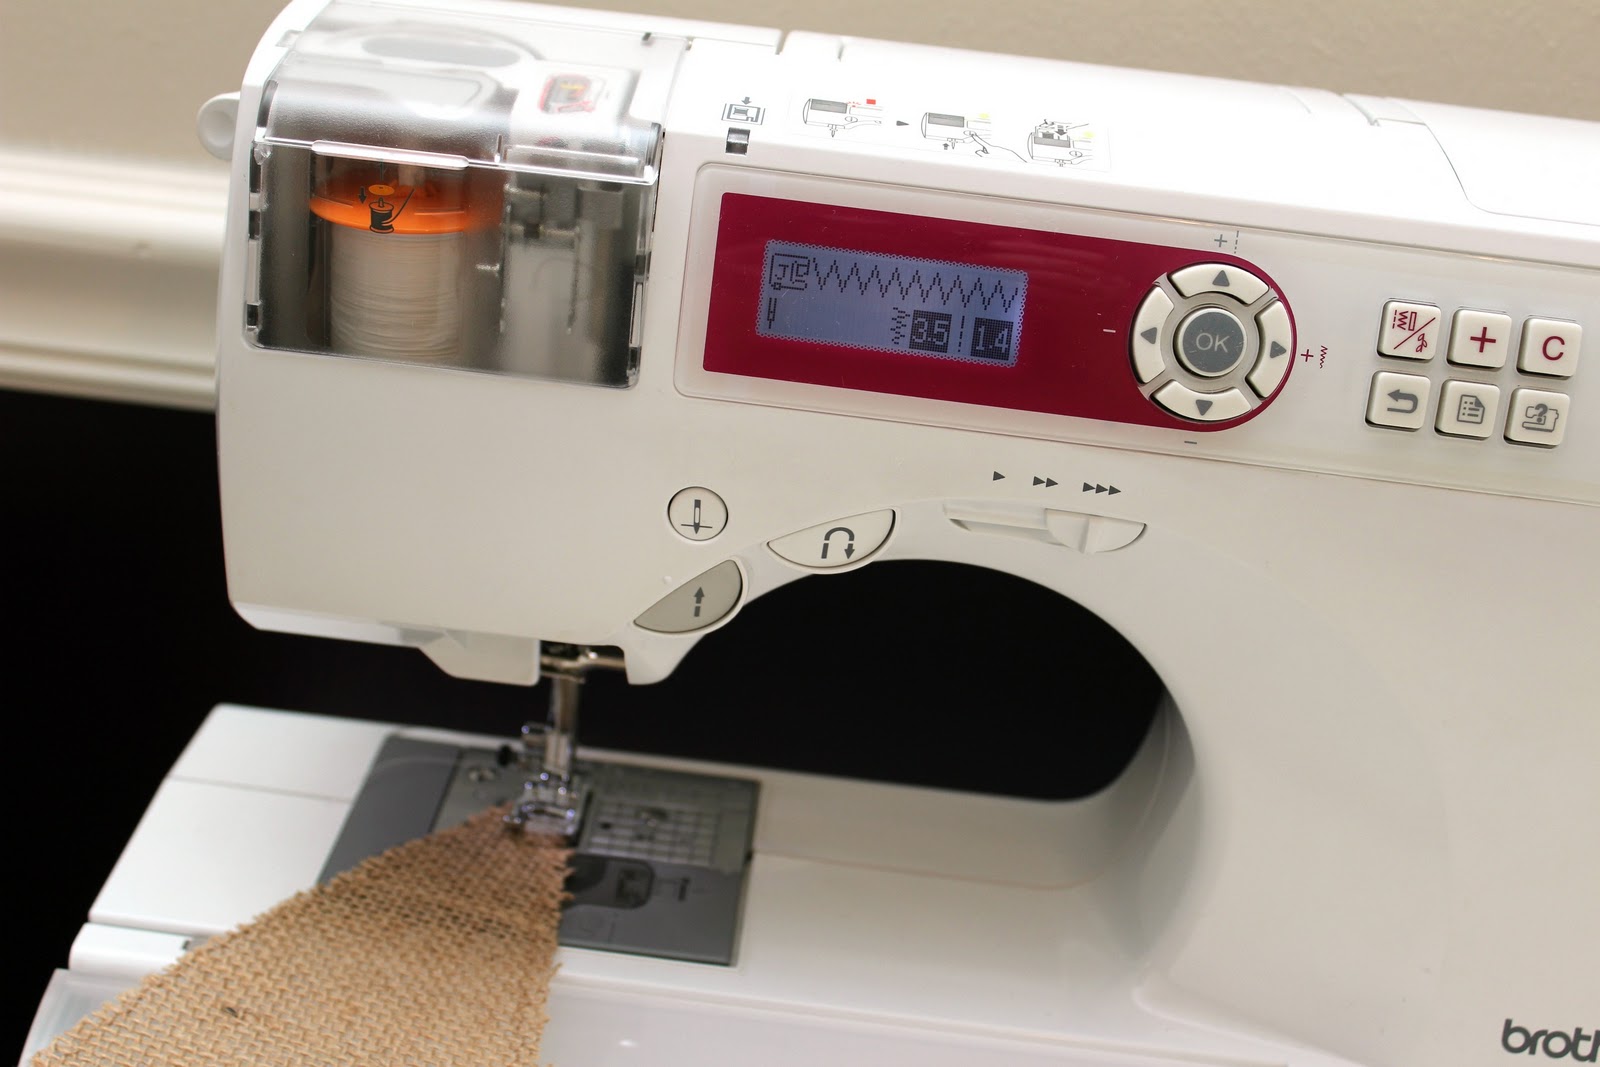
Cut your burlap into the flags. If you plan on keeping this decoration then I recommend doing a zig-zag stitch around each flag to keep from fraying.
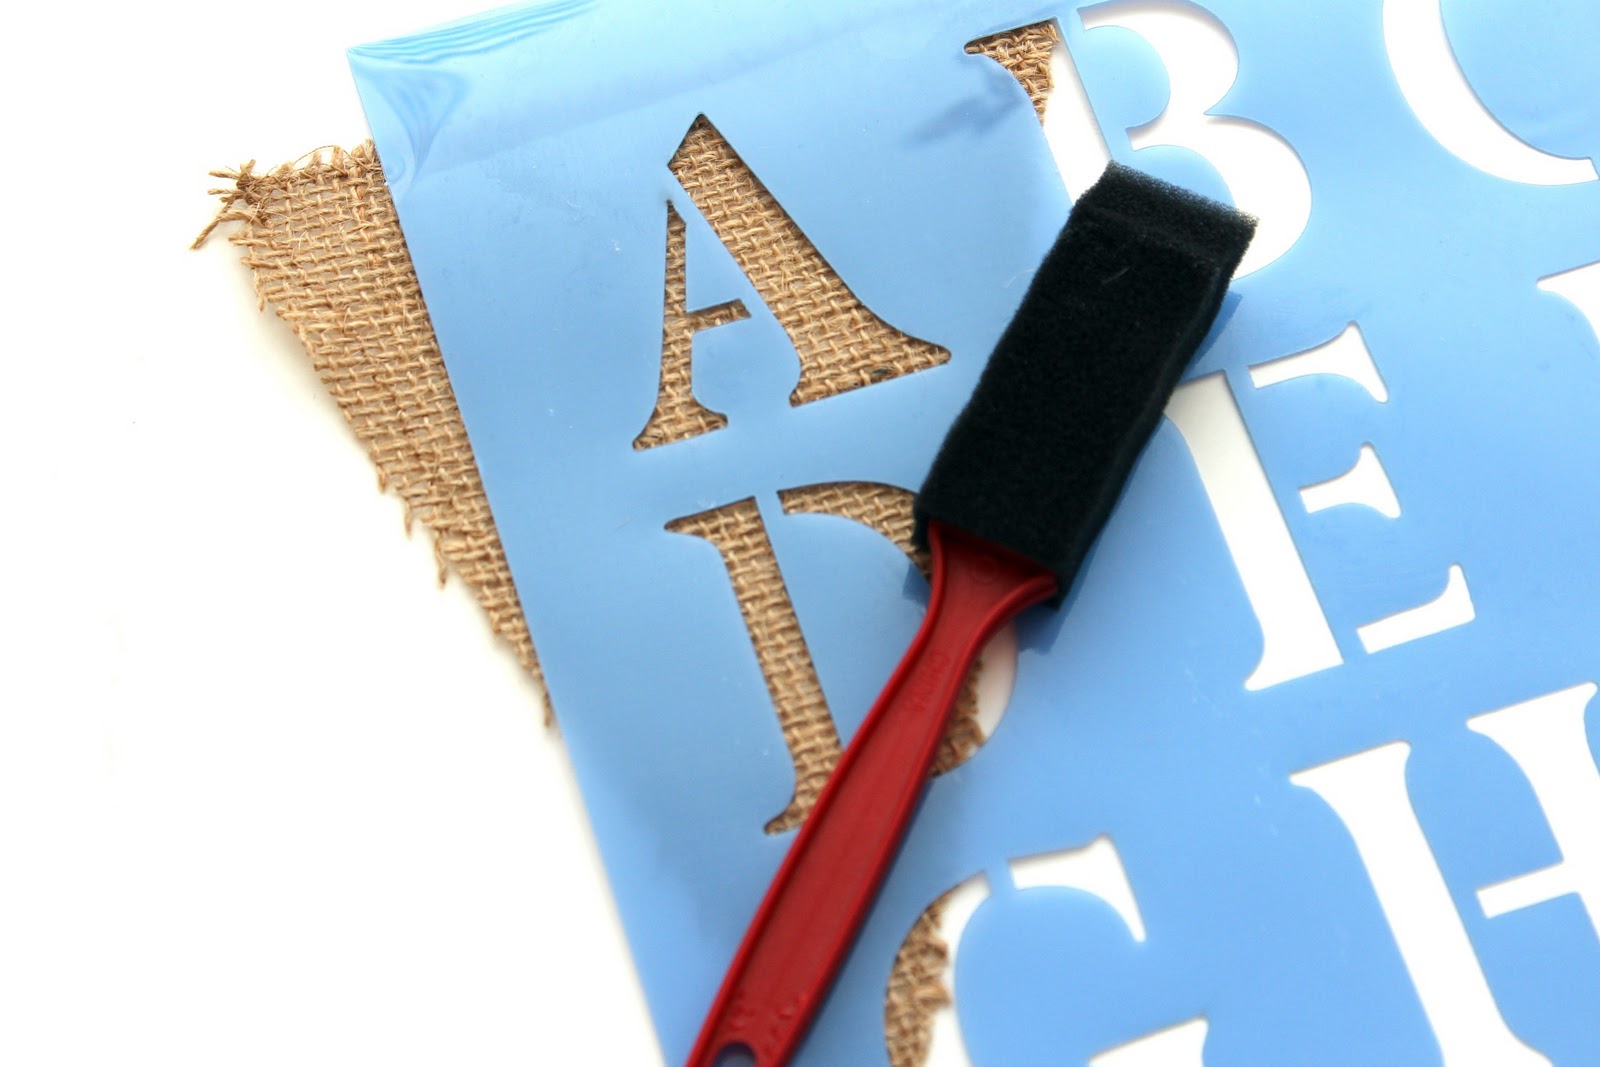
Then use a stencil to spell out your word. You can just use regular cheap acrylic craft paint and a sponge brush.
Once the flags dry, you can attach them a number of ways… you could just hot glue them to some twine or yarn, but I sewed mine onto bias tape.
Let’s talk about bias tape… there are options. You can get most solid colors at the fabric store in various sizes. For projects where the bias tape is going to add a lot, like a quilt or this tablecloth, I like to make my own.
It speed things up if you have a bias tape maker. They even make bias tape maker machines. Fancy Pants.
Once you have made/bought your bias tape, just sandwich your flags between and sew directly over the bias tape.
I’m not getting crazy with the V-day decor cause little man’s Bday is next week. If you know me at all you know that I don’t think it’s festive unless we have streamers and balloons. I hope he likes red.
So how do you feel about bias tape, do you make your own? I think it is much cuter than store bought, and does anyone have that machine? I eyeball it all the time and wonder if anyone has one.
Just four days left until Christmas and I’m sure I’m not the only one crafting into the wee hours to get everything done. Sure, the majority of my gifts are store bought but I always like to have at least one homemade thing for everyone. Homemade gifts are always better! The only bad part- I can’t share them on the blog yet. I literally have a folder full of projects that are blog ready… but they will have to wait.
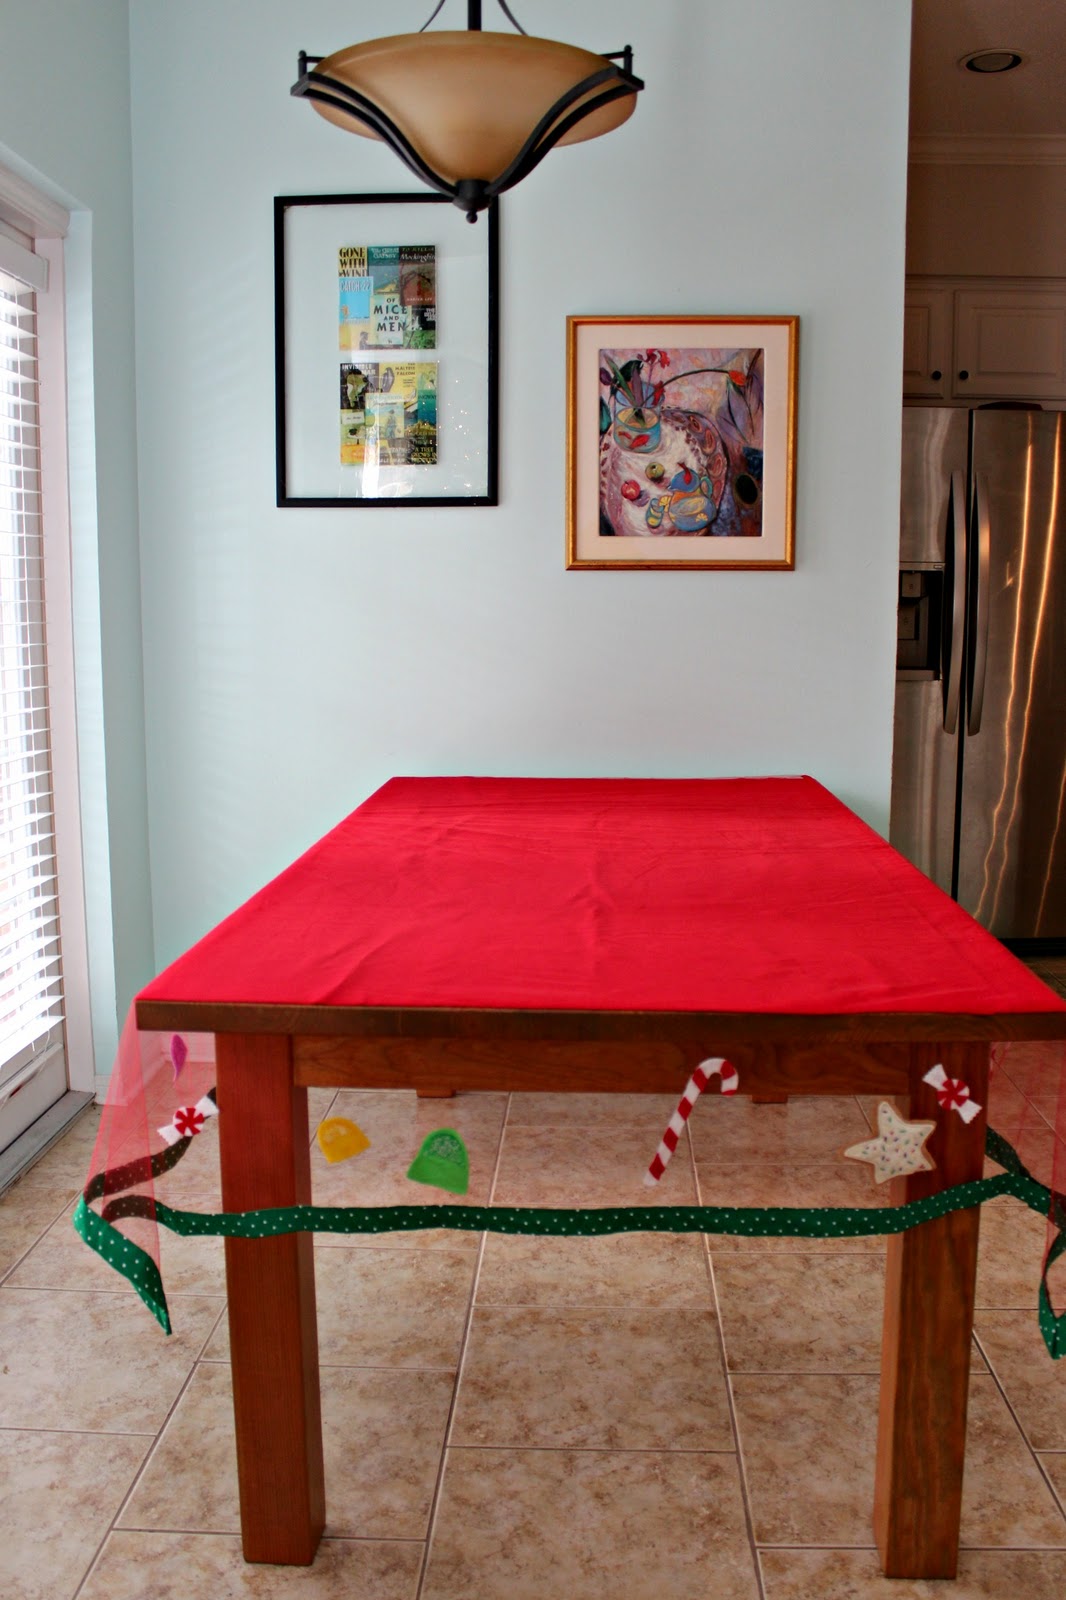
So, I give you a tablecloth that I made a year ago. I was scrambling then too, imagine that! I had great plans for a tutorial but when the night before my dinner party came and I had no tablecloth, I thought… these crafty people can figure it out on their own :)
This is what I did:
-started with red tulle and trimmed it up
-made wide bias tape with green and white polka dot fabric
-sewed the bias tape all around the tulle
-made “Christmas candies” out of felt
-glued (with fabric glue) the candy into the overhanging part of the tablecloth
-used a piece of felt cut to the exact size of the table under the tulle
Felt “Candy”
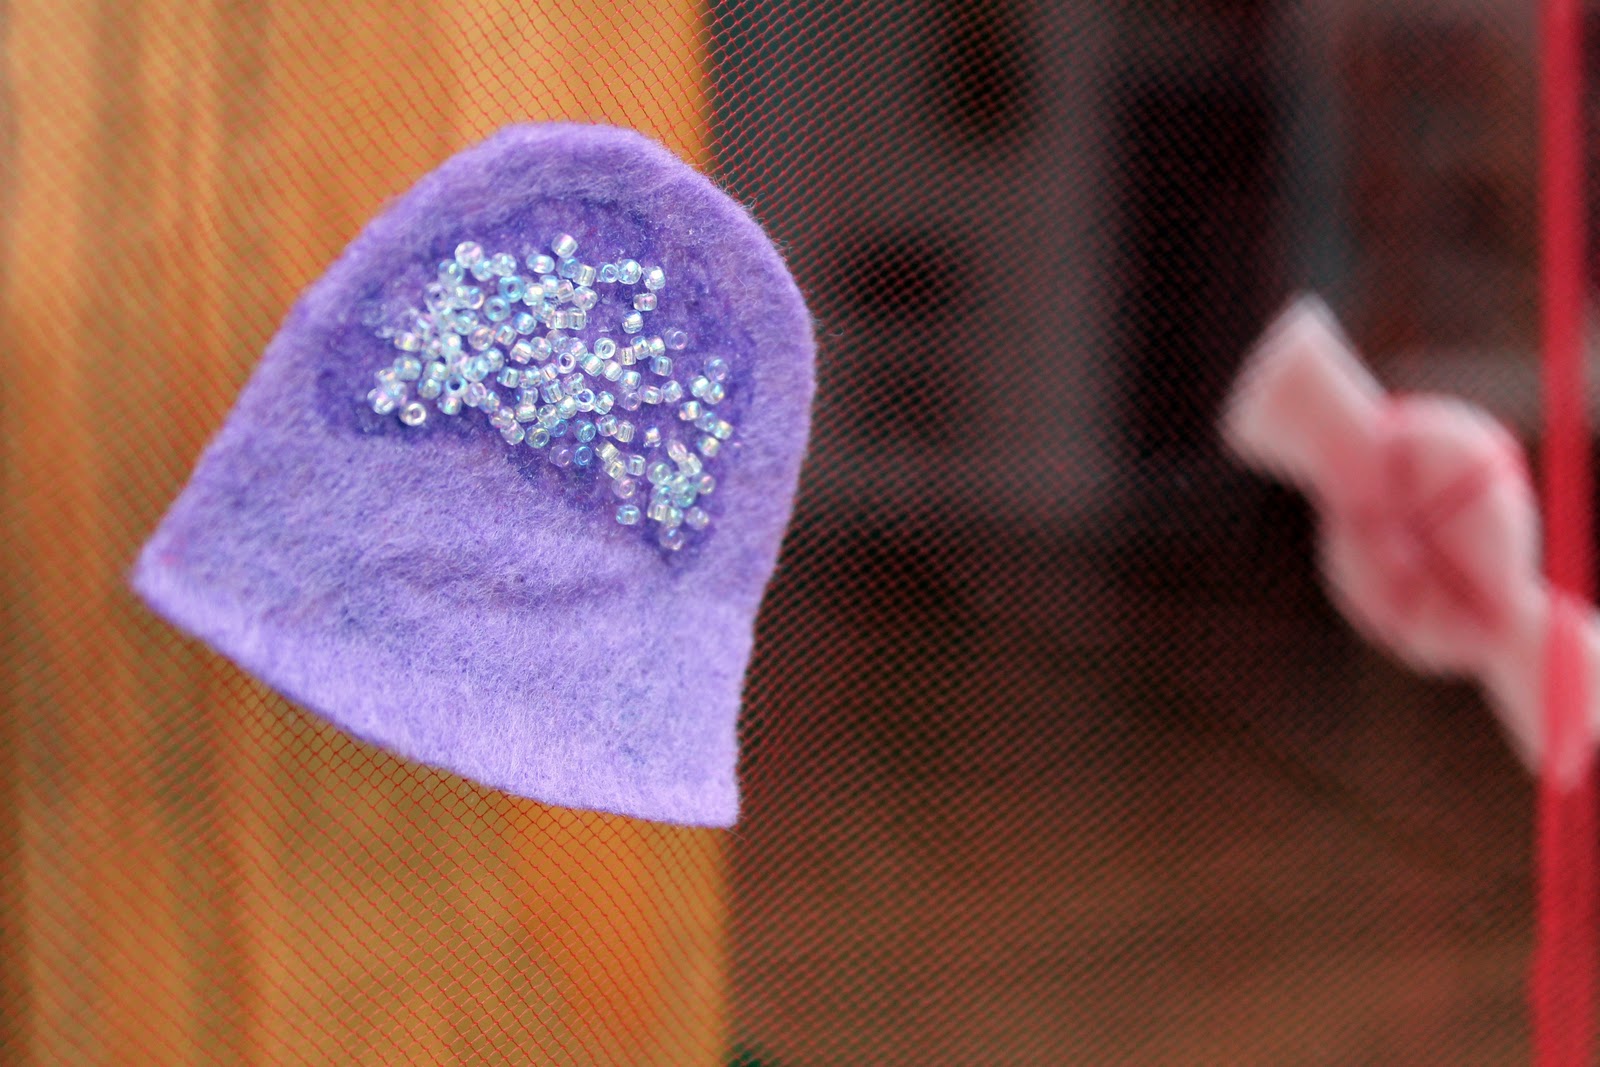
gumdrops in blue, yellow, green and purple with clear sugar beads
candy canes and peppermints – duh
Christmas Cookies
My favorite/hardest part was the bias tape binding. I love the final product, it’s really cute but it really wasn’t easy. A single layer of tulle is really hard to see haha! It kept slipping and I didn’t even know… clearly I’m still bitter a year later.
I had more candies planned too but due to my time constraints/tulle issues I didn’t get them on. Even still, I love the finished product. What else should I add? It’s a work in progress… maybe it will be done by Christmas 2012?
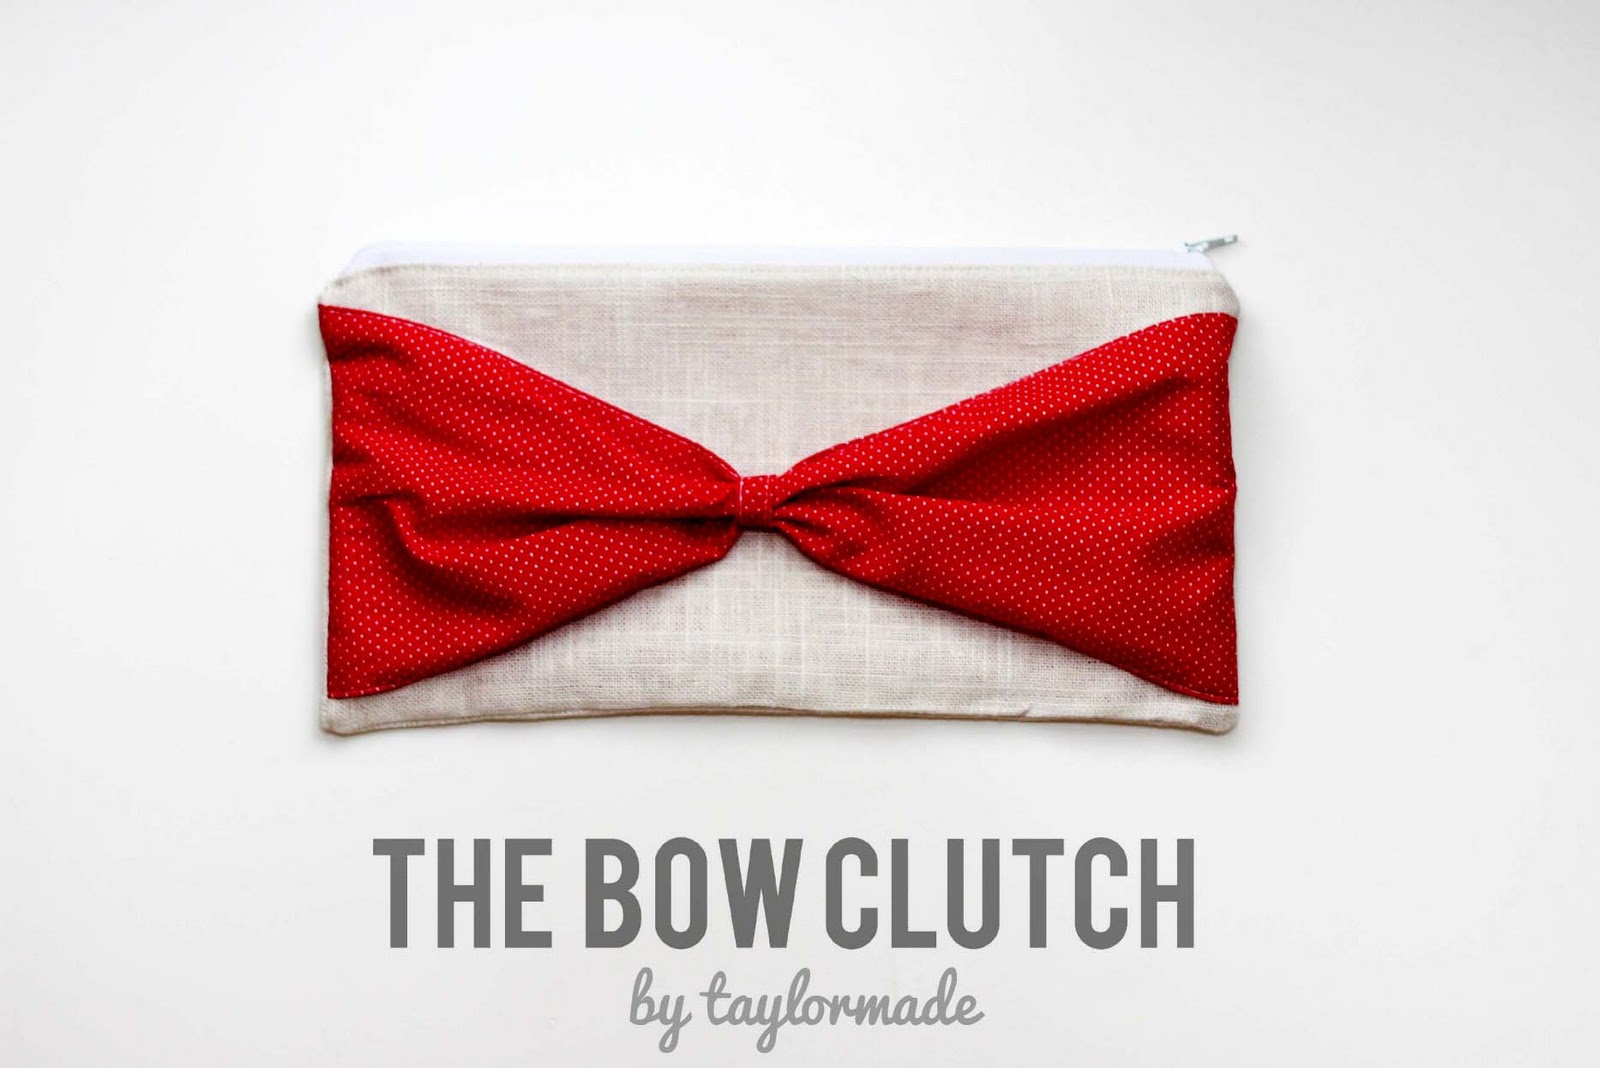
You know the saying great minds think alike? Well this happens in the art world, about 5x a week for me. Artists/crafters/creators get inspiration from everywhere and even subconsciously. So last week I “thought” of a great idea… how about a bow on the front of a clutch. Not novel, but I thought it was an original idea of mine. Then the day after I whipped it up, I saw this post from a blog called Simply Homemade. It’s like the fraternal twin of my bow clutch. In the past I might have been like who thought of this first? Well, since either of us invited a bow, or a clutch now I just think it is cool that two random strangers thought of making the same thing at the same time… I guess great minds do think alike :)
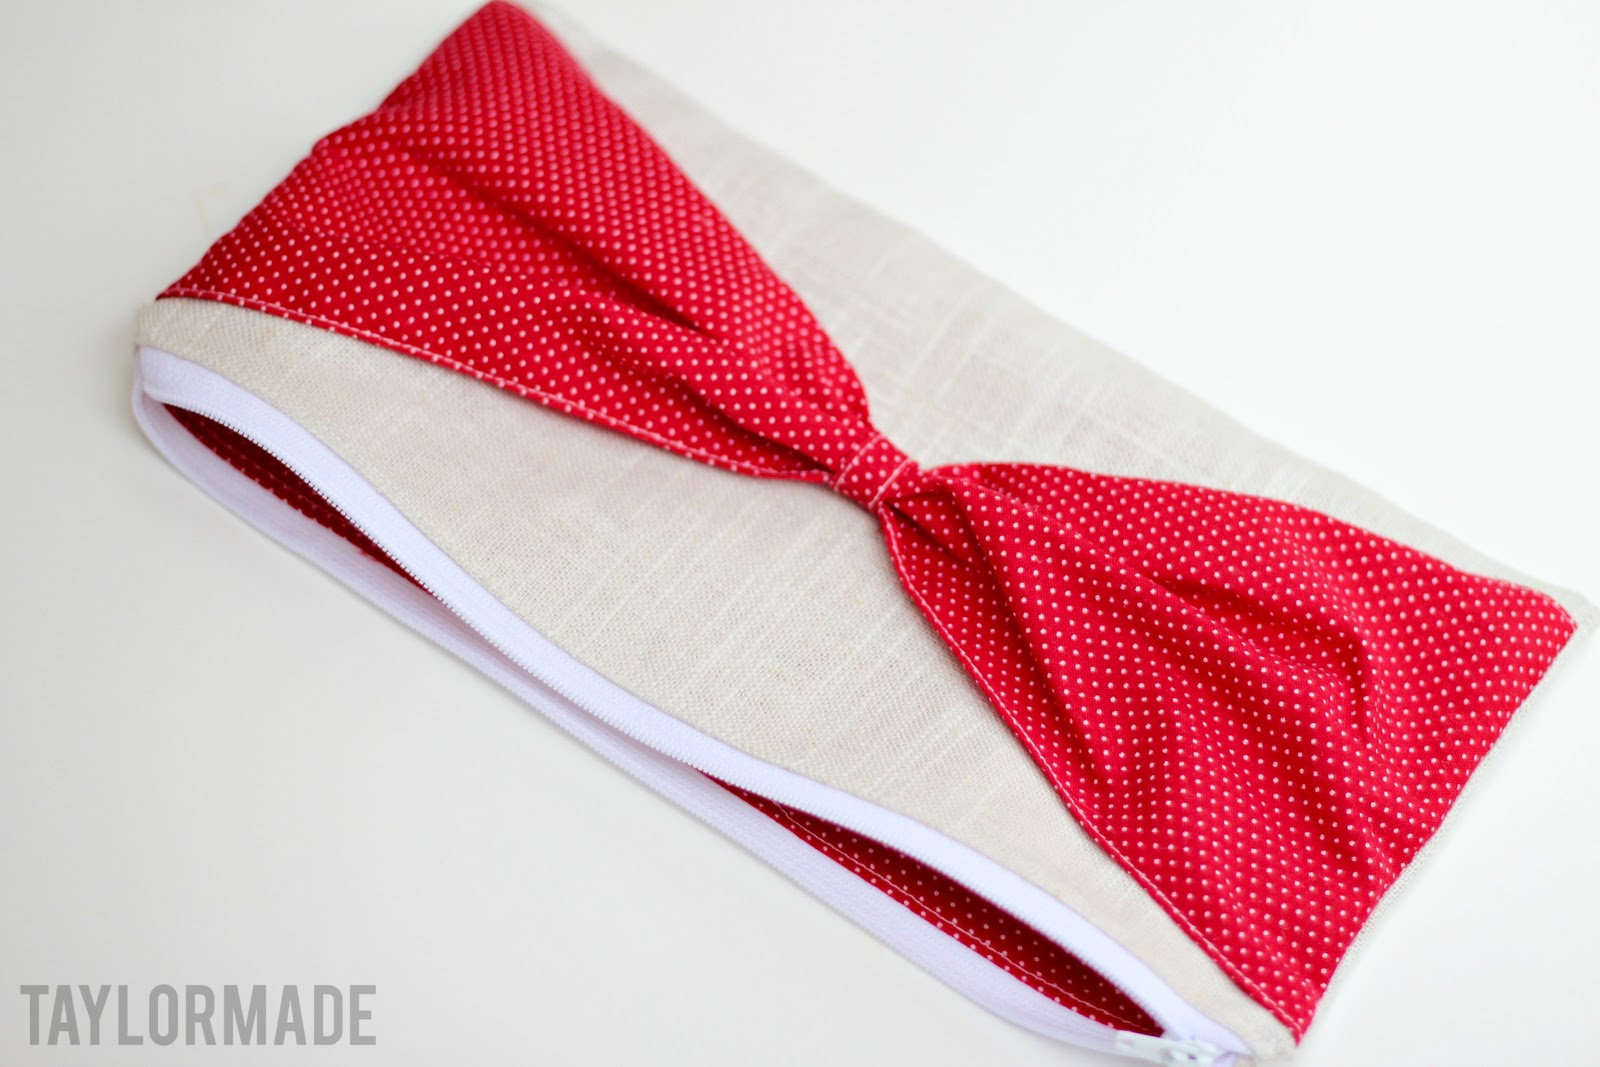
For my clutch, I used a different fabric for the bow and the lining and of course I used linen for the main part of the bag. I have a linen obsession.
I don’t have a full tutorial, but basically you make a standard clutch or zippered pouch for the unfancy and you cut an extra piece for the bow that is a little larger. I serged the edges and hemmed the edge of the bow. Then I made a little piece of bias tape for the center of the bow. Then, I just sandwiched the bow when I stacked the layers for the clutch. Cute with endless color options. I also added a label to the inside.
I think my colors are so festive- I made this for a gift exchange because what girl can’t use an extra clutch? Perfect for wearing or giving at a Holiday Party.