TaylorMade

DIY, Home Decor & Sewing

  • Home
  • SHOP
  • DIY & Sewing
    • For the Home
    • Sewing
    • Costumes and Holidays
    • Cricut Projects
    • Crafting
  • Parties
  • Recipes
  • Home Tour
  • Favorites
  • About

Halloween Crayon Bats

September 29, 2011 By Taylor 5 Comments

Are you in the Halloween spirit yet? Me either, could be because it is still in the high 90’s here in Texas. I usually look forward to October 1st because that is when I break out the Halloween Decor. I keep forgetting that is in one day…. It literally feels like the middle of summer :(
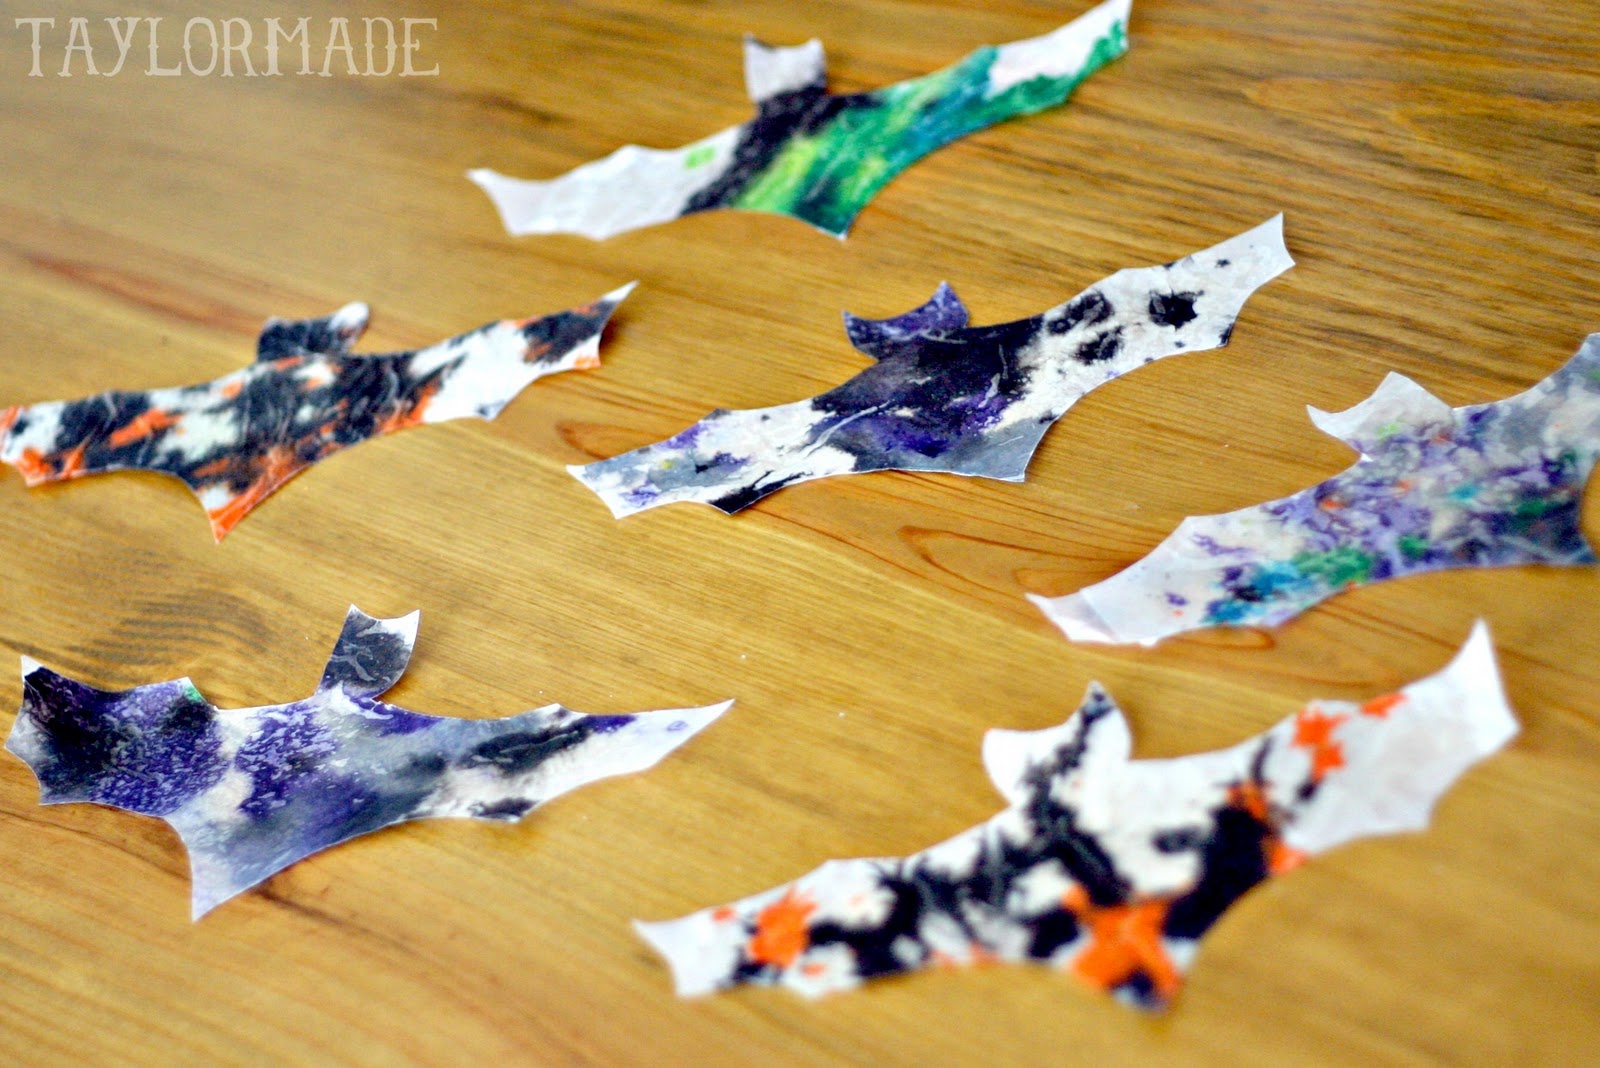
In hopes of feeling fall-ish, I turned to my trusty craft supplies. I remember doing this craft when I was little and making “stained glass”. Martha makes Valentines Hearts this way too. But today friends we are making Bats, or according to my 2 yr old son- “Batmans”. This is a great craft to do with the kids, actually- if my “active, just turned two, independent boy” can do it, then your dog can probably help you.
Supplies:
old crayons
wax paper
scissors
iron
paper towels
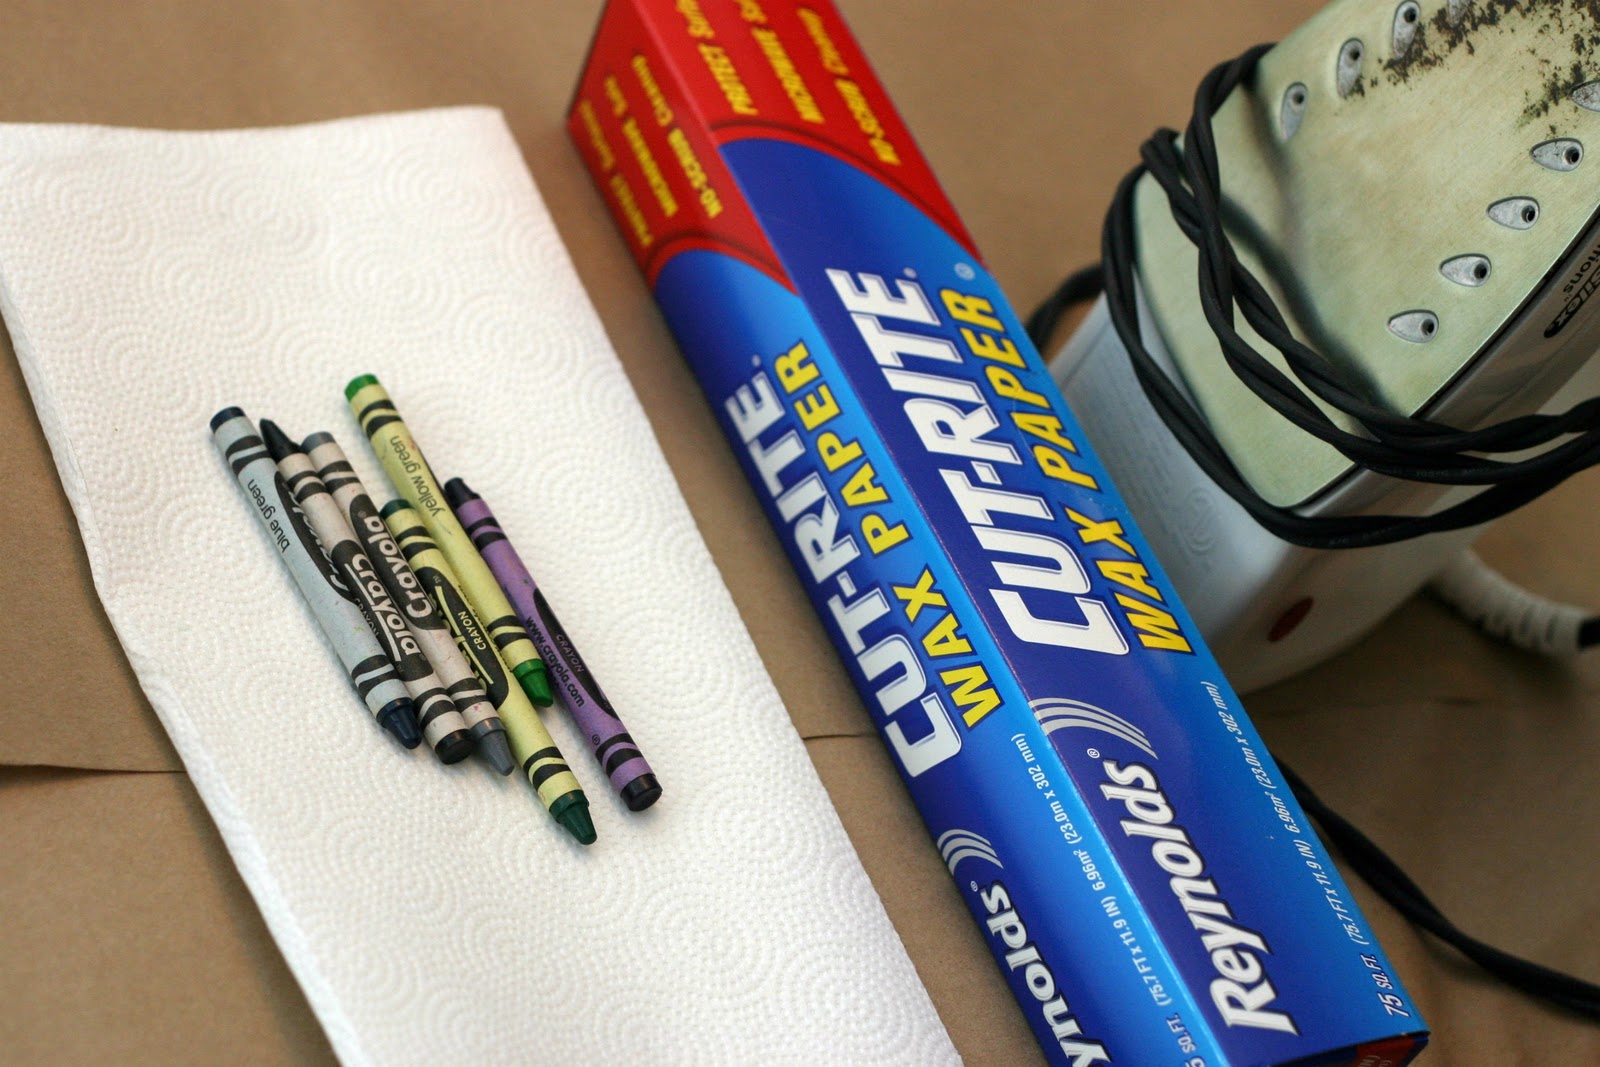
(I would like to tell you that this is just my craft iron and I have another one for clothes but this is just my craft iron… I don’t iron clothes for real life)
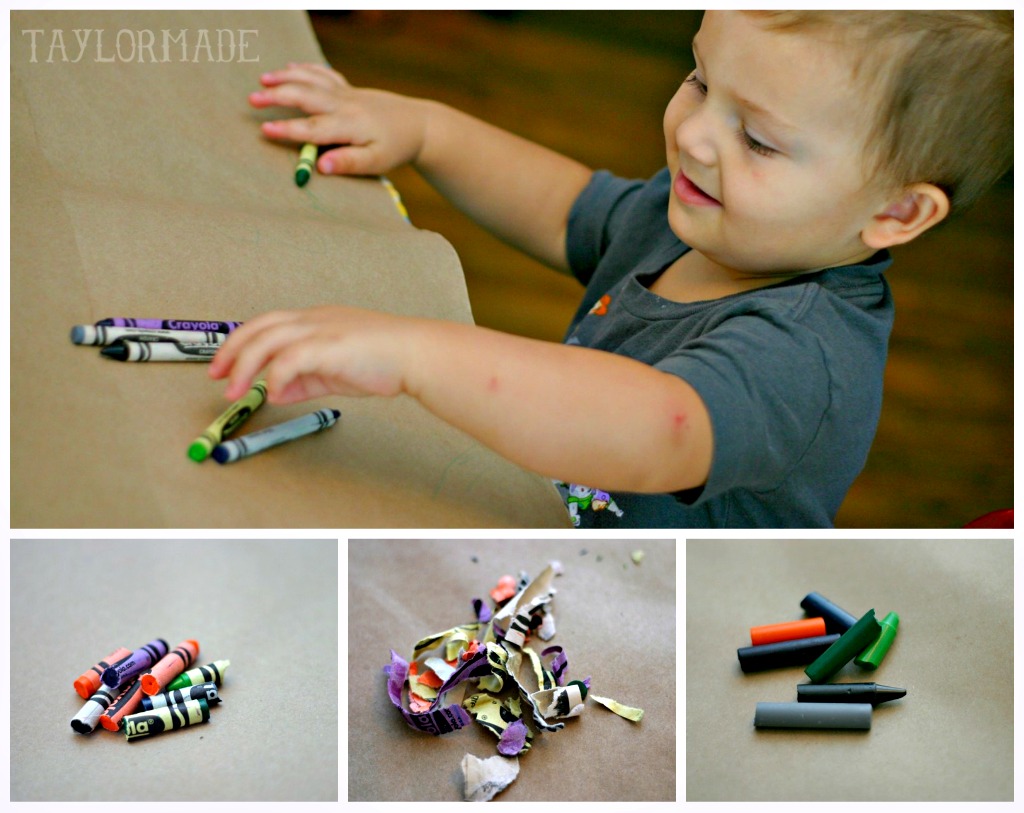
Break your crayons and remove the wrappers. This is the best job for kids, who doesn’t love to break stuff?
Use the scissors and make shavings from the crayons. Place the shavings on a piece of wax paper. Let the kids arrange the shavings and pick the colors. Then cover it with another piece of wax paper.
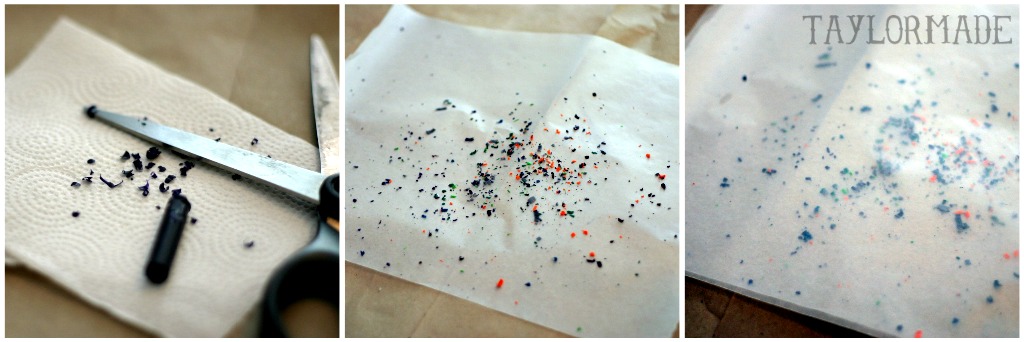
Make sure to use 2-3 paper towels under the wax paper and over it. The shavings kind of seeped through and I wouldn’t want your iron to look like mine. Melt the crayons for a few seconds.

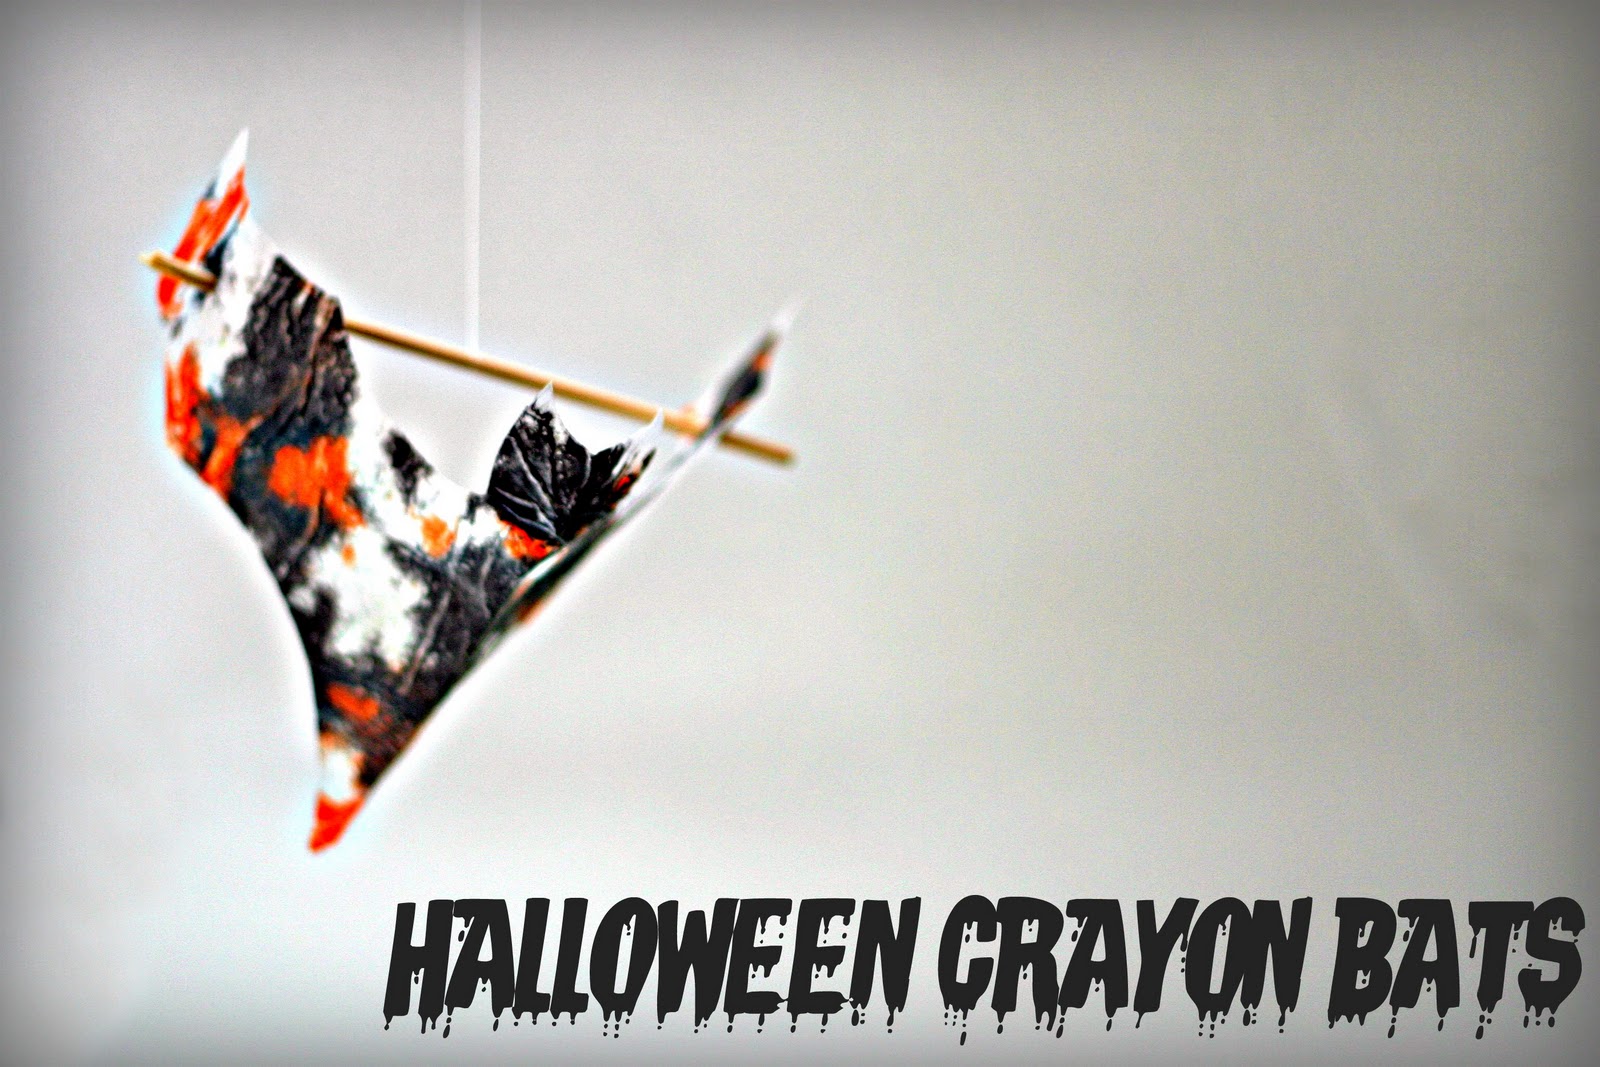
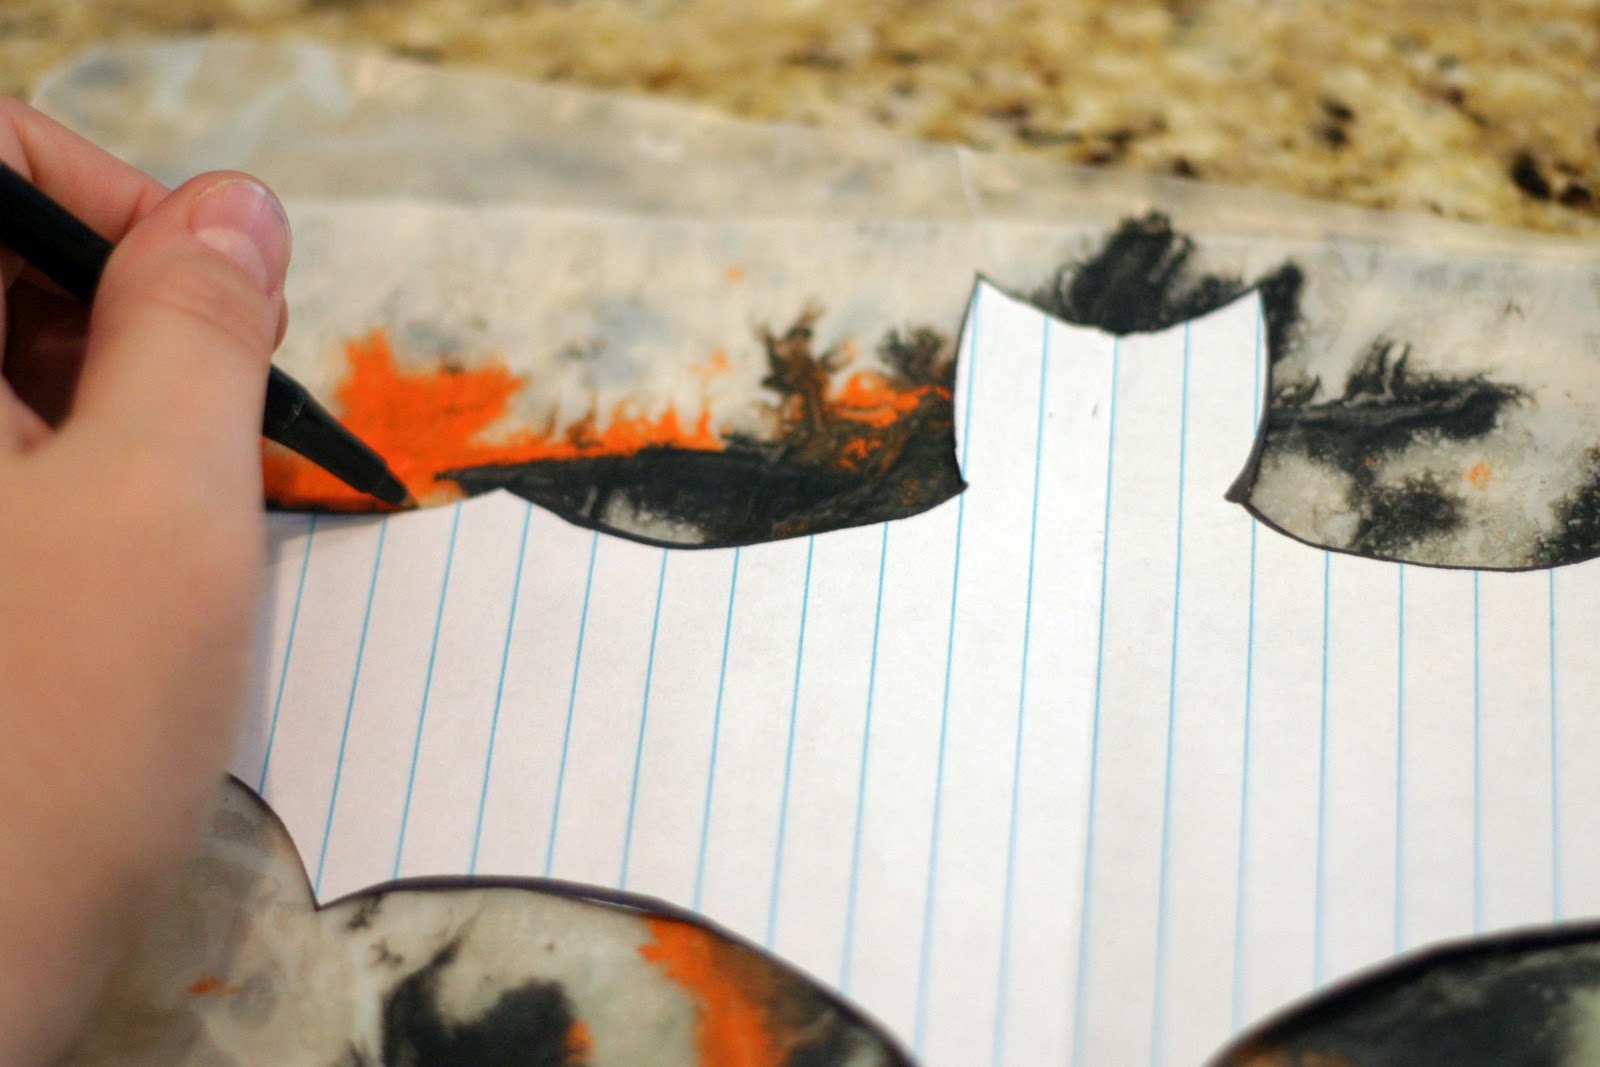
Here is what we came up with:
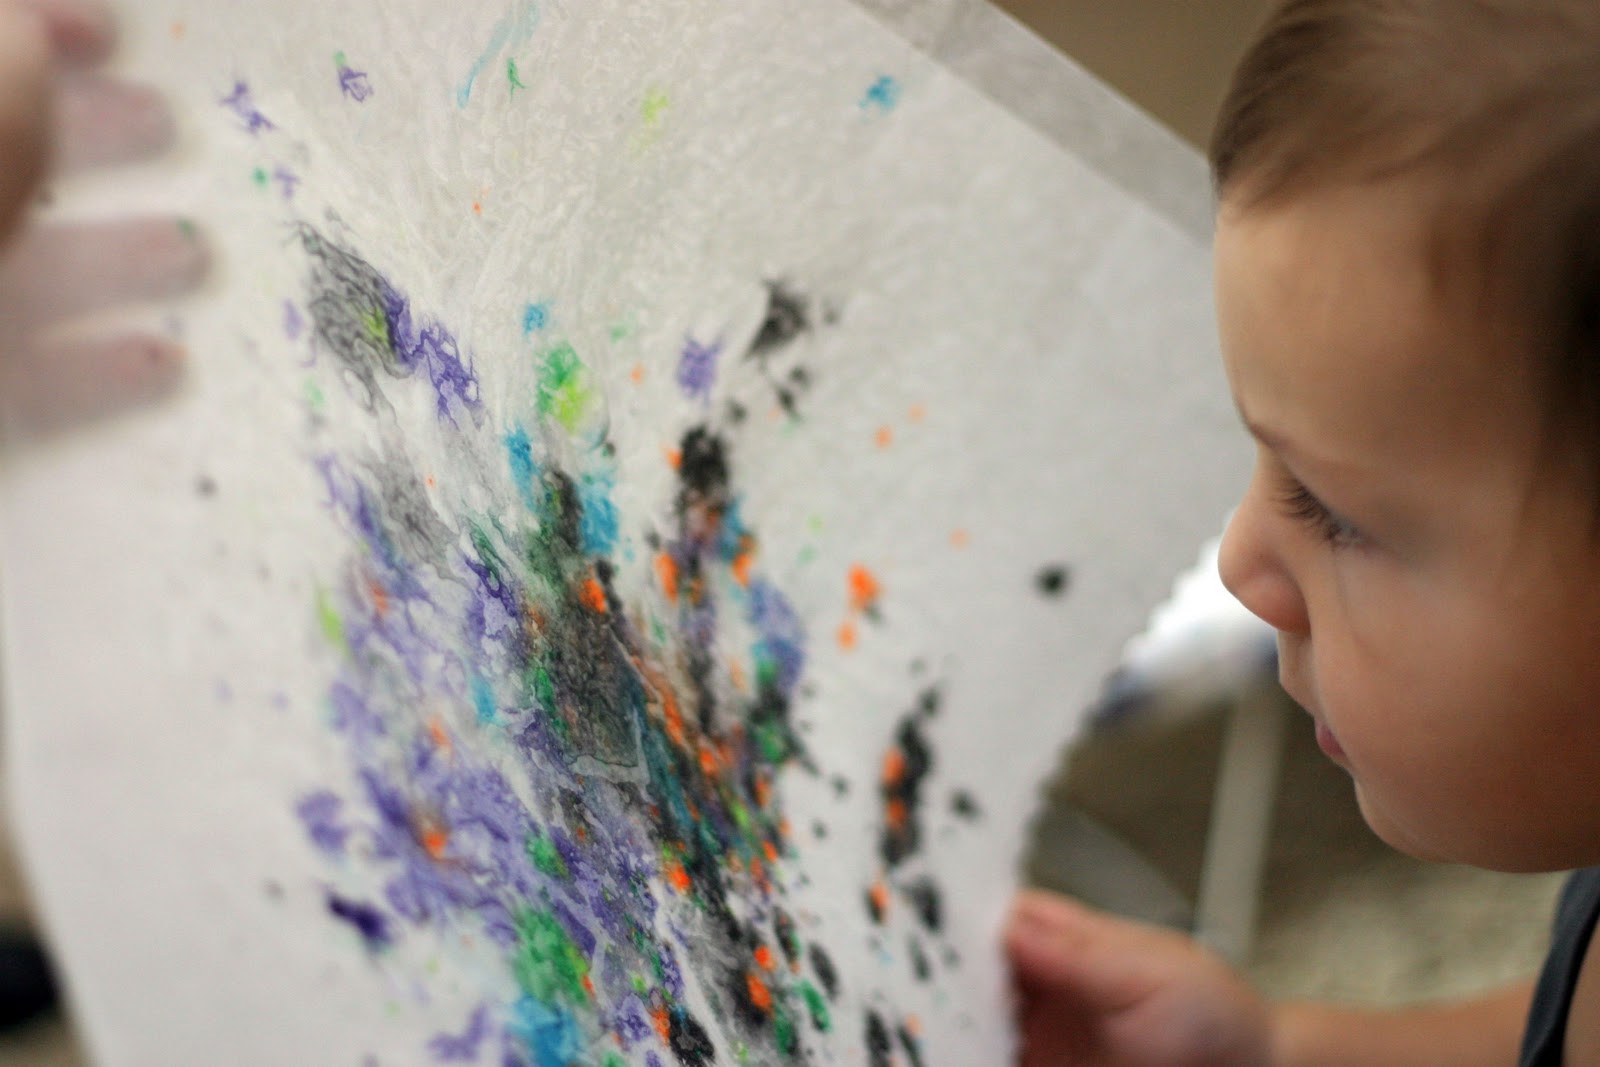
Use the Taylor Made Bat Template found HERE and cut out a few bats from the paper.
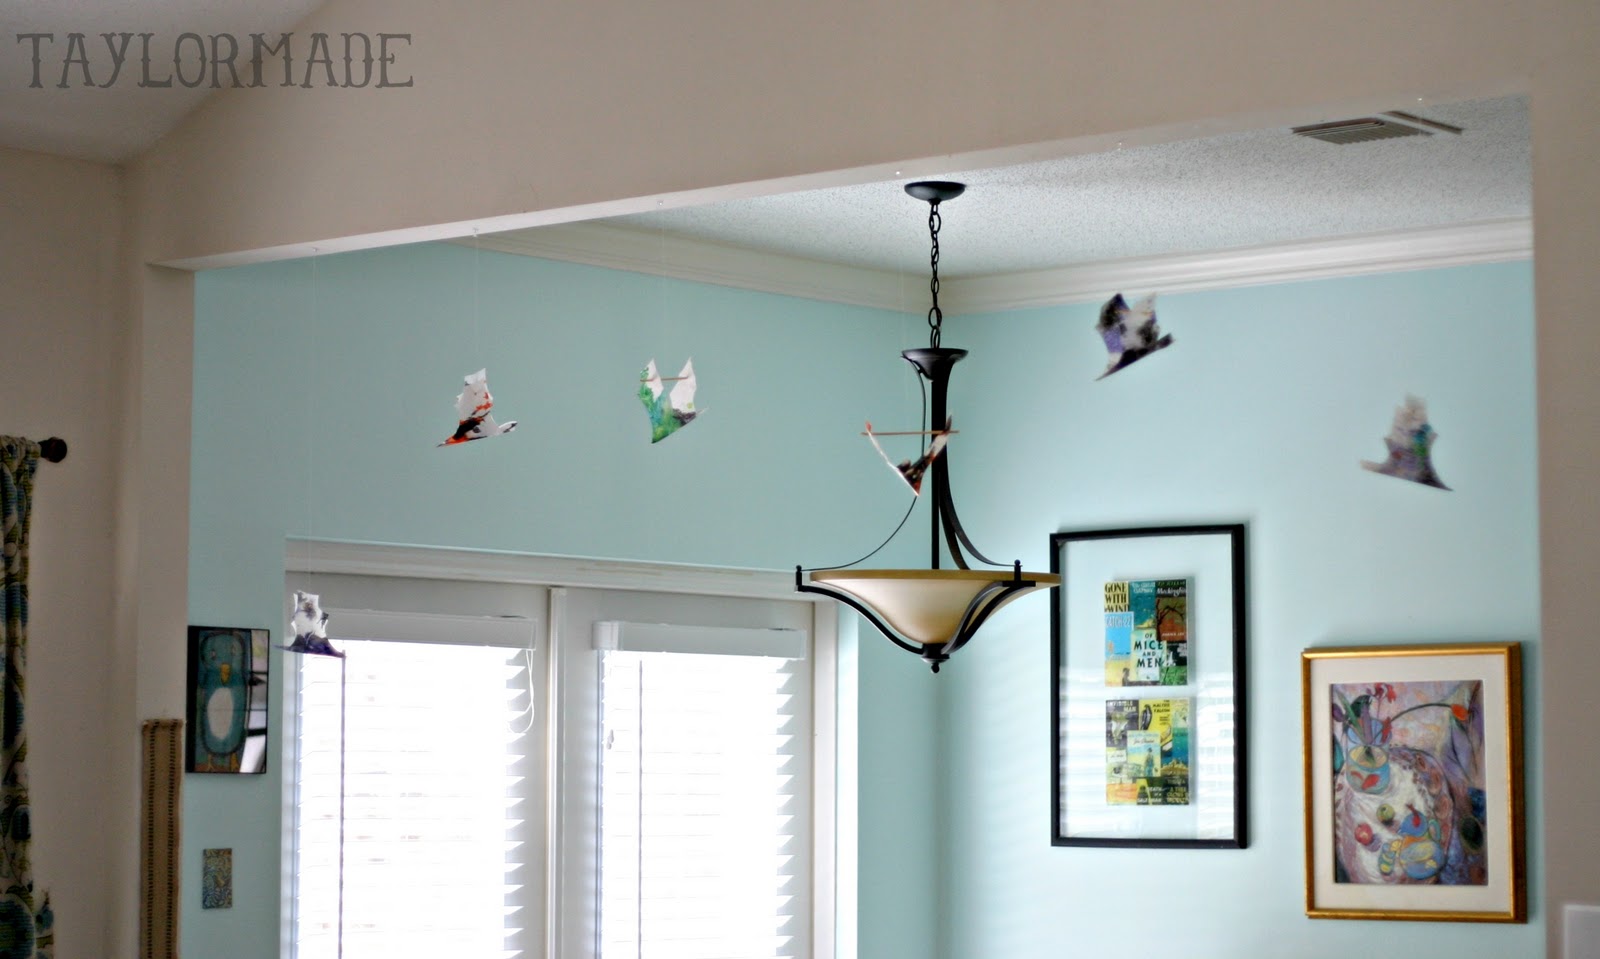
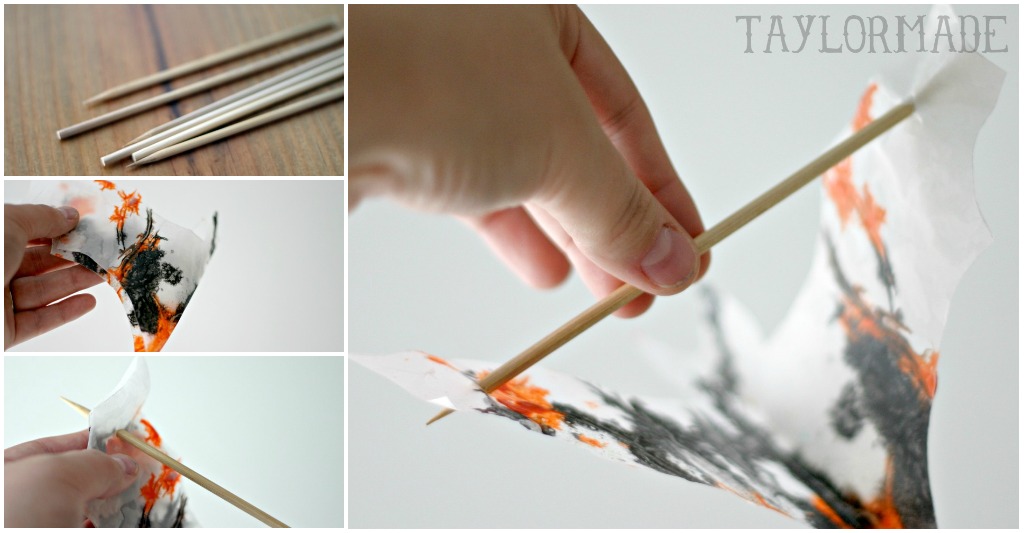
You can hang them as is or make them fly. Use Bamboo skewers, fold the bat in half down the middle, then push the skewer through the ends of the wings.
Use thread or fishing line to hang them.
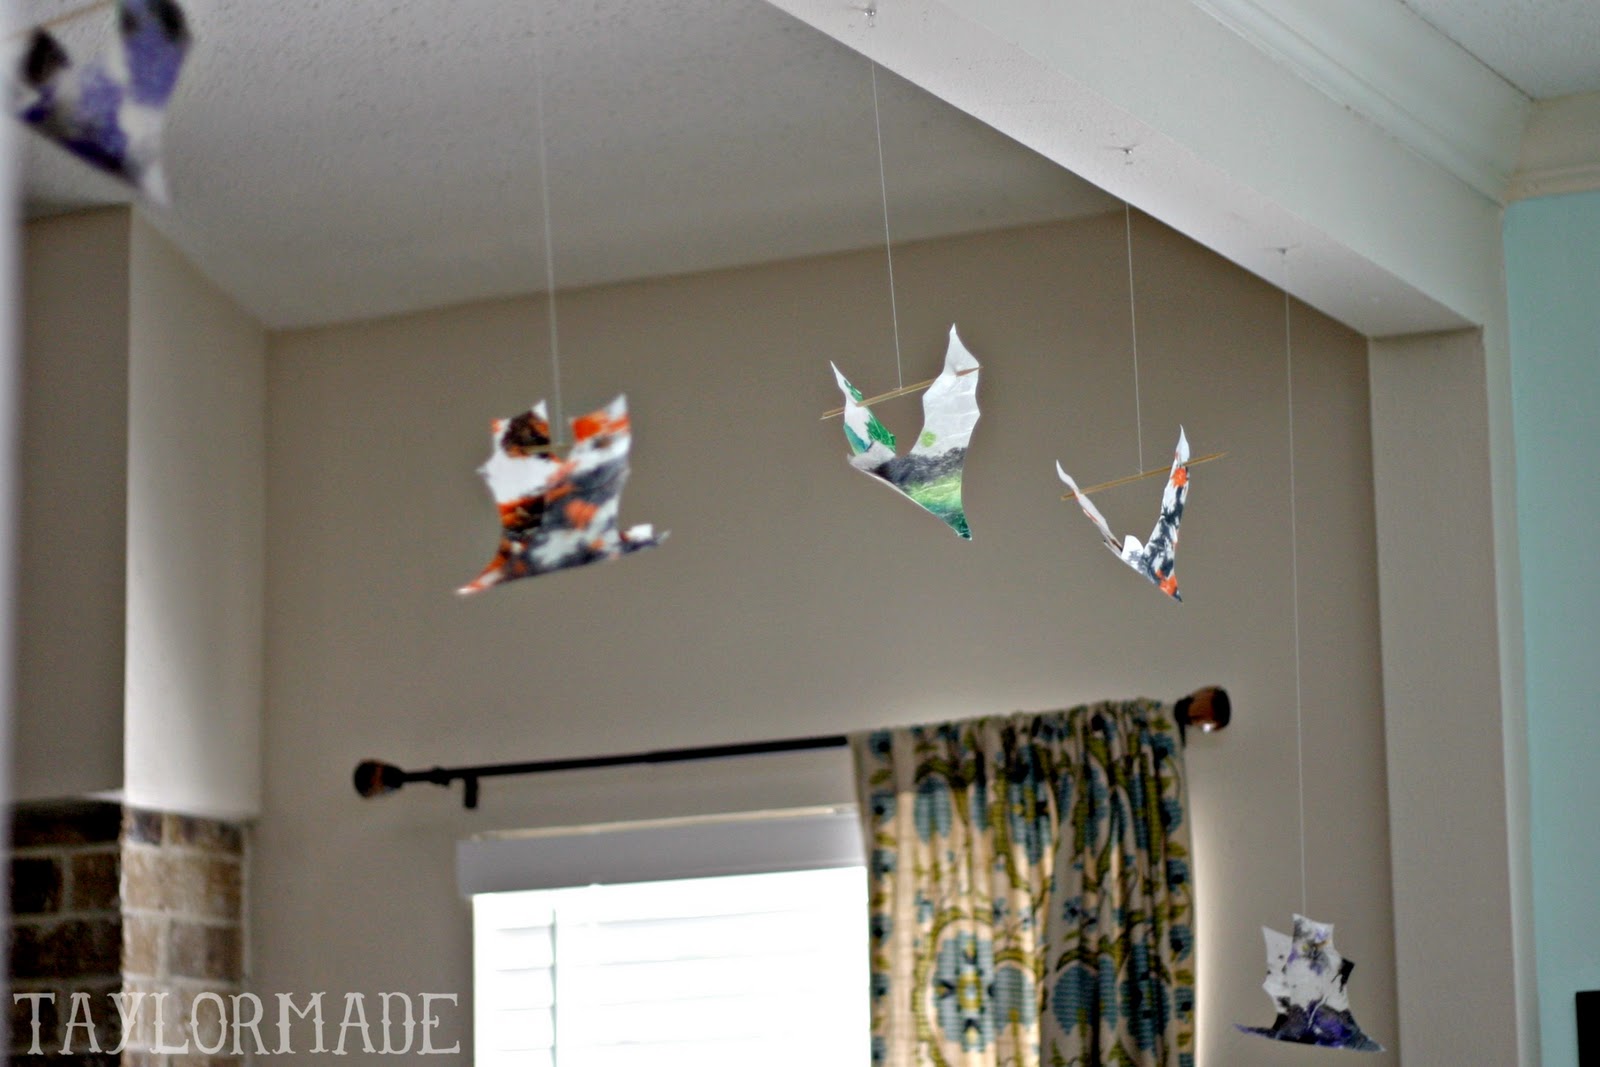
Spooky Batman. Have you decorated for Halloween yet? And please give me some fall-ish details :)

Pin It

Filed Under: craft, crafts with kids, halloween, holidays, kid stuff Tagged With: holidays

Father’s Day Tree Art

June 17, 2011 By Taylor 5 Comments

This year I thought the boys could help me make Bryan’s Fathers Day gift. That thought might have been a little premature considering my boys are 4 months and almost 2 years old. This project didn’t turn out exactly as I had planned in my head, but they boys were actually involved so that’s even better right :) Aren’t the little hand prints so cute?
I saw this cute picture on Pinterest a few weeks ago. Then, I drilled down to where it came from and it was an Etsy Shop called Personalized Prints. She has some really cute stuff (love the wedding fingerprint tree). Her example was for a bare tree and you add your kids hand prints for the leaves. She must not have a two year old boy because this is not what happened to me. I couldn’t even take a picture of it because the picture’s life was on the line and I had to act quickly to save it.
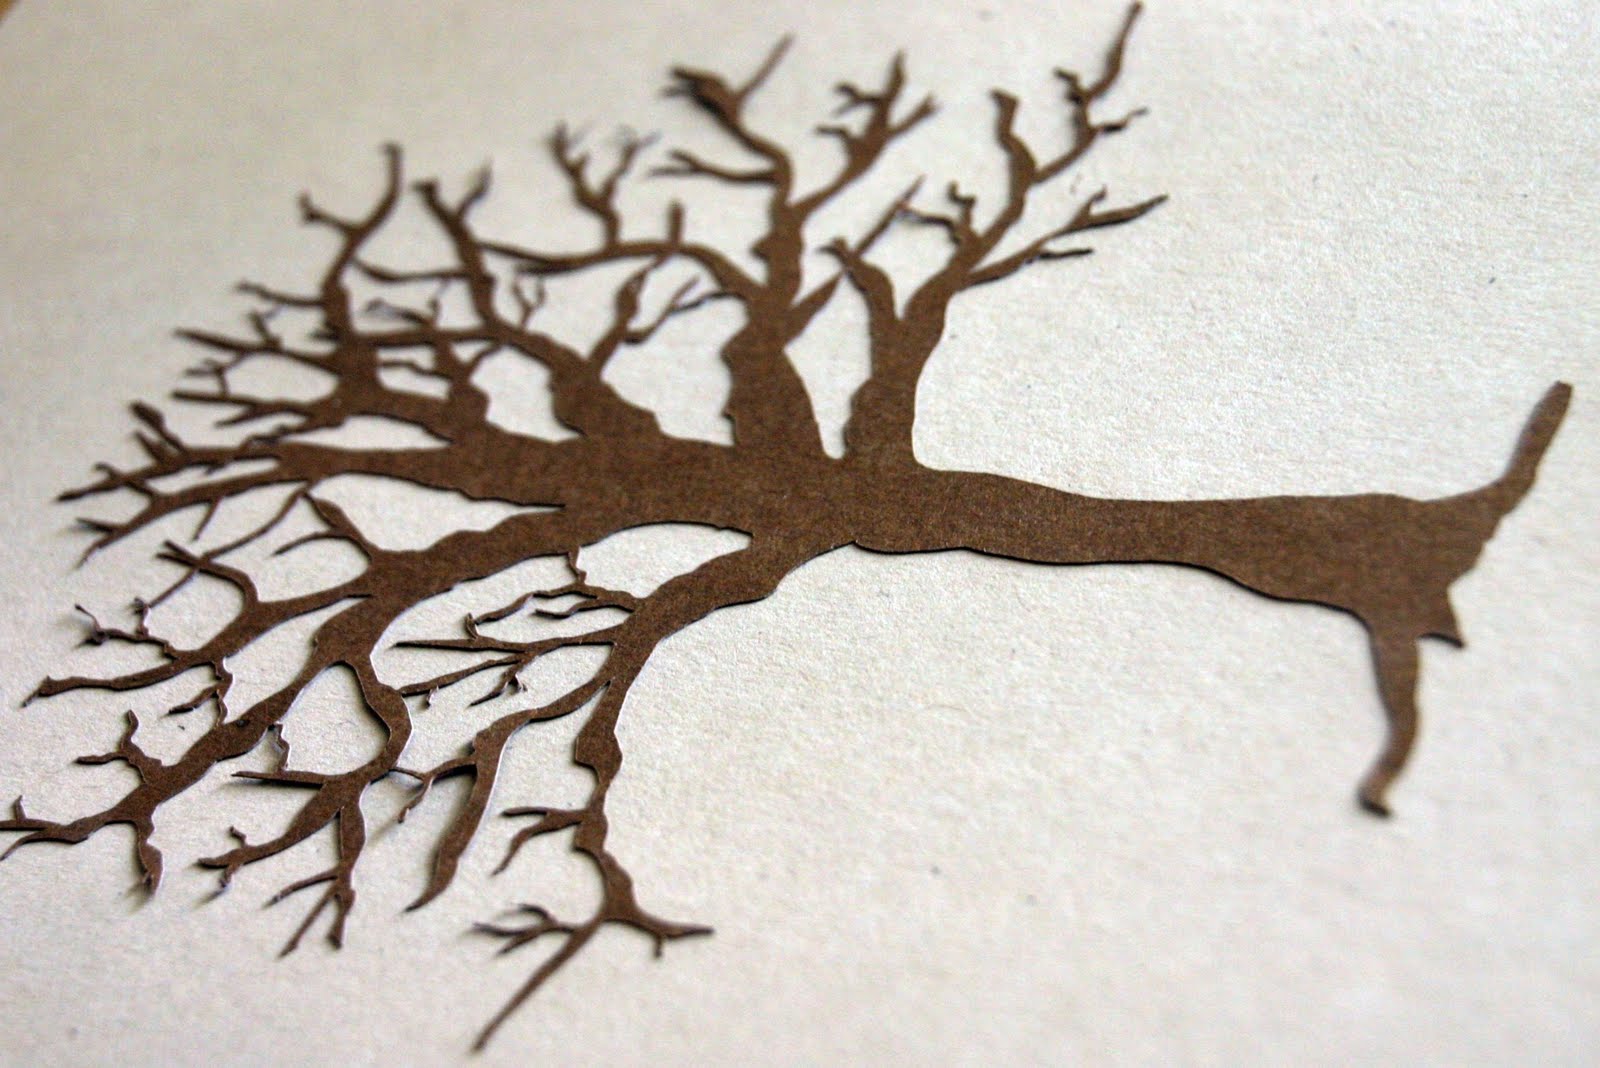
I cut the tree and letters out from my Silhouette. Use tweezers for the thin paper branches and tiny letters.
I placed everything backward on a piece of scrap paper and used spray adhesive to stick the letters and tree to the paper.
Stick the tree and letters to the page. Love those pudgy little hands! He even helped me with the letters.
Six very messy hands (mine included) and a few hours later, here is what we came up with…
My “2001” had a little fight with Clyde and Clyde won, so I added a thumbprint heart and wrote the year in the corner.
I used a 13″x10″ frame and used white paper behind our painting.
Happy Father’s Day to all of the daddy’s out there.

Filed Under: craft, gift, holidays, paint, paper, Silhouette, tutorial Tagged With: crafting

Little Boy Shorts

April 26, 2011 By Taylor 17 Comments

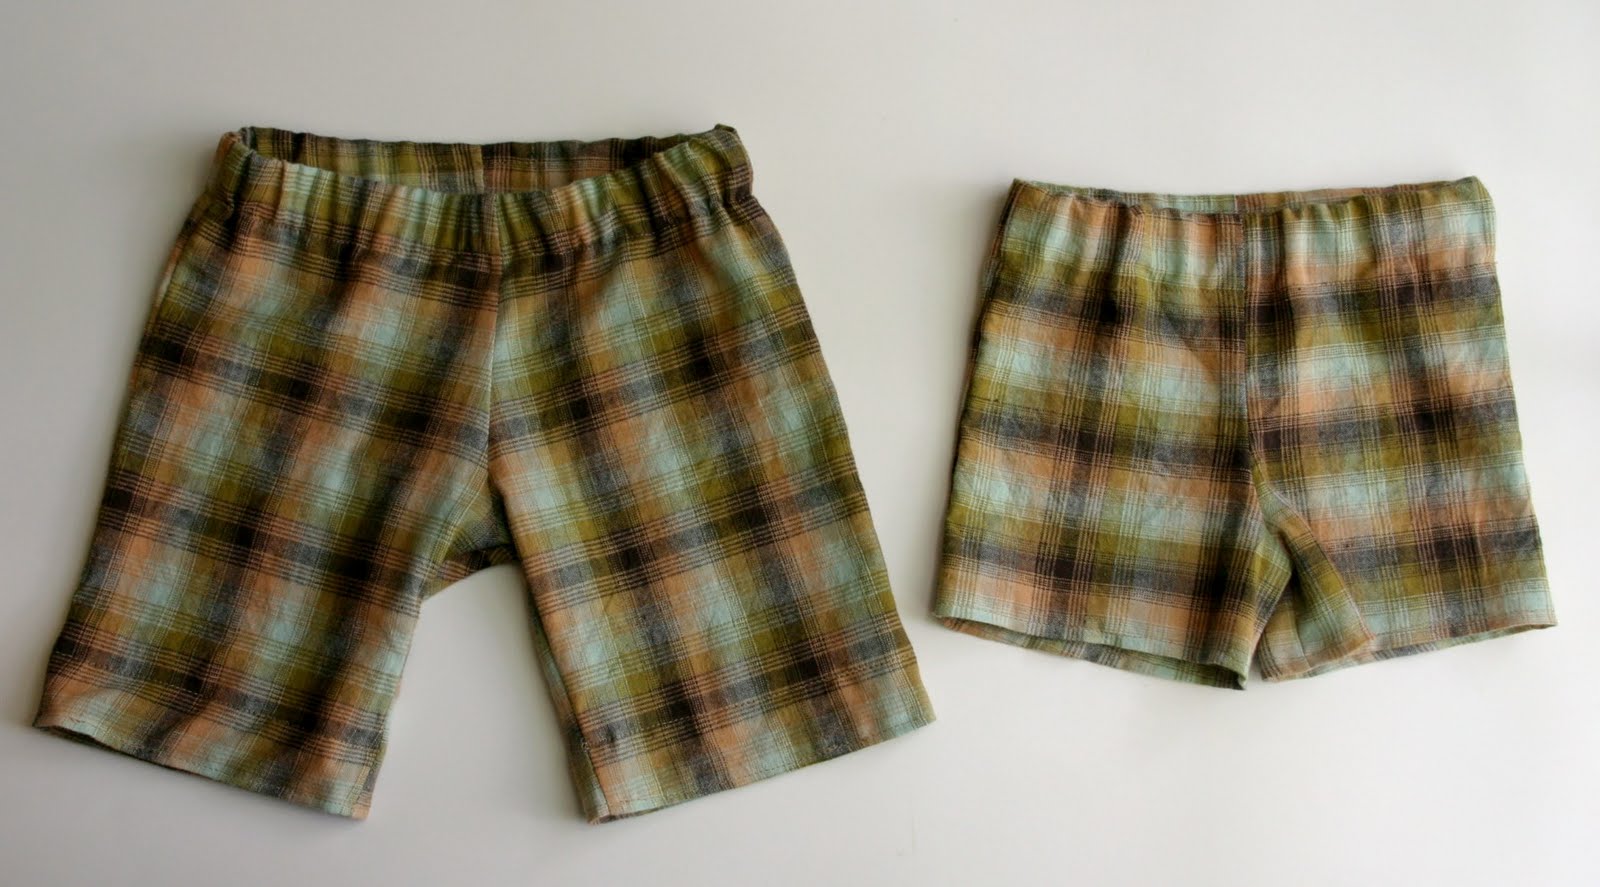
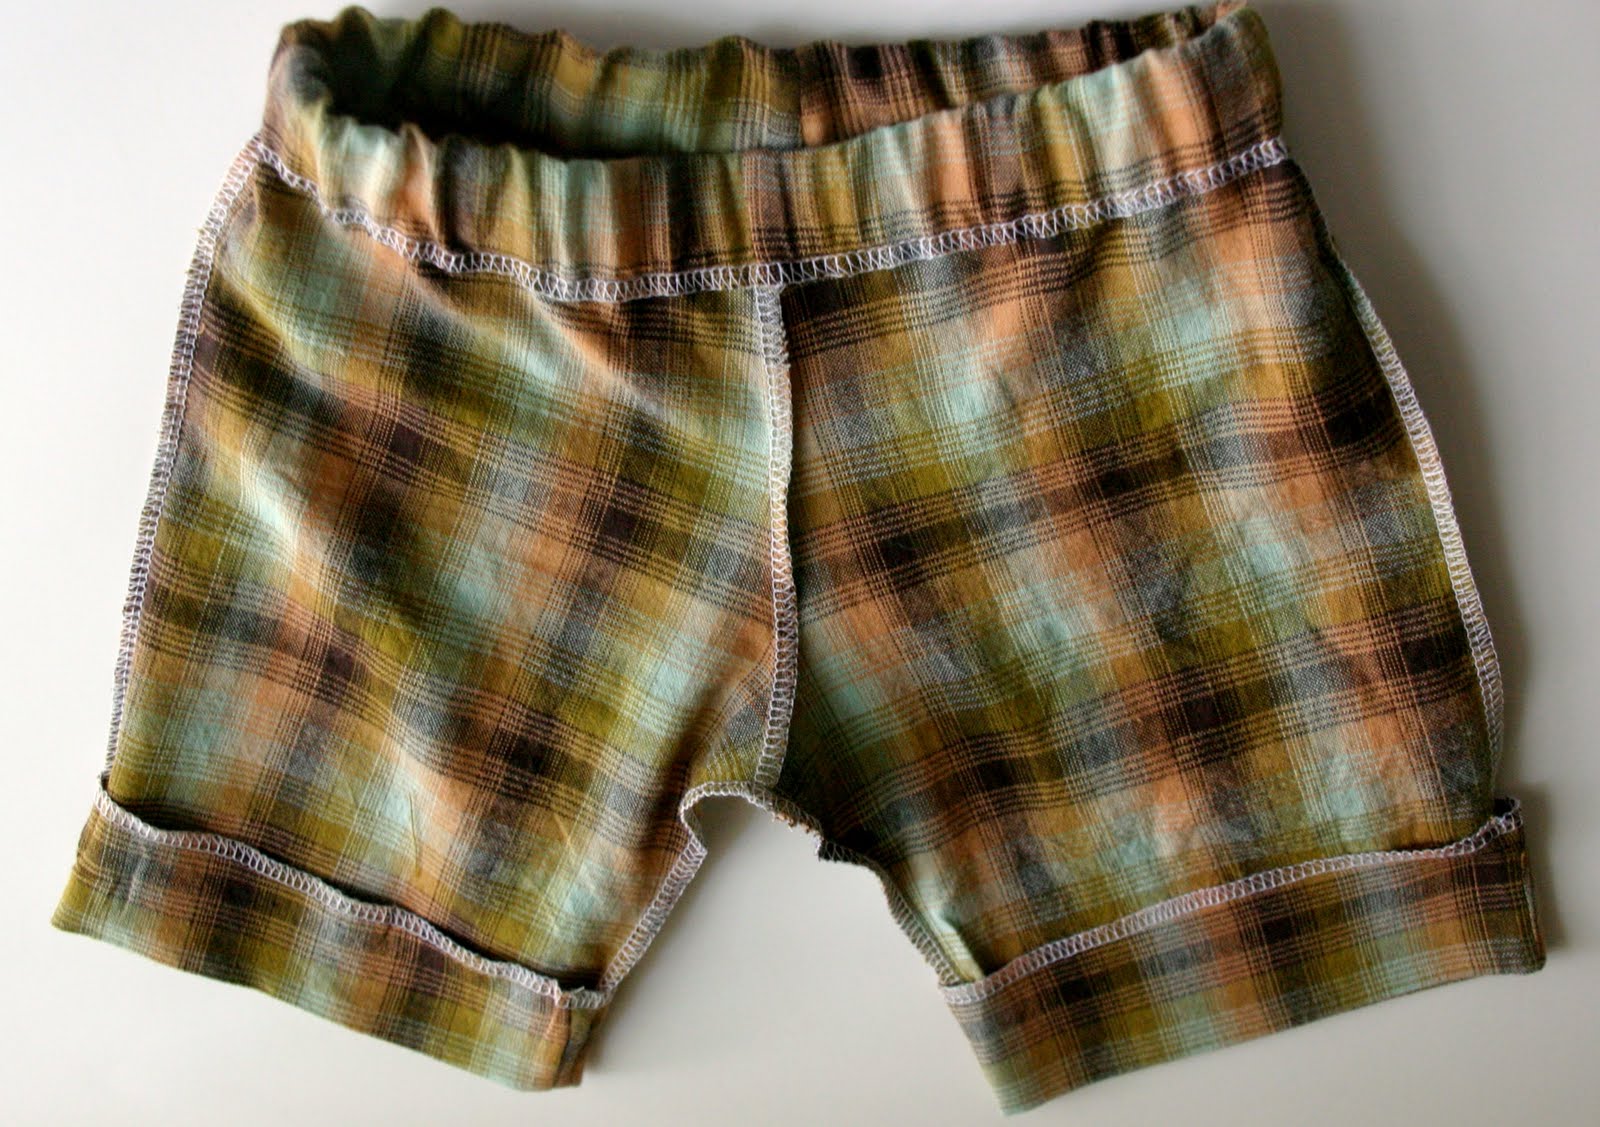
This year I had the bright idea that I would dress my boys in matching shorts for Easter. I mean how much longer are two boys going to let me do this, right (but really how much longer)? So, I found some adorable plaid fabric and decided to make them some Little Boy Shorts. I know that the best way to make a pattern is to take another article of clothing apart and trace the pieces, so that is just what I did. Add length to the top (about 1.5″) and the the bottom of the shorts (about 3″) My sons wear 2T and 6mo.

Supplies:
1/2 yd fabric
1/2” elastic
white paper for pattern
safety pin & sewing pins

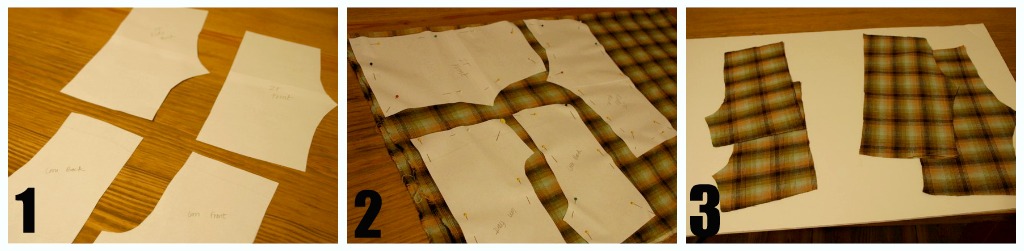
1 – Trace an old pair of shorts onto a piece of paper
2 – Pin the pattern pieces to your fabric
3 – Cut the new pieces out

This is the first pair of shorts I have made for the boys and I kind of just sat there after this step. I had a million ideas for the order of construction but because I was making these the night before Easter (oops) I didn’t have time for that. I remembered that one of my favorite blogs MADE has a tutorial for a Basic Kids Pants and thought it had to be pretty similar. So thanks MADE!
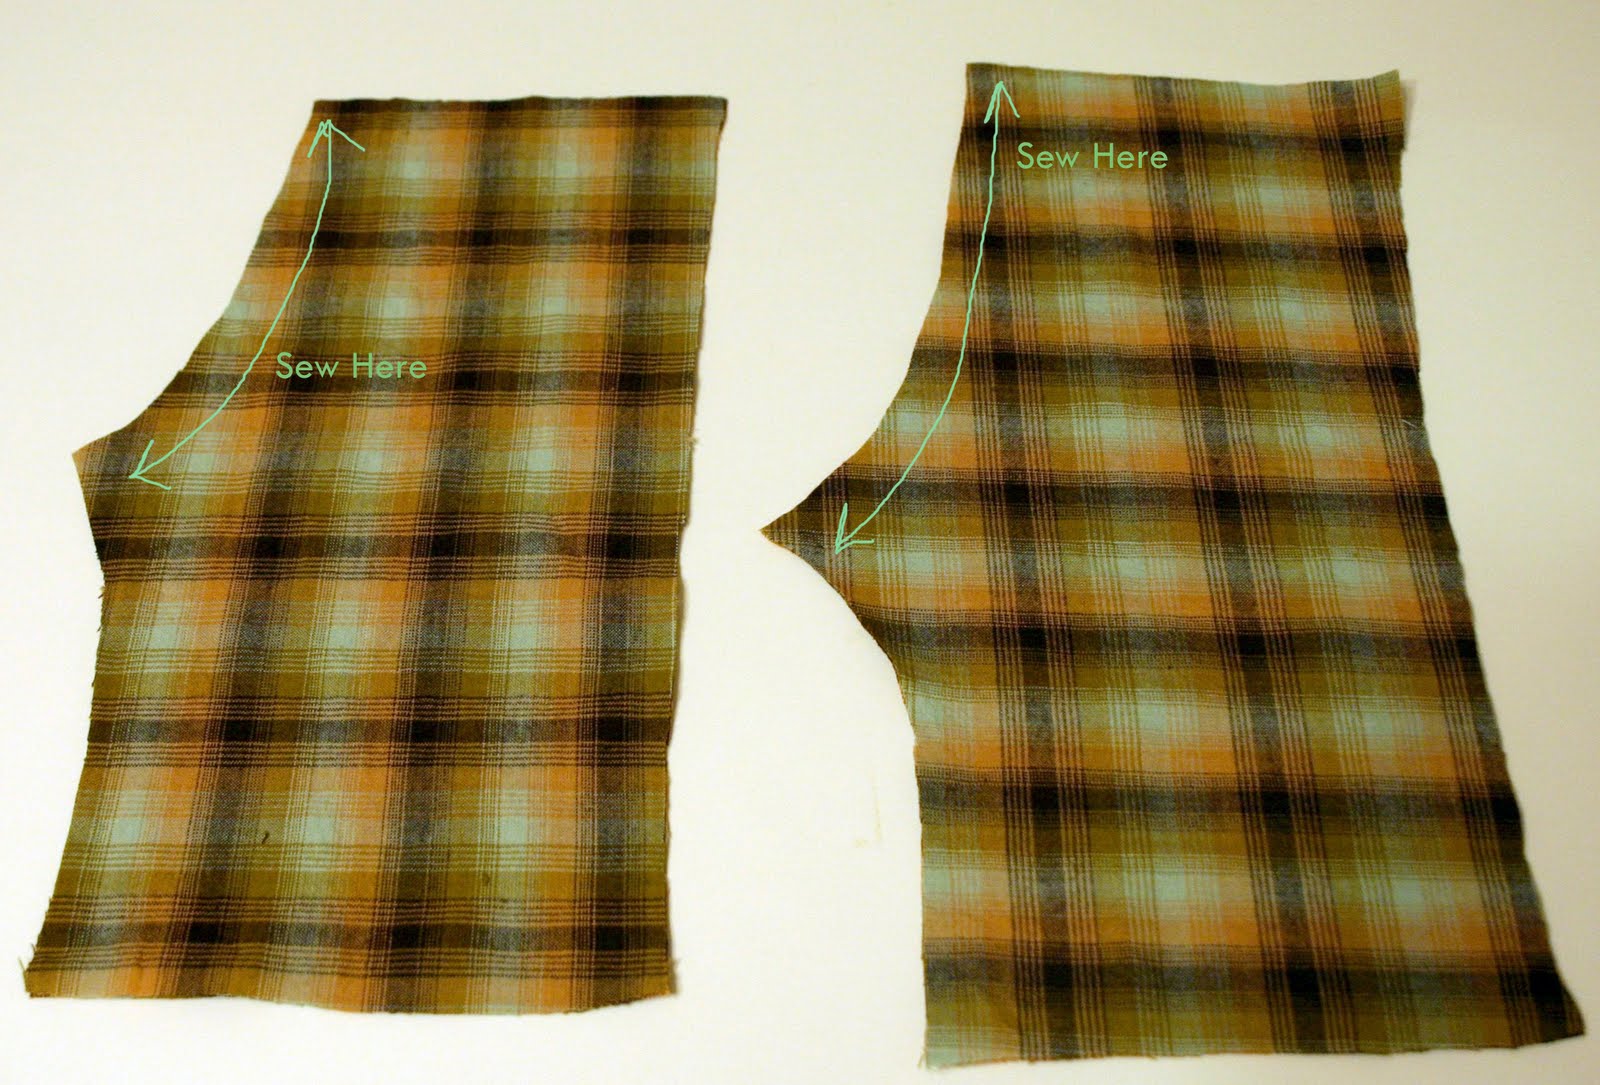
She says the easiest thing (which totally makes sense) is to sew up the crotch of the pants first because they are already together. If you have a fabric with a right and wrong side, flip your fabric before sewing.
After every step, serge the seam if you have a serger and press with your iron for a more professional look.
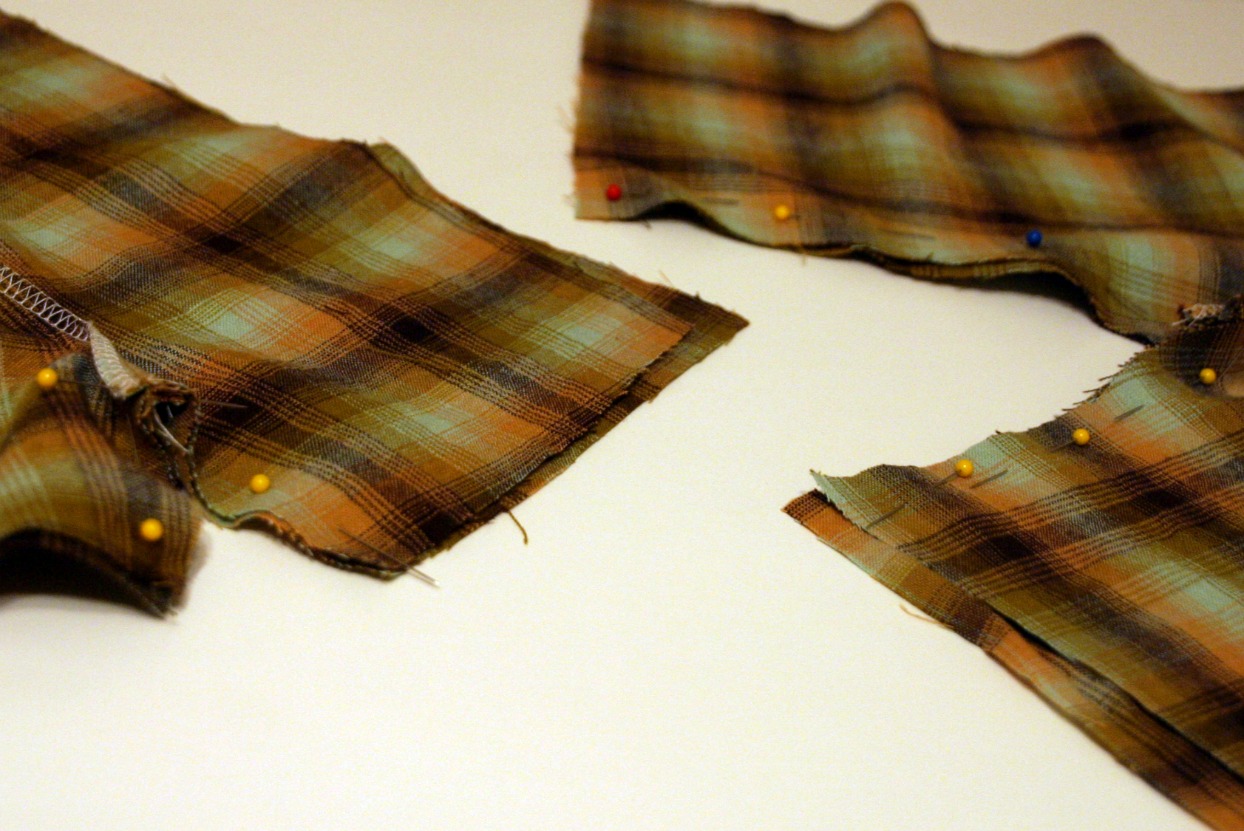
Next, pin and sew the inseam together. Then again,serge the seam and press it down.
Next, pin and sew the legs together. Serge that seam as well.
Next, I serged around the top of the pants and the bottoms of the legs because I had to try them on the boys and I didn’t want them to fray. Dana (from MADE) said that the front of the pants will be lower than the back, which is something I had never noticed. She said it will make for a more comfortable fit, so on the 6mo shorts, I actually just cut a little dip after I took this picture.
Next, we will add the elastic. Measure your little boy’s waist and add one inch. For example my oldest son’s waist is 18.5″ so I cut my elastic to 19.5″. Fold down the top of the pants with about 1/4″ overlap and use the elastic as your guide as you pin. Leave an opening of about 1″ and take the elastic out. Sew to top of the shorts closed but remember to leave that 1″ opening to put the elastic back in.
Now insert the elastic using a safety pin. Make sure it is flat all the way around. The elastic will be shorter in length that the shorts. Scrunch the shorts up, pull the elastic out a little and sew the elastic together. I used a zig-zag stitch in 2 places to make sure the elastic stays together.
Lastly, turn the shorts inside out and sew the bottom of the shorts. I sewed in two places. On the top of the serged line and on the bottom right next to the seam.
I added my fabric labels to the back.
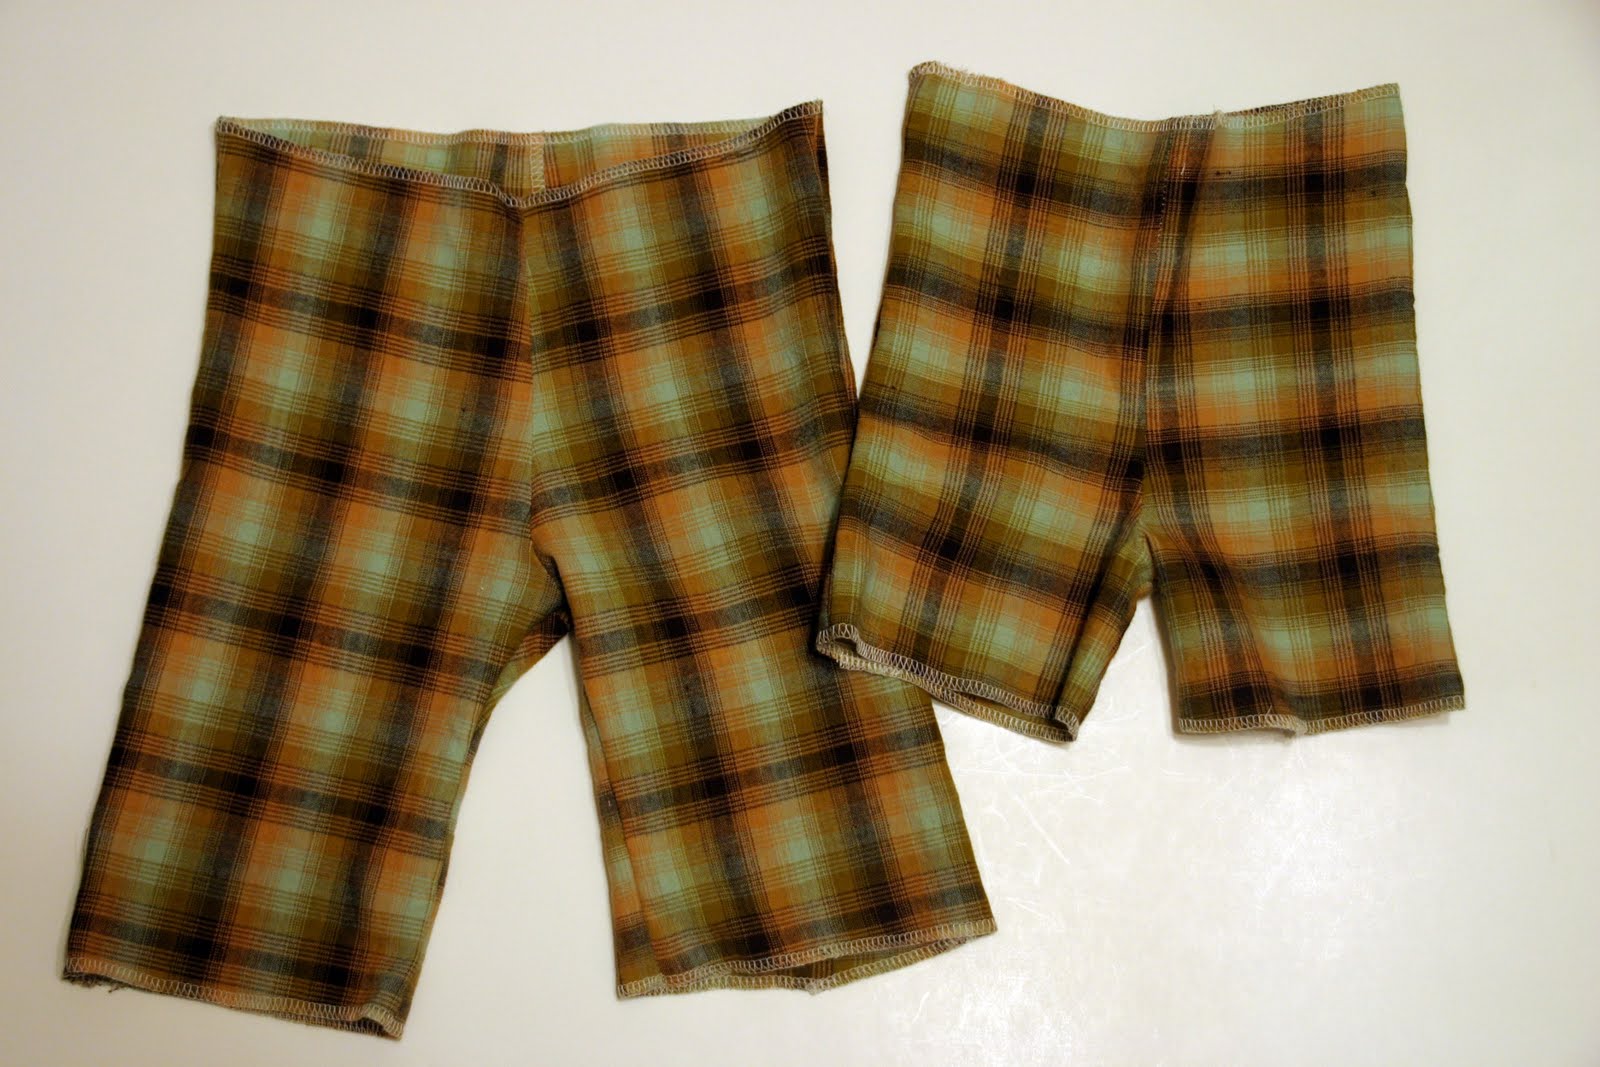
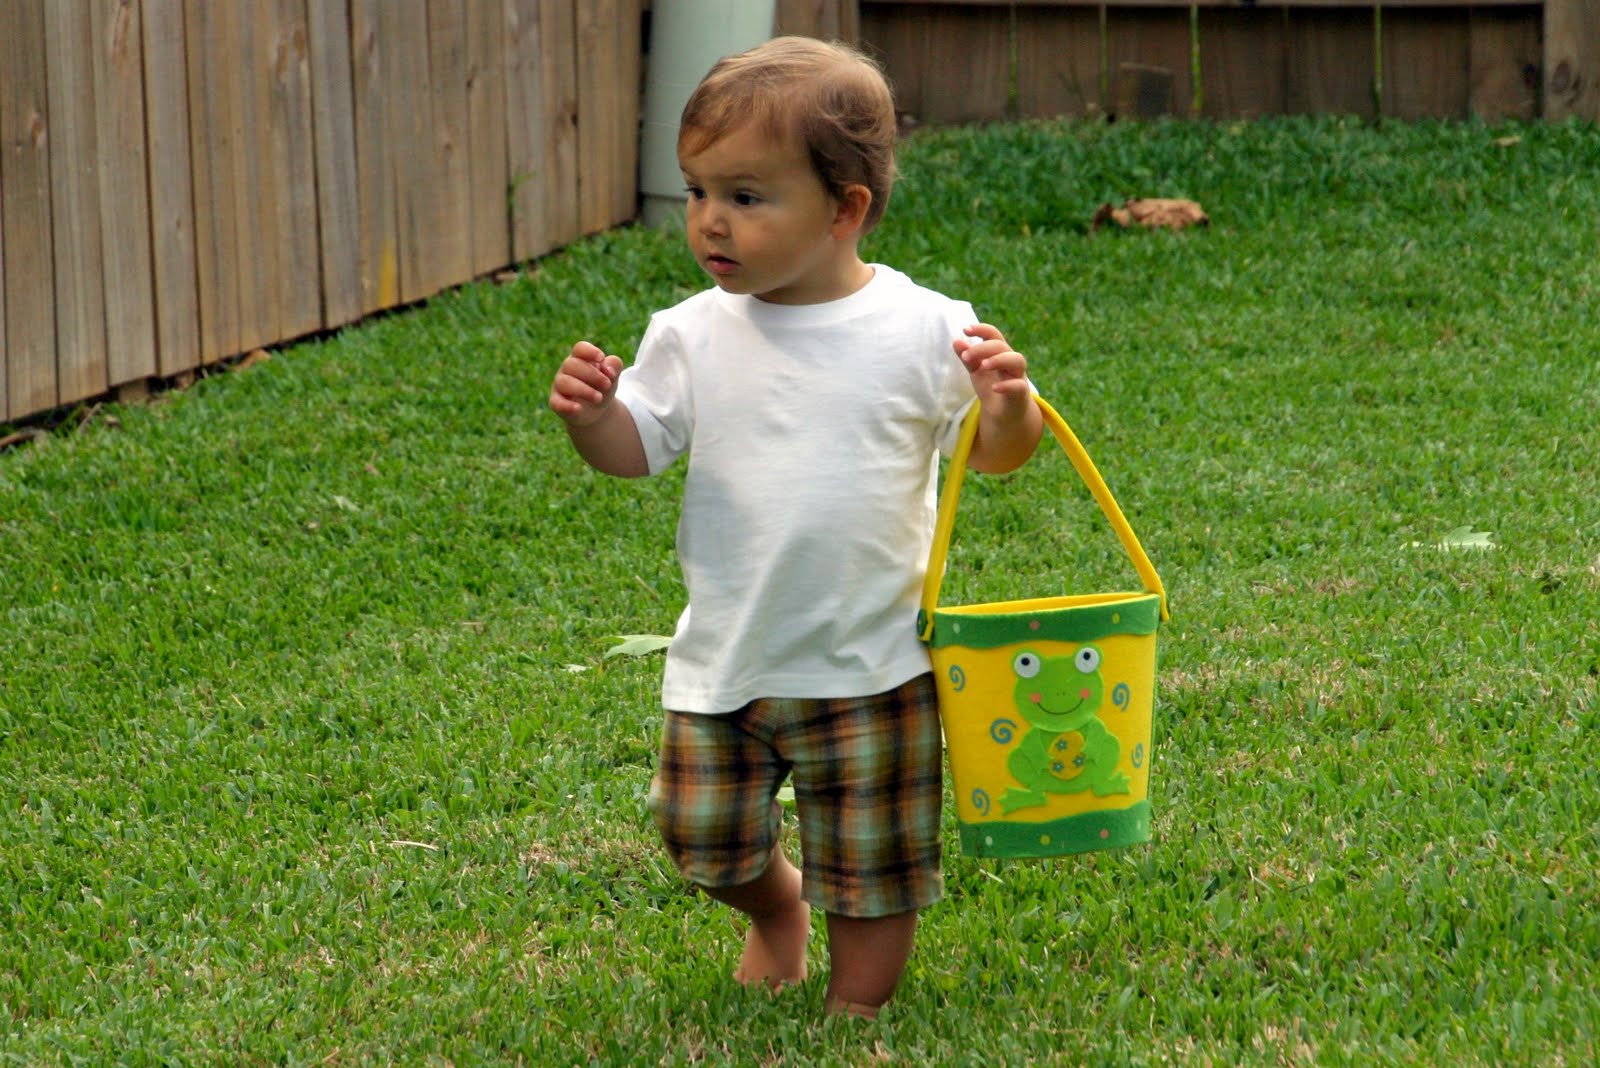
Look at these sweet boys in their matching Little Boy Shorts.
Perfect for Egg Hunting
Stay tuned next week for an exciting project because I am a contestant on Season 3 of One Month to Win it! Woo Hoo!

Filed Under: baby stuff, clothes, fabric, holidays, kid stuff, serger, sewing, tutorial Tagged With: kids

Christmas Calendar

December 2, 2010 By Taylor 2 Comments

My calendar that is!! Aaaand I made it by December 1st. This is exciting because it only took 4 weeks, geez I didn’t think all of those little ornaments would take so long. I am so happy with the finished product and I know “the kids” will love it when they get older. I didn’t take a picture of the tree with ornaments on it because I want to be surprised :)

 
 
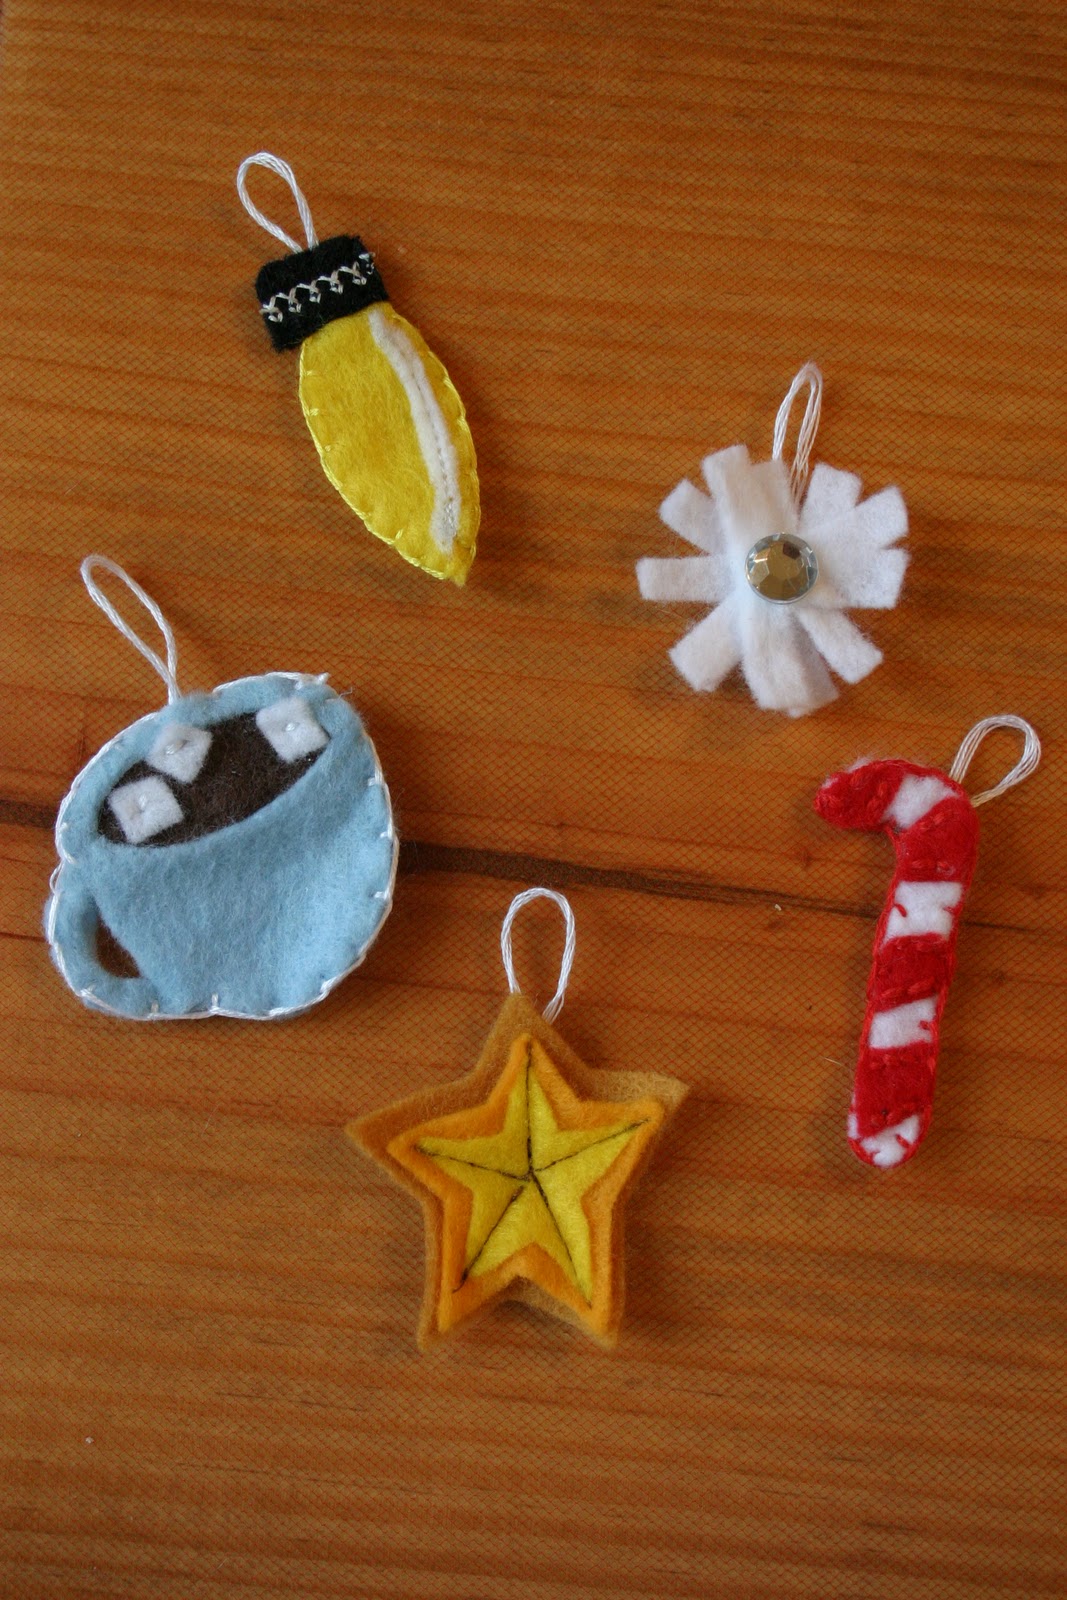
Here are the remaining ornaments I made; I don’t love the presents but I wanted something hanging from under the tree.
 
 
I made an ornament to “represent” everyone in my family; Bryan got a t-bone steak, Finn of course got a ball and I got 2 because I made the calendar he-he
 
 
My Mom is the acorn, my sister is the diamond, and my dad is the football, also the heart is a replica of the tattoo on my foot!
 
 
I loved Katie’s hot cocoa from her blog so I had to make my own. The star is the tree topper.
 
 
For some reason, this one is my favorite so it got its own picture.
 
 
And there you have it, my finished Advent Calendar that we will have forever! Look at all the little “surprises” in their squares… Happy December!
 
 
Related Posts Plugin for WordPress, Blogger...

Filed Under: Christmas, craft, felt, holidays Tagged With: holidays

  • « Previous Page
  • 1
  • …
  • 4
  • 5
  • 6
  • 7
  • Next Page »

Welcome to Taylor Made

http://www.taylormadecreatesblog.com/about-me Hi Yall! I'm Taylor... an artsy mom of three from Houston, TX. I love sewing, collecting floral fabric, eating Mexican Food, photography, brights colors, rearranging, and rolling clay. Taylor Made Creates is all about creating a fun, colorful home, sewing cute things and eating good food. Check out my SHOP HERE HERE! Thanks for stopping by!

Search

Pin with me!

Like Me :)

Facebook Pagelike Widget

More Recent Posts

  • Kid's Animal Room
  • Kids Camping Shirts
  • Mermaid Birthday Party
  • Conversation Heart Cold Packs
  • Holiday Apple Tea Punch
  • Purple Princess Costume
  • Letterboard Costume
  • La Croix Costume

FAVORITES

  • Casserole Carrier
  • Playroom Reveal
  • a Happy Birthday Quilt Block
  • Winged Peasant Dress
  • More Casserole Carriers
  • How to Shorten a Shirt
  • Love Sign with a Fence Frame
  • Foodie Napkin Rings
  • The Bow Clutch

Copyright © 2026 · Web Hosting By RFE Hosting