TaylorMade

DIY, Home Decor & Sewing

  • Home
  • SHOP
  • DIY & Sewing
    • For the Home
    • Sewing
    • Costumes and Holidays
    • Cricut Projects
    • Crafting
  • Parties
  • Recipes
  • Home Tour
  • Favorites
  • About

a baby gift and the perfect burp cloths

November 9, 2012 By Taylor 3 Comments

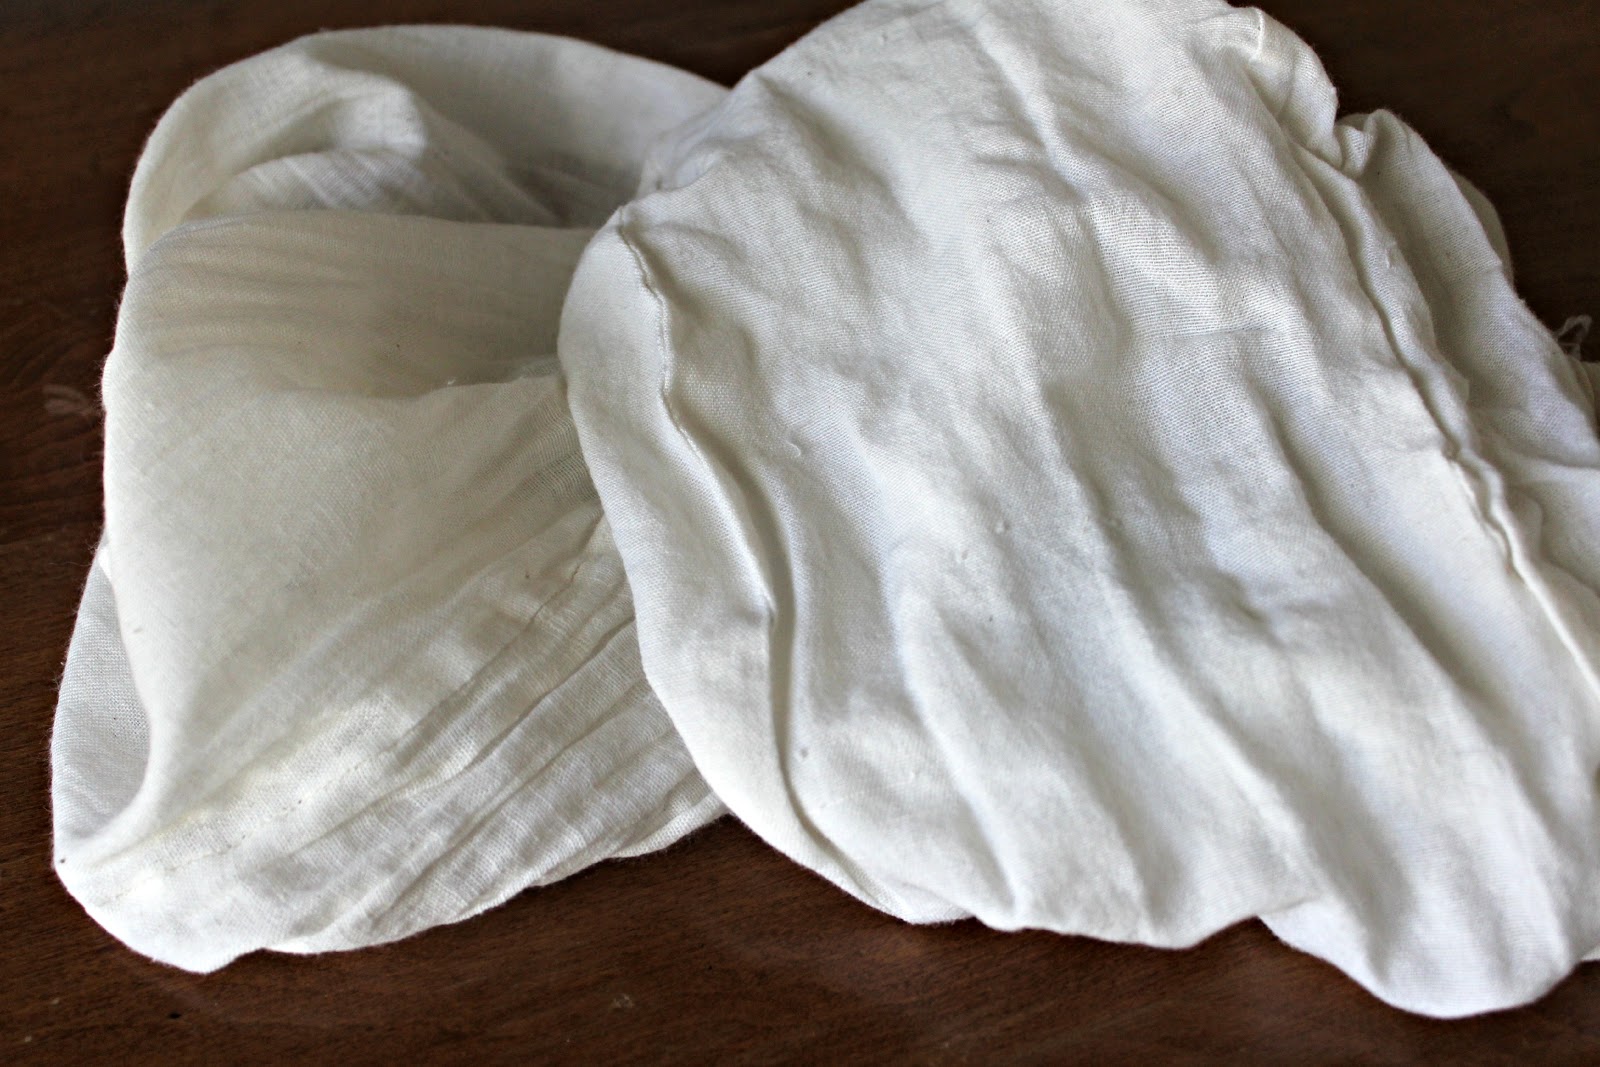
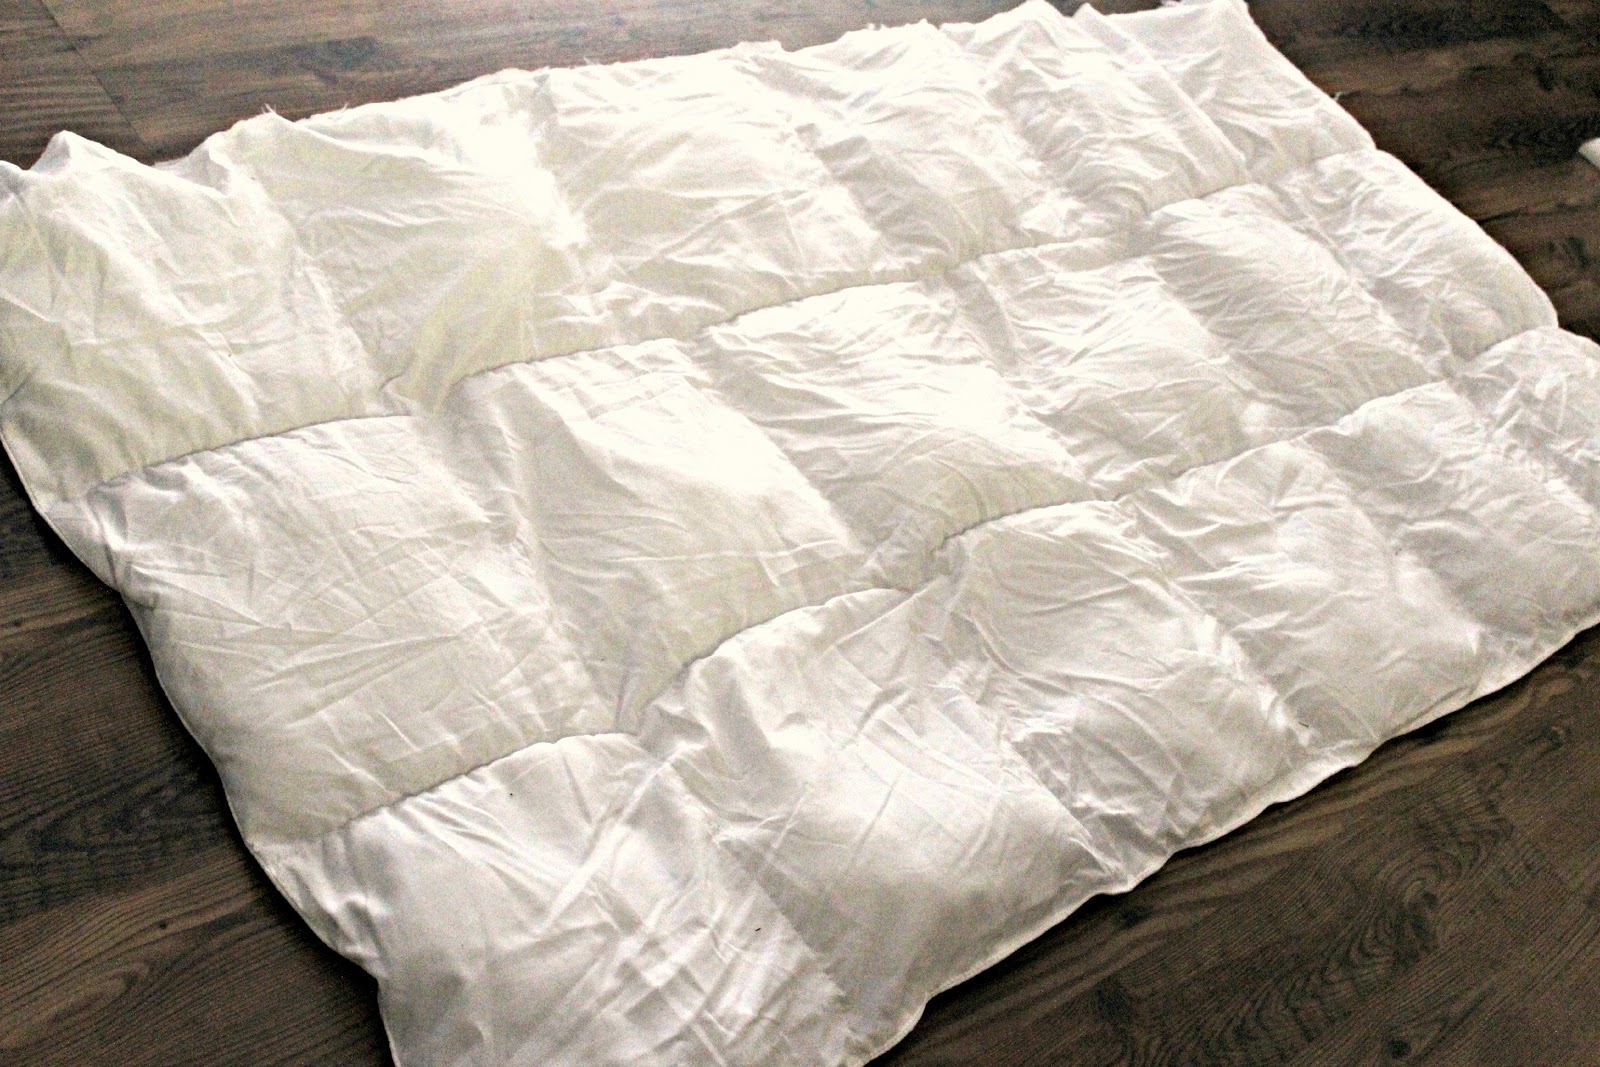
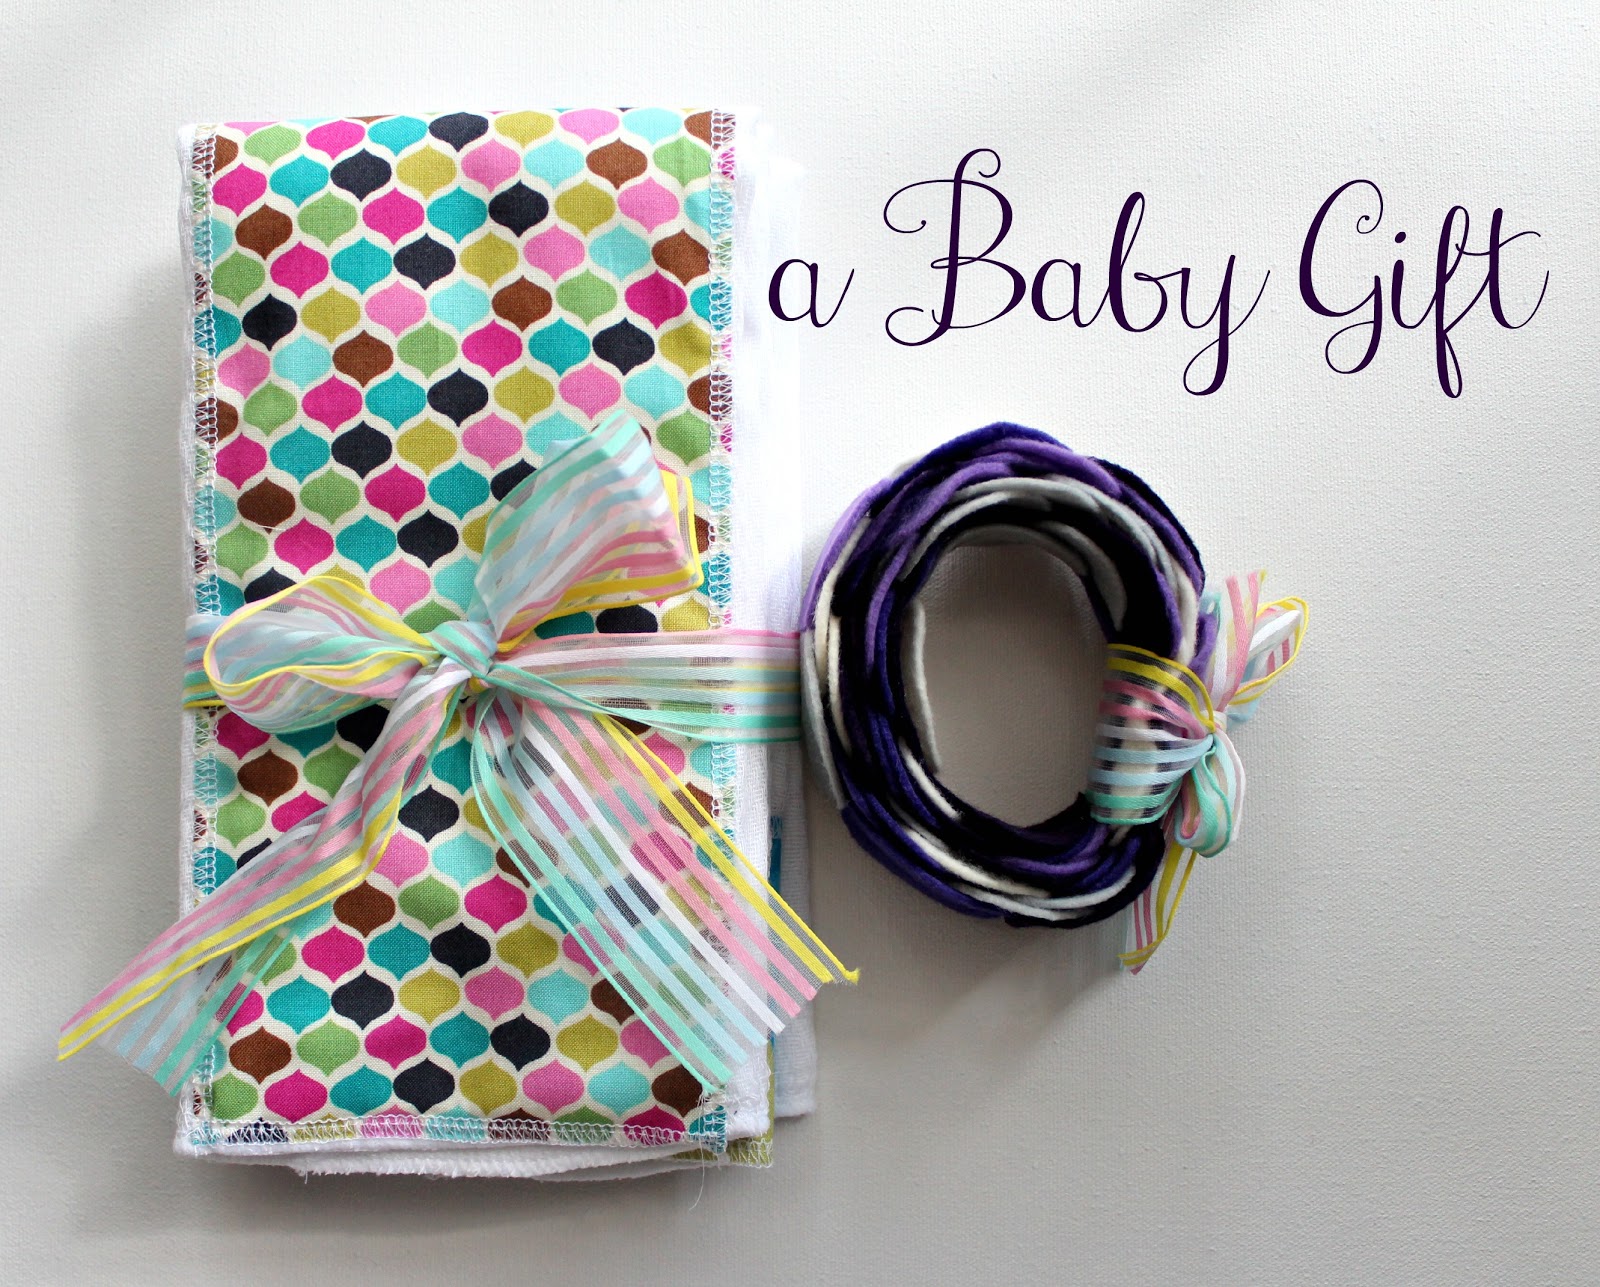
I thought I liked making baby gifts a few years ago because I had babies. But now that I have toddlers, I like making baby gifts even more. Especially if you are having a girl, I have to throw something homemade in…  all of those stacks and stacks of girly fabric are going to become “vintage” before I get to use them. So, I made three burp cloths (using my favorites- gerber’s cloth diapers) and added girly fabric.

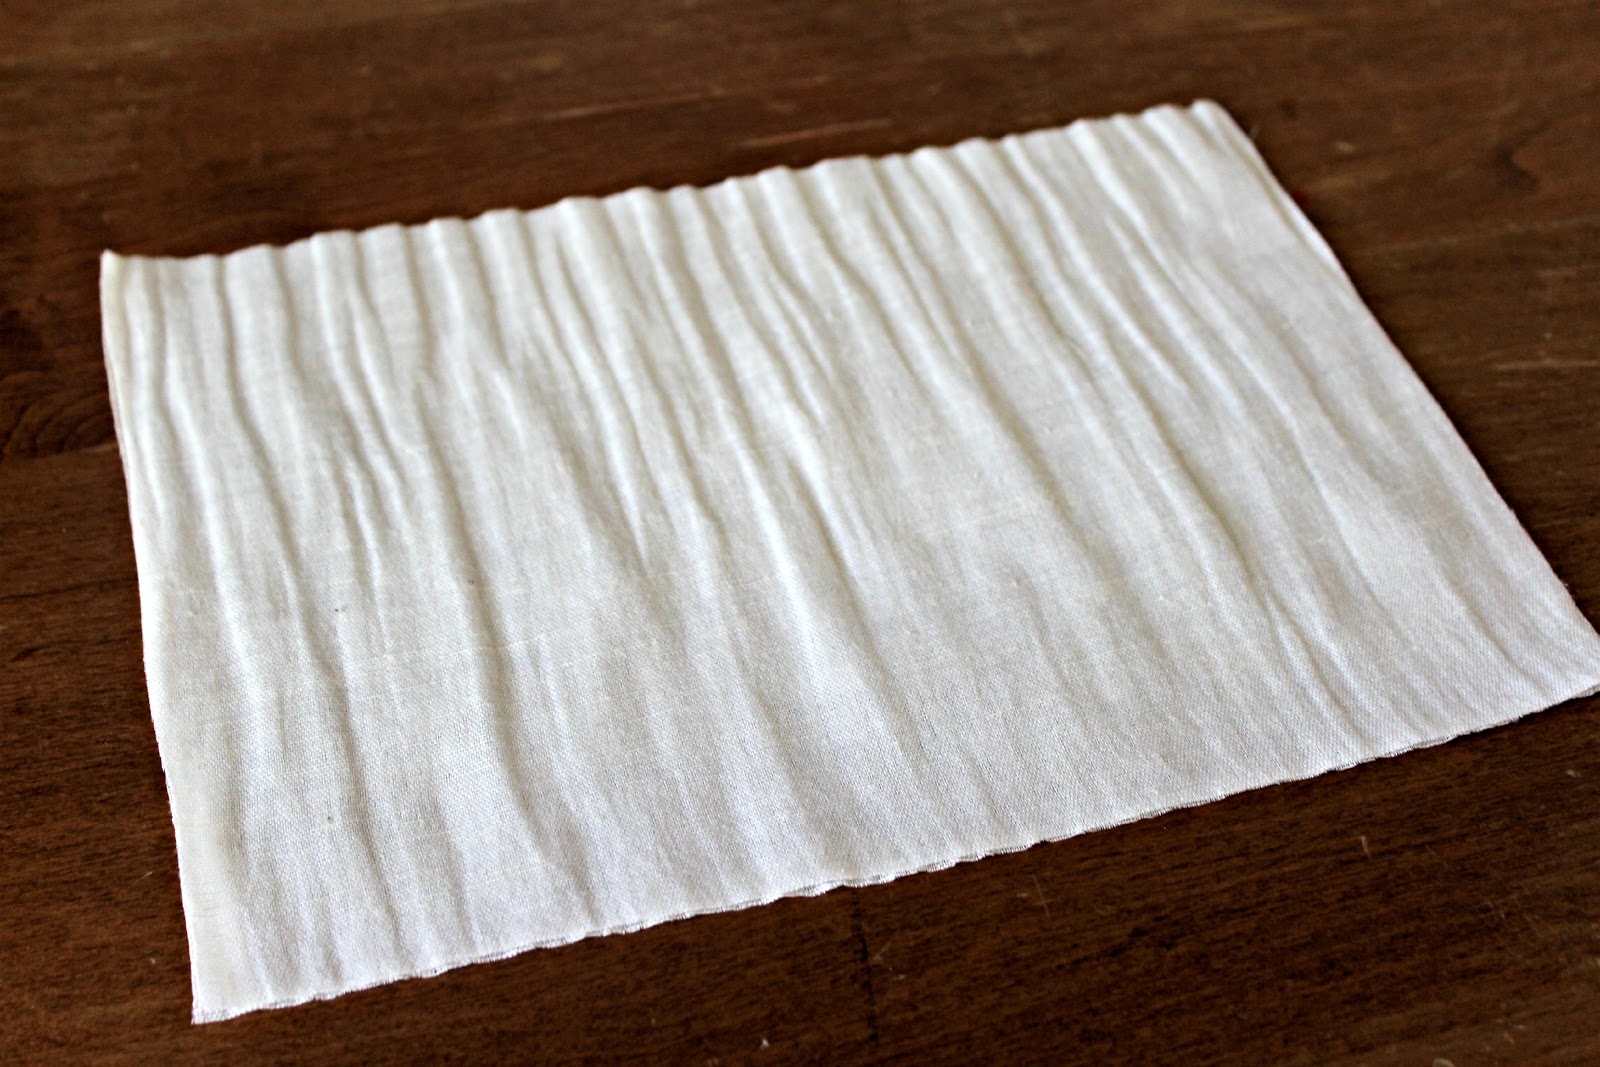
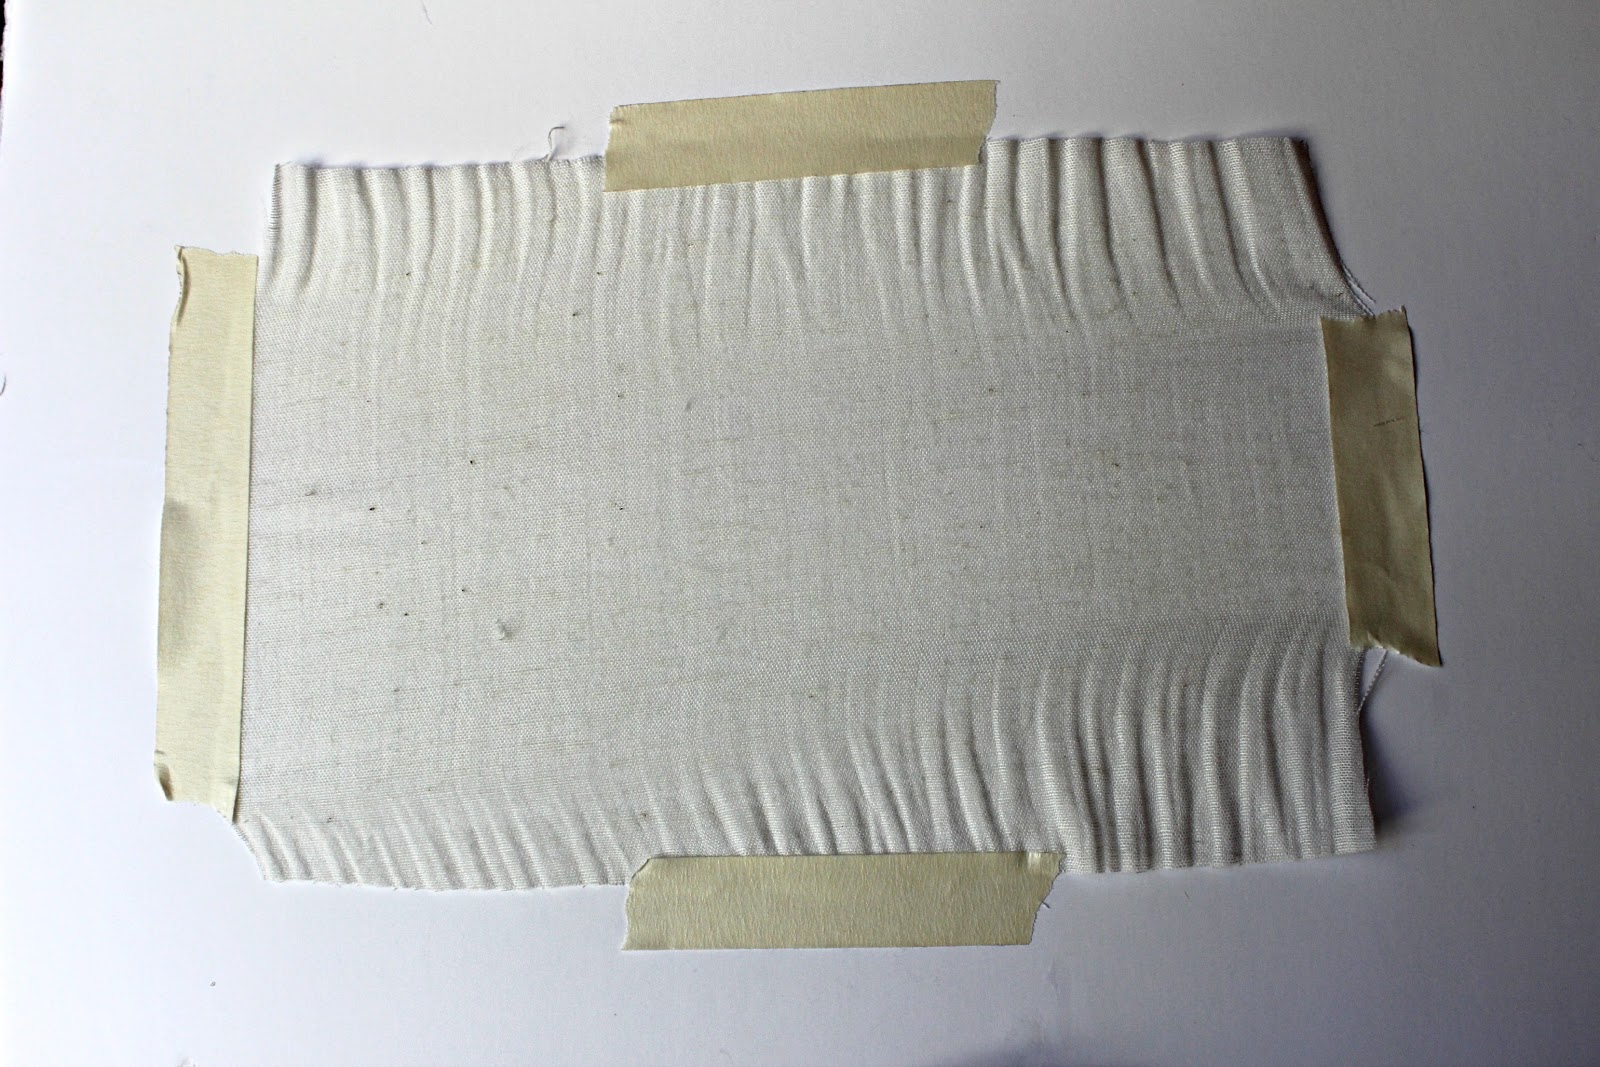
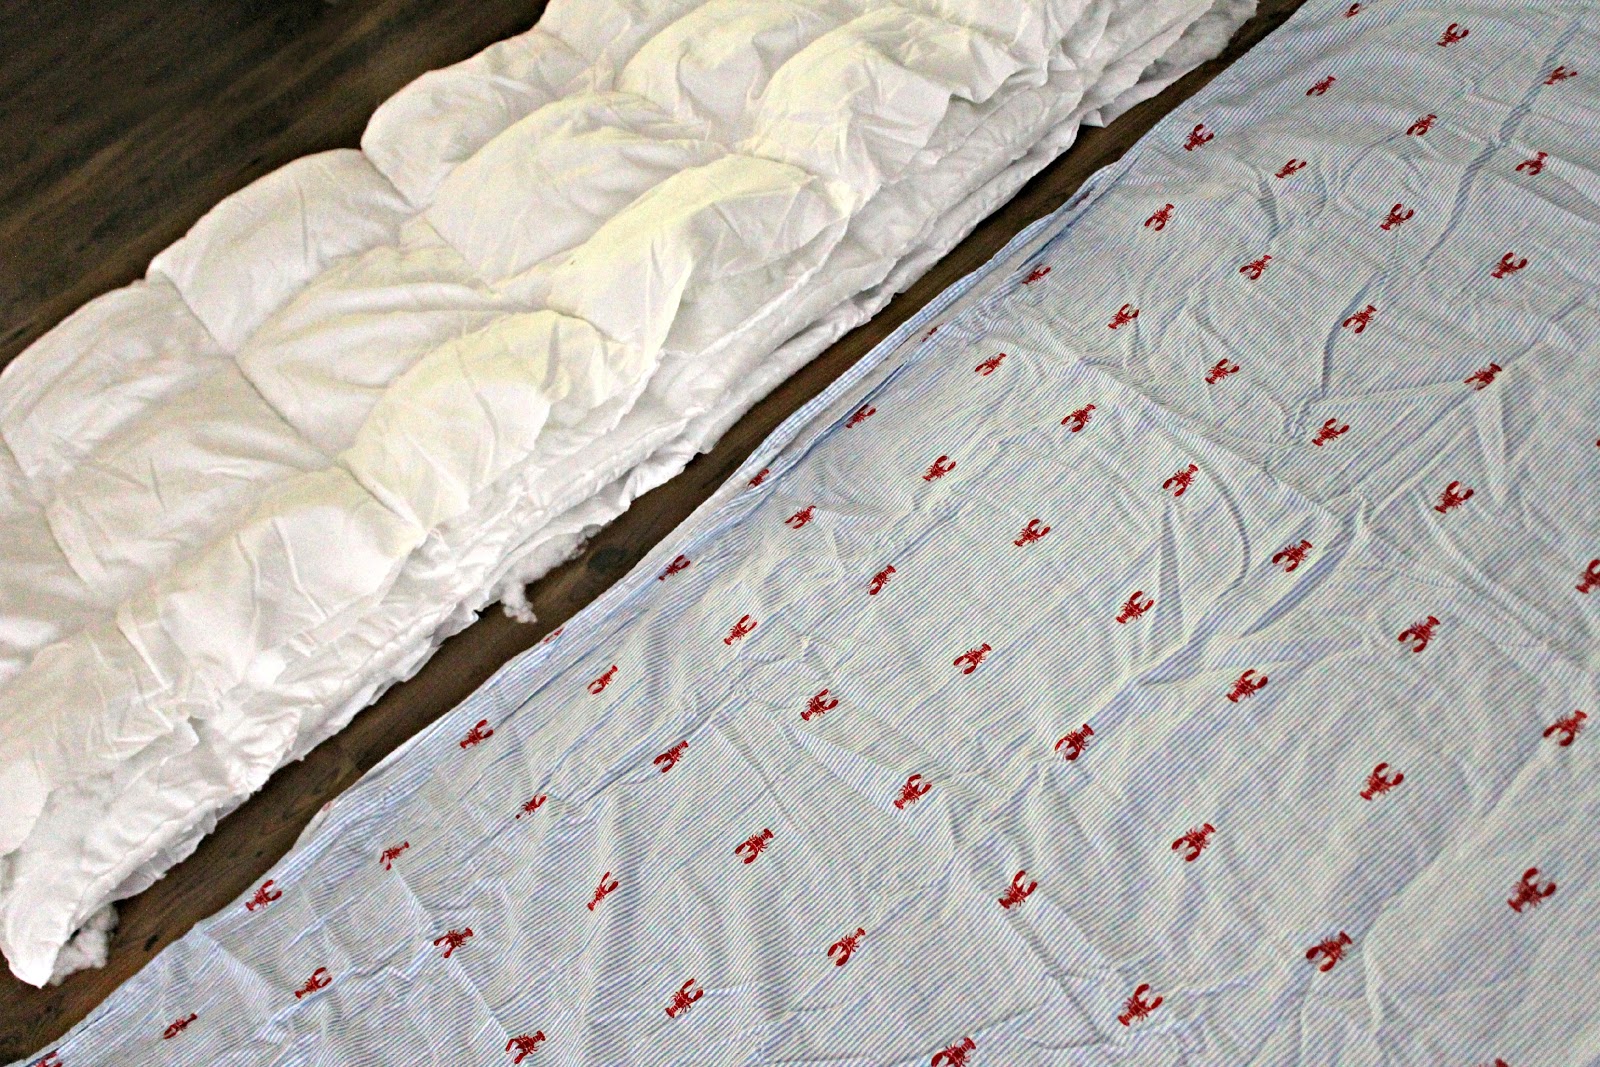
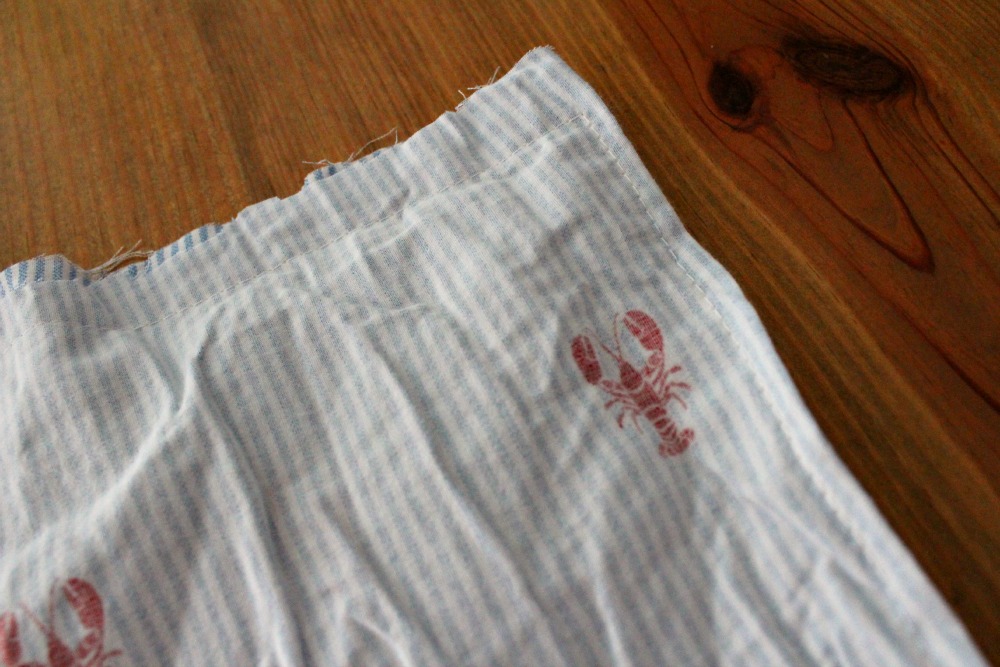
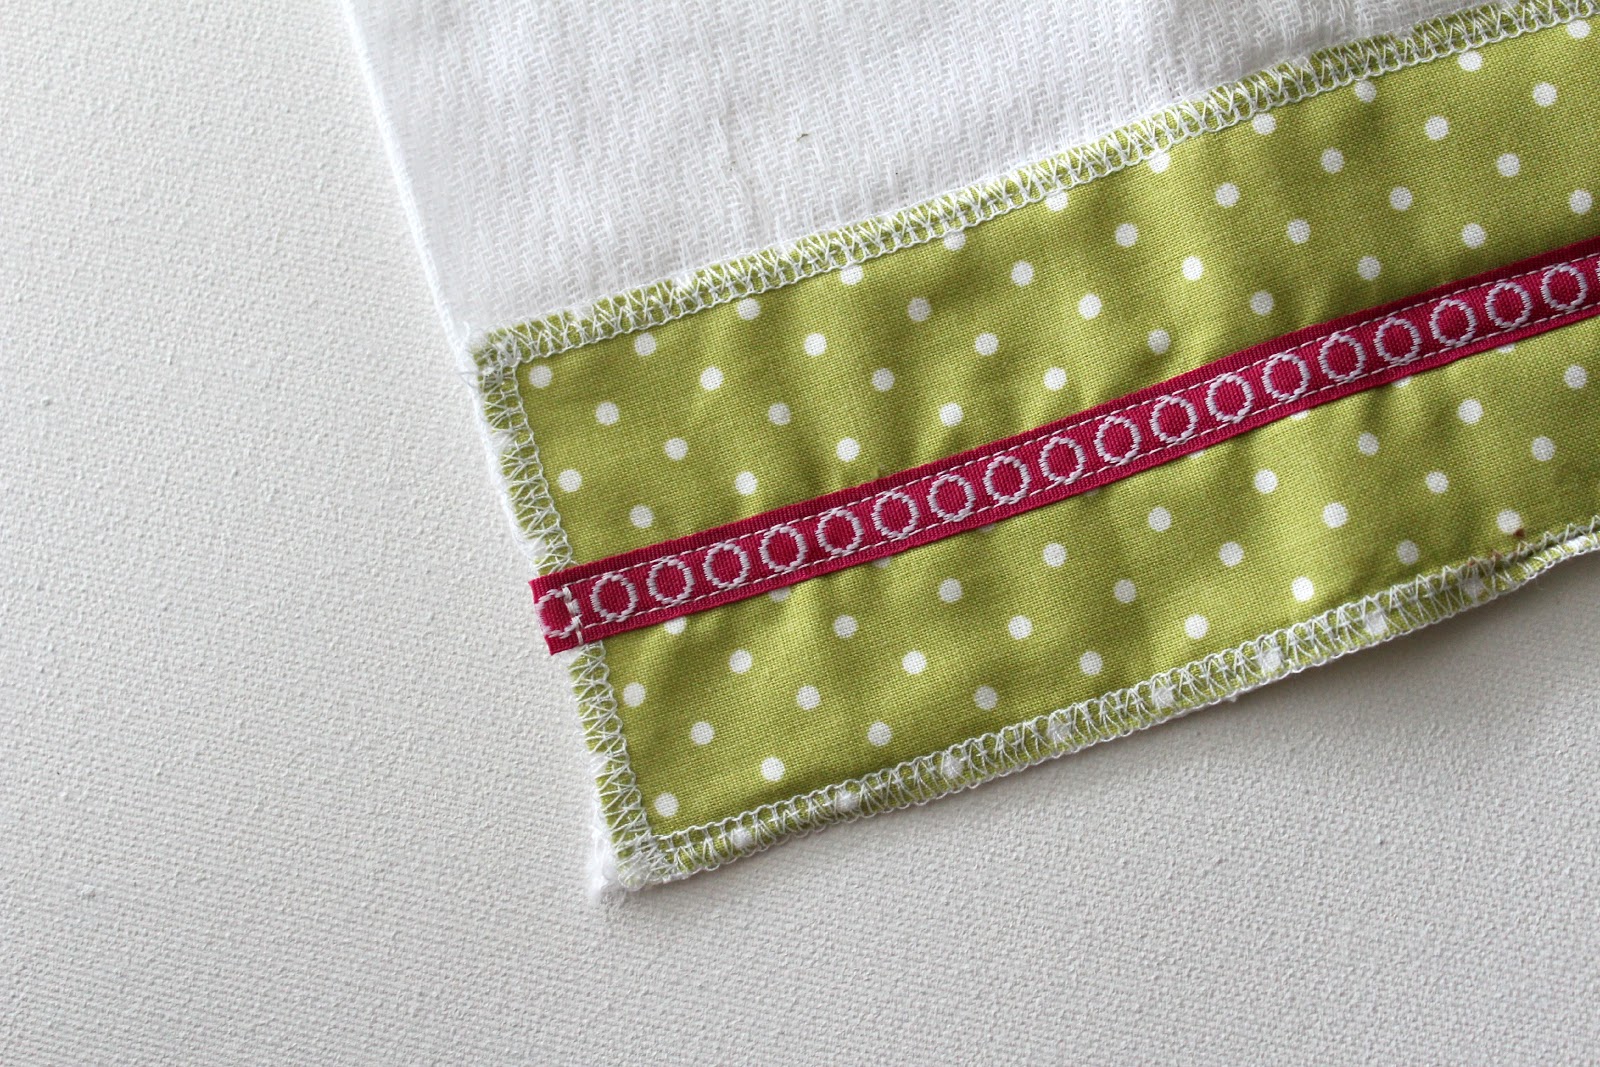
This is what I have learned from making and owning many burp cloths. If fabric is on both sides or it’s too thick it doesn’t absorb well. Also, you could have issues with washing the gunk out :/ Gross. So, I keep it as thin as possible. For the ones with the strip at the bottom, I measure the total width of the burp cloth by 3ish inches. Then I serge a piece of fabric that exact size and attach it to the cloth diaper. If you don’t have a serger, then just  make the fabric a little larger and fold/press it down to the correct size. I added a ribbon right on top of this one.

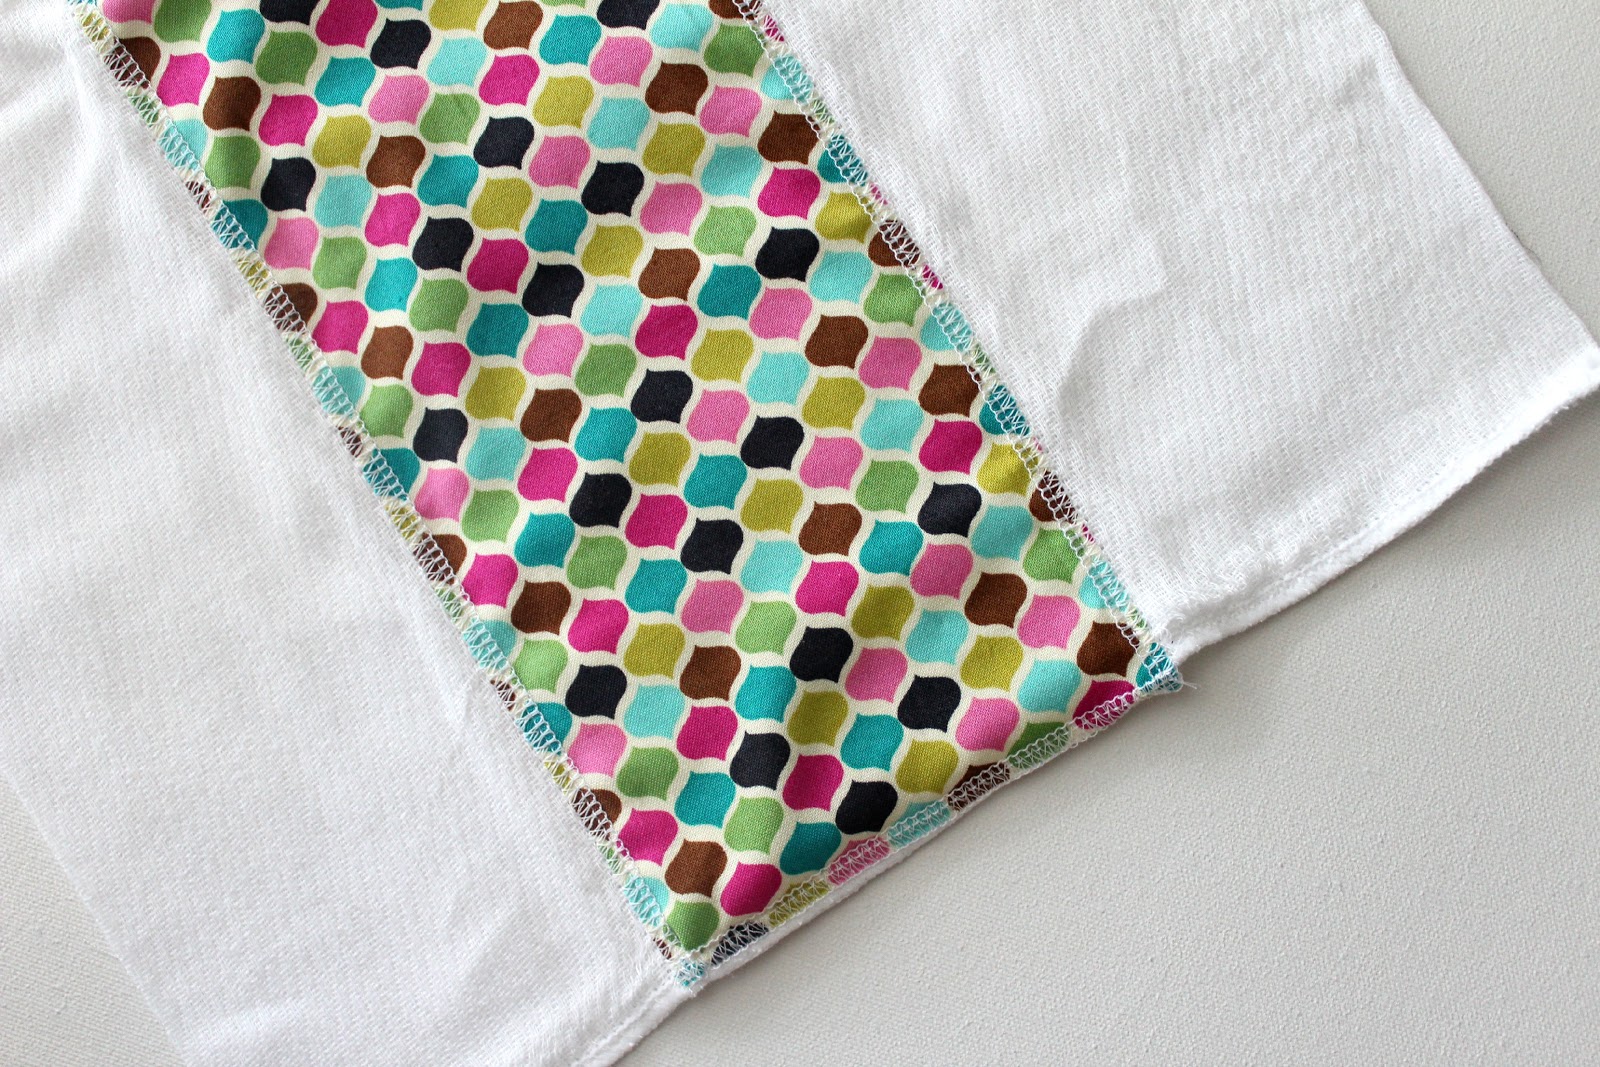
You can also use the same technique but attach your fabric down that middle section of the cloth diaper.

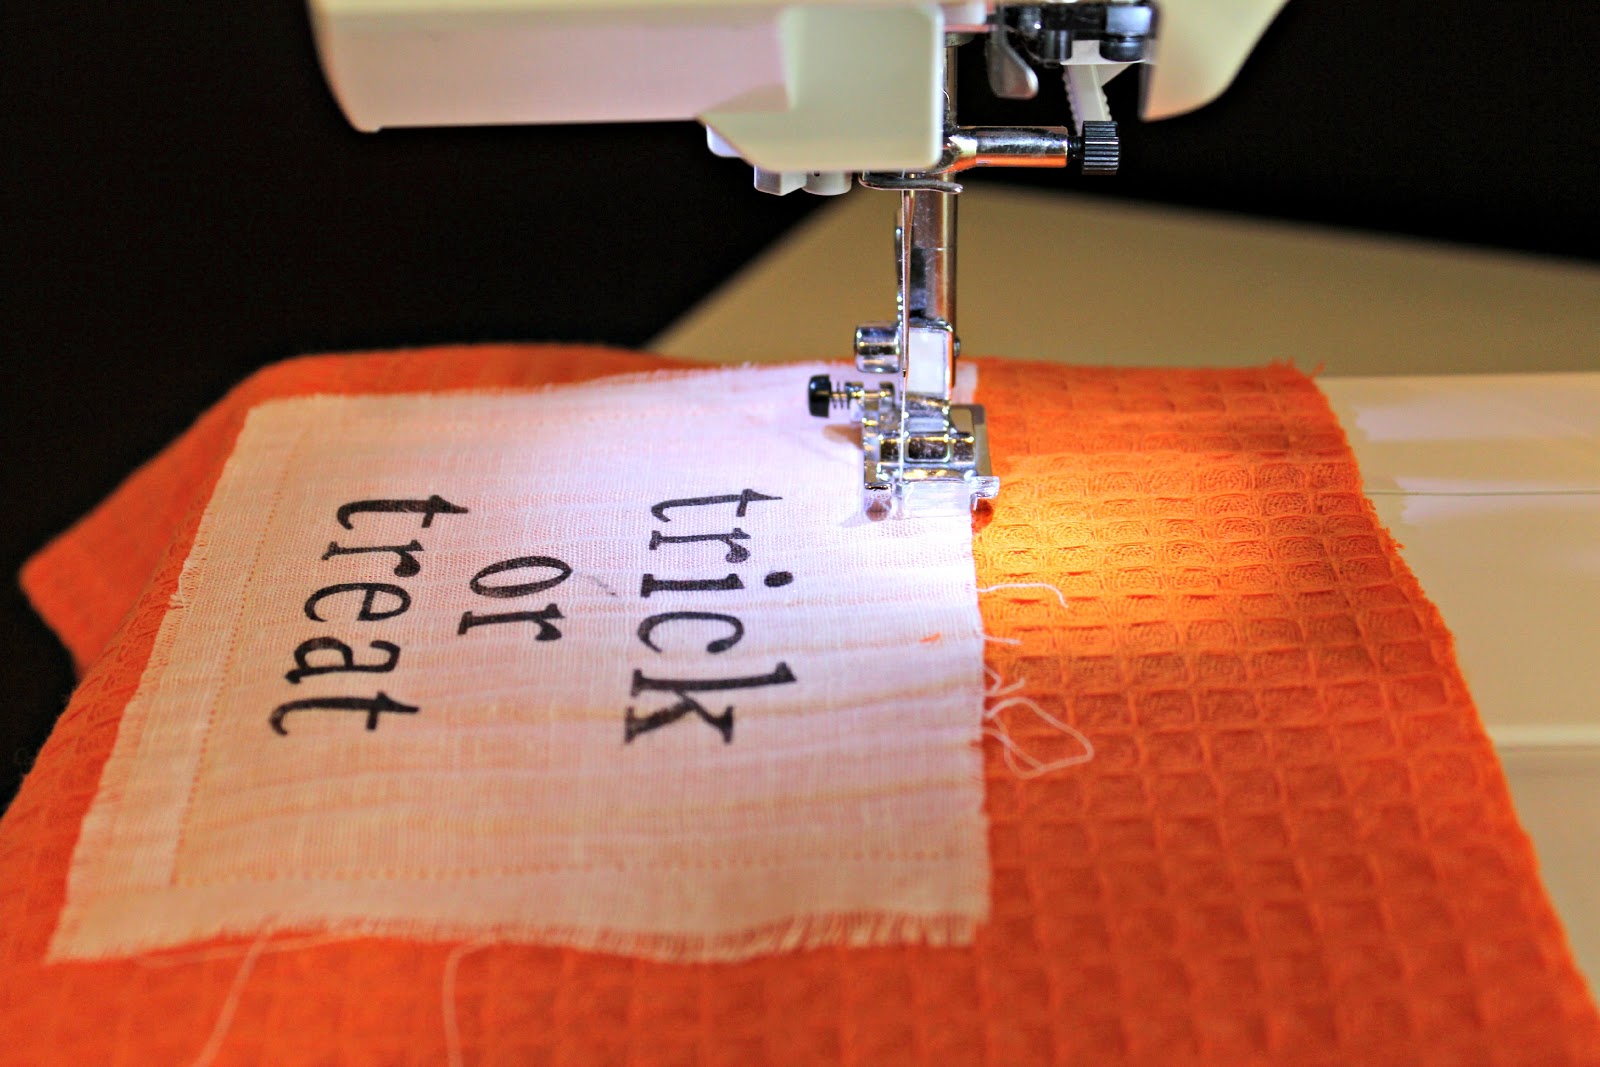
Or you can add an applique of another fabric on top.

This brand is my particular favorite, the no name cloth diapers are too long. The cute terry cloth burp cloths are way too thin. Obviously I’m a burp cloth connoisseur. Another tip is when you clean up a baby mess, try to wash these as soon as possible, they are 3-ply so they will mildew if they sit for too long.

Simple easy gift that you know will get used more than almost everything :) Here are some simple boys ones I made a few years ago, not as cute as girl ones though.

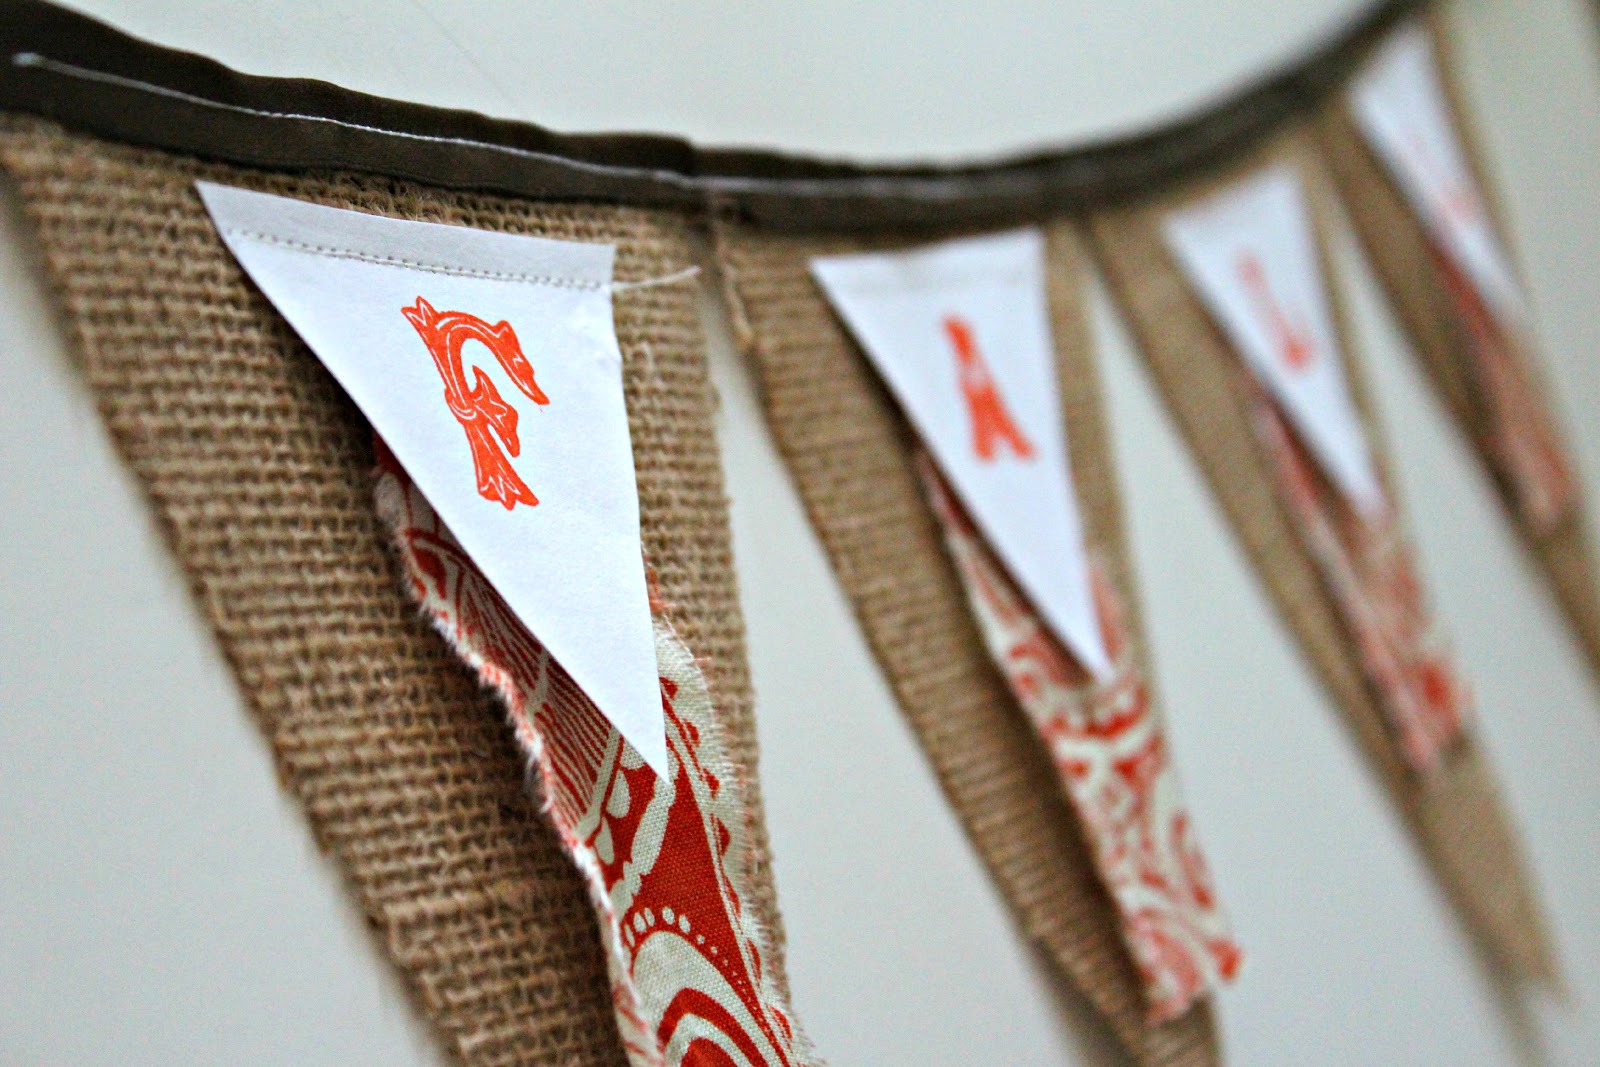
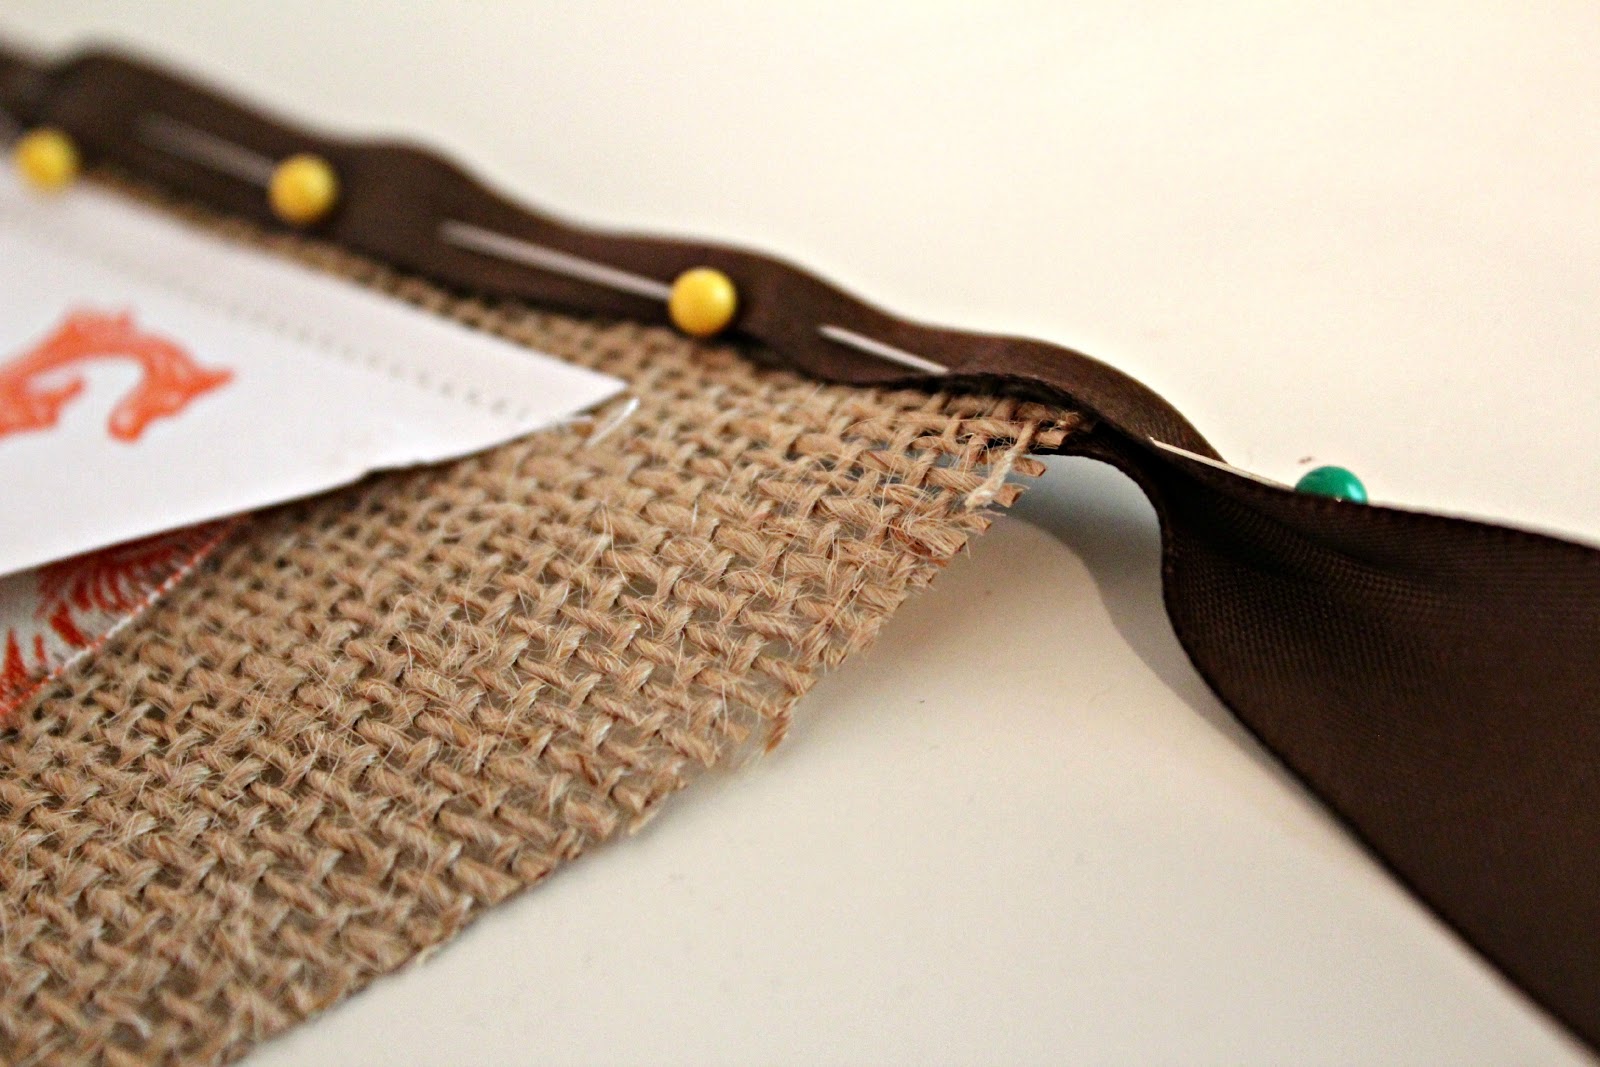
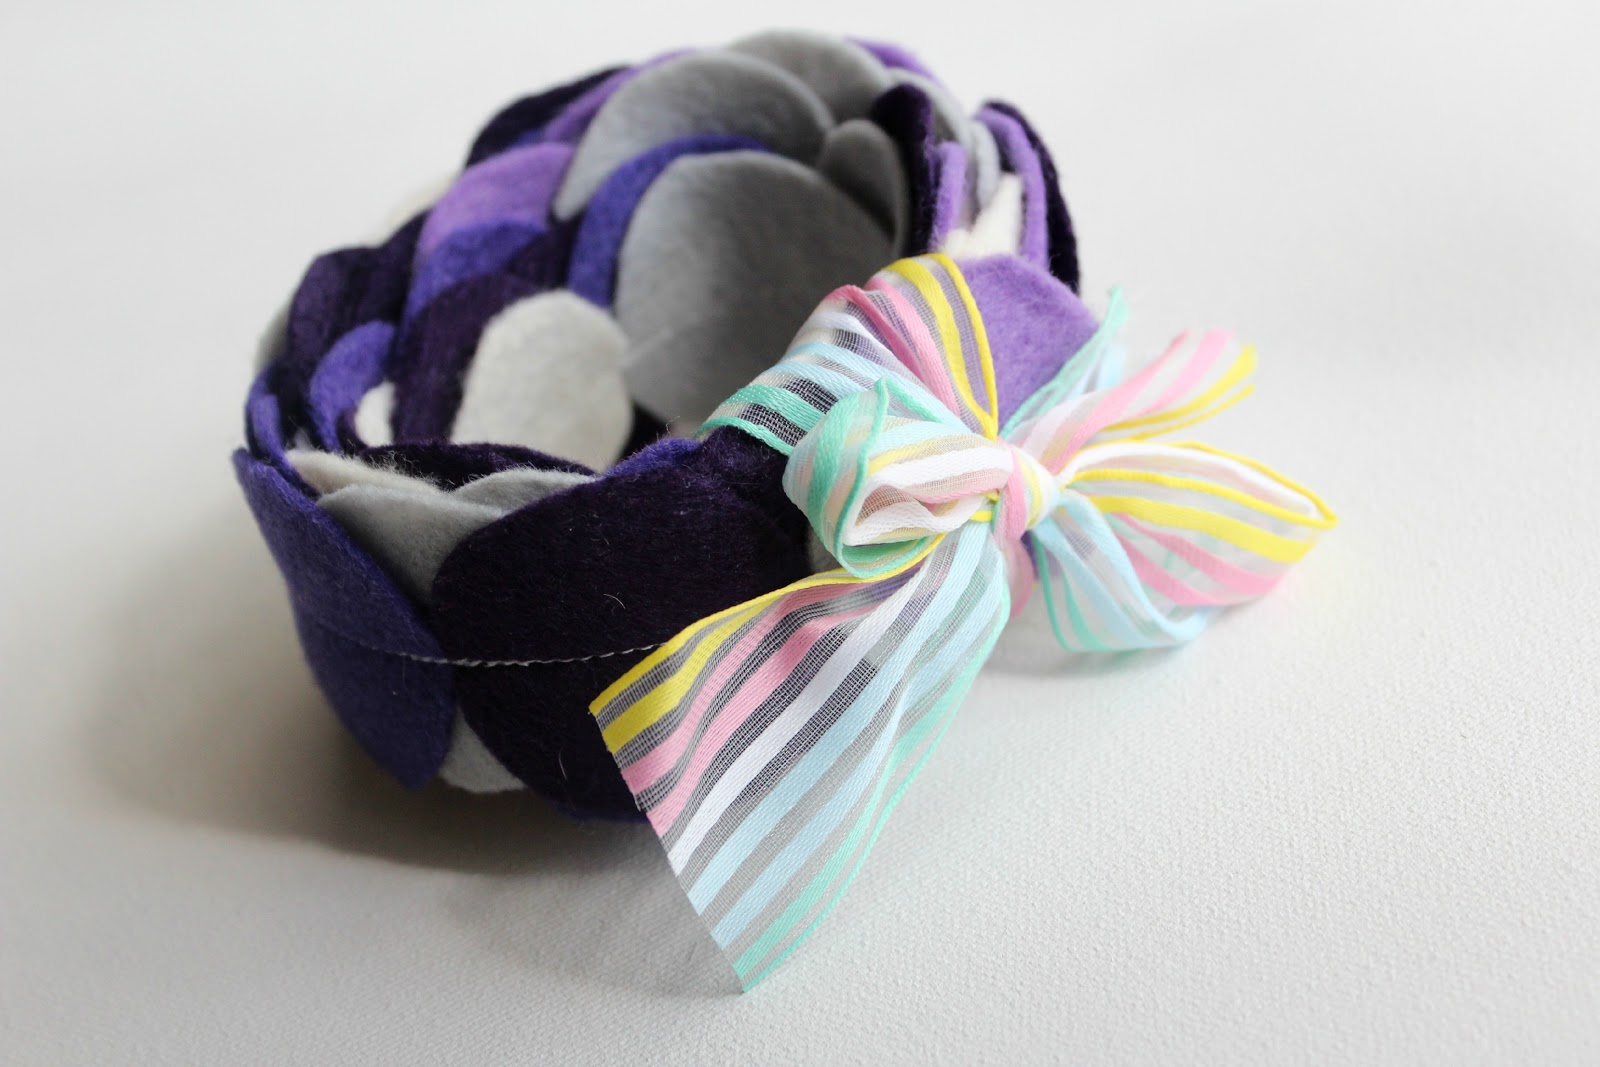
I also whipped up some happy garland via MADE. I was looking for an excuse to make some and this little girls nursery is grey, cream, purples and coral. I couldn’t find coral felt though… but I still love it.

What is your go to baby gift? PS I think I need happy garland in every room of my house :)

Pin It

Filed Under: baby stuff, fabric, felt, girl Tagged With: kids

Trick or Treat Bags

October 29, 2012 By Taylor 2 Comments

Halloween really snuck up on me this year. I thought I was so ahead of the game when I made the boys these bags last month then I just stopped and I’m still not done with their costumes :/ I will be done by Halloween because I have to be. Anyway, I love how these turned out.. really easy and I only spent about $2 total for both bags.

I had these little muslin bags that something came it and I didn’t want to throw them away because I thought they were pretty. I cut them and taped them down to a board.

I used my PSA Alphabet stamps to stamp “trick or treat” on the muslin (I use staz on for fabric stamping). I sewed that to an orange dishcloth I found in the $ section of target.

Then I sewed that to some black duck cloth.

Then sewed the black duck cloth together to make a bag. Then I used cotton belting for the straps but I taped them off and used black fabric paint to make stripes.

Yay, so easy… and of course I had to make two that look identical. I am at the stage where I know way better than to make different colors, styles, prints etc. Because it so much cooler if it’s your brother’s right?

Is everyone else ready for Halloween? What do your kids use for candy bags? 

I’m going to share one more easy stamp project tomorrow before the big “costume reveal” if you haven’t been following along on Instagram yet. For more great ideas on how to use these stamps visit PSA Stamp Camp blog :)

Pin It

Filed Under: fabric, halloween, holidays, kid stuff Tagged With: holidays

A DIY Nap Mat

October 19, 2012 By Taylor 7 Comments

I found out last week that the boys needed a nap mat but they are sold out EVERYWHERE! So I started out on my journey… I went to 3 Walmarts, 2 Targets, Babies R Us, called CVS, Walgreens and checked online. All sold out. At this point I did what any other mother would do… I went to meet my family for Happy Hour. I got home that night with nothing but bad lighting and the idea that I had to make a Nap Mat. So here goes… a Nap Mat made with nothing but re-purposed supplies, after 2 margaritas and with horrible lighting. Isn’t that what crafting is all about- now I know in crunch time, with no supplies and in about 50 minutes… I can come through, ha! Take that “Sold Out Nap Mats” everywhere!


I started with a king size down comforter, it never gets cold enough here so we never use it.

I cut it and then stacked it into 3 layers.

Then I used a full sheet, (obviously not ironed- oops) folded it in half and sewed it up 3 sides, leaving only a short side open.
I used scraps to sew up two long ties and a short handle so I could roll the mat up.
Then just like a huge pillow, I inserted the 3 stacked comforter into the cover.
I folded the excess fabric inward then placed the straps and handle where I wanted them to go.
I pinned and sewed. (Don’t forget to fold the long straps in half so it will look like 4 straps after you sew)

Ta-Da… When I finished I realized the comforter inside was a little too loose, so I tacked it with red embroidery floss in about 16 spots. It looks really cute but I forgot to take a picture.

I am happy to report that Clyde loves it and has never missed a nap. I’m sure this wont be the last time I have to craft something the night before my kids need it :)

Pin It


Filed Under: fabric, kid stuff, sewing Tagged With: kids

Fall Burlap Banner

October 12, 2012 By Taylor 25 Comments

Happy Fall Y’all, My favorite season. I made this little festive Fall Banner for PSA Essentials. I used the letter stamps on cardstock, fabric, burlap and a ribbon. So easy and cute.

I stamped the letter on white cardstock.

I ripped the fabric so it would look a little more rustic.

I cut out my burlap and layered the fabric strips and cardstock on top. Then I sewed right through the paper.

Then I sandwiched the burlap flags between a ribbon.

Then I hung it up at Ampersand :) You know I love a quick project. For more ideas on how to use these stamps, visit PSA Stamp Camp Blog.

Pin It

Related Posts Plugin for WordPress, Blogger...

Filed Under: fabric, home goods, paper Tagged With: decor, holidays

  • « Previous Page
  • 1
  • …
  • 13
  • 14
  • 15
  • 16
  • 17
  • …
  • 23
  • Next Page »

Welcome to Taylor Made

http://www.taylormadecreatesblog.com/about-me Hi Yall! I'm Taylor... an artsy mom of three from Houston, TX. I love sewing, collecting floral fabric, eating Mexican Food, photography, brights colors, rearranging, and rolling clay. Taylor Made Creates is all about creating a fun, colorful home, sewing cute things and eating good food. Check out my SHOP HERE HERE! Thanks for stopping by!

Search

Pin with me!

Like Me :)

Facebook Pagelike Widget

More Recent Posts

  • Kid's Animal Room
  • Kids Camping Shirts
  • Mermaid Birthday Party
  • Conversation Heart Cold Packs
  • Holiday Apple Tea Punch
  • Purple Princess Costume
  • Letterboard Costume
  • La Croix Costume

FAVORITES

  • Swan Wings + Hello Ollie Fabrics
  • Mini Fabric Lamps
  • Triangle Baby Quilt
  • Casserole Carrier
  • Color Wheel Clock
  • Pippa Peplum Piggy Dress
  • Diaper Bag Tag
  • Skunk Costume
  • DIY Roach Costume

Copyright © 2026 · Web Hosting By RFE Hosting