TaylorMade

DIY, Home Decor & Sewing

  • Home
  • SHOP
  • DIY & Sewing
    • For the Home
    • Sewing
    • Costumes and Holidays
    • Cricut Projects
    • Crafting
  • Parties
  • Recipes
  • Home Tour
  • Favorites
  • About

Another Camera Strap Tutorial

January 4, 2012 By Taylor 7 Comments

First tutorial of the year, yay. I made another Camera Strap as a gift for Christmas. This one is a cover which I love because you can take it off to wash it… and I get sick of things really easily. It also includes lace which is always a good thing. Firstly, you need to measure your own camera strap and because this is a cover, it needs to fit snug.
What you need:
-1/4 yd fabric for front of strap
-1/4 yd fabric for back of strap
-lace or trim
-thread 
Add about one inch to the length and one inch to the width of your current camera strap. Once you have your dimensions, cut a piece of the fabric for the front and a piece for the back. I did the same fabric for both. Also, I used fat quarters so I actually sewed two pieces together to get the length.

I serged the ends and hemmed them but if you don’t have a serger, just fold, press and hem.

Pin the lace to the right side of the fabric on the front strap, lining up the edges.
Sew the lace to the front piece.
Pin right sides together and sew.
Lastly, flip the strap right side out and  top-stitch the lace down.
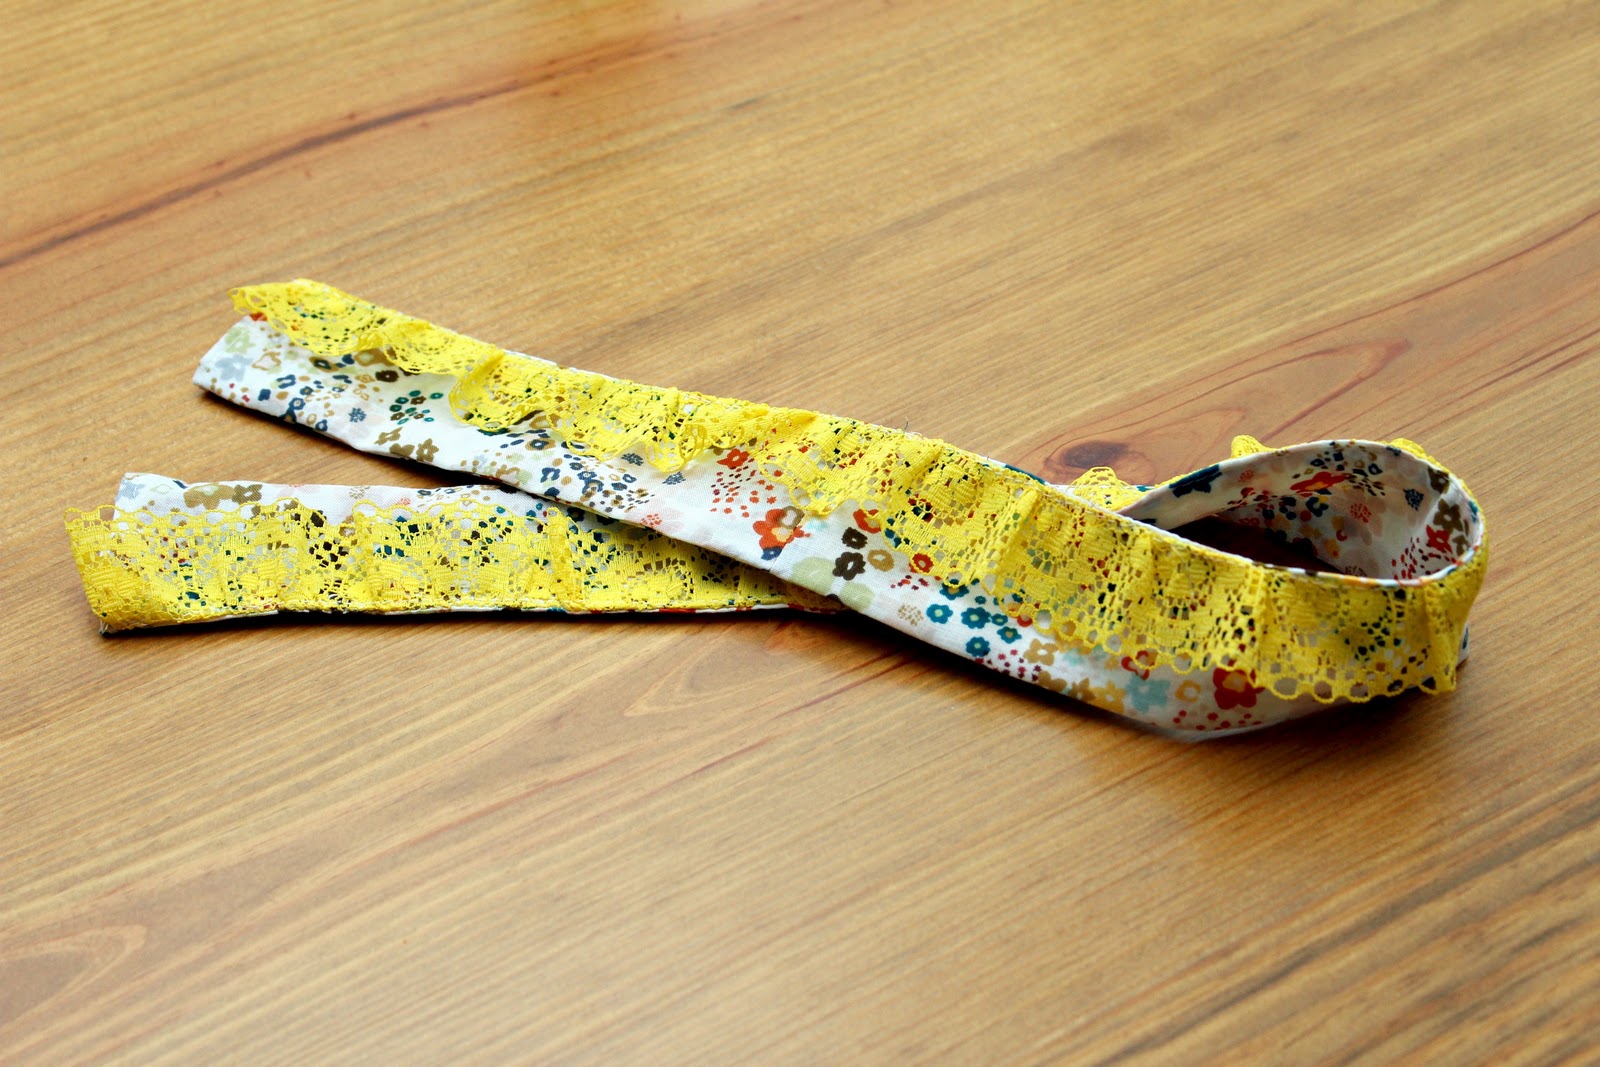
A cute and easy gift, and once again, I need to make myself one :)
Also… shout out to my husband on his birthday… love you babe! Birthday wishes for him are welcome.

Filed Under: fabric, serger, sewing, tutorial Tagged With: accessories

The Bow Clutch

December 14, 2011 By Taylor 15 Comments

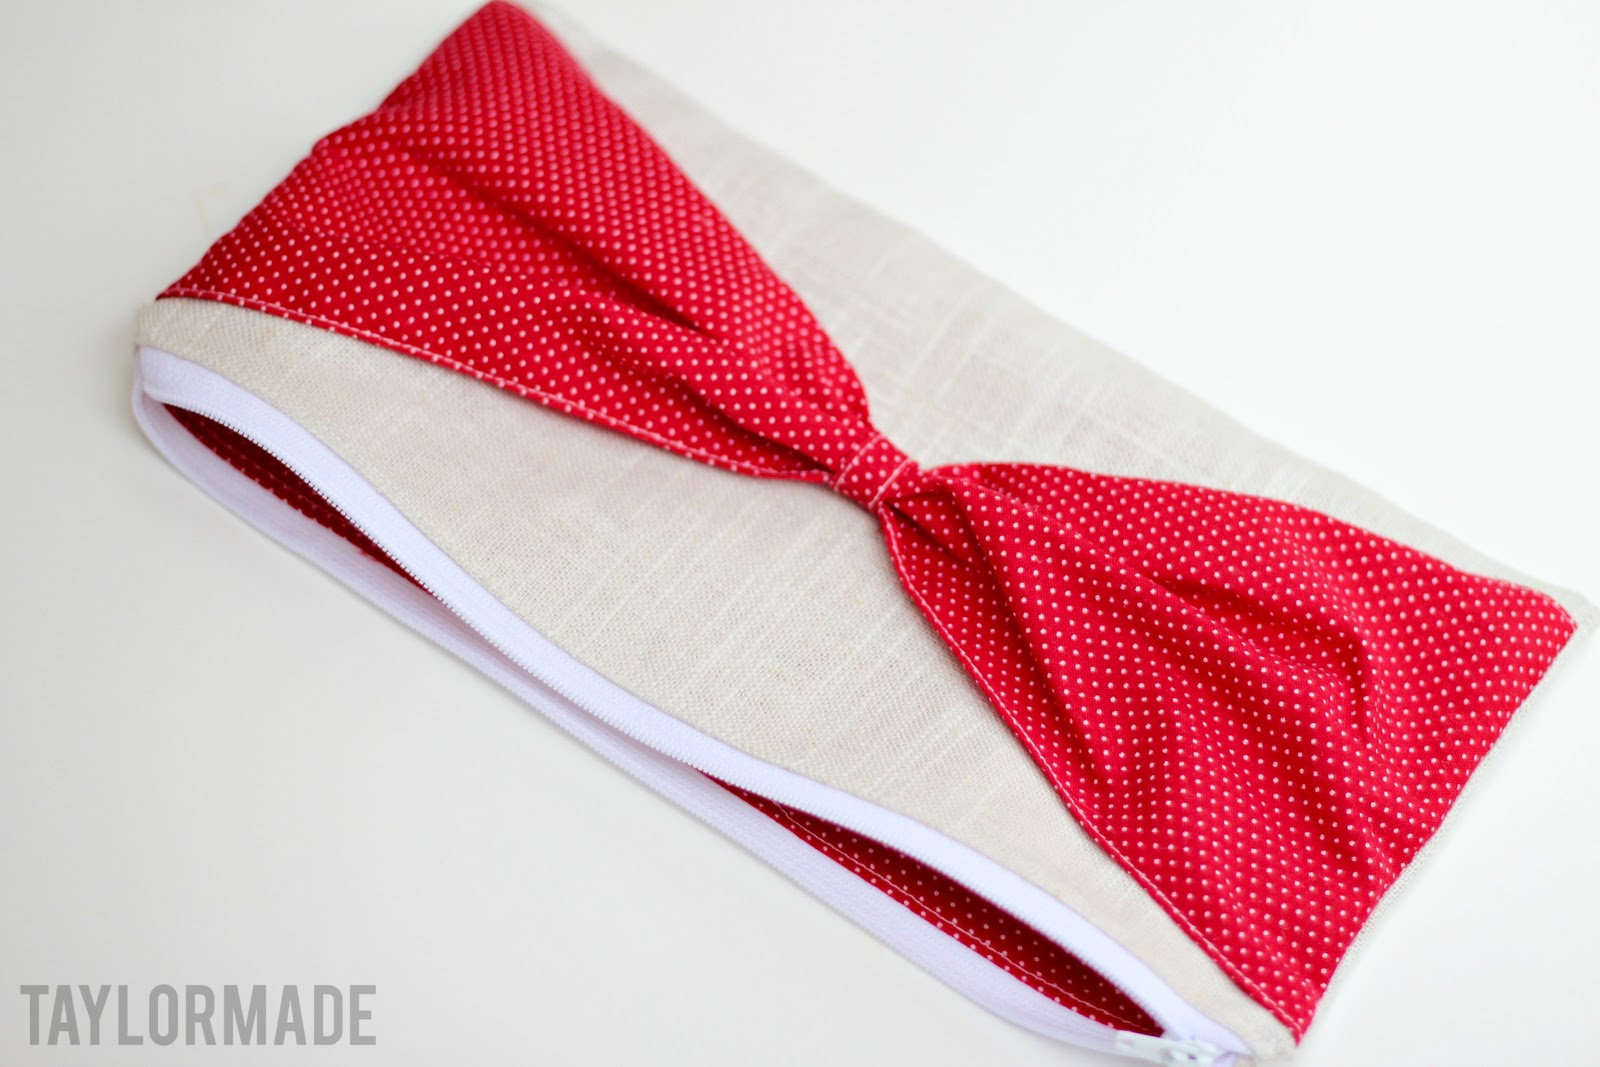
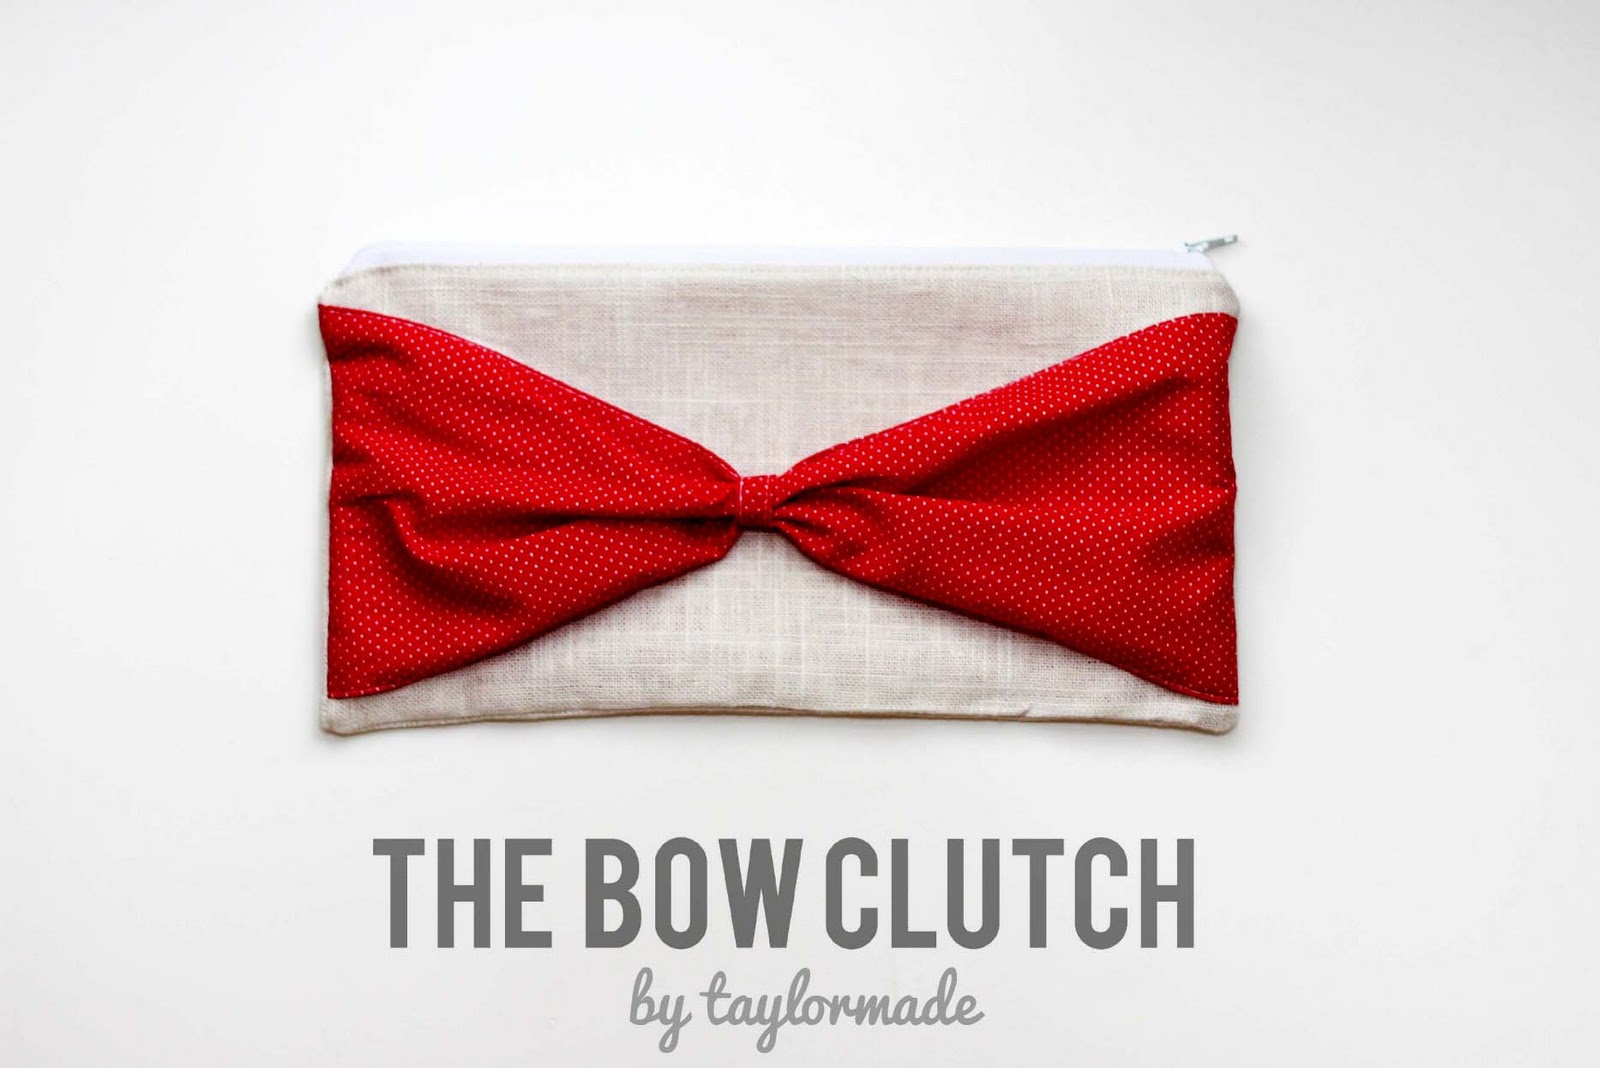
You know the saying great minds think alike? Well this happens in the art world, about 5x a week for me. Artists/crafters/creators get inspiration from everywhere and even subconsciously. So last week I “thought” of a great idea… how about a bow on the front of a clutch. Not novel, but I thought it was an original idea of mine. Then the day after I whipped it up, I saw this post from a blog called Simply Homemade. It’s like the fraternal twin of my bow clutch. In the past I might have been like who thought of this first? Well, since either of us invited a bow, or a clutch now I just think it is cool that two random strangers thought of making the same thing at the same time… I guess great minds do think alike :) 

For my clutch, I used a different fabric for the bow and the lining and of course I used linen for the main part of the bag. I have a linen obsession. 
I don’t have a full tutorial, but basically you make a standard clutch or zippered pouch for the unfancy and you cut an extra piece for the bow that is a little larger. I serged the edges and hemmed the edge of the bow. Then I made a little piece of bias tape for the center of the bow. Then, I just sandwiched the bow when I stacked the layers for the clutch. Cute with endless color options. I also added a label to the inside. 

I think my colors are so festive- I made this for a gift exchange because what girl can’t use an extra clutch? Perfect for wearing or giving at a Holiday Party.

Filed Under: fabric, girl, holidays, serger, sewing Tagged With: accessories

Binky Bag

July 25, 2011 By Taylor 9 Comments

Is it baby/wedding shower season for your too? Our calendar is packed over here with showers and weddings (and I like it). 

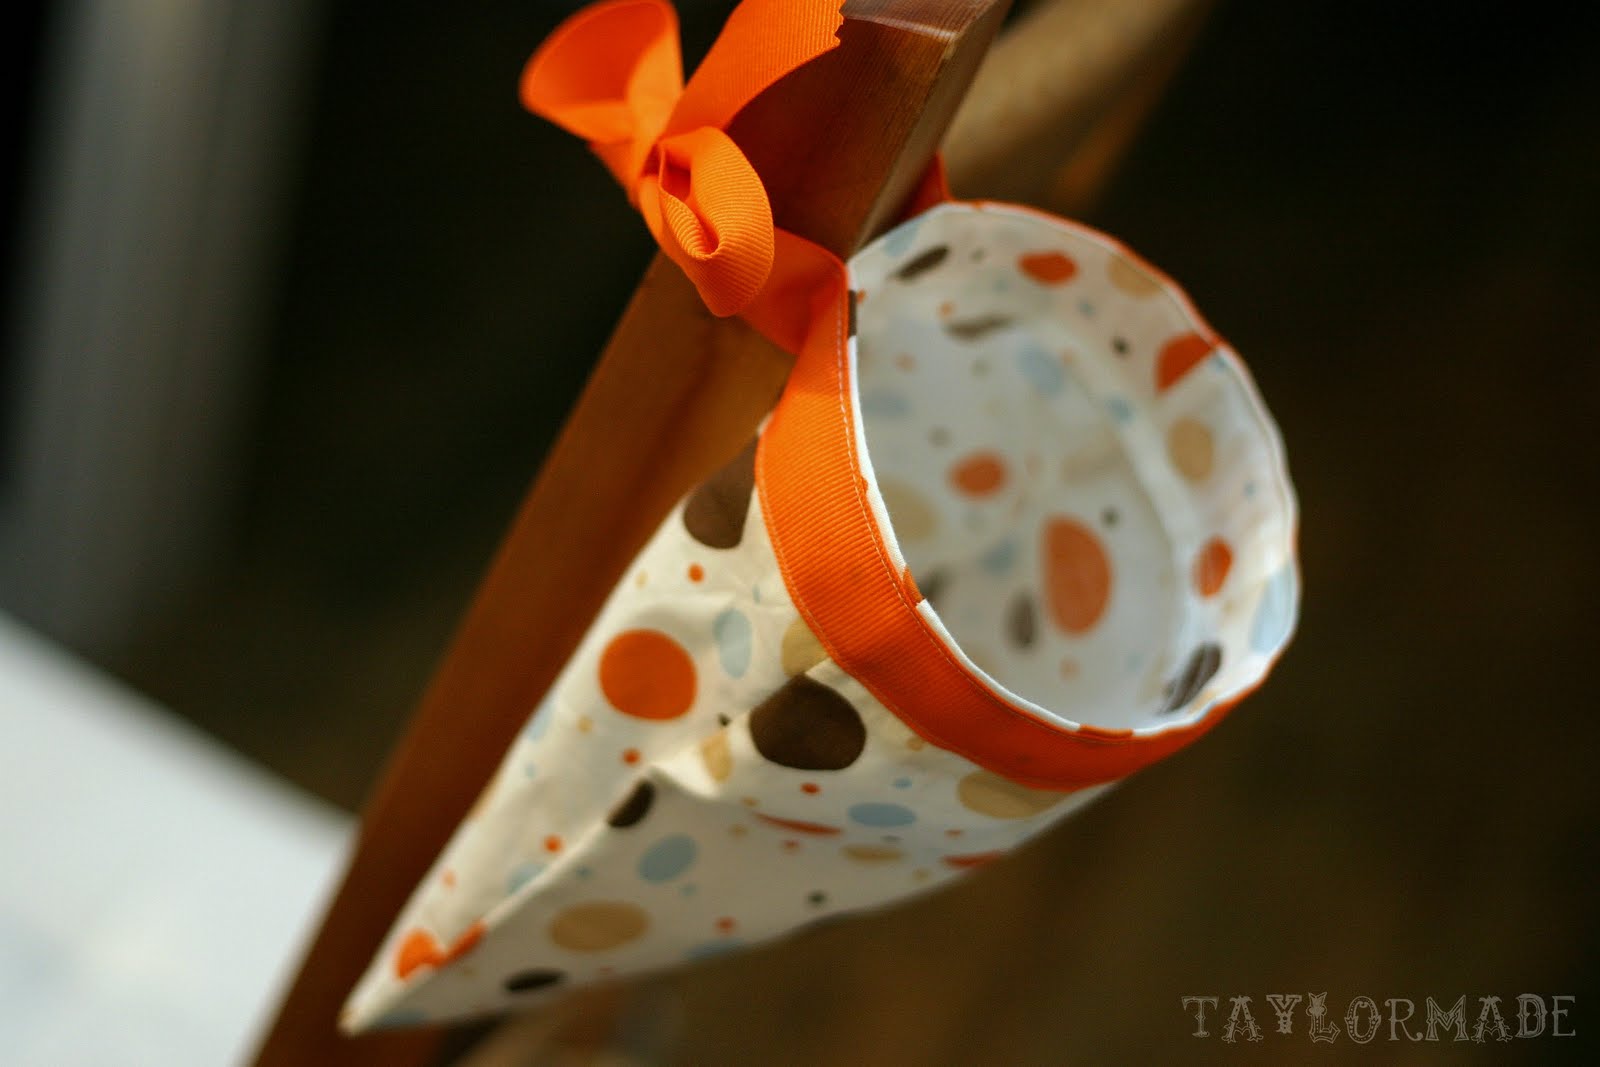
A common phrase at my house is… “where is the binky?”. So, I actually though about making something like this months ago for Clyde and his Binky Love (more of an obsession that I will regret later). We were invited to a diaper shower a few weeks ago and I always like to add something handmade. So I made a Binky Bag. 

It is so easy I can barely even call this a tutorial- but I will :)
All you need is:
– a small piece of fabric (mine was 14″ x 10″)
– small piece of boning
-a ribbon

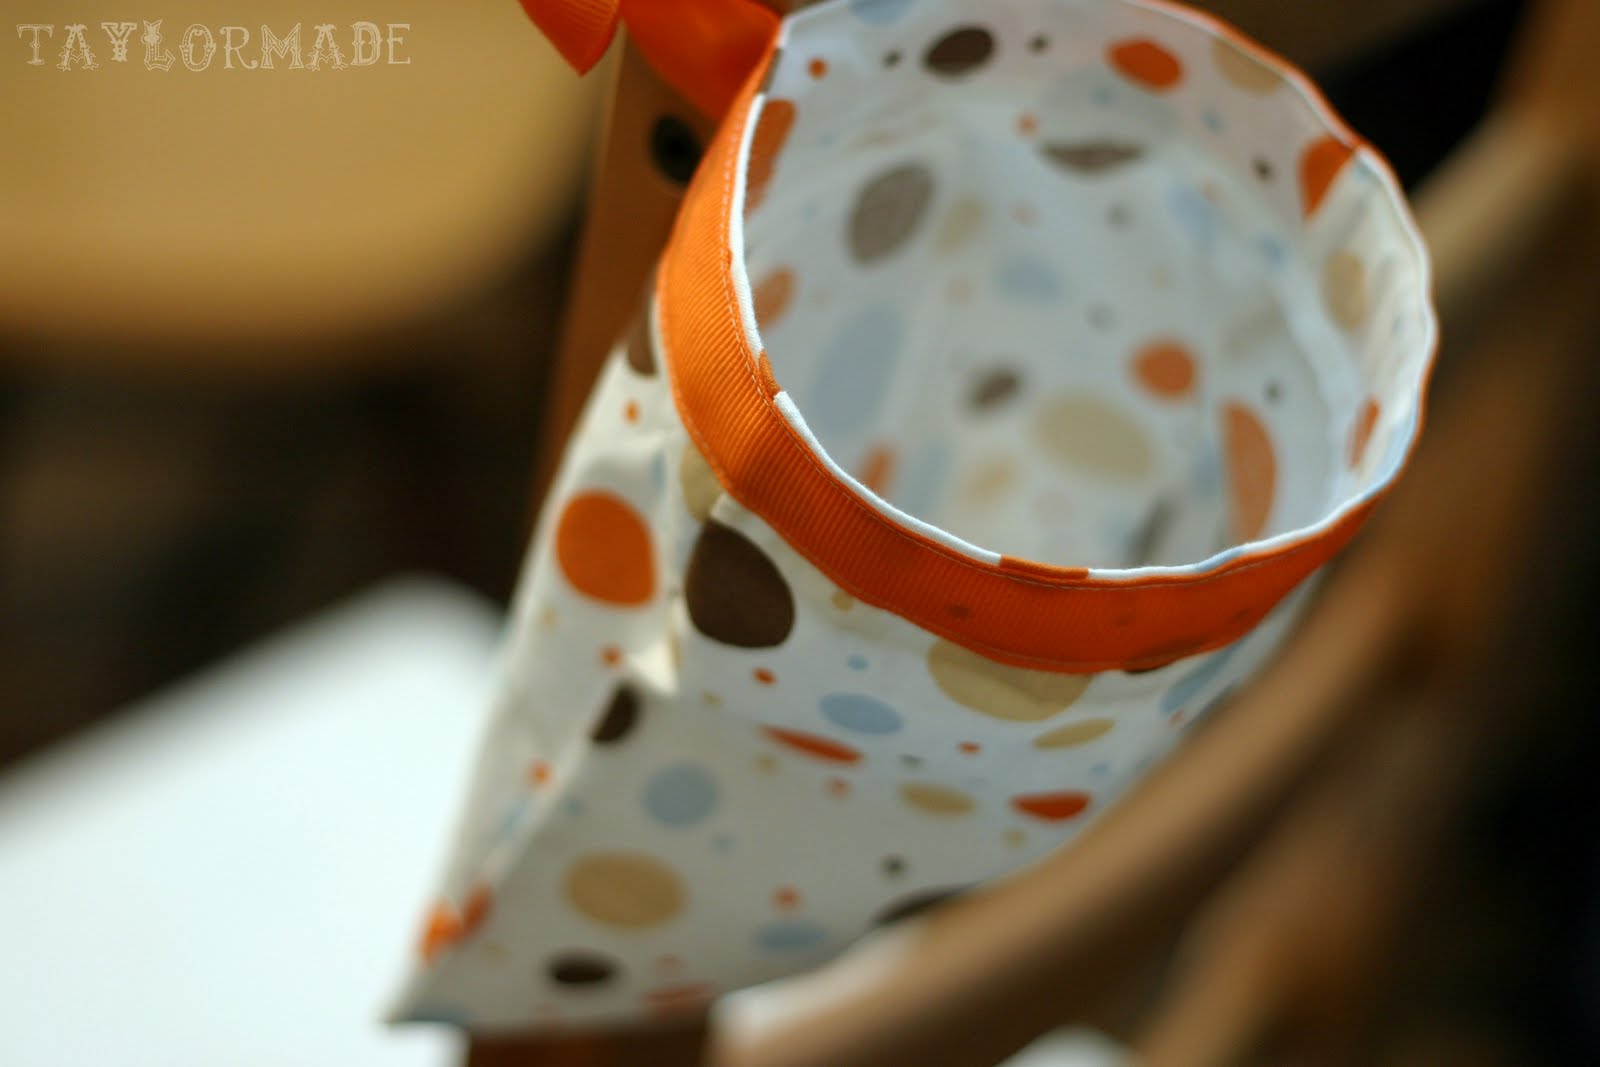
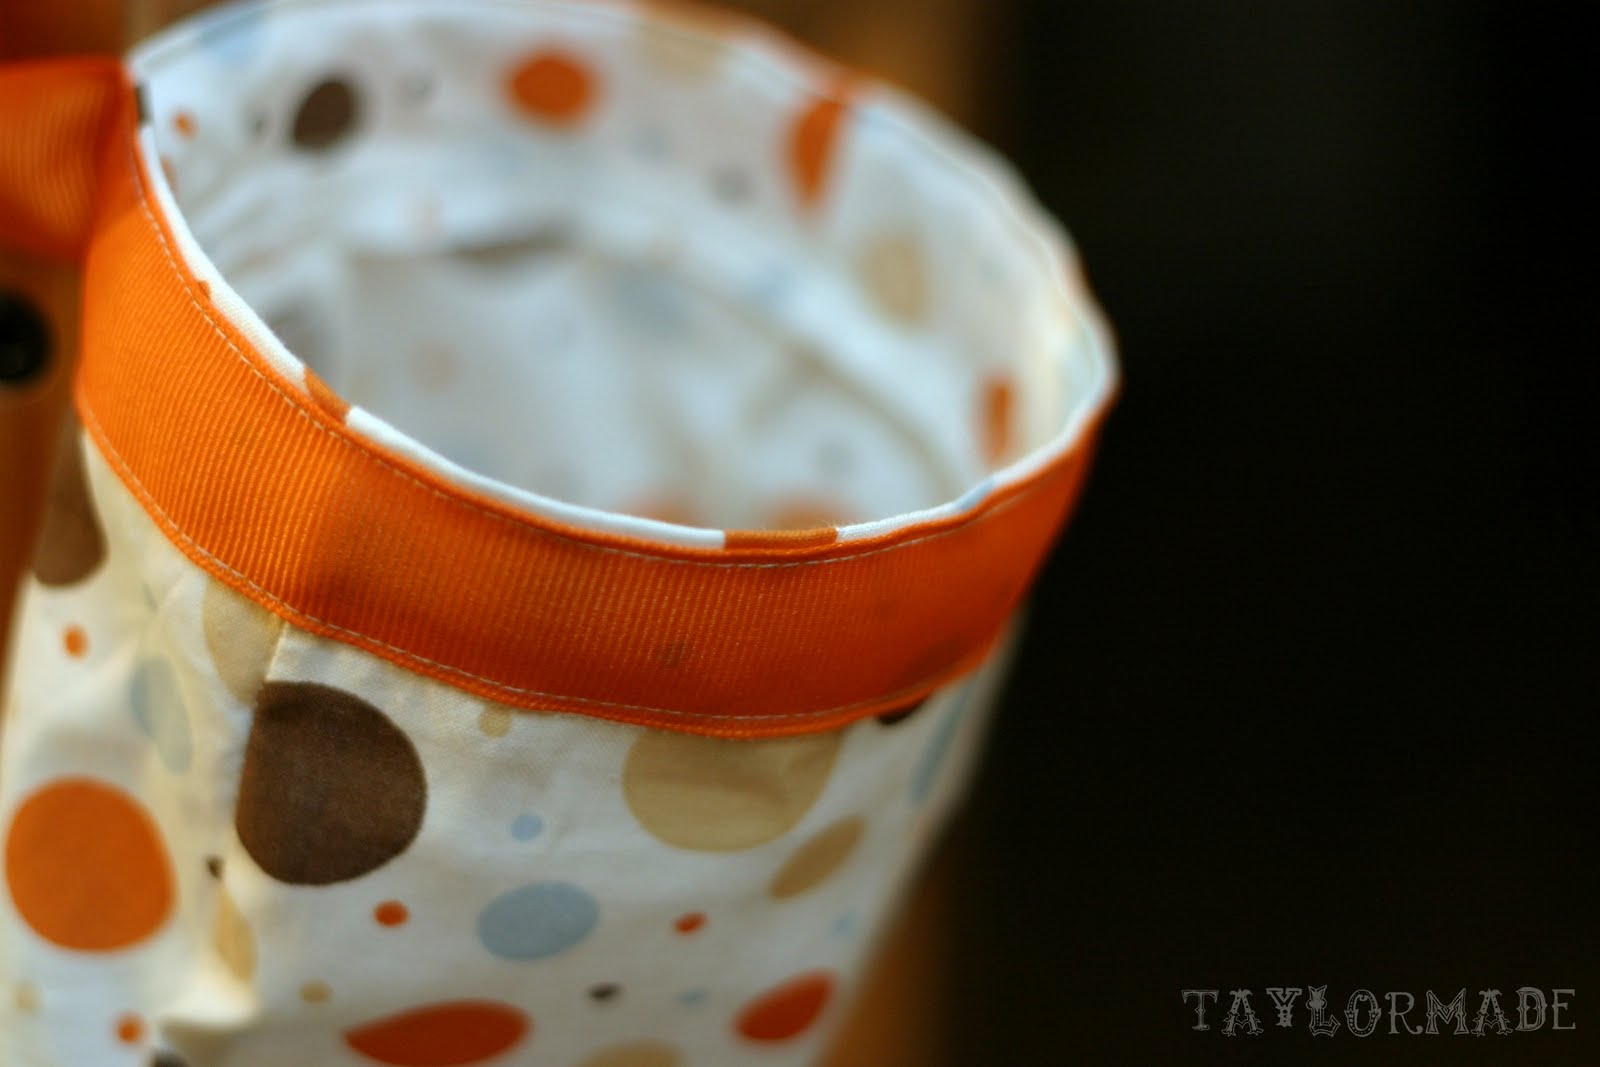
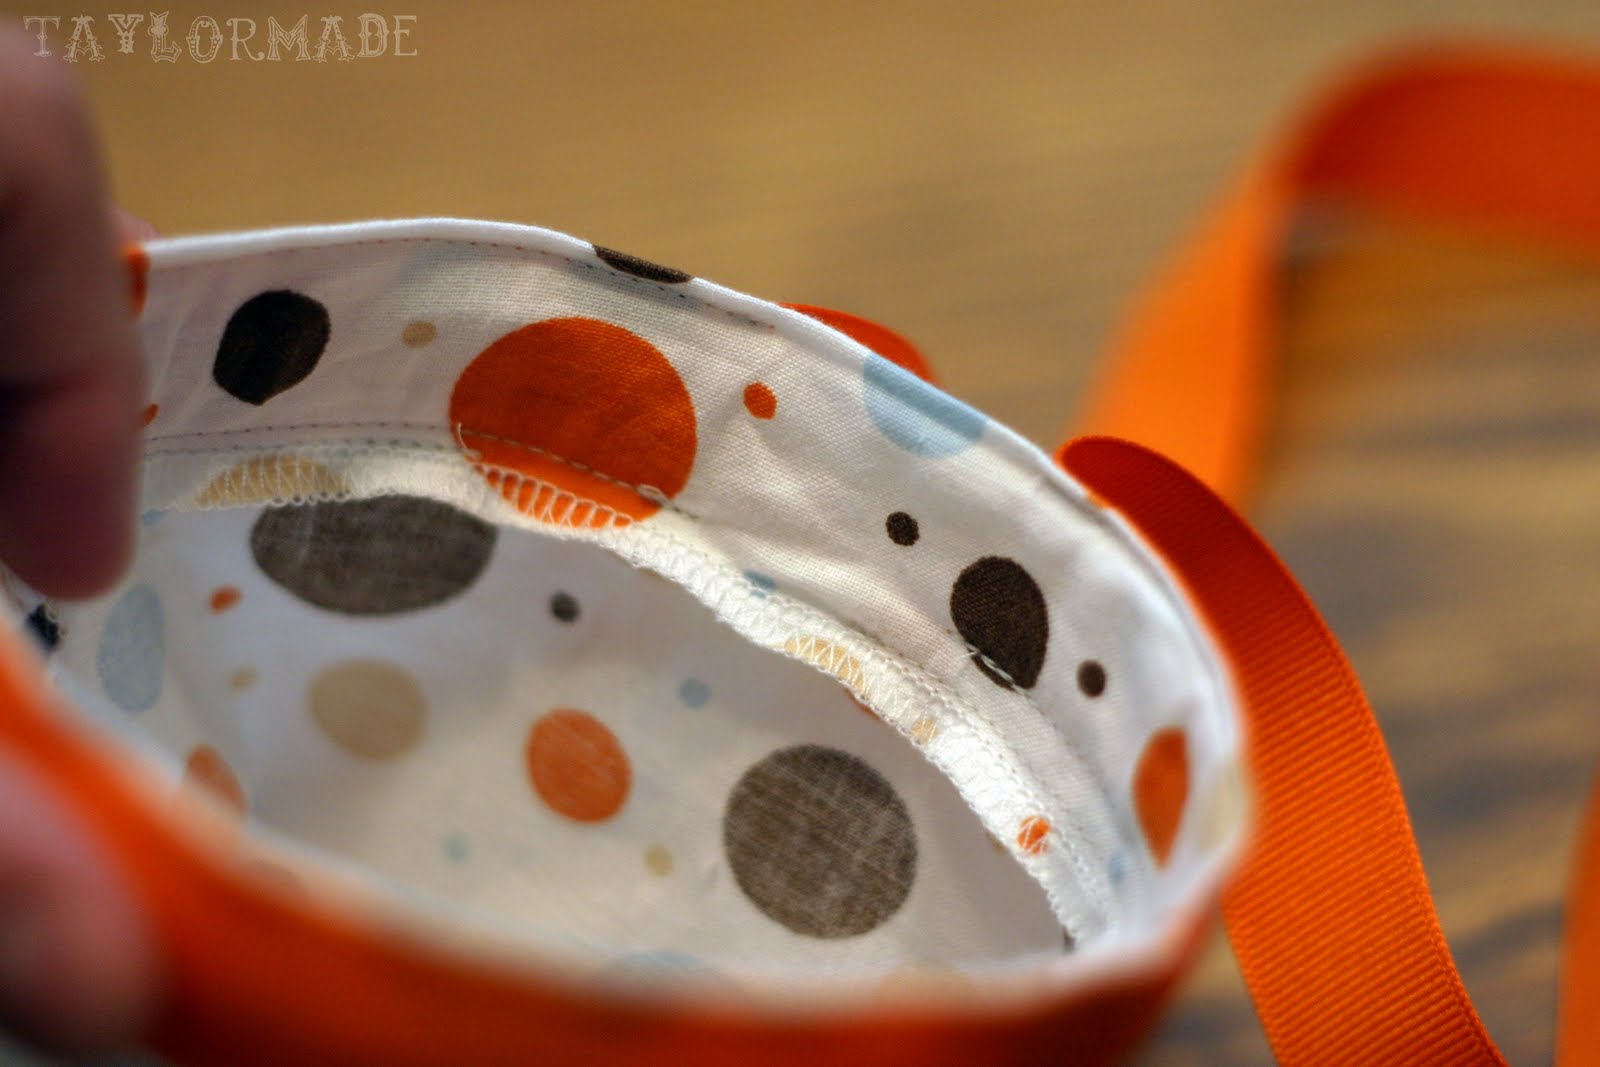
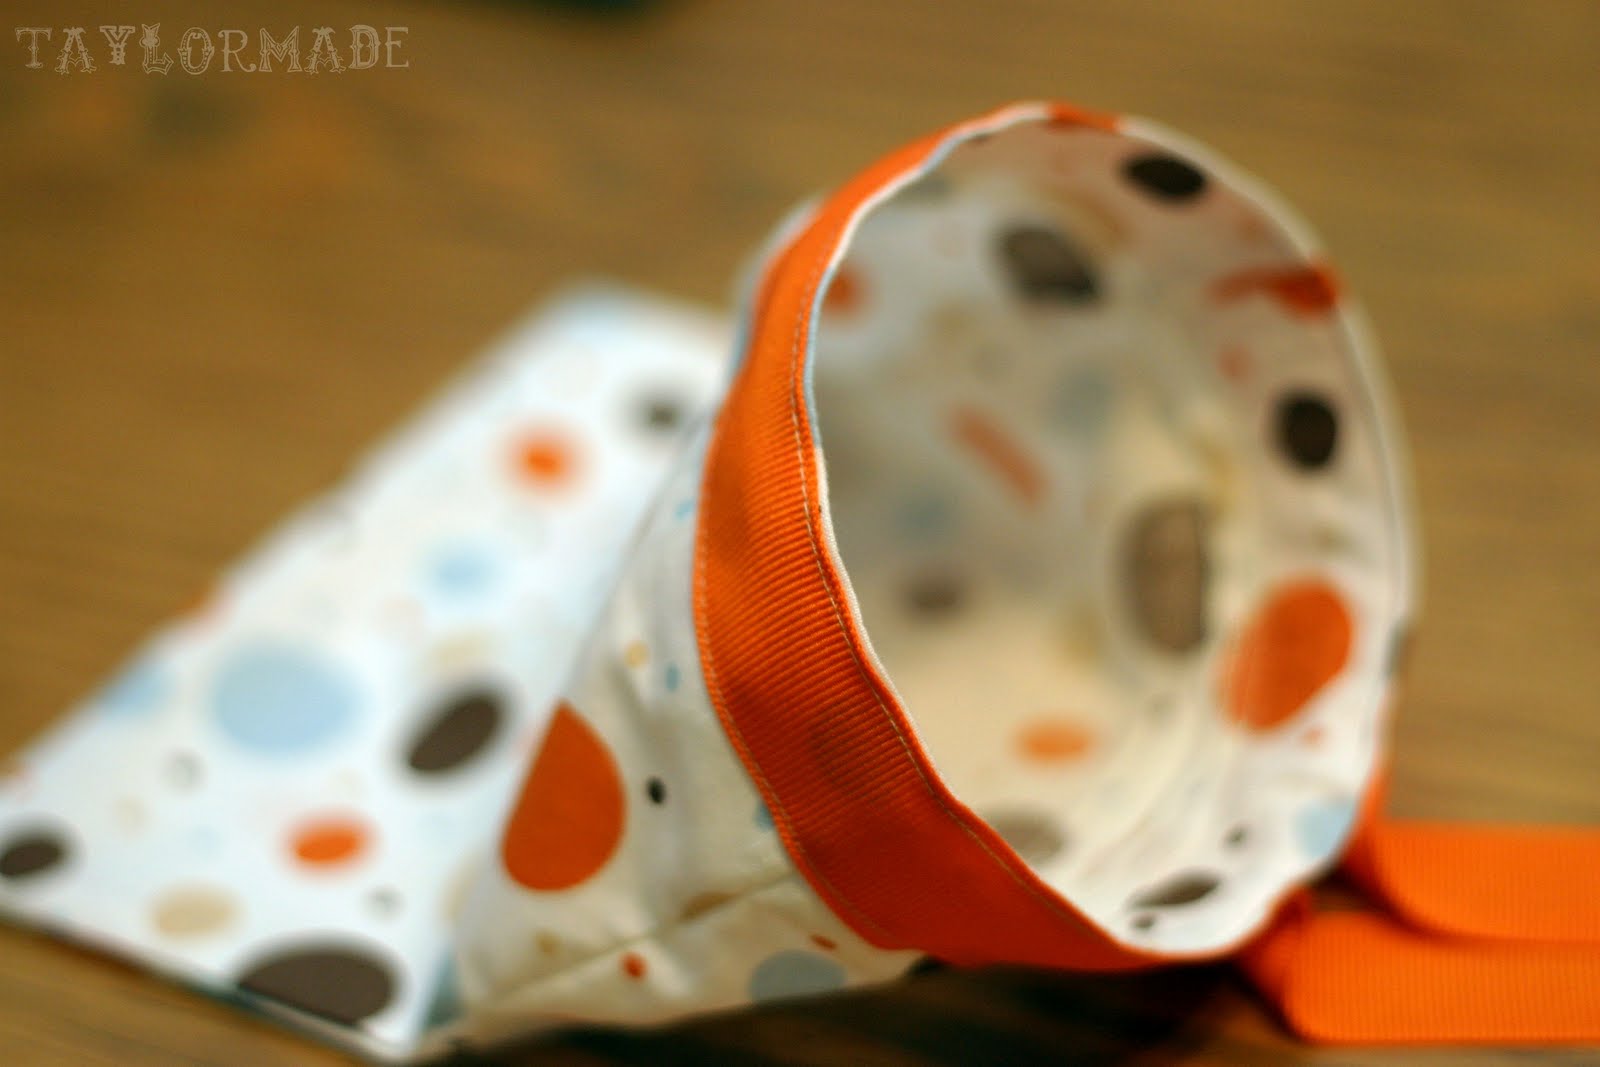
Basically all you do is create a pocket that is sewn on 3 sides and a 1″ hem on the 4th side so you can insert your boning inside and your bag will always be open. There are a ton of ways to modify it, here are the bare bones of the Binky Bag.

1. My piece of fabric was 14″x10″ and I folded it in half, right sides together, and stitched around 3 sides; leaving an entire side open
2. On the open side, serge around the top (or sew a hem)
3. With the bag still turned inside out, fold 1″ down
4. Sew around the fold leaving an opening
5. (the opening)
6. This is the boning that you will insert into that opening
7. Flip the bag right side out and pin a ribbon to the top of the bag
8. Make sure to leave a gap (about 1″) on the back of the bag so the ribbon doesn’t touch
9. Sew the ribbon to the bag

Lastly, insert the boning into the opening and stitch it closed.

Make sure to leave the gap in the ribbon so you can tie it to the side of the crib or changing table.

No more “where is the binky?” Happy Mommie, Happy Baby.

Filed Under: baby stuff, fabric, gift, kid stuff, serger, sewing Tagged With: kids

Baby Onesie Cutoffs

July 8, 2011 By Taylor 6 Comments

When Clyde was born and I realized I had another boy in the house I thought to myself, perfect! I have a closet full of boy clothes. Well… Finn was born on August 6th and Clyde was born on February 6th. Their dates are exactly six months apart to the day. 
So, we got home from the hospital with Clyde, I opened the closet and BAM a closet full of sleeveless and short sleeved shirts on the only day that Houston ever had a “hard freeze”.  Why didn’t I realize that all of these clothes were for the opposite season? Now once again all of Finn’s old 9 month onesies are for winter and I am about to die of a heat stroke. My poor little poopsie is hot natured just like his Mommy. Solution… Baby Cutoffs!

I did this to some pants a few weeks ago too. I am now on a Baby Cutoff Spree at my house and nothing is safe. Watch out old baby jeans… its over 100 degrees and mama’s hot. 
These make me hot just looking at them… (I really can’t describe my hatred for the heat enough)

I really wanted Clyde to be able to wear this shirt because it has a special meaning. When I first found out I was pregnant with Finn this was the first thing I bought, so really the first “baby thing” I ever bought in my life :)

Use a short-sleeved onesie as your pattern and mark 1/2″ past the edge of the sleeve. (Yes I use a sharpie, I don’t like tailor’s chalk)

Serge around the edge and then pin and sew two parallel lines for the seam. 

Ahhh…. relief! 

How cute is this little model of mine? What a Happy Boy! So, what sort of summer refashioning have you done lately? And are you now going to run through your house with scissors looking for clothes to cutoff?

Related Posts Plugin for WordPress, Blogger...

Filed Under: baby stuff, boy, clothes, kid stuff, serger, sewing, tutorial Tagged With: kids

  • « Previous Page
  • 1
  • 2
  • 3
  • 4
  • 5
  • Next Page »

Welcome to Taylor Made

http://www.taylormadecreatesblog.com/about-me Hi Yall! I'm Taylor... an artsy mom of three from Houston, TX. I love sewing, collecting floral fabric, eating Mexican Food, photography, brights colors, rearranging, and rolling clay. Taylor Made Creates is all about creating a fun, colorful home, sewing cute things and eating good food. Check out my SHOP HERE HERE! Thanks for stopping by!

Search

Pin with me!

Like Me :)

Facebook Pagelike Widget

More Recent Posts

  • Kid's Animal Room
  • Kids Camping Shirts
  • Mermaid Birthday Party
  • Conversation Heart Cold Packs
  • Holiday Apple Tea Punch
  • Purple Princess Costume
  • Letterboard Costume
  • La Croix Costume

FAVORITES

  • Casserole Carrier
  • Triangle Baby Quilt
  • Happy Rocks
  • Foodie Napkin Rings
  • a Happy Birthday Quilt Block
  • Briar Rose Strip Quilt
  • A “Make Your Own Ornament” Party
  • Tropical Fruit Salad
  • Group Fruit Costume for Kids

Copyright © 2026 · Web Hosting By RFE Hosting