TaylorMade

DIY, Home Decor & Sewing

  • Home
  • SHOP
  • DIY & Sewing
    • For the Home
    • Sewing
    • Costumes and Holidays
    • Cricut Projects
    • Crafting
  • Parties
  • Recipes
  • Home Tour
  • Favorites
  • About

thanks & giving dish towels

November 19, 2012 By Taylor 17 Comments

What? How is it already Thanksgiving week? I’m totally not ready, mainly because October-December is my favorite time of year and I feel like it’s halfway gone. Anyway, I made these dishtowels to hang in the store but I ended up loving them- so I kept them :)

I went to Joann’s looking for “dishtowel” material (what ever that means) and found something perfect. Isn’t this waffle fabric such dishtowel material? I serged the edges, pressed them down and sewed a hem all the way around.

Then, I cut the fabric to fit over the dishtowel the same way I make my burp cloths. If you have a serger you can serge to the exact size, if not you will need just fold the edge over. Then I used a zig-zag stitch to attach the fabric to the edges of the dish towels.

Fold your towels the way they will hang to determine where you will stamp your words. Then tape off the section for the words.

Of course, I used my PSA Essentials. The great thing about these stamps is the “stamper” that comes with them. It gives you a perfect stamp each time but I wanted a more “rustic” looking letter so I used the stamp on an acrylic block. Also that helped me to line up the letters easier.

Center your words and stamp away.

I love how they turned out. Also, last week my son moved them and I walked by and they said “giving… thanks” Still works. For other PSA Stamps ideas, visit the blog HERE.

Pin It

Filed Under: fabric, holidays, serger Tagged With: holidays

Silhouette Cameo Dust Cover (with pattern)

September 24, 2012 By Taylor 42 Comments

Remember last Thanksgiving when I WON a Silhouette Cameo? It was an exciting moment in my blogs life. I used to own a regular ole Silhouette and I was totally fine with it. I even made it a Dust Cover HERE. But when I won my new one, it went naked for a while. This has been on my to do list for about a year. Better late than never :) 
You will need a piece of fabric that is 22 1/2″ x 13″. Then you need to print out the Edge PATTERN PIECE HERE. Made sure your edge pieces are facing opposite directions, you can cut on the fold too. Disclaimer: I used a serger to finish my edges, however if you want to add a hem, you might want to add a 1/2″ to these measurements.

Then, with right sides together start pinning the edges to the main square of fabric. 

It will soon look like this, then you sew. Clip Your corners after you sew. 

Then I serged, or you could do 1/2″ hem.
Now she’s not naked, but she does have matching underwear :) Did anyone else make a custom face-plate or am I the only one? Oh come on guys, anyone?

Pin It

Filed Under: fabric, pattern, serger, sewing, Silhouette Tagged With: accessories

Padded Camera Strap

May 22, 2012 By Taylor 20 Comments

 
Hi my name is Taylor and I have a problem… I am addicted to making camera straps…. I need a support group. If you have been around a while, you might remember one of my very first posts HERE. Then remember when I made a Christmas gift HERE. In my defense one is old and one was a gift so it was just time :) And I love my new strap, so I guess its justified right? Want to make one and feeling destructive?…
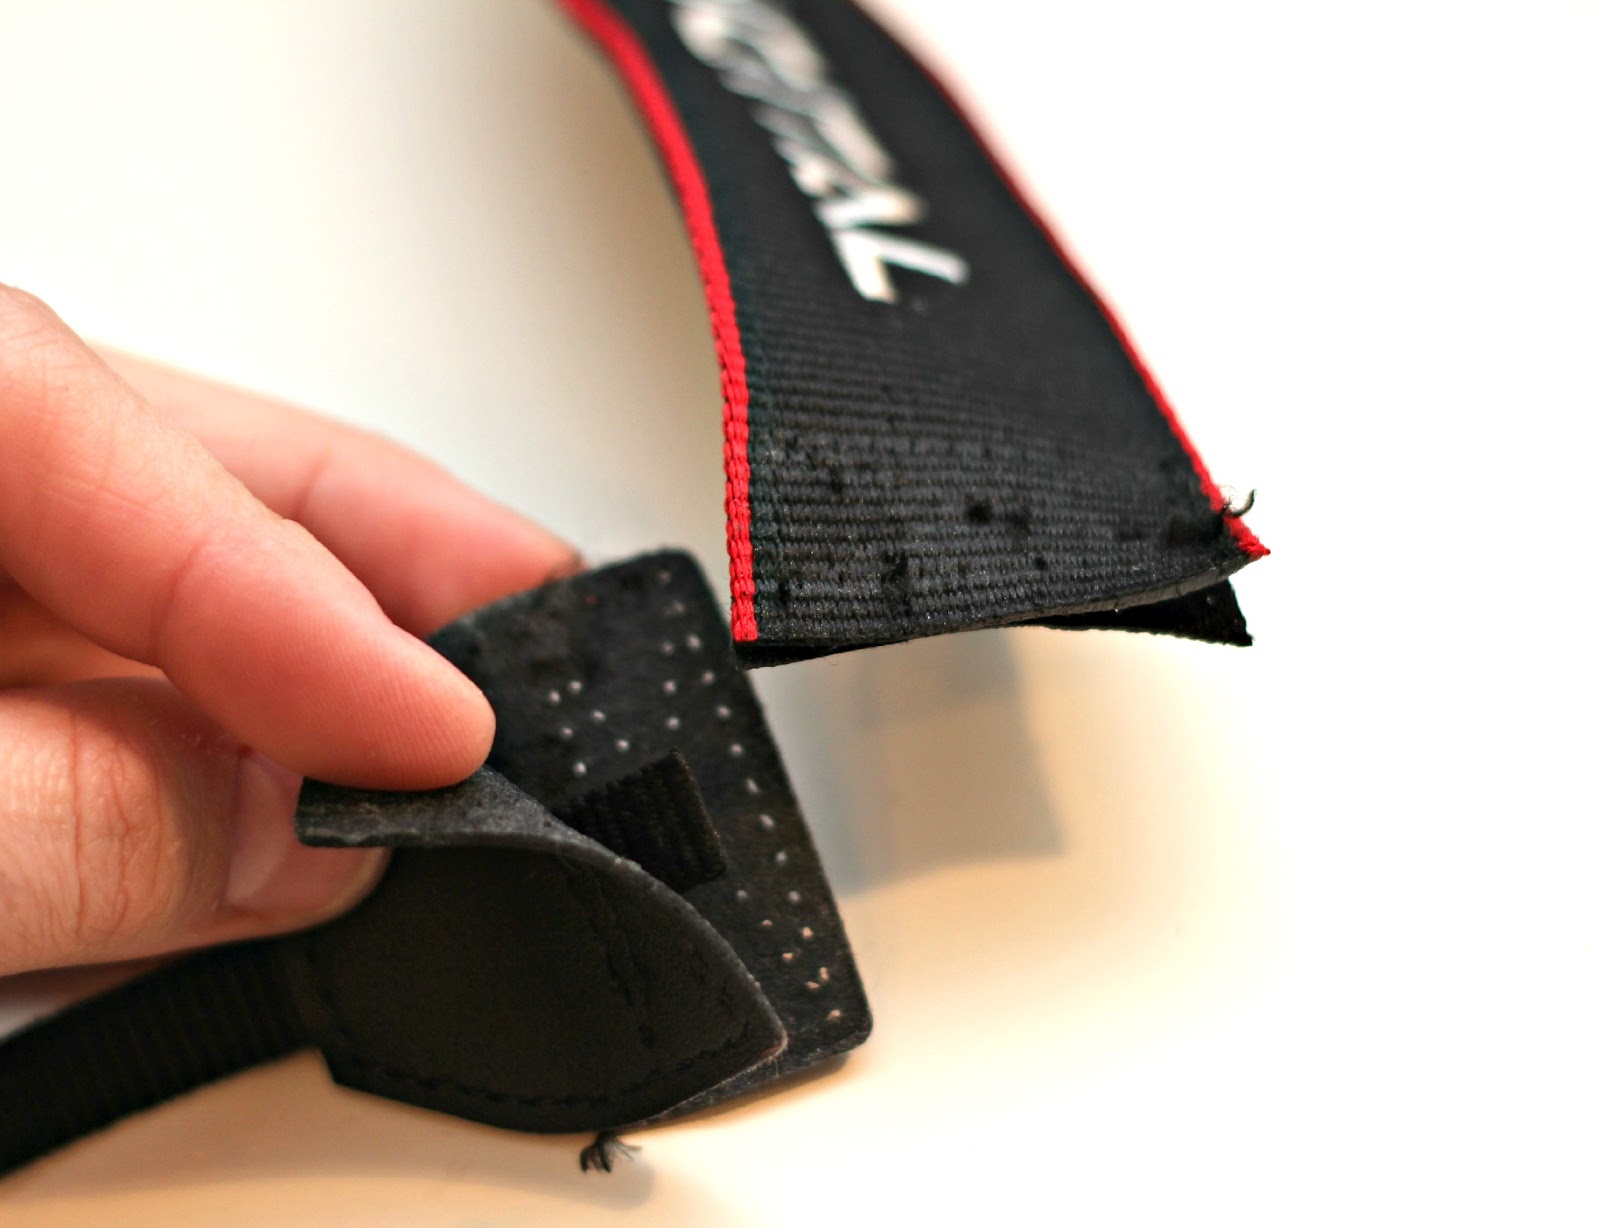
See the end of the existing strap here, tear it apart, yay!
Does anyone else kind of like seam ripping?
Keep the bottom together; only seam-rip the part holding the strap to it.
Wrap the strap in batting, I doubled it around the strap. Poor night crafting lighting.
Cut your fabric 2.5x as wide and an inch or so longer than your strap.
Serge the ends, fold over, press and sew. Serging adds a professional looking touch but as usual its not necessary. Then fold the strap together longways with right sides touching. Sew and flip right ride out.
Fabric label :)
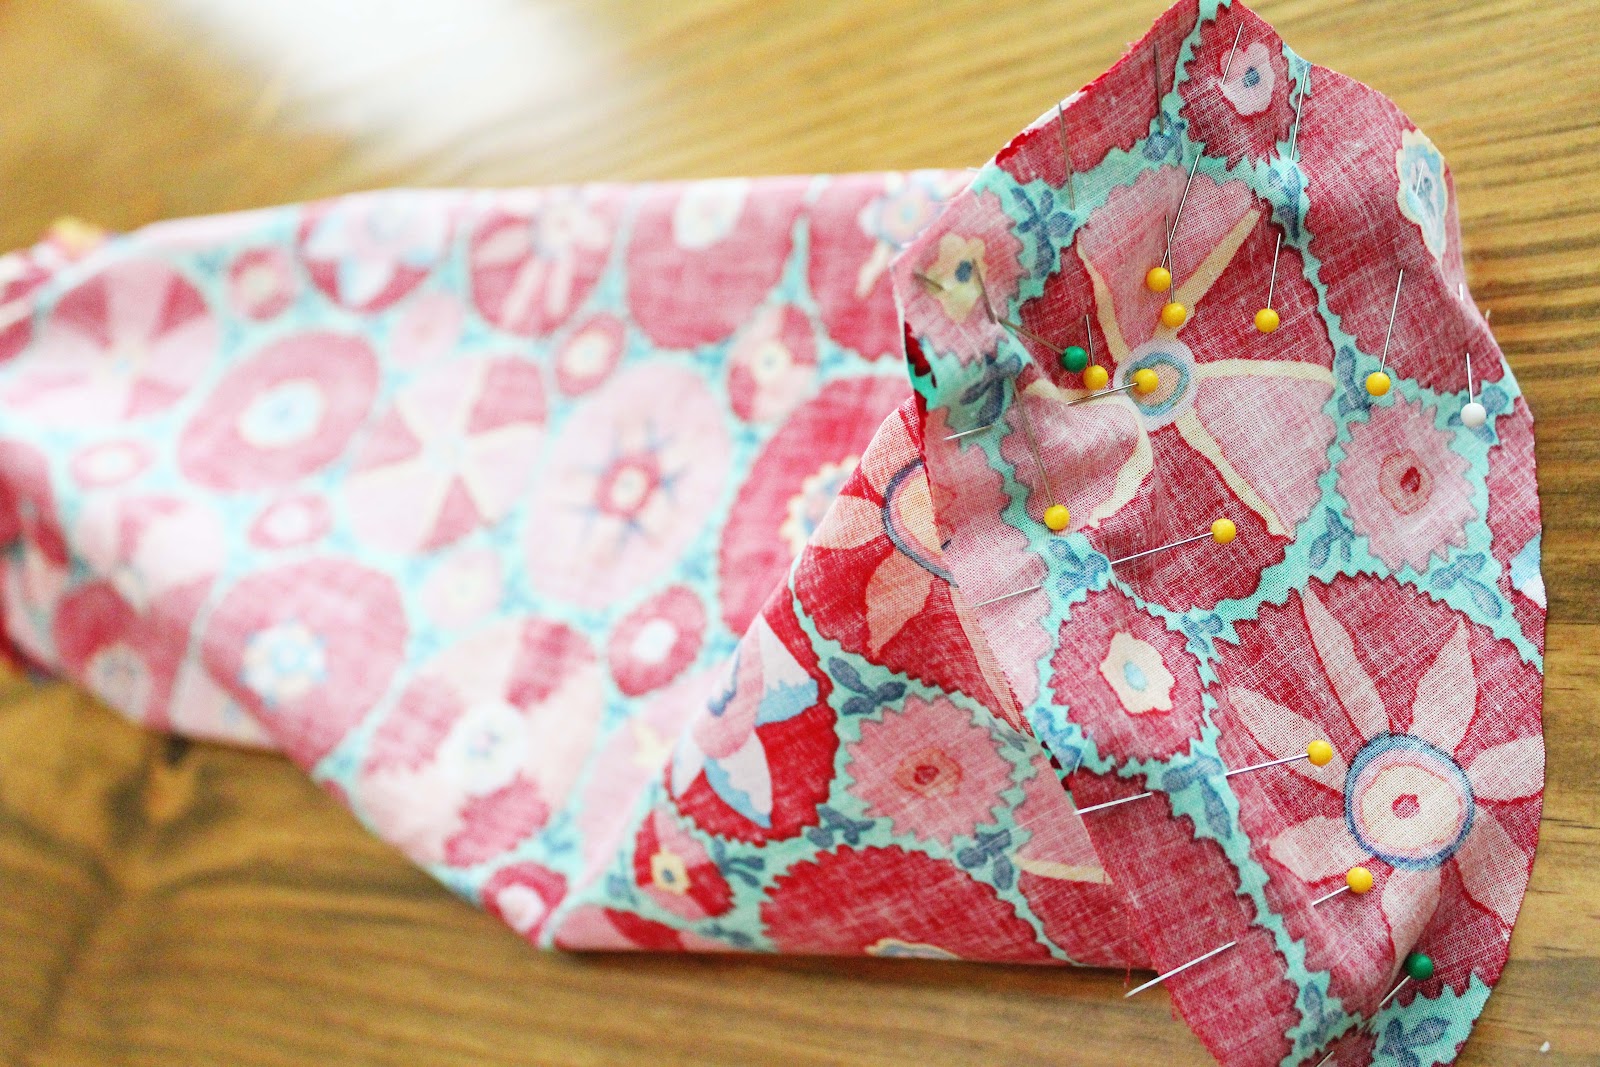
I serged the ends of the padded strap then put it into the fabric tube.
Last step is sewing the faux-leather part back to the strap. It should be easy because the holes are already there as a guide. I asked my Father in Law to do this part for me because my sewing machine is old and kind of wimpy when it comes to thickness. He works for NASA in the fabrication department, he says he has machines that can sew quarters together, cool huh?
Do you have a craft that you make over and over again? Apparently I like making camera straps and pillows. Also how great is this fabric?

Pin It


Filed Under: fabric, serger, sewing, tutorial Tagged With: accessories

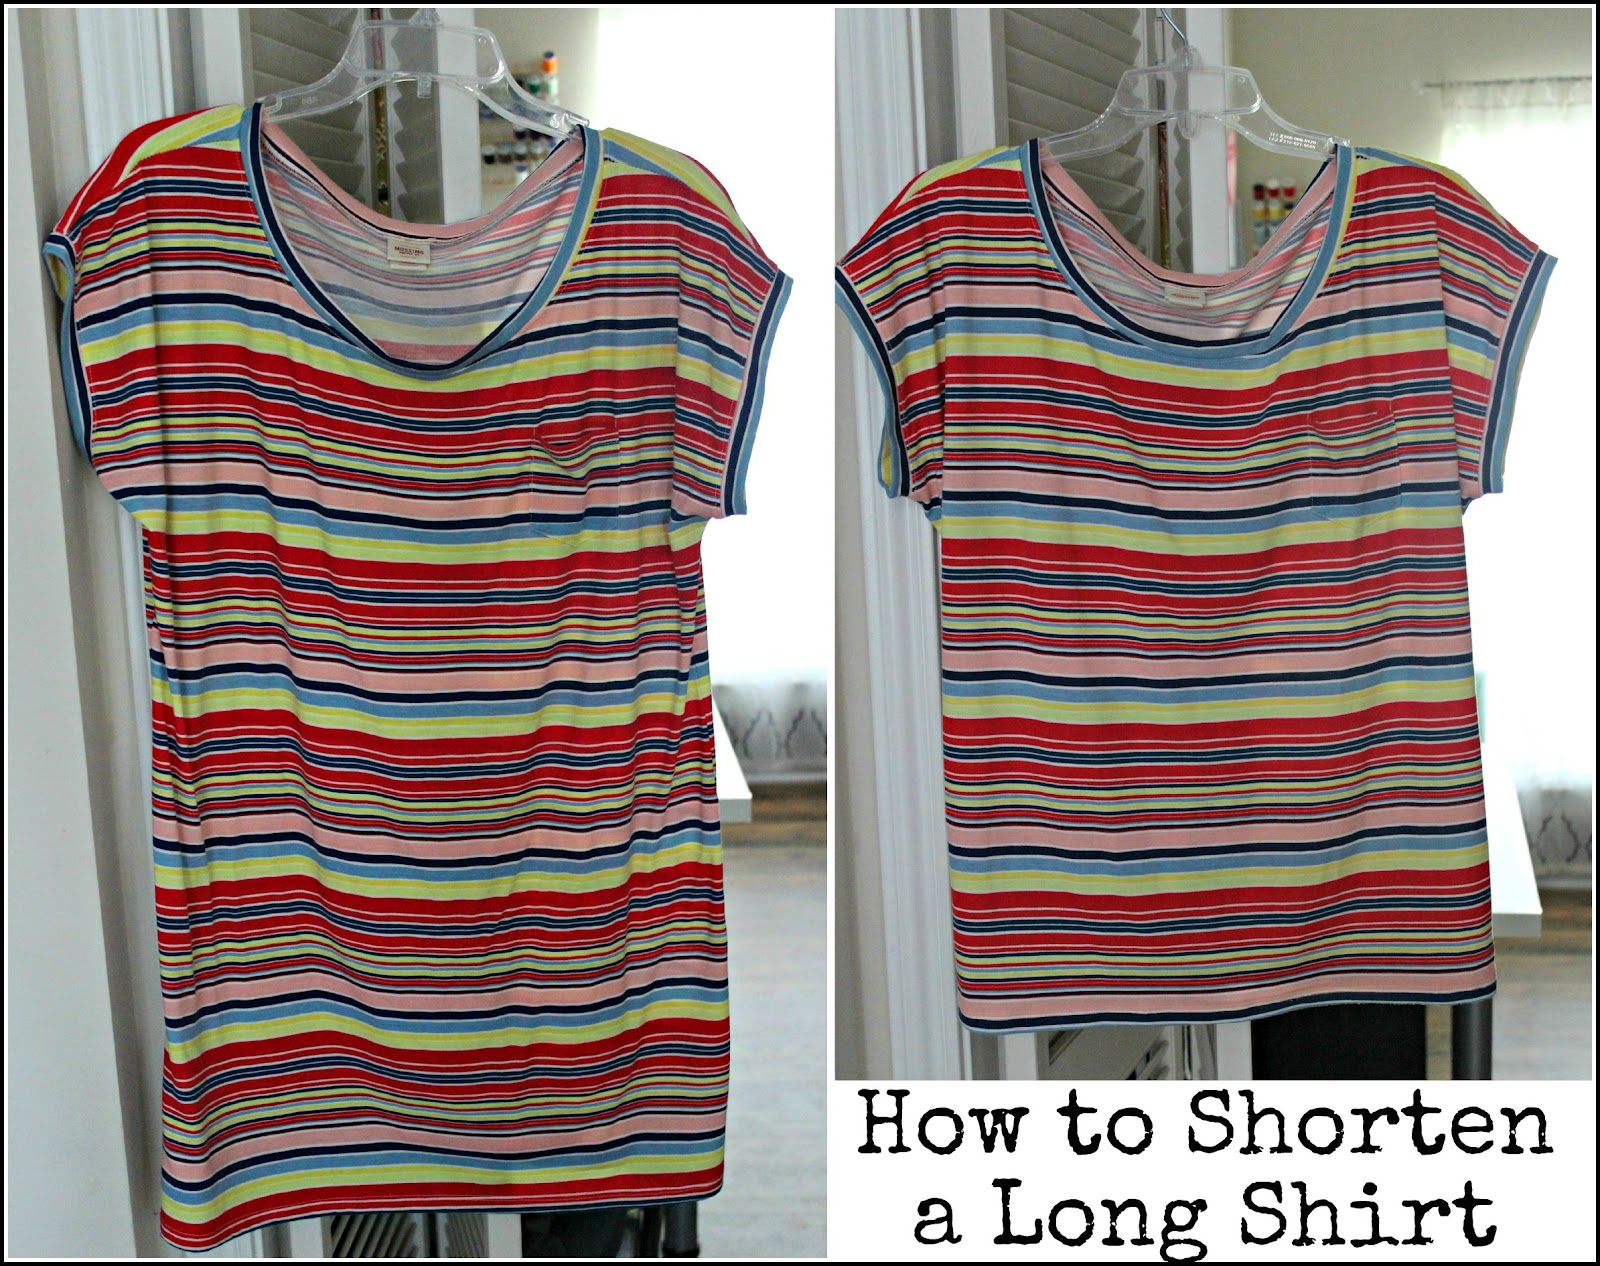
How to Shorten a Shirt

May 16, 2012 By Taylor 3 Comments

I found this shirt/dress a few weeks ago and I like to print but it was a weird length for me. It also came with a waist tie but it seemed way too long for a shirt on me but way too short for a dress. DIY to the rescue :) And thankfully because of the stripes, the hard part was already done for me, yay! (I also did this on the way out to a party with the boys waiting on me so excuse my quick photos :)
How to Shorten a Long Shirt:
First, cut your shirt a little longer than you want it.

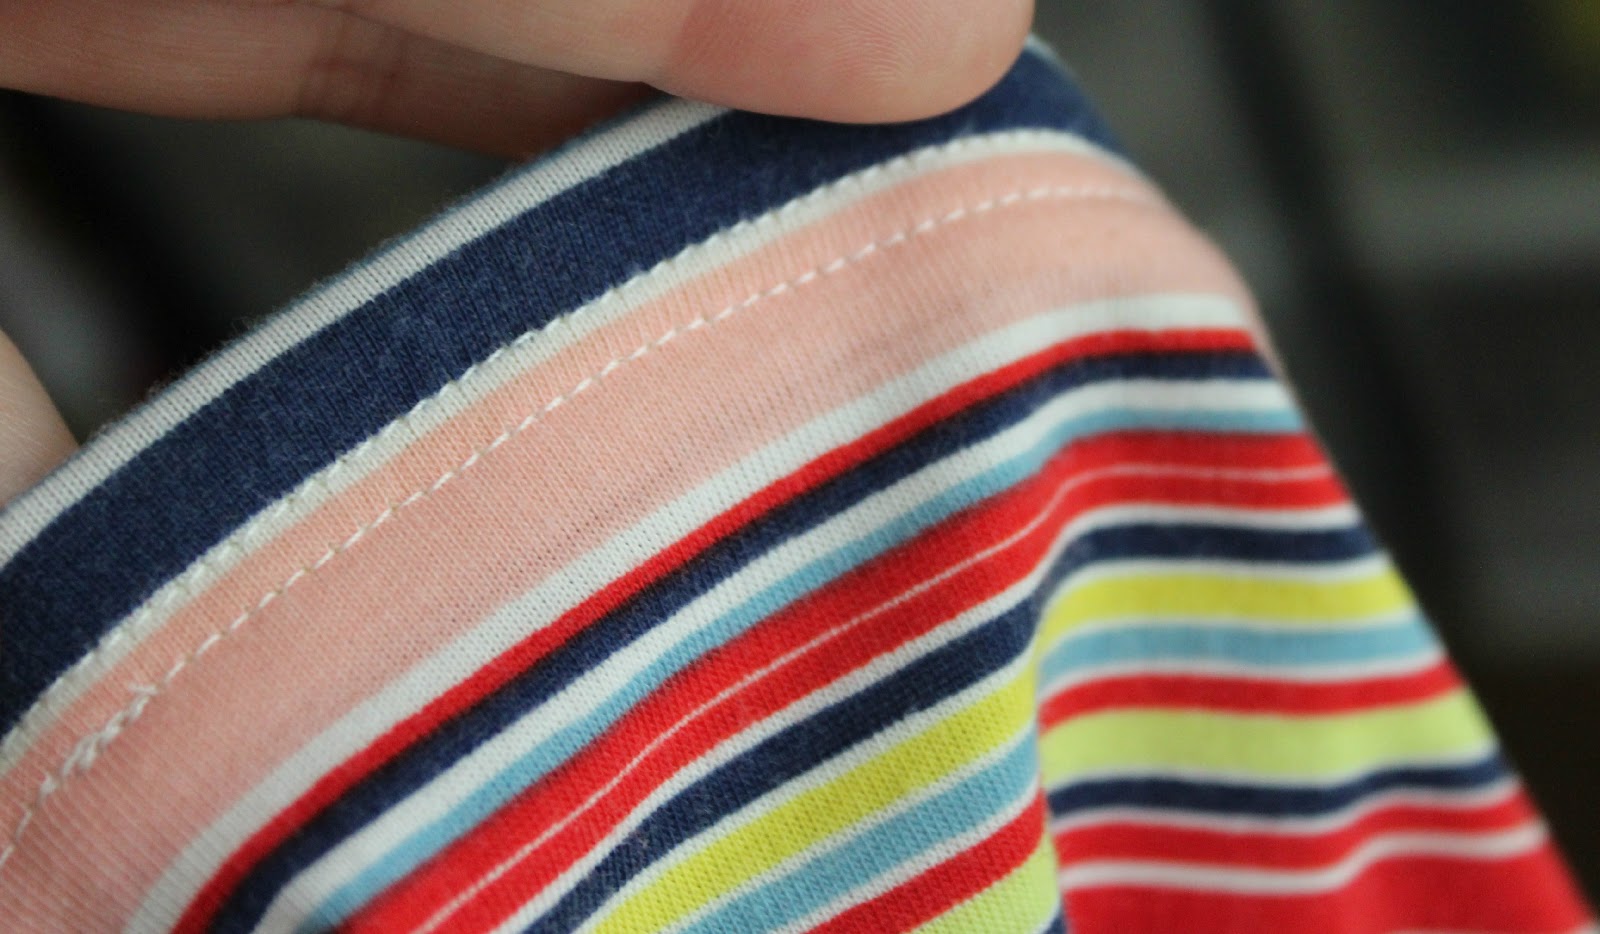
A serger really helps with this project but it isn’t necessary, you could just press and sew. But thankfully I do have a serger, total time saver. Serge/sew, fold over and press.

Sew the hem under, so lucky to follow the lines! 

Here is the first line I did, I really think it looks much more professional if you use the double needle. I love using it but to be honest I think the setup takes too long and like I said I was literally leaving, I like to live on the edge, ha. So this time I just sewed another line but I do highly recommend the double needle for a professional looking hem. 

Next line…

All done :) 

I even had time for a cell phone pic as I ran out the door. This length is much better for me! Has anyone refashioned lately, and if so did you do it as you were walking out the door leaving no room for error :/ 

Pin It


Related Posts Plugin for WordPress, Blogger...

Filed Under: clothes, serger, sewing Tagged With: clothing

  • « Previous Page
  • 1
  • 2
  • 3
  • 4
  • 5
  • Next Page »

Welcome to Taylor Made

http://www.taylormadecreatesblog.com/about-me Hi Yall! I'm Taylor... an artsy mom of three from Houston, TX. I love sewing, collecting floral fabric, eating Mexican Food, photography, brights colors, rearranging, and rolling clay. Taylor Made Creates is all about creating a fun, colorful home, sewing cute things and eating good food. Check out my SHOP HERE HERE! Thanks for stopping by!

Search

Pin with me!

Like Me :)

Facebook Pagelike Widget

More Recent Posts

  • Kid's Animal Room
  • Kids Camping Shirts
  • Mermaid Birthday Party
  • Conversation Heart Cold Packs
  • Holiday Apple Tea Punch
  • Purple Princess Costume
  • Letterboard Costume
  • La Croix Costume

FAVORITES

  • Casserole Carrier
  • Triangle Baby Quilt
  • Happy Rocks
  • Briar Rose Strip Quilt
  • Foodie Napkin Rings
  • a Happy Birthday Quilt Block
  • Fabric Storage and a Craft Room Update
  • Tealight Flight
  • Mini Fabric Lamps

Copyright © 2026 · Web Hosting By RFE Hosting