TaylorMade

DIY, Home Decor & Sewing

  • Home
  • SHOP
  • DIY & Sewing
    • For the Home
    • Sewing
    • Costumes and Holidays
    • Cricut Projects
    • Crafting
  • Parties
  • Recipes
  • Home Tour
  • Favorites
  • About

Custom Pup Silhouette Art

January 7, 2013 By Taylor 6 Comments

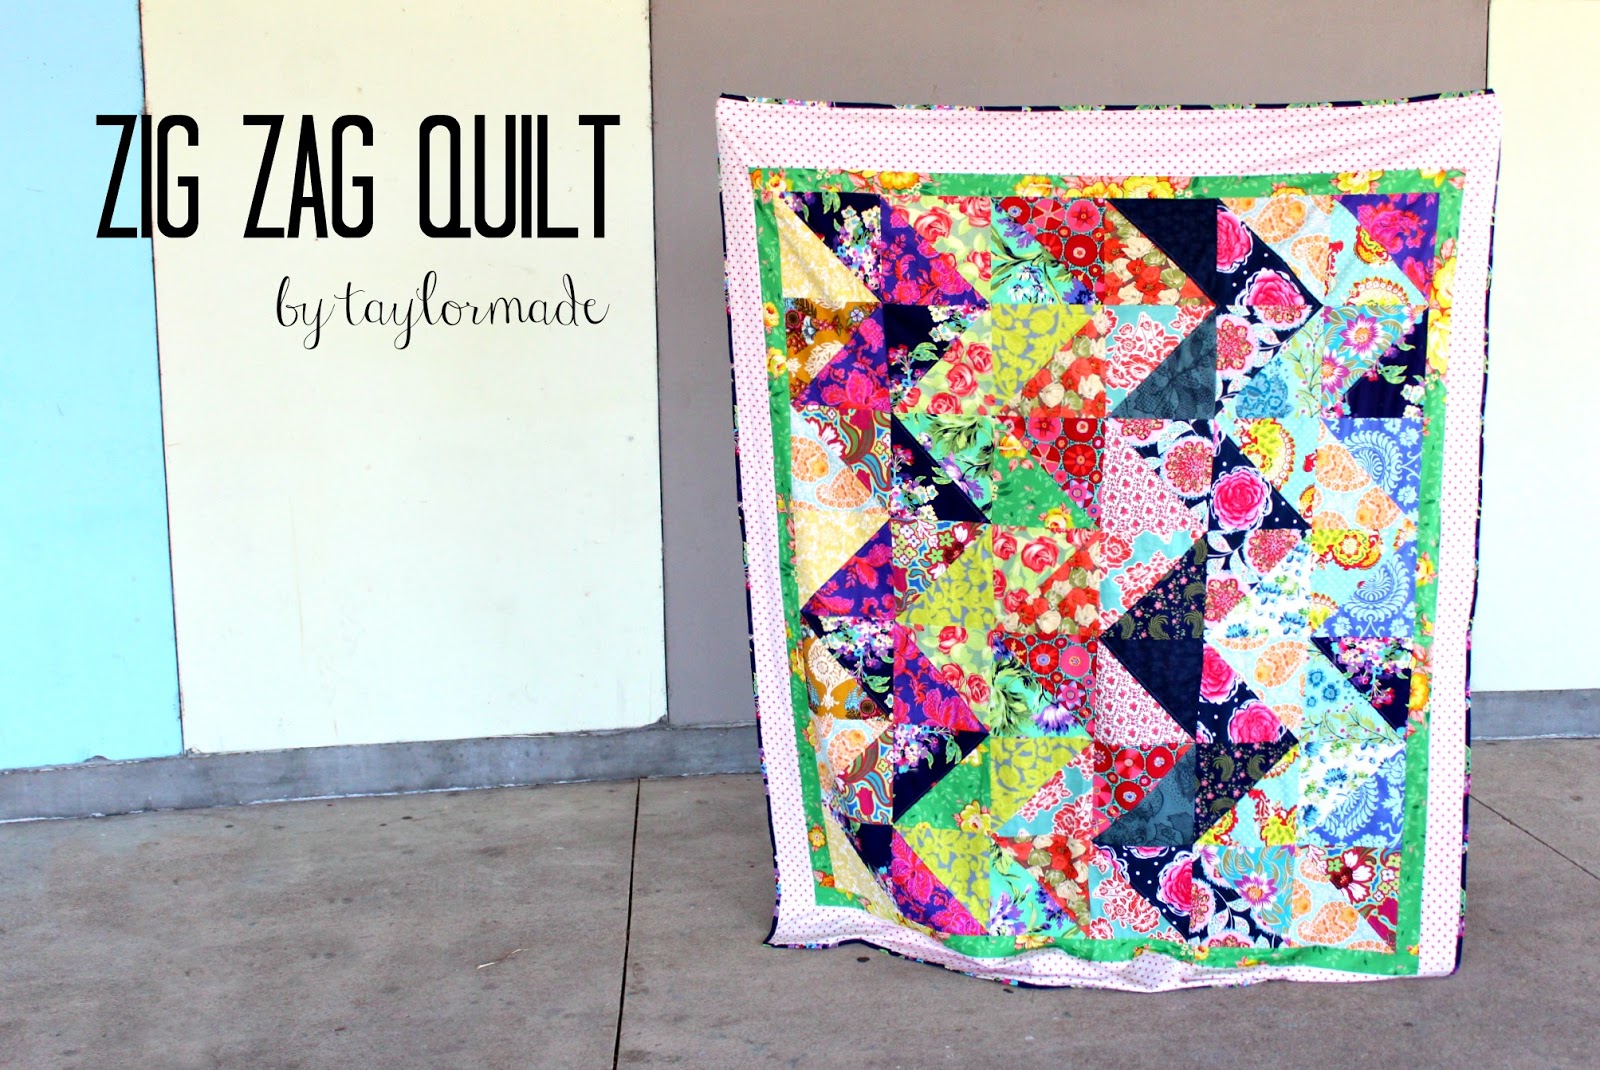
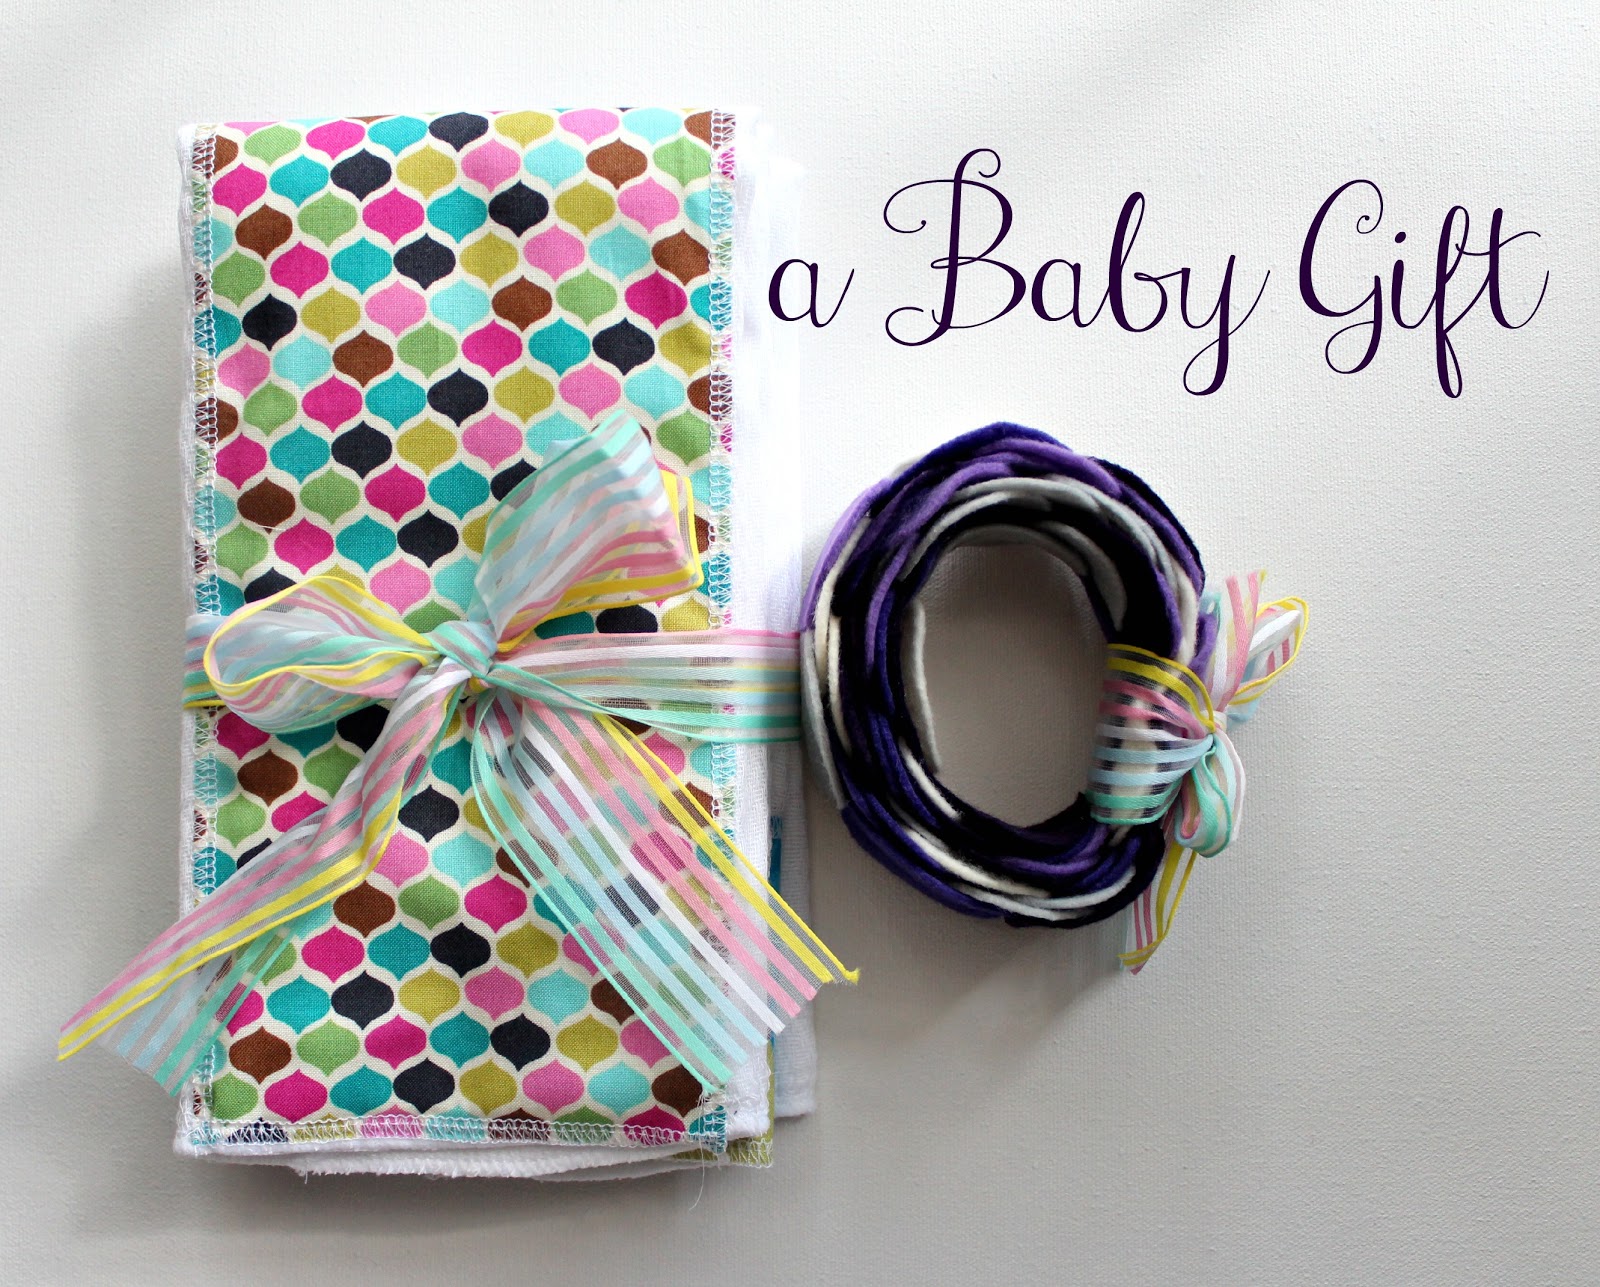
Hi Friends, I’m “back”. I haven’t posted in a few weeks- and it felt good because I spent lots of good quality family time, some inspiring craft time and some crazy Christmas rush “I own a retail store” time. I also was a busy bee making some gifts that I couldn’t share before the holiday, but its back to life; back to reality. So now I can share them all, bring on the late holiday crafts :)
Here is Mack… My sister’s pride and joy. I just hope that one day when she has children- she can like them as much as she loves her dog. He obviously leads a rough life!
She is also starting a gallery wall so I figured this would be the best present ever. The hardest part is getting the silhouette of the dog. It wouldn’t be as hard if the dog is actually yours, but in this case I googled. Mack is half Boston Terrier/Half Pug so I found something a little more squatty and I stretched the image out in Photoshop.
Then I cut out the silhouette using my Cameo and stuck it to a white canvas. I also taped off the sides of the canvas to keep them white, but you could spray them too.
Then I went outside and sprayed it. I used 3 light coats of spray paint. (color is Lemon Grass by Rustoleum)
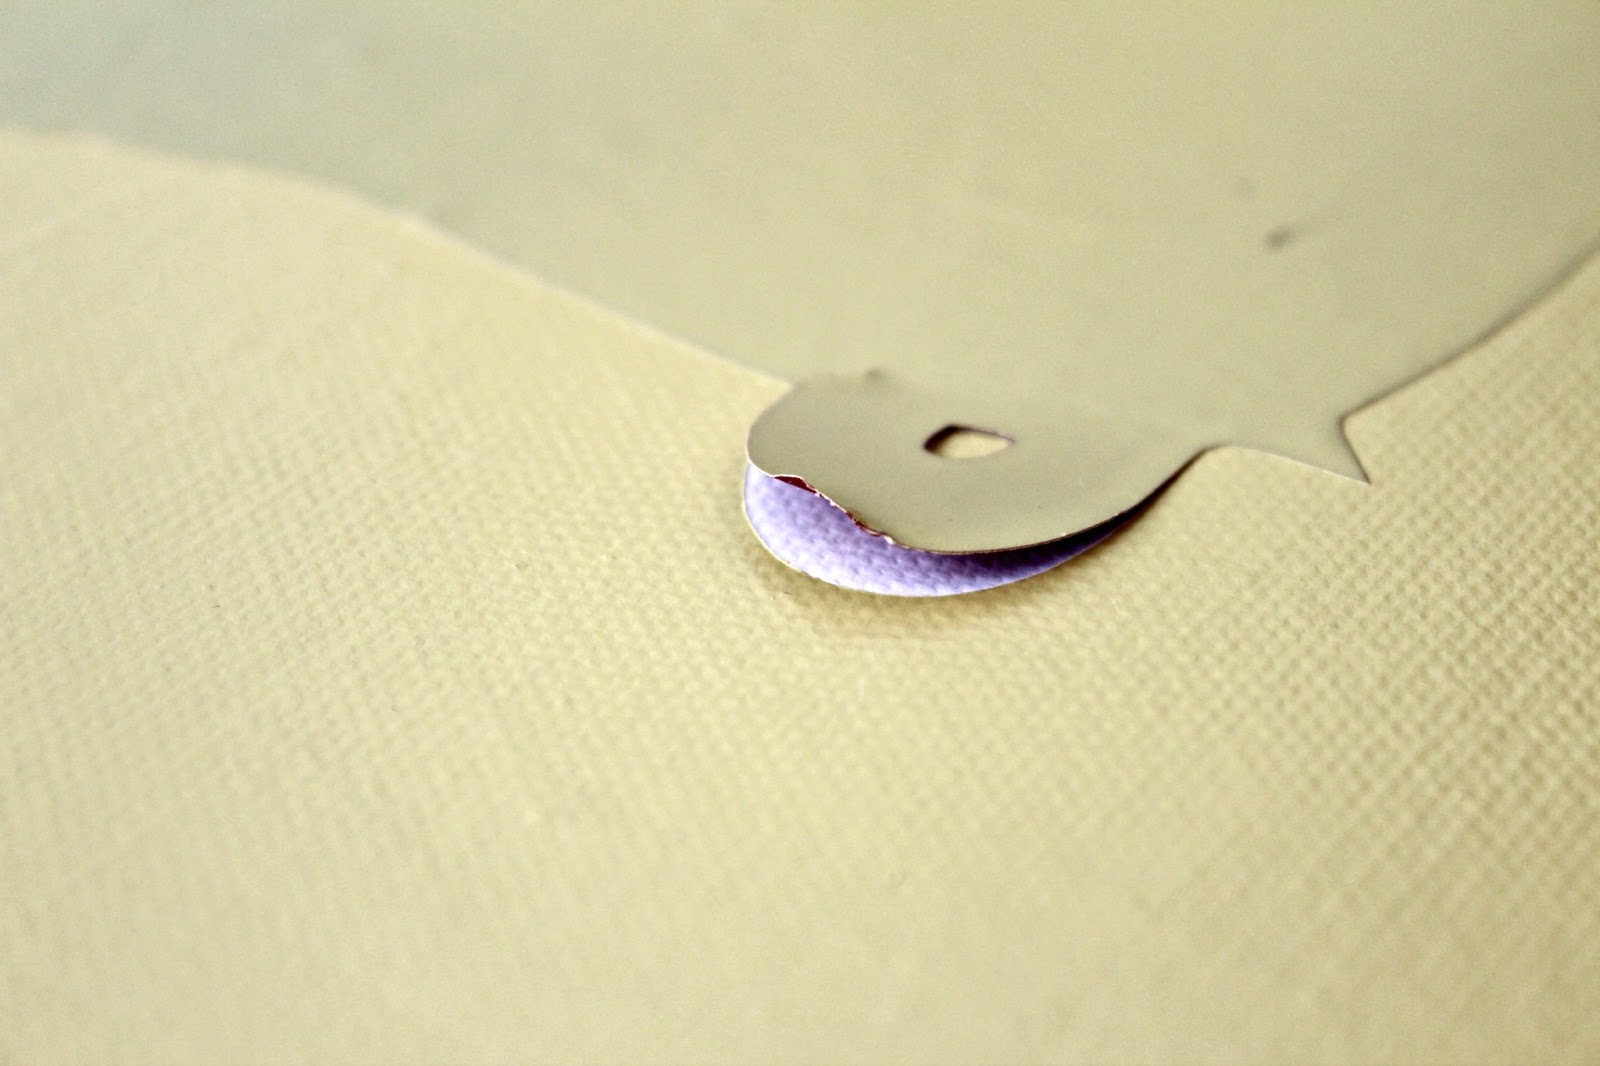
The best part is always peeling the vinyl off. So gratifying.
Very Mack-like if I do say so myself.
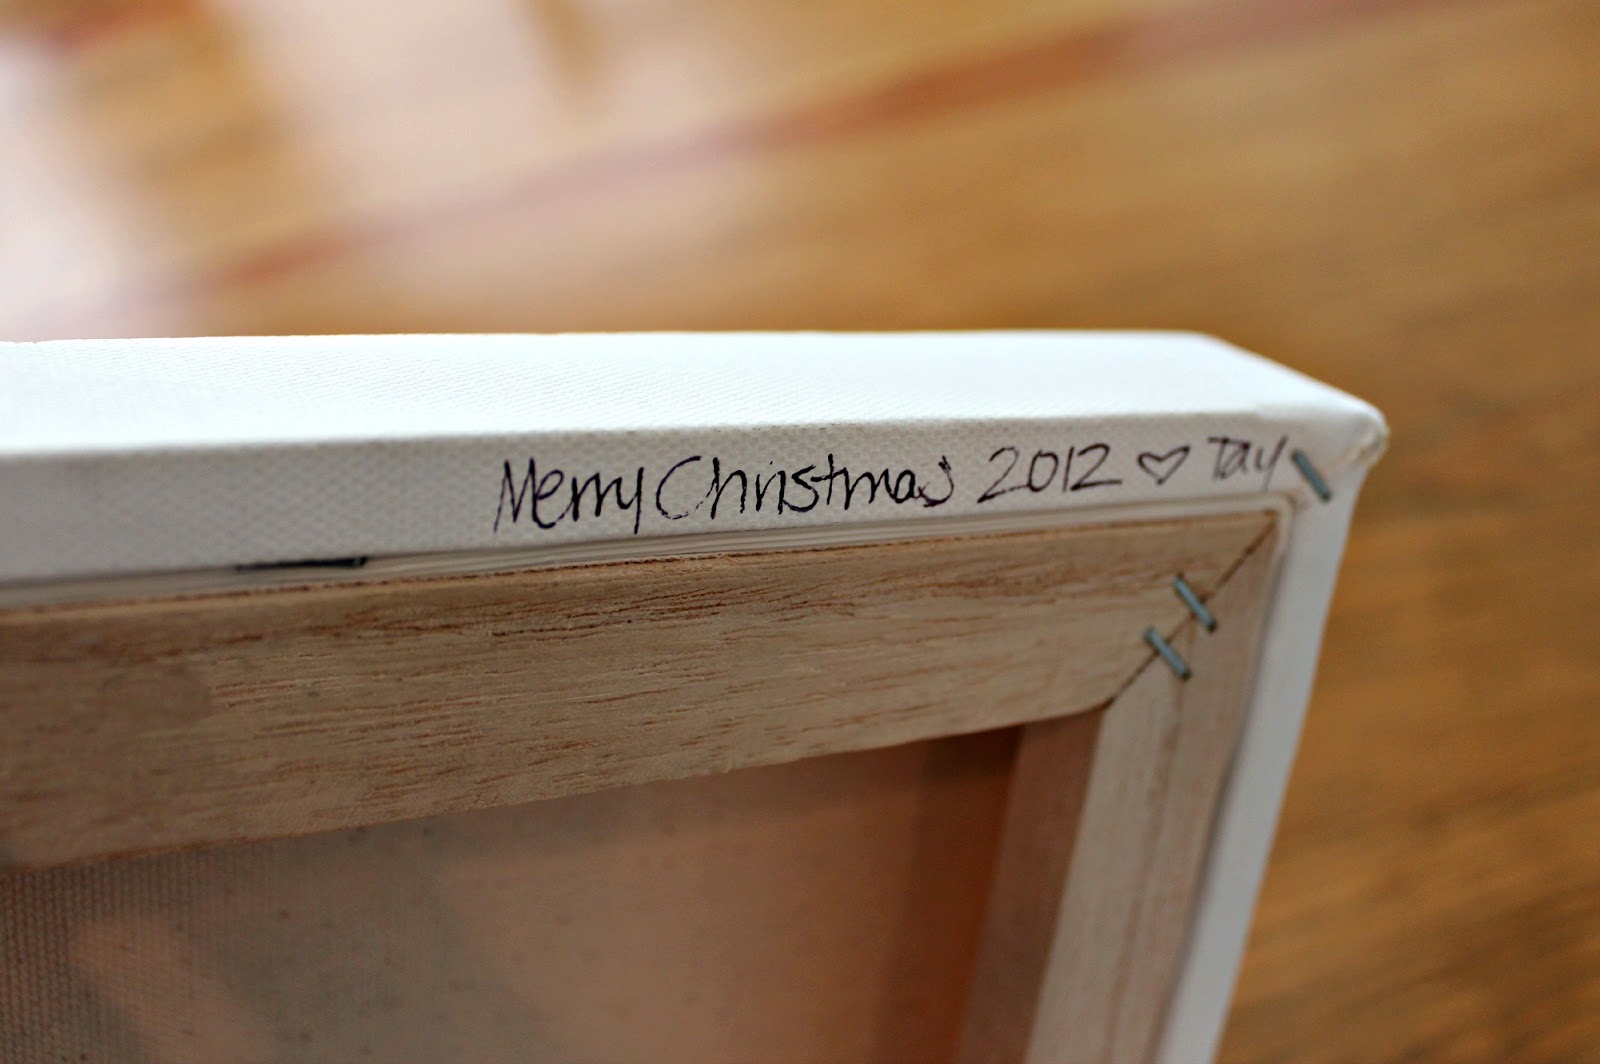
White edges, and a special hidden message on the back :)
Such an easy, custom gift for the dog obsessed sister in your life :) I will be back soon with more holiday presents. Did anyone else make silhouette art over the Holiday?
Pin It


Filed Under: craft, home goods, paint Tagged With: cricut

5 Minute Heart Art

December 18, 2012 By Taylor 2 Comments

Remember my Gallery Wall? Well, I added a few pieces to the left so then you know what happened don’t you? I needed something on the right…obviously. Anyone who knows me knows my obsession with polka dots, especially black dots on white or cream. So when I saw this paper I knew what I had to do. Other loves include but are not limited to; hearts, squares, felt and the color green. Basically this piece of “art” (can I even call it that?) is just a piece of felt behind a square piece of paper with a shape cut into it. 
I used a record frame from Ikea. (2 of the 5 minutes are taken by opening the frame)

I cut out my shape.

Taped felt to the back of the paper and put it in the frame. 

Done.


Bonus points if you can spot the new pieces… the original gallery wall post can be found HERE and the DIY Hoop Art can be found HERE


In the meantime… I’m busy with my last minute Christmas Crafting that I procrastinated on. And I can’t really share many projects until they have been revealed to the new owners. (and I can’t share the boys quilts because they aren’t even close to being done! ha) Is anyone else behind? 

Pin It

Filed Under: felt, home goods, paper Tagged With: decor

Zig Zag Quilt

November 26, 2012 By Taylor 11 Comments

Sometimes I make stuff and think its OK. Then sometimes I make stuff and I like it. And every once in a while I make stuff and I love it! Well, I made this quilt and I am 120%  in love with it. Like, I think it’s one of my favorite things I have ever made. At least top 5.
Back in June, Ashley from Mommy by Day Crafter by Night, hosted a quilt-a-long. I had good intentions to stick with the time frame. But being my usual crafting slacker self, I didn’t. I learned a long time ago that when I craft on a time frame, it isn’t good. So, I let it go and teased with these instagrams over the past few months.

It is so me. Happy Colorful Grandma Chic :) If it wasn’t crazy, and I didn’t live with 3 boys, then my whole house would be bright floral print. So (with the exception of the polka dot border) every fabric in this quilt is a floral print that I love. I also started this quilt in June so I was HOT. I did a little research and I found out that sometimes in the south, ladies would just use a sheet instead of quilt batting to keep it cool. This quilt is the prefect temperature. It can breathe but even in the winter its just warm enough. I used our very first sheet that we bought when we moved in together. I never had the heart to throw it away. I’m so happy its in there.


Back shot. 

All of the boys have been caught cuddling up with it and Finn calls it his favorite blanket.  

I don’t blame them, what’s not to love? Now that I have finally quilted a top, I have plans to finish two tops that I never quilted and I am starting two I Spy quilts for the boys for Christmas. Over-Quilt-Commiter? Are you doing any Christmas quilting? Also if you have a quilt blog or know of a great one leave it in the comments- I’m all about them right now!

Pin It

Filed Under: fabric, quilt, sewing Tagged With: quilts

thanks & giving dish towels

November 19, 2012 By Taylor 17 Comments

What? How is it already Thanksgiving week? I’m totally not ready, mainly because October-December is my favorite time of year and I feel like it’s halfway gone. Anyway, I made these dishtowels to hang in the store but I ended up loving them- so I kept them :)

I went to Joann’s looking for “dishtowel” material (what ever that means) and found something perfect. Isn’t this waffle fabric such dishtowel material? I serged the edges, pressed them down and sewed a hem all the way around.

Then, I cut the fabric to fit over the dishtowel the same way I make my burp cloths. If you have a serger you can serge to the exact size, if not you will need just fold the edge over. Then I used a zig-zag stitch to attach the fabric to the edges of the dish towels.

Fold your towels the way they will hang to determine where you will stamp your words. Then tape off the section for the words.

Of course, I used my PSA Essentials. The great thing about these stamps is the “stamper” that comes with them. It gives you a perfect stamp each time but I wanted a more “rustic” looking letter so I used the stamp on an acrylic block. Also that helped me to line up the letters easier.

Center your words and stamp away.

I love how they turned out. Also, last week my son moved them and I walked by and they said “giving… thanks” Still works. For other PSA Stamps ideas, visit the blog HERE.

Pin It

Filed Under: fabric, holidays, serger Tagged With: holidays

a baby gift and the perfect burp cloths

November 9, 2012 By Taylor 3 Comments

I thought I liked making baby gifts a few years ago because I had babies. But now that I have toddlers, I like making baby gifts even more. Especially if you are having a girl, I have to throw something homemade in…  all of those stacks and stacks of girly fabric are going to become “vintage” before I get to use them. So, I made three burp cloths (using my favorites- gerber’s cloth diapers) and added girly fabric.

This is what I have learned from making and owning many burp cloths. If fabric is on both sides or it’s too thick it doesn’t absorb well. Also, you could have issues with washing the gunk out :/ Gross. So, I keep it as thin as possible. For the ones with the strip at the bottom, I measure the total width of the burp cloth by 3ish inches. Then I serge a piece of fabric that exact size and attach it to the cloth diaper. If you don’t have a serger, then just  make the fabric a little larger and fold/press it down to the correct size. I added a ribbon right on top of this one.

You can also use the same technique but attach your fabric down that middle section of the cloth diaper.

Or you can add an applique of another fabric on top.

This brand is my particular favorite, the no name cloth diapers are too long. The cute terry cloth burp cloths are way too thin. Obviously I’m a burp cloth connoisseur. Another tip is when you clean up a baby mess, try to wash these as soon as possible, they are 3-ply so they will mildew if they sit for too long.

Simple easy gift that you know will get used more than almost everything :) Here are some simple boys ones I made a few years ago, not as cute as girl ones though.

I also whipped up some happy garland via MADE. I was looking for an excuse to make some and this little girls nursery is grey, cream, purples and coral. I couldn’t find coral felt though… but I still love it.

What is your go to baby gift? PS I think I need happy garland in every room of my house :)

Pin It

Filed Under: baby stuff, fabric, felt, girl Tagged With: kids

Batman and Robin

October 31, 2012 By Taylor 4 Comments

Happy Halloween! If you follow me on Instagram, you probably already knew about our costumes.  I have been procrastinating for weeks. I bought the fabric for capes back in September, I had such high hopes for myself :) Anyway, meet Batman and Robin…

I know I’m a little biased but they look stinking cute! However, that Robin is a little stubborn, he doesn’t like his mask or his cape (or pictures)… oh sure just don’t wear it, its not like I spent any time on it or anything :/ I used green pants and a green shirt that he had and I made the “vest” part. I used an old red shirt that I had and drafted a pattern up using a sleeveless shirt and underwear… go me! Then I used iron on transfer for the logo and the stripes on top. The belt is just yellow fabric on top.

Batman on the other hand would live in his costume if I would let him. I know how much he loves Batman and that is why I made his costume out of normal clothes that he can wear after Halloween. He has on plain black pants and I used layered iron on transfer material on his shirt. Then I just made a separate belt out of yellow fabric.

I love the way the capes came out, I used black jersey and used a bib for a pattern around the neck. The logos are just felt. At least one of them loves his cape haha.

If you are wondering how I ever got two toddler boys to be still for “this long” here is my answer… I bribed. I’m not really above anything for a good picture.

I hope everyone has a safe and Happy Halloween! You can check out last years costumes HERE and HERE.

Pin It

Filed Under: boy, costume, halloween Tagged With: costumes, holidays

Trick or Treat Bags

October 29, 2012 By Taylor 2 Comments

Halloween really snuck up on me this year. I thought I was so ahead of the game when I made the boys these bags last month then I just stopped and I’m still not done with their costumes :/ I will be done by Halloween because I have to be. Anyway, I love how these turned out.. really easy and I only spent about $2 total for both bags.

I had these little muslin bags that something came it and I didn’t want to throw them away because I thought they were pretty. I cut them and taped them down to a board.

I used my PSA Alphabet stamps to stamp “trick or treat” on the muslin (I use staz on for fabric stamping). I sewed that to an orange dishcloth I found in the $ section of target.

Then I sewed that to some black duck cloth.

Then sewed the black duck cloth together to make a bag. Then I used cotton belting for the straps but I taped them off and used black fabric paint to make stripes.

Yay, so easy… and of course I had to make two that look identical. I am at the stage where I know way better than to make different colors, styles, prints etc. Because it so much cooler if it’s your brother’s right?

Is everyone else ready for Halloween? What do your kids use for candy bags? 

I’m going to share one more easy stamp project tomorrow before the big “costume reveal” if you haven’t been following along on Instagram yet. For more great ideas on how to use these stamps visit PSA Stamp Camp blog :)

Pin It

Filed Under: fabric, halloween, holidays, kid stuff Tagged With: holidays

A DIY Nap Mat

October 19, 2012 By Taylor 7 Comments

I found out last week that the boys needed a nap mat but they are sold out EVERYWHERE! So I started out on my journey… I went to 3 Walmarts, 2 Targets, Babies R Us, called CVS, Walgreens and checked online. All sold out. At this point I did what any other mother would do… I went to meet my family for Happy Hour. I got home that night with nothing but bad lighting and the idea that I had to make a Nap Mat. So here goes… a Nap Mat made with nothing but re-purposed supplies, after 2 margaritas and with horrible lighting. Isn’t that what crafting is all about- now I know in crunch time, with no supplies and in about 50 minutes… I can come through, ha! Take that “Sold Out Nap Mats” everywhere!


I started with a king size down comforter, it never gets cold enough here so we never use it.

I cut it and then stacked it into 3 layers.

Then I used a full sheet, (obviously not ironed- oops) folded it in half and sewed it up 3 sides, leaving only a short side open.
I used scraps to sew up two long ties and a short handle so I could roll the mat up.
Then just like a huge pillow, I inserted the 3 stacked comforter into the cover.
I folded the excess fabric inward then placed the straps and handle where I wanted them to go.
I pinned and sewed. (Don’t forget to fold the long straps in half so it will look like 4 straps after you sew)

Ta-Da… When I finished I realized the comforter inside was a little too loose, so I tacked it with red embroidery floss in about 16 spots. It looks really cute but I forgot to take a picture.

I am happy to report that Clyde loves it and has never missed a nap. I’m sure this wont be the last time I have to craft something the night before my kids need it :)

Pin It


Filed Under: fabric, kid stuff, sewing Tagged With: kids

Fall Burlap Banner

October 12, 2012 By Taylor 25 Comments

Happy Fall Y’all, My favorite season. I made this little festive Fall Banner for PSA Essentials. I used the letter stamps on cardstock, fabric, burlap and a ribbon. So easy and cute.

I stamped the letter on white cardstock.

I ripped the fabric so it would look a little more rustic.

I cut out my burlap and layered the fabric strips and cardstock on top. Then I sewed right through the paper.

Then I sandwiched the burlap flags between a ribbon.

Then I hung it up at Ampersand :) You know I love a quick project. For more ideas on how to use these stamps, visit PSA Stamp Camp Blog.

Pin It

Filed Under: fabric, home goods, paper Tagged With: decor, holidays

A Chevron Painting + a Video

October 8, 2012 By Taylor 12 Comments

 I did a painting last week and had the bright idea to record myself painting then I could play it in fast mode and it would look really cool. Well, lets just put it this way, I wanted to post this last week because it took me 53 minutes from start to finish to paint. Then it took me five days to figure out the video. Some long nights included. Anyone who does anything with video- good job. I am not going to stick to photos because I get along a lot better with them. 

I like to set “art goals” for myself and one of them is to be a messy painter. You know those people who get all crazy and messy with paint then it ends up coming out amazing, well that is not me. I am always too controlled and I tend to over work everything. When I saw Jennifer Moreman’s work, I instantly fell in love! Her work is awesome and if you can afford it you should totally own a piece of hers. I was really inspired and I thought this messy chevron painting would be perfect. I still like hers one hundred times better, but I think I did a pretty good job at not being perfect.

If you want to see just how messy I was, here is my video that took me five days to “produce” haha…
(Internet Explorer Users have to click on the link here:)
Chevron Movie by TM from taylor on Vimeo.
music: Van Morrison – Bright Side of the Moon

Here it is in my living room, right next to my Hippo. No, you have never seen this side of the living room before, can you blame me? Look at the embarrassing tv… and just to keep with the theme, you can also see random toys lying around and a channel changer on the coffee table. (Not picture ready – but keeping it real) 

Even if you didn’t, please lie to me and tell me you watched my video haha… it was a labor of love :)
Pin It

Related Posts Plugin for WordPress, Blogger...

Filed Under: home goods, paint Tagged With: crafting, decor

  • « Previous Page
  • 1
  • …
  • 13
  • 14
  • 15
  • 16
  • 17
  • …
  • 27
  • Next Page »

Welcome to Taylor Made

http://www.taylormadecreatesblog.com/about-me Hi Yall! I'm Taylor... an artsy mom of three from Houston, TX. I love sewing, collecting floral fabric, eating Mexican Food, photography, brights colors, rearranging, and rolling clay. Taylor Made Creates is all about creating a fun, colorful home, sewing cute things and eating good food. Check out my SHOP HERE HERE! Thanks for stopping by!

Search

Pin with me!

Like Me :)

Facebook Pagelike Widget

More Recent Posts

  • Kid's Animal Room
  • Kids Camping Shirts
  • Mermaid Birthday Party
  • Conversation Heart Cold Packs
  • Holiday Apple Tea Punch
  • Purple Princess Costume
  • Letterboard Costume
  • La Croix Costume

FAVORITES

  • Casserole Carrier
  • Triangle Baby Quilt
  • Happy Rocks
  • Stethoscope Covers
  • Briar Rose Strip Quilt
  • Cider Beetles: A Teacher Gift
  • How to Shorten a Shirt
  • Peacock-ish Painting
  • 5th and Frolic Project Life Core Kit

Copyright © 2026 · Web Hosting By RFE Hosting