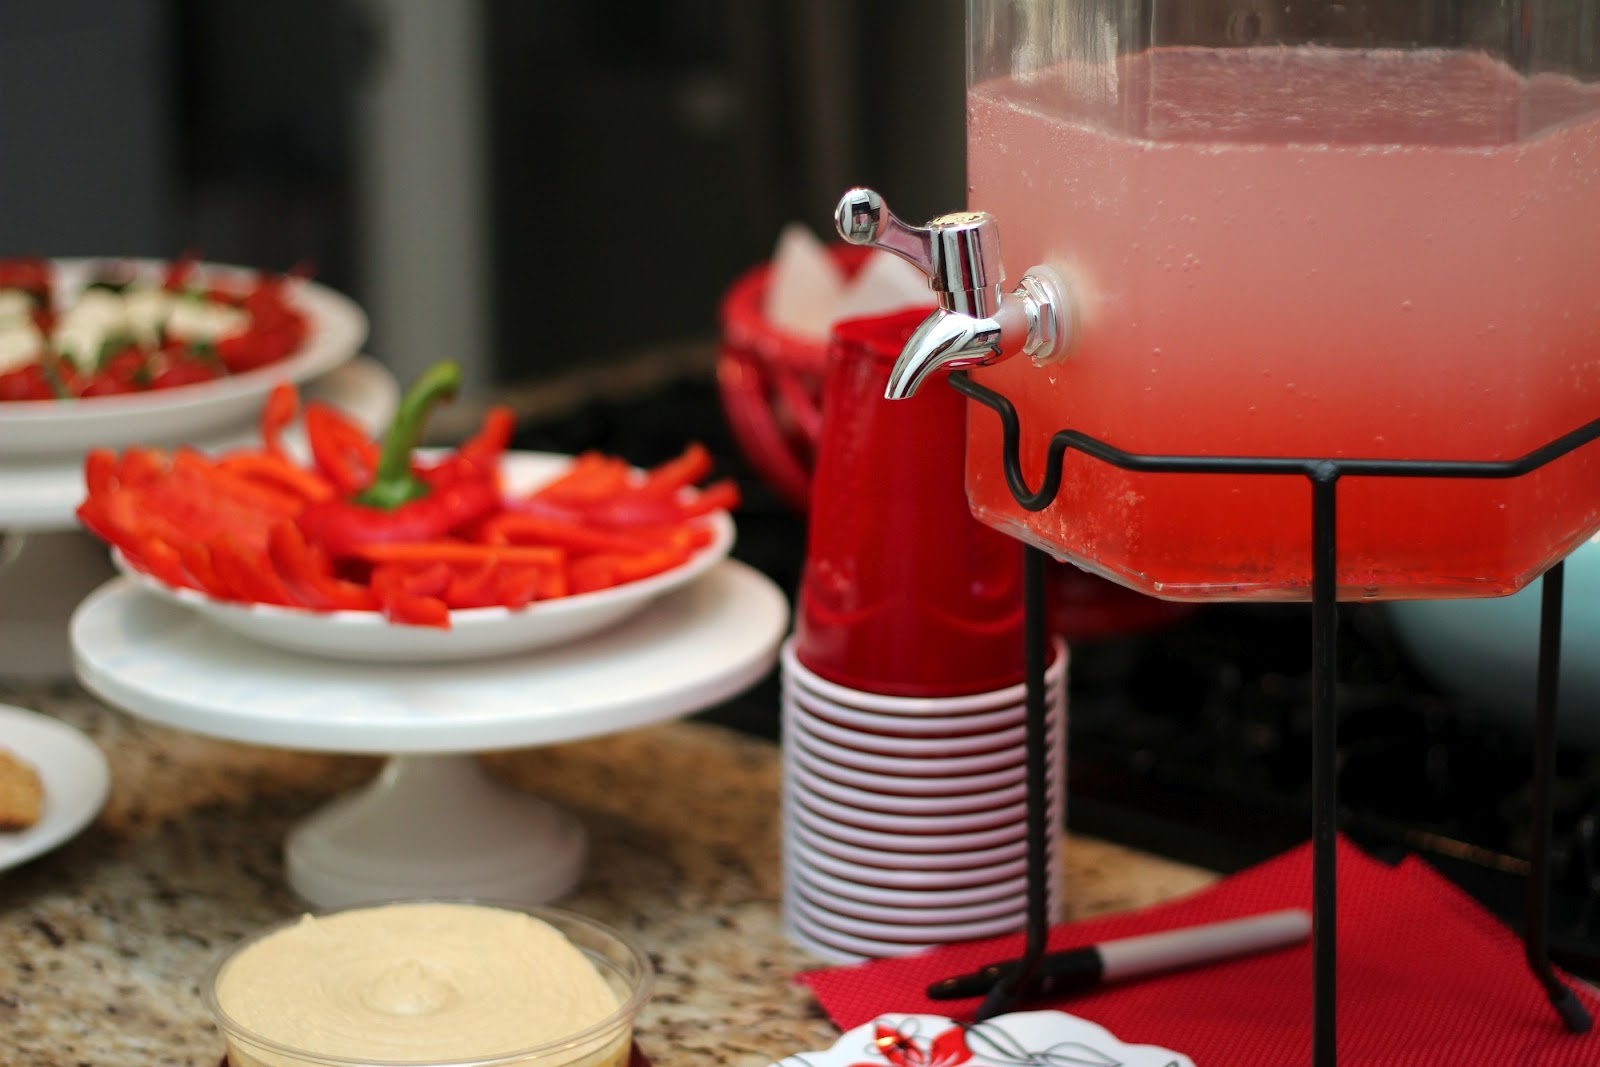
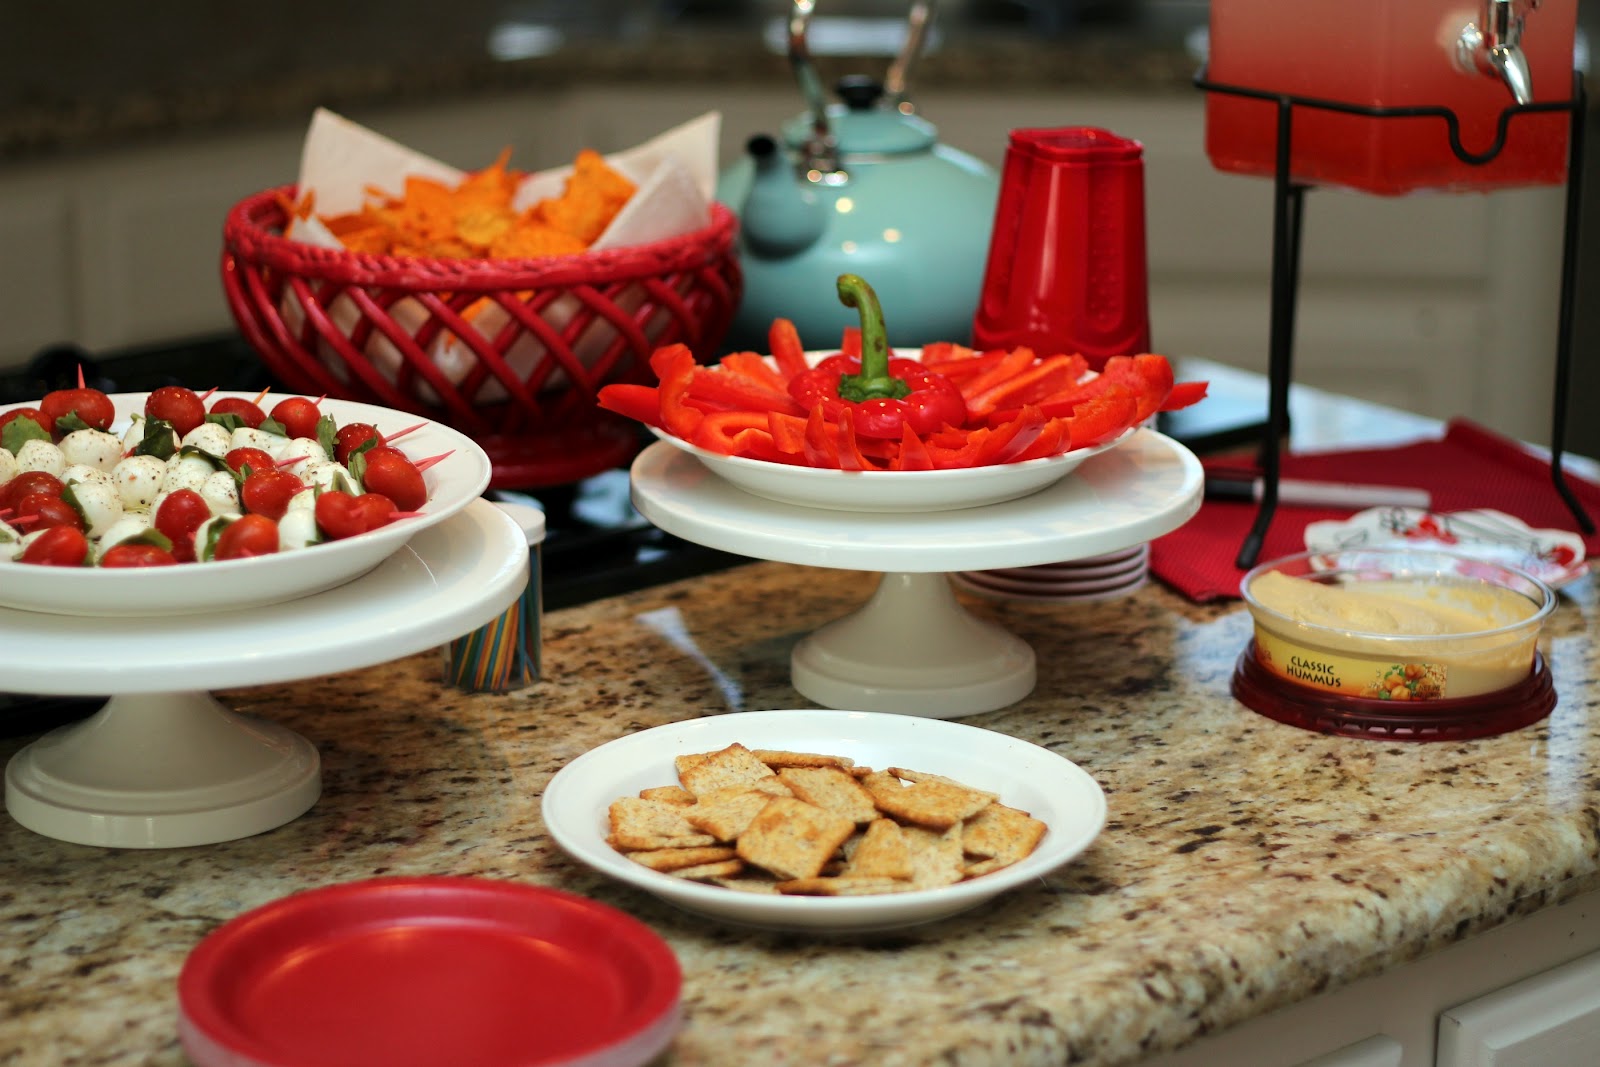
Remember when I told you that my little man turned one last week?! Time Flies! His birthday fell on a Monday this year so we had our families over and I asked everyone to wear Red. It is a week until Valentines Day so the color RED has been readily available so I went with a RED theme. red decor, red balloons and red food!
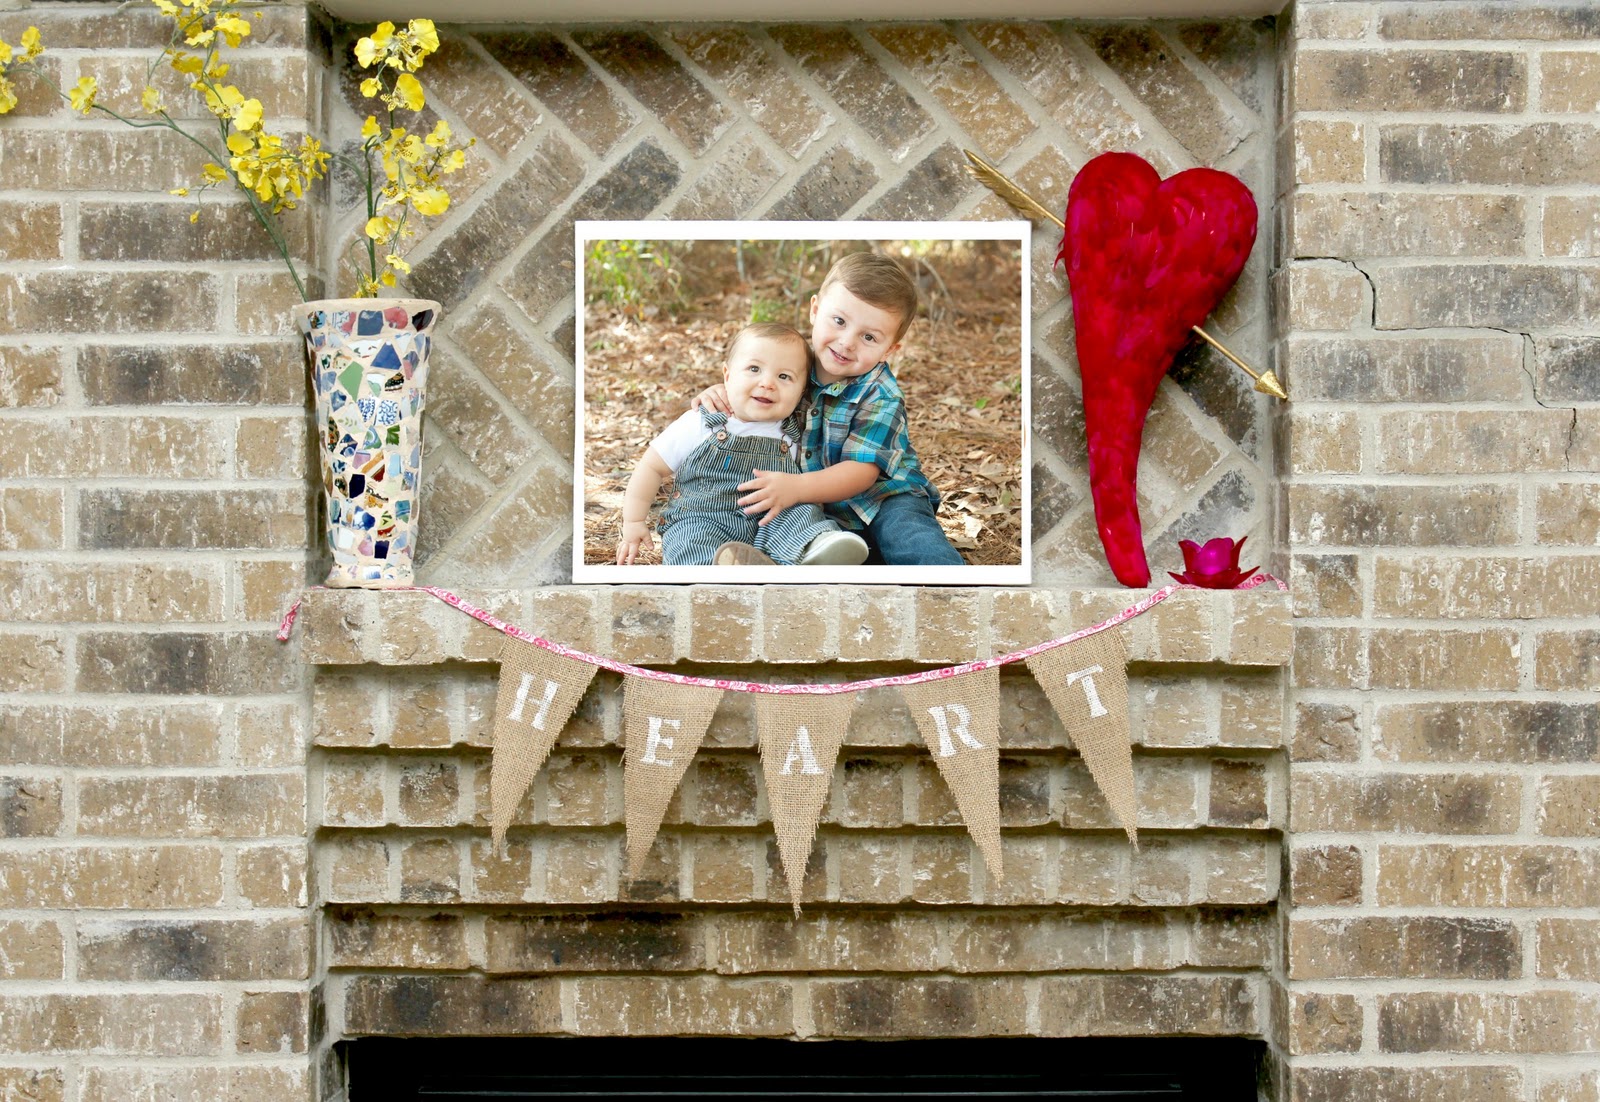
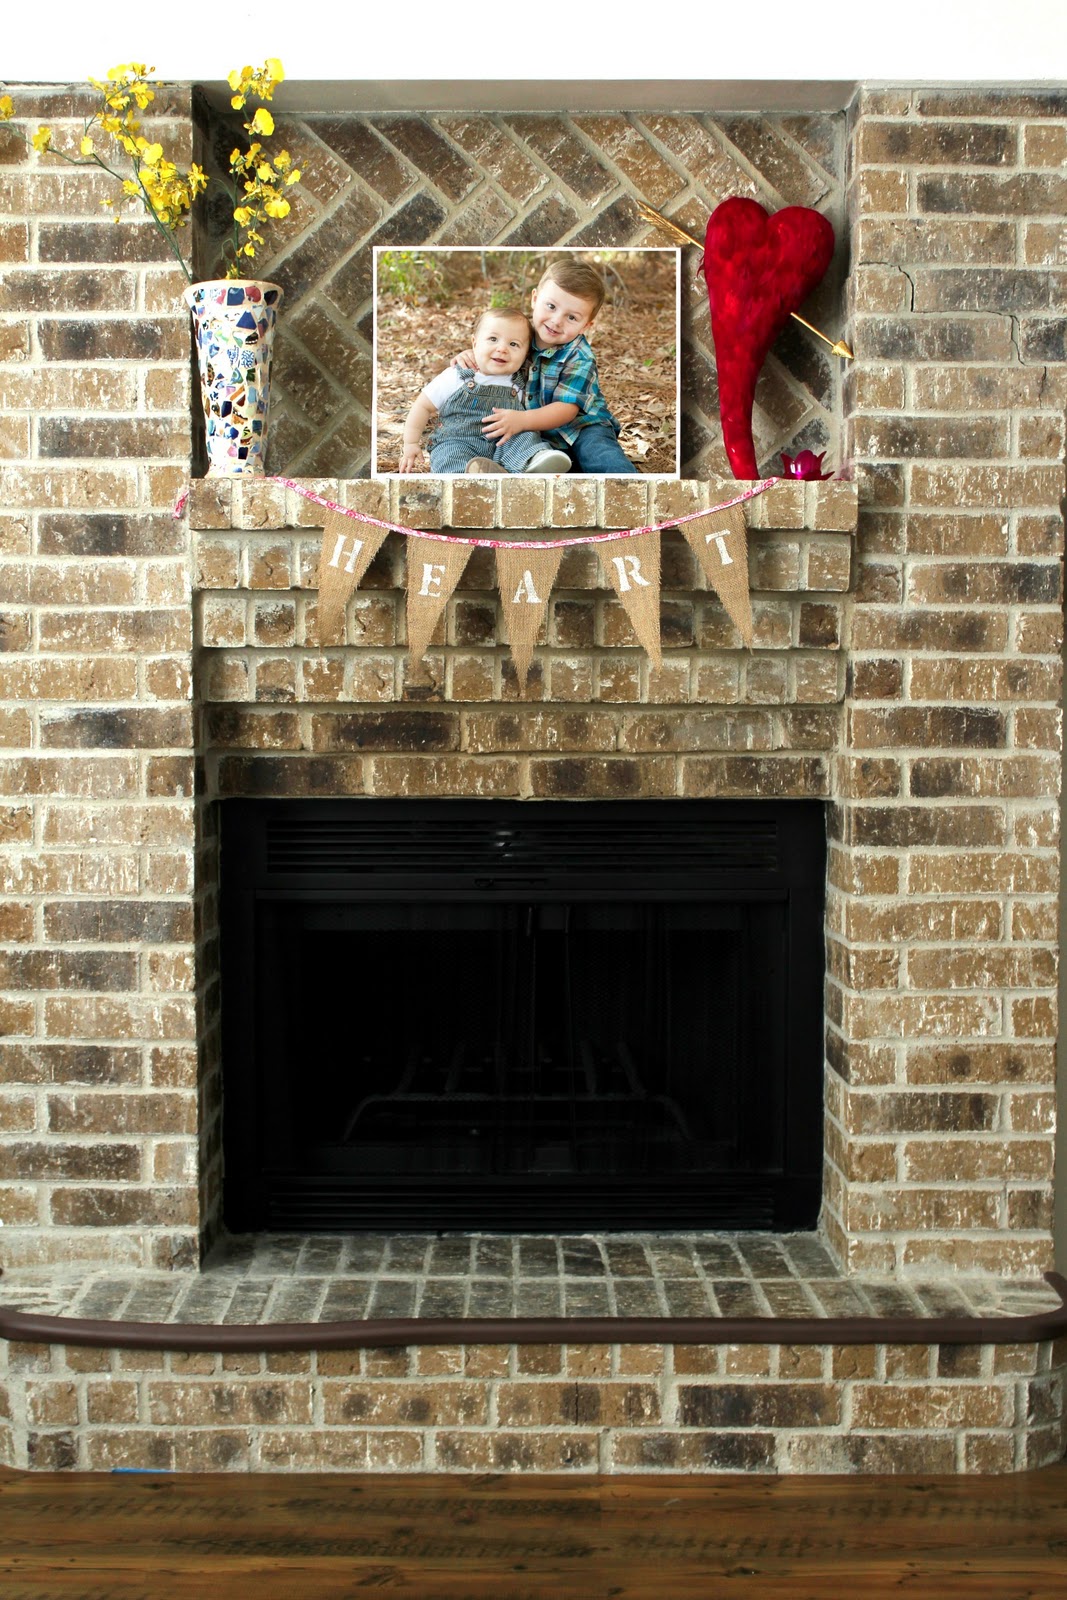
Happy February! Don’t you just love February, its so festive and fun and for me it means Baby Boy’s Birthday, Rodeo, the beginning of Spring and of course the obvious – Valentine’s Day. I wanted to make a Valentine Banner for my mantle but then I realized how long the word “V-A-L-E-N-T-I-N-E” really is. And “LOVE” and “BE MINE” are a little overplayed (which I don’t really even mind ha :) So I came up with the word “HEART”, it fits right?
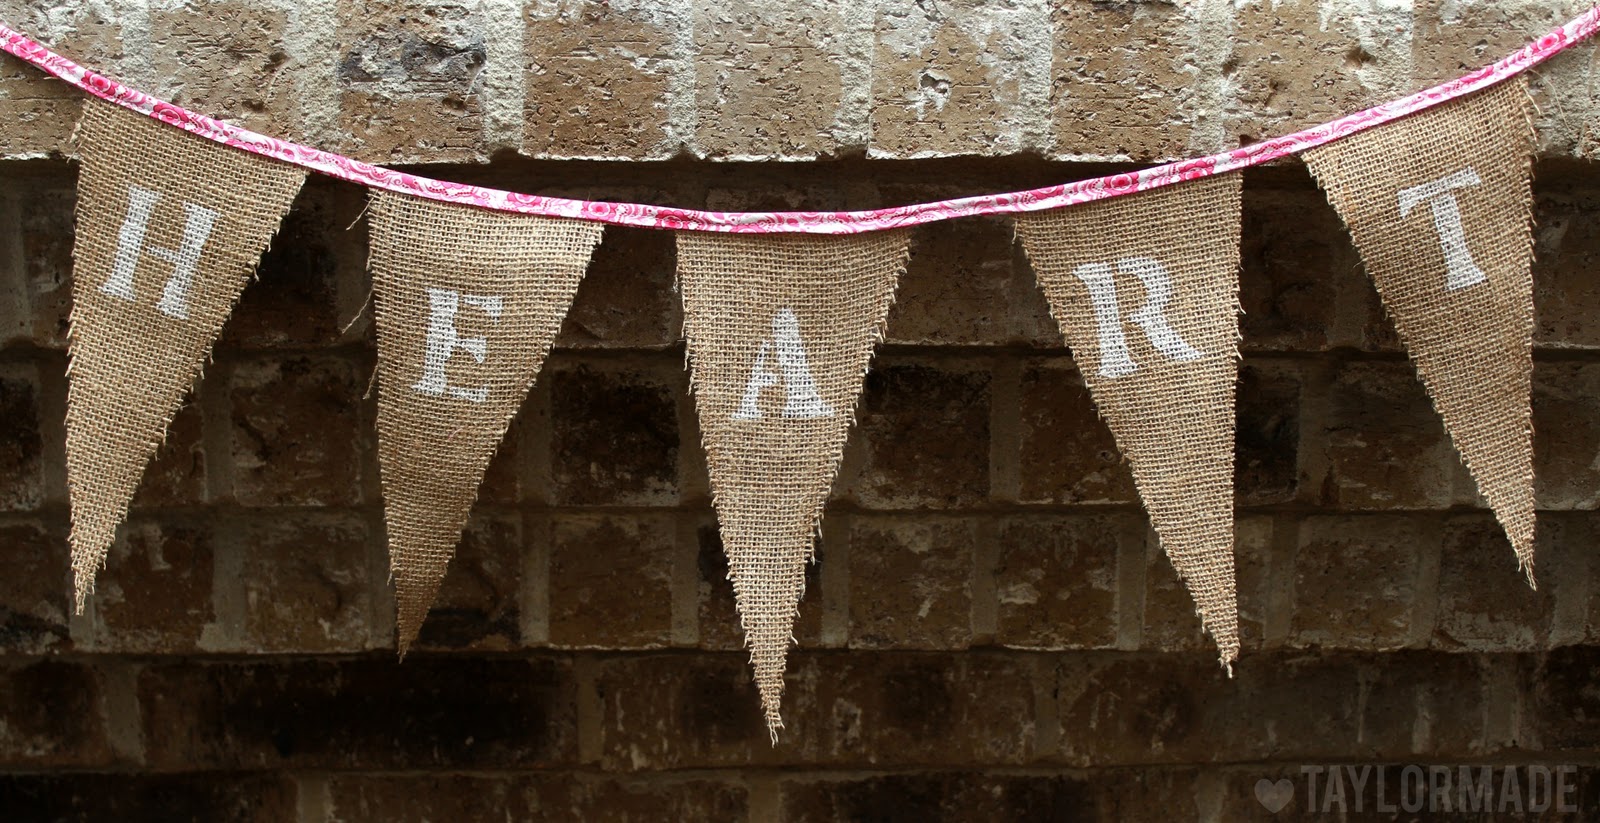
The “burlap pennant” craze has taken over and it really is such an easy craft, so if you are new at crafting its a great simple little project. Not to mention burlap is super cheap.
Simple Steps:
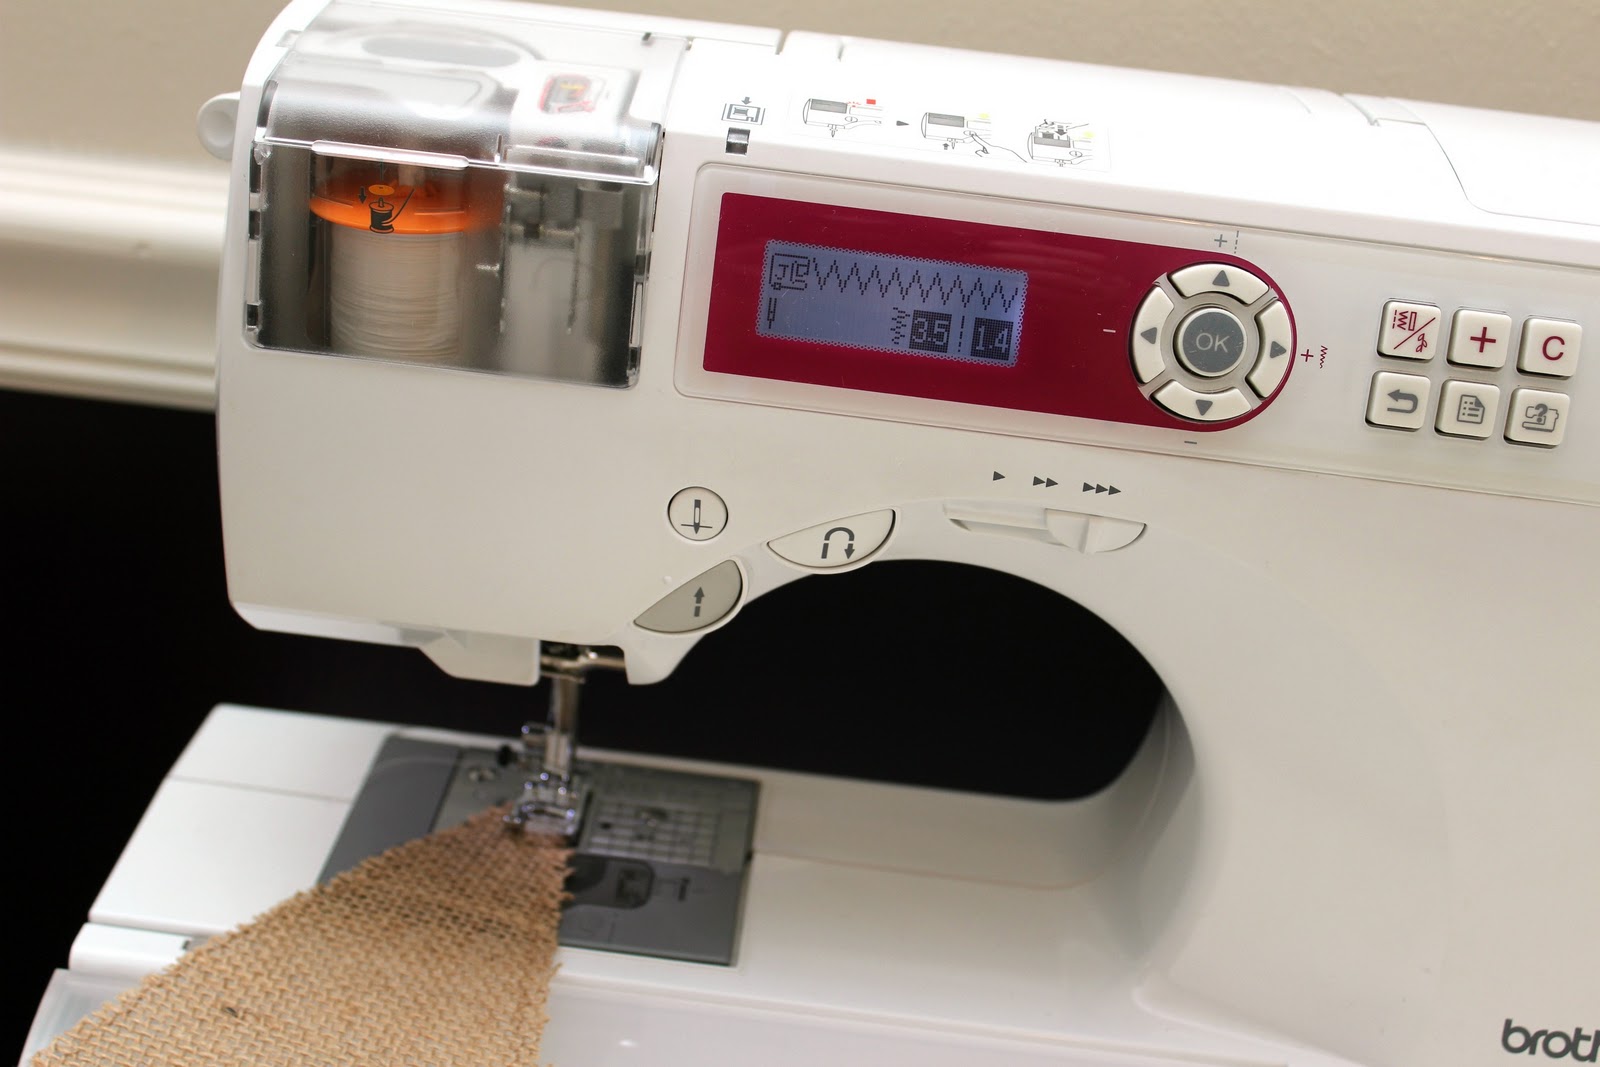
Cut your burlap into the flags. If you plan on keeping this decoration then I recommend doing a zig-zag stitch around each flag to keep from fraying.
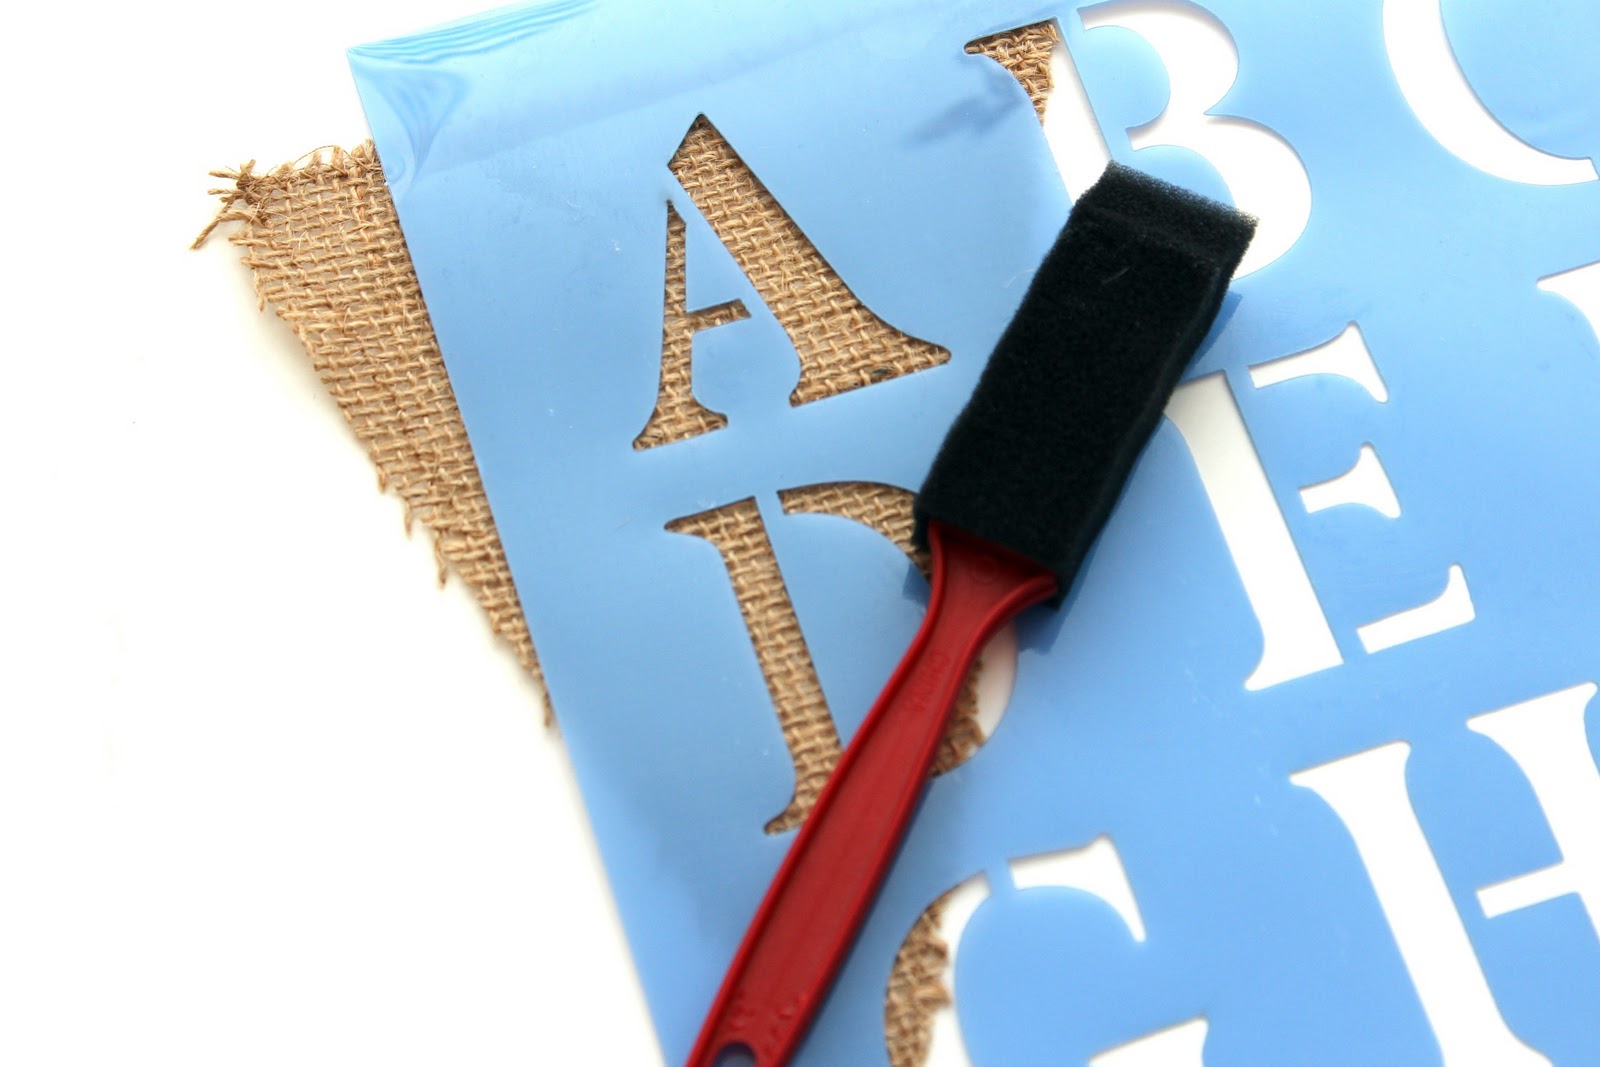
Then use a stencil to spell out your word. You can just use regular cheap acrylic craft paint and a sponge brush.
Once the flags dry, you can attach them a number of ways… you could just hot glue them to some twine or yarn, but I sewed mine onto bias tape.
Let’s talk about bias tape… there are options. You can get most solid colors at the fabric store in various sizes. For projects where the bias tape is going to add a lot, like a quilt or this tablecloth, I like to make my own.
It speed things up if you have a bias tape maker. They even make bias tape maker machines. Fancy Pants.
Once you have made/bought your bias tape, just sandwich your flags between and sew directly over the bias tape.
I’m not getting crazy with the V-day decor cause little man’s Bday is next week. If you know me at all you know that I don’t think it’s festive unless we have streamers and balloons. I hope he likes red.
So how do you feel about bias tape, do you make your own? I think it is much cuter than store bought, and does anyone have that machine? I eyeball it all the time and wonder if anyone has one.
Creative name right?… not, Seriously I pondered about this title forever and I’ve come up with nothing, except what it is and its a Baby Activity Mat that is a Tree. Anyway, a few months ago I was contacted by Pellon and asked if I was interested in becoming a Pellon Artisan. Fancy right? So, I created a project for their website and anyone can get the tutorial for free, yay! You do have to create a log-in but once you register you can get any of the tutorials by any Pellon Artist.
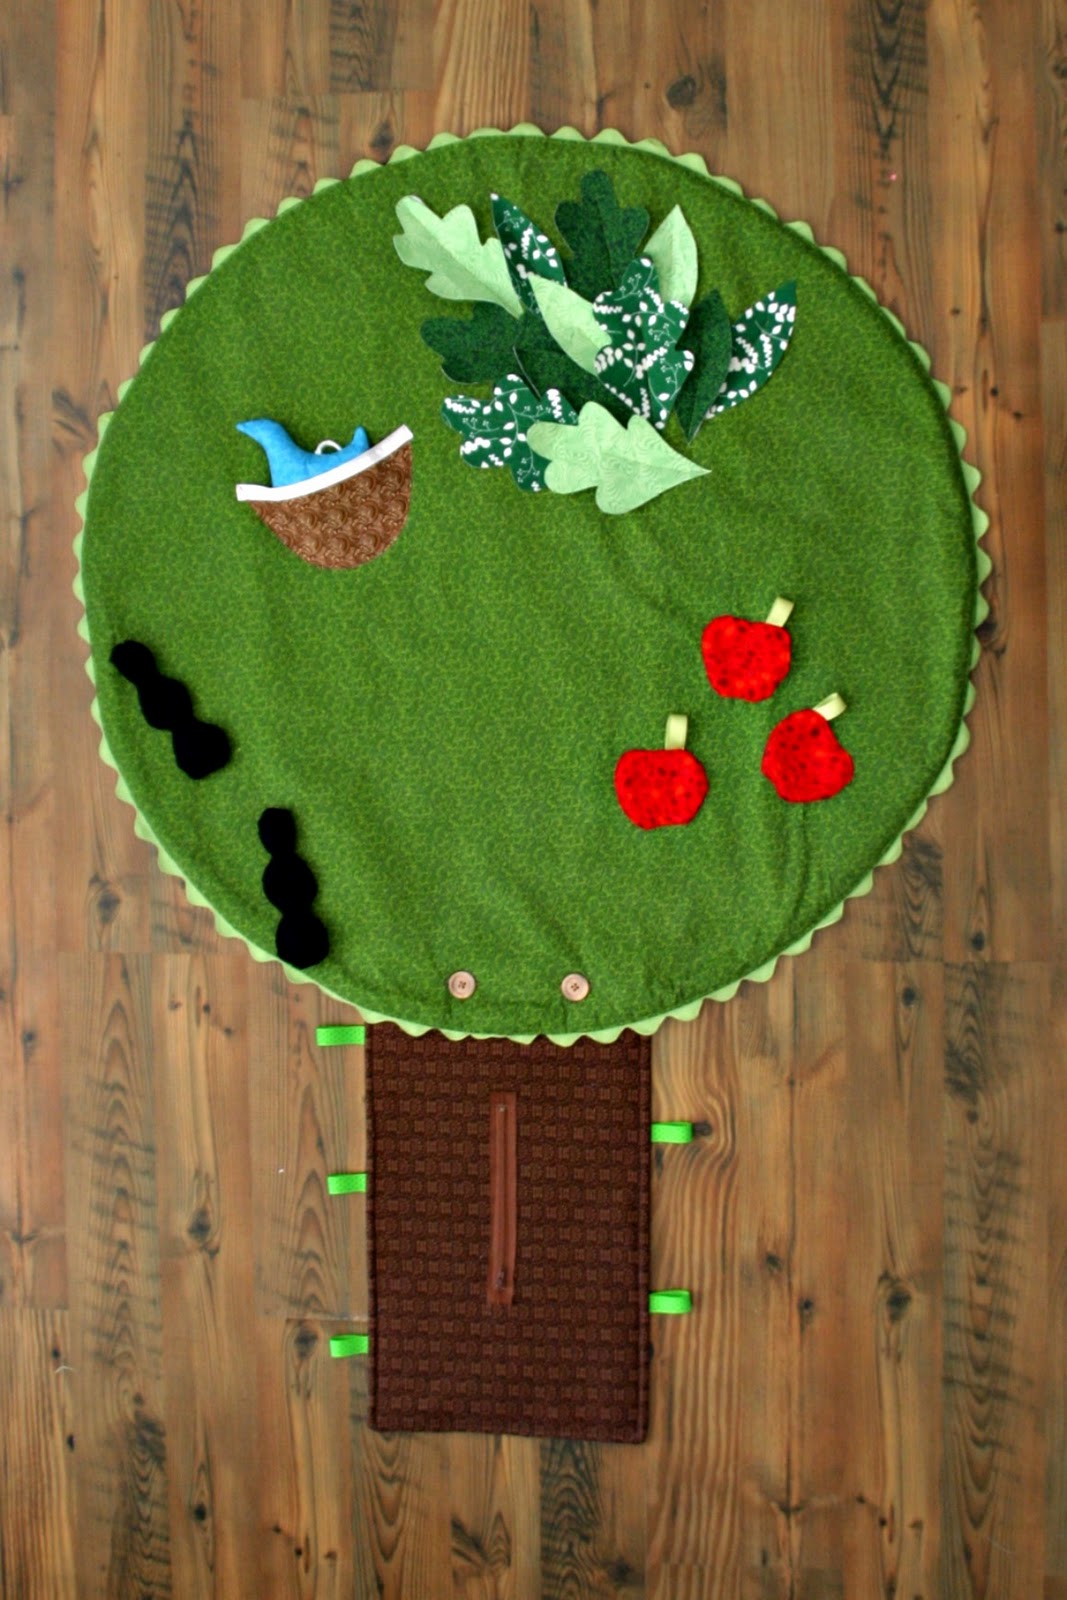
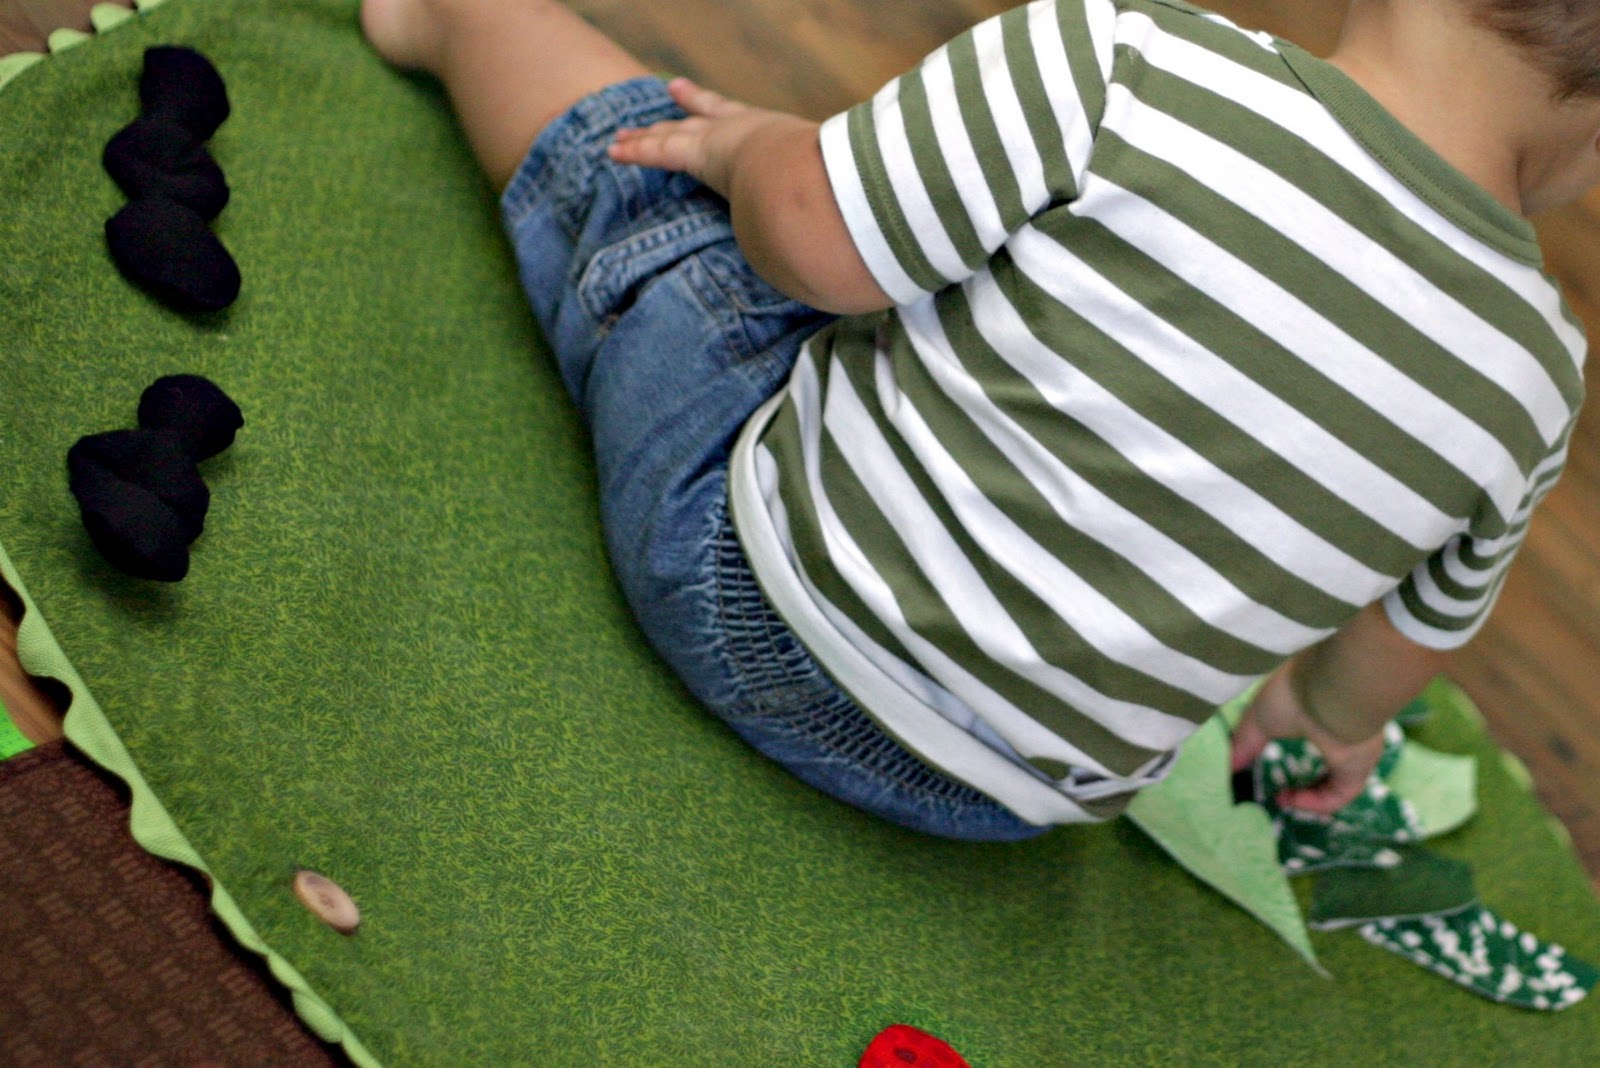
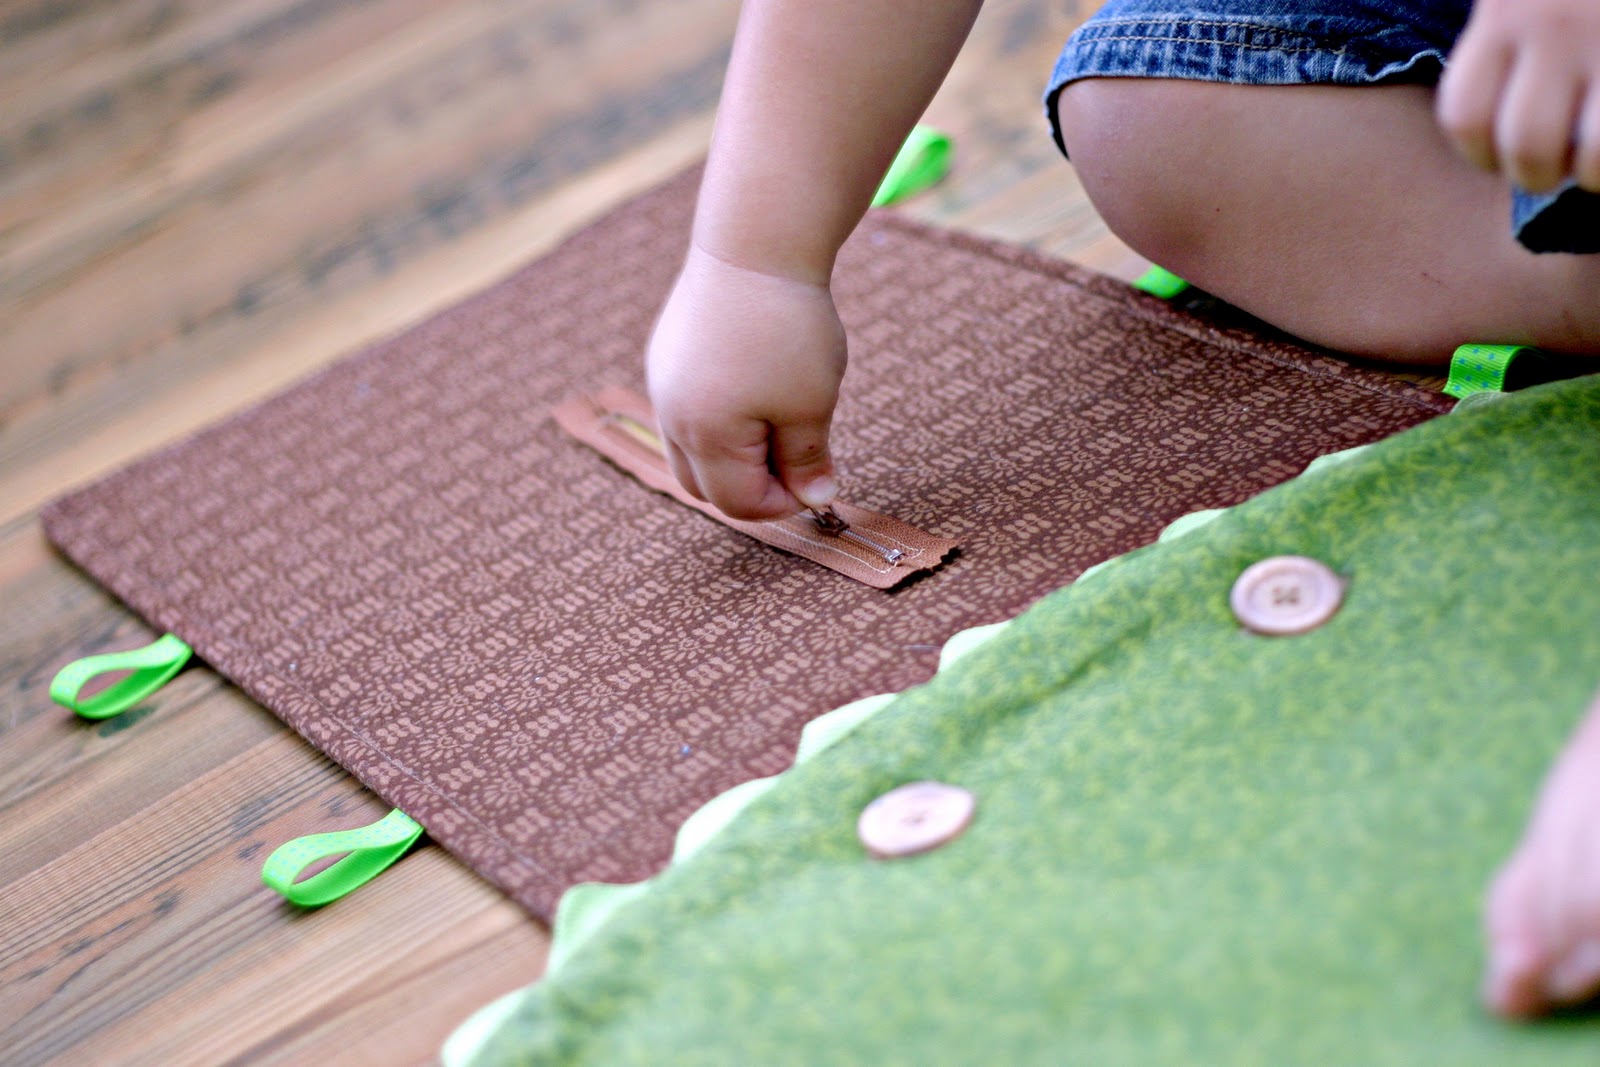
And for my first project I present the Baby Activity Tree Mat.
I wanted to make something I could roll up, throw in the car and take with me for my older “babies”. I have a playmat but my kids outgrew the activities by about 3-4 months. So, I included zippers and buttons and velcro on mine, which is always a good time :)
My older “model” checked it out while my bebe was sleeping. It’s perfect for tummy time too (just keep a close eye on the younger ones with the buttons). So go check it out HERE, all of the supplies are listed as well as the directions.
Have I told you about one of my favorite BBF’s? That’s short for best blog friends mmkay. Meet Melissa from Cupcakes OMG. She is beyond awesome, one of the most stylish people I know and she’s hilarious. Melissa is a self named “snarky narcissist” and isn’t afraid to tell it like it is, whats not to love? Not to mention she is an incredible cook – everything from healthy paleo recipes to decadent cupcakes. She is originally from Houston but lives in DC so when she was home for the holidays we got together to do a little craft project.
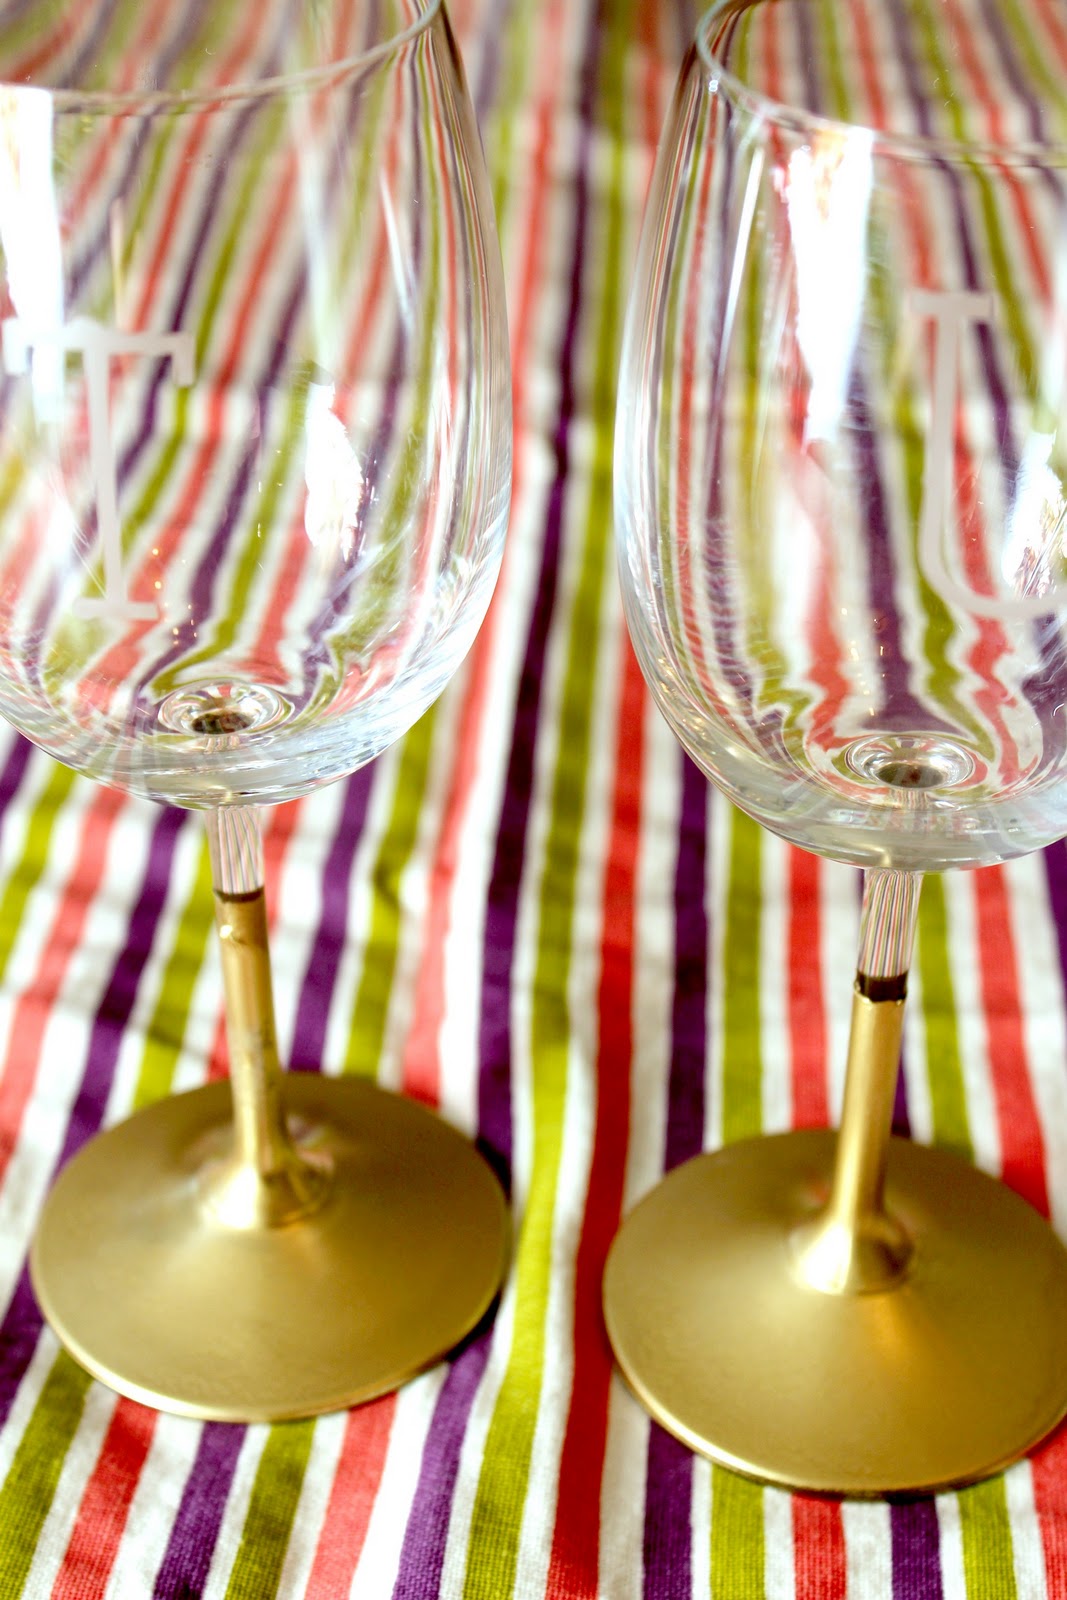
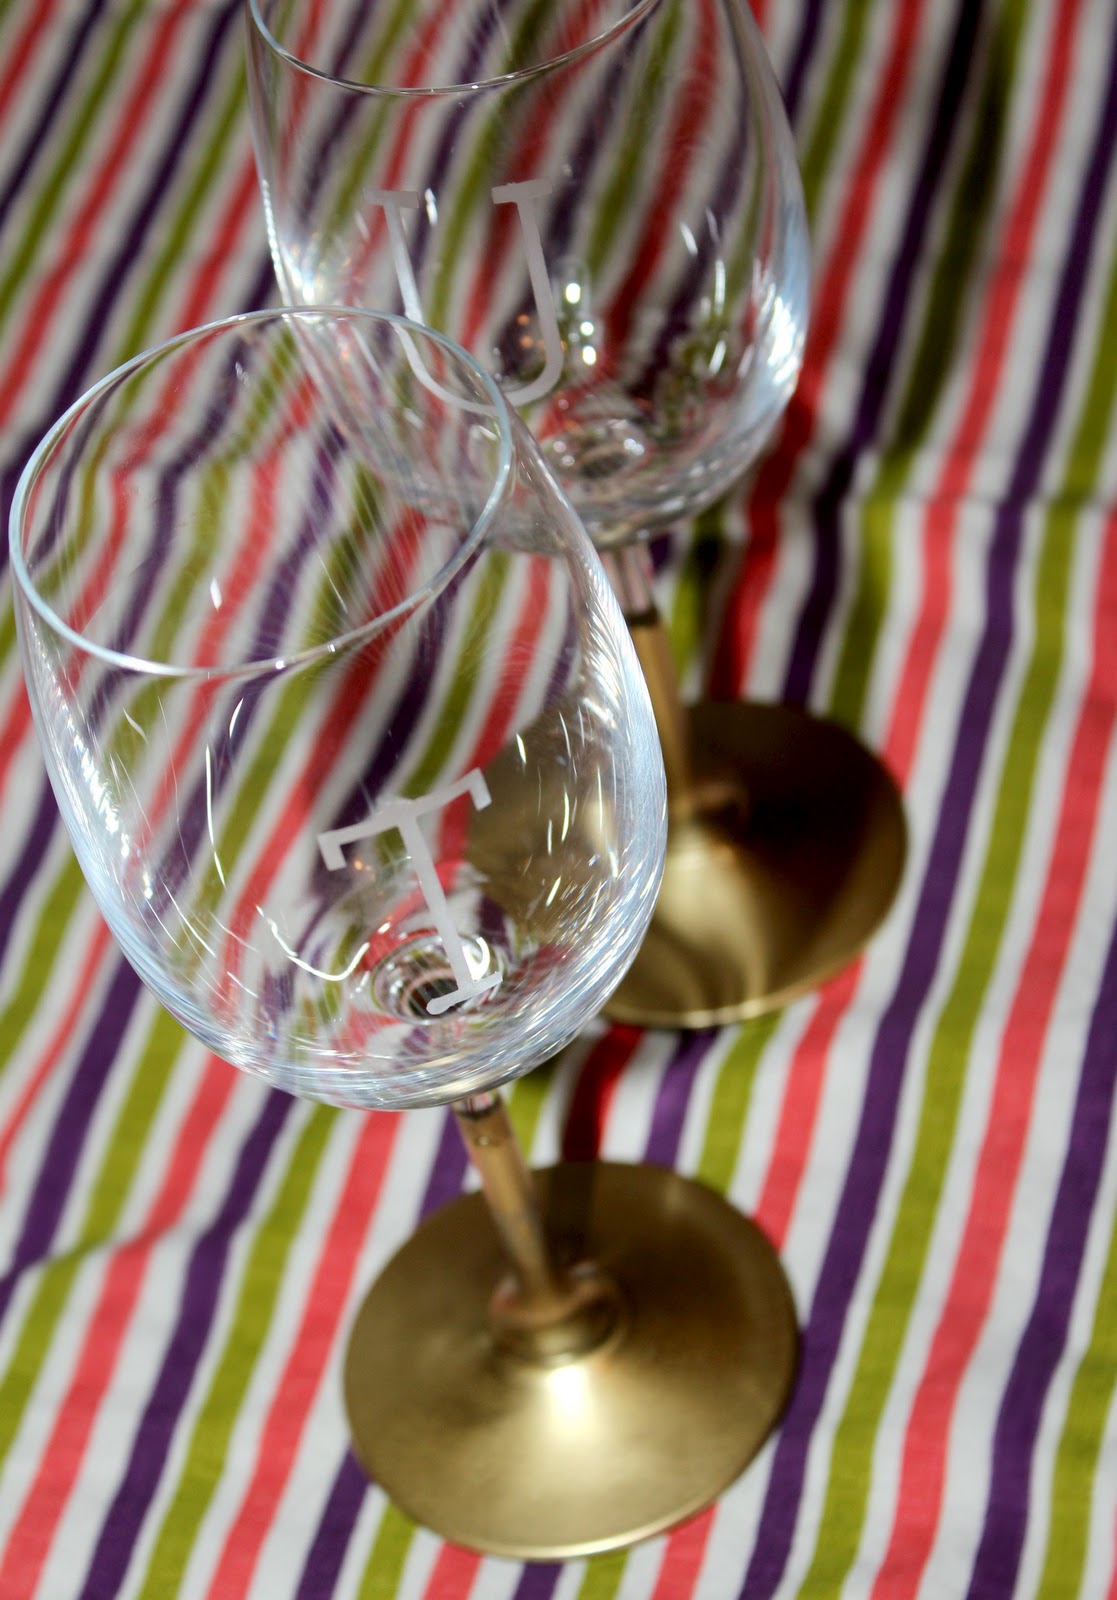
Enter the Gold-Dipped Wine Glasses (tutorial found via Say yes to Hoboken)
Melissa and I spent hours catching up and dining on my Pimento Cheese Sandwiches and Macaroons that she made. Then we got down to business.
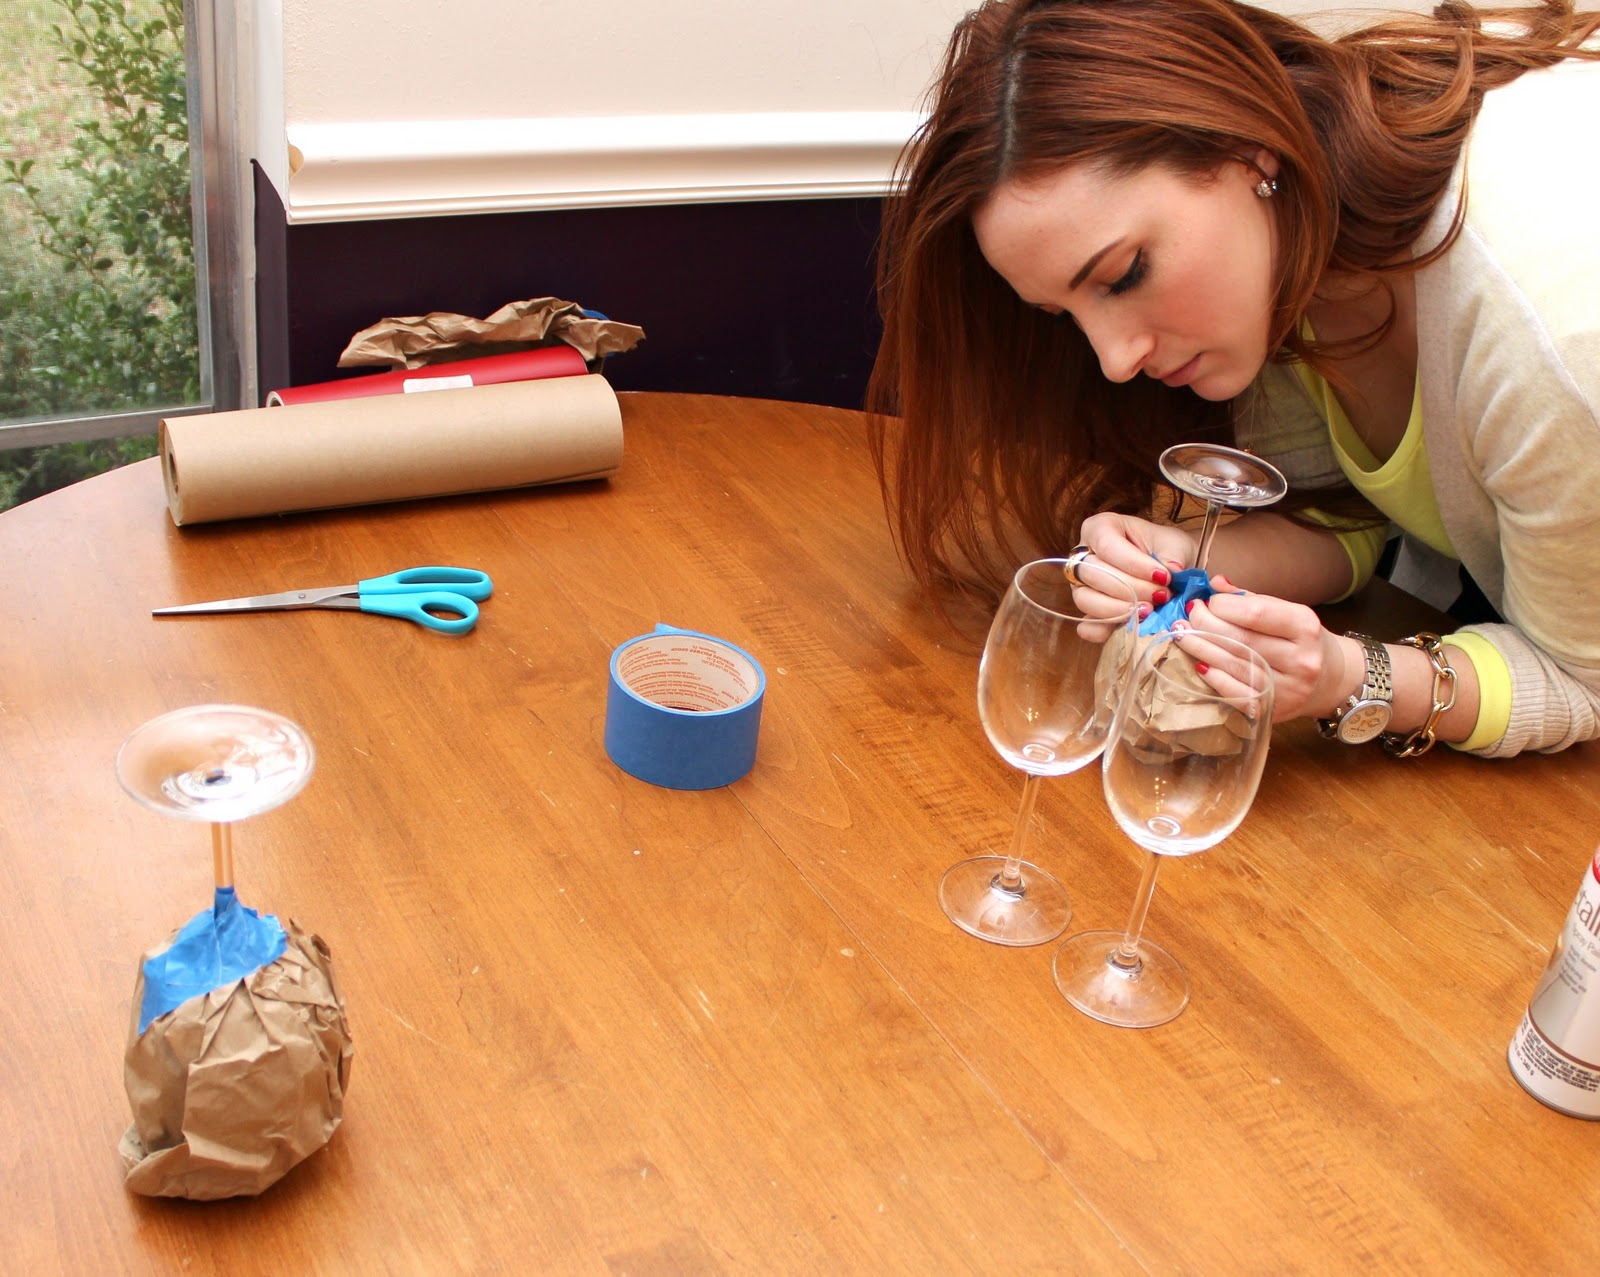
All you need is gold spray paint, tape, newspaper and the glasses.
We wrapped the wine glasses with craft paper and painters tape. Can I just say how much easier it is to take pictures of a craft when you have a model.
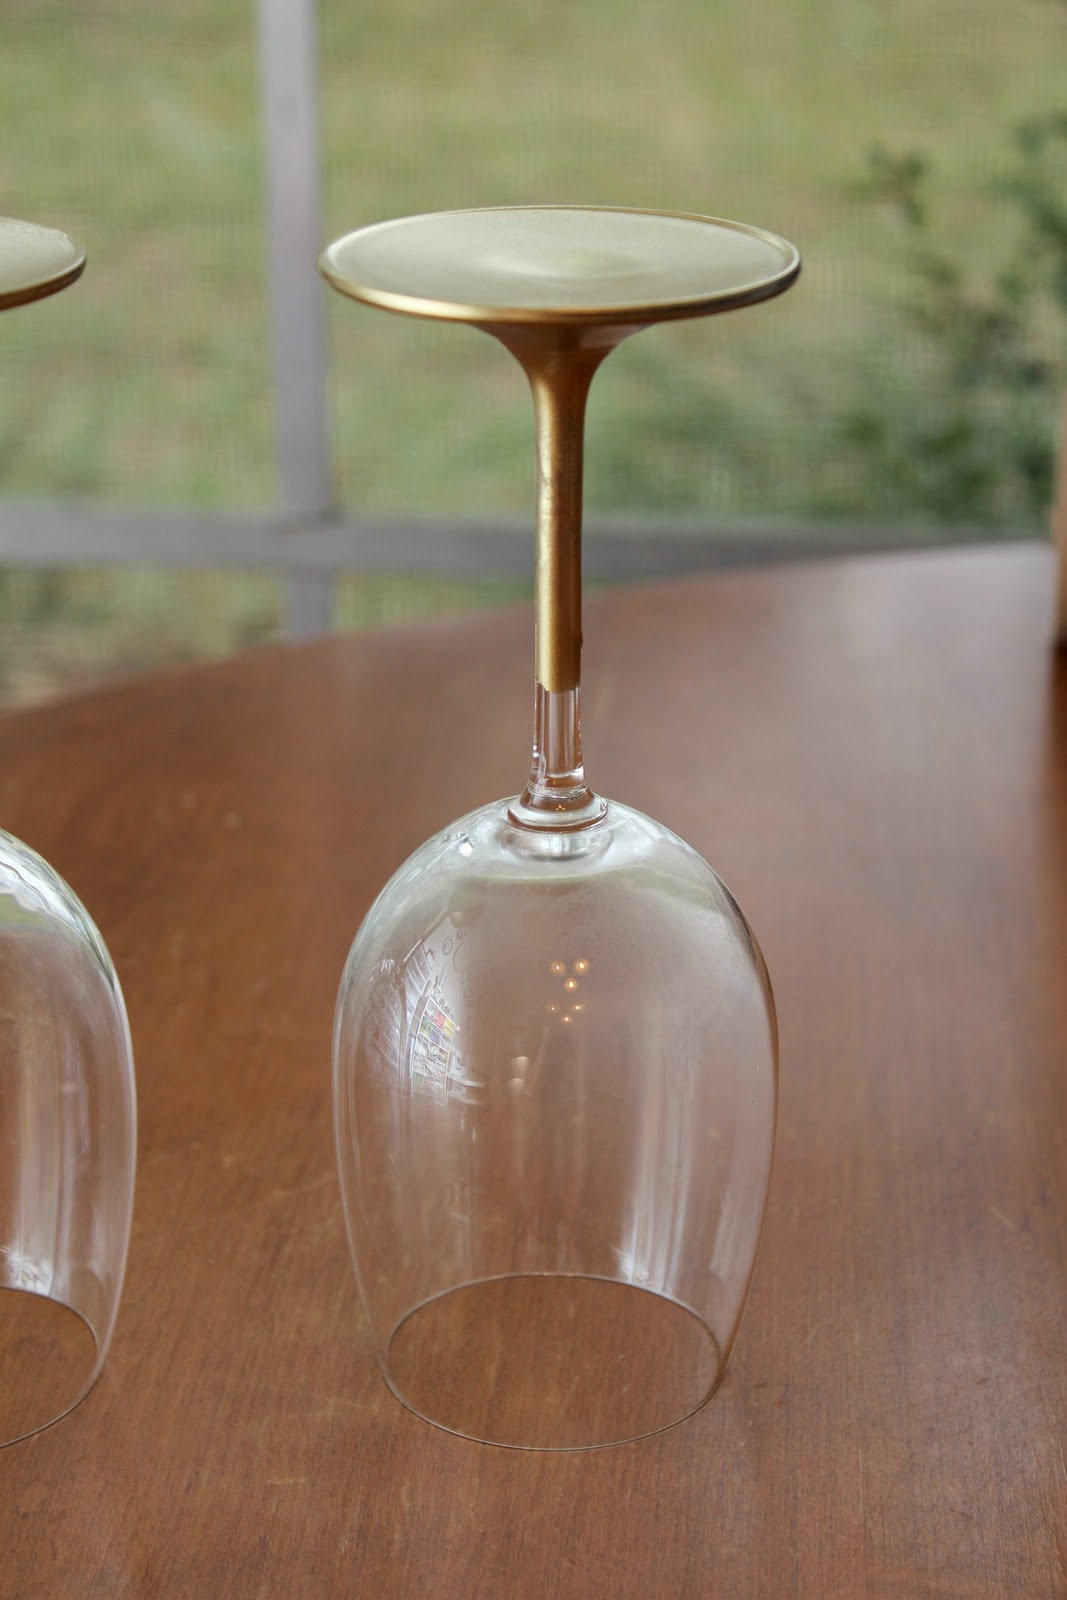
Then we took them outside to spray them. Two lights coats worked better to prevent drips.
Wait to dry (and take pics of yourself or eat more)
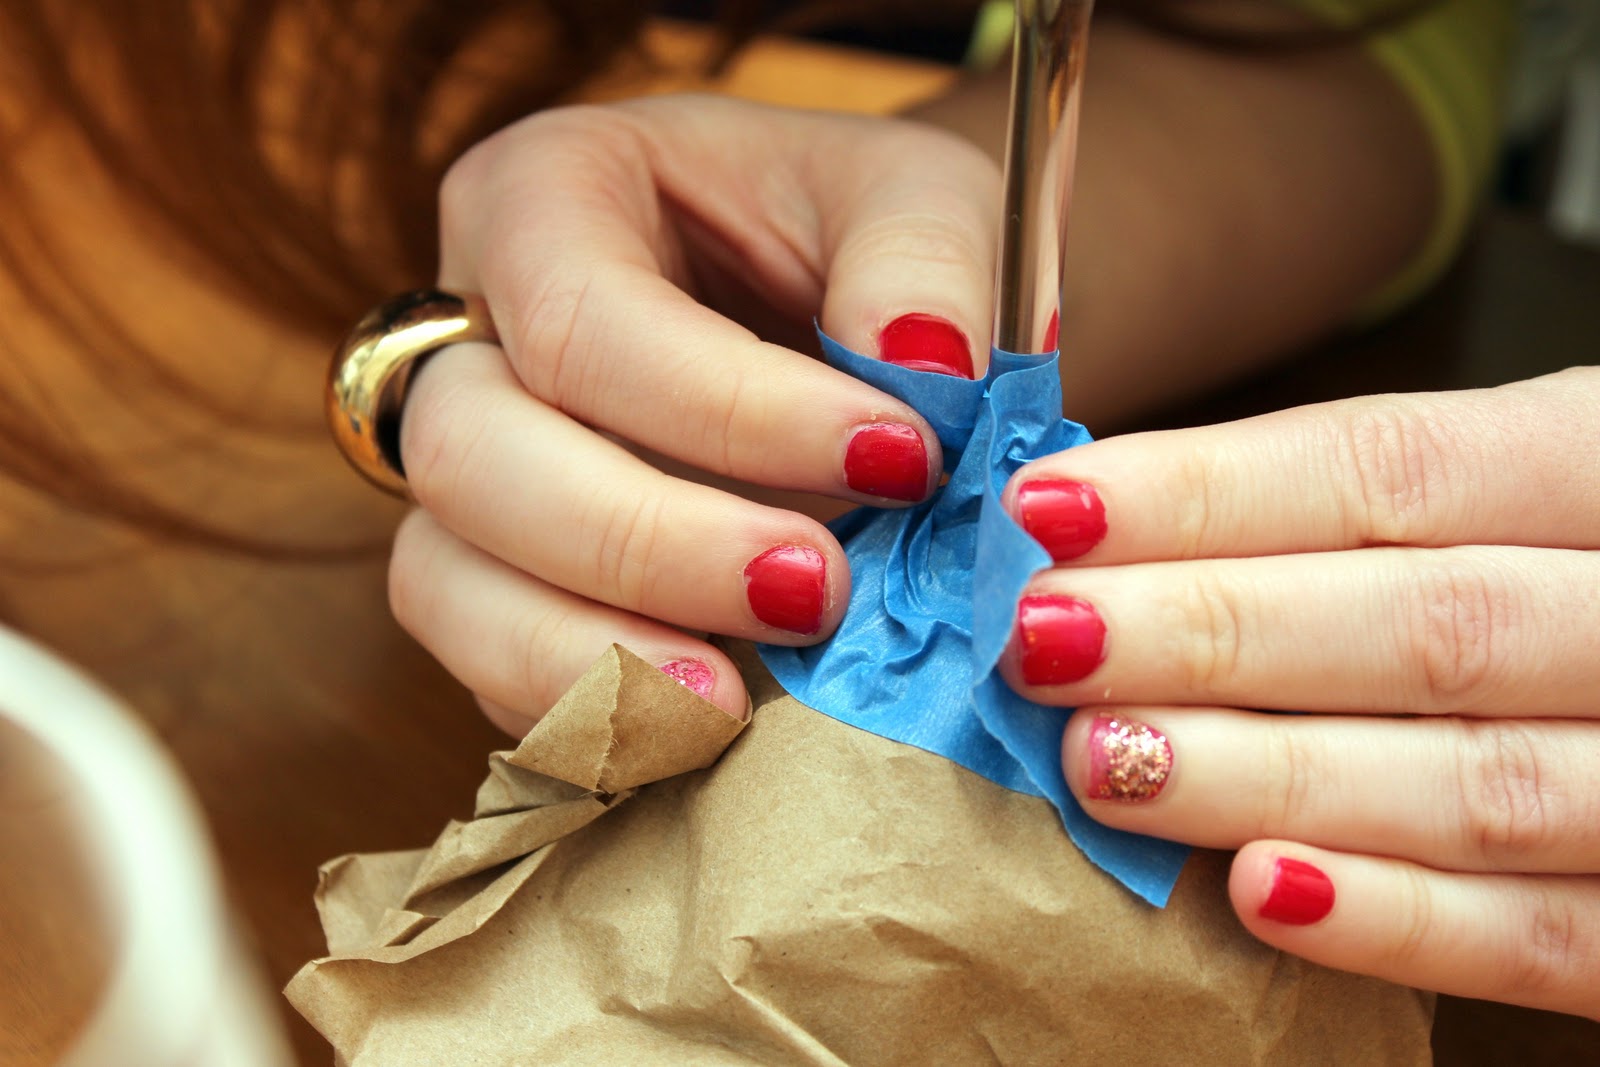
Take the tape off. You could stop here and you would have some really pretty glasses, be we are over achievers. So we added a monogram with etching cream.
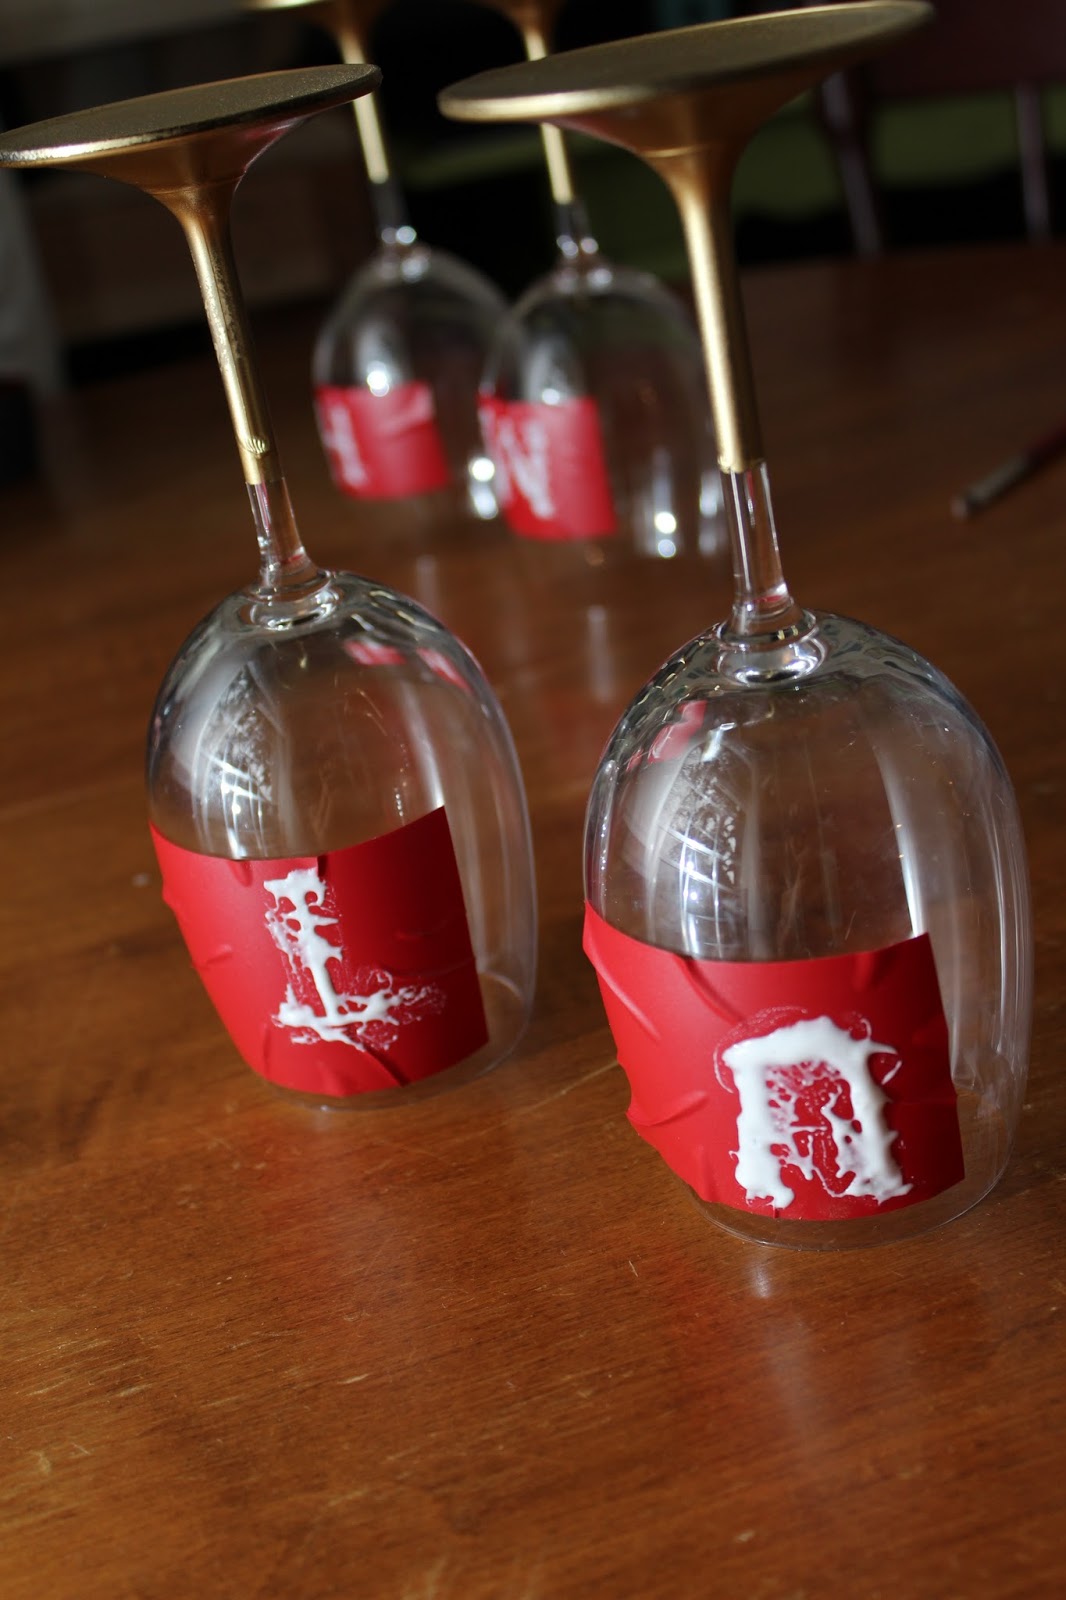
I used my Cameo to cut out our initials but you could use vinyl and an exacto or even the negative space from a letter sticker.
Then apply the etching cream, it can be found at most craft stores, I buy it online… its cheaper. Also it says to leave it on for like 5-10 minutes, but I keep mine on for 20-30 otherwise its too faint. And you really have to slather it on. As you know etching cream is my friend as seen HERE, HERE and HERE.
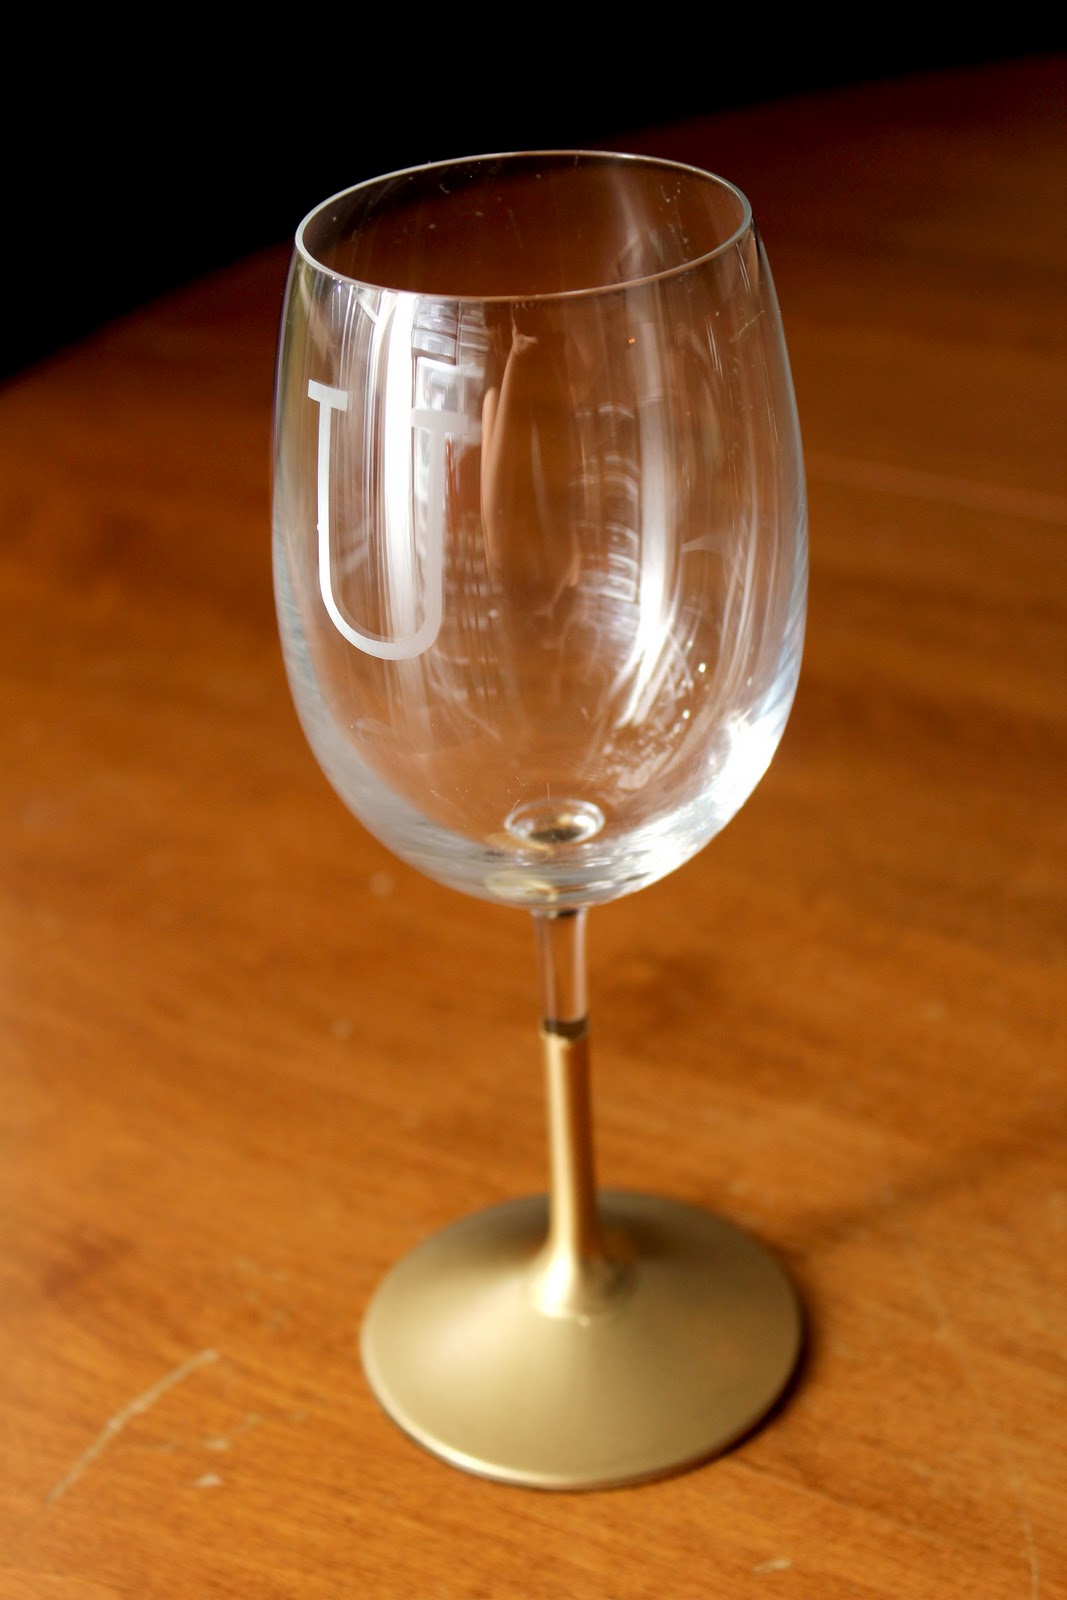
Rinse it off and we are done.
I definitely wouldn’t put these in the dishwasher. They have held up so far with a few hand washes. I am just really careful on the paint dipped part. They can really fancy up your boxed wine :/
And be sure to go check out Melissa’s Post about our crafting extravaganza HERE and tell her hi :)