TaylorMade

DIY, Home Decor & Sewing

  • Home
  • SHOP
  • DIY & Sewing
    • For the Home
    • Sewing
    • Costumes and Holidays
    • Cricut Projects
    • Crafting
  • Parties
  • Recipes
  • Home Tour
  • Favorites
  • About

Bulls-eye Pillow

January 12, 2011 By Taylor 6 Comments

My house is feeling the effects of the “nesting phase”. I had a productive weekend and almost have the “babies” rooms switched out (Yes, I am still calling Finn an baby!). With all the baby preparedness I have been doing, I thought I would take a little break and do a quick craft for my own room. I whipped out this super easy pillow in 40 minutes! I saw something yesterday that reminded me of my Mom’s old bedding from when she was little (because she still has the pillowcases to prove it). So here is the 60’s inspired Bulls-eye Pillow.

 
This is the most unscientific tutorial ever!
 
Supplies:
– 4 pieces of felt
– stuffing
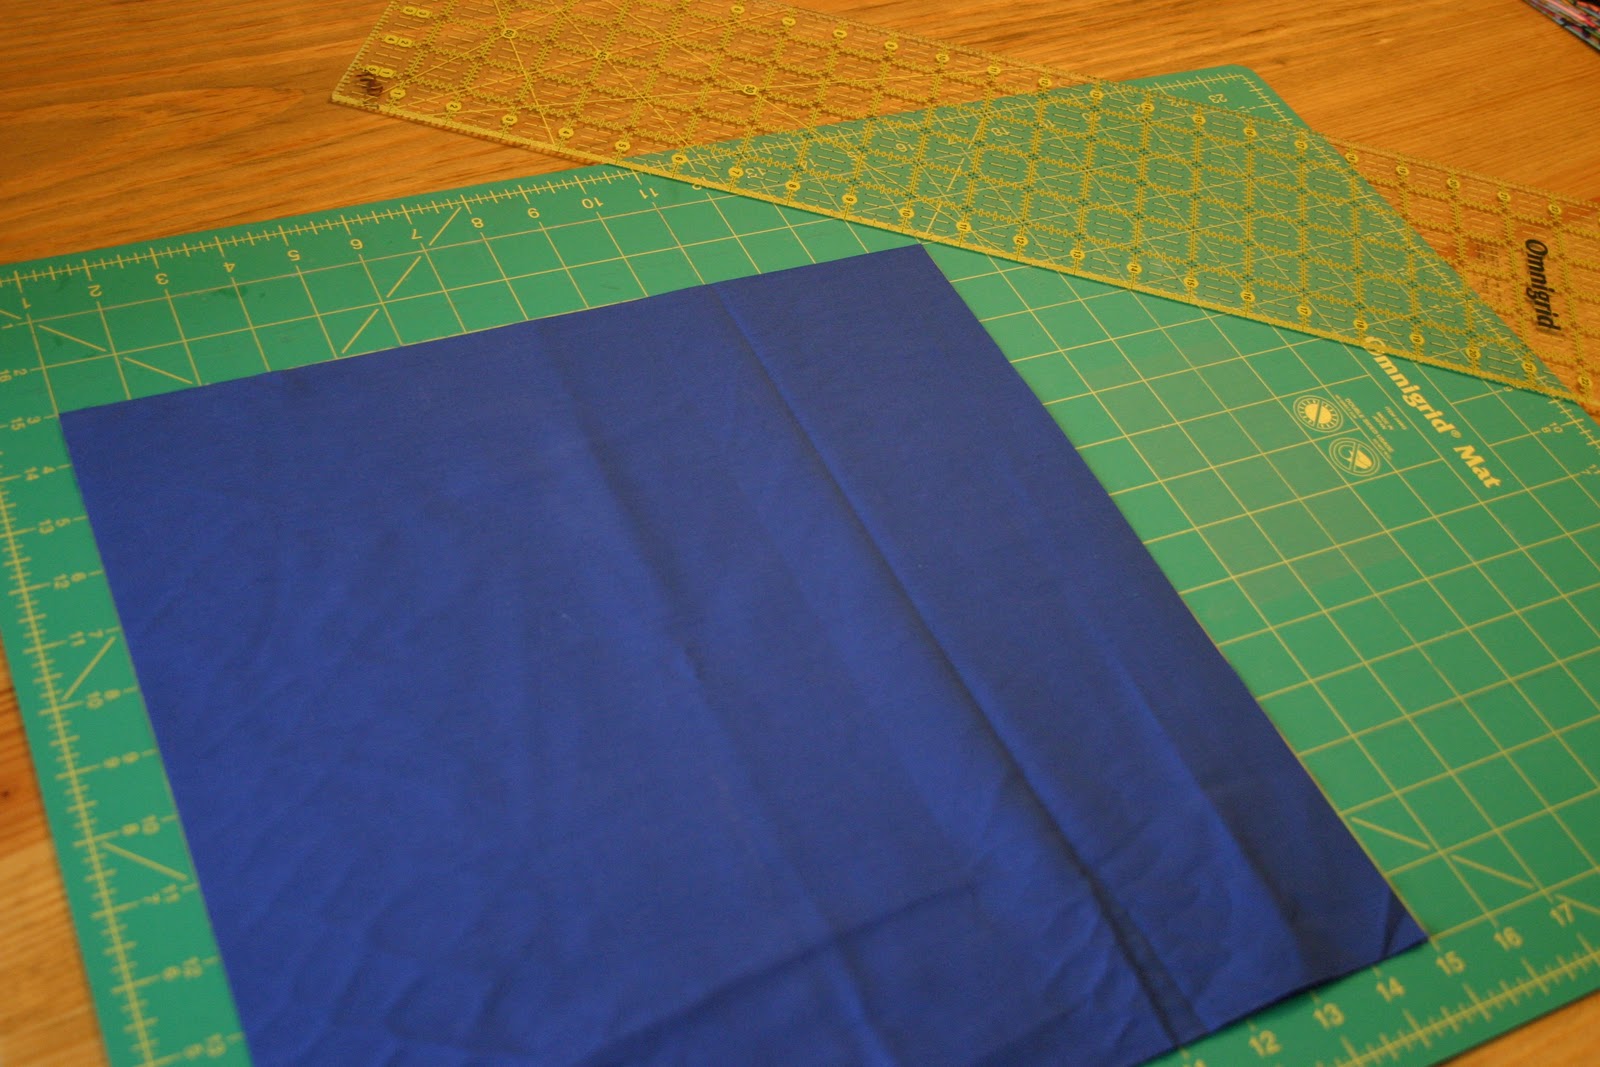
– 1/2 yd of solid fabric
 
Directions:
-Cut 2 14″ squares from your solid fabric
 
 
-Pick out 4 pieces of felt (in a monochromatic family and sort lightest to darkest)
 
 
– Use a template of some sort (even a bowl) to trace your smallest circle. Mine is about 5″ in diameter. Sew that circle onto your next color. Use a very small seam allowance. Then carefully cut around it about 1/2″ all the way around. (I told you this is not scientific)


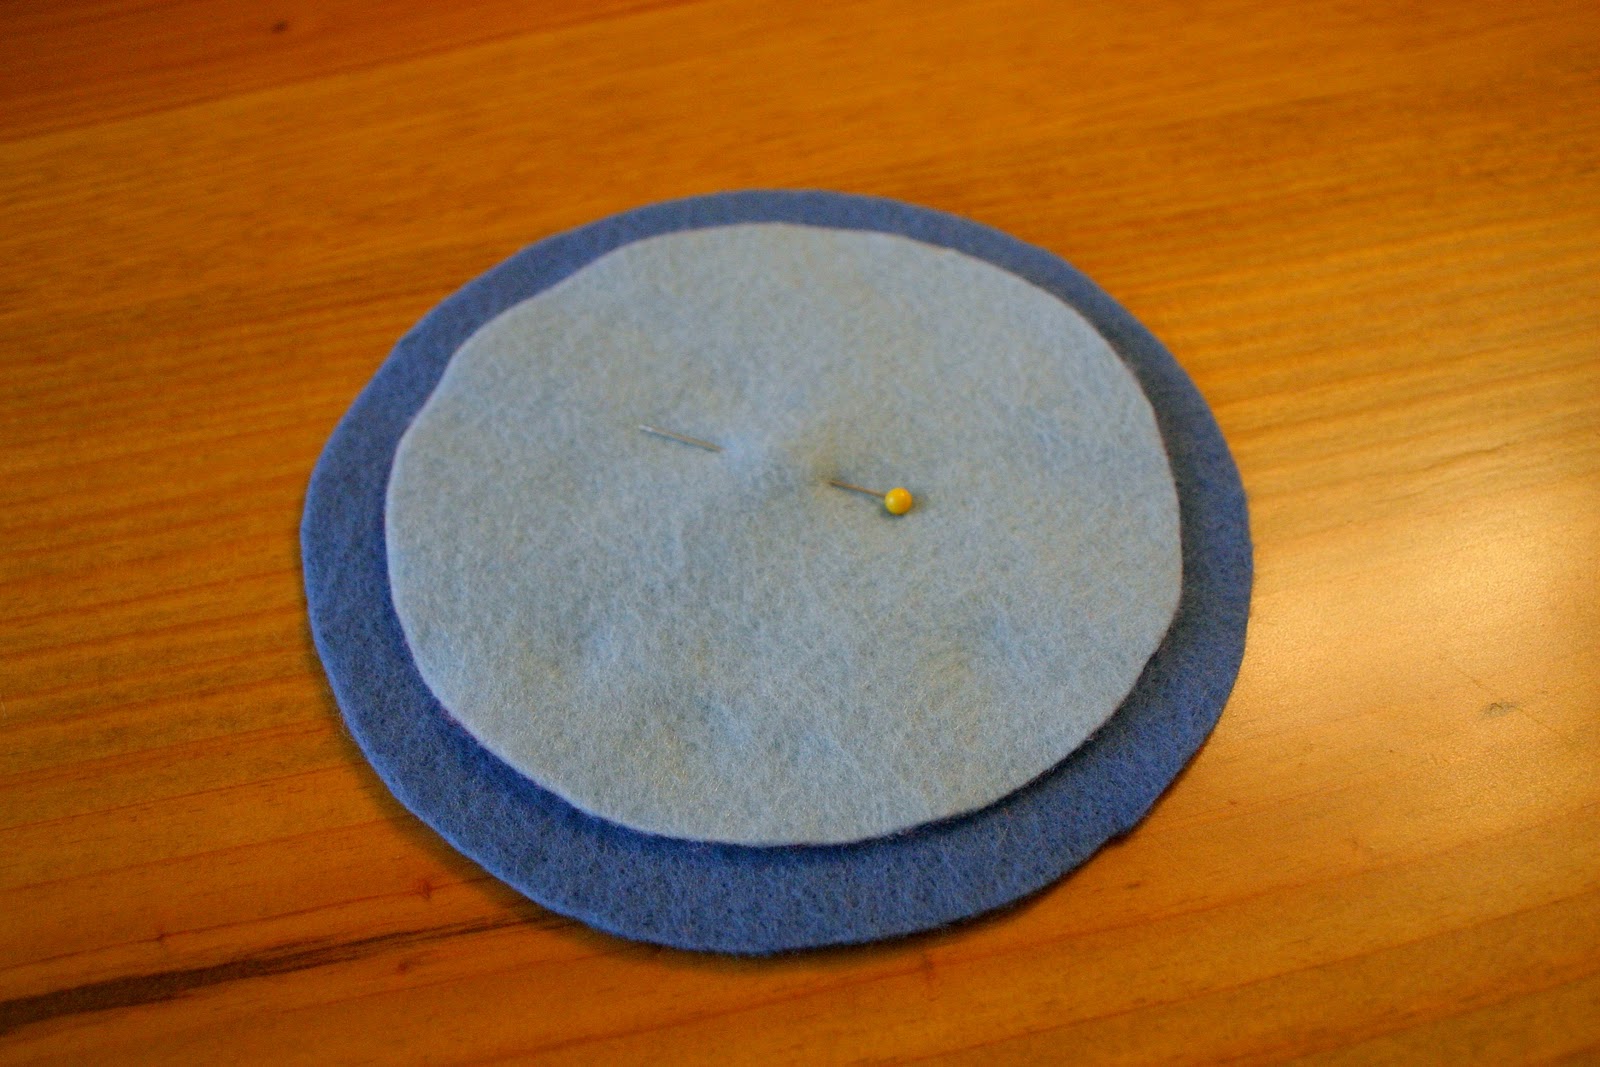
-Keep doing this with all of the “layers”. Then pin the bulls-eye to the front of the pillow and sew into it the same way you were sewing onto the felt.
 
 
– Finish just like you would any pillow, pin and sew right sides together leaving room for flipping. Stuff and hand-sew the opening. Voila!


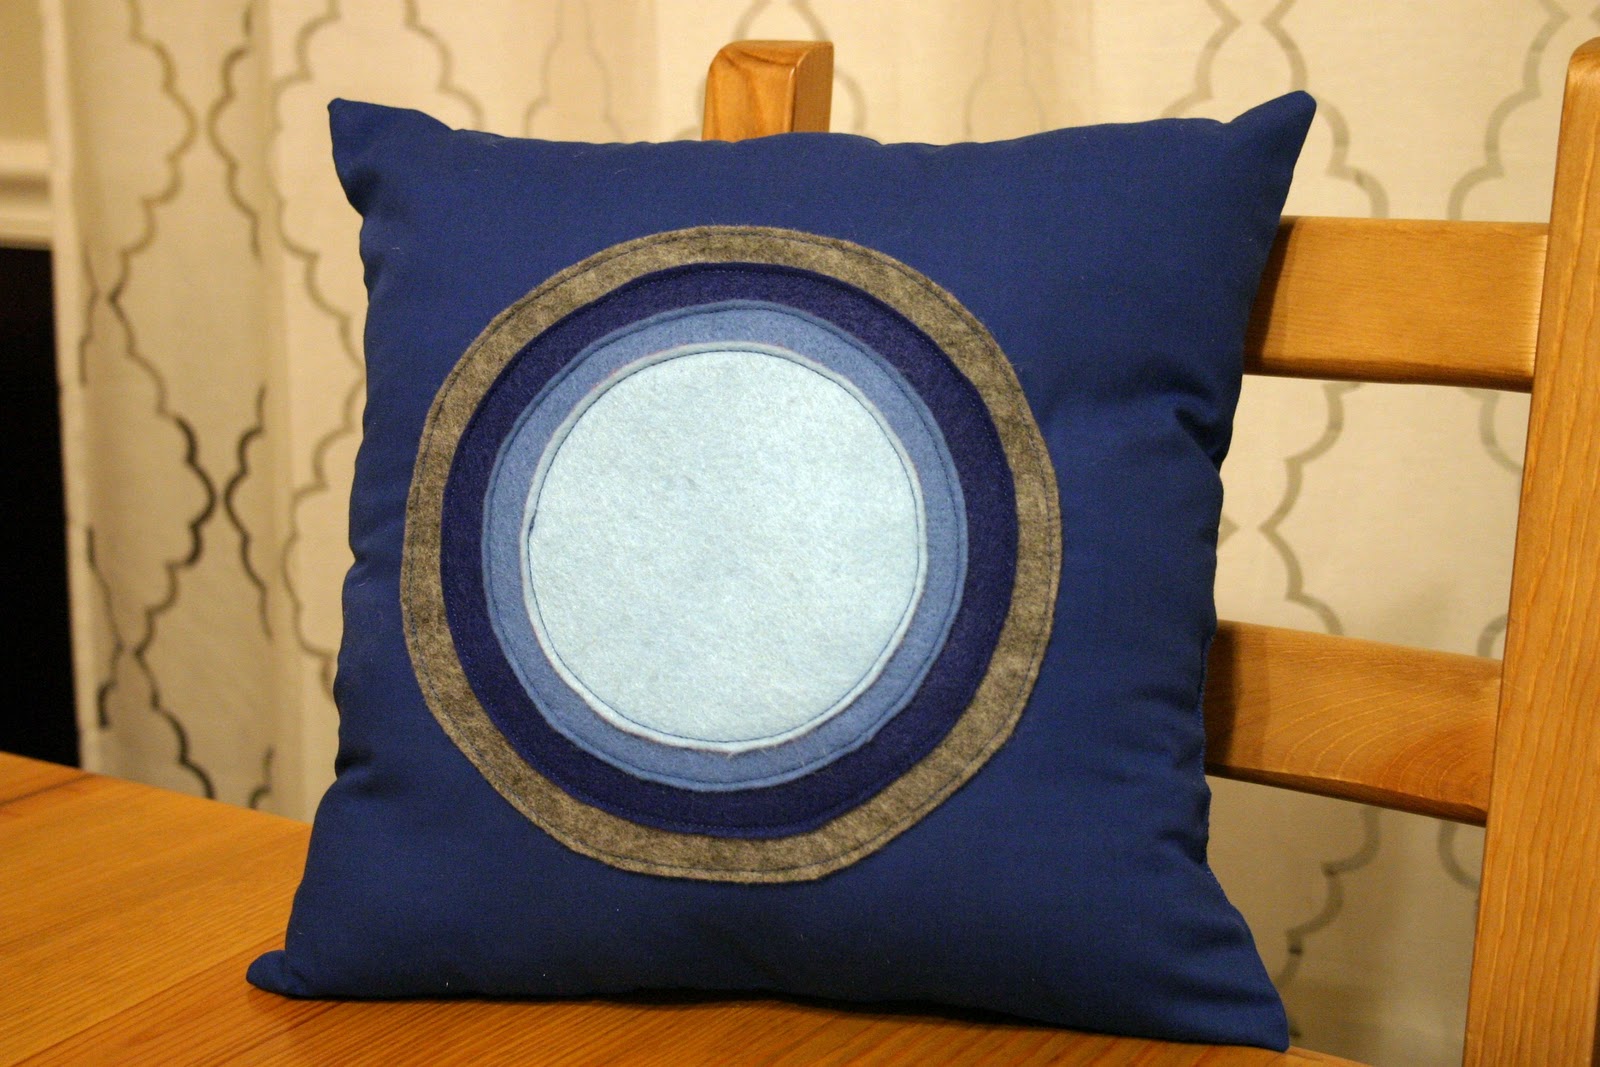
Look at it’s new happy home :)


Filed Under: bedroom, fabric, felt, home goods, sewing, tutorial Tagged With: home goods

Felt Food Factory….

November 4, 2010 By Taylor 1 Comment

There are TONS of felt food ideas all over the web but until last week, I had never made any. Now I have to admit, I have a felt food problem. Seriously it is addicting, I am going back to hobby lobby tomorrow to get more colors! We are making Finn a play kitchen out of a nightstand for Christmas so we have to have some play food, right? I have so many ideas but last weekend I tried just a few of them. Be ready for more pics from the Felt Food Factory coming soon…
 
 
Burger (bun soon to come)
 
 
Grocery Sack
 
 
Peel-able Banana 
 

Filed Under: baby stuff, craft, sewing Tagged With: kids

Framed Tablecloth

June 10, 2010 By Taylor 1 Comment

This Friday I am having a Dinner party for my friends who are moving :( Sad that they are leaving… but excited to host a dinner party! It is going to be super casual, we are having a Taco Bar with Fresh Mojitos and Tres Leches! Pics and recipes soon to come….
I need to get to work on some stuff for the Dinner Party, so meet the Framed Tablecloth. This couldn’t be easier!
All you need is : (This fits a breakfast area table that seats 4)
1 1/2 yds. of fabric
6 yds. of quilt binding.
Only 2 “ingredients”! The binding usually comes in 3 yd packs and it is about $2.00 a pack from JoAnn Fabrics. I found this amazing floral fabric at Garden Ridge Pottery of all places and it was $3 for 3 yards! I think I might make half-curtains for our kitchen out of the extra fabric. I like to mix colors, so for the binding I got a buttery yellow. All you have to do is attach your quilt binding all the way around. 
There you have the Framed Tablecloth, custom made and under $7.00! Looking at the picture of the Tablecloth laid out makes me think that it would be super cute as a picnic blanket! Too bad I live in Houston and it is 200 degrees and I hate being outside… but it would still be cute. Now I need to get to work on my never ending to-do list! Wish me luck!

Filed Under: fabric, home goods, sewing Tagged With: home goods

Lingerie Bag (Clean & Dirty)

April 28, 2010 By Taylor 5 Comments

 
I can finally share my Clean and Dirty Lingerie Bag that I made my sister for her birthday. We saw a (much more expensive and less exciting) lingerie bag a few years ago and we loved it so I thought I would improve it :) I call it a Lingerie Bag because it’s catchy but it is really perfect for traveling, gym bags, diaper bags etc… The bag has two compartments “Clean” and “Dirty” but share a zipper which makes this a very simple project!
 
All you need is:
1/4 yard of outer fabric
1/4 yard of inner fabric
22″ zipper
about 10″ of either a third fabric or extra from the inner fabric for the Clean and Dirty square
 
 
Step 1: Cut 2 pieces of inner fabric and 2 pieces of outer fabric to 9″ x  24″.


Step 2: Make your background squares for the names “clean” and “dirty”. I used a completely different fabric because my inner fabric was so busy. They need to be 4″ x 5″. Fold and iron all the way around then sew them both on one of the outer fabric panels.


*Here is where I messed up. I kept on making the bag BUT I should have embroidered at this point! I had a friend embroider the words “clean” and “dirty” on after I was totally done but it was really hard for her because of the bag’s shape. Also, some of you might just want to sew a “C” or a “D” on it. Either way, it will look better if you do it now because you wont see the back.*


Step 3:  Layer one side of the bag in this order; inner fabric right side up, zipper lined up with the top of the fabric and then the outer fabric wrong side up. Sew along the top line making sure to sew all the way to the end.


Step 4: Flip the fabric around so that the wrong sides are together. Repeat the same order on the other side of the zipper. Sew across the top line in the same way. 
Step 5: Unzip the zipper half-way ( a crucial part or you will not be able to flip your bag. Now sew the outer fabric together (right sides together). Then sew the inner fabric panels together leaving a 2″ opening on one of the sides. Flip the bag inside out. Sew the 2″ hole closed. You should now have a lined zipper bag, but we wont stop now….


Step 6: Now you will sew a line right down the middle of the bag to make two individual compartments. Measure to the center of the bag and mark with pins. I used a decorative stitch because it will be seen anyway. I also went over it 3 times to make sure it is good and stable. Across the top, (parallel to the zipper but right under it) sew about 1″ long.


Step 7: Get your lovely friend to embroider the works on for you. However, if you do not have that option, there are many other cute things you can do! You could sew the letter “C” and “D” on it. You could use an iron-on. You could paint or silk screen… the possibilities are endless. Here is my finished product…


Happy lingerie bag making!!


Related Posts Plugin for WordPress, Blogger...

Filed Under: sewing, tutorial Tagged With: accessories

  • « Previous Page
  • 1
  • …
  • 21
  • 22
  • 23
  • 24
  • Next Page »

Welcome to Taylor Made

http://www.taylormadecreatesblog.com/about-me Hi Yall! I'm Taylor... an artsy mom of three from Houston, TX. I love sewing, collecting floral fabric, eating Mexican Food, photography, brights colors, rearranging, and rolling clay. Taylor Made Creates is all about creating a fun, colorful home, sewing cute things and eating good food. Check out my SHOP HERE HERE! Thanks for stopping by!

Search

Pin with me!

Like Me :)

Facebook Pagelike Widget

More Recent Posts

  • Kid's Animal Room
  • Kids Camping Shirts
  • Mermaid Birthday Party
  • Conversation Heart Cold Packs
  • Holiday Apple Tea Punch
  • Purple Princess Costume
  • Letterboard Costume
  • La Croix Costume

FAVORITES

  • Swan Wings + Hello Ollie Fabrics
  • Pippa Peplum Piggy Dress
  • Banana Nut French Toast
  • Mini Fabric Lamps
  • Triangle Baby Quilt
  • Casserole Carrier
  • Valentine Mantle
  • Memory Hall
  • How to do a Patterned Dot Wall

Copyright © 2026 · Web Hosting By RFE Hosting