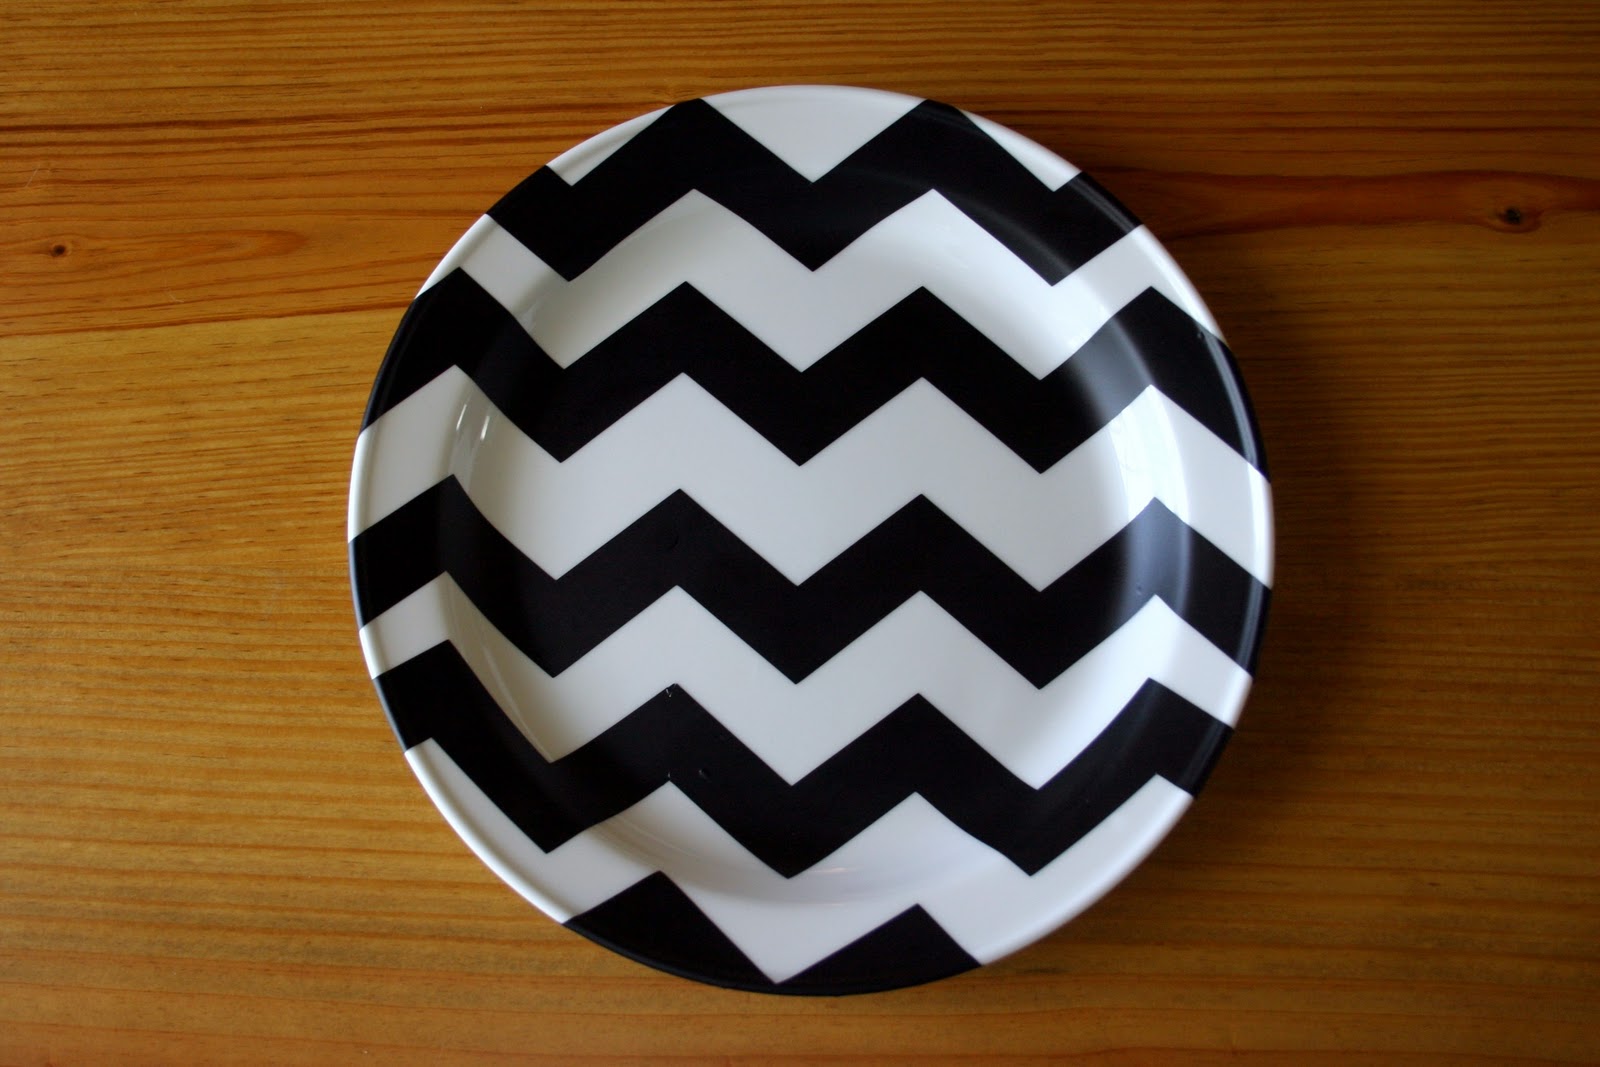
Last night, after sulking all day about my crafting slump, I crawled in bed with my copy of Martha Stewart Encyclopedia of Crafts (best book ever). I think I am healed, I knew Martha would help! I remembered something I have been thinking about – of a Chevron Striped Plate. Let me explain, I have a plate collection on the walls of my dining room, they all mean something and they all have a story. I even have two plates from two of my great-grandmothers, one of which is handmade. I thought a modern looking Monogrammed Chevron Plate would really give the wall a fresh “springy” look.


Plate Wall
Supplies:
-plate
-paper for the monogram
-vinyl
-Mod Podge
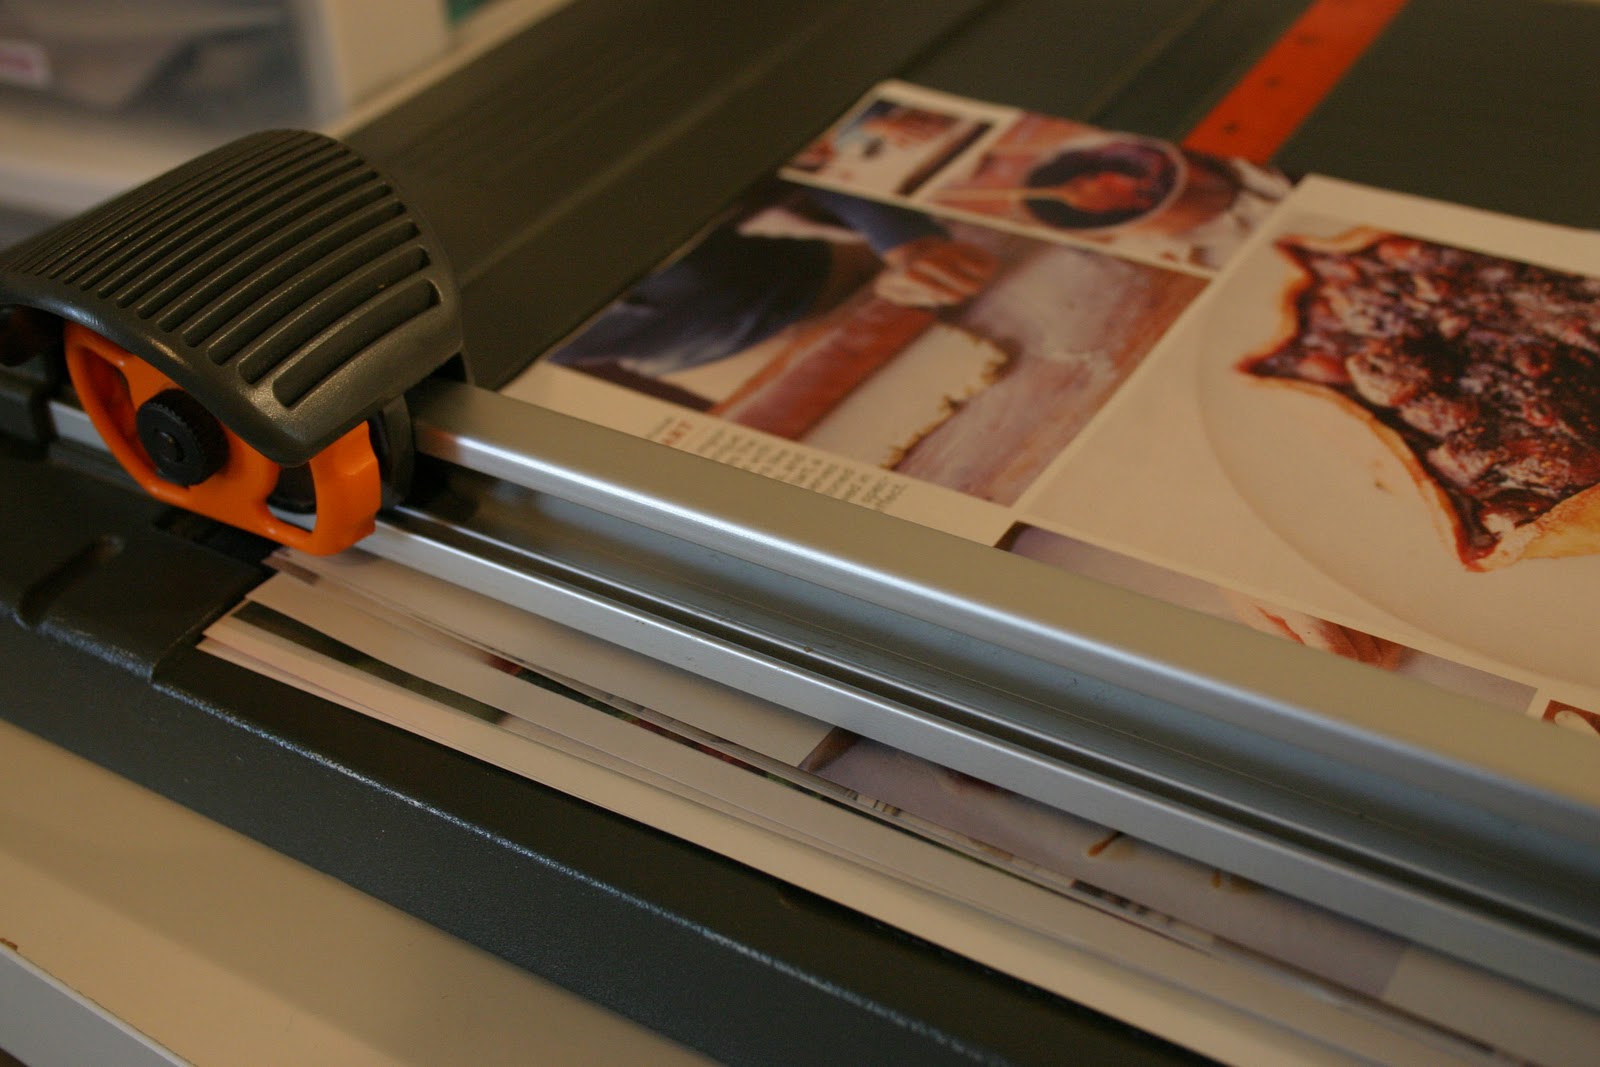
-Silhouette (Cricut or an exacto knife)

I wanted to do a Chevron Stripe on the background of my plate but any graphic pattern would work. I, of course used my trusty Silhouette! First of all you need to clean your plate so the vinyl will stick. Measure the center of your plate making sure to measue the curves of the plate too. Mine was a little over 10″ so I made my chevrons 10.5″ long. In my Silhouette software I used the chevron shape (which was the free shape of the week a few days ago) and loaded my premium vinyl into the machine.
About the Monogram… did you know that you can search “free fonts” in google and there are millions of fonts that are way better than the stadard loaded on your compuer. All you do is downloard them to your computer, then install them and they will show up in all of your programs like Power Point, Word and your Silhouette Software! So, I searched for a free Monogram Font and found the perfect one. Here is the link. Make your last name inital larger than the other two initials because that will be the one in the middle. Load your bright colored cardstock and cut!
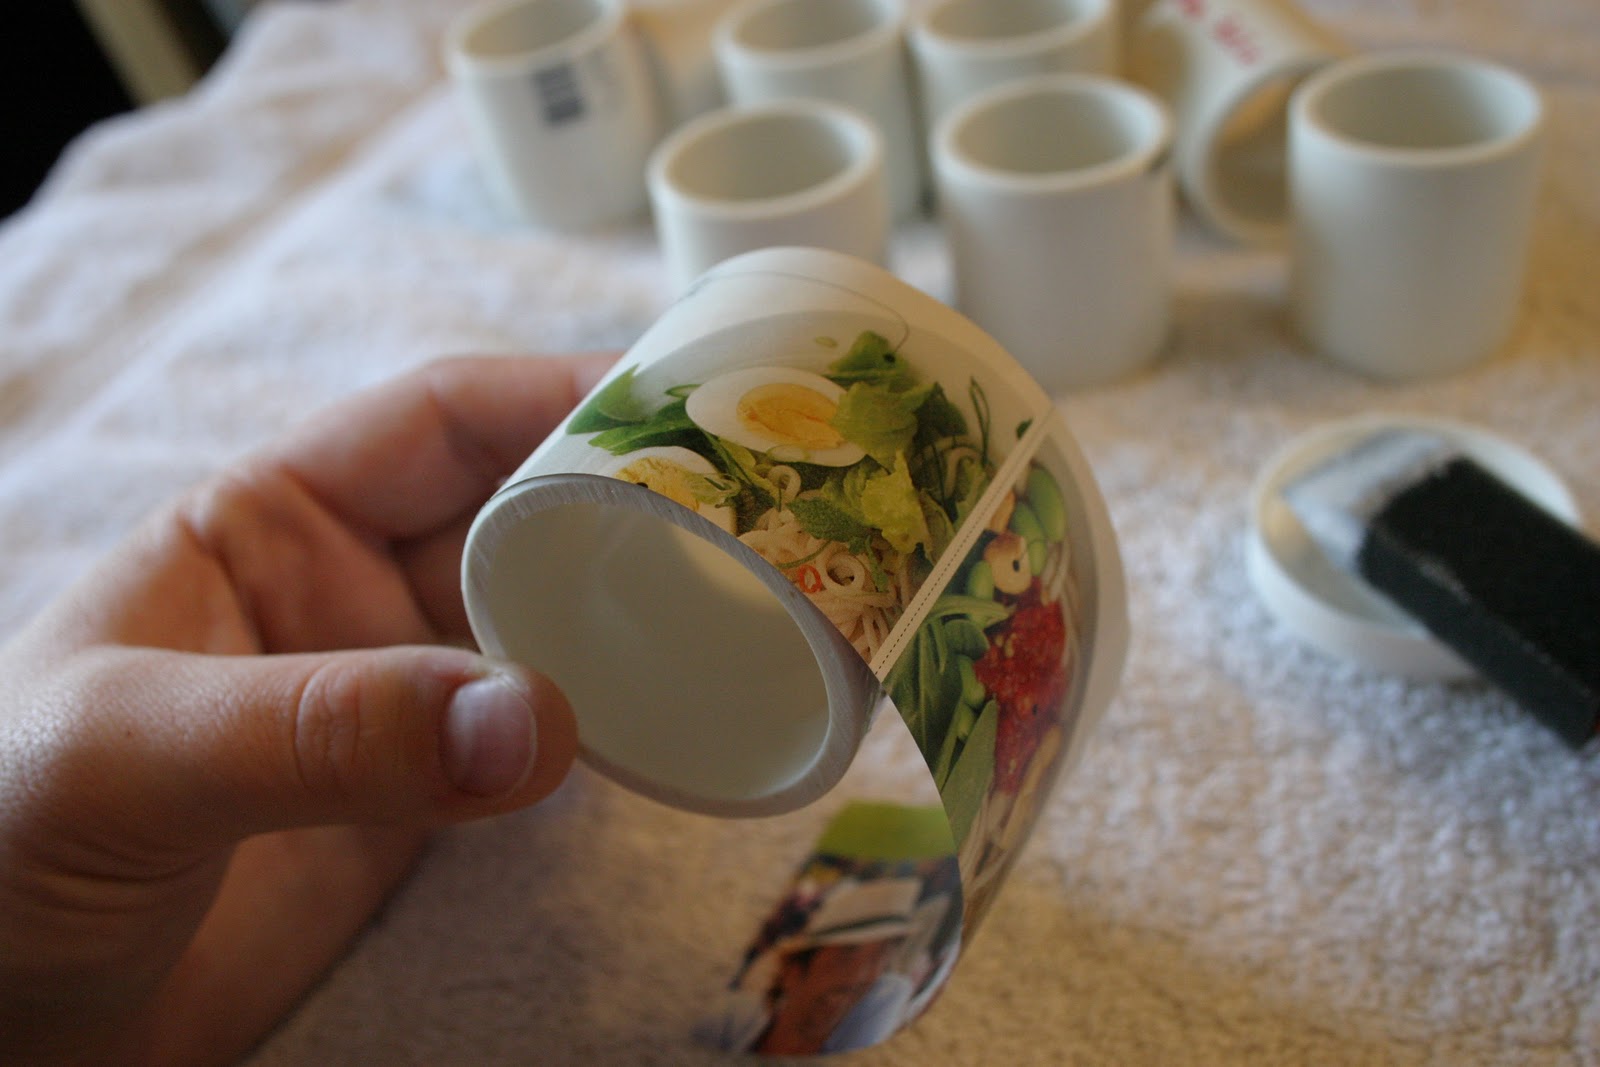
I have no scientific instuctions on how to place your vinyl, if you are a perfectionist I’m sure you could measure but that is just too hard for me. So I eye-balled it. Just make sure to get out all of the air bubbles.
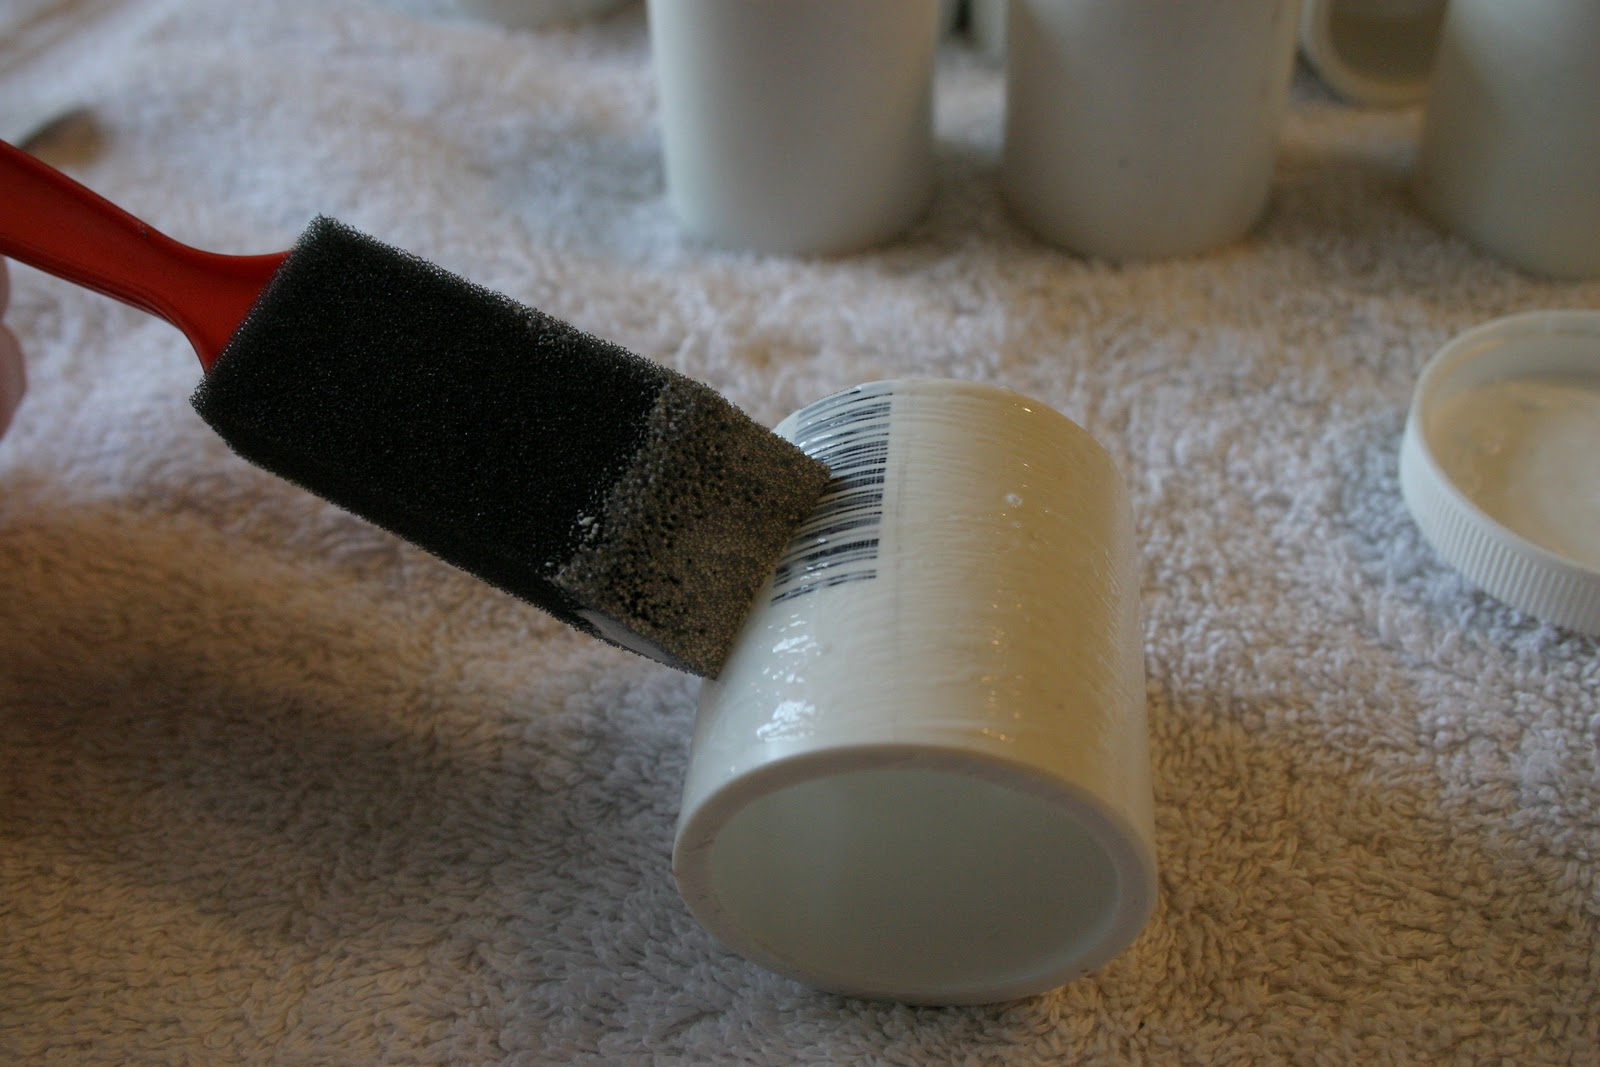
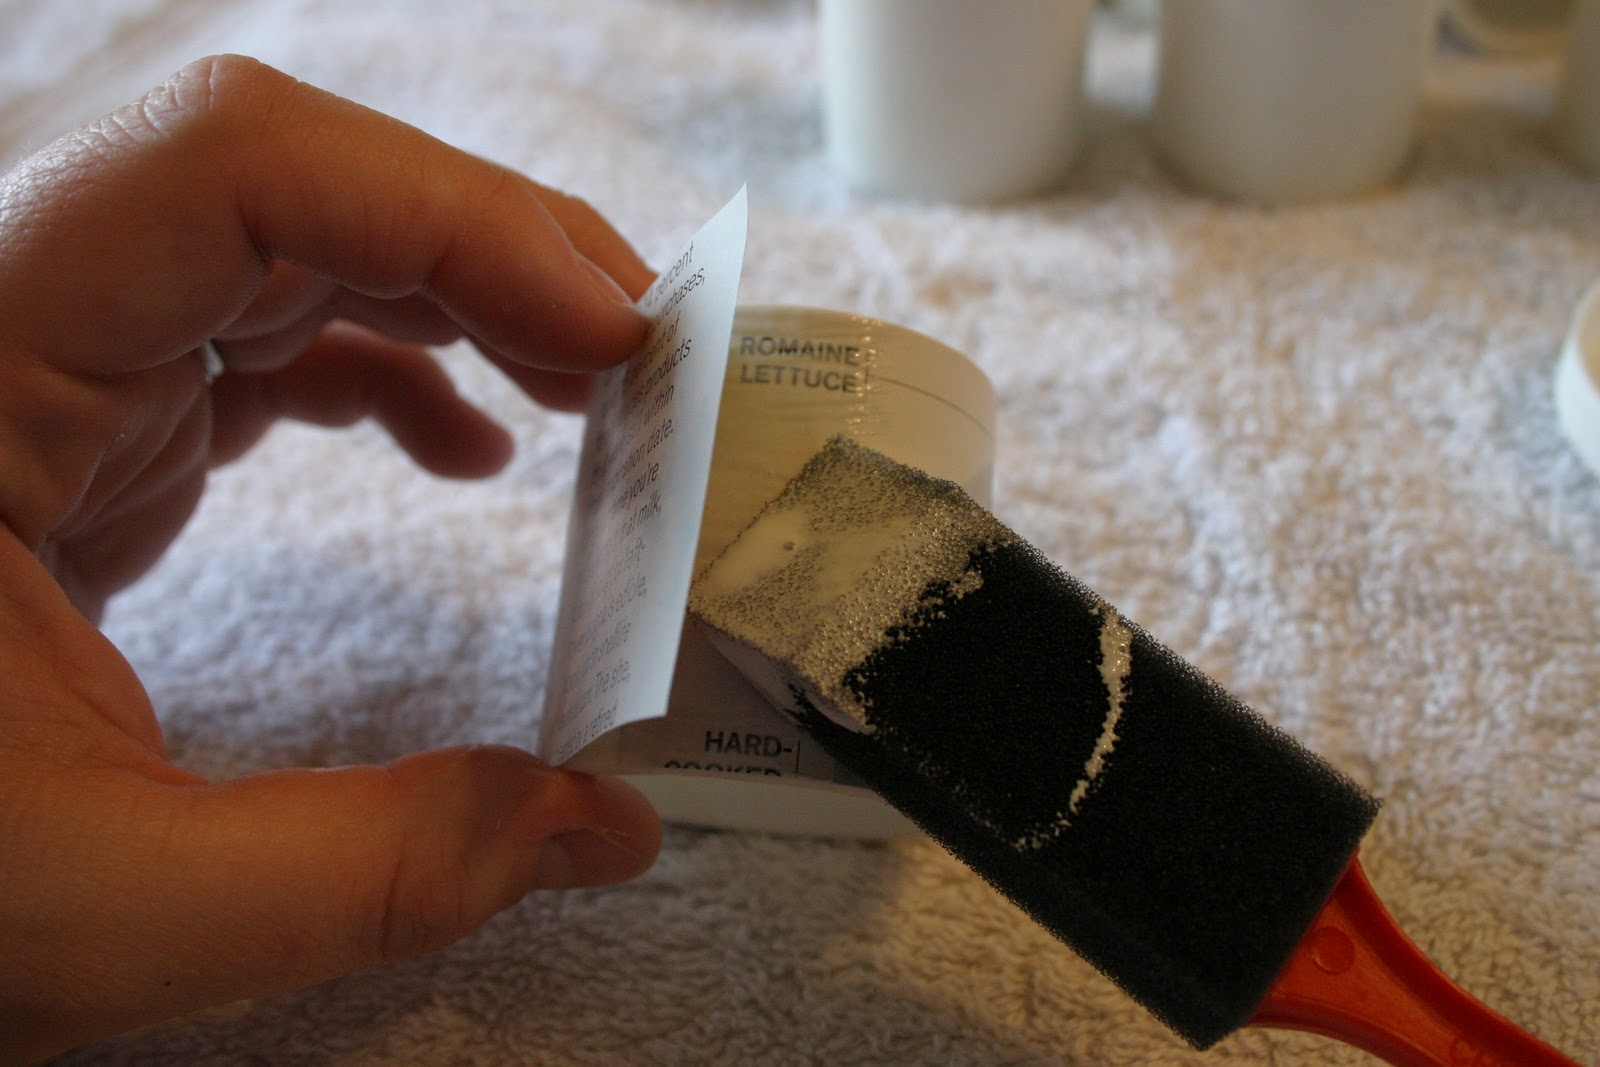
Apply a thin layer of Mod Podge down on the plate. I didn’t Mod Podge the outer ring of the plate. I used the Matte finish because it’s my favorite.

Carefully place your letters down, make sure they are all pressed down well by using a pin or tweezers and get out the air bubbles.
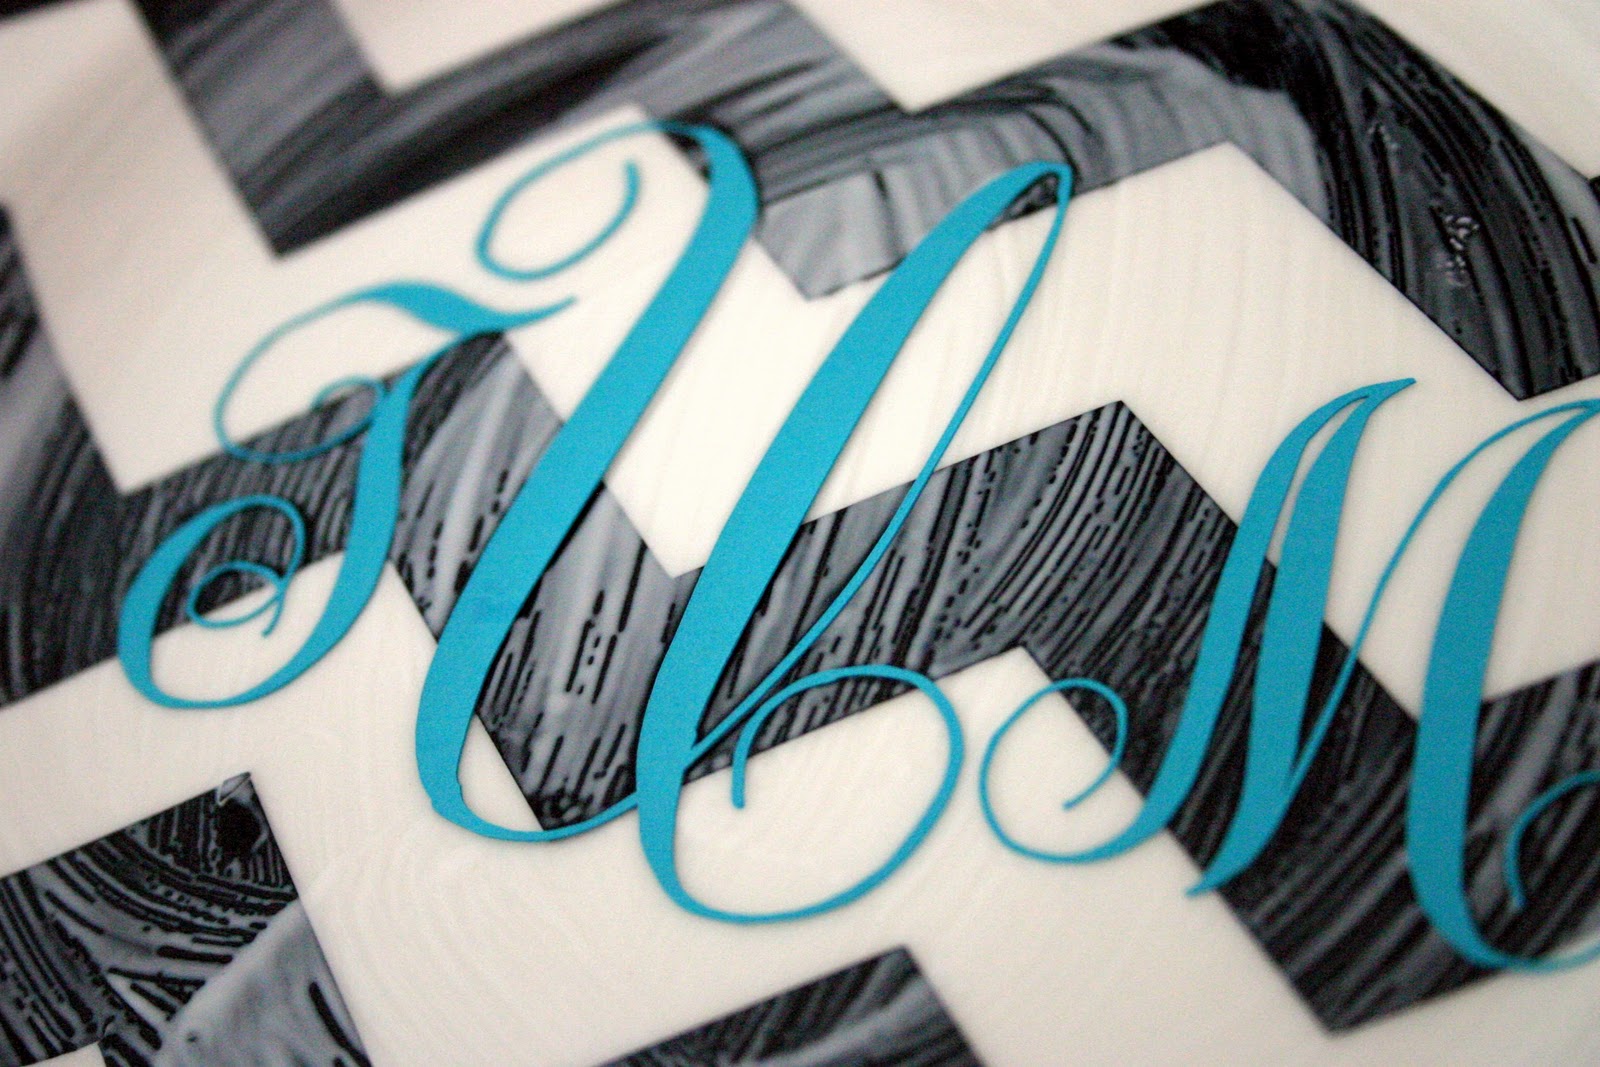
Apply a top coat of Mode Podge to the inner curcle of the plate. Make sure to get in between all of spaces in the letters and again, pop the air bubbles with a pin because they will dry funky if you don’t.
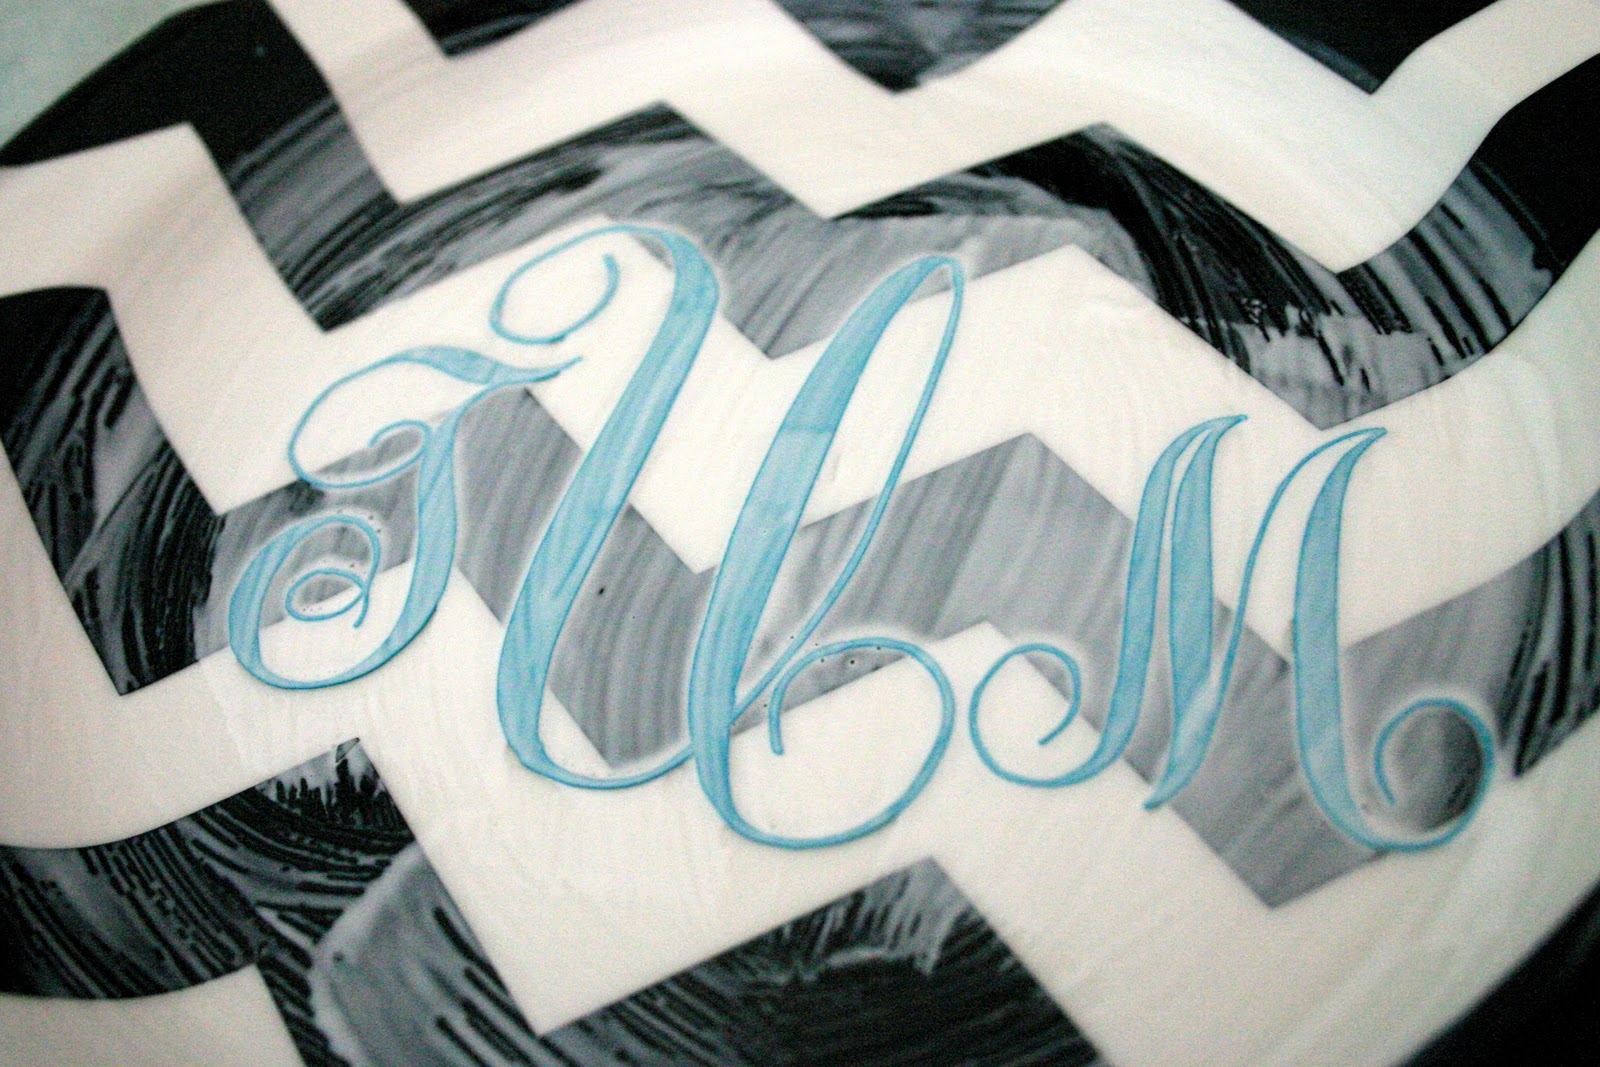
Now just wait for your plate to dry, and hang that baby up, it looks so profesh!