You guys… this animal might be my favorite room makeover yet! If you remember a few months ago (on Instagram) I mentioned I was going to split the boys apart this school year. They are very close but I wanted them to have their own space and we had the room. Their previous room (HERE) is now just my oldest son’s room and my middle got to move into his own room. His one request… “I want an animal room.” He is 7 which is still little but I didn’t want it to look to juvenile or like a nursery. This room is an actual bedroom but up until now we had been using it as the playroom (link is HERE if you want to check that out!). I had already painted the chalkboard wall a few years ago but being the only wall that the bed would fit on, I didn’t like the idea of chalkdust on the bedding all the time. Neat freak problems. That and the idea of painting over the chalkboard didn’t sound fun so that is how the animal “wallpaper” idea came to life :)
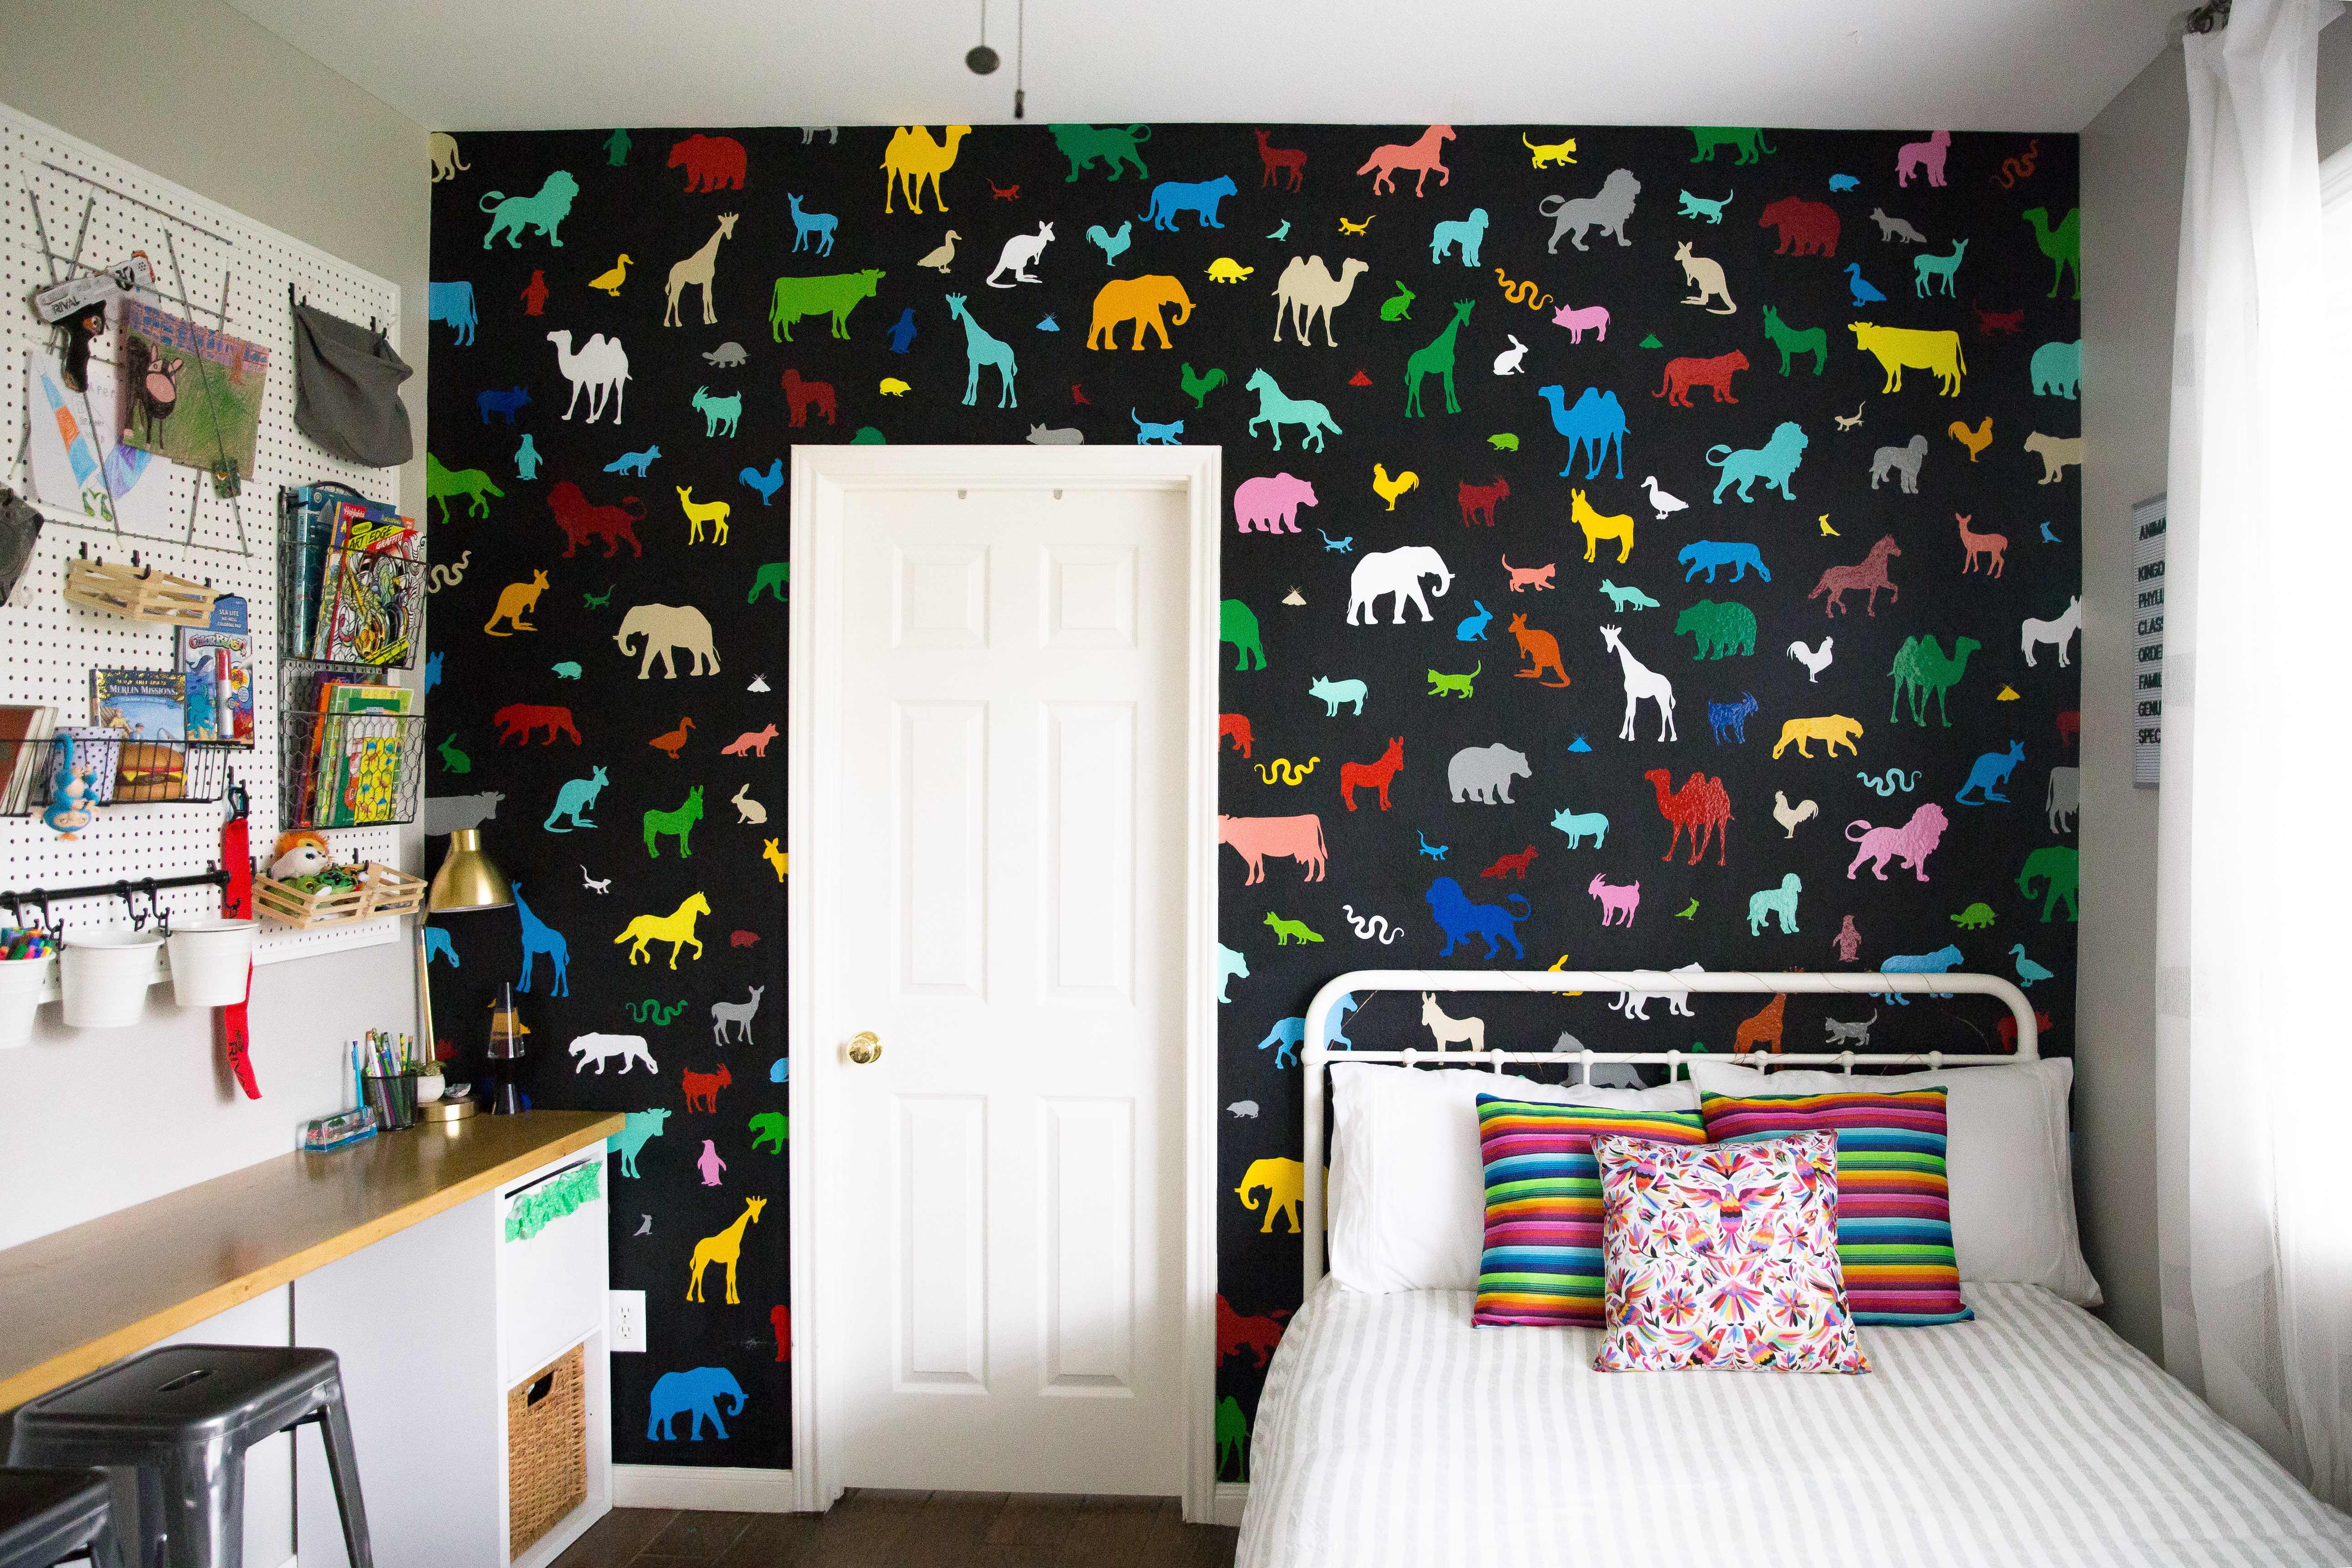 We have a local vinyl store in the area so I went and got 2 sheets of every single color they carried which ended up being around 30 different colors, so 60ish 12×12″ sheets. Then, in my Silhouette software I created 6 different pages of animal silhouettes. I just google searched random animals and used the trace feature until the page was full. I did that until I had 6 pages of different types of animals in different sizes. I had the kids help me think of both common and obscure animals. Then, making sure we didn’t have two colors of the same animal sheet, I fed them all through and cut them out making approximately seven billion stickers… kidding. But there were A LOT! Fun Fact: because I only had 2 sheets of each color and made sure not to cut the same page in the same color… no two animals on the wall are alike!
 When I started placing the animals on the wall I made sure to spread out the big animals so I started with those and filled in with little animals as I went. I also ended up cutting some of the vinyl stickers in half on the edges of the walls and door (both horizontally and vertically) to make it look more wallpaper-like. Once I finished the big animals that needed 2 hands the kids pitched in and helped. Who doesn’t want to spend a Friday night applying 800 stickers to a wall am I right haha?? But honestly it was very easy and I absolutely LOVE how it turned out… and I love that it was all under $30!
 I knew the wall would be the bright focal point of the room so I didn’t want to go too crazy with the accessories, I tried to stay as neutral as I could :). I DIYed the “mexican pancho” pillows from an old costume we had lying around and I found the Otami pillow on amazon. I will link all sources at the bottom of this post.
 I’m really in love with this bed too! It has a vintage feel but it’s brand new (from Walmart of all places). It was super affordable but it’s very sturdy and seems really well built… I highly recommend it!
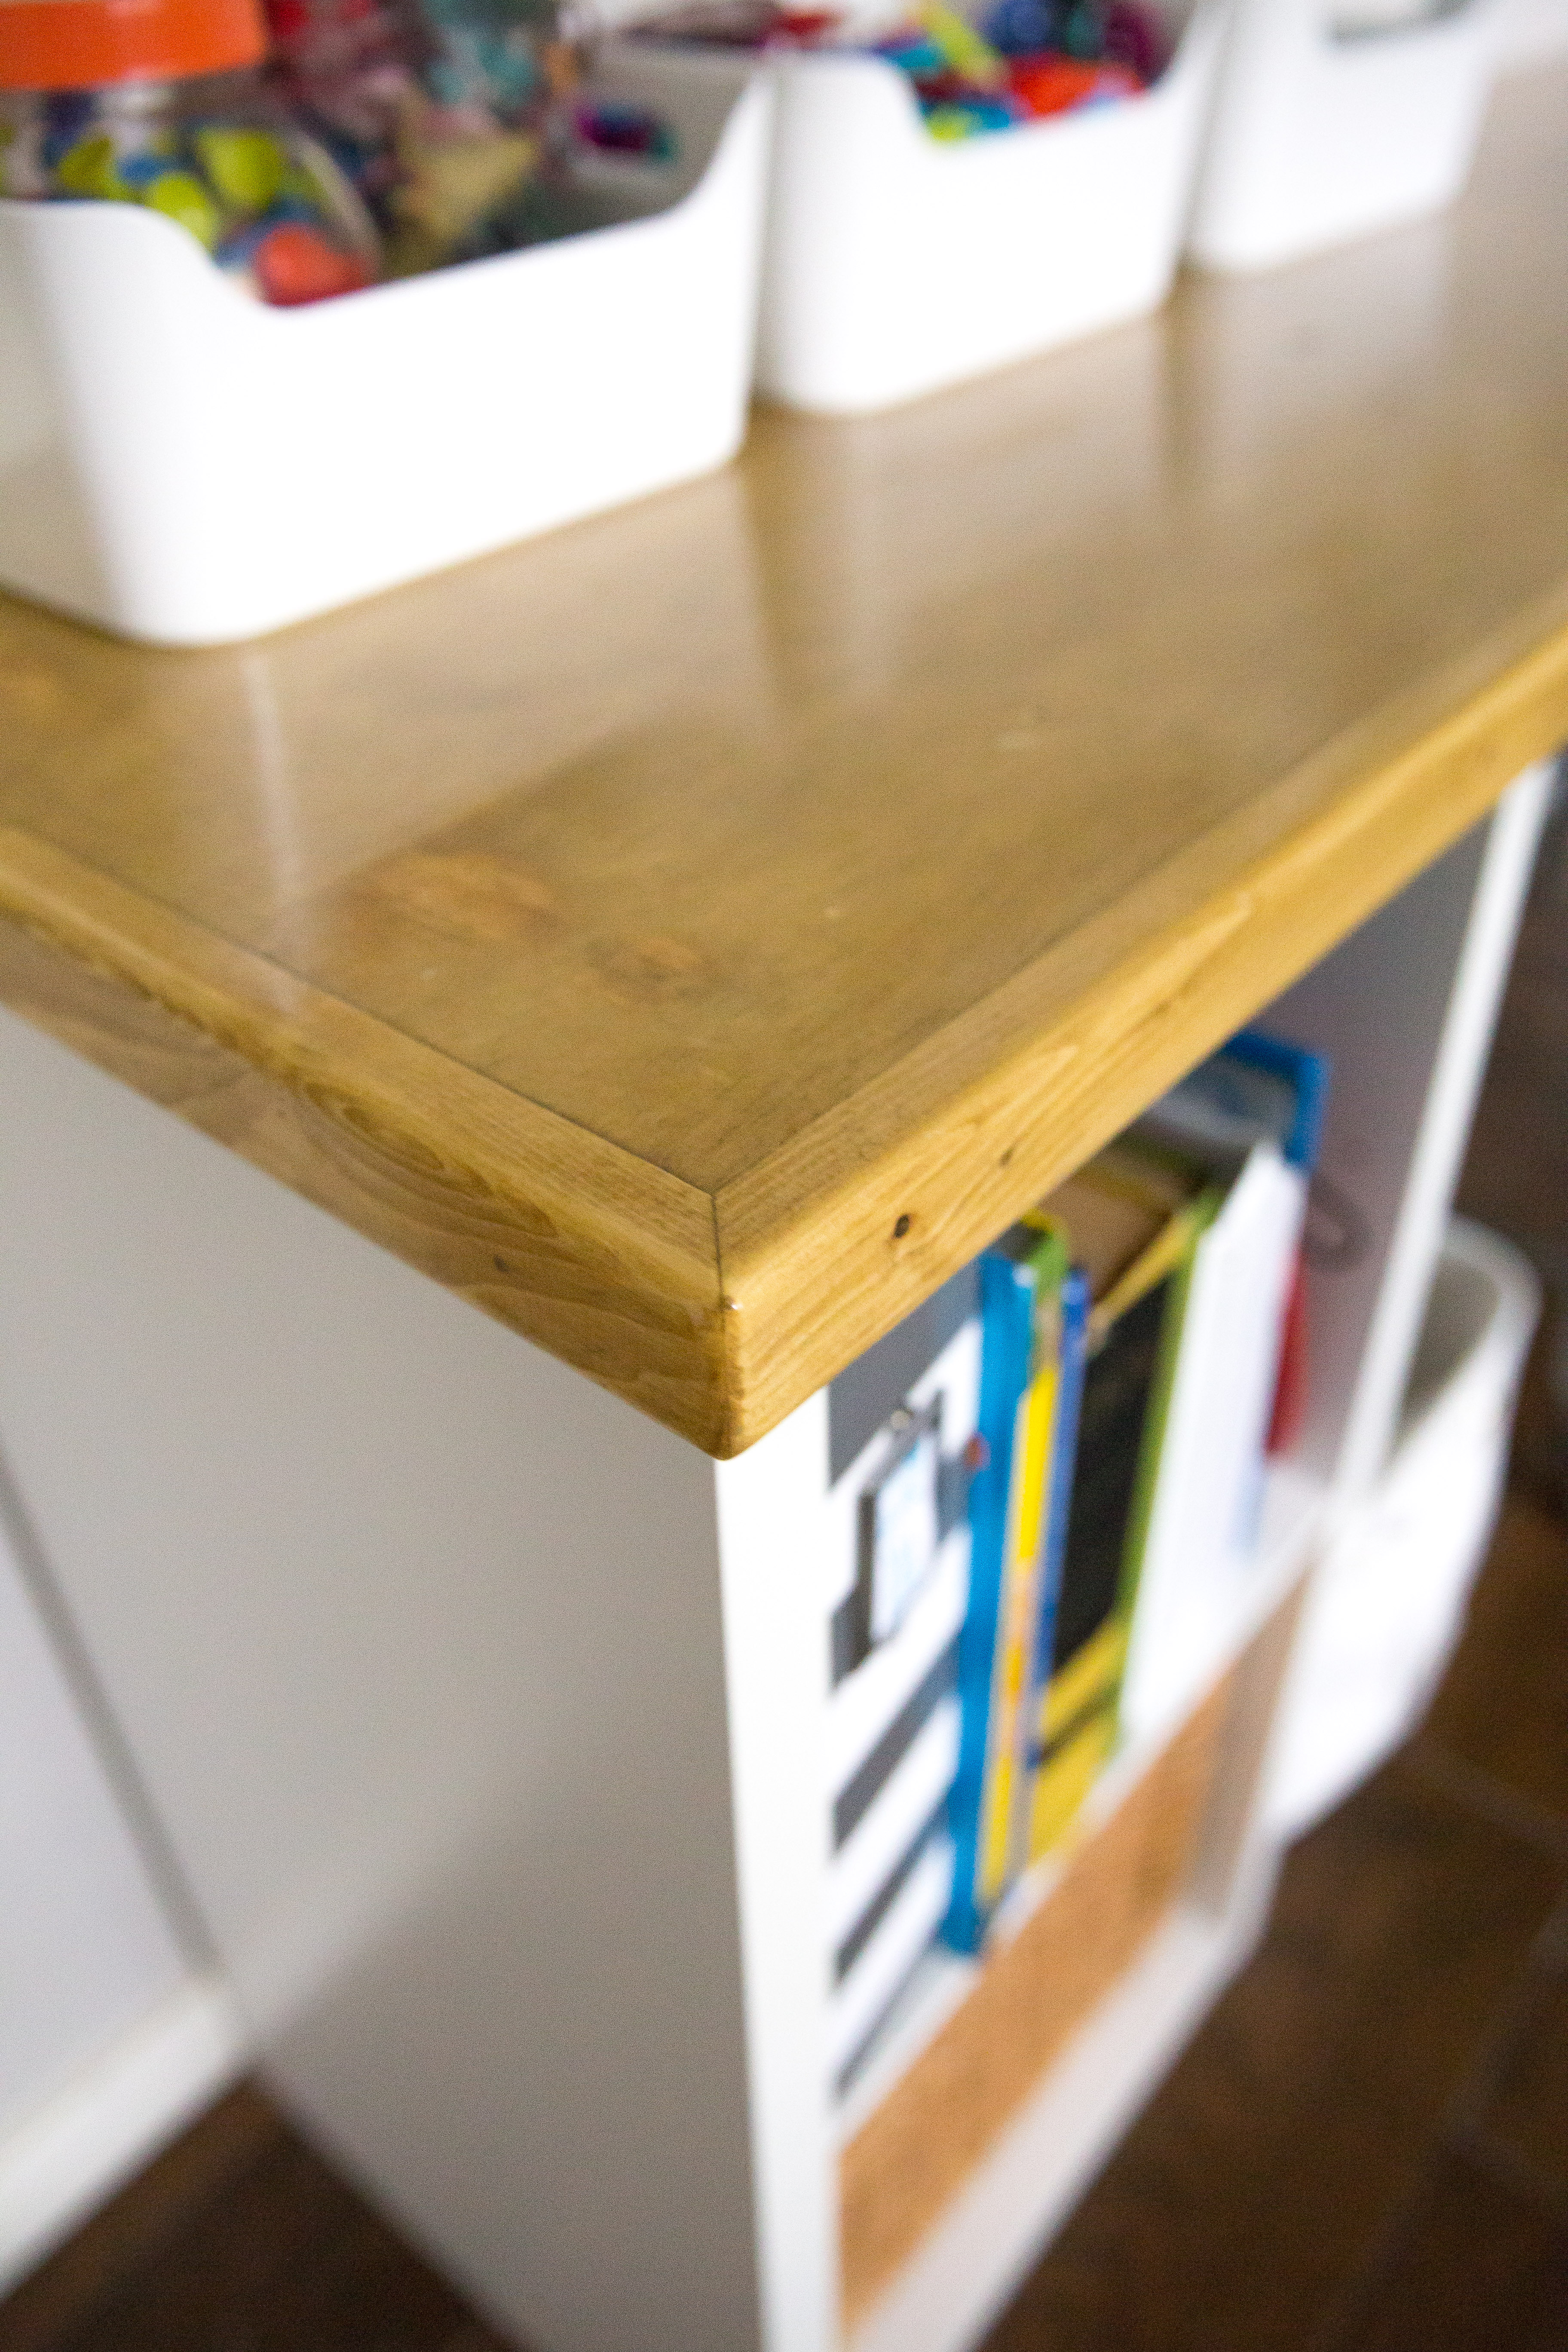
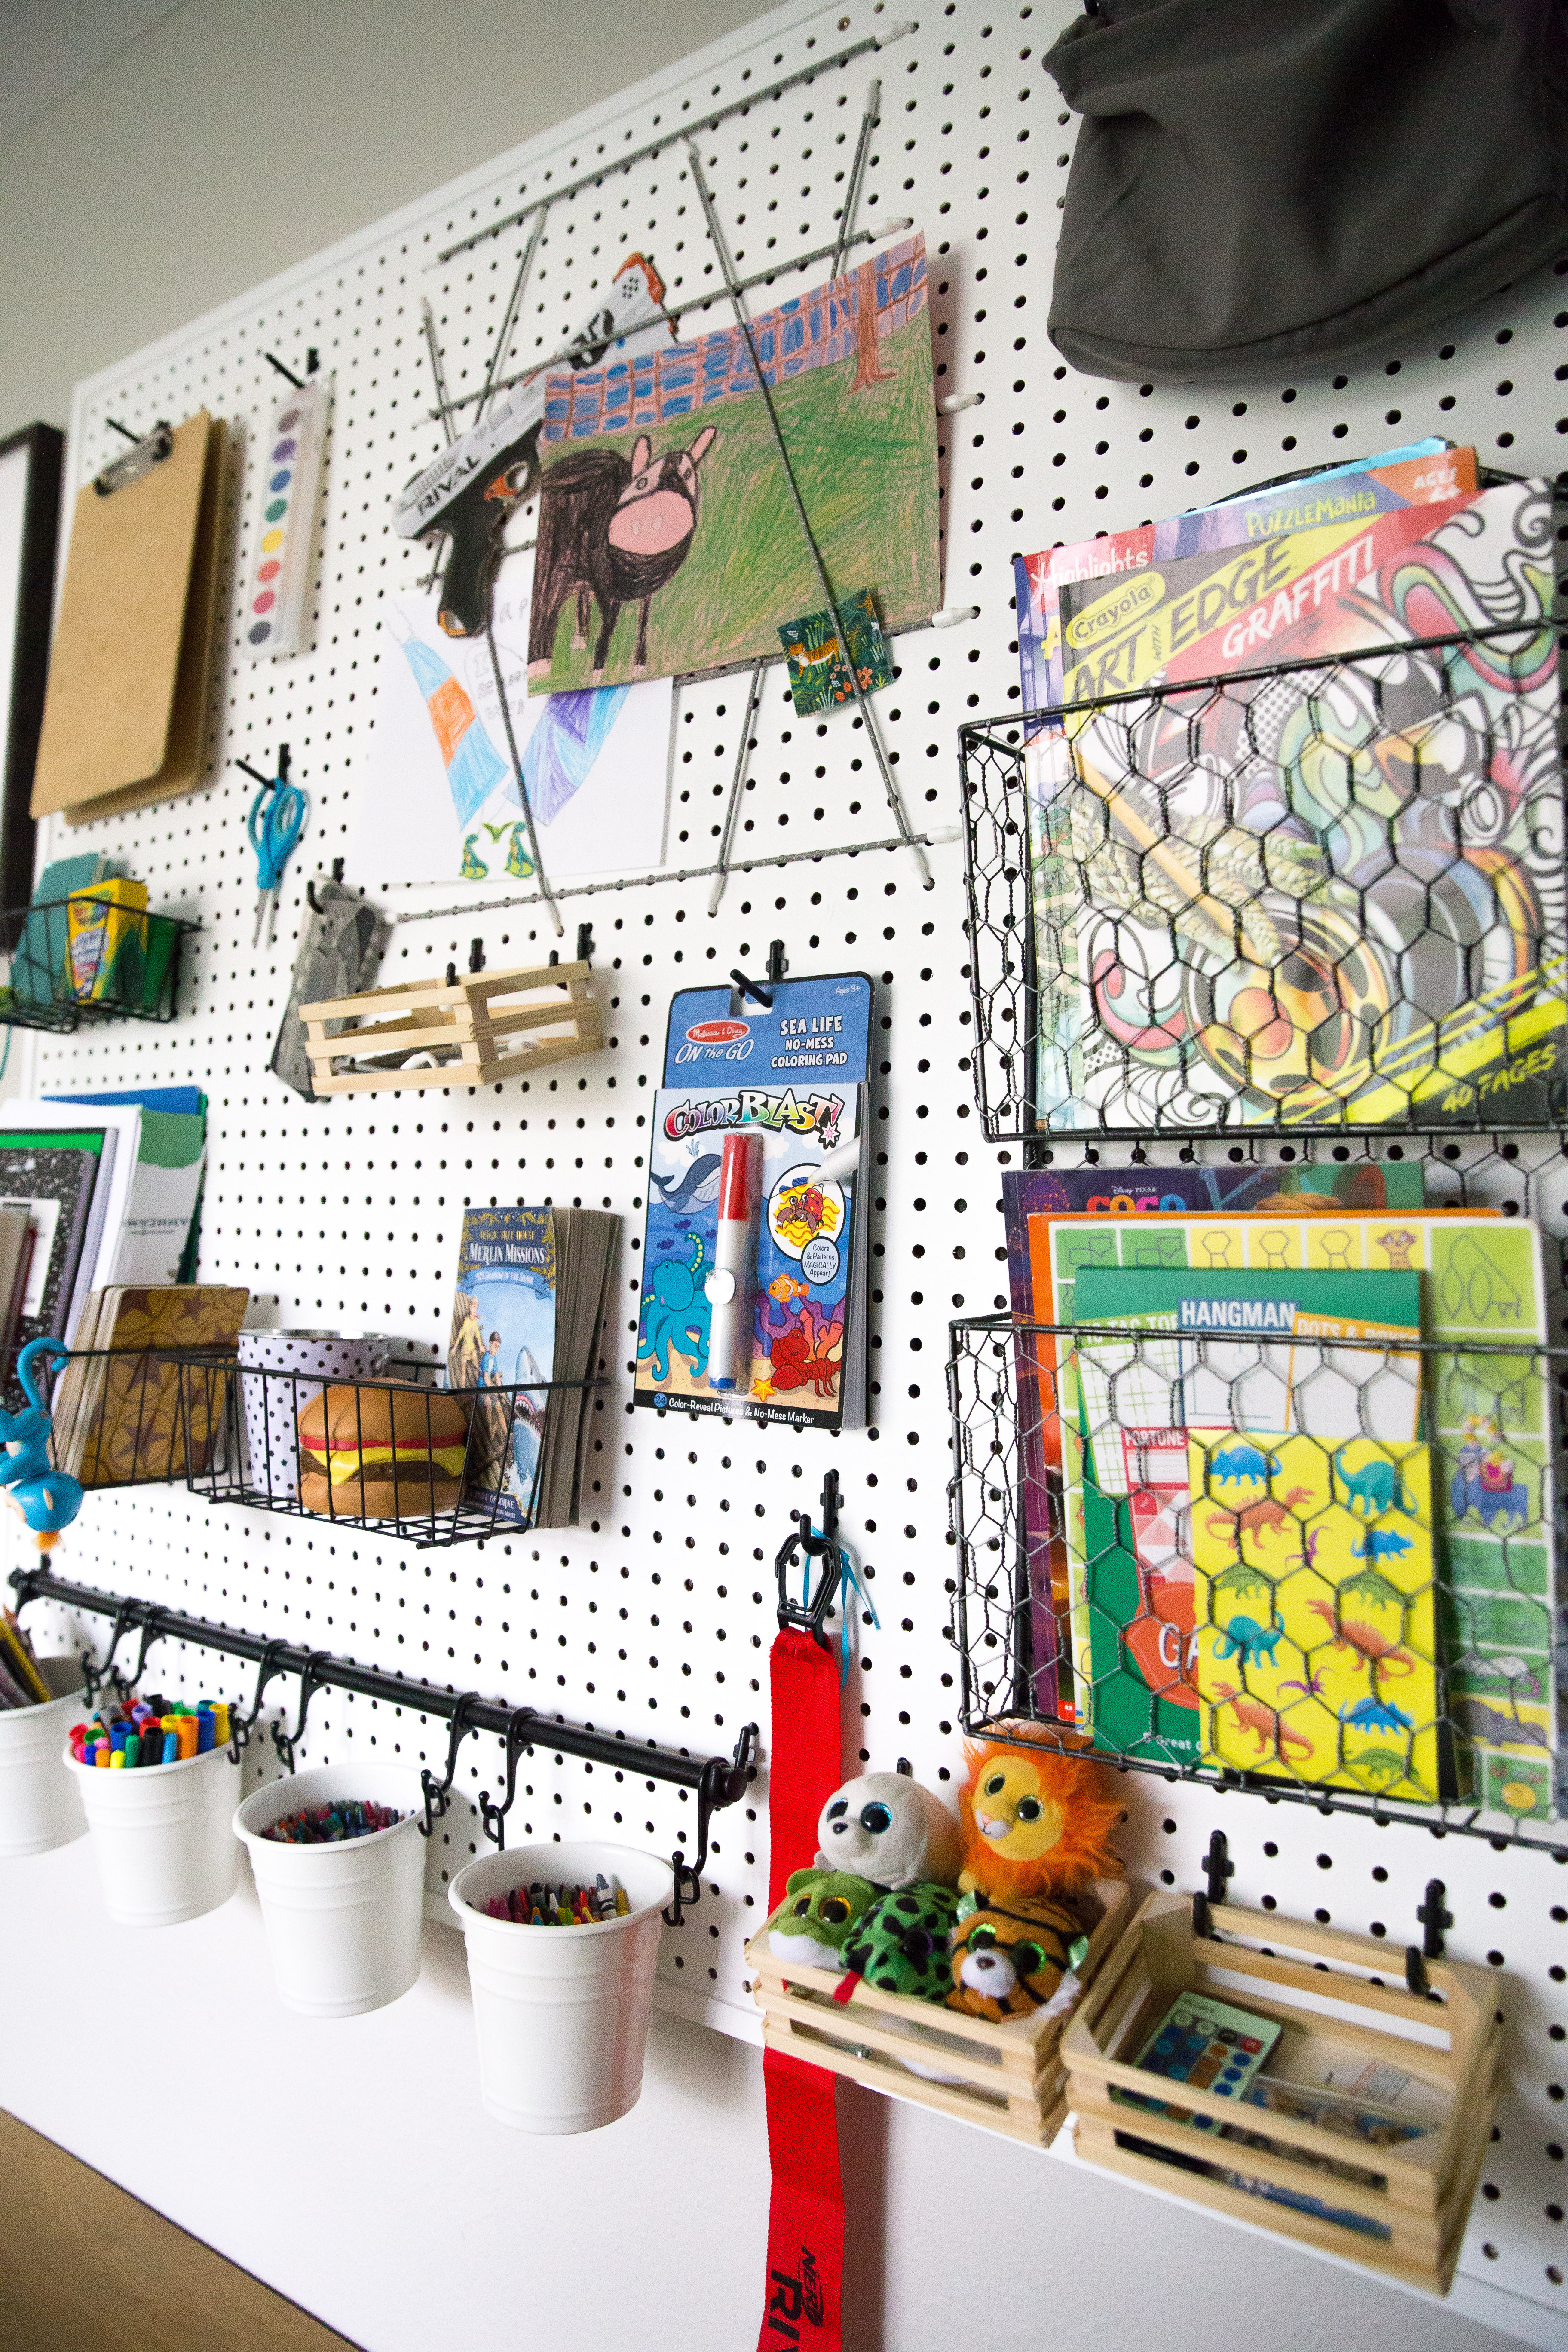
 This room has a funny layout because of where the bathroom door is on the wall so I was left with one more skinny area and a huge open wall. Besides animals my son’s other loves are legos and art. He is very creative so I thought a long skinny desk with a pegboard wall would be a great use of space.

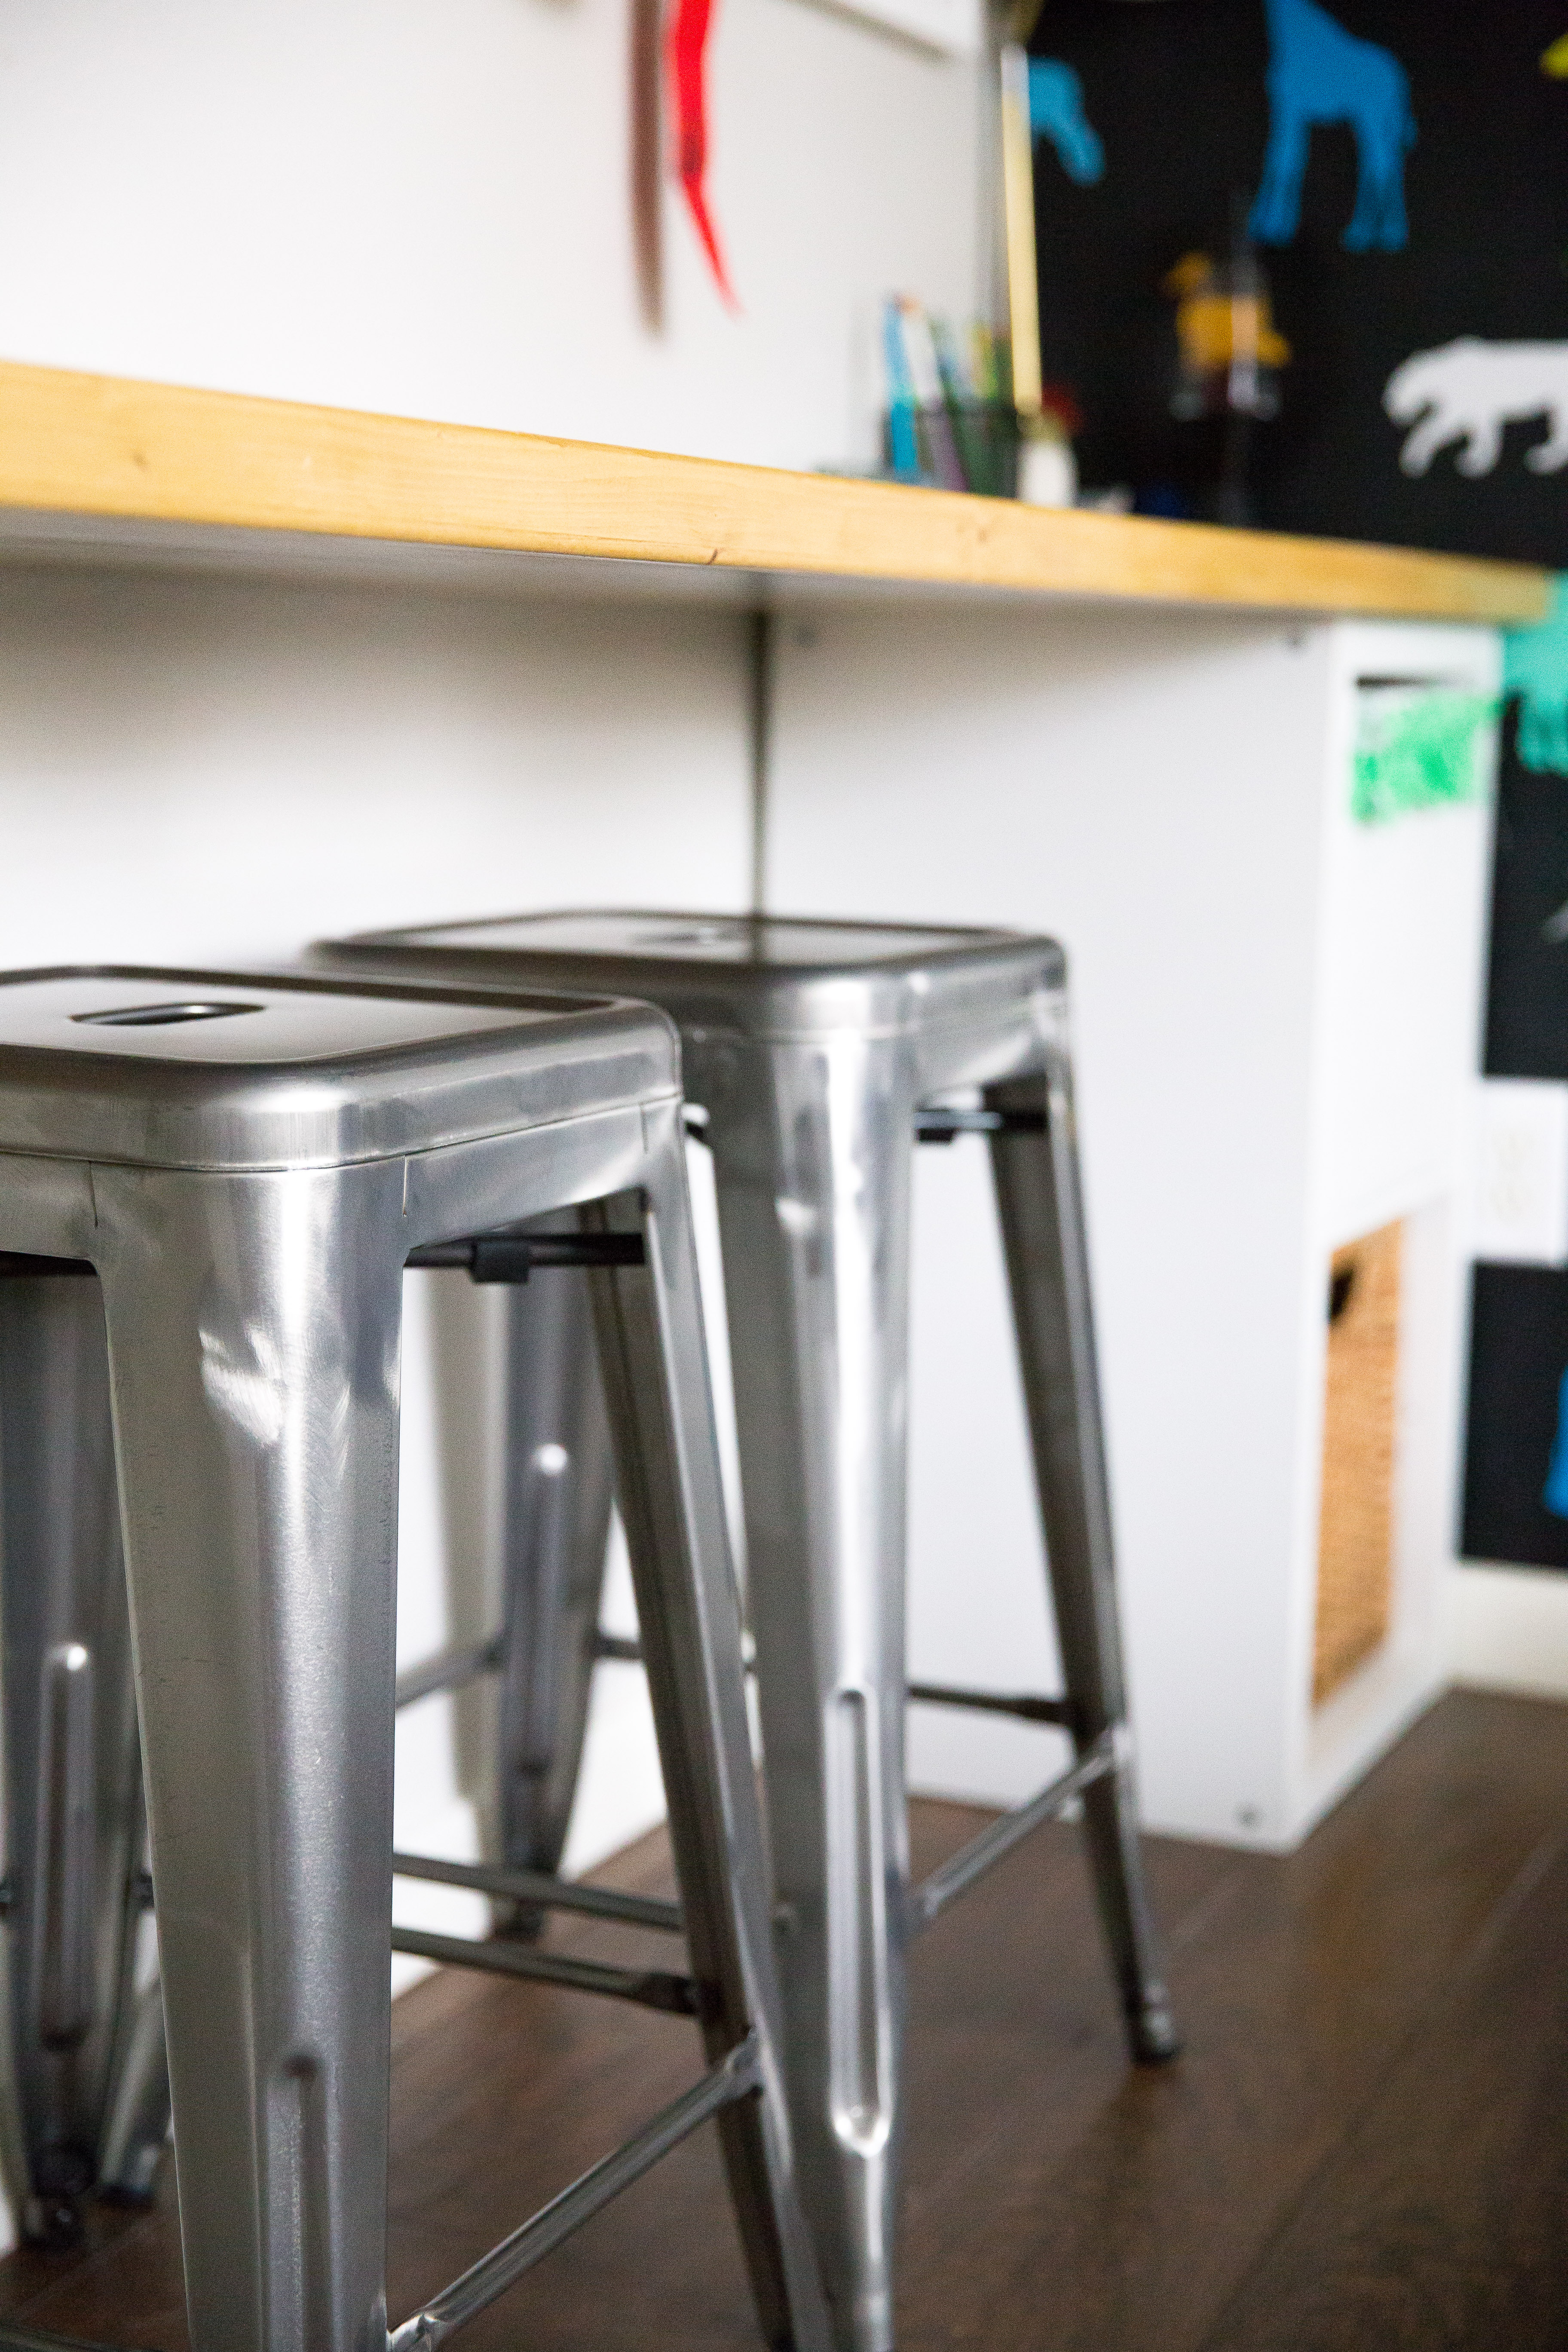
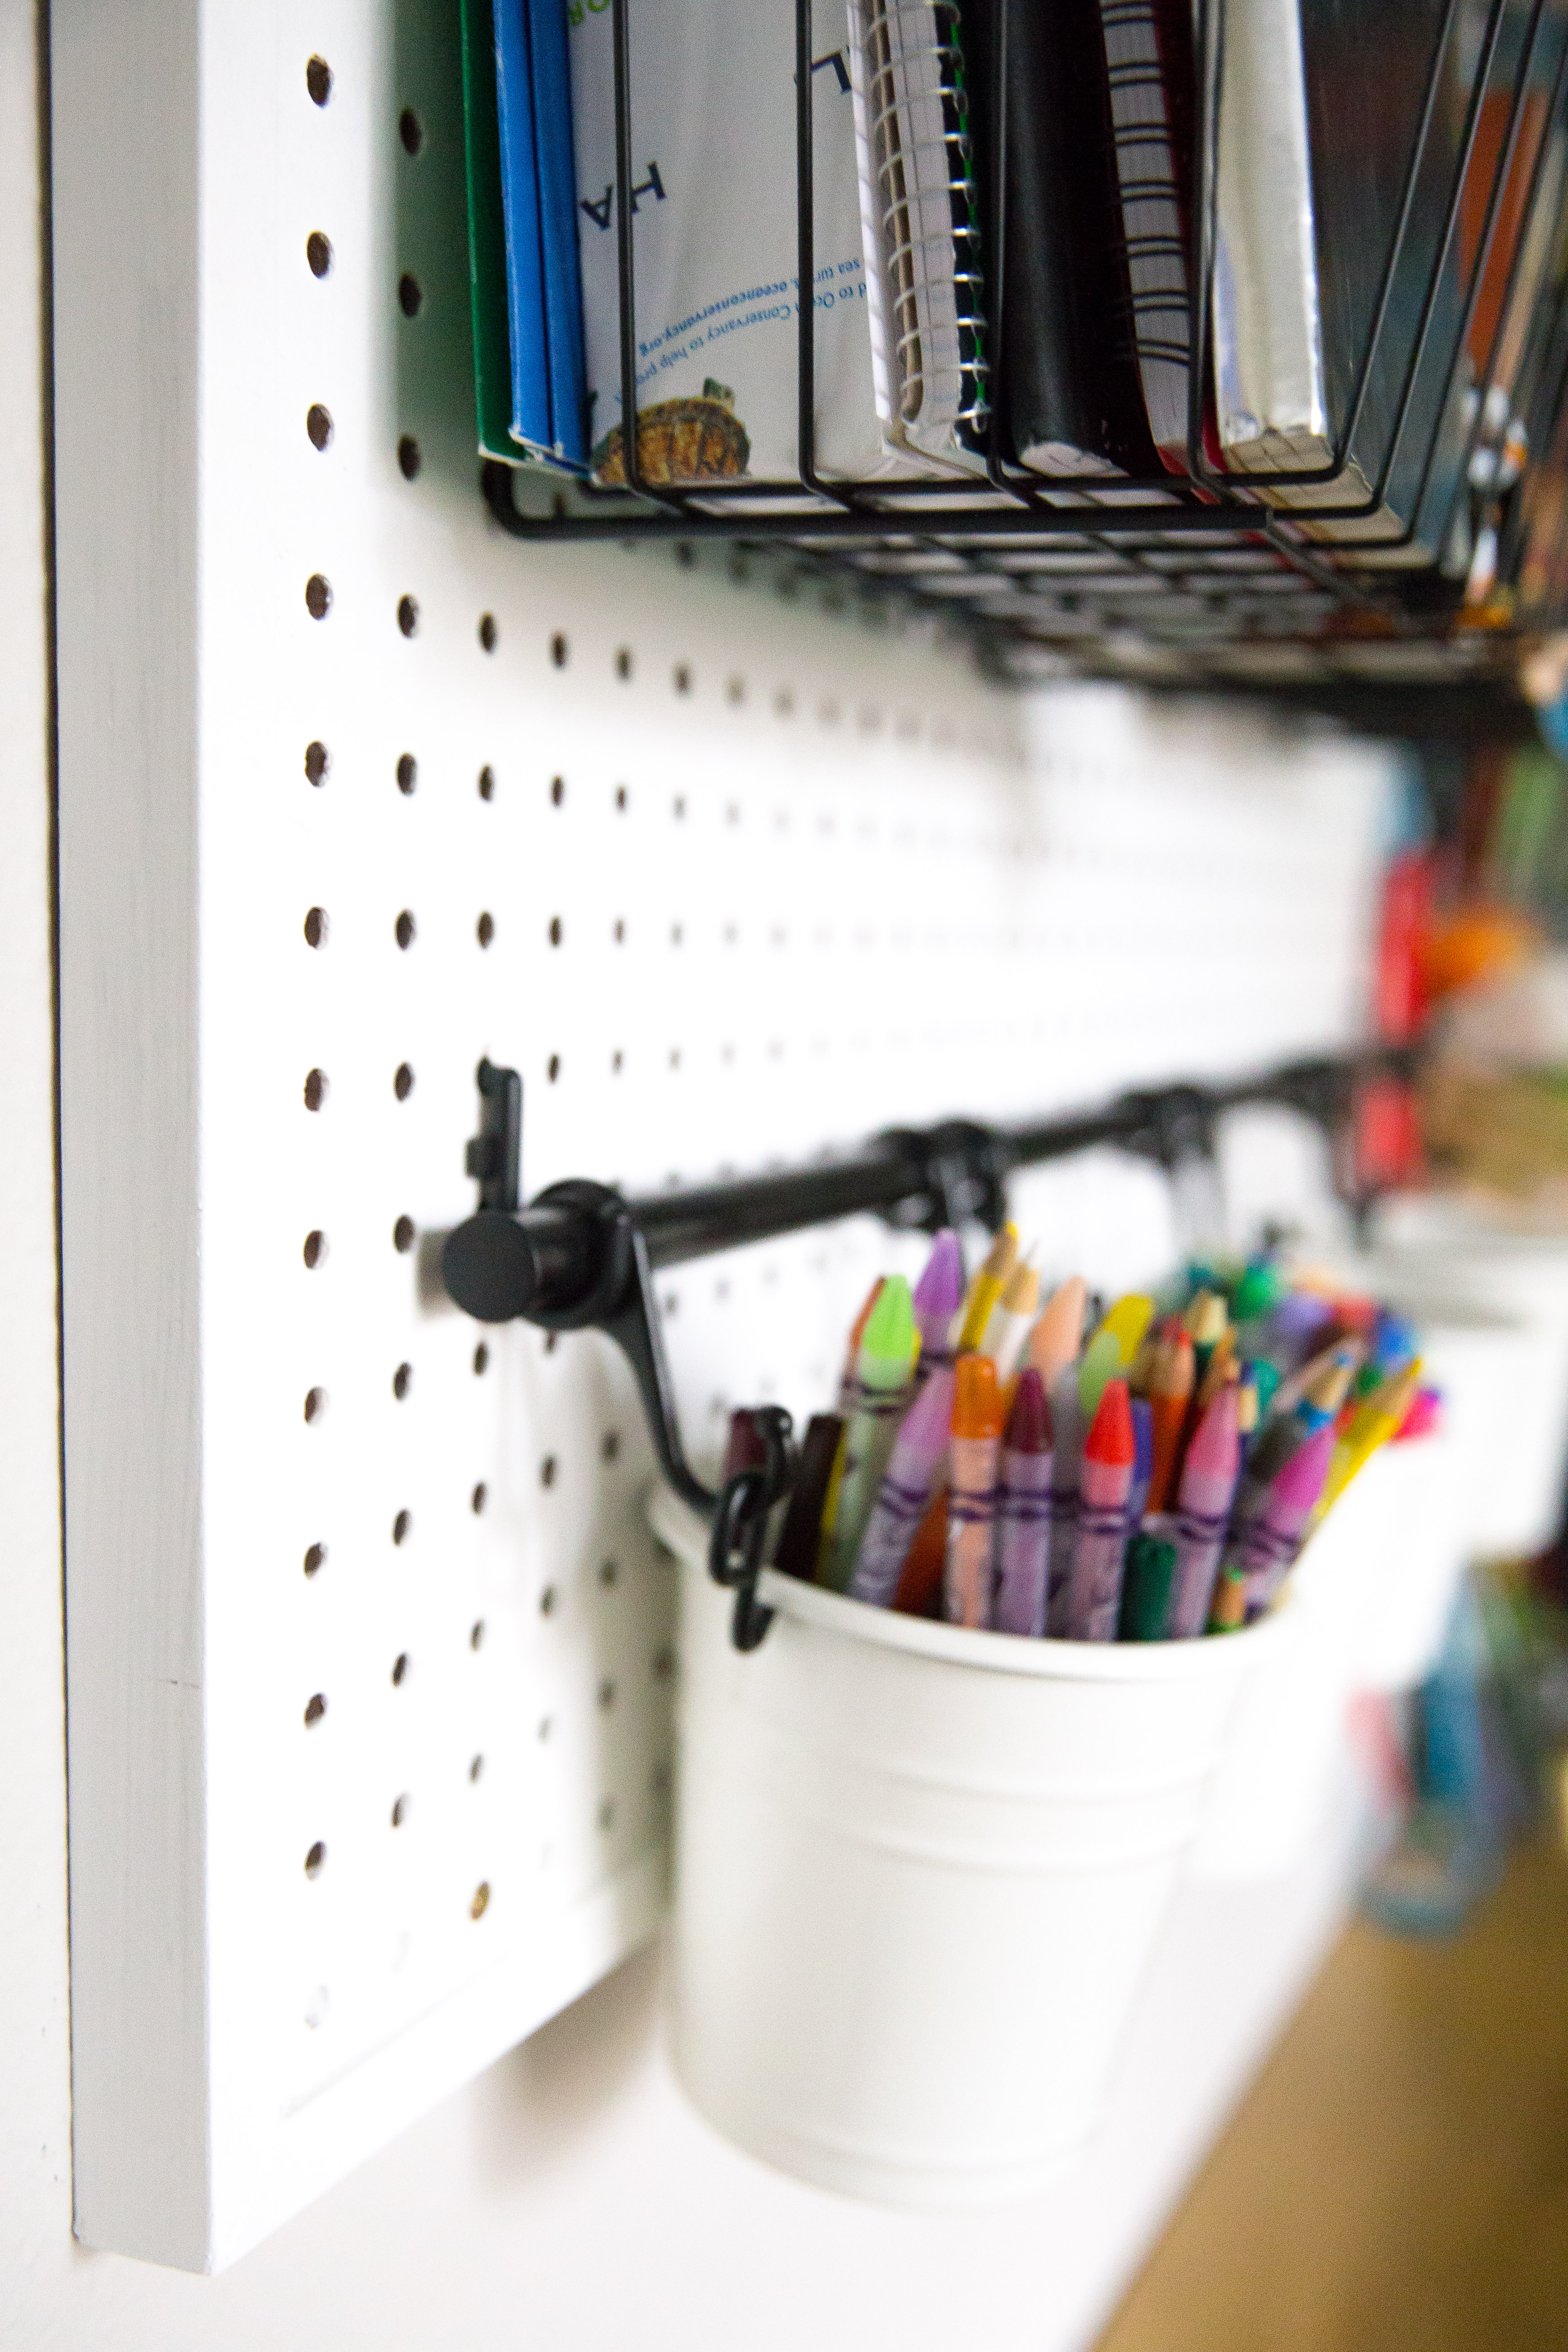
 My father in law cut, sanded and finished the wooden top piece of the desk for us. Then I just got two little end cabinets and the board is just siting on top of them. He also framed out the pegboard and painted it white for us. I got most of the pegboard accessories from Amazon and Ikea. The desk is a huge hit, in fact all three kids love it and they are often all in there coloring or drawing together! I should have bought 3 stools instead of 2 haha.


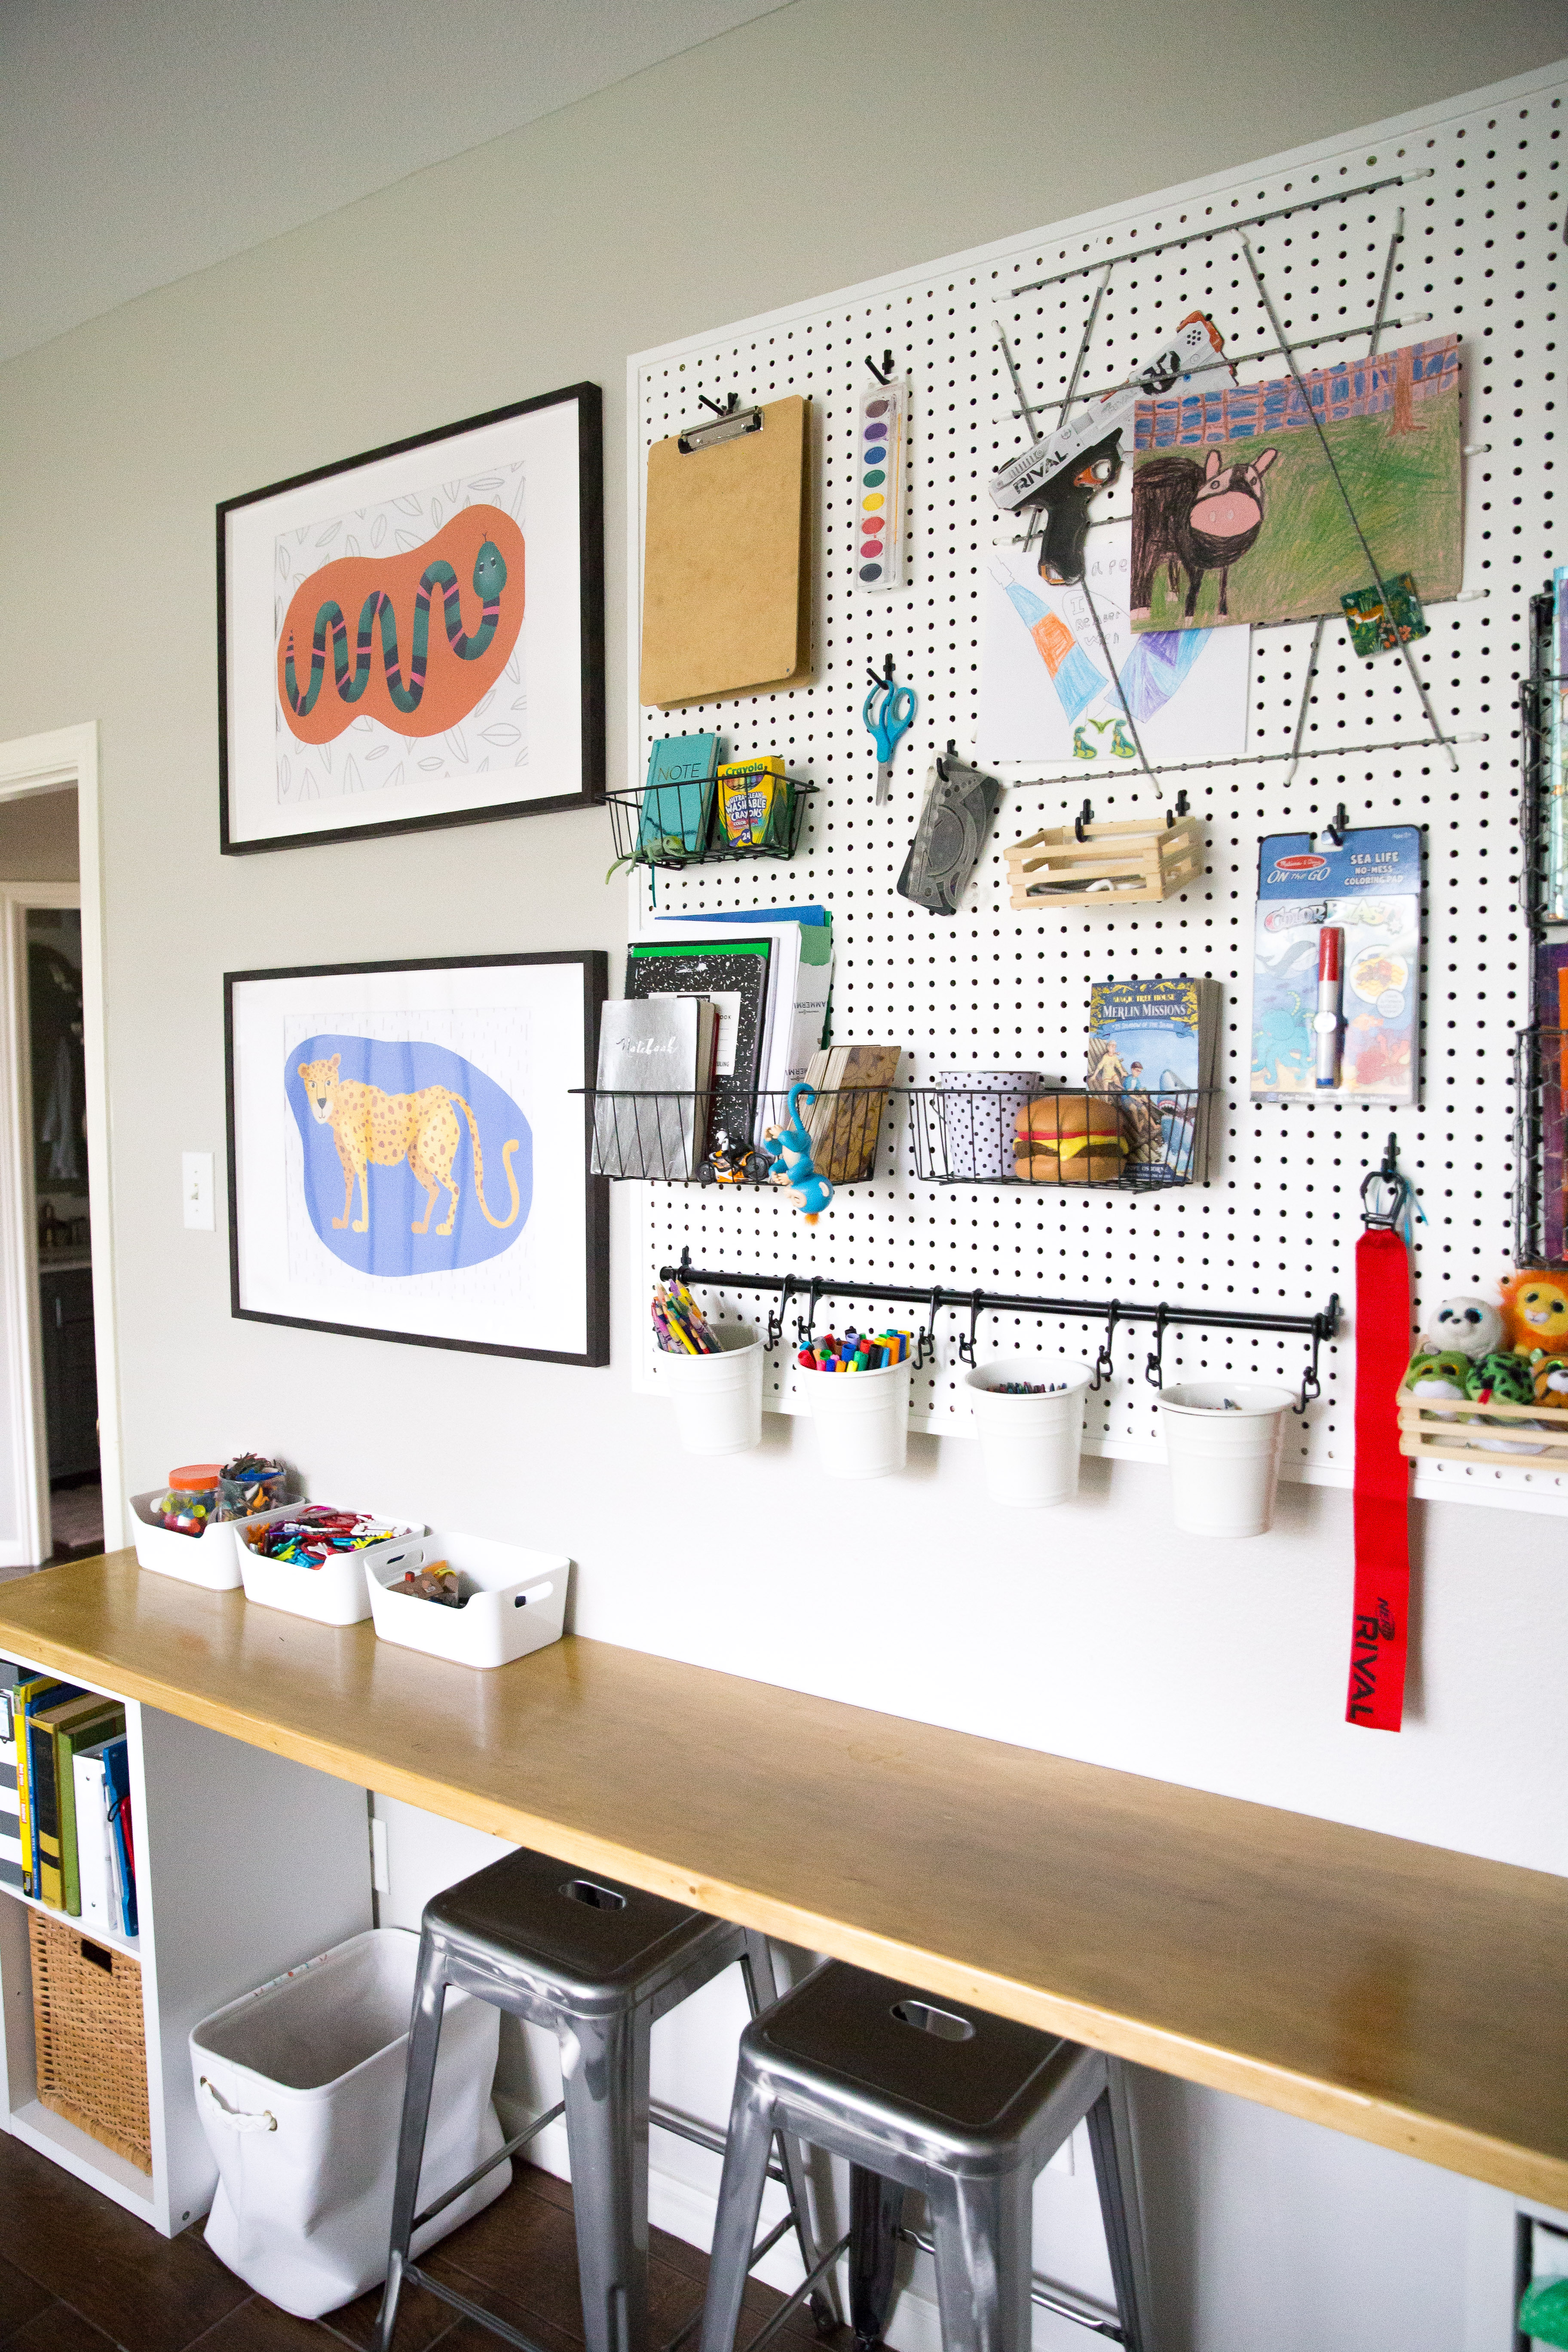 I needed something on the left of the pegboard wall so I drew my son’s favorite animals (inspired by some prints I had seen on instagram) on my iPad Pro, sent them to a local print shop and had them printed in poster size.

 The last little area was all I had left for a small dresser so I was so happy to find one that fit the dimensions I needed! I’m telling you, this room design is weird. It had to be shallow enough to fit behind the closet door but short enough to fit under the window sill… tough job! I also left the Ikea book rails up from the playroom days because I still love them!


 I found this rug at Target and although it’s a little grown up for a boy’s room I thought it went really well in here. One good thing is it camouflages stains well haha!
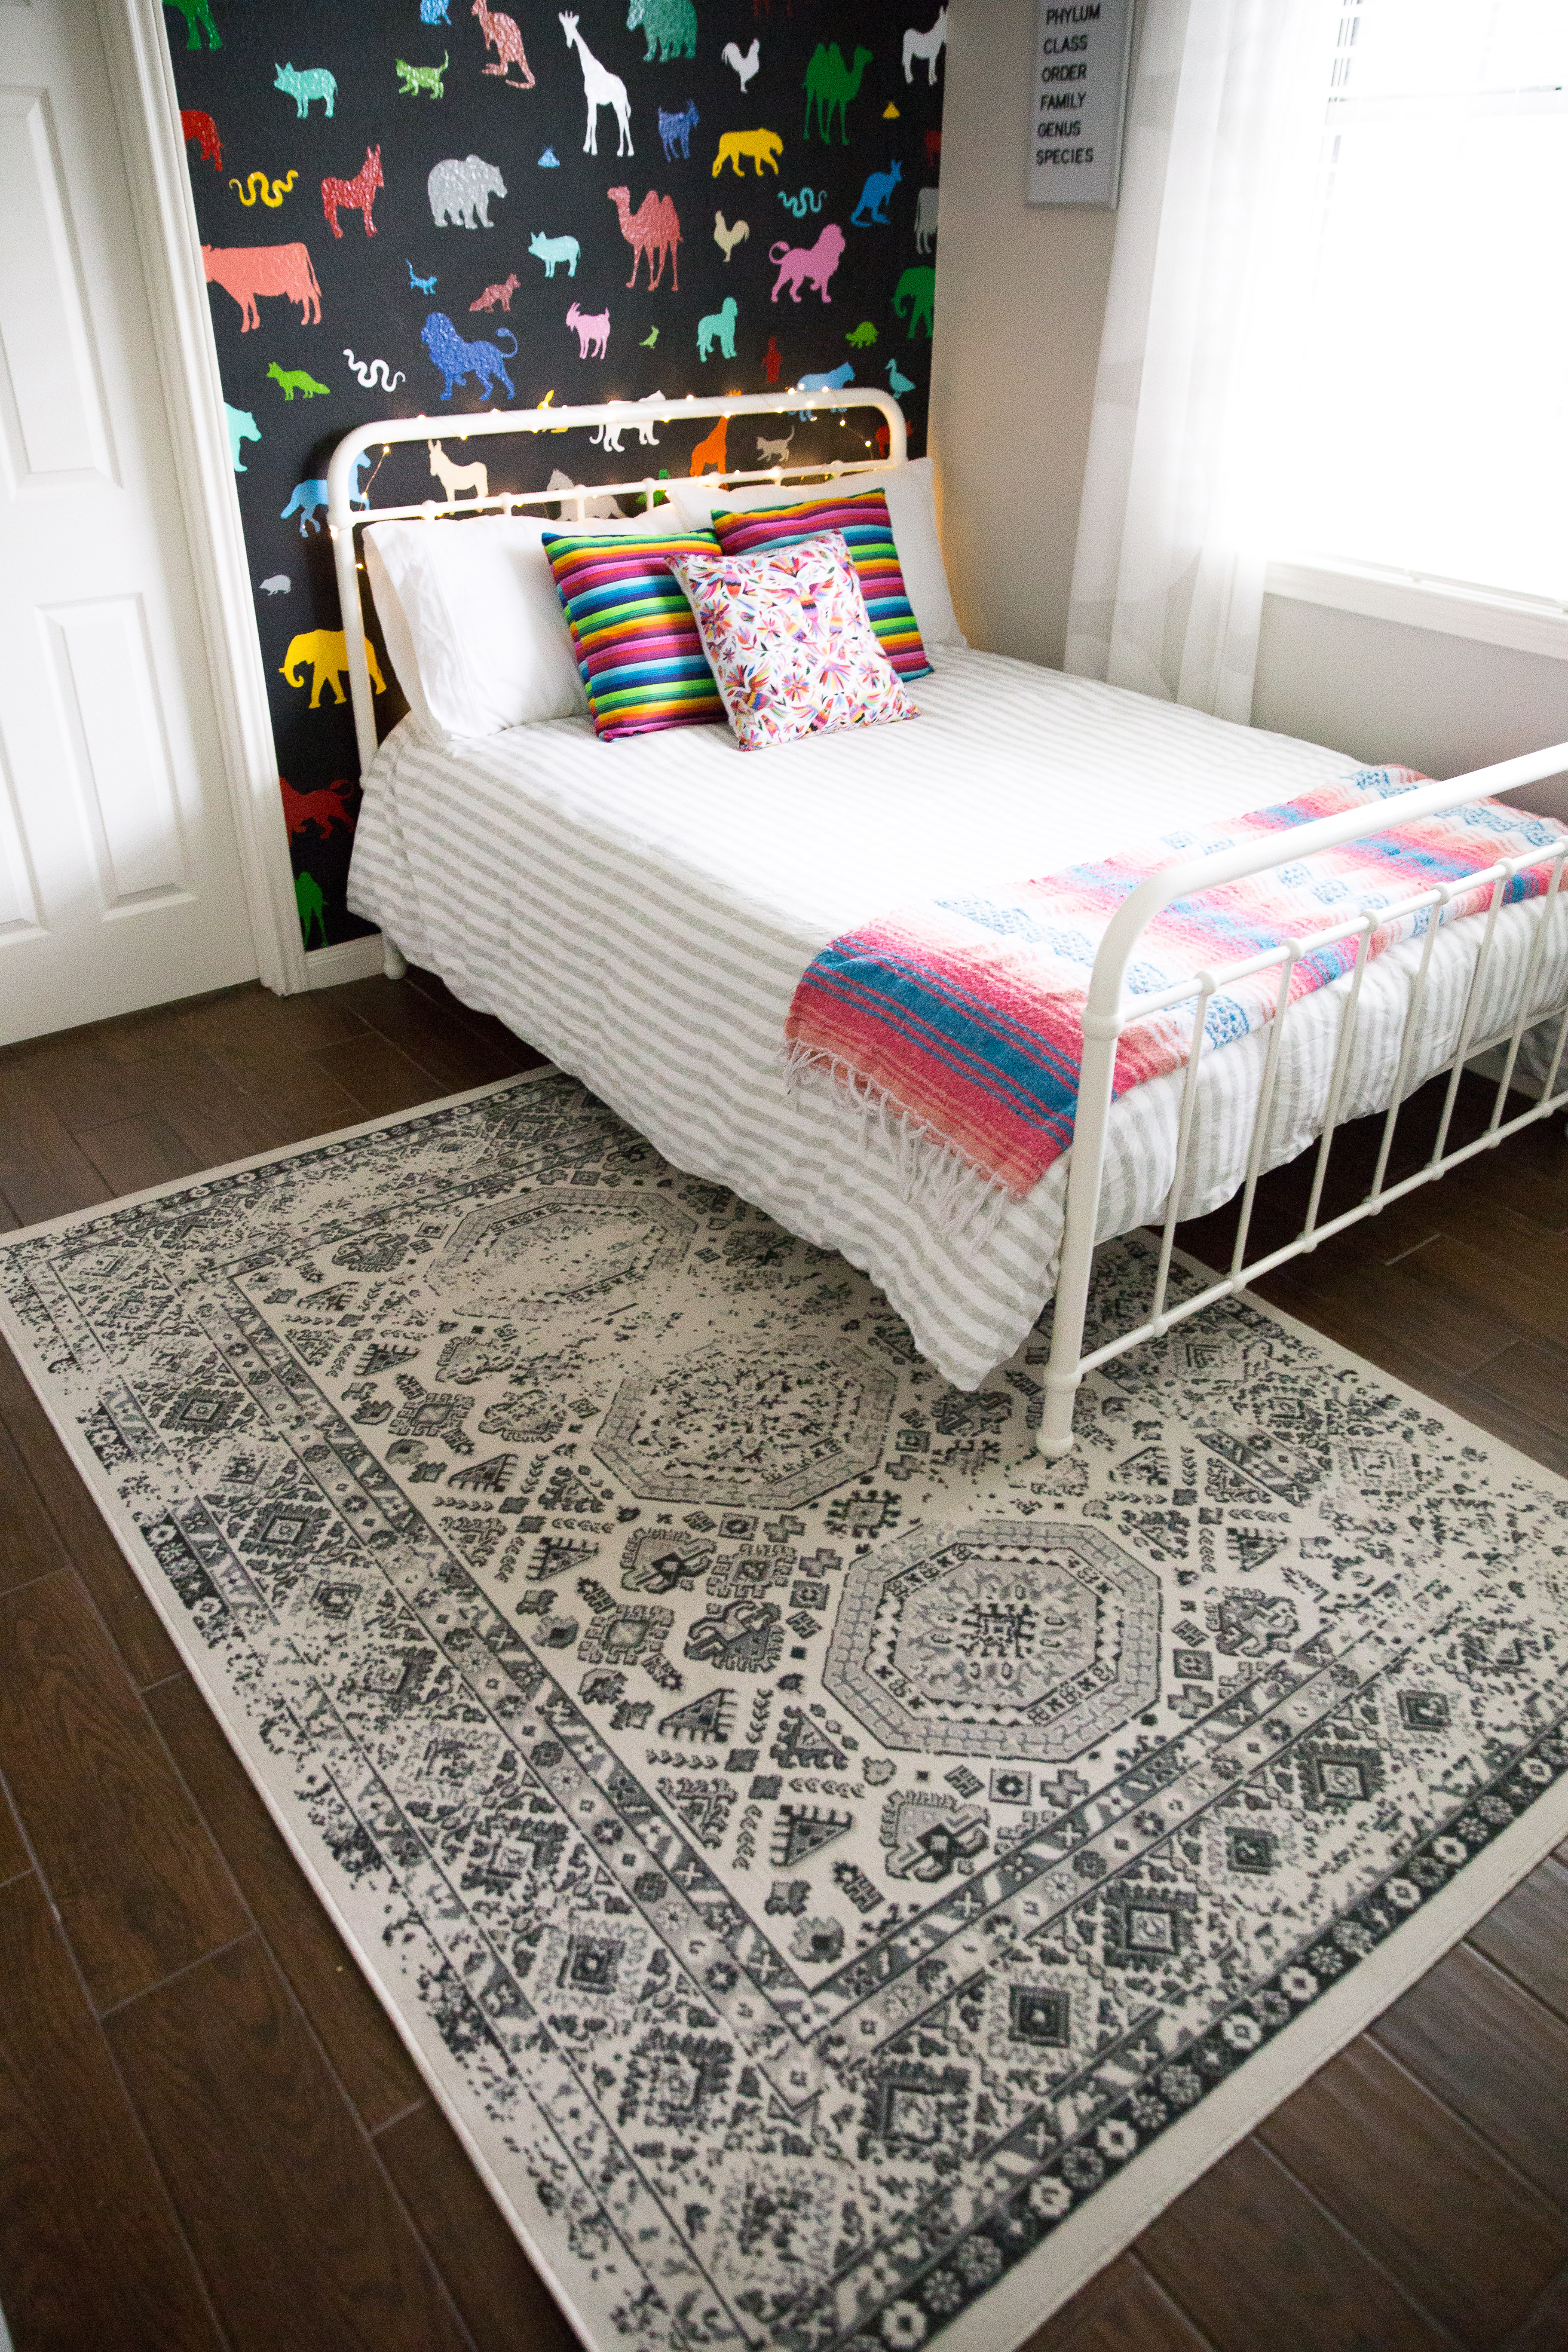 Of everything I spent time on in this room, these lights right here are my son’s favorite part of the room! We leave them plugged in but they have a remote, so you can dim them or turn on timers etc! They really are so pretty… I guess the saying is right, it is the little things. Speaking of… I love his personal touch that he left on the door :)

 Needless to say, he is LOVING his new room. I secretly think it’s the coziest room in the house (honestly this “cheap” foam mattress we got him is heaven). I will link all the sources below but let me know if you have any questions about where I found something :)

Sources:
Wall: DIY
Bed: Walmart
Mattress: Walmart
Duvet Cover: Walmart
Pillows: DIY and Amazon
Rug: Target
Fairy Lights (on headboard): Amazon
Desk: DIY and Target
Brass Desk Lamp: Target
Pegboard: DIY, Ikea and Amazon
Dresser: Amazon
Woven Basket: Target
Curtains: Ikea
Metal Stools: Target
Throw Blanket: Amazon