TaylorMade

DIY, Home Decor & Sewing

  • Home
  • SHOP
  • DIY & Sewing
    • For the Home
    • Sewing
    • Costumes and Holidays
    • Cricut Projects
    • Crafting
  • Parties
  • Recipes
  • Home Tour
  • Favorites
  • About

a baby gift and the perfect burp cloths

November 9, 2012 By Taylor 3 Comments

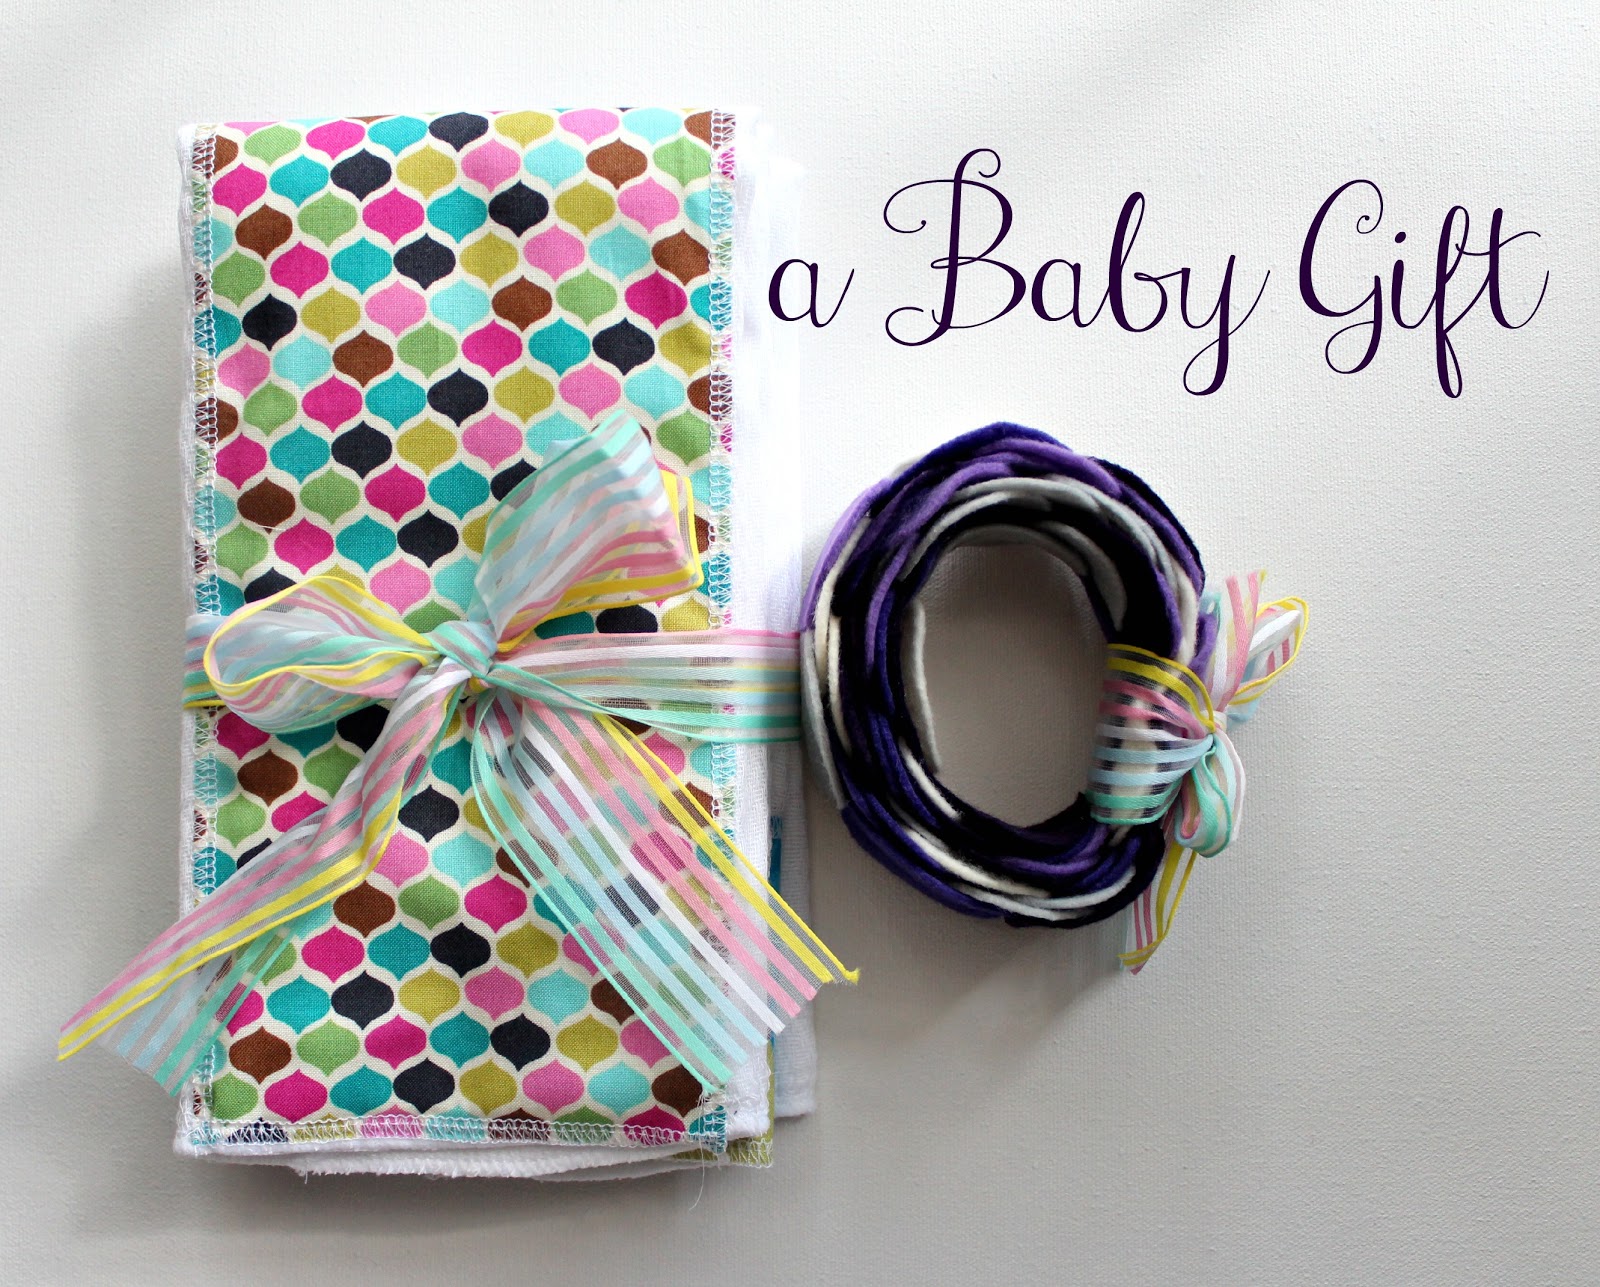
I thought I liked making baby gifts a few years ago because I had babies. But now that I have toddlers, I like making baby gifts even more. Especially if you are having a girl, I have to throw something homemade in…  all of those stacks and stacks of girly fabric are going to become “vintage” before I get to use them. So, I made three burp cloths (using my favorites- gerber’s cloth diapers) and added girly fabric.

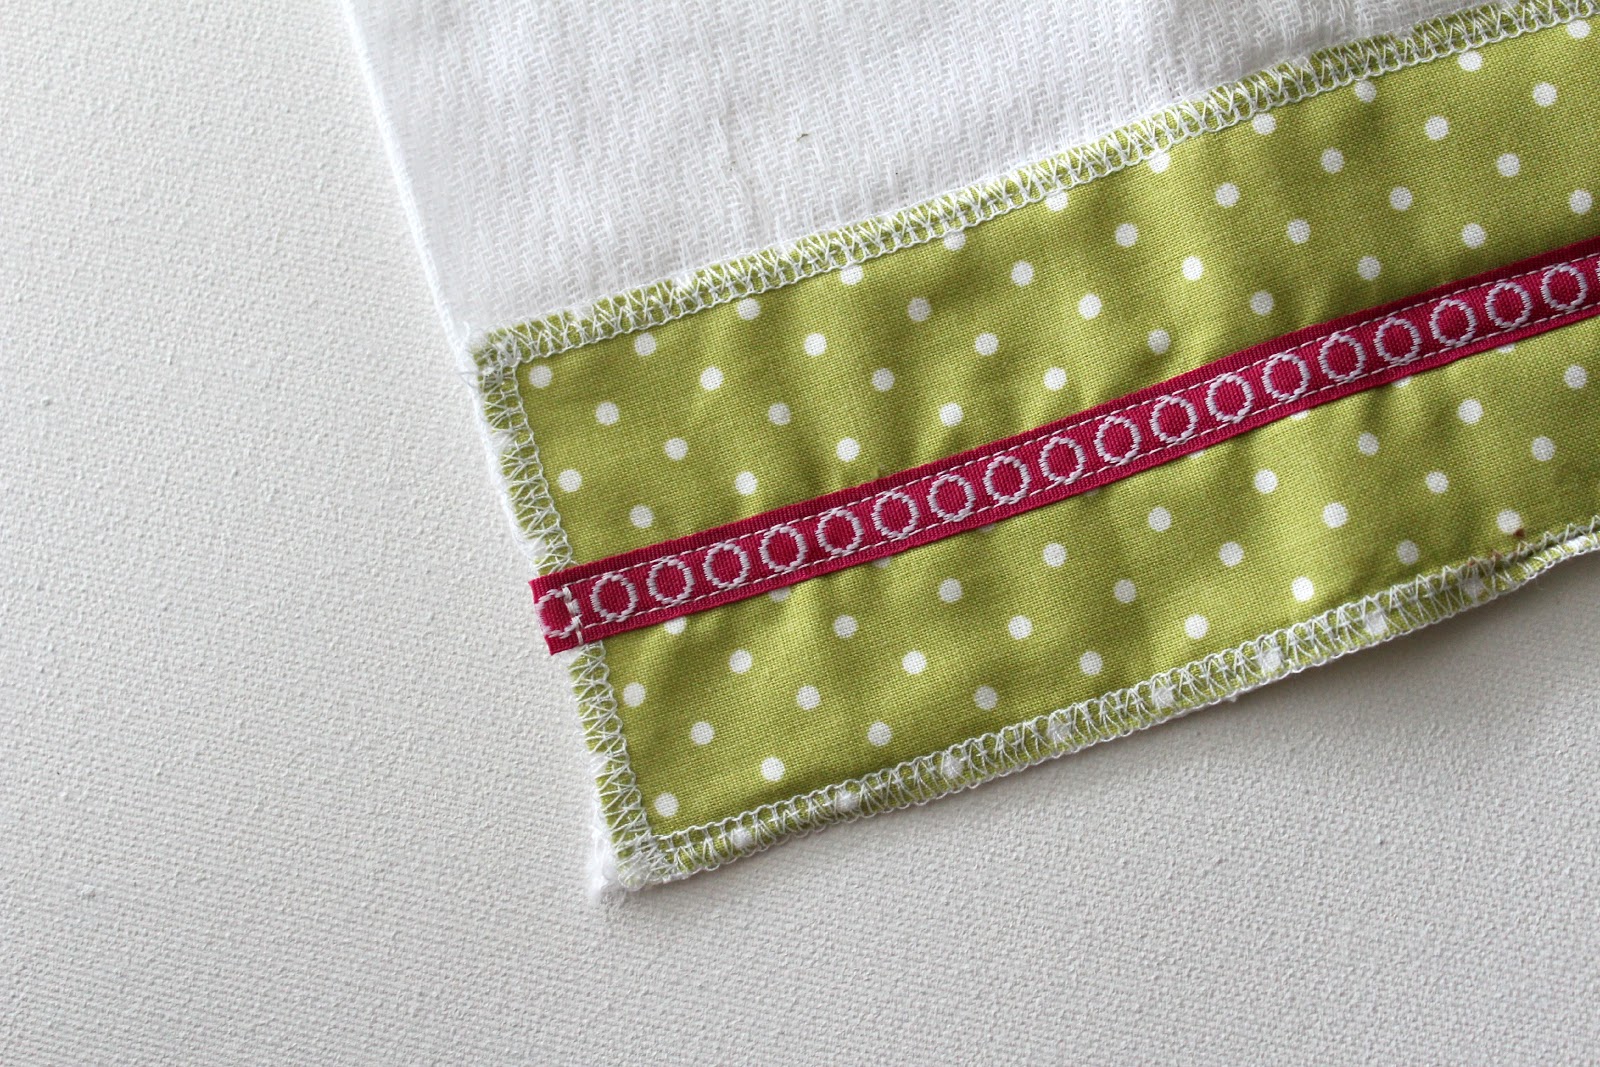
This is what I have learned from making and owning many burp cloths. If fabric is on both sides or it’s too thick it doesn’t absorb well. Also, you could have issues with washing the gunk out :/ Gross. So, I keep it as thin as possible. For the ones with the strip at the bottom, I measure the total width of the burp cloth by 3ish inches. Then I serge a piece of fabric that exact size and attach it to the cloth diaper. If you don’t have a serger, then just  make the fabric a little larger and fold/press it down to the correct size. I added a ribbon right on top of this one.
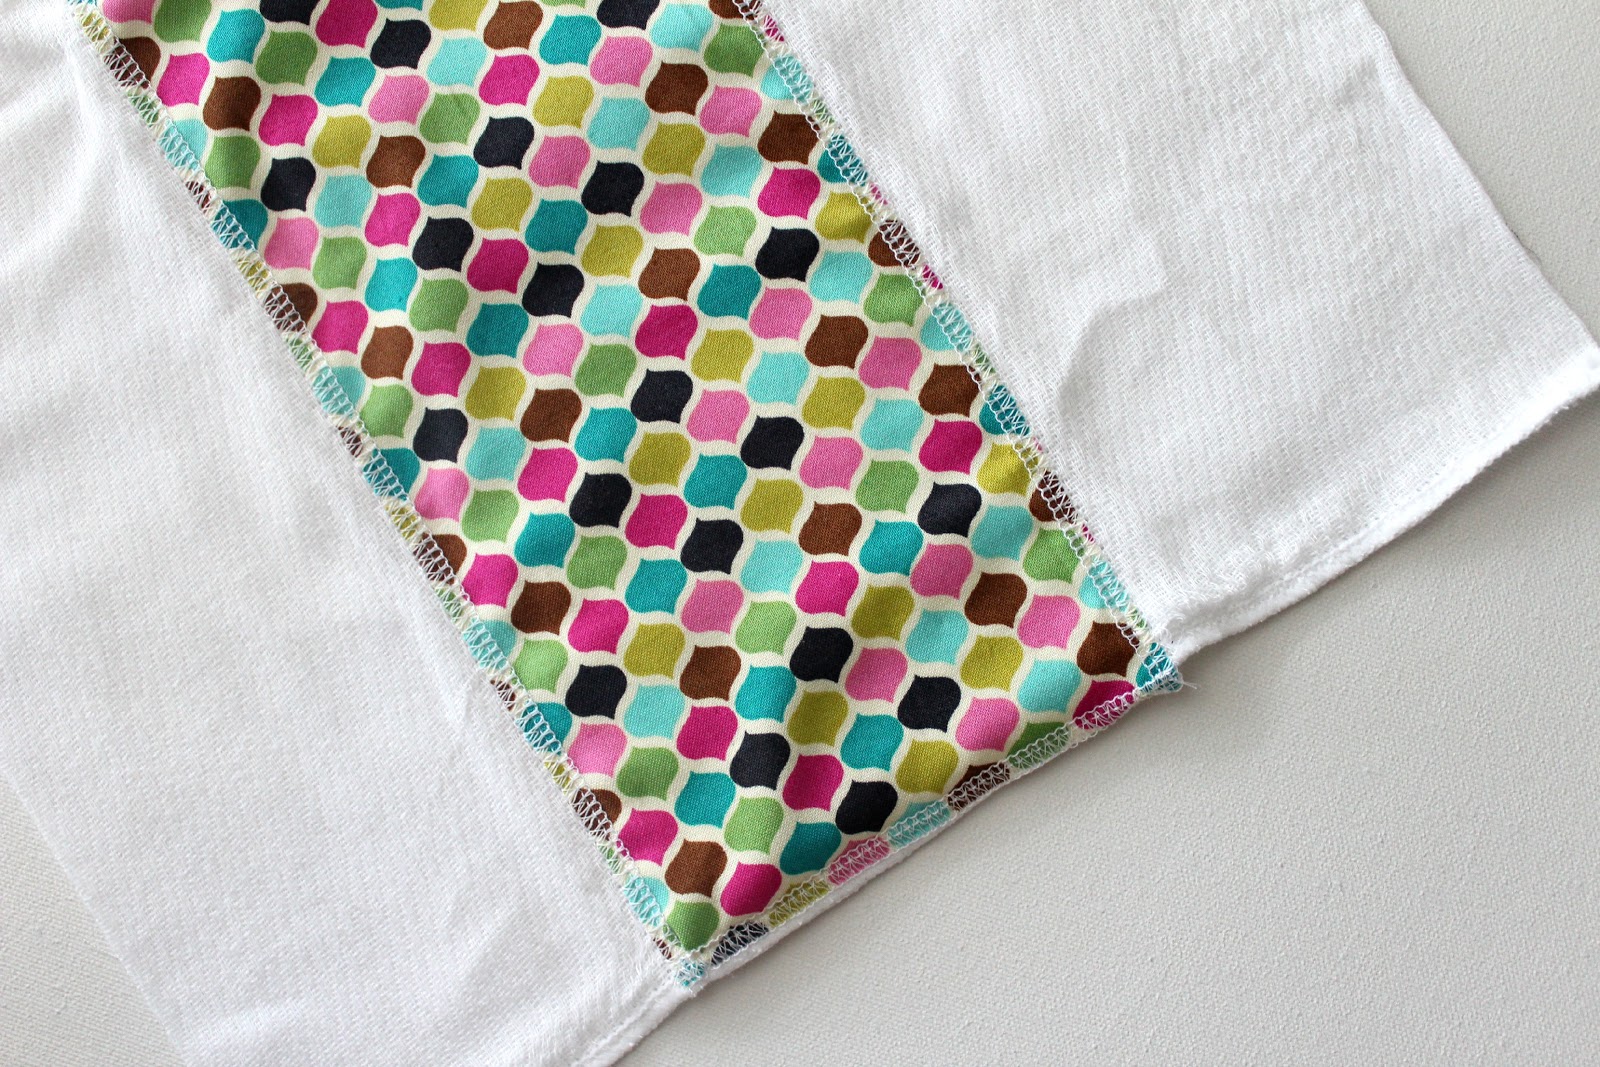
You can also use the same technique but attach your fabric down that middle section of the cloth diaper.
Or you can add an applique of another fabric on top.

This brand is my particular favorite, the no name cloth diapers are too long. The cute terry cloth burp cloths are way too thin. Obviously I’m a burp cloth connoisseur. Another tip is when you clean up a baby mess, try to wash these as soon as possible, they are 3-ply so they will mildew if they sit for too long.

Simple easy gift that you know will get used more than almost everything :) Here are some simple boys ones I made a few years ago, not as cute as girl ones though.

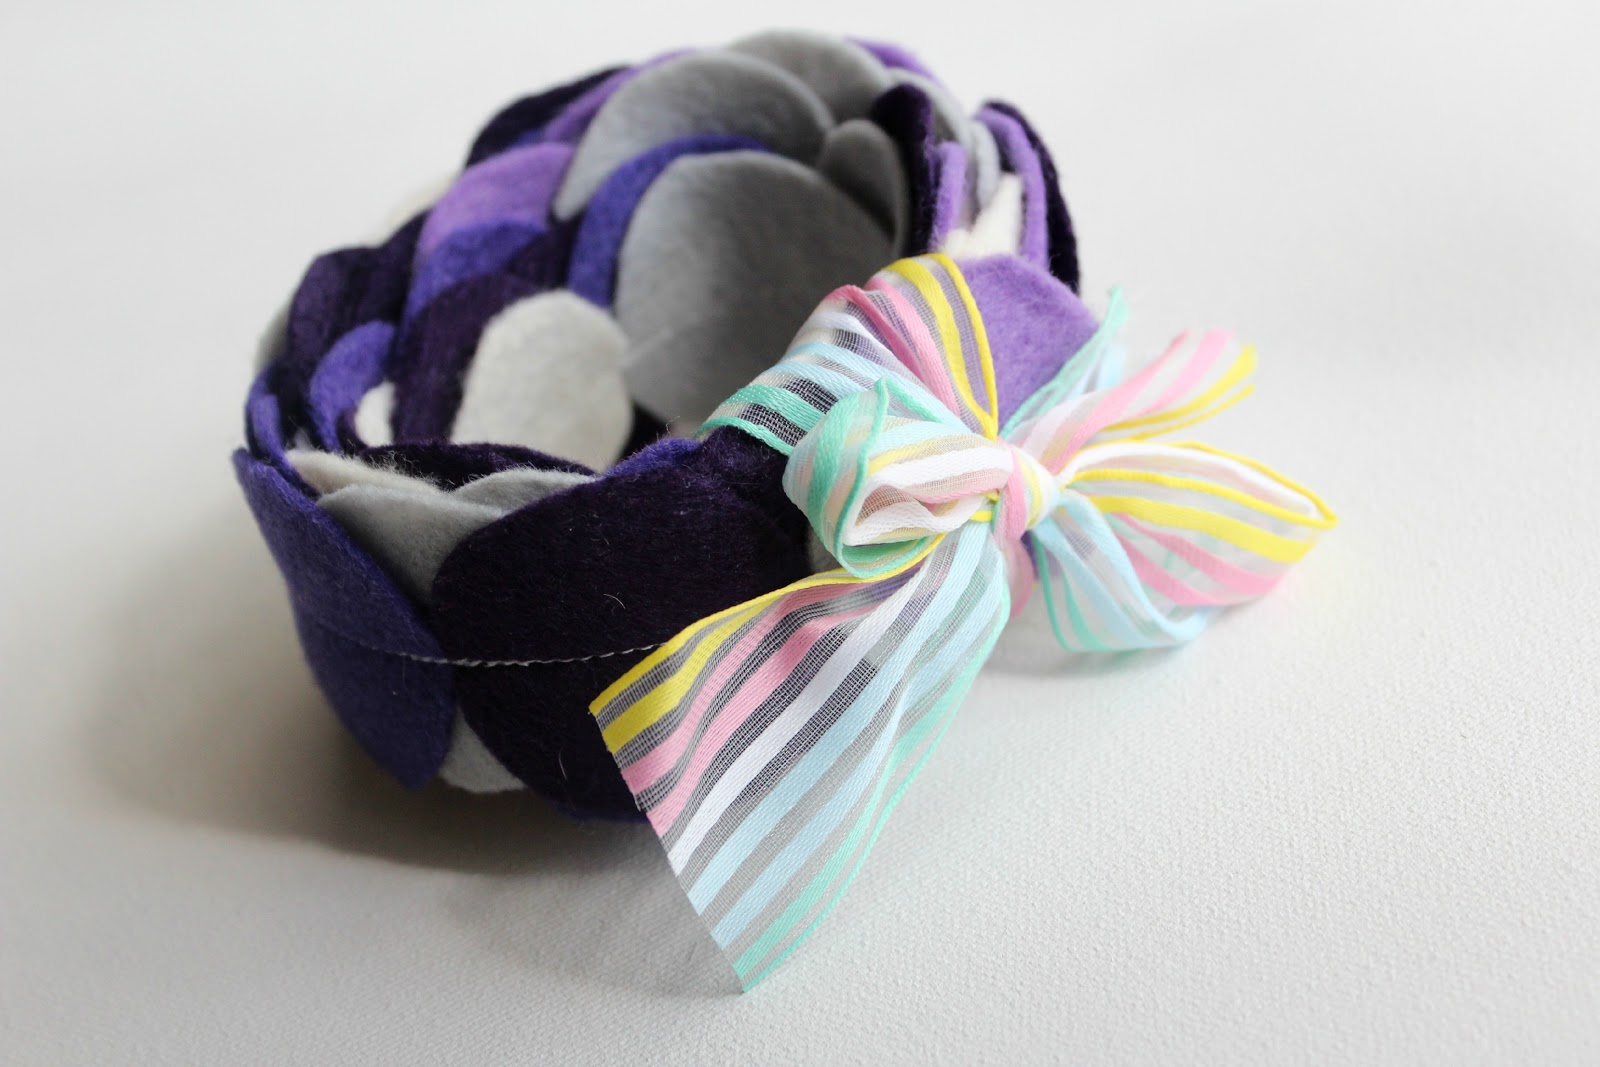
I also whipped up some happy garland via MADE. I was looking for an excuse to make some and this little girls nursery is grey, cream, purples and coral. I couldn’t find coral felt though… but I still love it.

What is your go to baby gift? PS I think I need happy garland in every room of my house :)

Pin It

Filed Under: baby stuff, fabric, felt, girl Tagged With: kids

Baby Activity Tree Mat

January 30, 2012 By Taylor 7 Comments

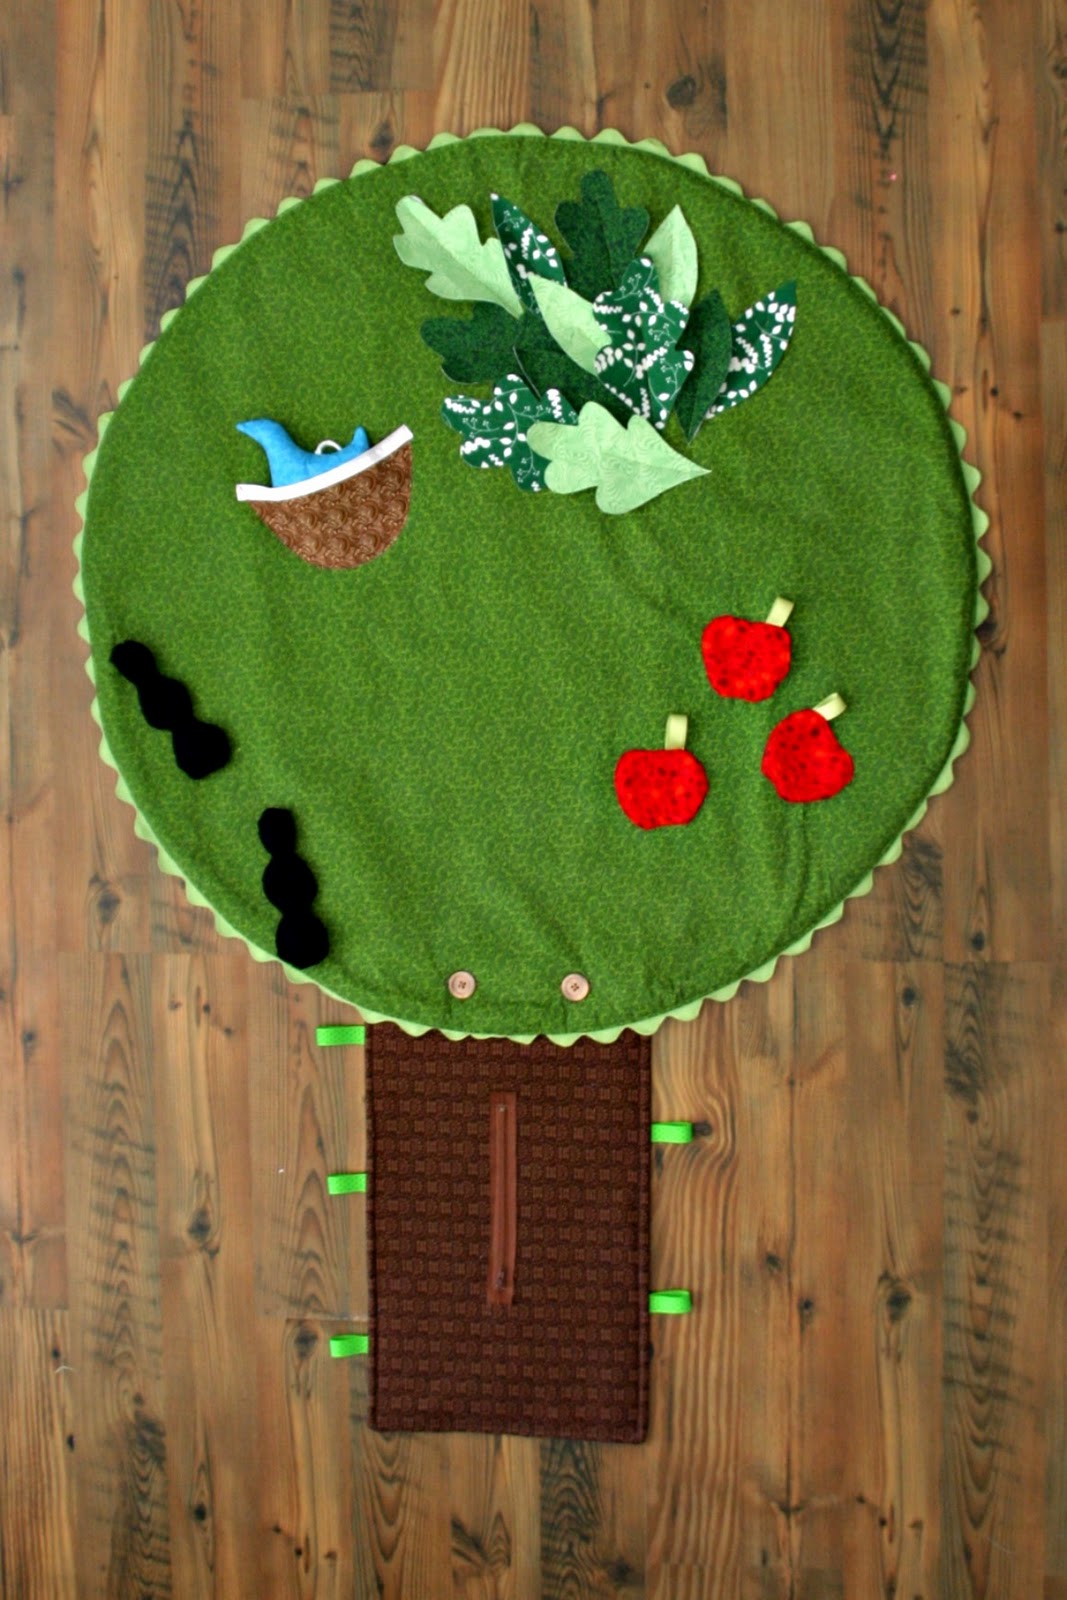
Creative name right?… not,  Seriously I pondered about this title forever and I’ve come up with nothing, except what it is and its a Baby Activity Mat that is a Tree. Anyway, a few months ago I was contacted by Pellon and asked if I was interested in becoming a Pellon Artisan. Fancy right? So, I created a project for their website and anyone can get the tutorial for free, yay! You do have to create a log-in but once you register you can get any of the tutorials by any Pellon Artist. 
And for my first project I present the Baby Activity Tree Mat.

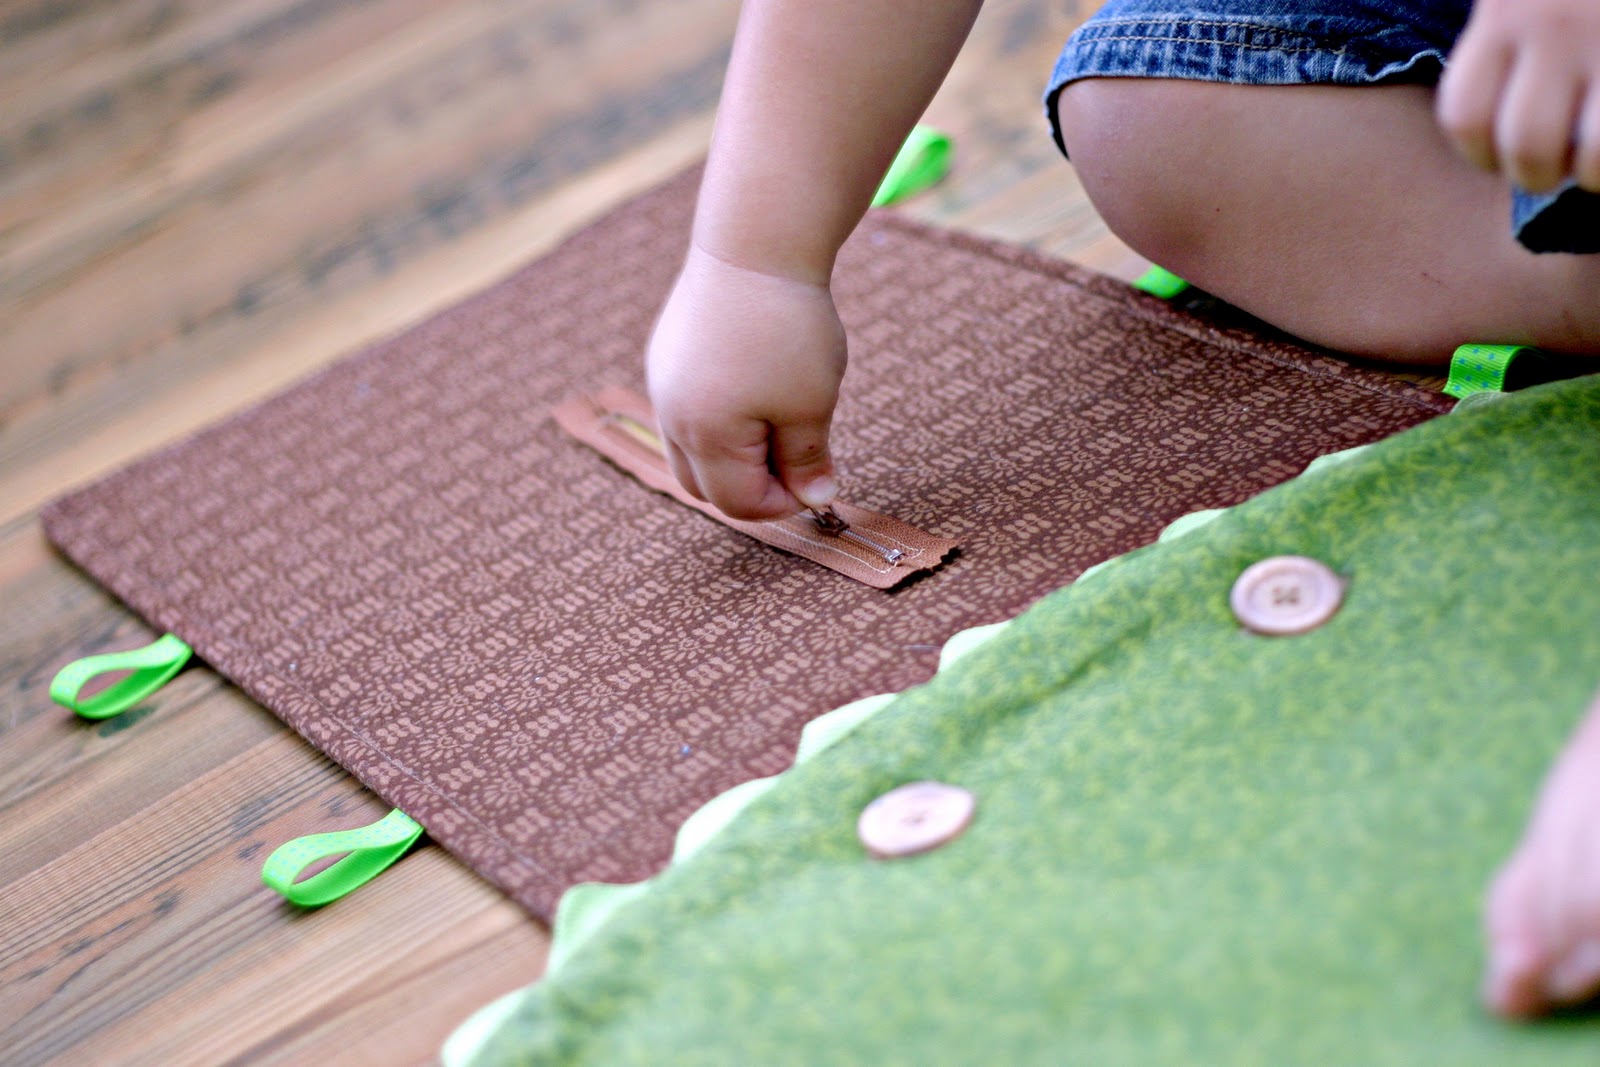
I wanted to make something I could roll up, throw in the car and take with me for my older “babies”. I have a playmat but my kids outgrew the activities by about 3-4 months. So, I included zippers and buttons and velcro on mine, which is always a good time :)

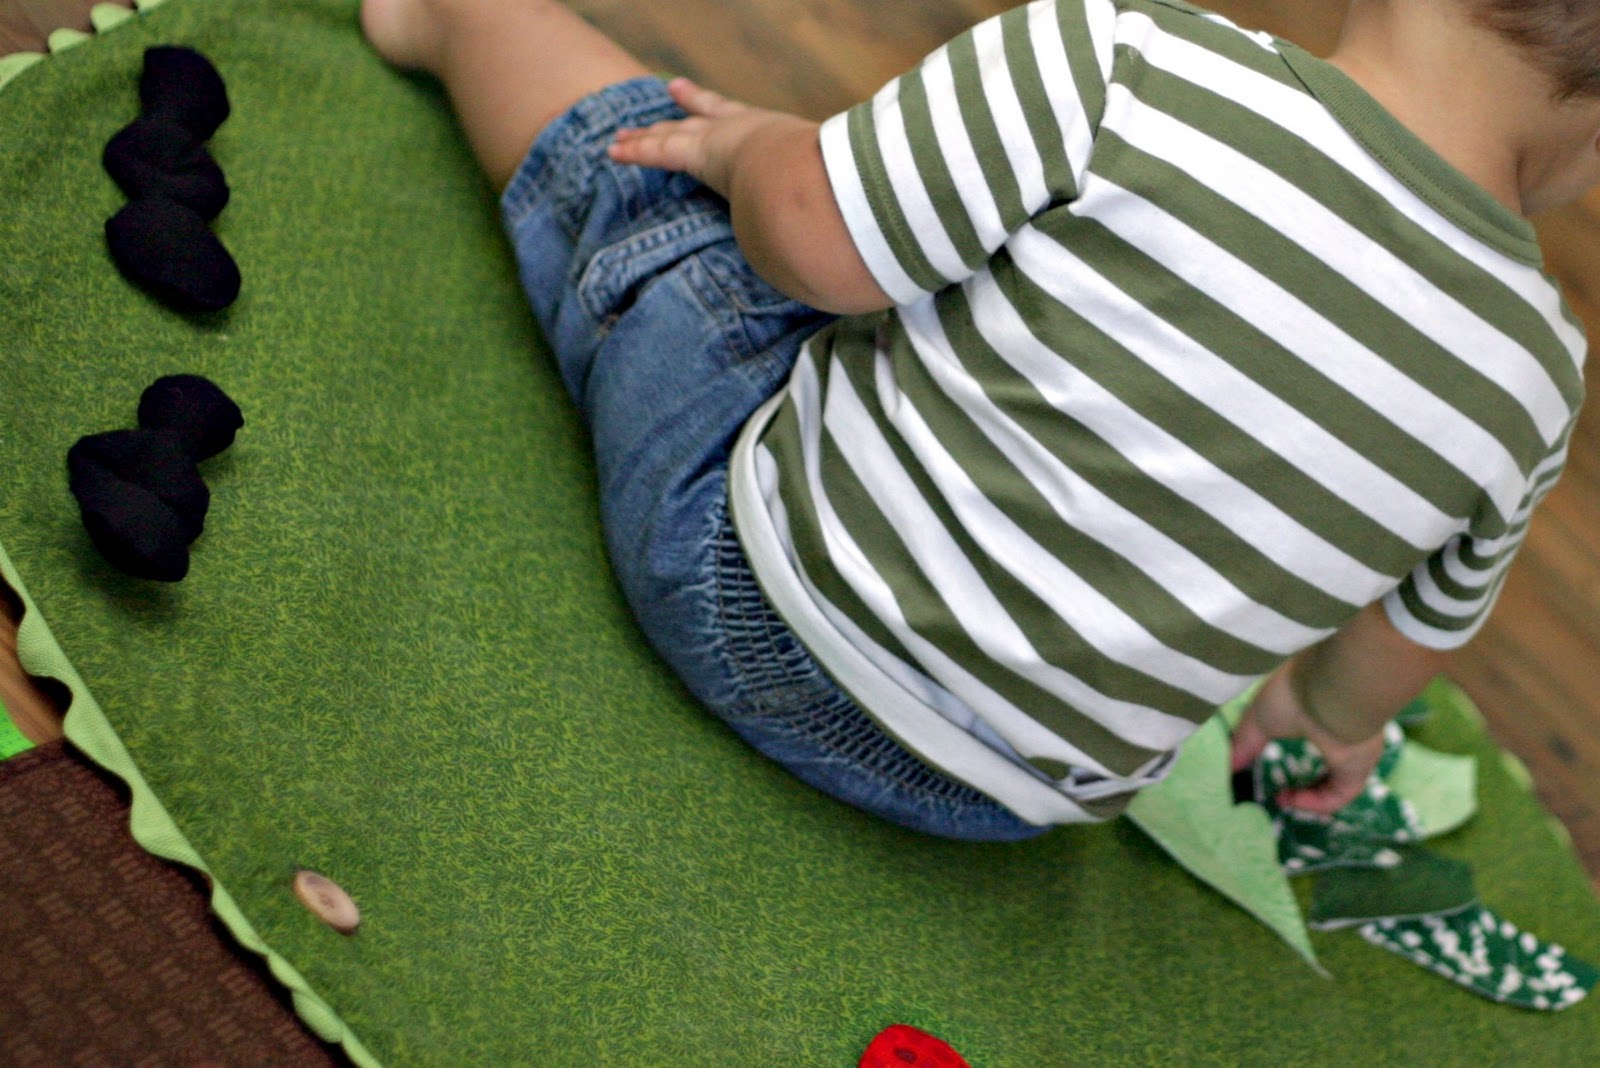
My older “model” checked it out while my bebe was sleeping. It’s perfect for tummy time too (just keep a close eye on the younger ones with the buttons). So go check it out HERE, all of the supplies are listed as well as the directions.

Pin It


Filed Under: baby stuff, fabric, kid stuff, sewing Tagged With: kids

Linen Scallop Diaper Tote

October 27, 2011 By Taylor 21 Comments

It is no secret that I am a big fan of See Kate Sew. So, when she decided to celebrate her blog’s birthday with a Scallop-Sew-Along, how could I say no? It was actually perfect timing because I was on the prowl for a new diaper bag pattern. I only have like 5 or 6 diaper bags so clearly I need a new one. Is it just me or is anyone else constantly searching for the perfect one? They are either too big, too small, too mommish, too pursish, not enough pockets, too many pockets. I think I just hate lugging around two different size diapers, snacks, batman, toy cars, bibs, blankets and a change of clothes for each kid. Maybe I’m taking it out on my diaper bag?
Anyway, I made a diaper bag. With this pretty little scallop pattern from Kate. I used the pattern for the scallops and I used her strap dimensions. I designed the rest of the bag to my liking (or to my picky standards). 

Not only do I love scallops but I LOVE linen (who doesn’t?), so I used that for the base of the bag. I ironed some interfacing to one side of the linen so it stands up better.

I also made bias tape for the edge of the side pockets (which are all lined for more stability).

The back has a large pocket that is split, for sippy cups or toys- gawd my life is glamorous.

I added my fabric label.

And of course added three pockets to the inside, two for diapers and I get that one little square houndstooth number – with more handmade bias tape.
And everything is so organized now. See, I wasn’t lying about carrying batman everywhere.

Thanks Kate for the Sweet Scallop Pattern, and a deadline :)

Pin It
ps… Next Tuesday kicks off Craft Spaces – a little series here on Taylor Made that is going to be filled with tips, tours and talented guest bloggers. If you are interested in showing off your room, sharing a tip or a tutorial – email me at taylor.taylormade@gmail.com. See you back here next week :)

Filed Under: baby stuff, fabric, sewing Tagged With: accessories

The Bandit Bib

October 10, 2011 By Taylor 6 Comments


The Bandit Bib. It might be the next big thing :) I get bored with “regular” bibs so this is a little more exciting.

What you need:
– 1 fat quarter for the front
– 1 fat quarter for the back (I use flannel, jersey or terrycloth for the backs)
– snap kit
– TaylorMade Bandit Bib Pattern
Lets get started:
Print the pattern for the Bandit Bib HERE (just save it to your computer and print on a full page :) Cut out a front and a back. I like to use an absorbent fabric for the backs of my bibs like terry cloth or flannel. 

Put right sides together, pin and sew. Leave a small opening so you can flip it. 

Don’t forget to clip the corners and the round tip. 

Press and top stitch around the bib.

Time for snaps (which I love). If you have never used them, they are very simple and your kit will come with instructions on the back. Each snap has two parts and the fun part is hammering them together :)

Most importantly, make sure your snaps are facing opposite directions so you can snap them together correctly. The first time I did a snap, I made this mistake. 

Admire your new and more exciting Bandit Bib. And make a few.

Look at my cute little Bandit :) 
Pin It

Related Posts Plugin for WordPress, Blogger...

Filed Under: baby stuff, boy, clothes, fabric, kid stuff, sewing Tagged With: kids

  • « Previous Page
  • 1
  • …
  • 4
  • 5
  • 6
  • 7
  • 8
  • 9
  • Next Page »

Welcome to Taylor Made

http://www.taylormadecreatesblog.com/about-me Hi Yall! I'm Taylor... an artsy mom of three from Houston, TX. I love sewing, collecting floral fabric, eating Mexican Food, photography, brights colors, rearranging, and rolling clay. Taylor Made Creates is all about creating a fun, colorful home, sewing cute things and eating good food. Check out my SHOP HERE HERE! Thanks for stopping by!

Search

Pin with me!

Like Me :)

Facebook Pagelike Widget

More Recent Posts

  • Kid's Animal Room
  • Kids Camping Shirts
  • Mermaid Birthday Party
  • Conversation Heart Cold Packs
  • Holiday Apple Tea Punch
  • Purple Princess Costume
  • Letterboard Costume
  • La Croix Costume

FAVORITES

  • Casserole Carrier
  • Playroom Reveal
  • a Happy Birthday Quilt Block
  • Winged Peasant Dress
  • More Casserole Carriers
  • How to Shorten a Shirt
  • Love Sign with a Fence Frame
  • Foodie Napkin Rings
  • The Bow Clutch

Copyright © 2026 · Web Hosting By RFE Hosting