TaylorMade

DIY, Home Decor & Sewing

  • Home
  • SHOP
  • DIY & Sewing
    • For the Home
    • Sewing
    • Costumes and Holidays
    • Cricut Projects
    • Crafting
  • Parties
  • Recipes
  • Home Tour
  • Favorites
  • About

Kids Camping Shirts

August 1, 2018 By Taylor 2 Comments

We love camping! Seriously, we can’t live without it! In honor of our love for camping I’m sharing some Kids Camping Shirts today with a free download to make your own!

We go camping few times a year and we sleep in a tent and hike and cook and it’s amazing. My mom took us camping as kids and we have great memories so after we had kids Bryan and I started going again to keep the tradition alive. We usually go to a State Park that is right under 2 hours away so it’s really not too much trouble because it’s so close. Keeping it simple is key. We do however like to make a big deal of our camping menu which is fun :) We go with our family and some good family friends so we have a group of around 20ish. There is something about sleeping outside under the stars and roughing it for a few days that will fully recharge your battery. And can you think of a better way for kids to spend a weekend than playing outside?!

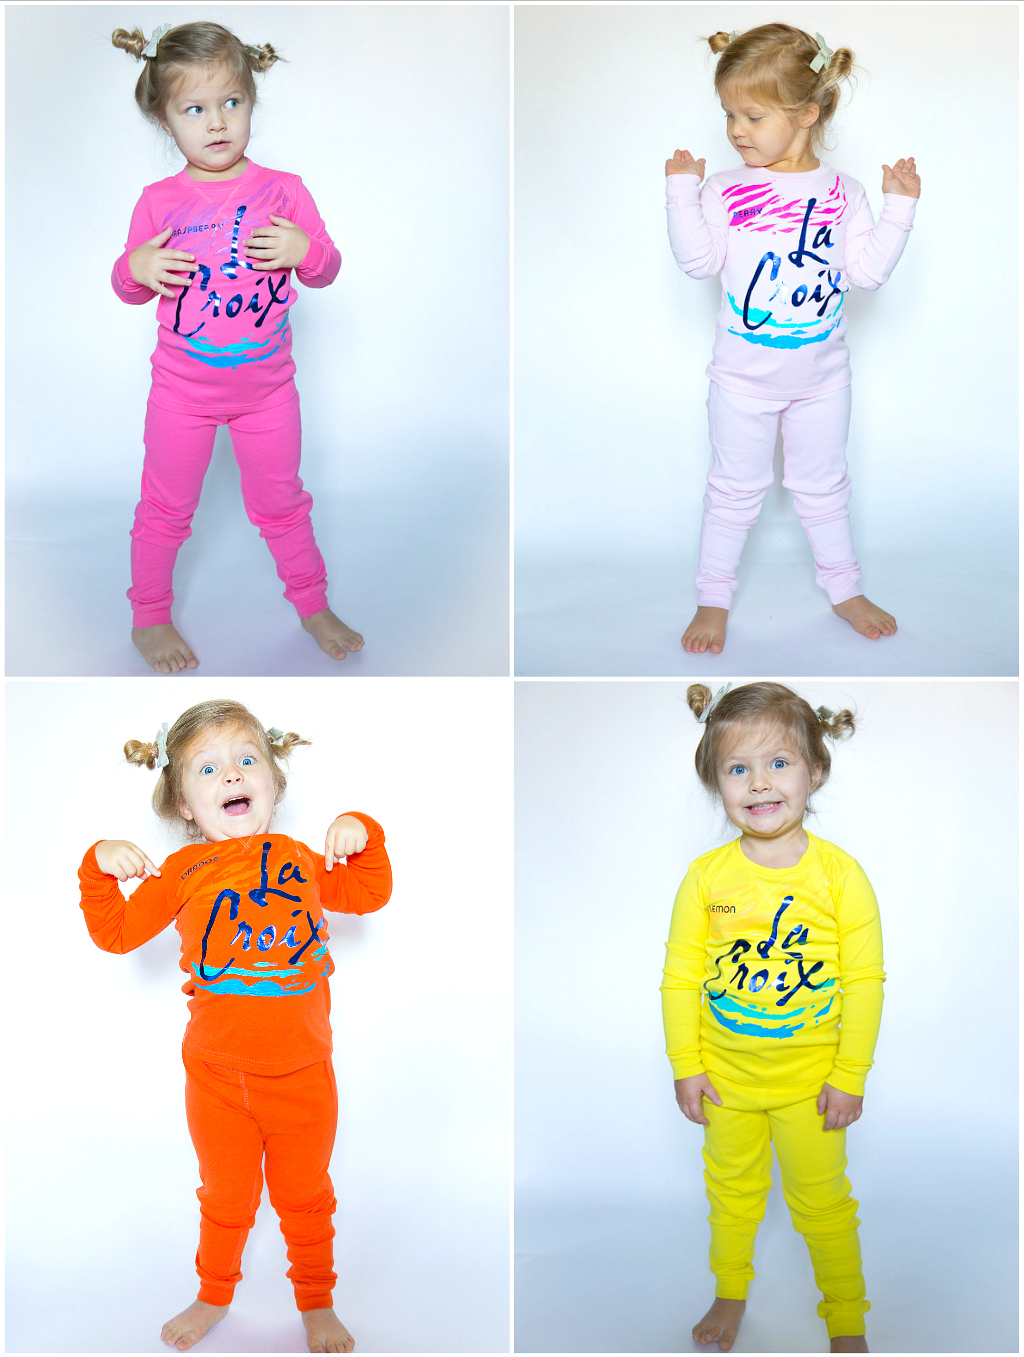
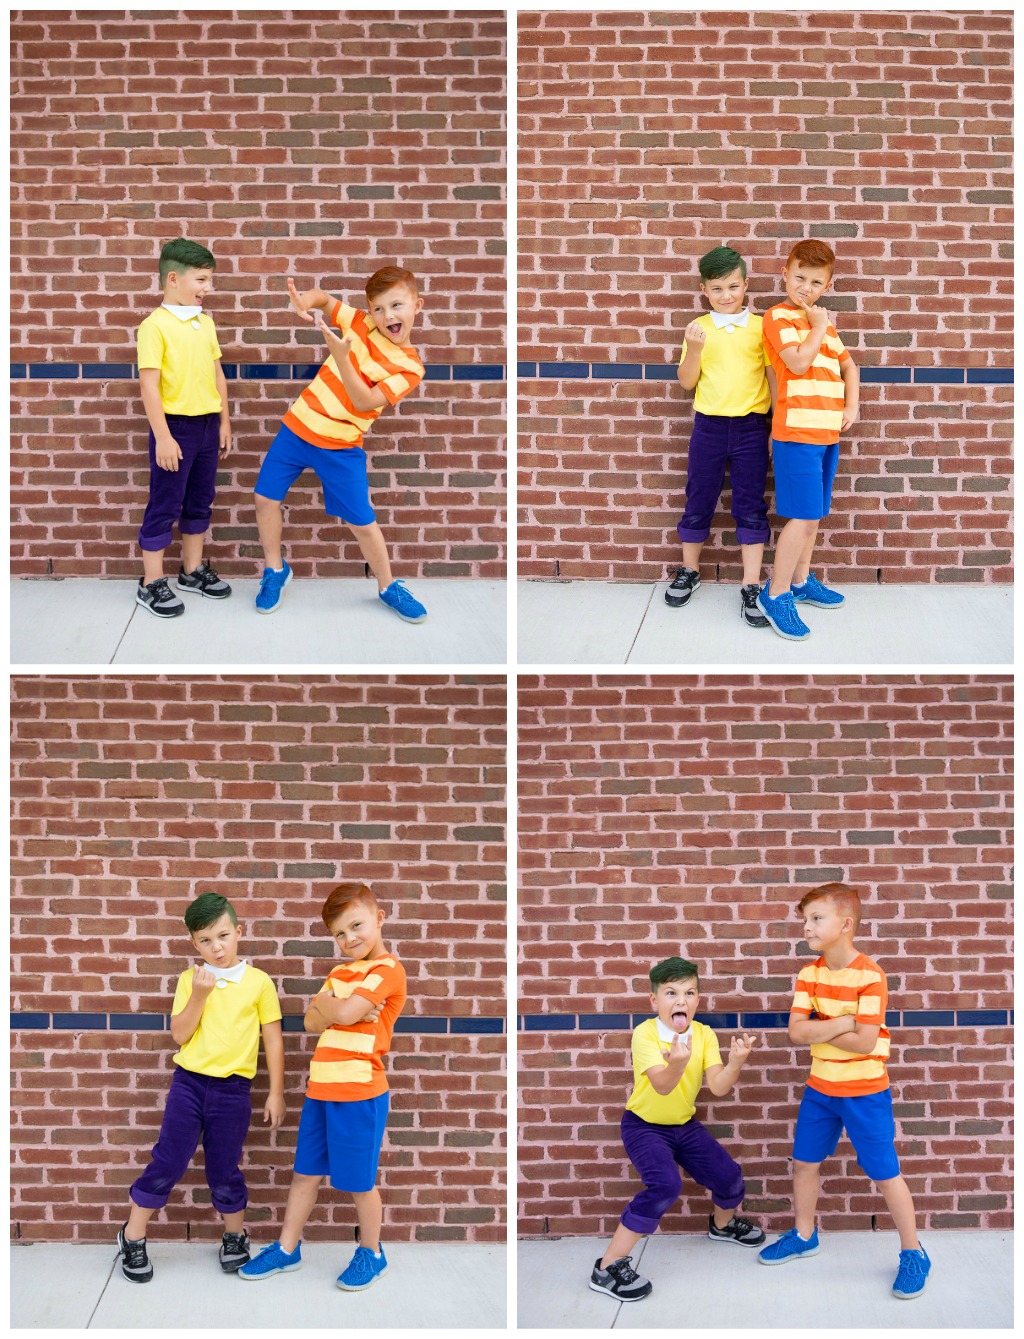
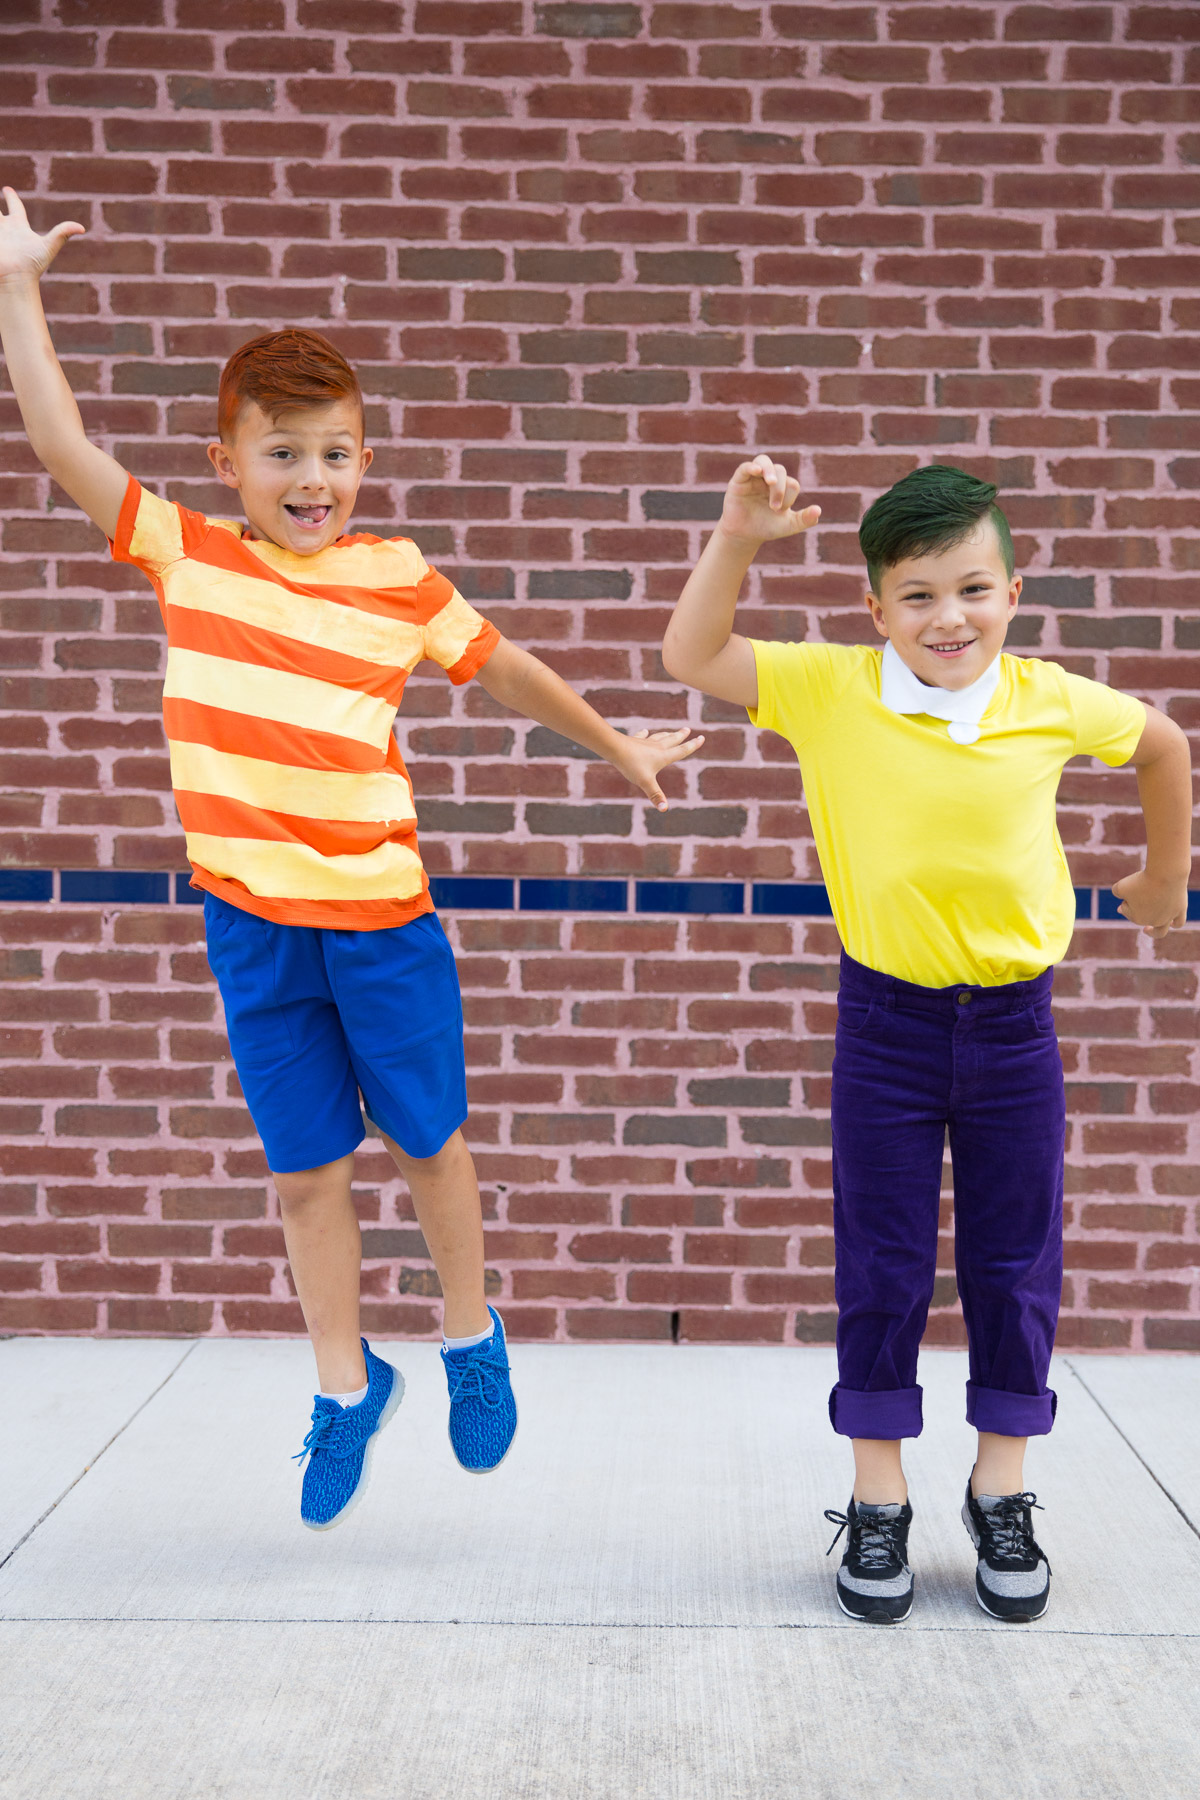
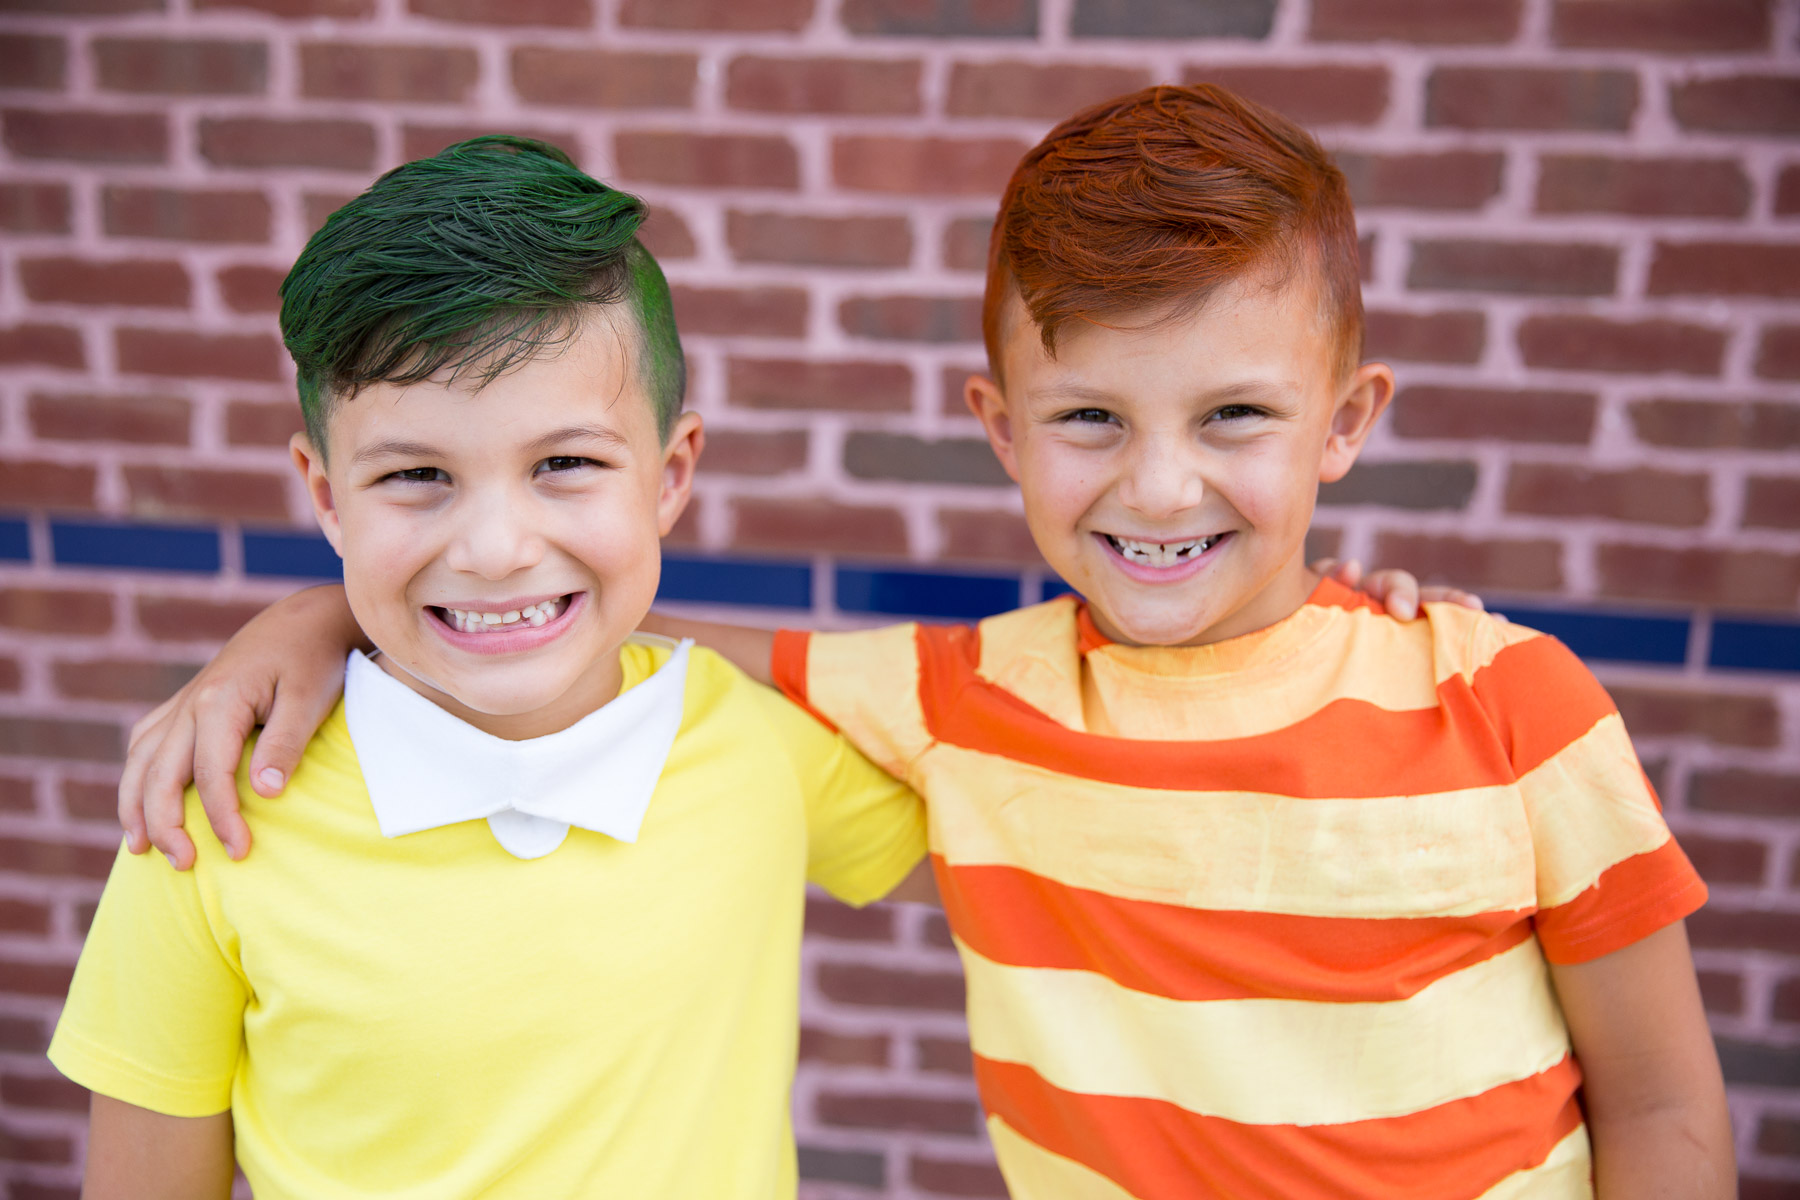
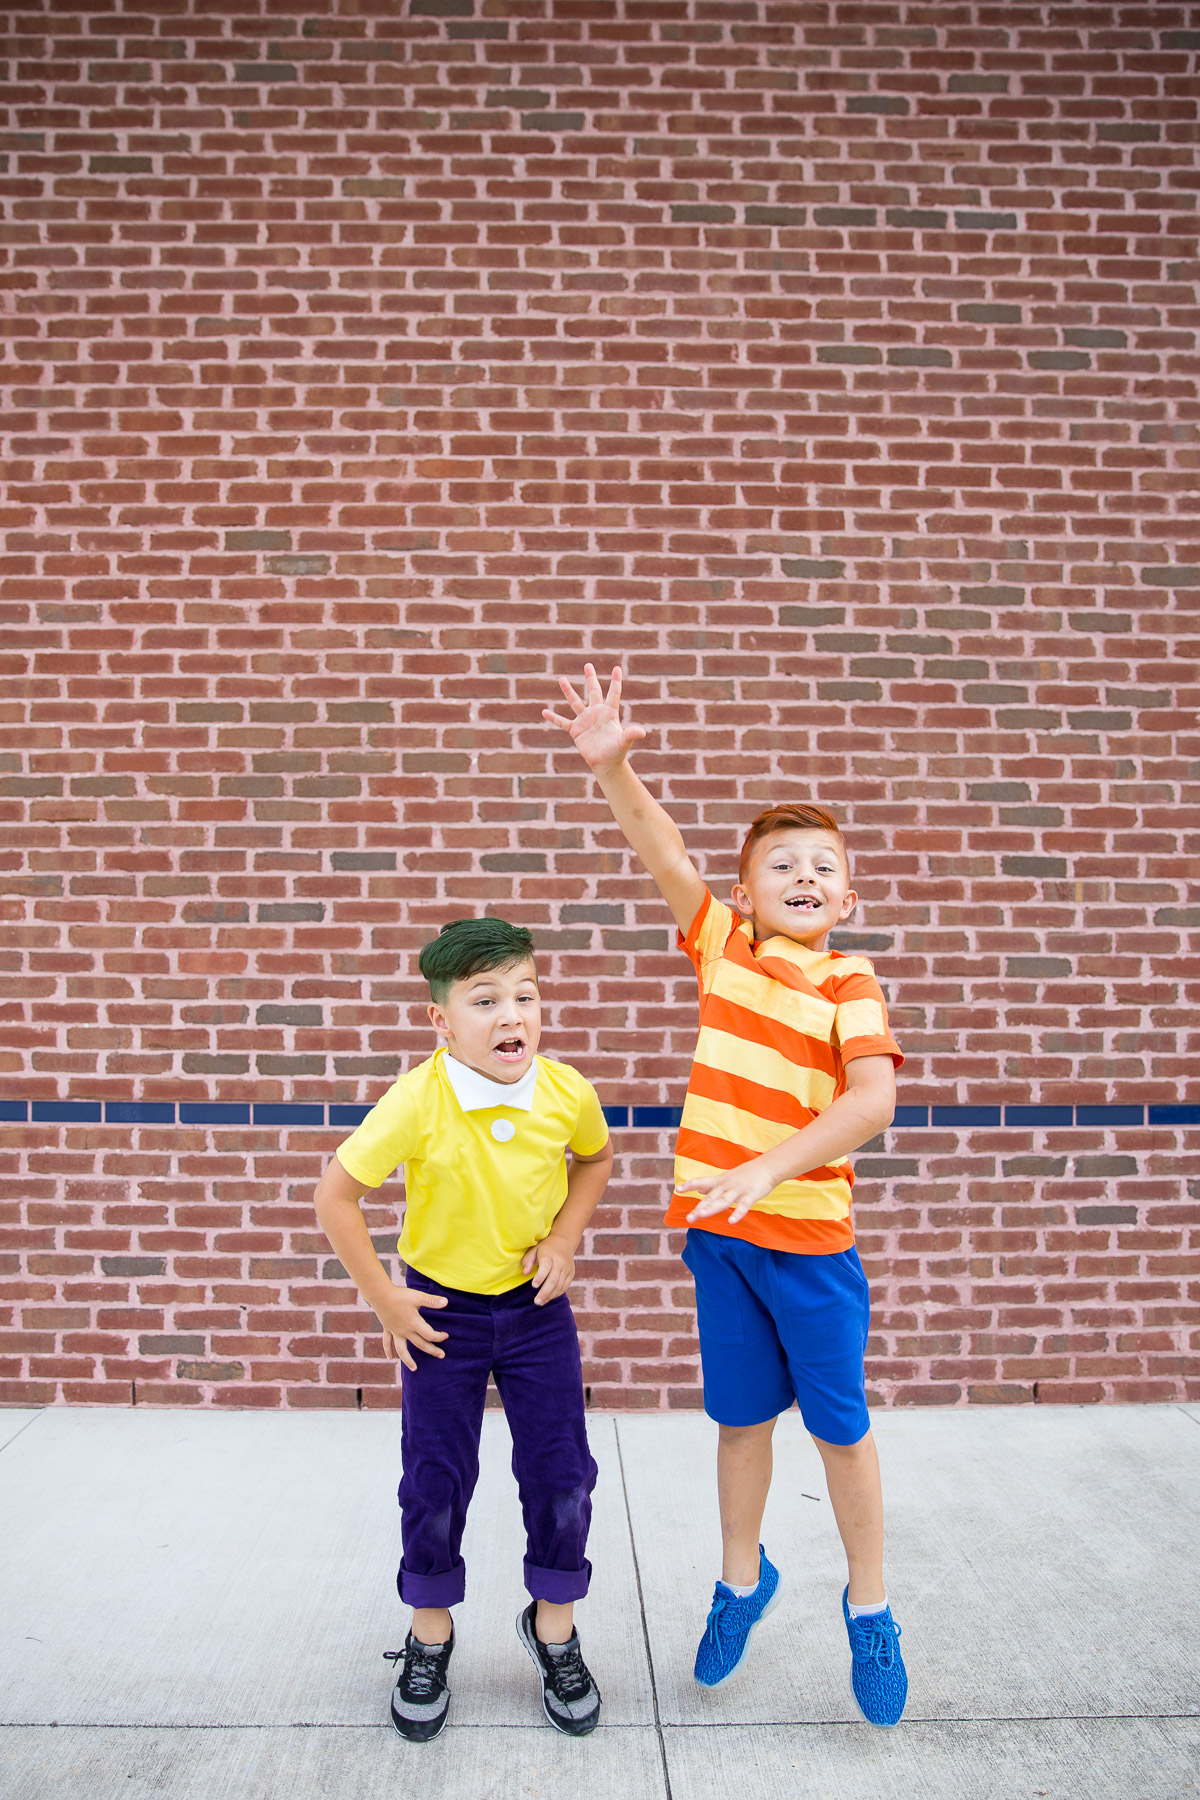
For our last trip we decided to make “official” camp shirts. I made the adults matching shirts but made something a little different for the kids and I just love how they turned out!

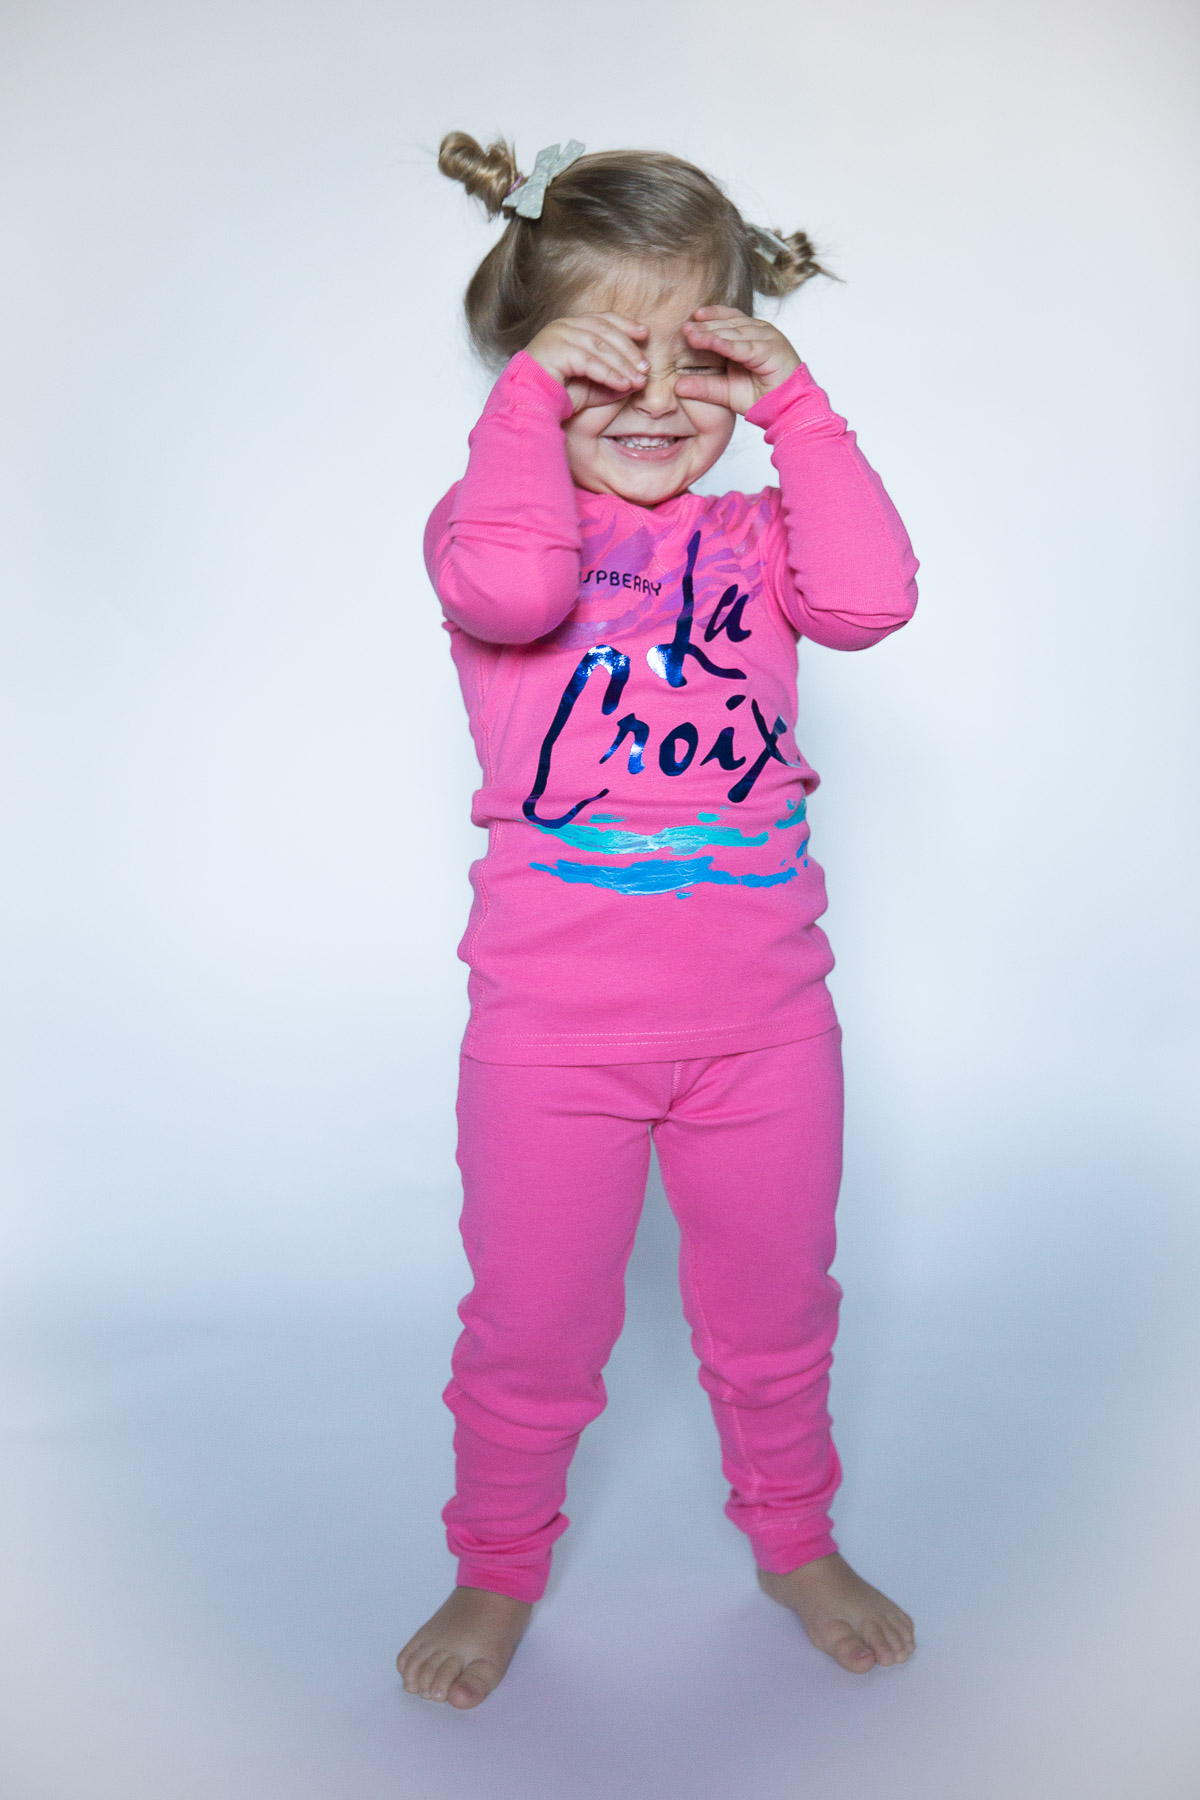
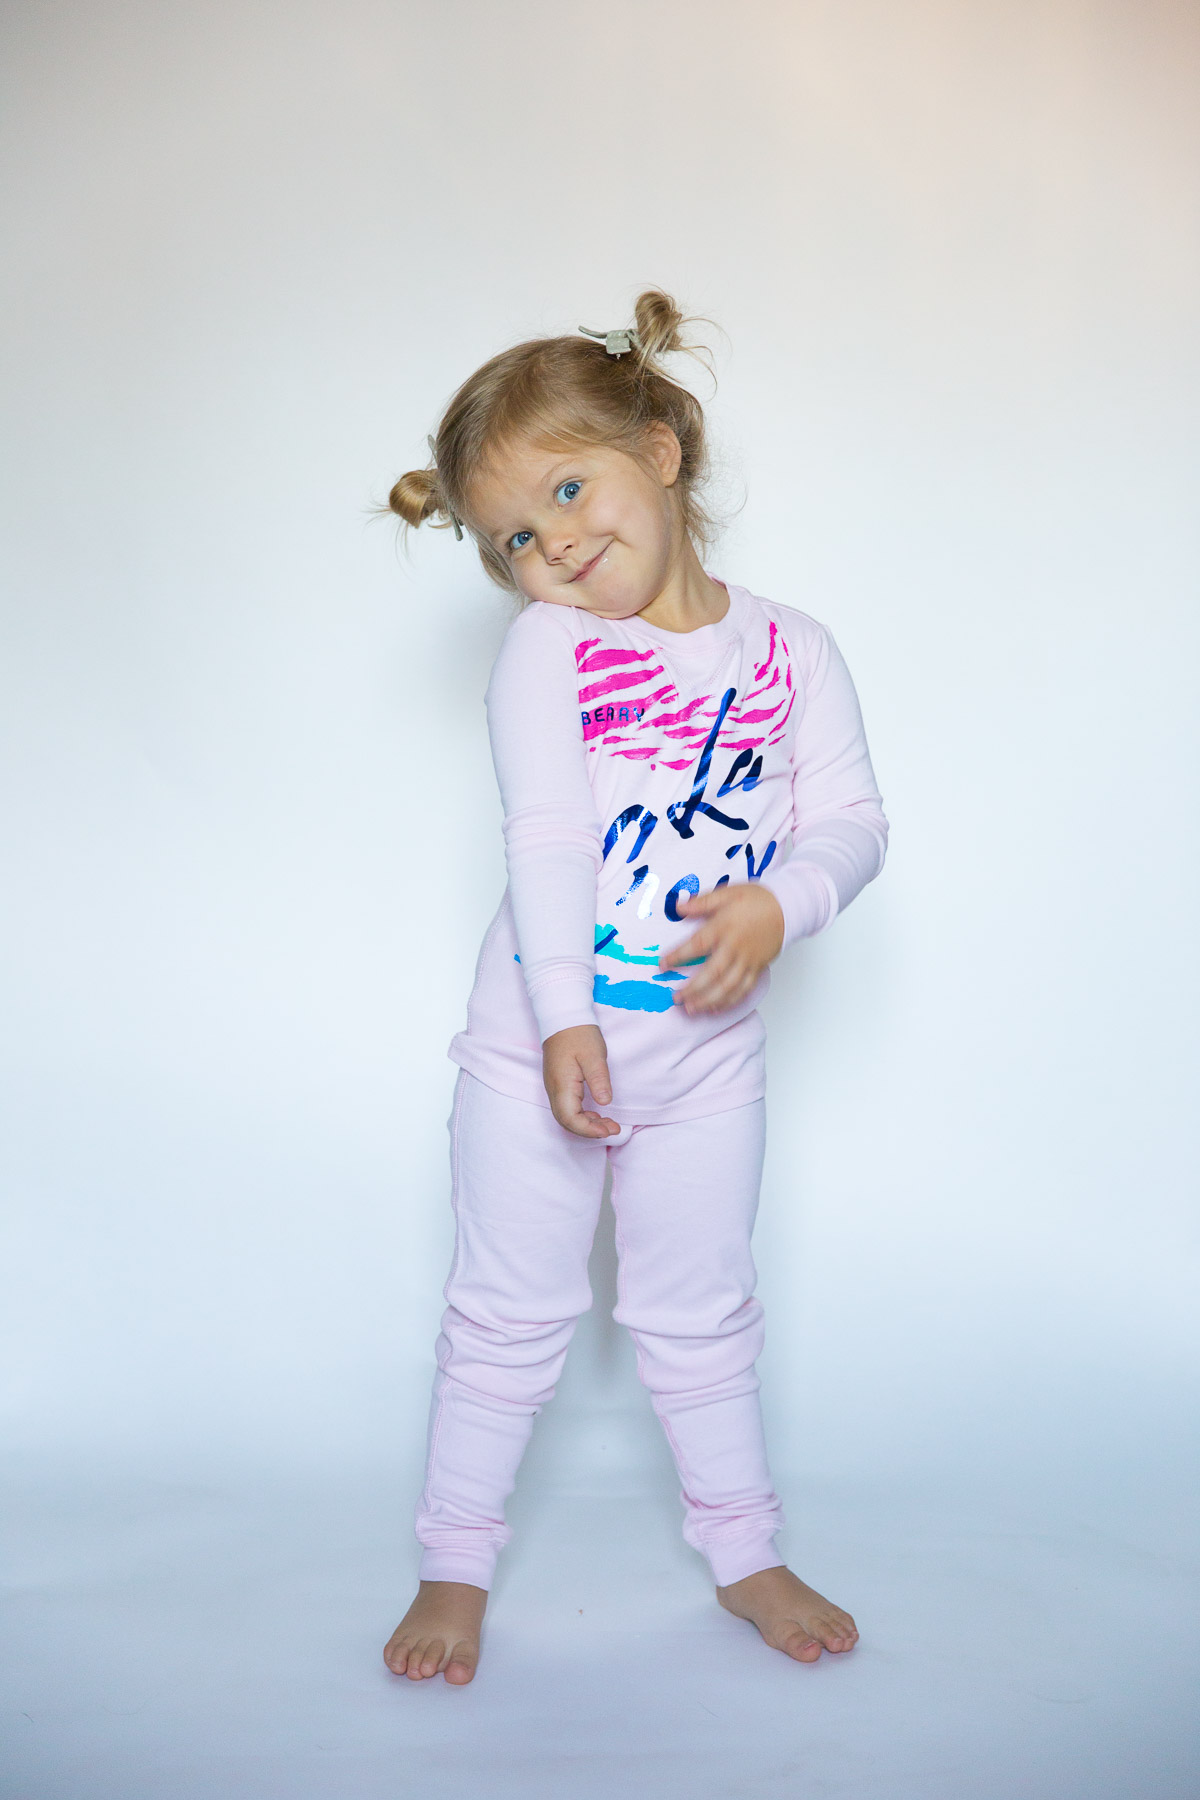
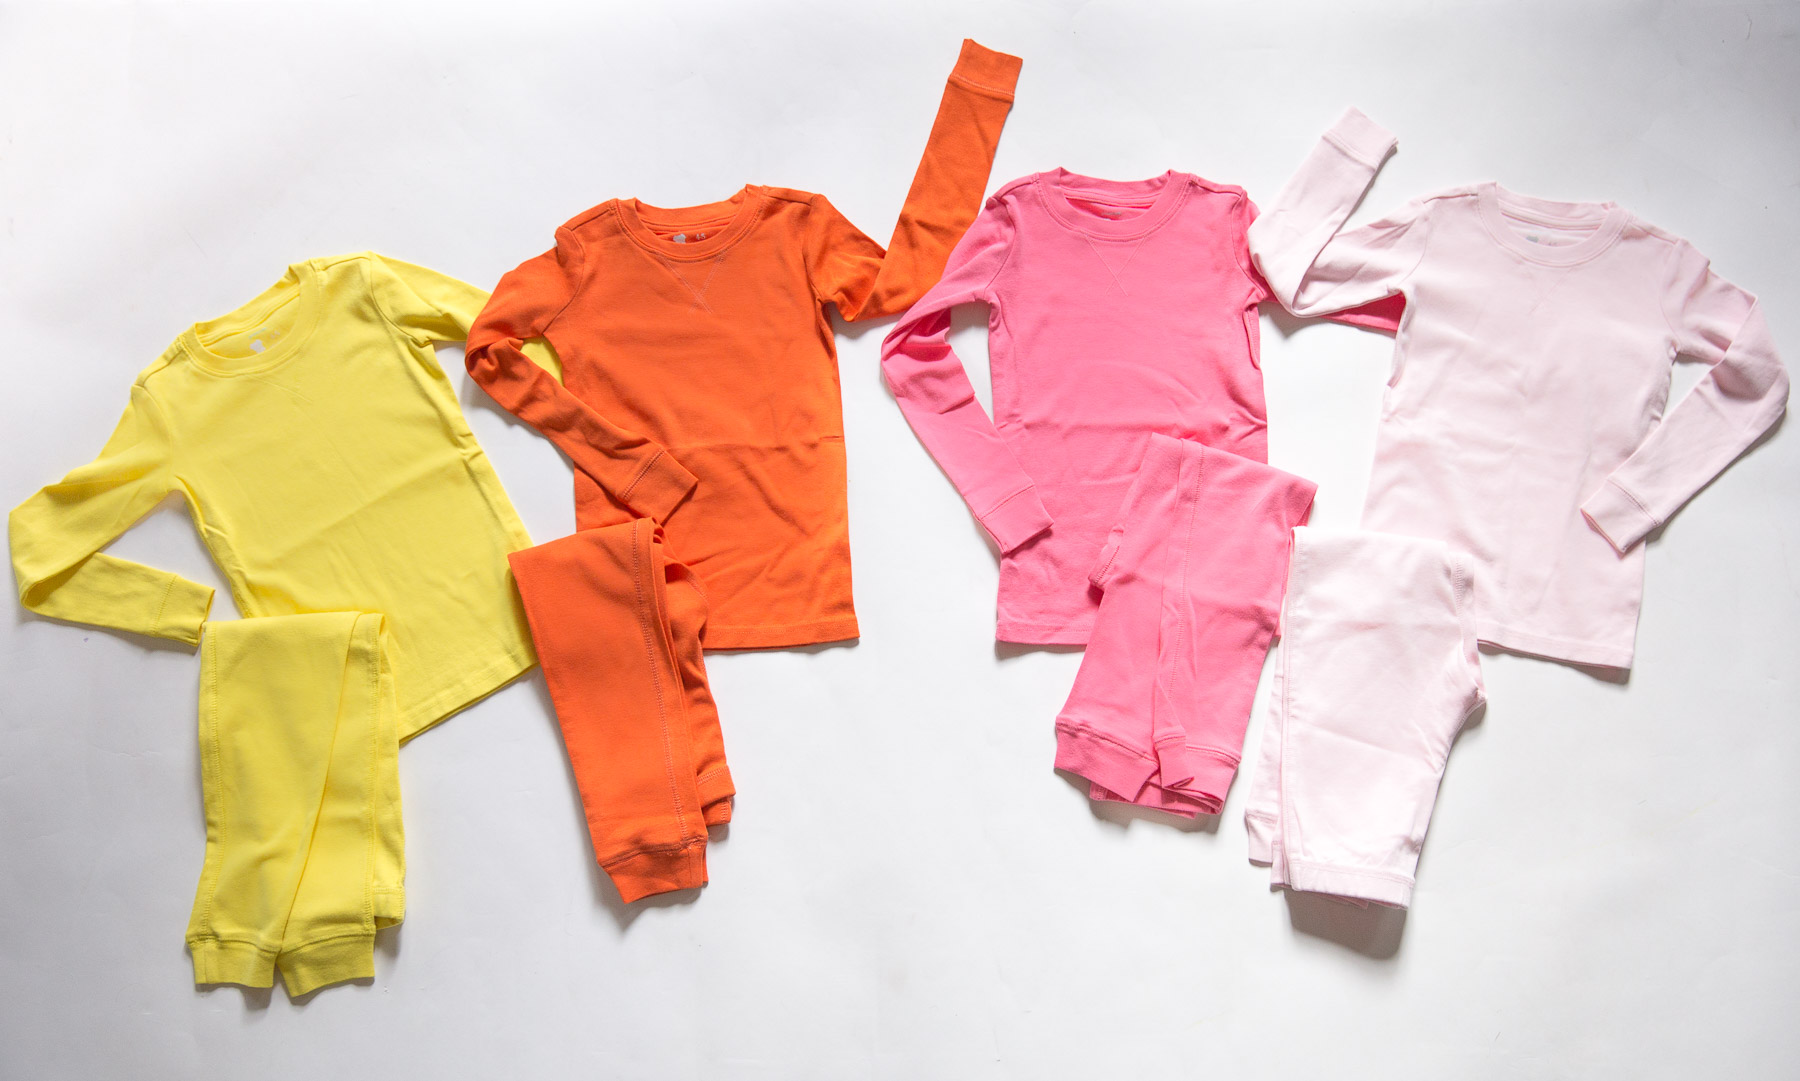
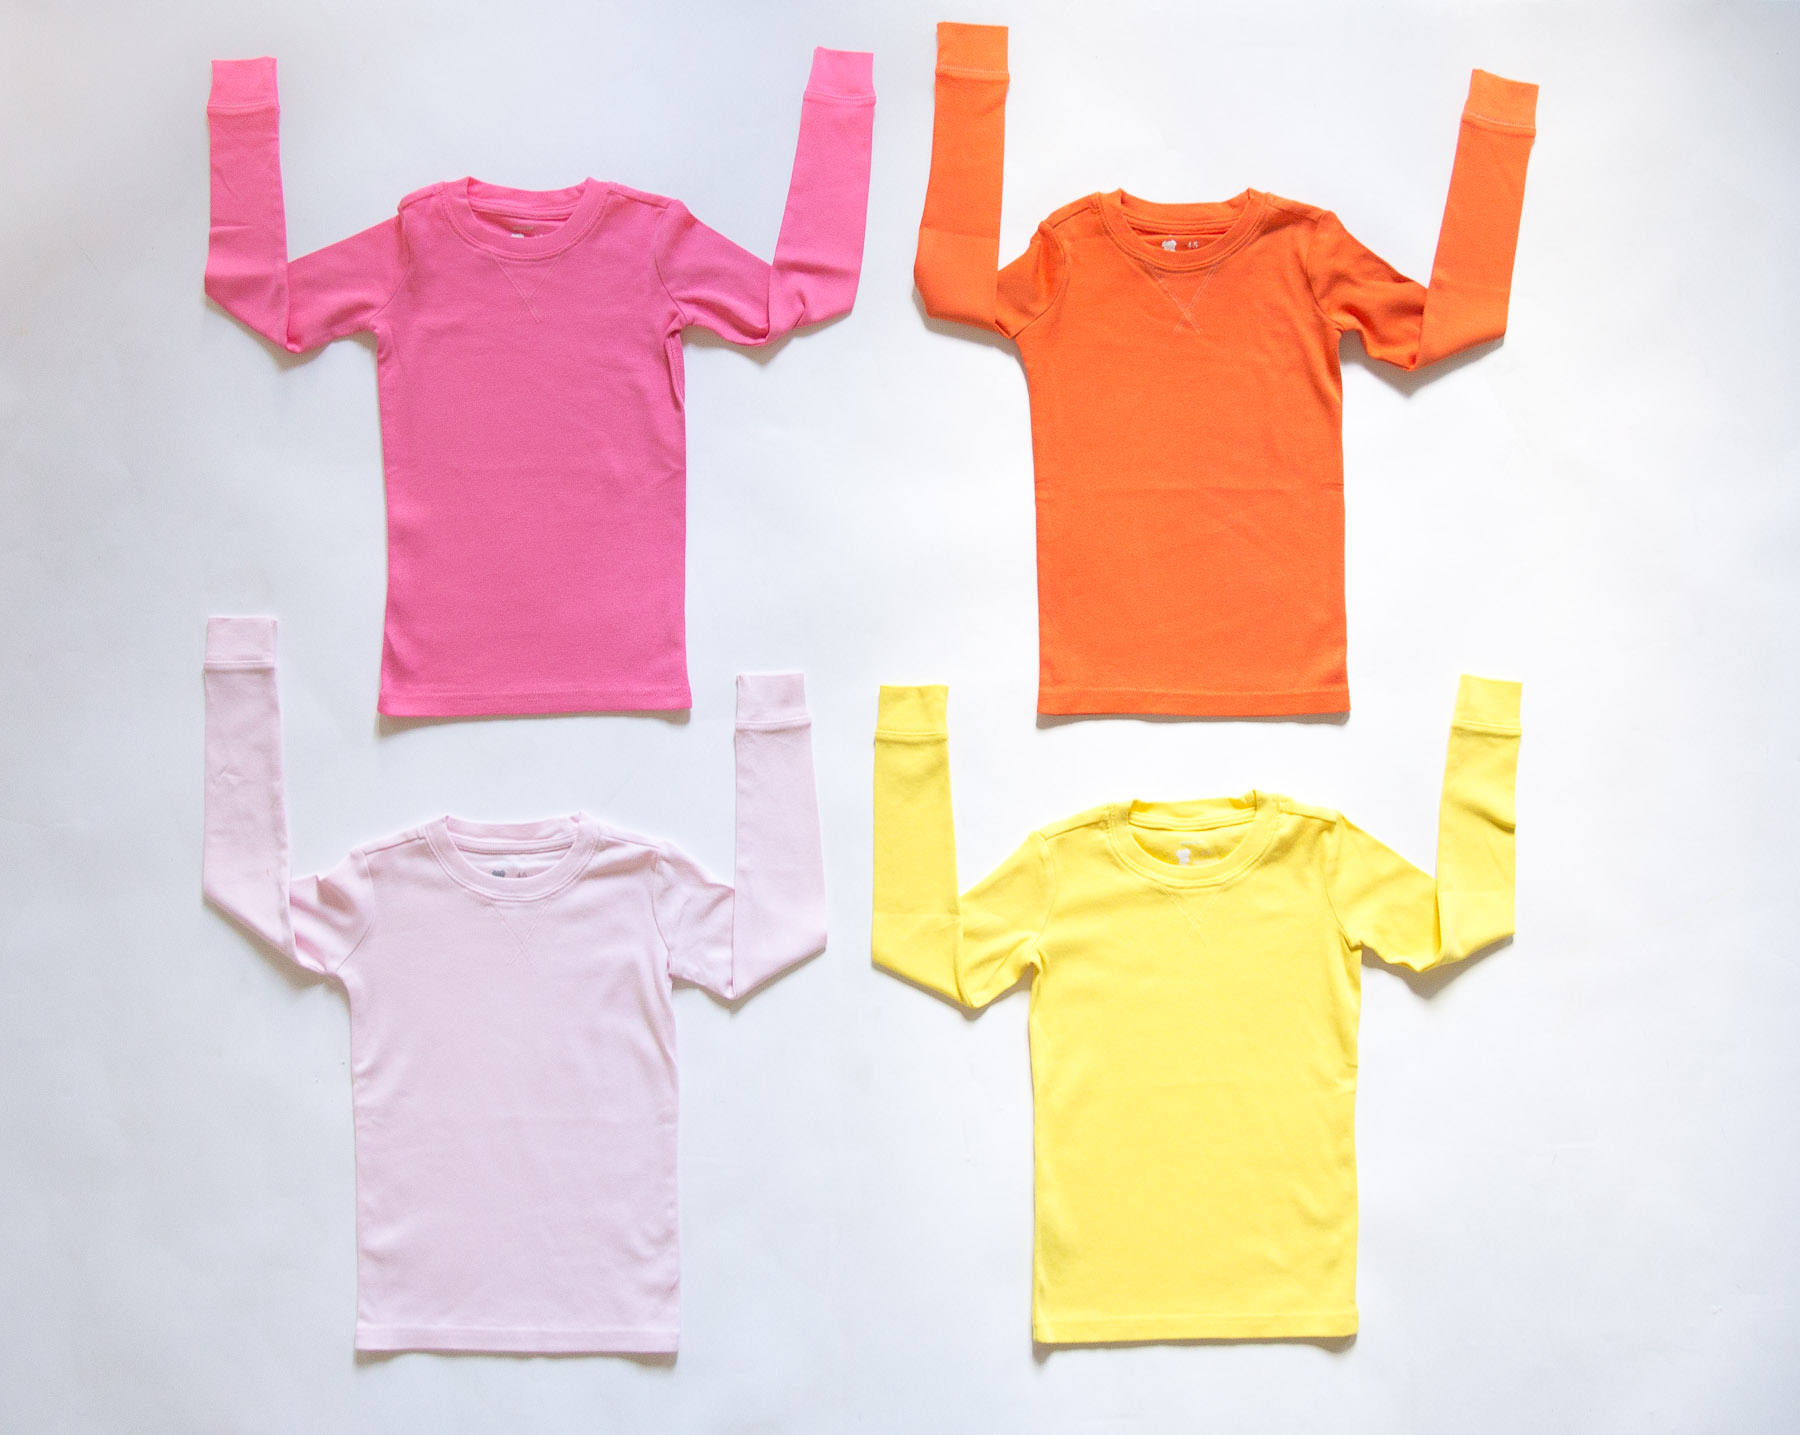
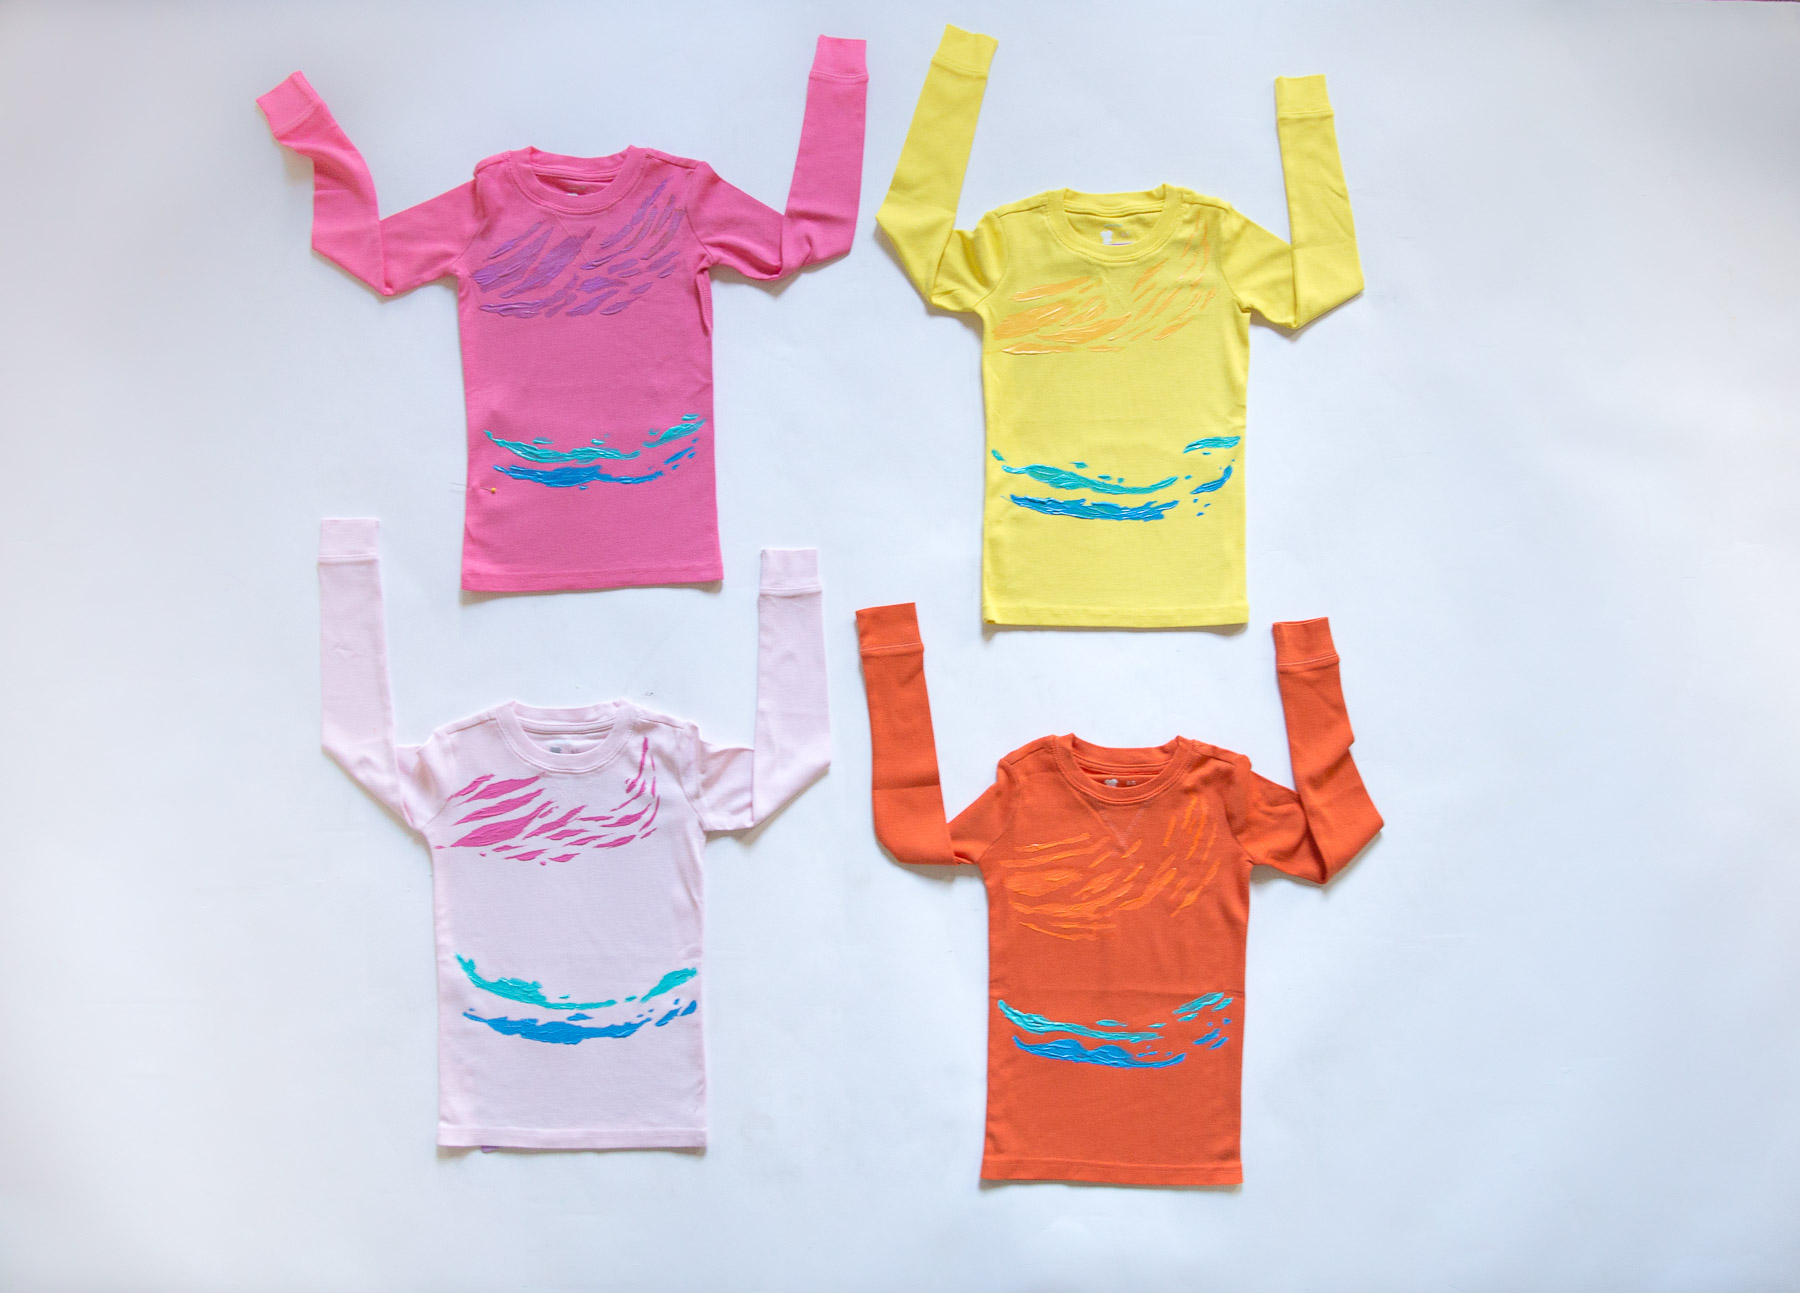
All the moms picked a different colored solid tee for their kid. They are super simple but that’s kind of how camping is so it works :) I used black heat transfer vinyl and a heat press so they will hold up well, we are very hard on our camping clothes as you can imagine! (HERE is a link to my heat press machine, I love it!) I found the super soft blank tees and these little dino shorts at Walmart.

I have the silhouette file available HERE for free to download or if you just want the PNG file to copy and trace on vinyl you can find that HERE. I have the images flipped so be sure to check that before cutting depending on how you are doing them. I would love to see your shirts if you make one so don’t forget to email me or tag me in a pic :) Also… if you haven’t taken your kids tent camping yet you should definitely give it a try, I promise you will all love it!


Filed Under: boy, girl, kid stuff, Silhouette Tagged With: cricut

Mermaid Birthday Party

July 9, 2018 By Taylor 1 Comment

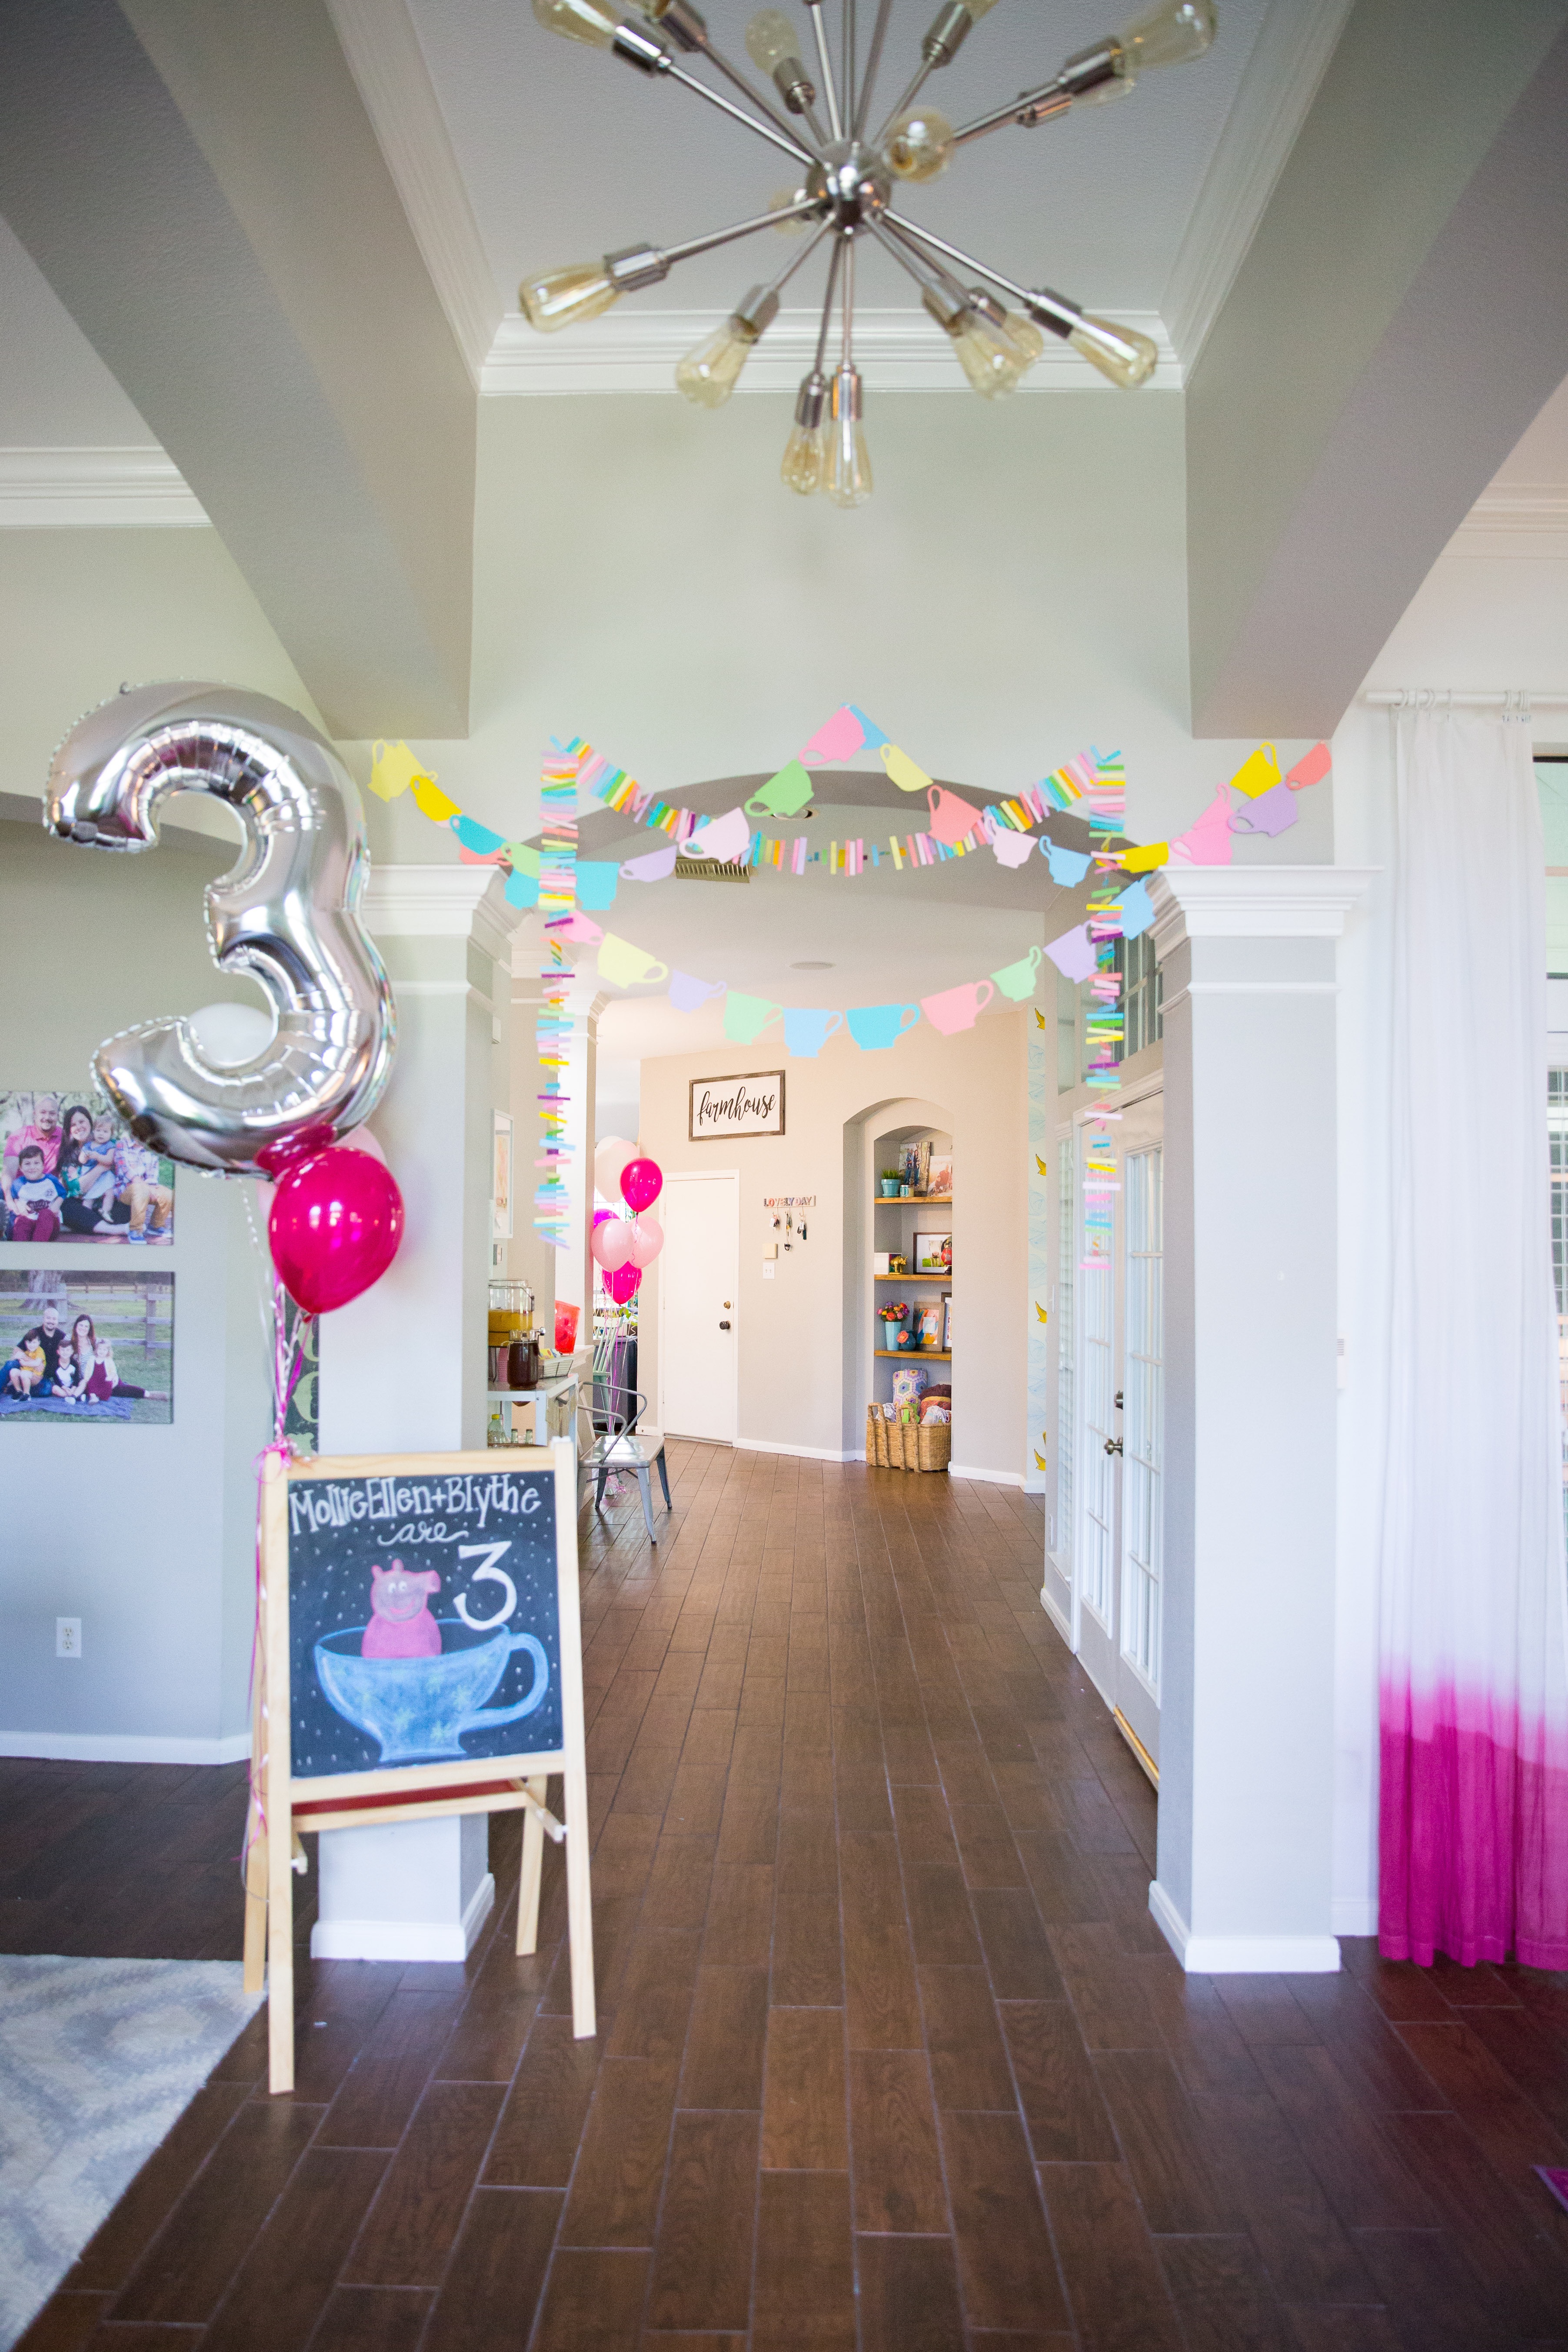
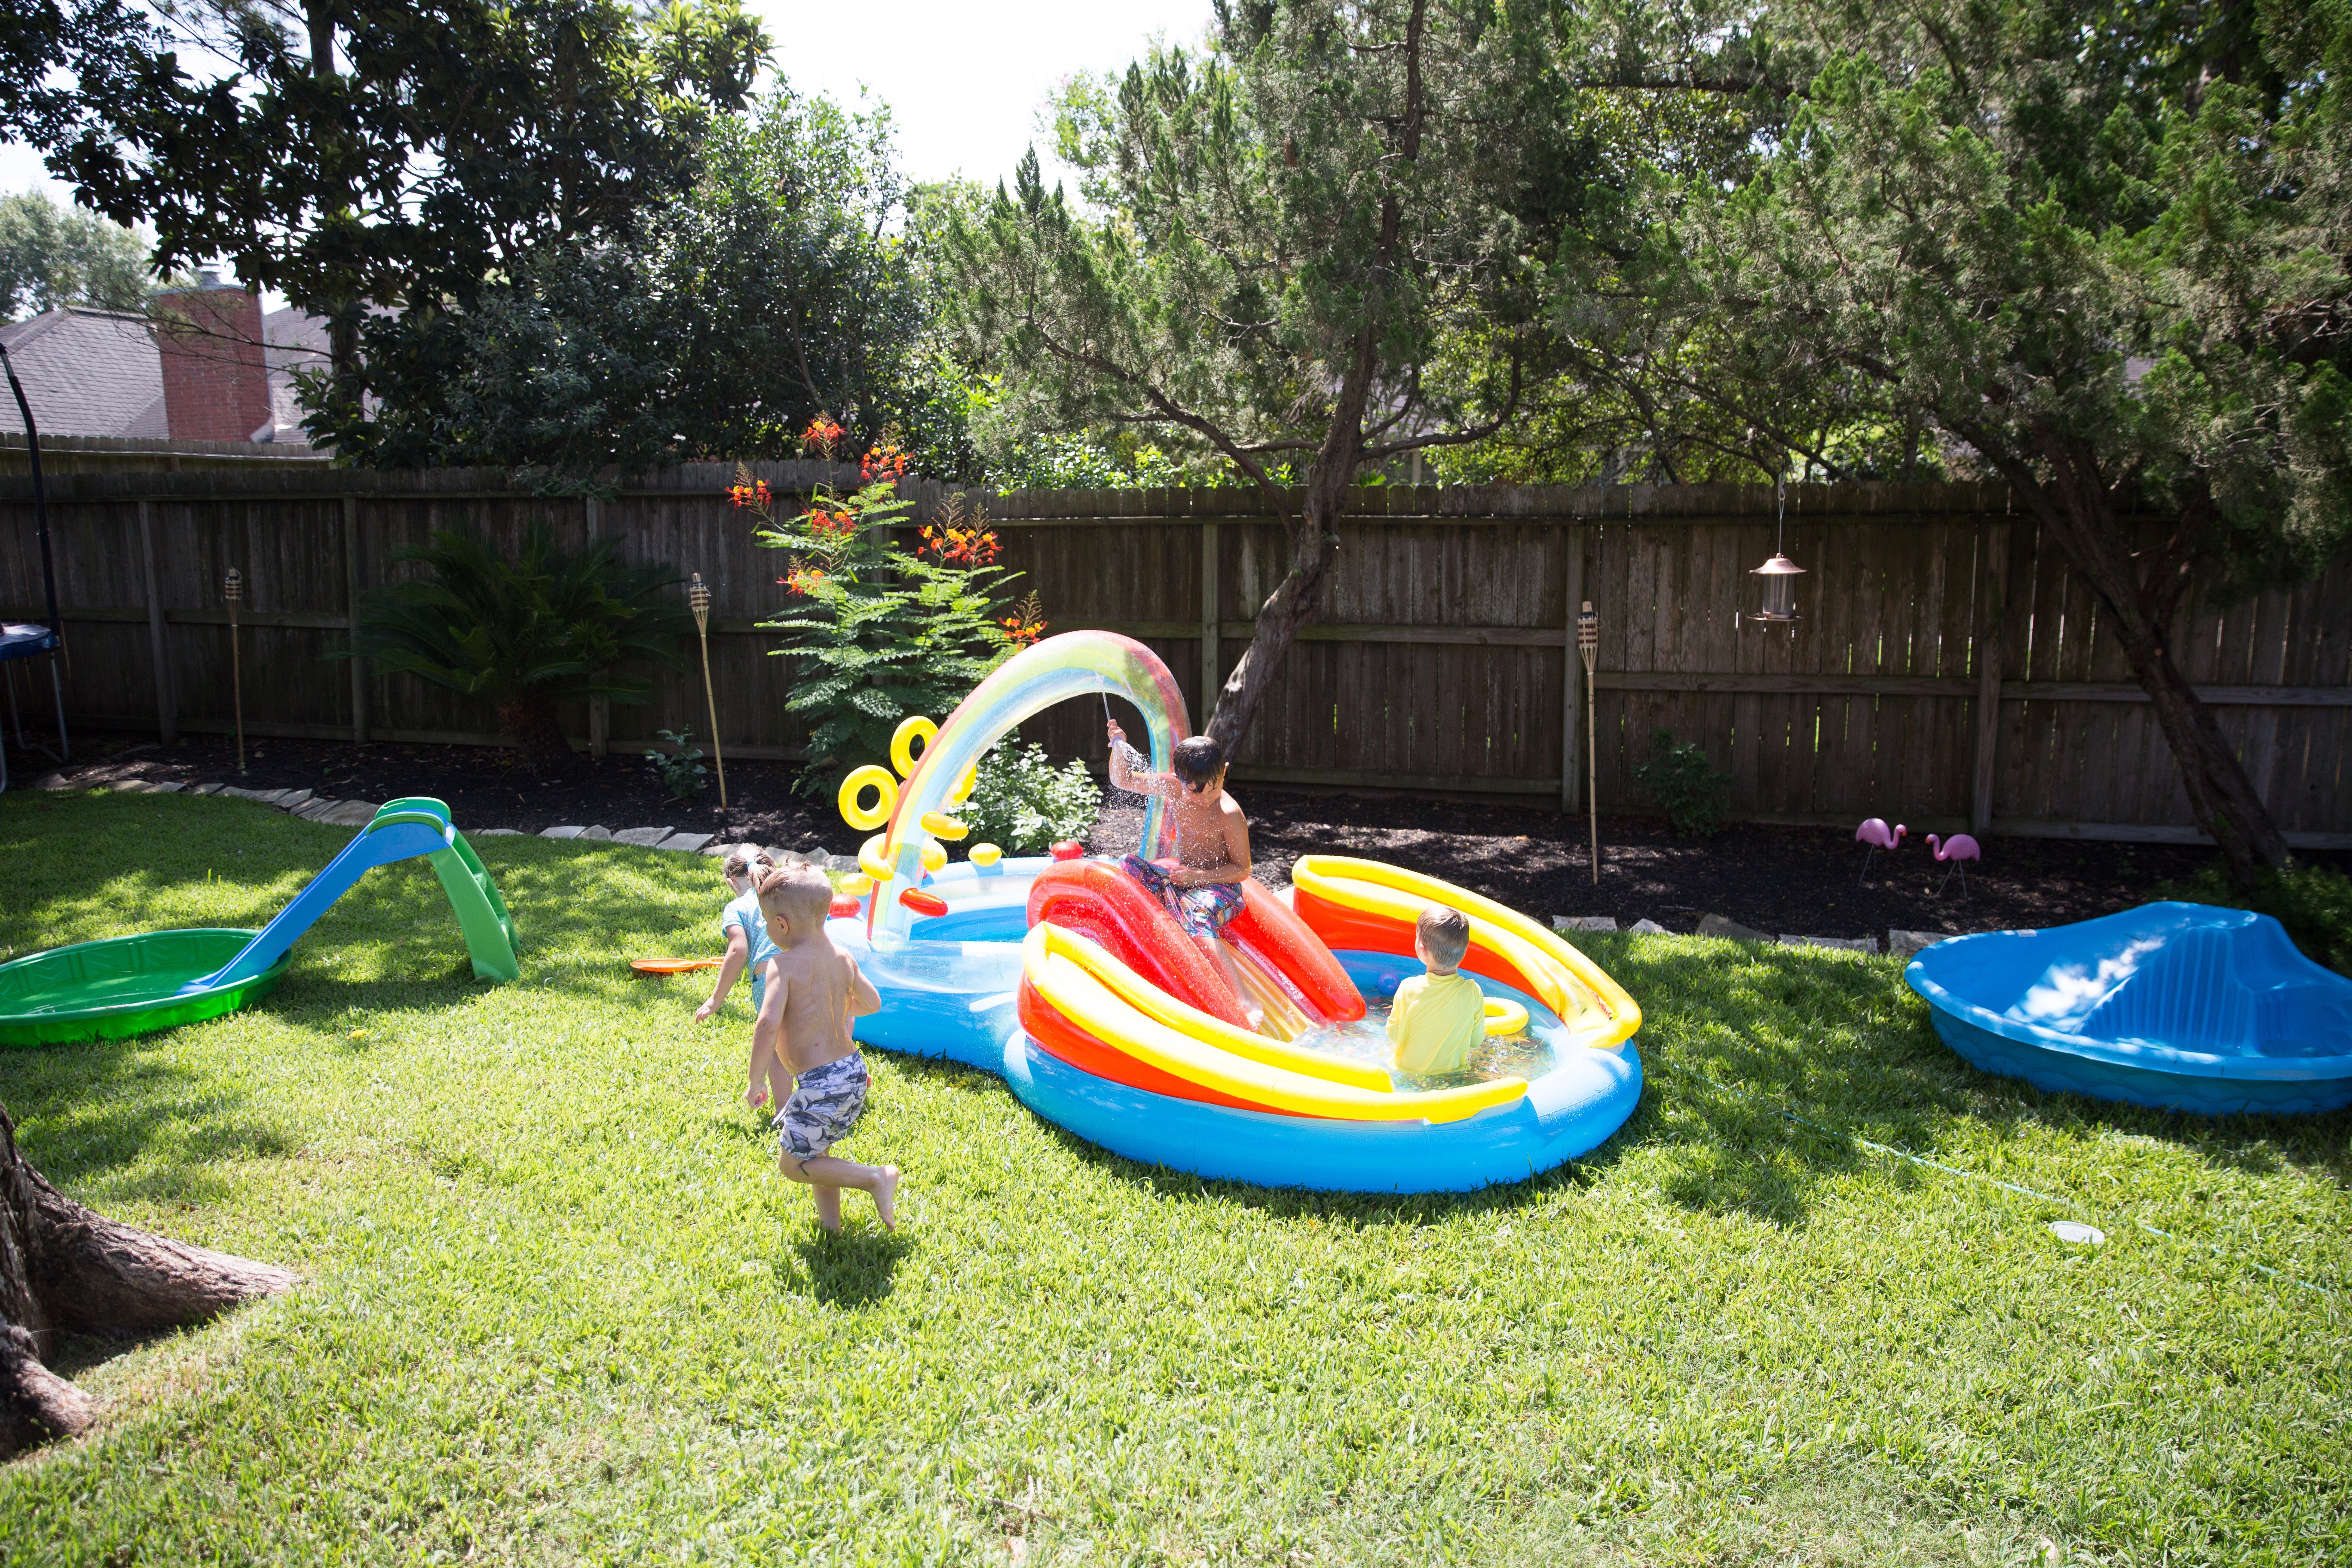
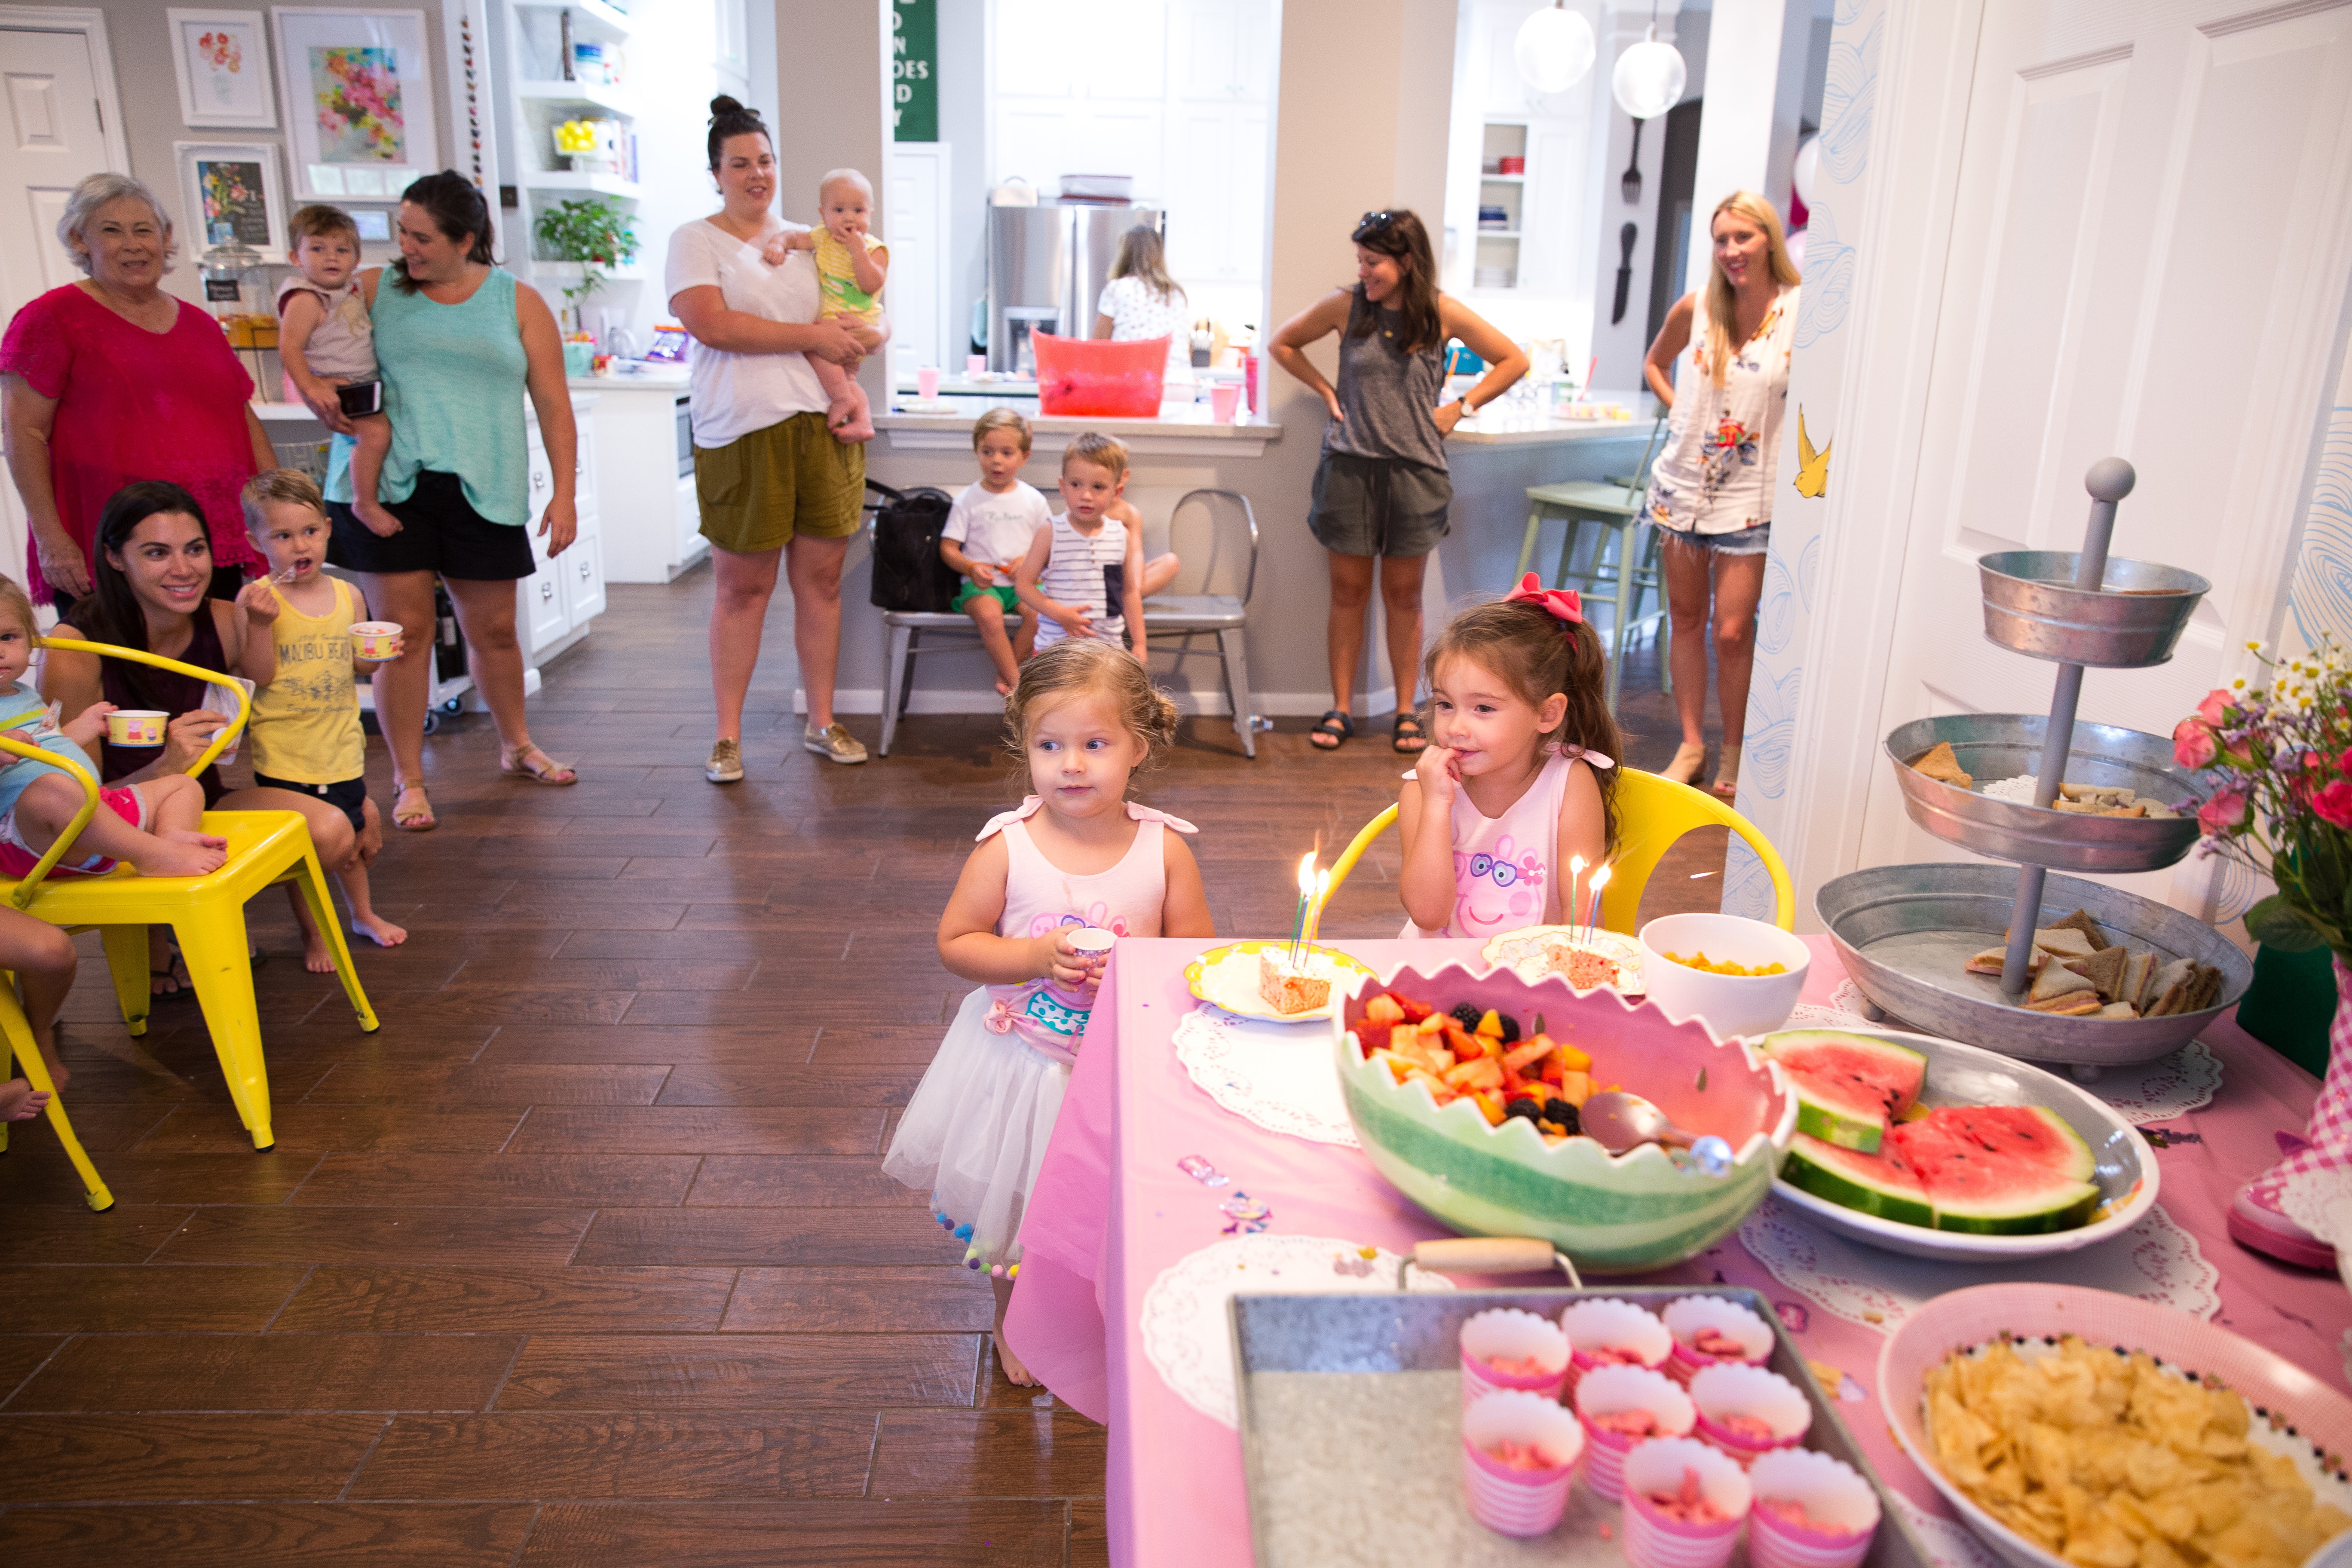
This last week Bee turned 4! We had a weekday playdate party at our house with some friends and fun was had by all! She requested a Mermaid Birthday Party months ago so I went with it… thankfully there is a ton of Mermaid stuff out right now :) For the decor I just did a balloon arch, one food table and then we had some fun party favors! We blew up a big kiddie pool, a slip and slide and we also had a mobile Snowcone Truck come to our house so that was a big hit!

If you follow me on Instagram (@taylormadecreates) you know I got lots of help with my balloon arch this time… Yay for big kids :) I always get a lot of questions about balloons… I usually buy way too many but I like variety and I like options. I had 3 shades of pink, 2 purples, 3 mint/teals and a bag of white balloons and the bags usually have about 25 of each. I also like a variety of sizes for the balloons. I used THIS STRIP this time to make the arch. If you haven’t used it or made an arch it’s not quite as pretty but it’s also WAY easier! It’s just a thin, clear plastic strip with holes in it and you push the end of a blown up balloon in the hole. (this is a link to amazon but I have found it a few dollars cheaper at party city.

I usually make all of our invitations but this year I was in a time crunch and I found this one on Etsy and thought it was pretty perfect… HERE is the link.

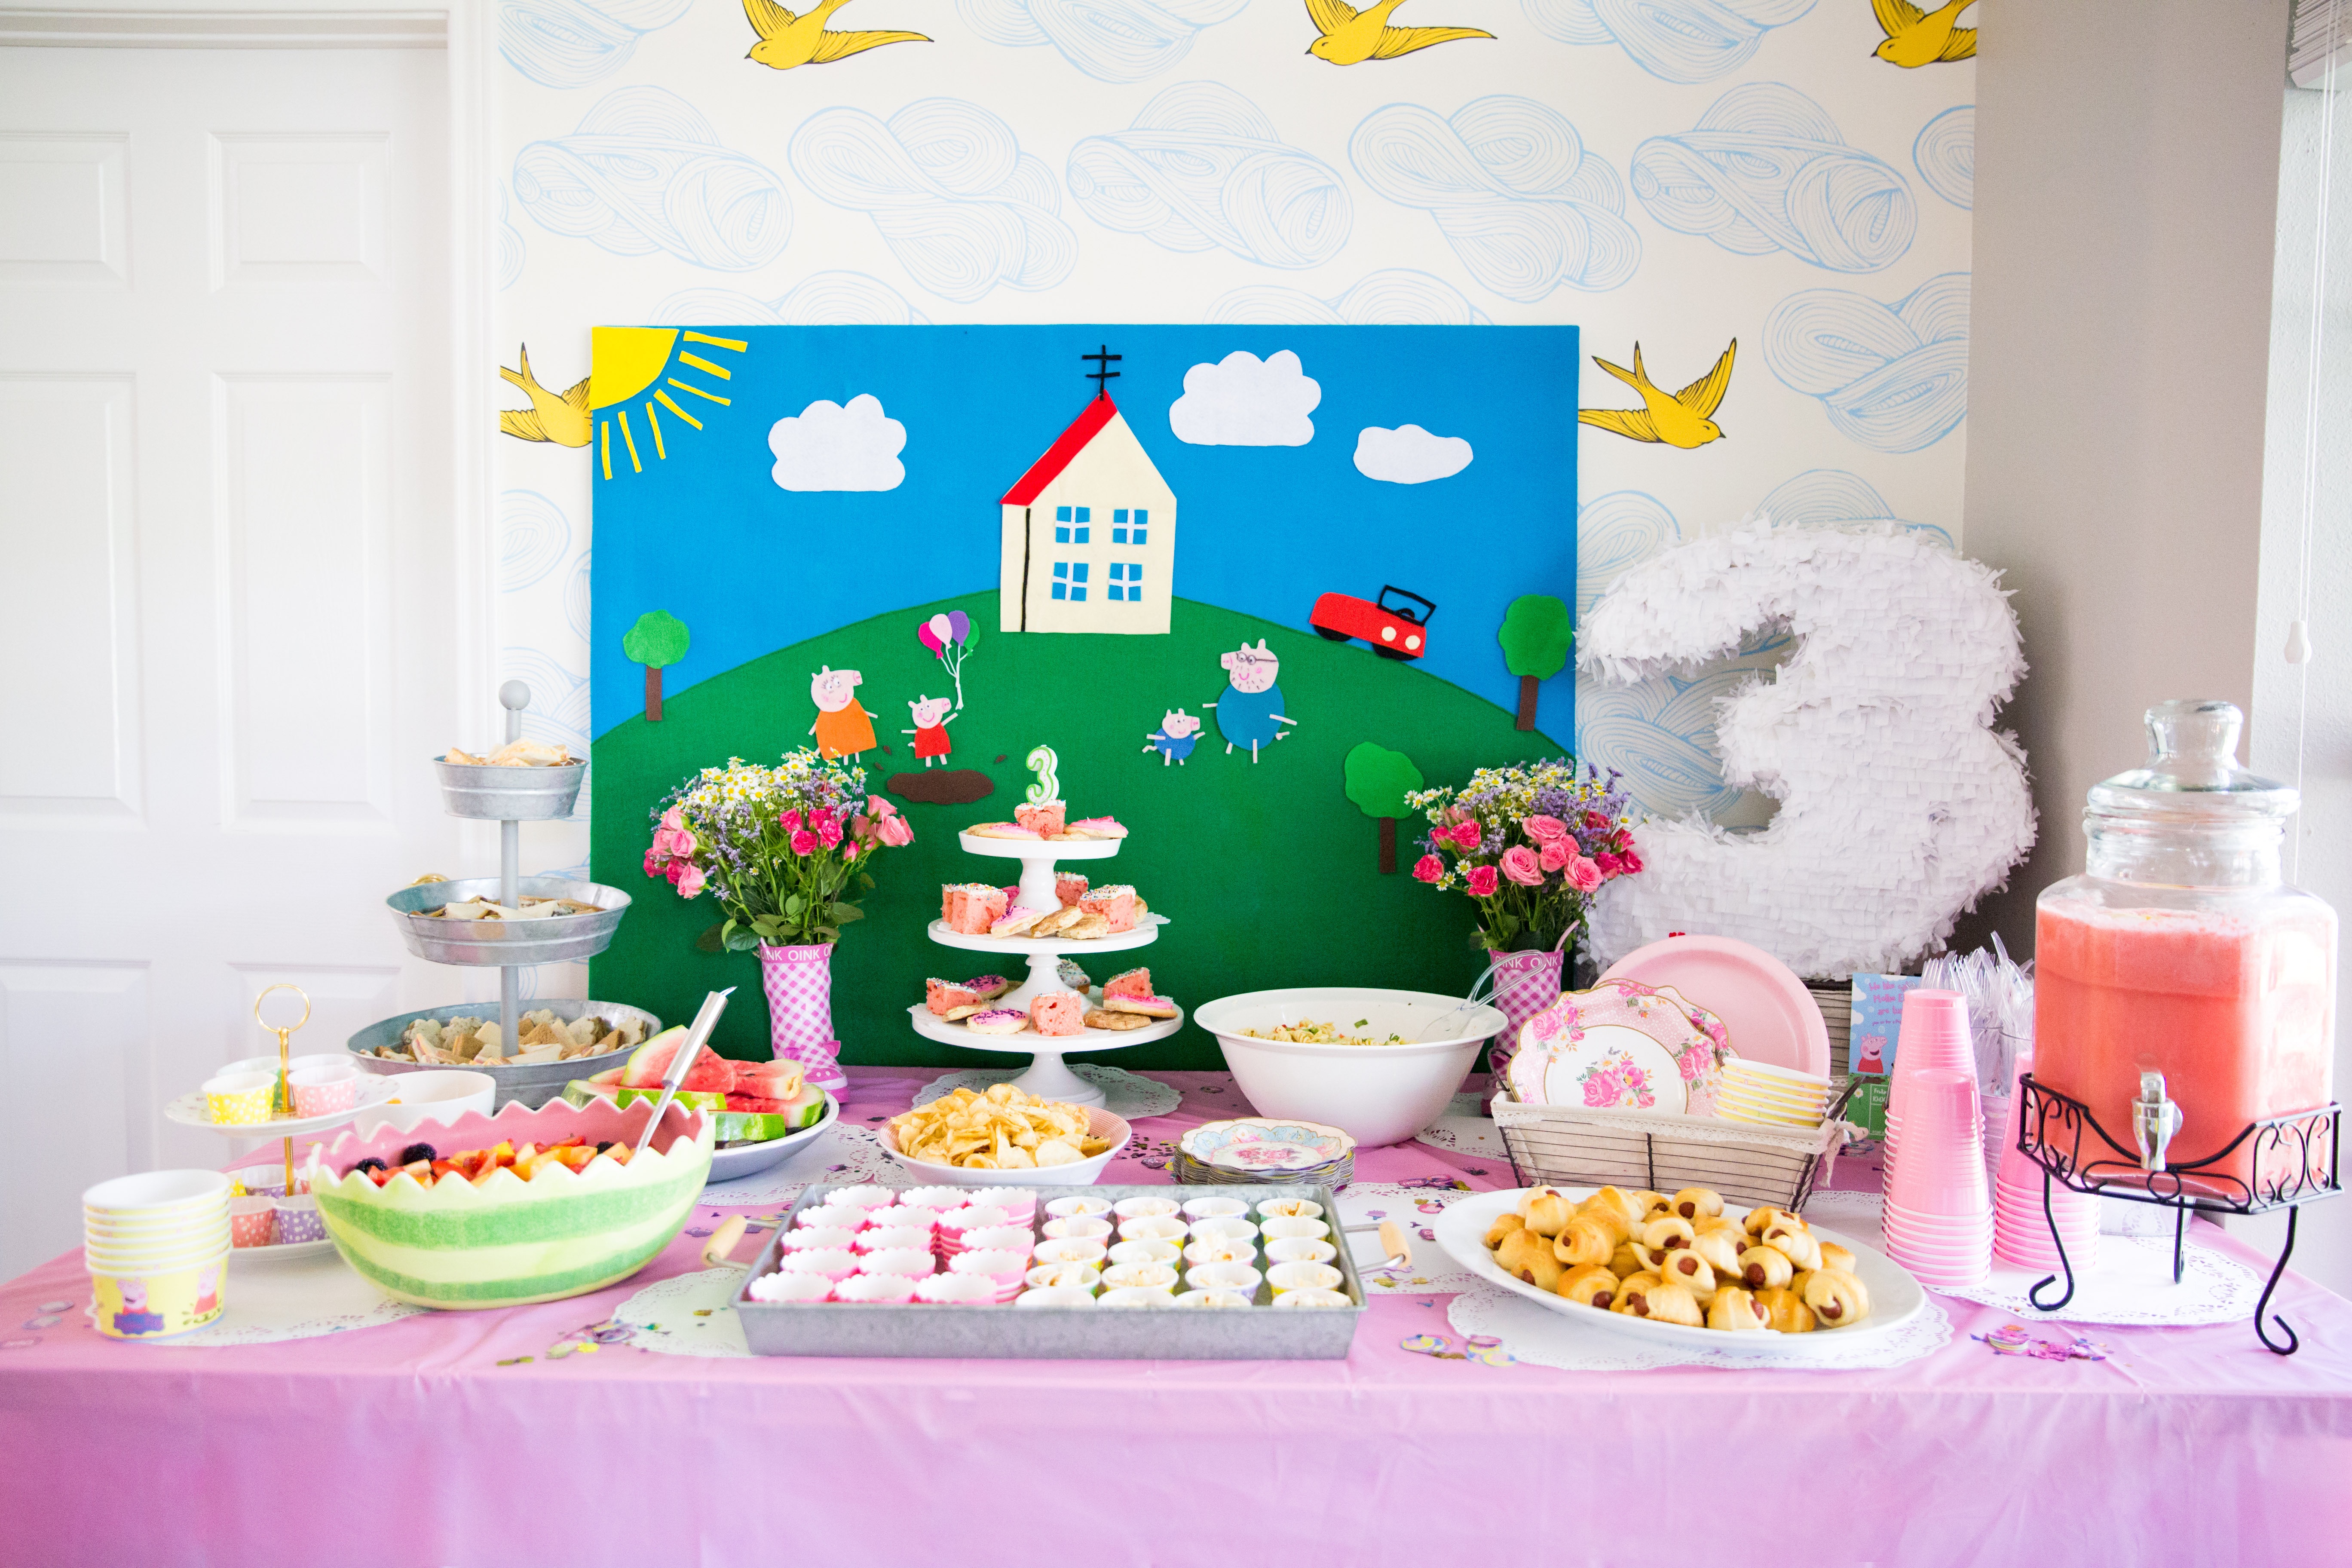
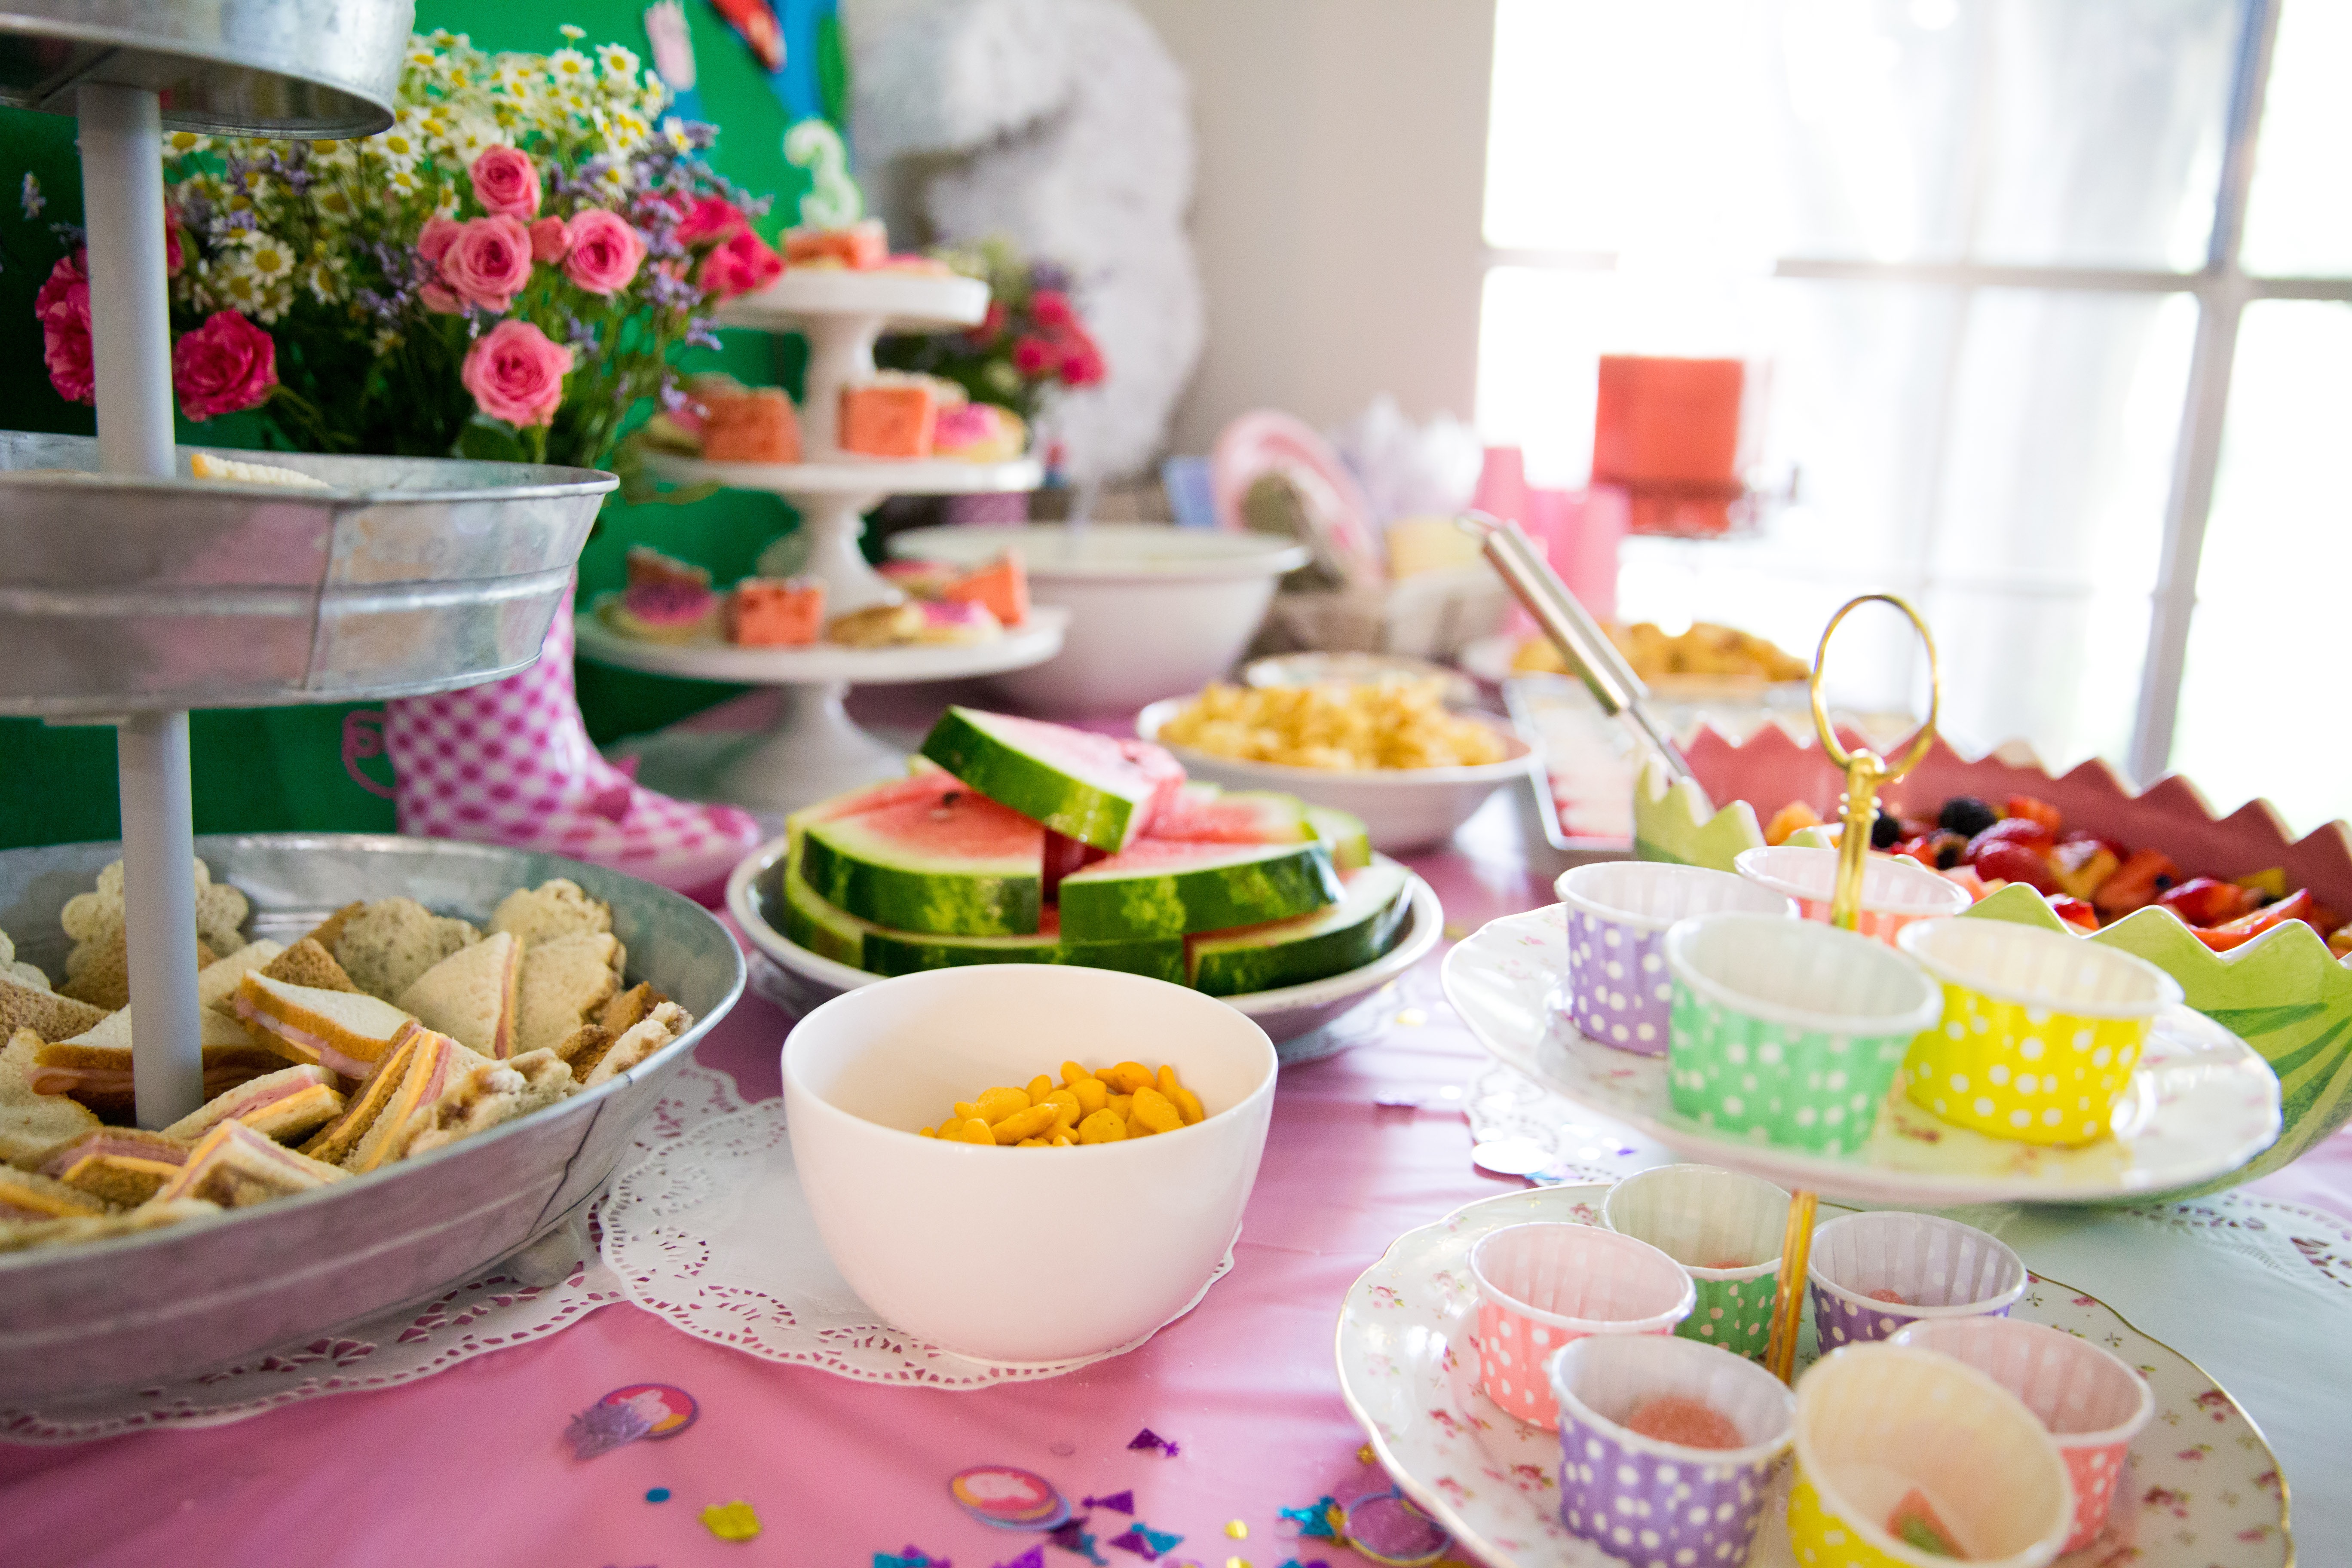
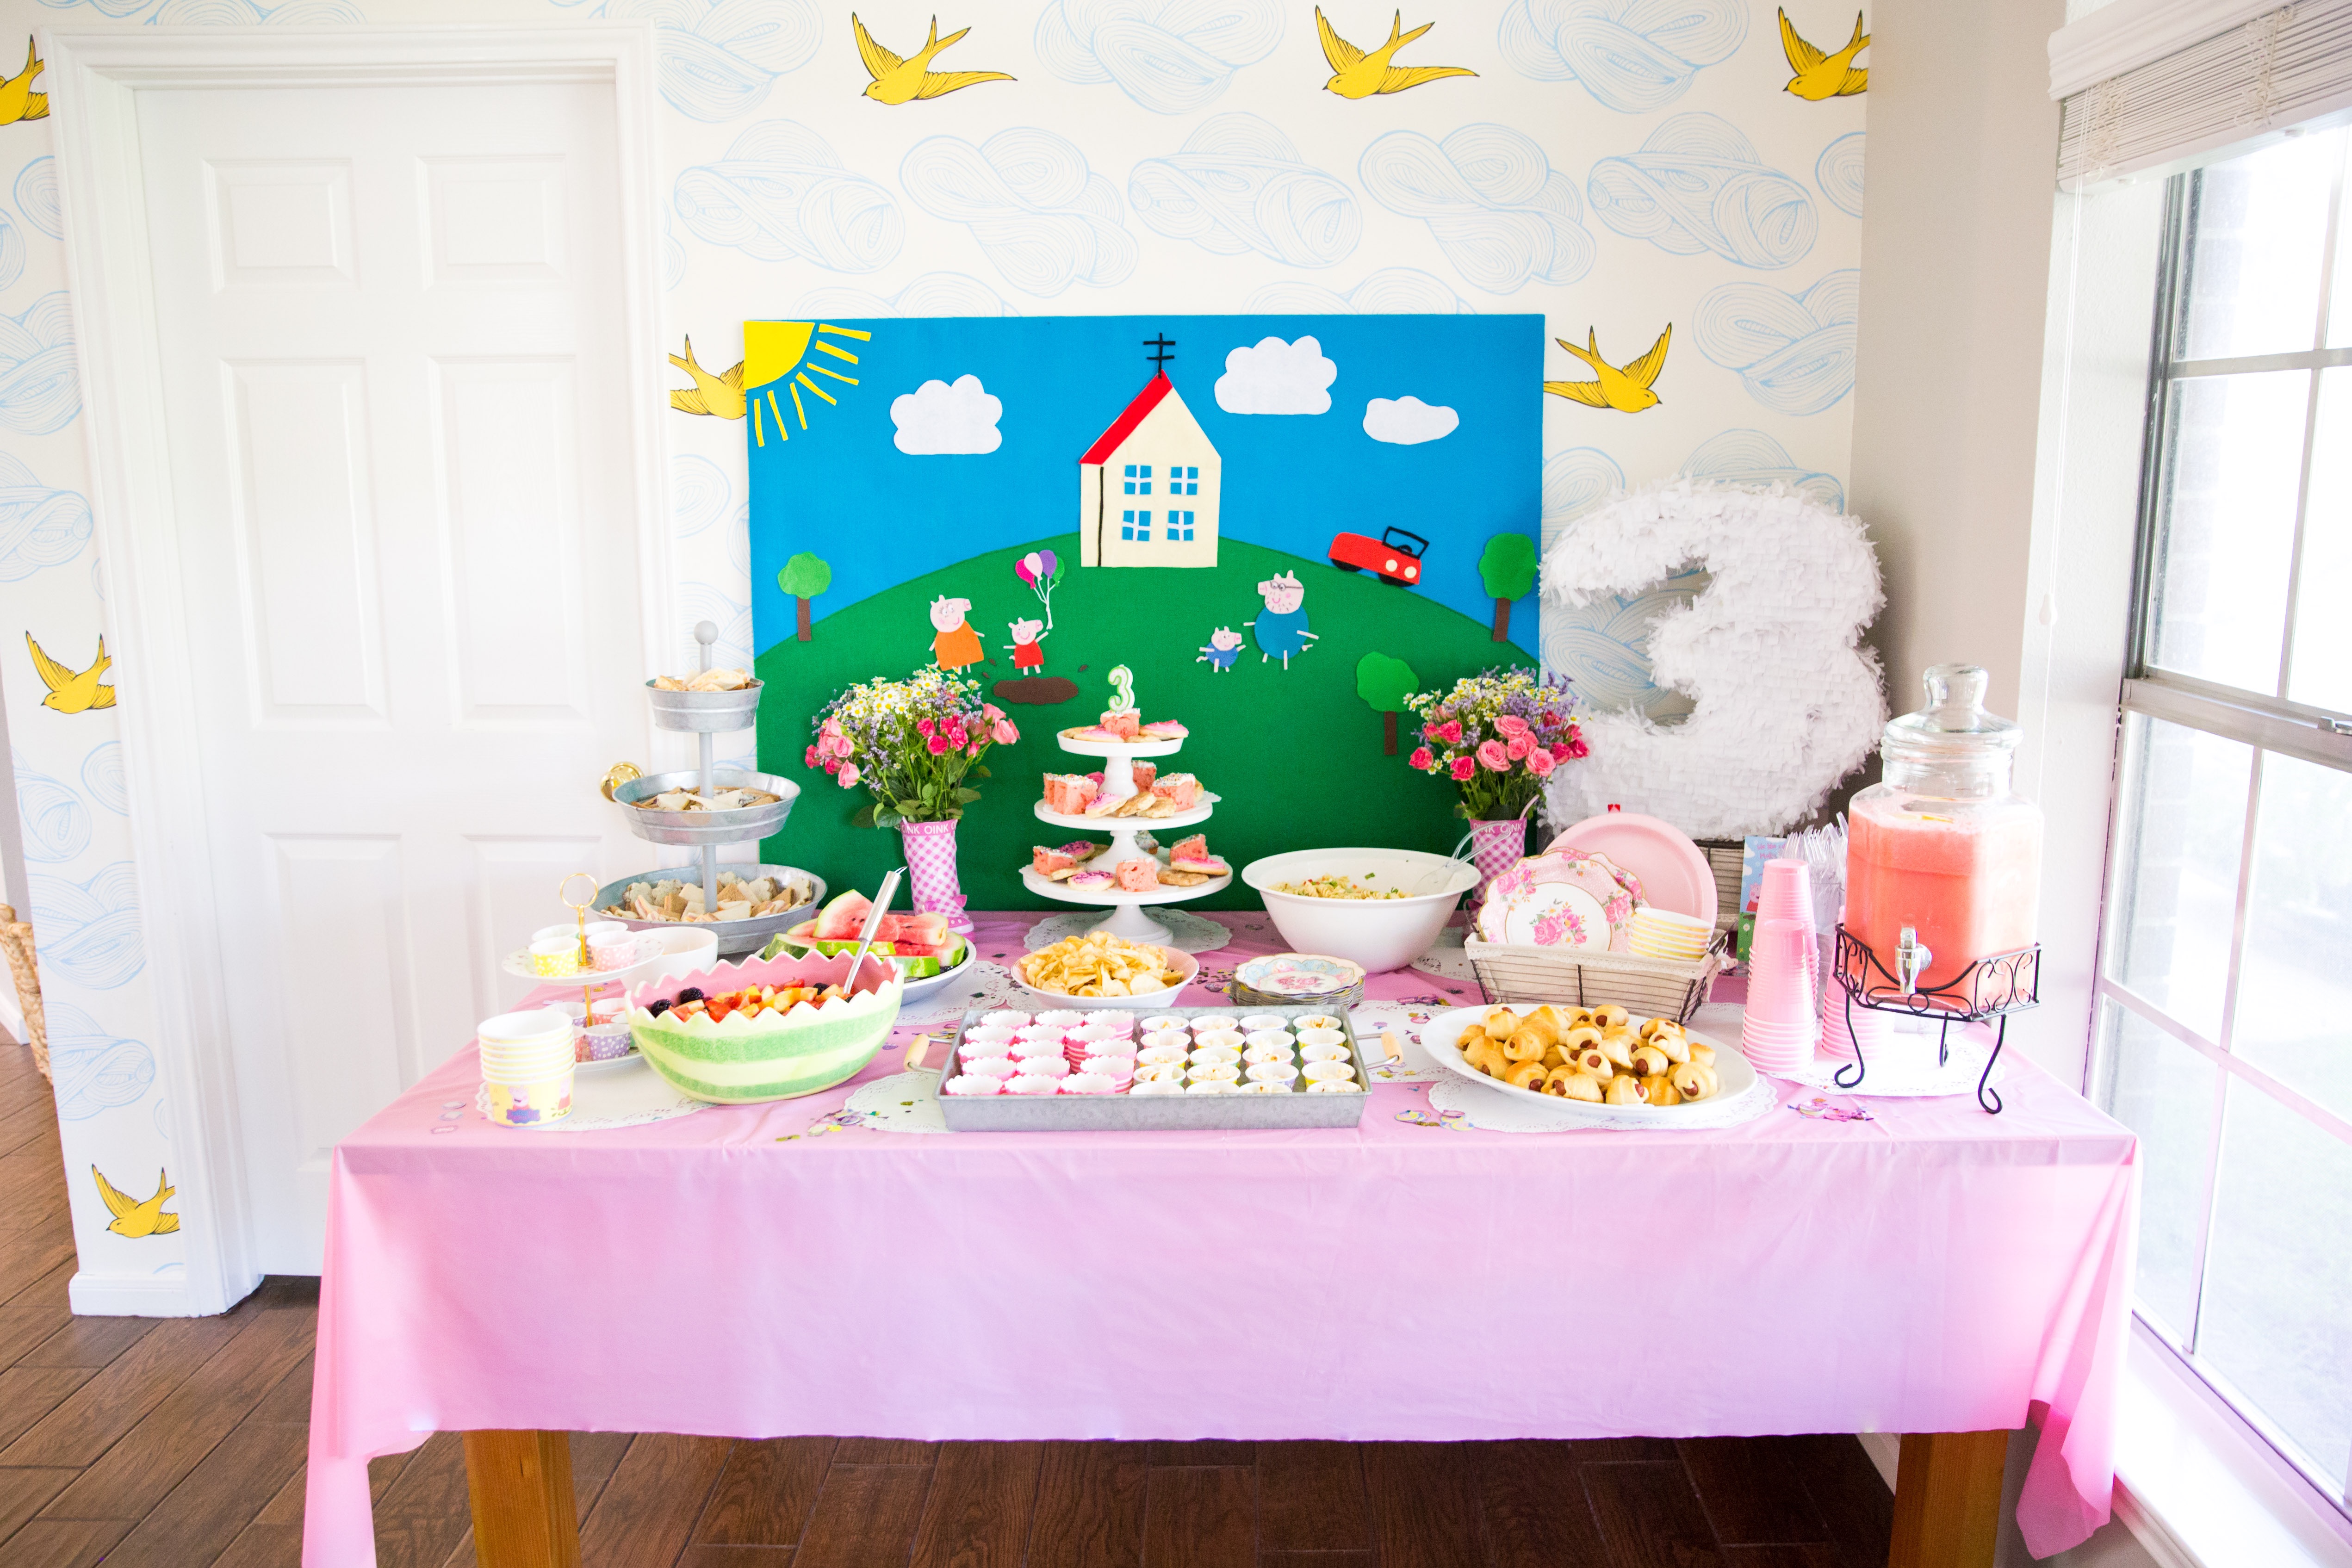
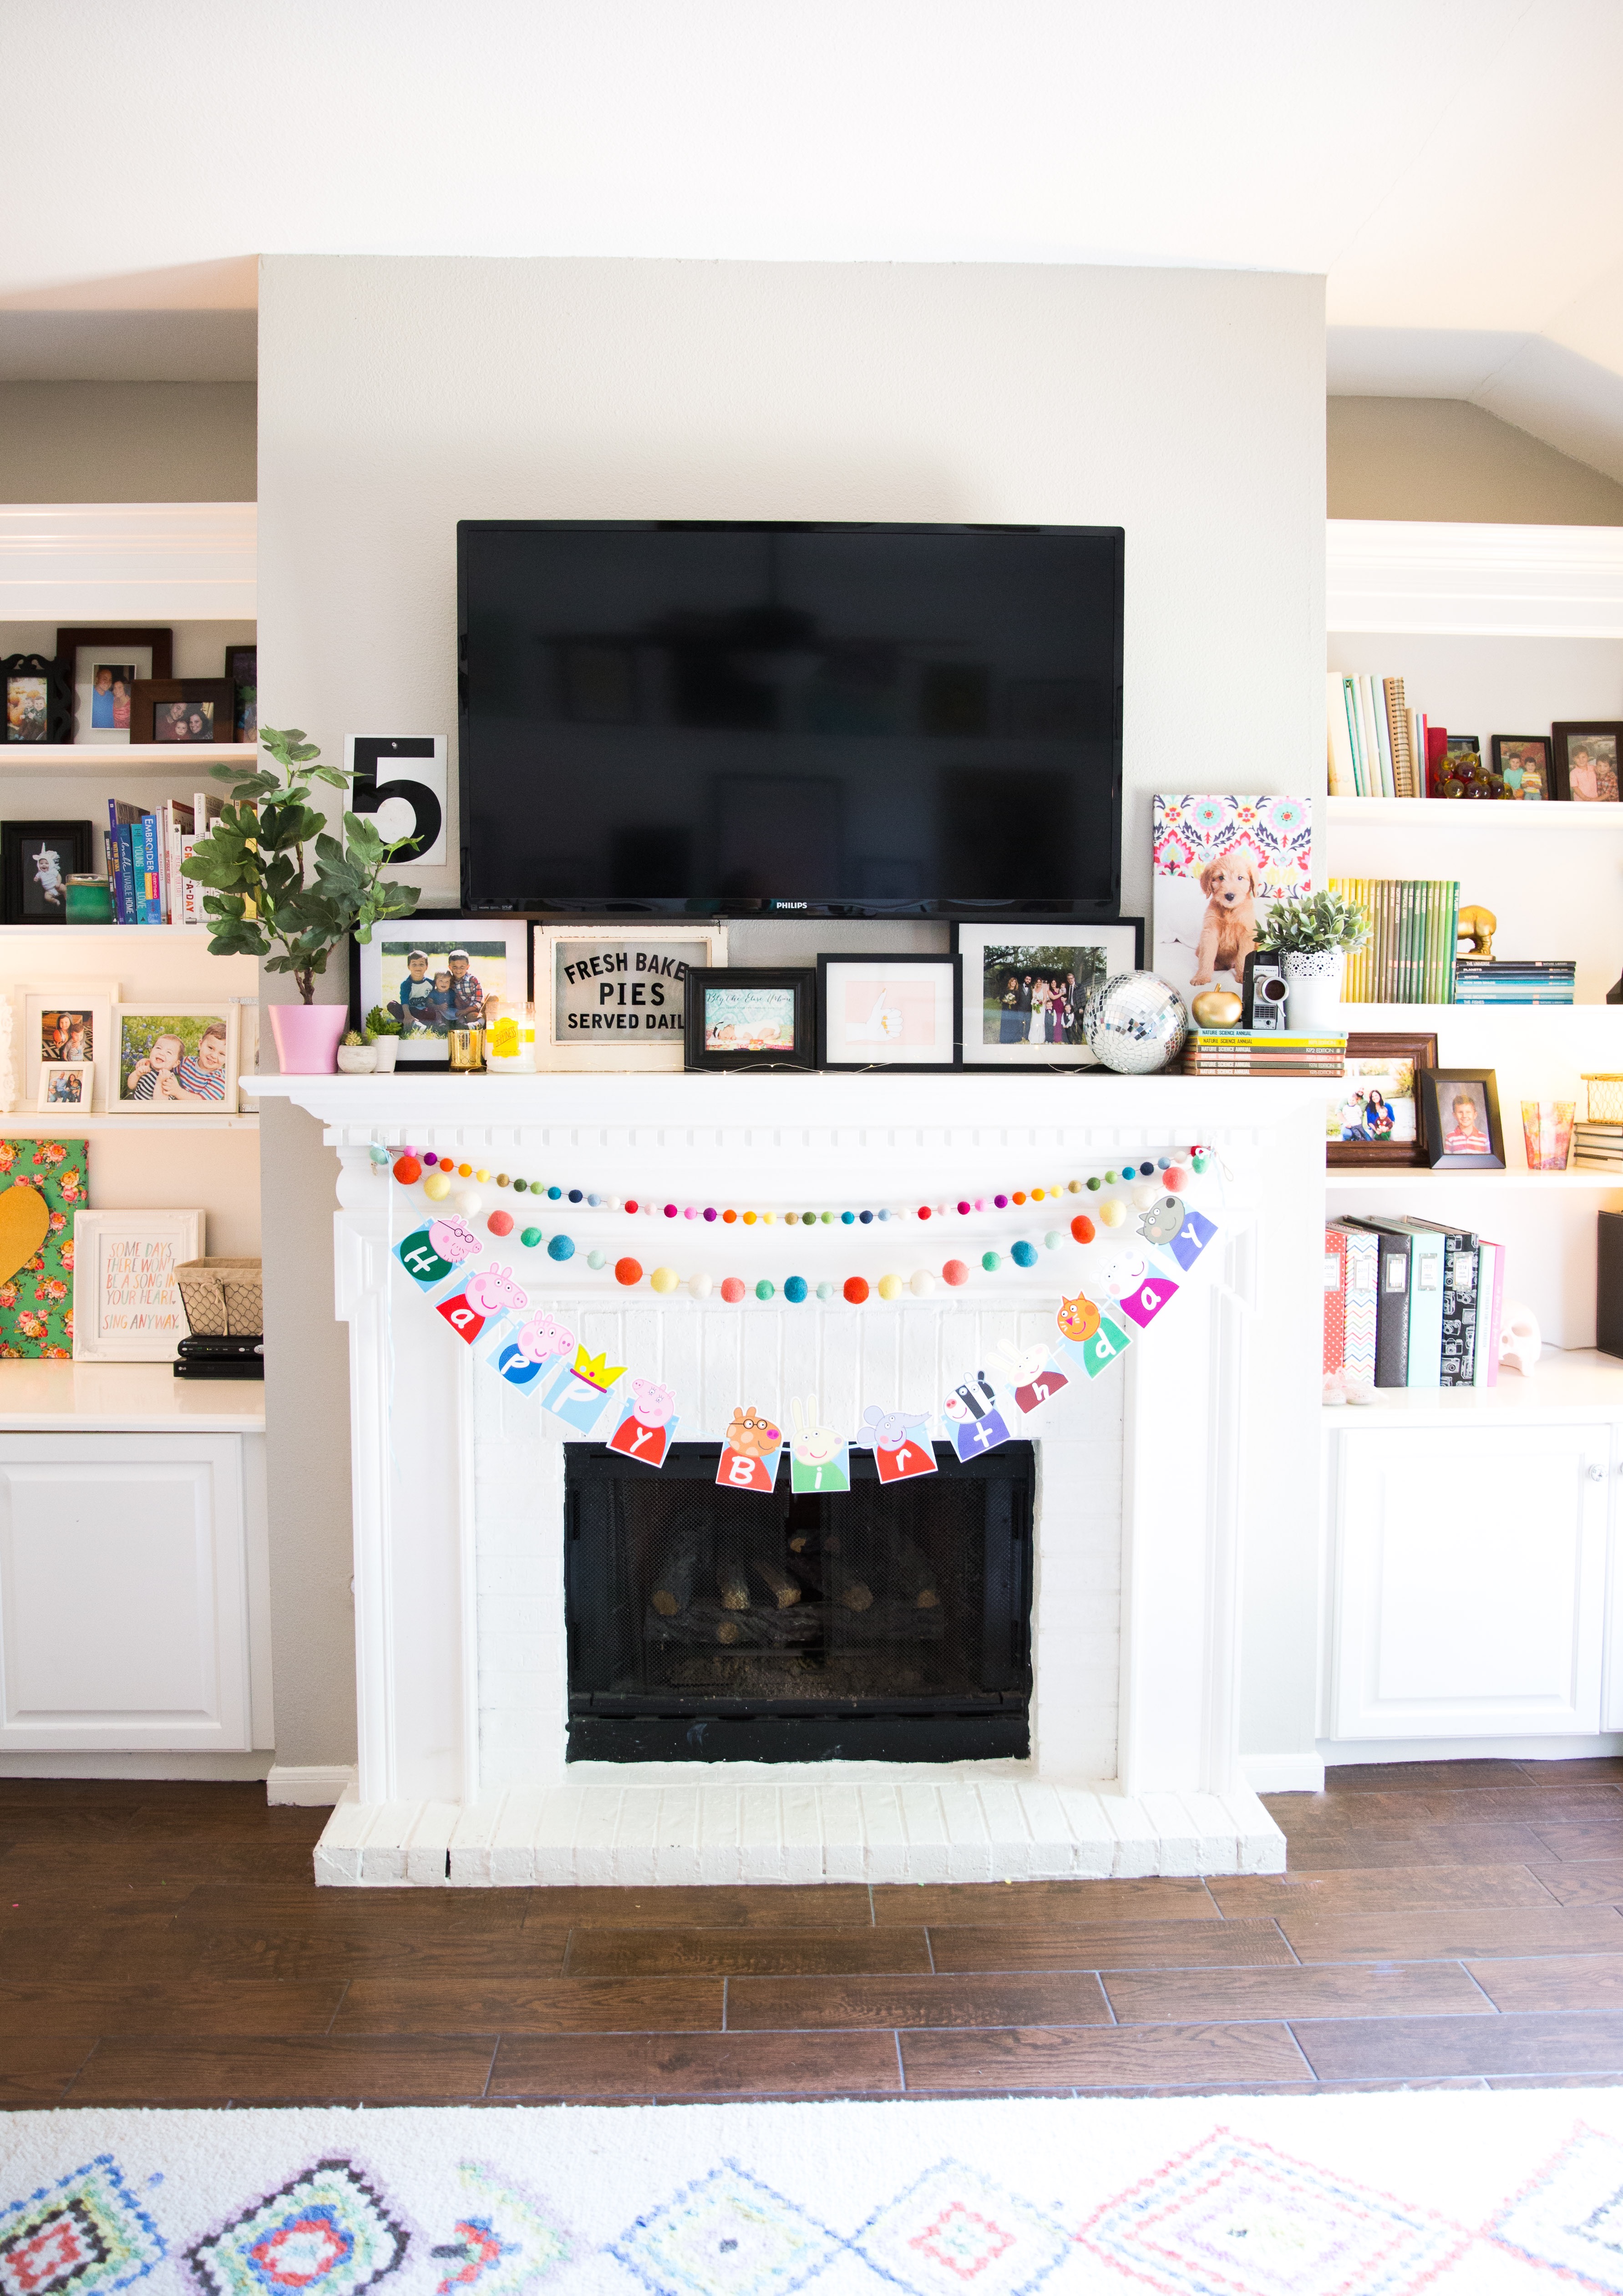
Total party planner fail.. I didn’t take any pics of the table once the food was all out but I promise it was pretty haha! We had a “brunch” theme. I made an egg casserole, lemon vinaigrette salad, chick fil a tray for the kids, goldfish and chips and fruit salad. The only thing I made that was on theme and cute were these little oyster cookies that I found all over pinterest. I just piped strawberry frosting between nilla wafers and added a candy pearl. I found the tablecloth, happy birthday banner, plates and napkins all from Target’s party area.

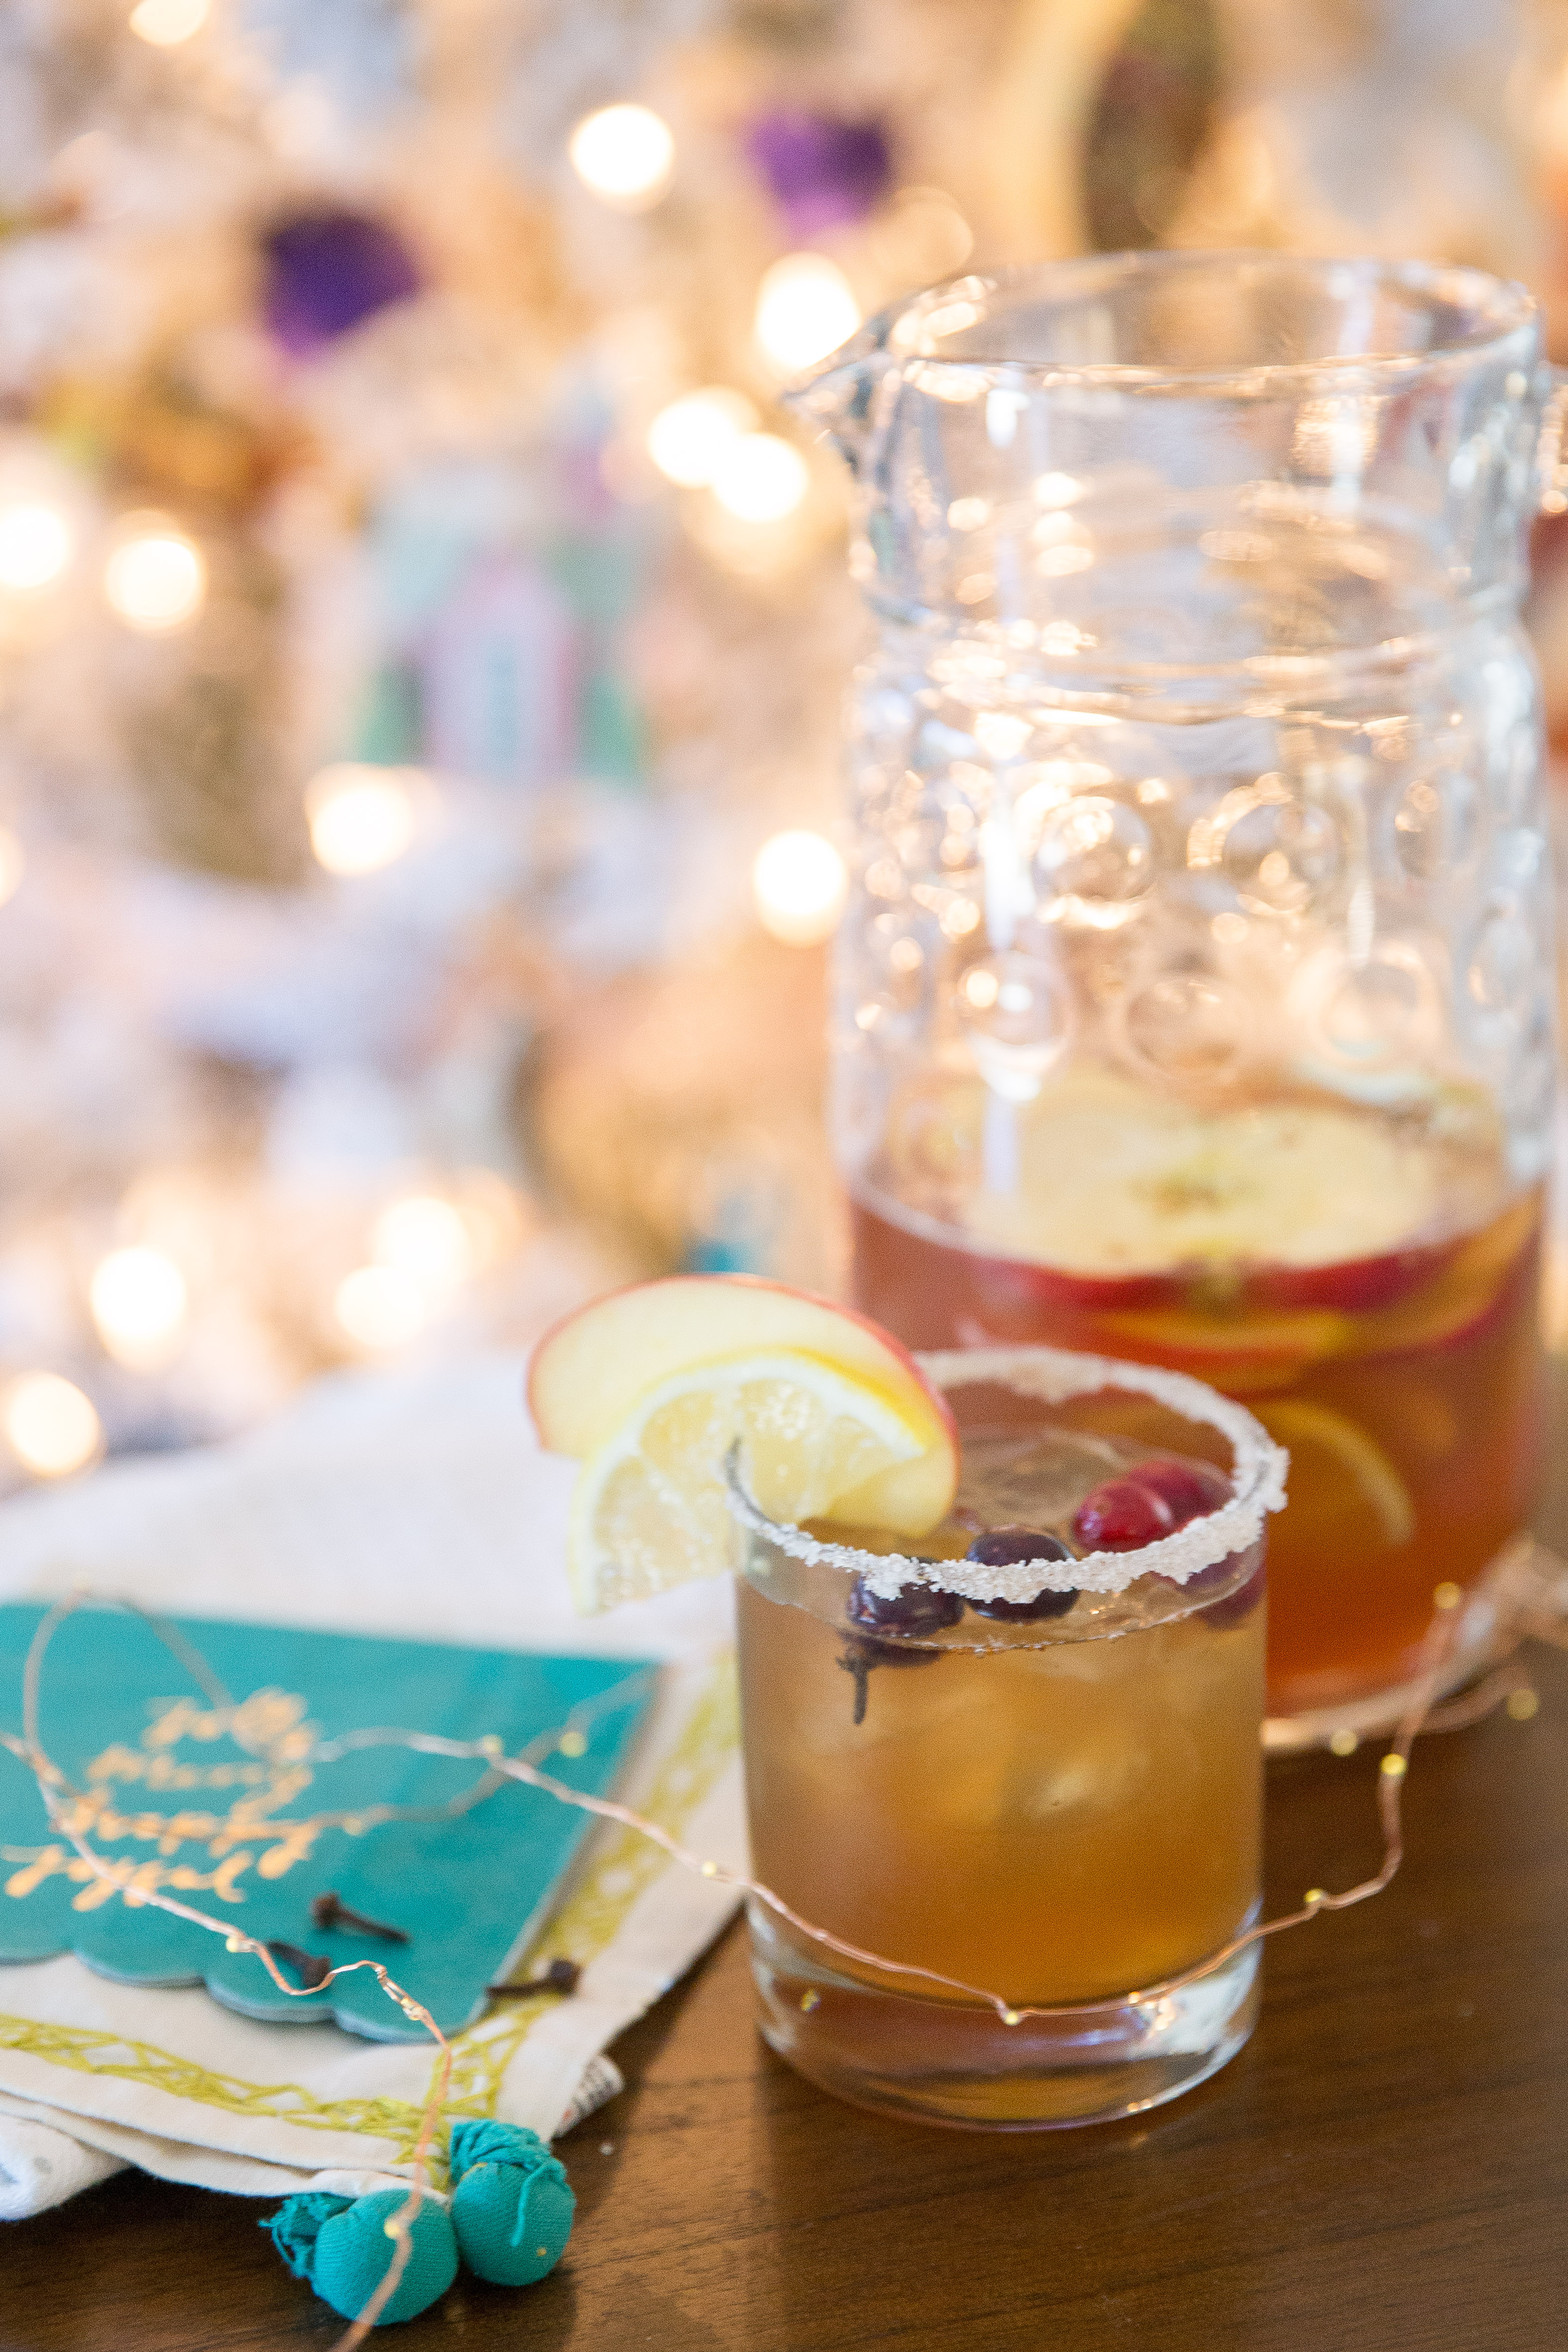
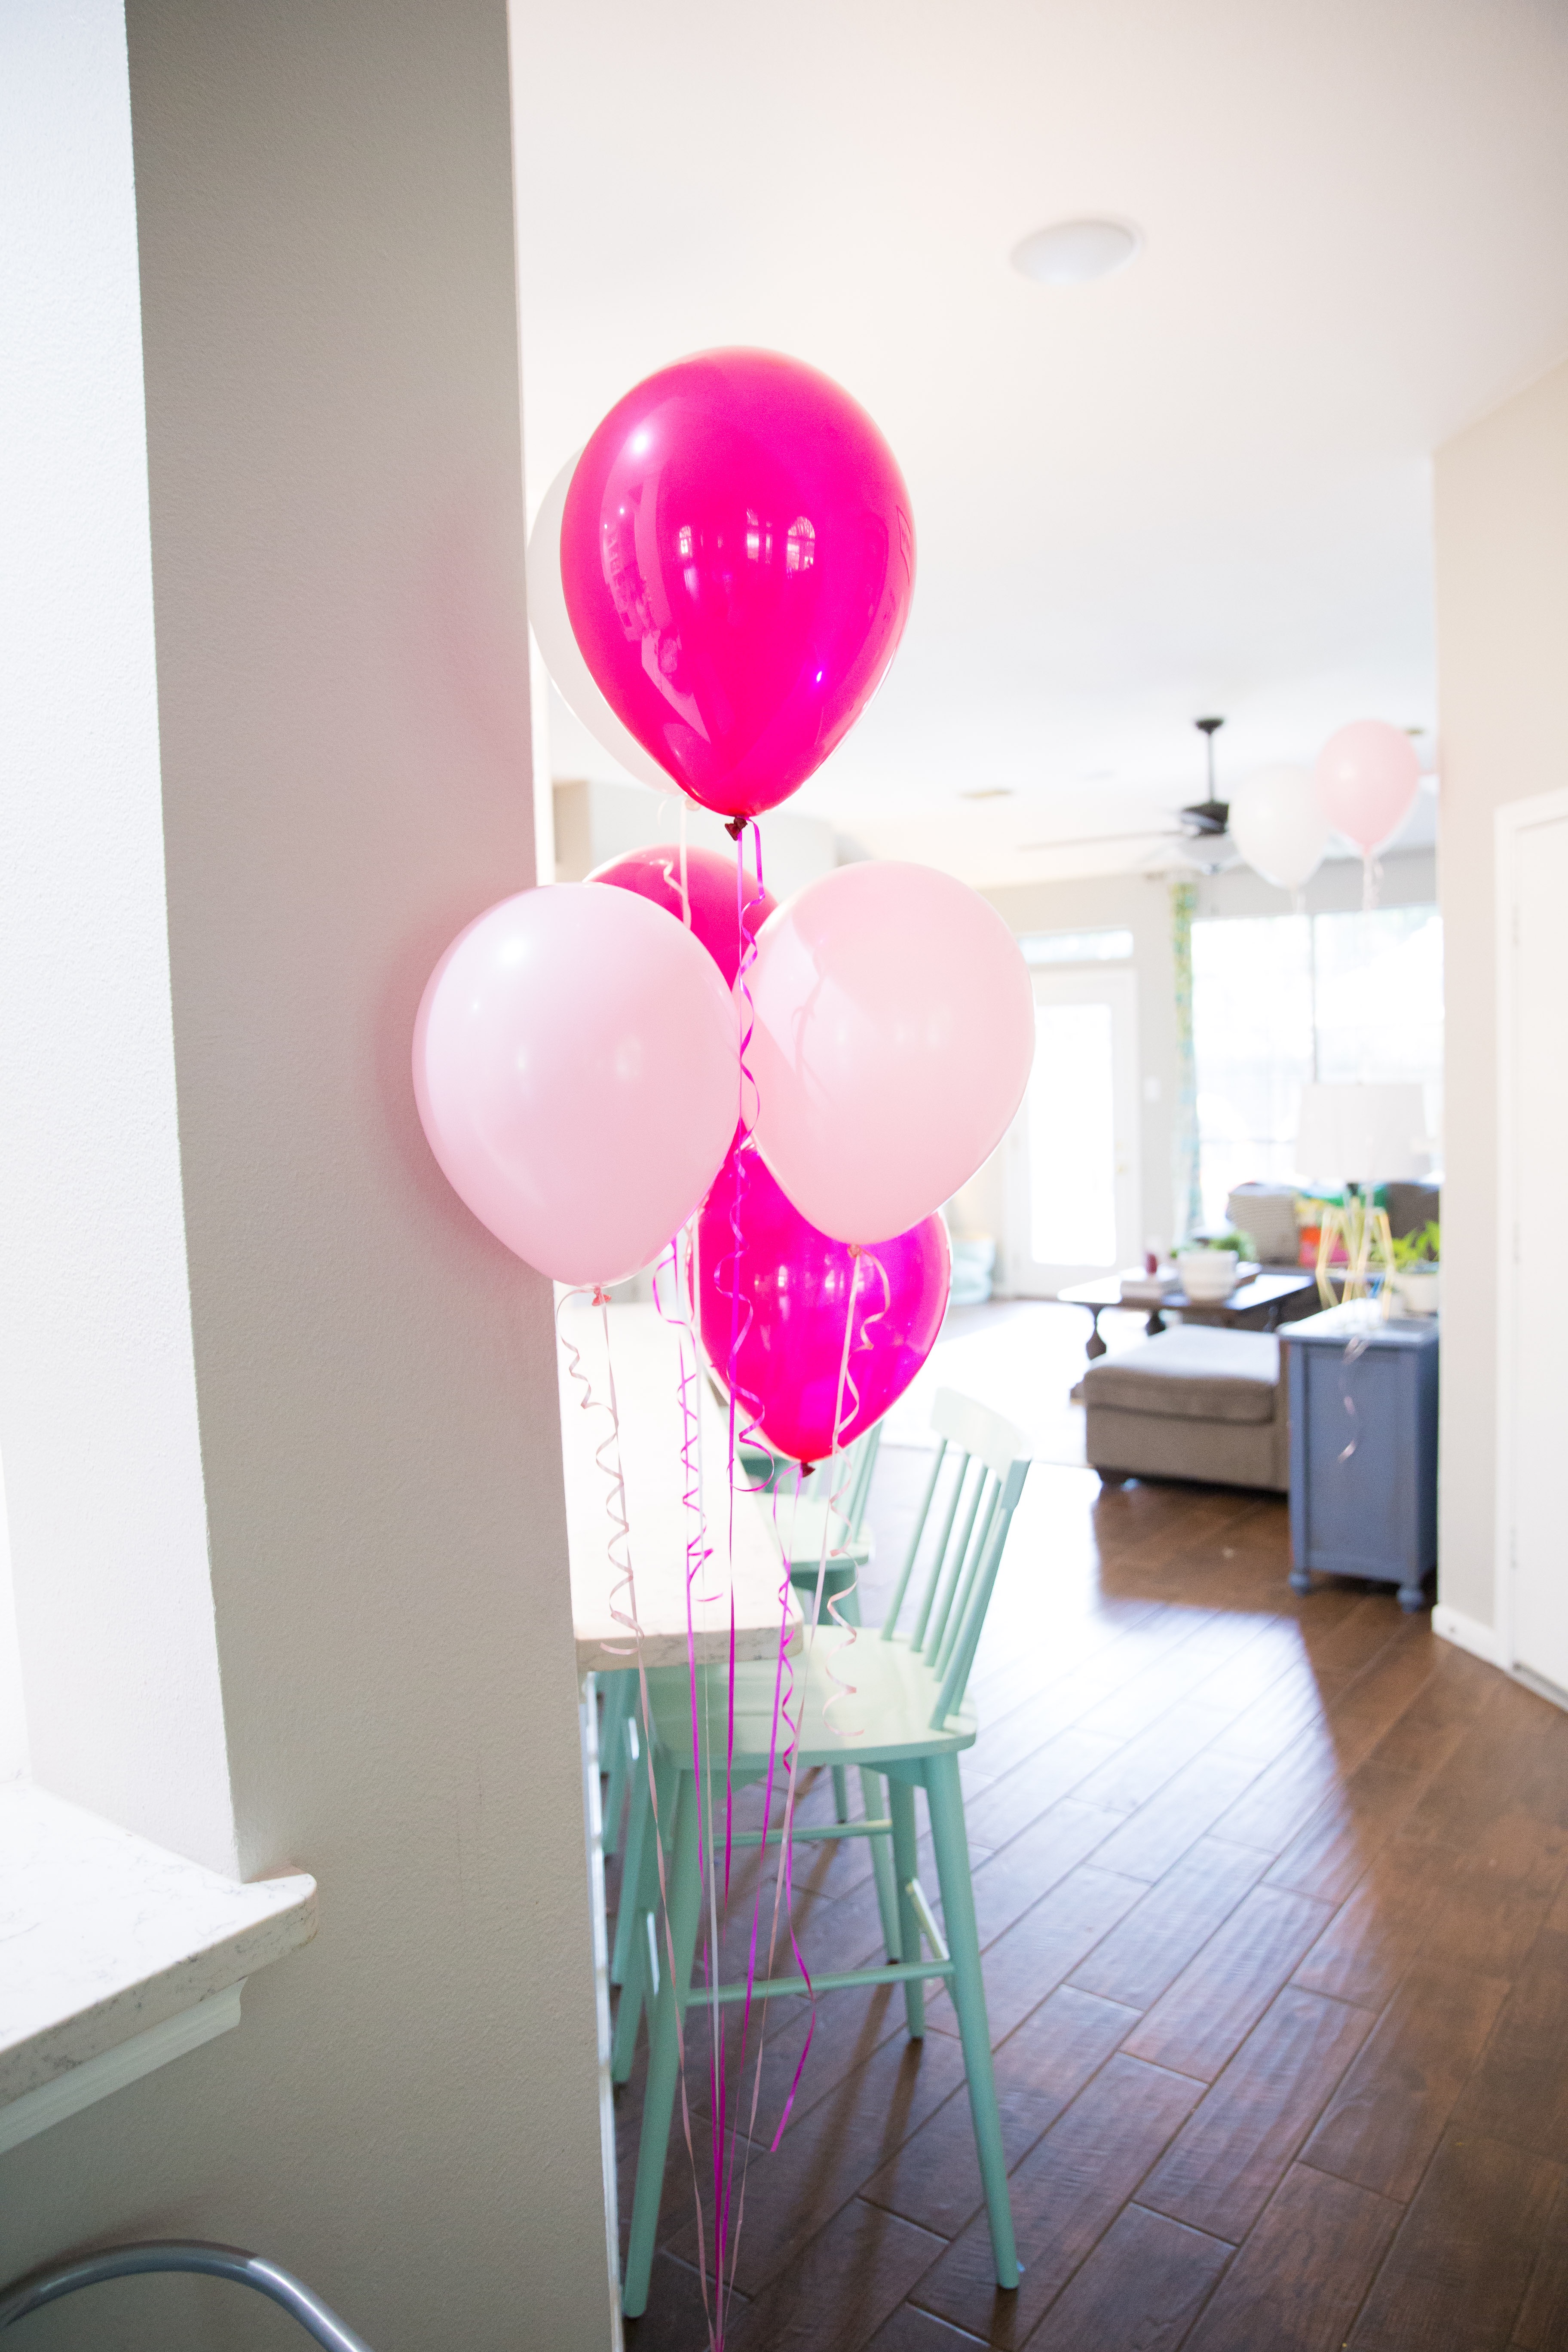
I added just a few drops of blue food coloring to some lemonade to make it look mint and called that “mermaid lemonade”. I had some champagne and OJ for the moms because #brunch. The pink bevnaps are from amazon HERE.Bee and I have the same birthday so I always like to do something matchy matchy for us ;) This year I made us matching shirts for the party.

Speaking of shirts… I made the cutest party favors. I found a place online who sells very affordable blank tees in tons of colors and sizes so for under $3 a piece I made all the party goers a tee with my silhouette machine, vinyl and my heat press. The boys got sharks and the girls got shells. I even had some mini guests :) I hung them up with twine and clothespins and the kids had fun finding their name after they swam.

My mom is always in charge of the kids cake… thank God for her because I am no baker! This year she had a cake planned then a few days before the party while at Kroger she spotted this one just knew it would be perfect for the queen of flashy, I mean perfect for Bee :) She also got her matching cupcakes and of course Bee LOVED it!


Just in case the kids didn’t have enough sugar, I found a snowcone company who comes to your party in a truck:) They make the ice part of the snowcone then the kids get to top it with their own flavor on the side of the truck… it was super cute!

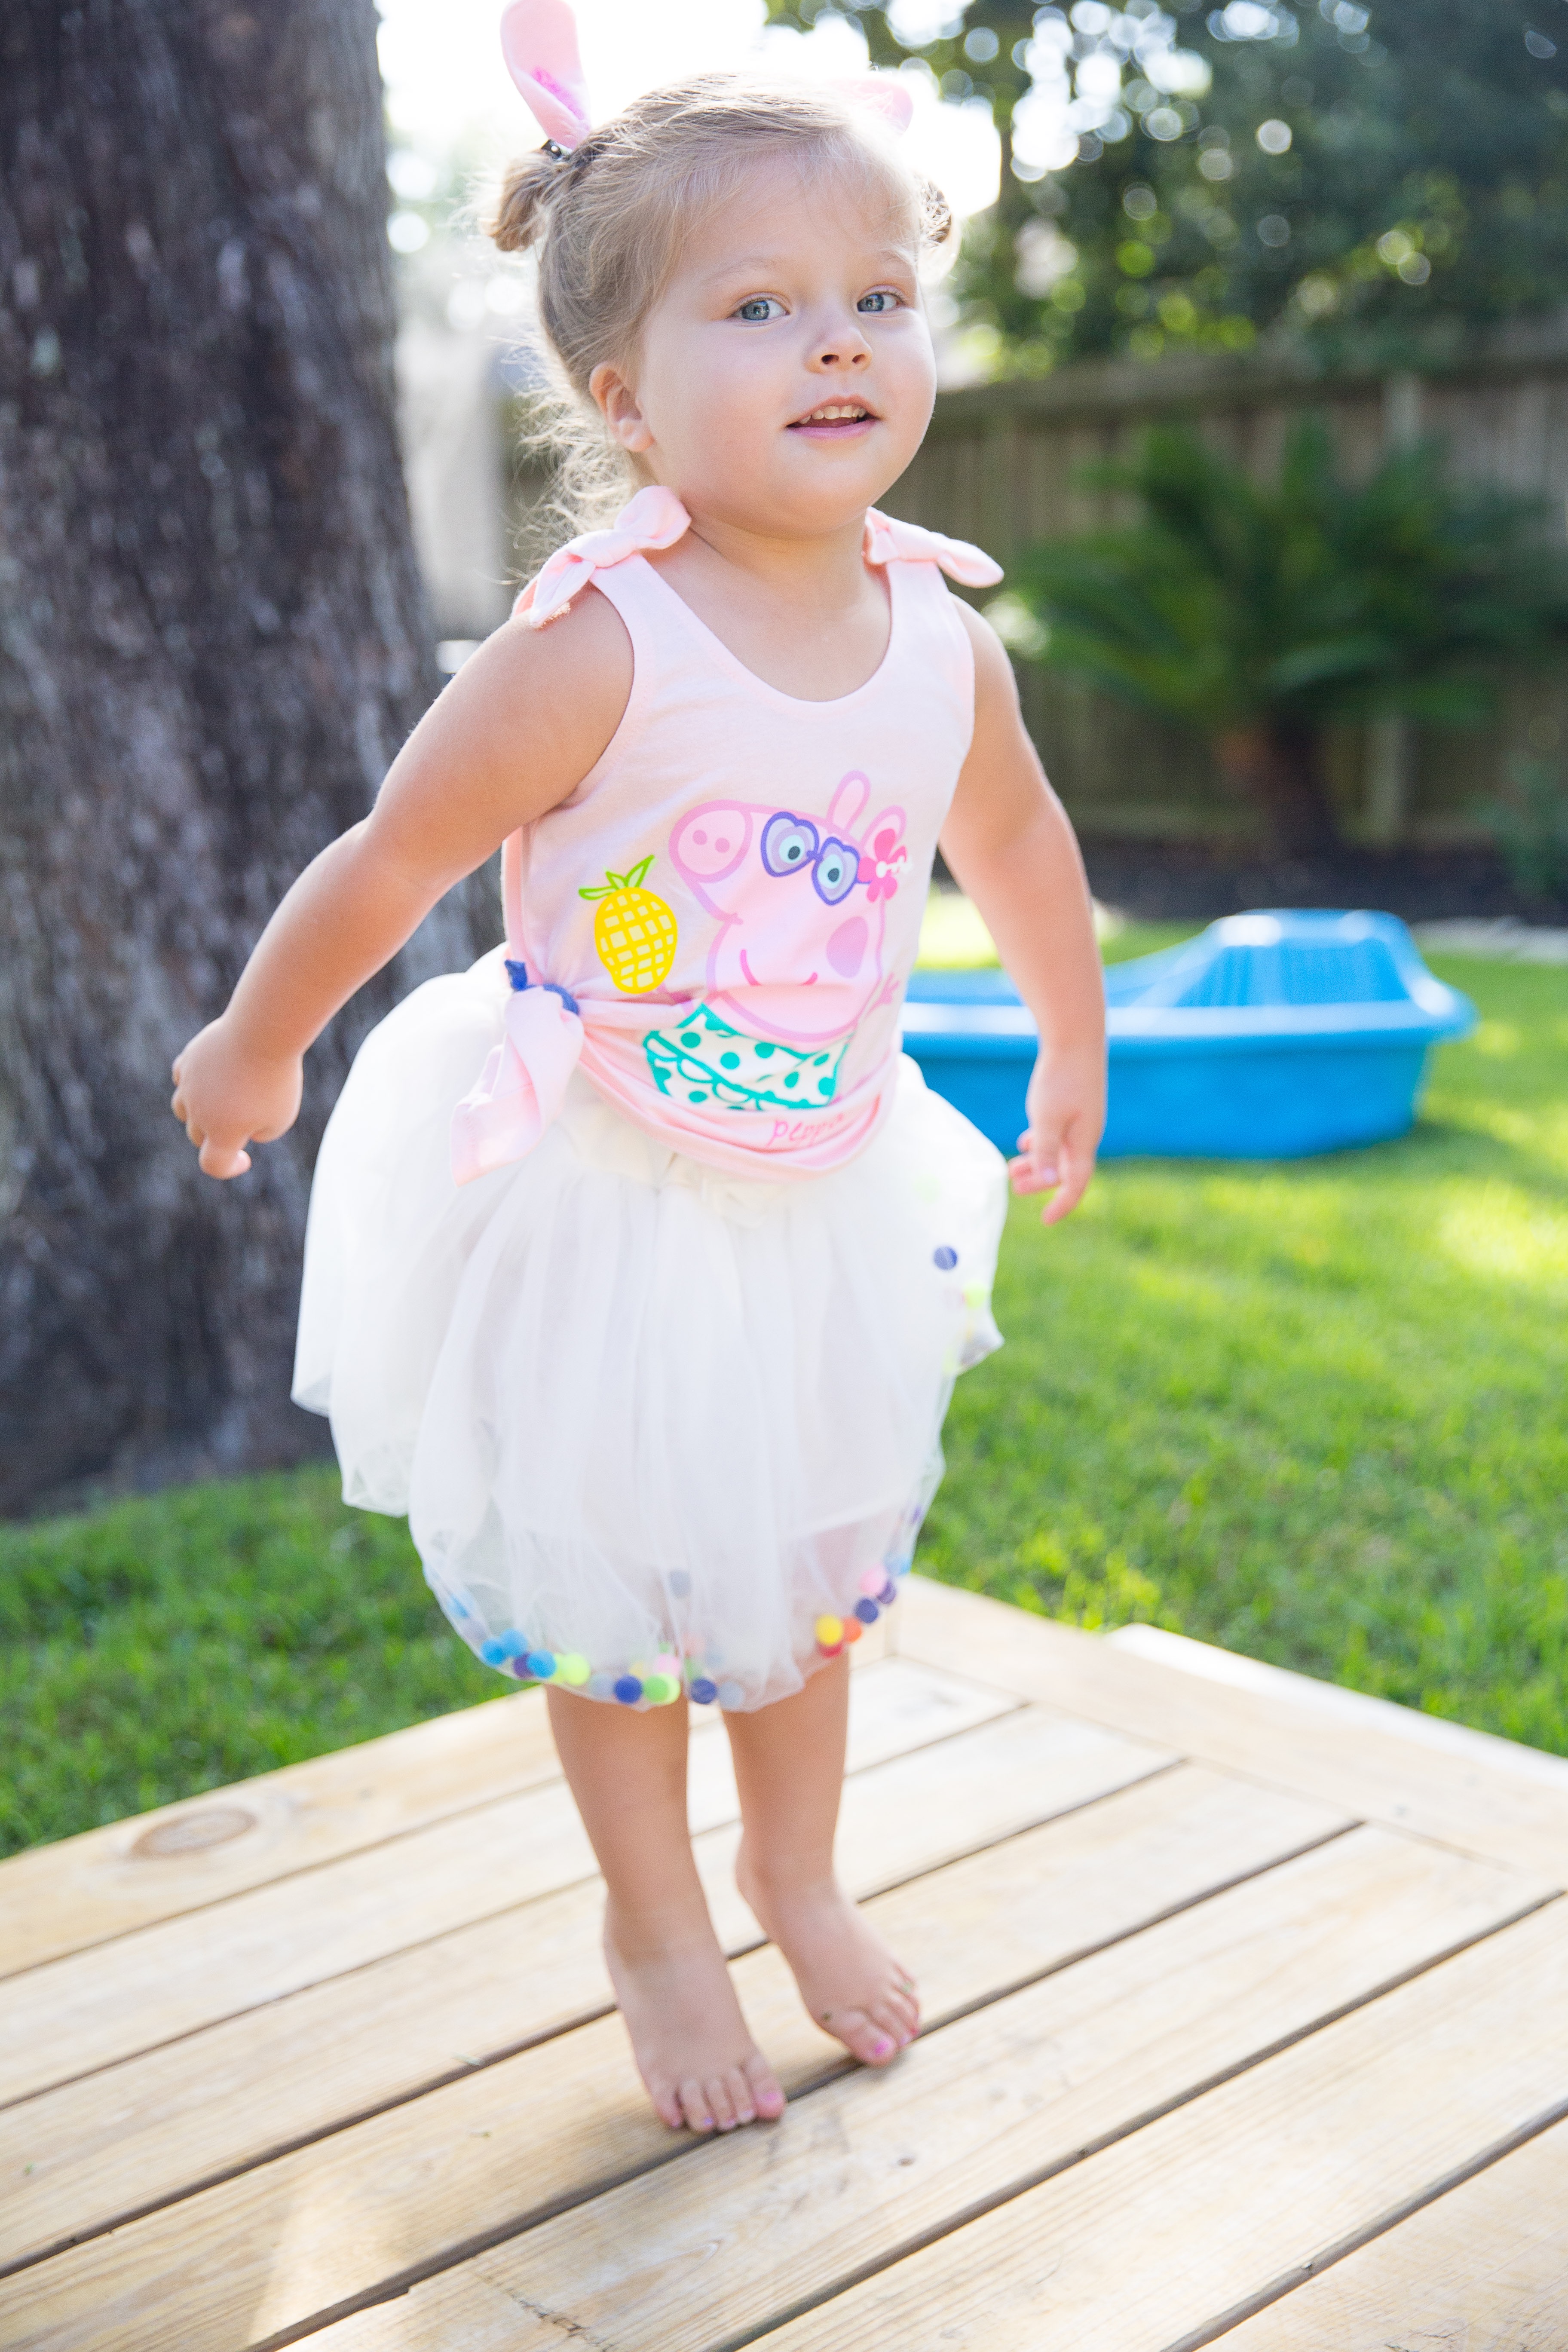
How cute is this little mermaid swimsuit?! Guess where I found it?? Amazon haha… HERE is the link.

We had such a fun and festive time! Thanks to everyone to who came to help us celebrate… our little mermaid loved it!

Check out Bee’s past parties here!: Fiesta Party, Farmers Market Party, Peppa Pig Party!

Filed Under: birthday, girl, kid stuff, party Tagged With: parties

Conversation Heart Cold Packs

February 5, 2018 By Taylor Leave a Comment

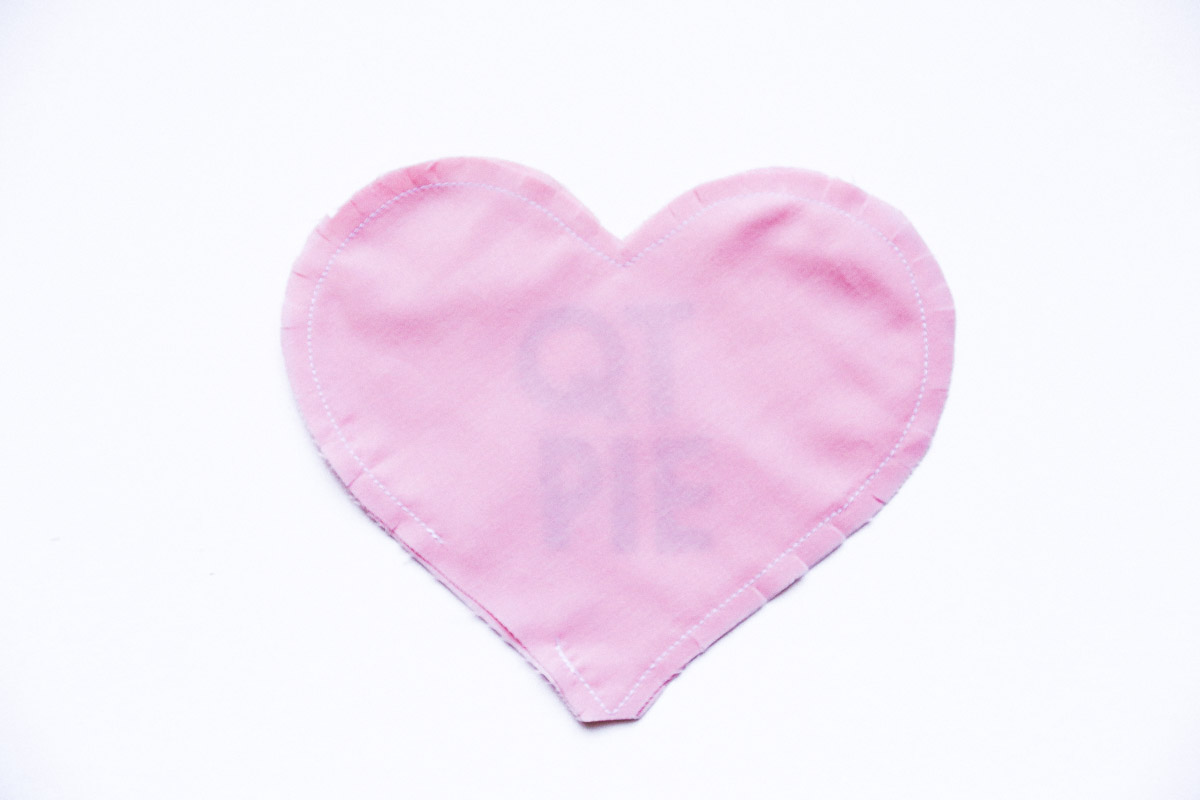
 If your kids are anything like mine then these Conversation Heart Cold Packs will be a big hit at your house!! We call them “boo boo buddies” and they are very well loved :) We keep these guys in the freezer and the kids know right where to find them… you bonked your head, got a scratch, your legs are sore? Go grab a boo boo buddy! These are the perfect little custom gift and they are easier than you think!
 
SUPPLIES:
  • pastel fabric for hearts
  • dark pink or red fabric for words
  • iron on adhesive/fusible interfacing
  • heart template (DOWNLOAD HERE)
  • rice or flax seeds for filling

Using the heart template, cut two hearts from each color fabric.

For the letters, there are several ways you can do them. If you have a Cricut or Silhouette Machine, cutting your letters out on that is a great option. You could also use felt and sew them on. I used Wonder Under (fusible interfacing) and ironed it to my dark pink fabric. Then I hand wrote my letters (don’t forget to write them backwards) on the back and cut them out.

Iron the letters to one side of the hearts you have cut out.


Next, place the heart pieces right sides together, pin and sew. Be sure to leave a 2″ opening on one side of the heart. That will be where you fill the heart in the next step! After you sew the hearts, clip the curves, the tip of the heart and the center where the heart meets. Clip carefully! You don’t want to clip too close to the line you just sewed but clipping well around those curves will allow your heart to lay flat with no puckering.


Flip your hearts right side out and press.


Now its time to fill your hearts 🙂 I used plain brown rice because thats what I had. Flax seeds are a little more expensive but they make amazing cold packs. If you have any essential oils it would be a great idea to add a few drops to your rice also… we have a Lavender one and they kids actually fight over it, it smells amazing! I just spooned the rice into the opening then used a pin to keep it closed and sewed the opening shut.

Voila! Super easy custom cold packs! Your kids bonked heads will be so happy! Happy Valentine’s Day

Check out another favorite Valentine’s Day project HERE and another Boo Boo Buddy HERE :)

Filed Under: craft, fabric, kid stuff, sewing Tagged With: accessories, holidays

Holiday Apple Tea Punch

November 28, 2017 By Taylor Leave a Comment

Holiday Apple Tea Punch It’s the most wonderful time of the year!! The holidays are here and one thing is for sure… there will be holiday parties! I absolutely LOVE hosting but this time of year can be stressful because it’s as if a whole year’s worth of celebrations, eating and parties all come together into one little month! If you are anything like me, you worry that you are not enjoying the season because everything rushes by so fast. When I am having a party (any time of the year) my single most important tip is to make anything and everything you can make ahead of time! Finish the decor then make the food and the drinks the day before too! That way you can enjoy your company and visit instead of playing short order cook.

Holiday Apple Tea Punch  I came up with a super fun and very easy Holiday Punch that you can make, pop in the fridge a day early and the flavors will only get better! I love Iced Tea so this is a fun and festive spin on that. I used Milo’s Tea which I love because it is fresh brewed, and made from natural ingredients with no preservatives or added acids! It has a super fresh taste like you just brewed it at home! Milo’s is a Holiday must have; they offer Unsweet Tea, Tea Sweetened with Pure Cane Sugar, No Calorie, Decaf… even Lemonade. I used the “No Calorie” because I just need all the help I can get this time of year haha. Milo’s was started years ago in Alabama by a woman named Bea when her husband Milo returned from WWII and they have been brewing fresh tea ever since… How cute is that?!  I found Milo’s at my local Randall’s in the refrigerated juice and dairy section but they are available at lots of retailers. Find a store near you by using the store locator.

Holiday Apple Tea Punch Here’s how to make it:

Holiday Tea Punch

Ingredients:
2 cups Milo’s No Calorie Sweet Tea
1.5 cups Club Soda (or a little less if you like it sweeter)
1/2 cup Apple Cider
the juice from 1/2 of a Lemon
a dash of Cinnamon
Sugar
Cloves, Cranberries, Apples and Lemons for garnish 

Mix the following ingredients; Milo’s Tea, Club Soda, Apple Cider and Fresh Lemon in a pitcher.

IMG_8419Then add a dash of Cinnamon and mix together. Slice apples and lemons and drop in the punch. Add a few cloves and cranberries and refrigerate for a few hours or even overnight.

Holiday Apple Tea Punch

Holiday Apple Tea Punch Before you serve your punch, you can really impress your guest with cinnamon sugar rimmed glasses. Just add a little sugar and a sprinkle of cinnamon to a flat plate and mix it around. Then take a lemon slice and slide it around the rim of a glass a few times and dip the rim in the cinnamon sugar. Everyone will think you are very fancy ;) Let that set for a few minutes. Then add ice and pour in your Holiday Apple Tea Punch… so festive, fresh and tasty!

Holiday Apple Tea Punch

Holiday Apple Tea Punch

This post is part of a social shopper marketing insight campaign with Pollinate Media Group® andMilo’s Tea Company, but all my opinions are my own. #pmedia #PassTheMilos http://my-disclosur.es/OBsstV

Filed Under: Christmas, drink, holidays, recipe Tagged With: drinks

Purple Princess Costume

October 31, 2017 By Taylor Leave a Comment

Pruple Princess Costume-26

Happy Halloween Everyone!! At last I have our final costume of the season ready to share with you guys today! This is Bee’s REAL costume :) She played my model for a few things then this was the first year she decided she had an opinion haha!

Pruple Princess Costume-37

Pruple Princess Costume-2

The past few years she never really cared about Halloween (probably because she was too little) but this year she was VERY decisive and requested to be a Purple Princess. I usually wait because toddlers are notorious for changing their minds but she never did. I like a kid who makes a confident decision! To be honest purple isn’t even my favorite… maybe the classic pink princess, a pretty blush, even Cinderella blue?? Nope. Purple.

Pruple Princess Costume-20 Pruple Princess Costume-44

So I started looking for patterns, and when I came across THIS ONE from Made for Mermaids she started screaming and jumping so I knew it was the one! A total bonus.. y’all this pattern is free! The pattern is a 5T and is pretty much true to size I would say but Bee isn’t a 5T she’s more of a 3/4T. So, I took it in a little on the sides of the bodice and shortened the length quite a bit. The pattern was super easy to follow and actually went pretty quick, the bodice was a very satisfying sew!

Pruple Princess Costume-31

Purple Princess Dress

The skirt on the other hand is not my friend haha! Tulle is kind of hard to work with (especially if you aren’t a perfectionist because I’m definitely not!) It’s like invisible fabric then I thought 10 layers would be a good idea hahaha… it’s really not. But she’s three and she loves it so I’m going to call it a win :) Look at how much twirling power it has…

Purple Princess Dress copy

Pruple Princess Costume-17

I used light blue, pink, light pink and lavender for the tulle. Then I used a glittery satin for the bodice and a very fun sheer iridescent fabric for the sash. I found the princess crown from Amazon and the shoes were from Target.

Pruple Princess Costume-38 Pruple Princess Costume-30

Overall I would say this is one happy princess and that is my favorite part! Be sure to check out all of our other costumes from this year (Phineas and Ferb, La Croix, Letterboard) Have a safe and Happy Halloween.

Pruple Princess Costume-35

Filed Under: costume, fabric, girl, halloween, pattern, sewing Tagged With: costumes, holidays

Letterboard Costume

October 26, 2017 By Taylor 2 Comments

Letterboard CostumeMoving right along with our costume parade this year, today I am sharing a costume for me… I’m a Letterboard! If you follow me on Instagram (@taylormadecreates) then you know about my love for these things so I thought what better for me than a Letterboard Costume?!

Letterboard Costume

Letterboard Costume-18

I love this one because its is SO simple that anyone can do it (my 8 year old actually helped me with this one) and it can be done super last minute, which lets face it… that’s how we all do Halloween Costumes right?! All you need is a thick posterboard like a science fair board, black felt, silver cardstock and some letterboard letters.

Letterboard Costume-15

Directions:

I started by cutting the side flaps off of the Science Fair Board. Then I cut a piece of black felt a little larger than the board. I layered my felt with some batting, it isn’t necessary but I have tons of it and I thought it might make it more realistic. I then sewed tons of lines horizontally across the black felt (1″ apart). That is also optional… Sewing is relaxing to me but you could also use a white pen, or puff paint etc.

Letterboard CostumeThen I just wrapped the felt around the board and used hot glue to adhere it. I found this corrugated silver cardstock at Joanns that seemed perfect for the frame. If you can’t find this you can use any think silver paper or you could even cover cardboard strips with foil, something to look like the aluminum frame. I used hot glue to attach the silver cardstock to the perimeter of the board.

Letter Board Costume

Next… come up with your quote and attach your letters! Did you catch my subtle Mean Girls reference here ;) I debated cutting letters out of cardstock or felt… which you could easily do! Joann’s carries a brand of Letterboards with accessories that are super affordable. I used my coupon on these 2″ letters and it was just over $3 which I really couldn’t beat! (not sponsored I just love Joanns haha)

Letterboard Costume-10 Letterboard Costume-11

Lastly, attach a ribbon, again… with hot glue, to the back of the board.

Letterboard Costume-12

I love how cute and easy this costume turned out! I’m already thinking how I can use this as a decoration for future parties haha! And yes I know my lines aren’t straight… so for anyone that thinks my projects are “just so perfect” here ya go! Done is better than perfect am I right?? Do any of you “grown ups” dress up? Tell me what you are going to be this year! And as always if you make this costume please please please send me a picture! I love to see them :) Happy Crafting!Letterboard Costume-16

Ribbet collage

Filed Under: costume, felt, halloween Tagged With: costumes, holidays

La Croix Costume

October 23, 2017 By Taylor 27 Comments

La Croix CostumeCan you think of anything cuter than a toddler in La Croix costume?? Me either! La Croix is not only all the rage in with millennials the real world but also at my house :) We have our daily Coconut La Croix hour each afternoon and I pretty much live for it. I saw a few adult La Croix costumes last year but the toddler costume… too much to handle!

Ribbet collage2

La Croix Costume-20 La Croix Costume-27 La Croix Costume-5 La Croix Costume-31I love this costume option for a group because it’s so simple (no-sew for the win!), good for boys & girls and perfect for kids of any ages! I worked with Primary and used their PJ Pant and Long Sleeve PJ Top… the perfect base for our La Croix girl! As usual… I can’t say enough about the quality of Primary clothing! They must get their cotton from unicorns because everything they make is magically soft.

La Croix Costume-1I also used fabric paint and metallic heat transfer vinyl.

La Croix Costume-3This is the fun part… the La Croix Can has a very natural painterly feel so it is perfect for easy fail-proof painting. Be sure to iron the tops and don’t forget to insert a piece of cardboard in the shirt so the paint doesn’t bleed. On the bottom of the “can” or the shirt in our case, paint a blue curved line then above that an aqua curved line. Get messy with it… you can’t mess this up!

La Croix Costume-4

La Croix Costume-5

La Croix Costume-6

La Croix Costume-7Then for the top of the can, use fabric paint in the color of each shirt. For example on the yellow PJ top, use yellow fabric paint and use the same painterly effect and start in the right hand corner of the top and swoop down to the left. Again this doesn’t gave to be perfect…. and that’s why its fun :)

La Croix Costume-8

La Croix Costume-10I used metallic heat transfer but navy blue would work too. I loved the metallic for the aluminum can look. I found the logo and can lettering and used the “trace” feature on my Silhouette Machine. You could also just print the logo and cut it out freehand, either way works. I have the Silhouette file if you need it then just email me and I can send it over! When you are working with heat transfer just be sure to mirror image the lettering.

(EDIT! I didn’t know there would be so much interest in the file Thanks guys!! I found an easier way to share it… )

Click HERE for the Cricut Software Format and Click HERE for the JPG Format. If you have a Cricut, just open your software and drag this attachment in. For the JPG you can print this photo at scale and cut your heat transfer vinyl of even use felt and hot glue! Email me a picture (or tag me) if you make one, I would love to see it! taylor.taylormade@gmail.com

La Croix Costume-11Lastly, iron the cut logo and wording for each “flavor”on to the shirts. Be sure to let the paint dry for at least 4 hours (or maybe even overnight) before ironing.

La Croix Costume-13 La Croix Costume-12

La Croix Costume-16I LOVE how these turned out… and they really are simple, don’t let the painting scare you :) I added grey bows for a “can lid” effect! For older kiddos (read: kids that will keep things on their heads haha) You could always attach a “tab” made from foil and cardboard to a headband. Thanks again Primary for sending the PJs for this project! Be sure to check out Primary for ALL of the DIY Halloween ideas!

La Croix Costume-9La Croix Costume-34La Croix Costumes

Filed Under: costume, halloween Tagged With: costumes, holidays

Phineas and Ferb Costume

October 16, 2017 By Taylor 3 Comments

Phineas and Ferb CostumeLook who it is… It’s Phineas and Ferb!

Phineas and Ferb Costume-7

phineas and ferbIf you don’t have two school aged boys at your house you might not know all about Phineas and Ferb… but it’s awesome so you should probably just watch it in general :) It’s a show on Disney Channel about two brothers who are trying to find ways to entertain themselves during summer vacation and end up coming up with crazy, outlandish inventions and ideas. It’s also one of the only kid shows that Bryan and I can watch and not get sick of because it’s actually pretty witty and we end up laughing during every episode haha! I “pitched” the idea to my boys for a halloween costume and if course they loved it!

Phineas_Ferb

Phineas and Ferb Costume-18These might be the two easiest costumes I’ve ever done! I worked with Primary again this year for the “base” of the costumes. Primary is amazing because they have every style of solid colored, mix and match clothing for kids with no tags or logos, and all of their clothing is super soft!

Phineas and Ferb Costume-1

Phineas and Ferb Costume-2You Need: Orange Tee, Blue Shorts, Yellow Tee, Purple Pants, Colored Hair Spray, White Felt, Yellow Fabric Paint

For Phineas’s Shirt:

Step 1: Tape off the orange shirt. This is not mandatory but will make your lines straighter, I didn’t measure, just eyeball it.

Step 2: Use Fabric Paint and paint on the yellow stripes. Fabric paint is softer than regular acrylic so you can wash it and your kids could actually wear this shirt again. Allow the paint to dry for at least 4 hours.

For Ferb’s Collar:

Step 1: Cut felt in a “collar like shape” as shown. I sewed three layers together for sturdiness but that’s optional. I also did a little round button too.

Step 2: Hot Glue a piece of elastic around the collar piece. This will wear just like a necklace. Hot glue or pin the button on the yellow tee under the collar.

Ribbet collageLastly, I found colored hair spray (Target, Walmart or any Halloween store) and sprayed their hair orange and green. That was their favorite part :) And that is it!

Phineas and Ferb Costume-22While I do love to sew and I really enjoy making my kids costumes from head to toe, I also have respect for costumes that are this simple but look super cute too.

Phineas and Ferb Costume-34Thank you Primary for sending the clothes! Check out our post last year HERE and tons of other ideas on Primary HERE!

Phineas and Ferb Costume-27

Filed Under: boy, costume, fabric, halloween Tagged With: costumes, holidays

A Peppa Pig Tea Party Birthday

October 11, 2017 By Taylor 3 Comments

Peppa Pig BirthdayThis summer our sweet Bee girl turned three! We had a Friday Morning Playdate party with a friend who has a birthday the same week as Bee. They were in the same class in PreSchool so we just invited their class :) The other birthday girl was planning a tea party and Bee was excited about a Peppa Pig Birthday so we mixed the themes and threw a Peppa Pig Tea Party…  Super fun!

peppa pig birthday partypeppa pig birthday partyI made the invitation in Illustrator and I love how it turned out! The other mom saw the wording on an invitation on Pinterest and it went perfect with our theme… I had it printed at our local copy shop and the best part was that we handed them out to the class on the last day of school in May so we didn’t even have to mail them.

Peppa Pig Party

How cute is her little birthday outfit?! I found the shirt at Old Navy, the skirt is from Amazon (HERE is the link) and I just hot glued some felt on alligator clips for the little piggy ears :) It was a water party so she later changed into a Peppa Bathing suit… she’s very fancy with her party costume changes haha.

peppa pig birthday party

http://amzn.to/2w1Fi8EI did a little mini balloon arch over the window in my breakfast room with all of the food. We all know how I love a good balloon arch :) I usually try to choose 4/5 colors for most parties so we tried to stick to Pink, Lavender, Yellow, Green and Light Blue.

Peppa Pig Birthday PartyPeppa Pig PartyFor the food we went with a “tea party” ish menu. We had tea sandwiches, fruit salad, pasta salad, goldfish and popcorn in baking cups, watermelon and pigs in a blanket. My mom also made little “tea cakes”, snickerdoodles and sugar cookies. We also served raspberry sherbert punch for the kids and mimosa punch for the moms :)

Peppa Pig PartyPeppa Pig PartyPeppa Pig PartyPeppa Pig PartyPeppa Pig PartyPeppa Pig PartyThe other mom throwing the party with me did the flowers in the piggy rain boot which I thought was so cute! And how perfectly girly are these flowers?!

Peppa Pig PartyFor the backdrop behind the table I used a science fair board and taped the sides flat and covered it in felt. I cut the Peppa family out of felt and attached them together with hot glue. All of the Peppa Pig characters are reposition-able so Bee actually played with this for weeks after the party! Our other friend made the big “3” for her sons party earlier this year and asked if I wanted it… I have been hoarding it ever since haha!

Peppa Pig Party

I used my silhouette machine to cut teacups out of cardstock and sewed them together to make a teacup garland. I hung that up with a paper strip garland that I did the same way :)

Peppa Pig Party

Peppa Pig Party

We put a few cheap kiddie pools in my backyard, one was filled with water and one we filled with Jelly Beads (my kids are obsessed with THESE). I also bought this water toy at the beginning of summer (HERE is the link). It did end up with a few holes in it by the end of summer but we got a few months of play from it. The kids had so much fun playing in the hose and splashing in the water beads!

Peppa Pig Party

Peppa Pig Party

Peppa Pig Party

For the party favor we did a spin in the “adopt a pet” idea I have seen and we did “Adopt a Pig”! I found the Pigs at Oriental Trading Co. They had little shirts with sayings on them but I just cut those off. For the pig pen I got a green foam core board and made a little fence from popsicles sticks and just placed the piggies inside.

Peppa Pig Party IMG_9452 IMG_9453We have always had all of our kid’s birthday parties in the afternoon and I have to say the daytime playdate party was a fun change! Happy Birthday to two sweet girls!

Peppa Pig Party IMG_9465 IMG_9464Peppa Pig Party

Filed Under: birthday, holidays, kid stuff Tagged With: parties

Chambray Fox Dress

September 27, 2017 By Taylor Leave a Comment

Chambray Fox Dress

I know I might be  little biased but how stinking cute is this dress?! I mean the fox, the organic chambray, the toddler… It’s almost too much to handle!

Chambray Fox Dress

chambray fox dress

I have had a love for chambray for years! When Birch Fabrics asked me to try out their new Organic Chambray line and then asked me to choose a color I was actually frozen because the colors are SO GOOD y’all!  All of Birch’s fabrics are organic so I knew before receiving it that it would feel amazing, and it did not disappoint! It is soft and rich but also flowy almost like a gauze… I am in love! The colors are even better in person too. The grain and the threads are so, so pretty. I used three different colors for this pattern; Black, Linen and Coral. 

chambray fox dress

Chambray Fox Dress

I bought this pattern a year ago and I guess I was just waiting for the perfect fabric. The chambray works so well it is like they were made for each other. I can’t even handle how cute this pattern is…it’s from Hello Dear Kids on ETSY and you can find it HERE. It was pretty straight forward and had lots of pictures, perfect for a beginner. I made this version with “fall” colors but I’m thinking we might need a few more. I might need to get my hands on some more Birch Chambray in Forest and Marigold :) I love the hand embroidery detail too!

Chambray Fox Dress

As much as I love the font, I think the back is my favorite part! I am all about the pinafore right now. I made it a little large on purpose. When I hand make something I want it to last and my kids grow way to fast to make stuff that currently fits them haha! This is a 5T but she really wears a 3-4 so she will get some great use out if it!

Chambray Fox Dress

Chambray Fox Dress

 Thank you so much Birch for having me! Be sure to check out the other talented ladies on the Chambray Blog Hop! The Chambray Line is expected any day now but you can also preorder HERE.

chambray fox dress

Related Posts Plugin for WordPress, Blogger...

Filed Under: clothes, fabric, girl, pattern, sewing Tagged With: kids

  • « Previous Page
  • 1
  • 2
  • 3
  • 4
  • …
  • 27
  • Next Page »

Welcome to Taylor Made

http://www.taylormadecreatesblog.com/about-me Hi Yall! I'm Taylor... an artsy mom of three from Houston, TX. I love sewing, collecting floral fabric, eating Mexican Food, photography, brights colors, rearranging, and rolling clay. Taylor Made Creates is all about creating a fun, colorful home, sewing cute things and eating good food. Check out my SHOP HERE HERE! Thanks for stopping by!

Search

Pin with me!

Like Me :)

Facebook Pagelike Widget

More Recent Posts

  • Kid's Animal Room
  • Kids Camping Shirts
  • Mermaid Birthday Party
  • Conversation Heart Cold Packs
  • Holiday Apple Tea Punch
  • Purple Princess Costume
  • Letterboard Costume
  • La Croix Costume

FAVORITES

  • Mini Fabric Lamps
  • Briar Rose Strip Quilt
  • More Casserole Carriers
  • Casserole Carrier
  • Happy Rocks
  • DIY Leather Tote
  • DIY TeePee with Forest Fables Fabric
  • Built in Bunkbeds
  • Surfer Slacks

Copyright © 2026 · Web Hosting By RFE Hosting