TaylorMade

DIY, Home Decor & Sewing

  • Home
  • SHOP
  • DIY & Sewing
    • For the Home
    • Sewing
    • Costumes and Holidays
    • Cricut Projects
    • Crafting
  • Parties
  • Recipes
  • Home Tour
  • Favorites
  • About

Year Boxes

March 5, 2012 By Taylor 6 Comments

In keeping with my “documenting life” theme, I found this little craft over a year ago and I knew I had to recreate it. I found it HERE… the blog needs no introduction because all know and love Design Sponge. 

The Year Box
The premise of the year box is that you have a card for every day of the year and they are divided by month. On every card, each line is a different year, I just started mine so my first year is 2012. Kind of boring this year but each card holds 12+ years depending on your index cards. So it is going to be so fun to look back and see what I was doing one year ago and then five and so on. I am just jotting down a few words to sum up the day. Some days are boring and say something like “ran errands at target and the grocery store” then others are more important like “first steps”. 

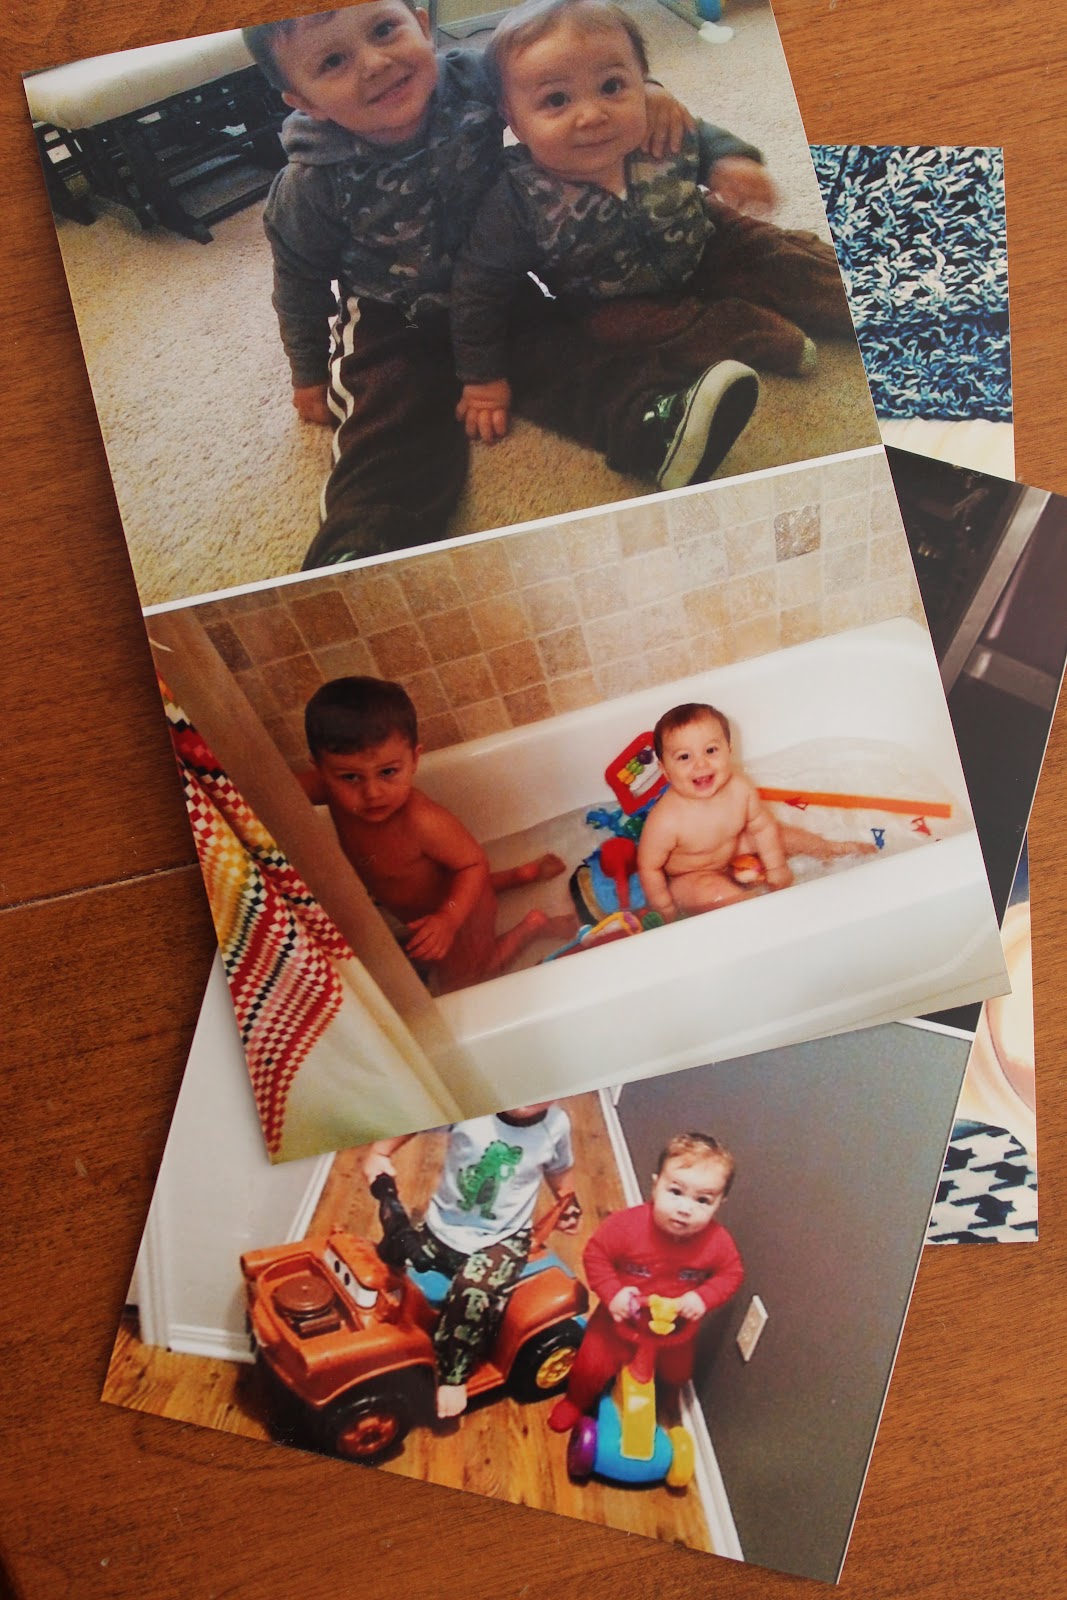
I have to admit that some days I have been bad and didn’t write anything… but for the most part I’m keeping up with it. I can’t wait to look back on it when the boys are older. I also made my mom and sister one for Christmas. They were a hit and easy to make in “bulk”.
What you need:
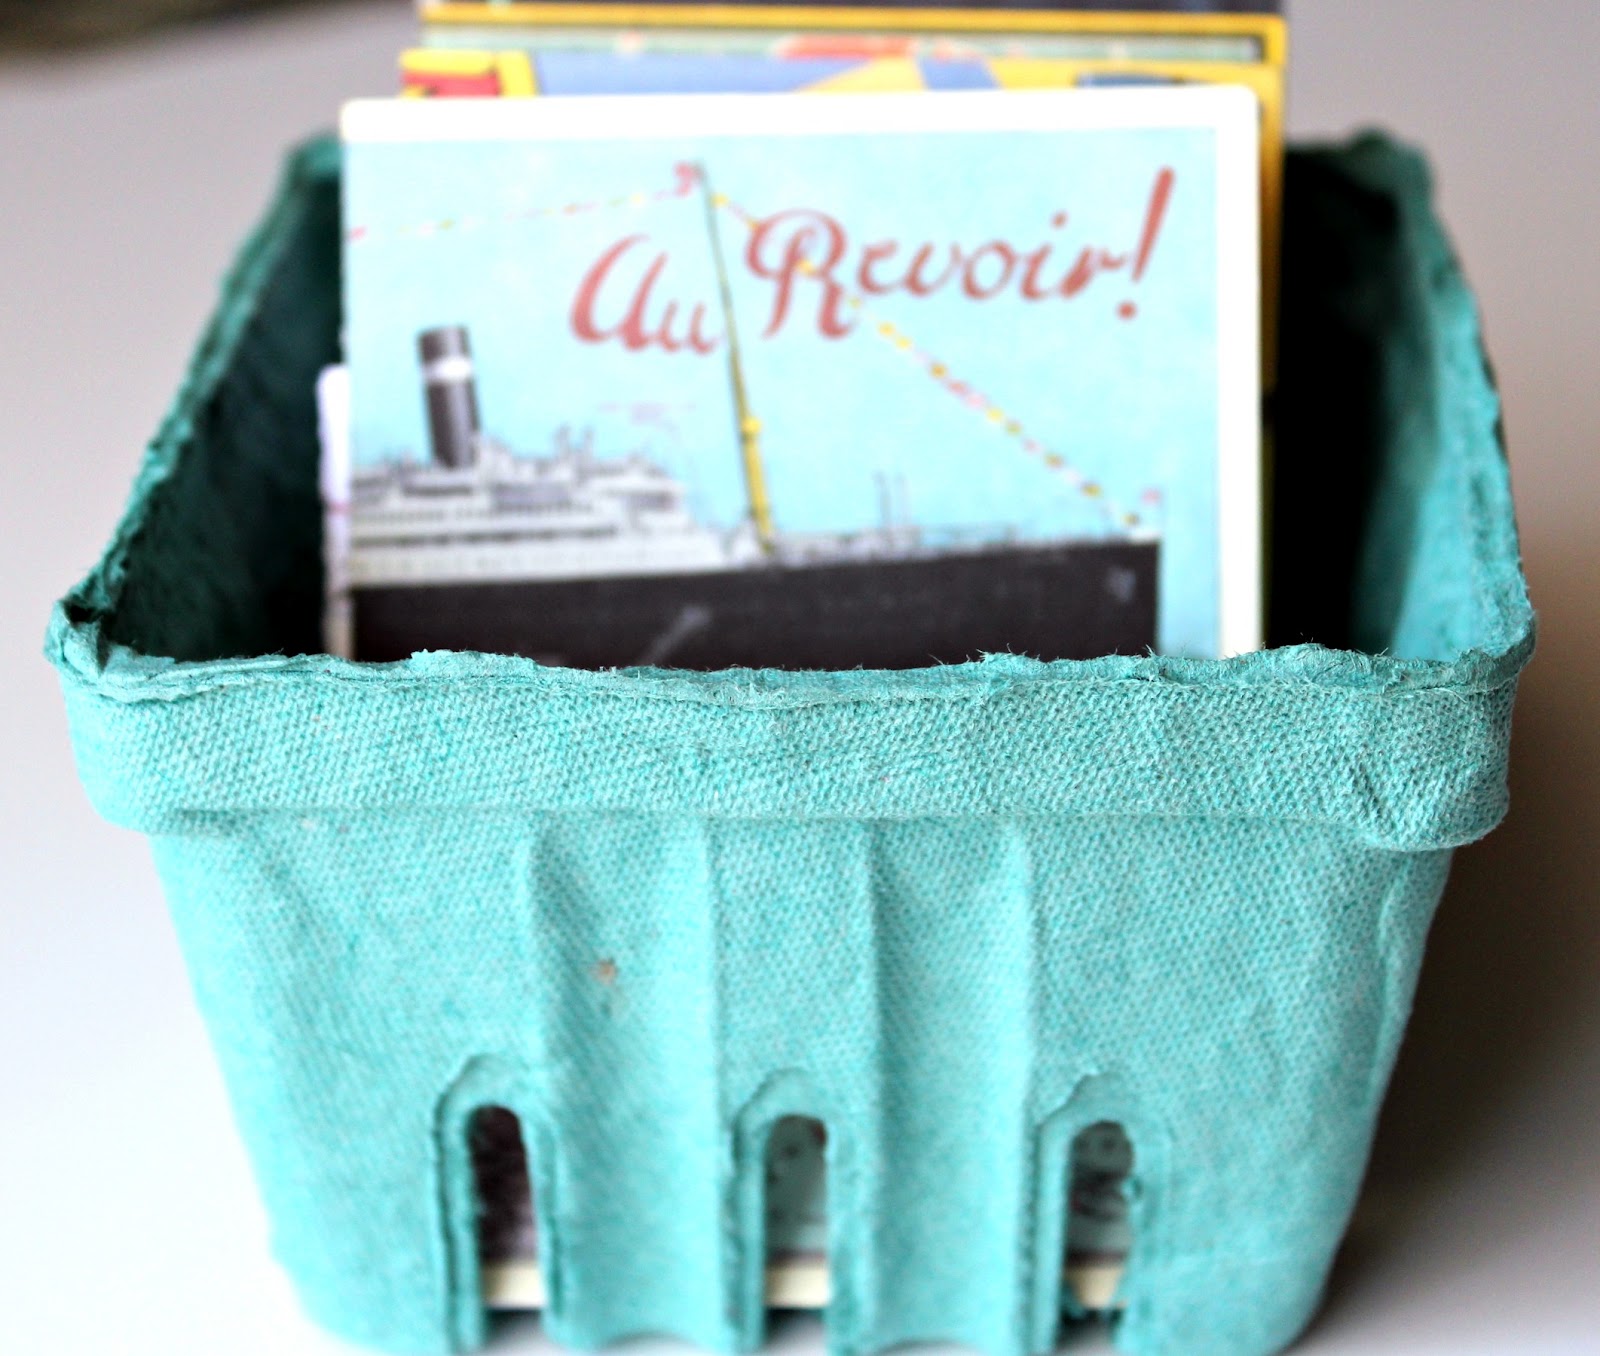
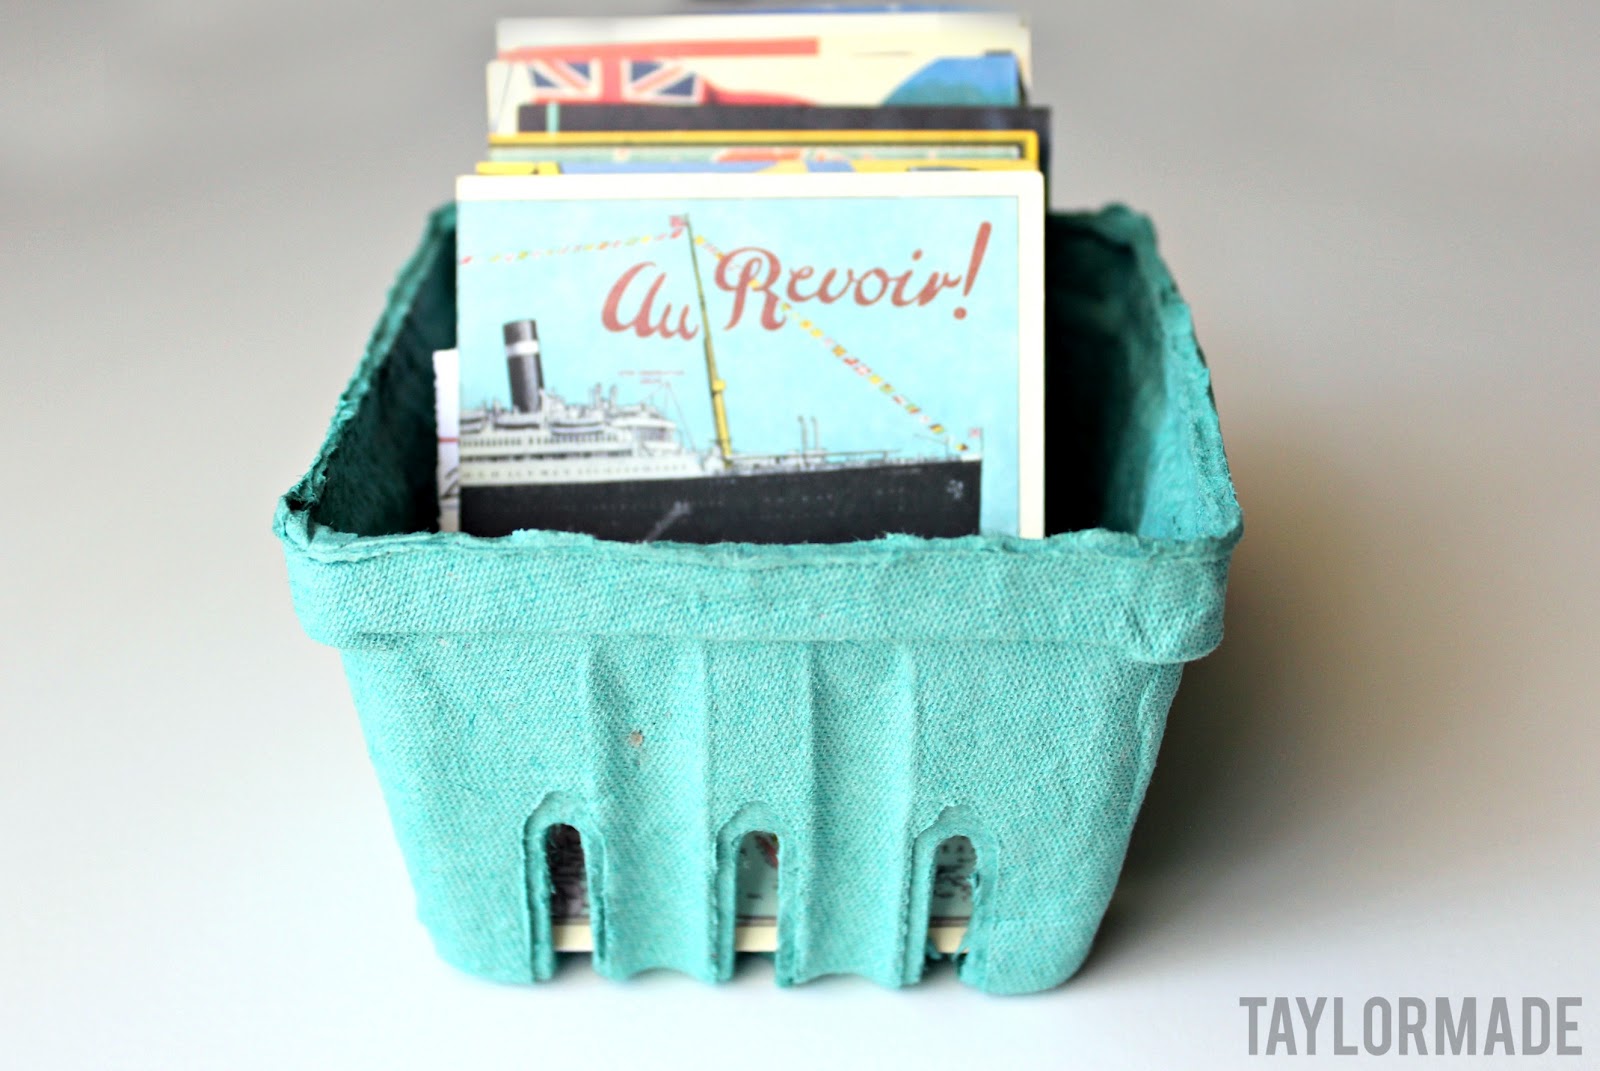
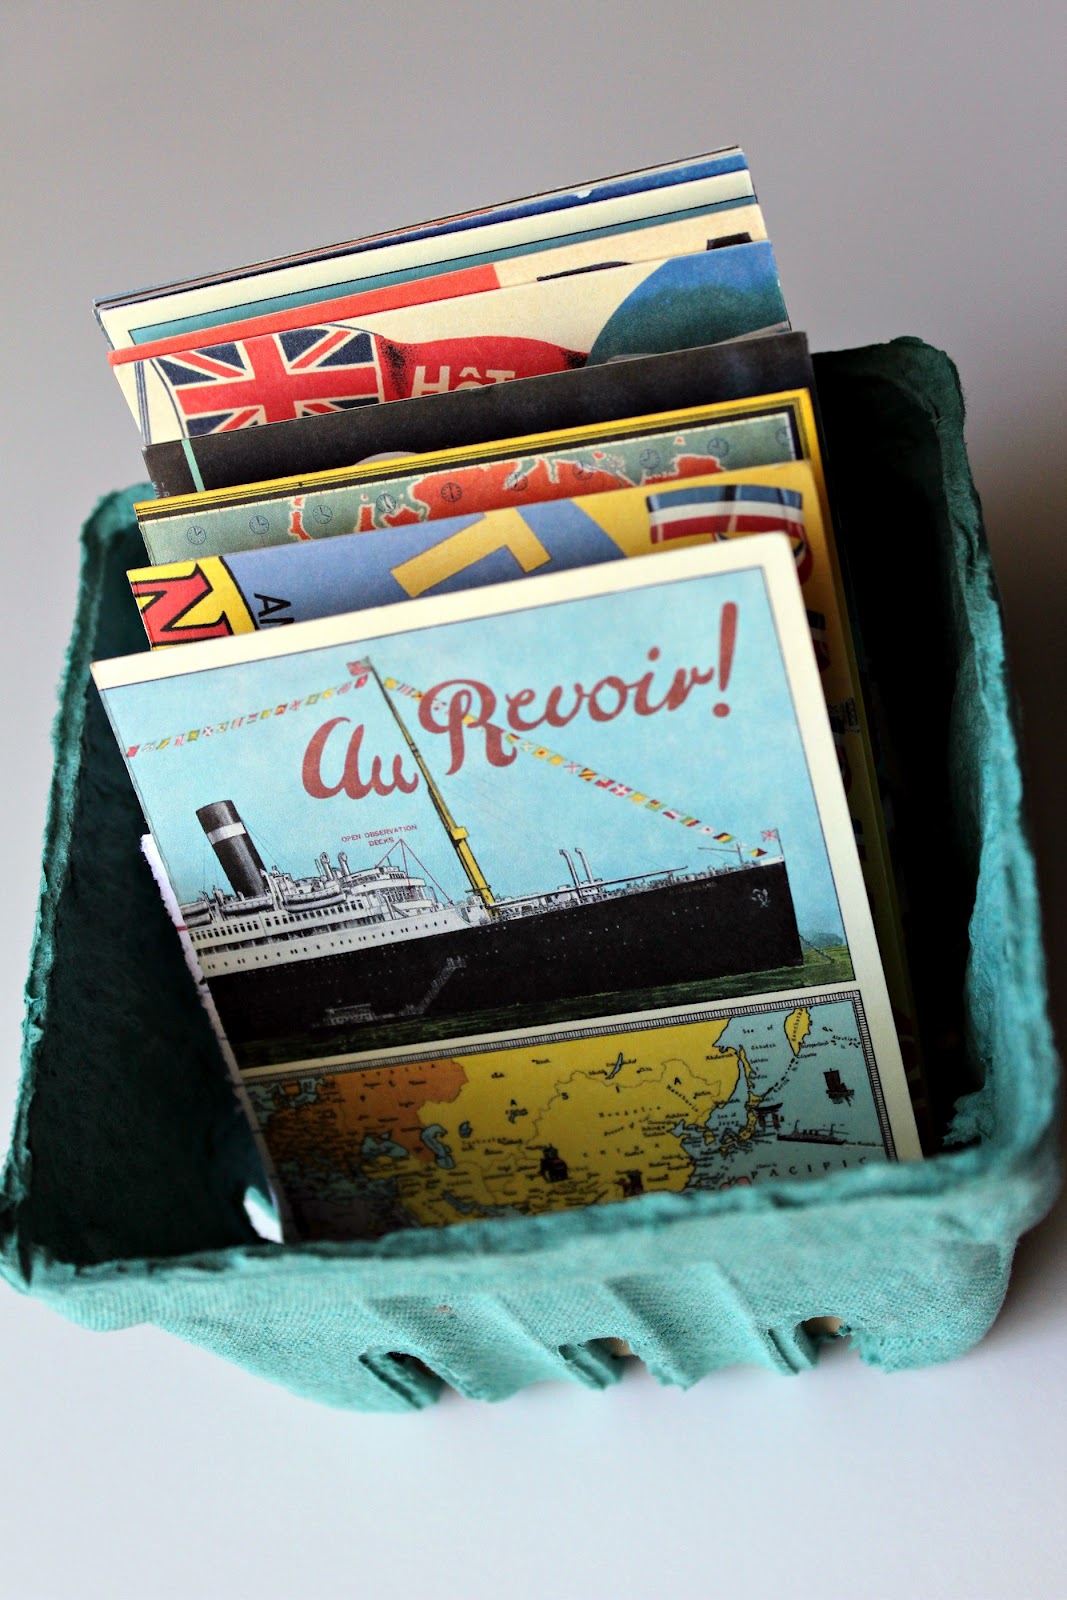
These cute berry boxes, I found mine online at an etsy shop.
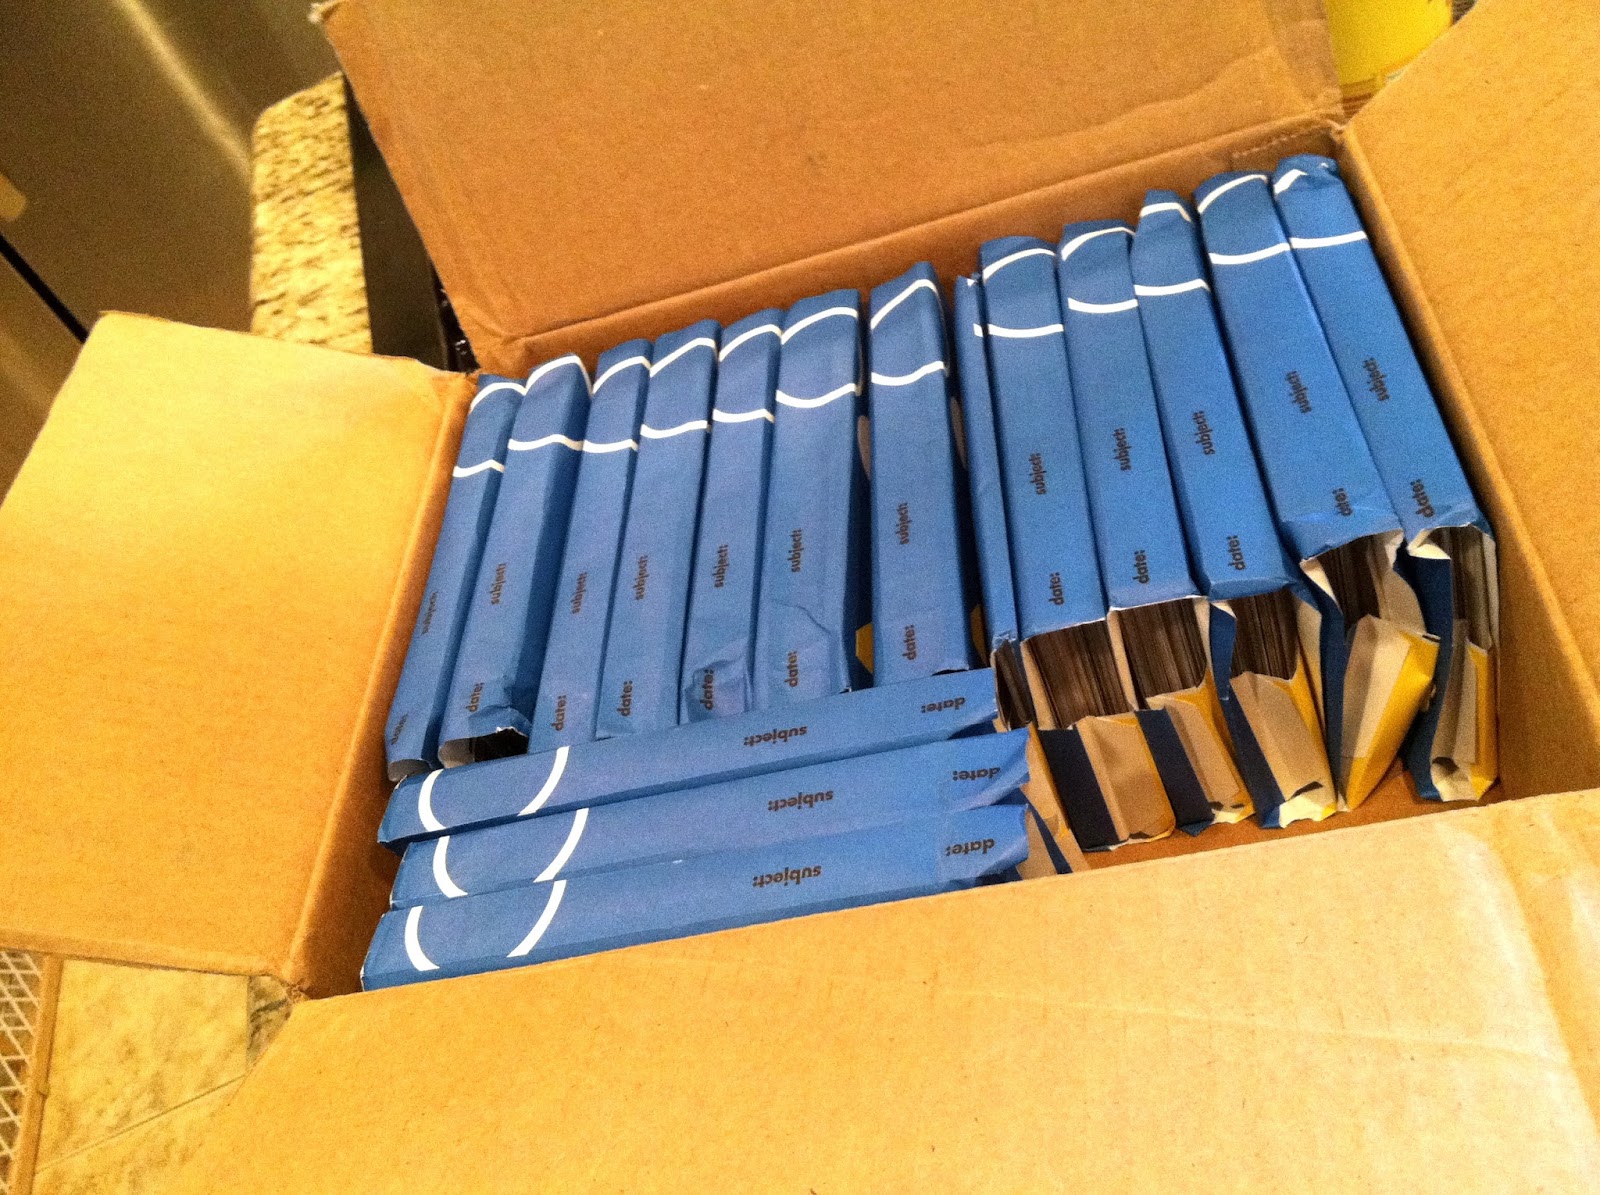
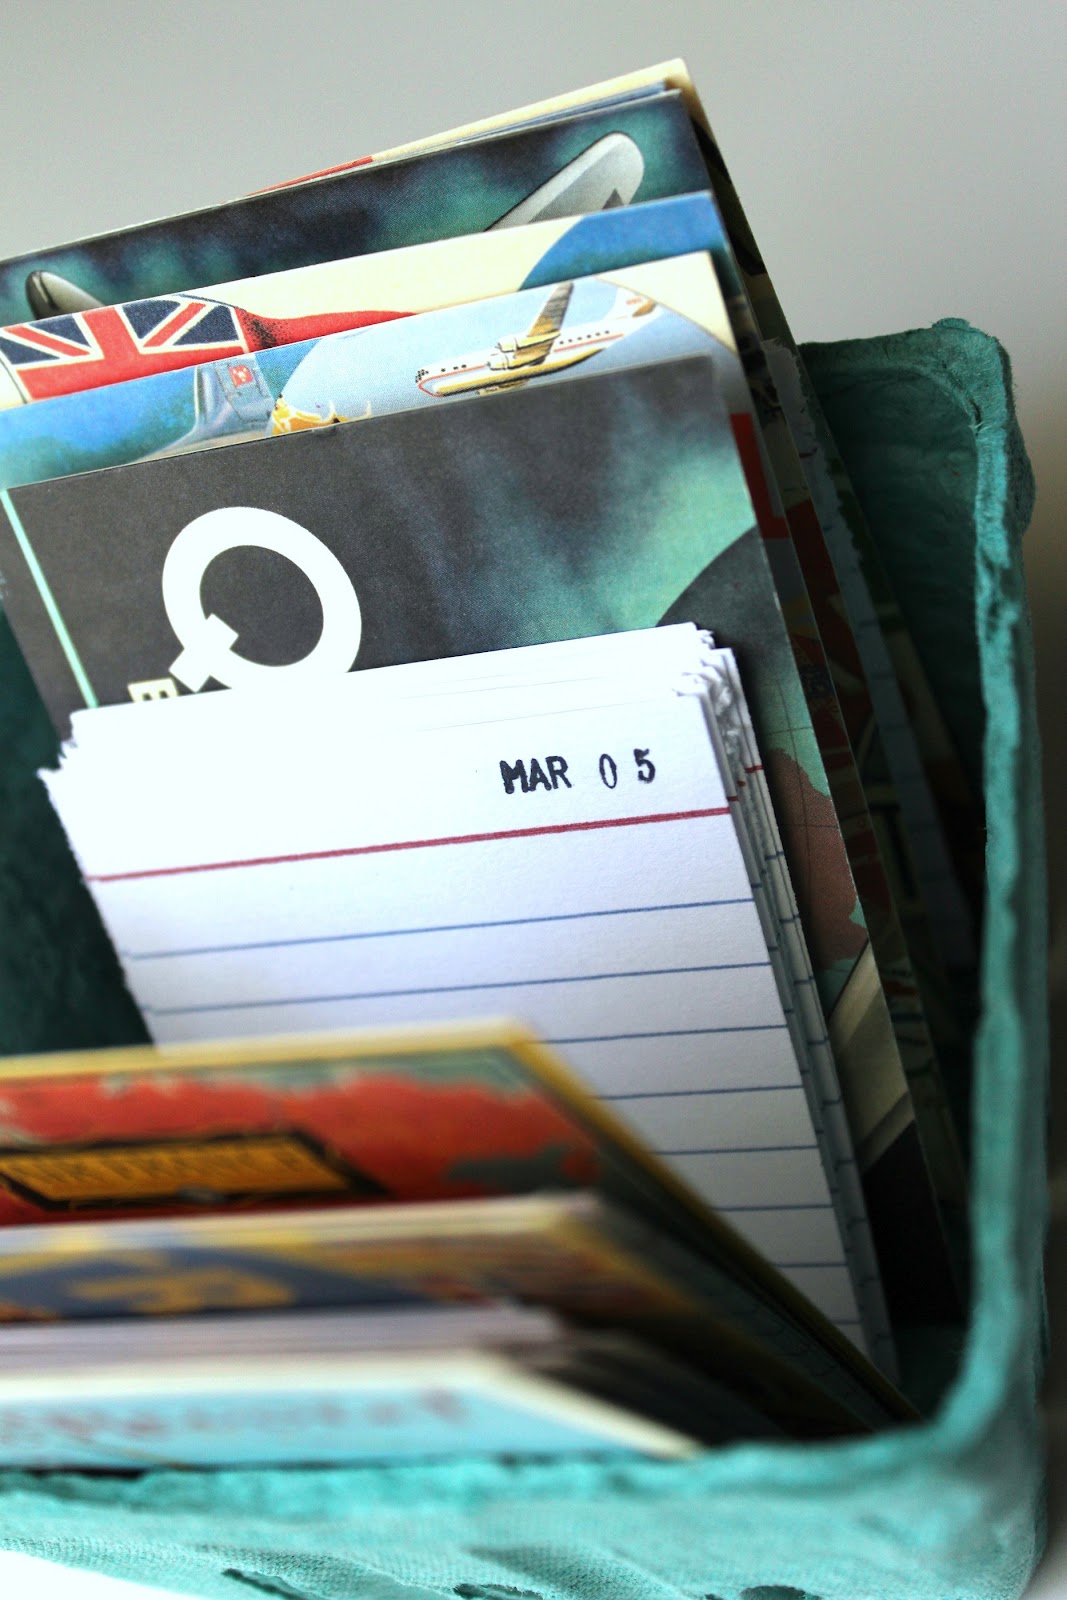
Date stamp and index cards (cut in half). I got my date stamp online at amazon.com but I have also seen them at Office Max or Staples. I love mine and use it for my Project Life stuff.
Postcards (also cut in half) of course Design Sponge had real vintage postcards, I had to cheat and found this cute pack with a “vintage look” but were actually new.
The longest part was the date stamping, I turned on a movie one night and stamped away, but because I was making 3 boxes it took what felt like all night. It was worth it because I love the outcome!
They are really a cute and simple (and inexpensive) gift. Do you have a way to jot down what you do daily to look back on it… do share!

Pin It


Filed Under: craft, organize, paper Tagged With: crafting

Documenting Life… How I Do It

February 22, 2012 By Taylor 8 Comments

Documenting life is beyond important to me. I am super visual so if I don’t have pictures to go along with my memories, they start to fade. I have been a “journaler/scrapbooker/documenter for as long as I can remember. I still have my scrapbook from 3rd grade. Its not that anyone sat down and said now, Taylor, put these pictures and memorabilia in this photo album and write a little something about it here. It comes naturally. I write in both of my boy’s baby books every month. I have pregnancy albums and high school scrapbooks. And I love it, but it can get overwhelming. Its like OK you have to live life to be able to document it and with kids and jobs and friends and events it can get hard to stop and make time to keep a record. So, I thought I would share my method and how I keep up with it (or try to).
How I Document Life and Still Have One
1. Take lots and lots of pictures. Of everything. All the time, everyday. Seriously, you can always delete the ones you don’t need, but just take pictures, even if they just sit on your computer that is the first step. If you are a parent you probably already do this, if you aren’t a parent you will start to do this when you are a parent. Its like “awww hes sleeping”. 

2. Upload the pictures to your computer and also upload them to an online photo server. If you have had your computer crash with your precious photos on them you know how important this is! I use snapfish.com and each time I upload pics I just upload them there too, its easy. On my computer I have my photos organized by month or event and date. 

3. (and this is the hardest part) Print the photos. Seriously, they are meant to be printed out guys. This is what I do… Lets use today for example – its the end of February, so I have all of my February pictures in my February folder. I also had Clyde’s Bday or lets say I had a wedding or another party. What I will do is around the end of February or beginning of March I will make sure all of my photos are uploaded to a “February” order. Like I said I use snapfish but there are a ton of equally great places online. I like it because I don’t have to leave my house haha. Some months I have hundreds of photos and its never been over $10 a month. I know some “scrapbookers” do, but I don’t really bother with planning pages and sizes yet, I just print most of the pictures I like and I will place them later. 

4. (the fun part) Put them in a book. Last year I discovered Becky Higgins Project Life. If you have discovered Becky and her stuff, yay us! I have no affiliation with Project Life other than I can’t say enough good things about it. Before I had kids I had time to do traditional scrapbooking and I still love my scrapbooks but no way can I spend 1-2 hours on each page now. I need to get the pictures in their homes quick and this method has been awesome for me so far. Here a little glimpse into what I do:
I have to stay organized and I don’t have a ton of space. So, my husband built this little Project Life Cubby. I store the kits and the books here. It all fits right under my fabric bin in the craft room.

I keep all of my printed photos in photo boxes and I use post its as dividers for the months.

I have the Black Signature Binder and I also have 3 of the core kits. I am playing catch-up for 2 years while I keep up with my 2012 album. Some might call it crazy, but you know I like to live on the craft edge :) Also, when I discovered PL, turns out a bunch of other ppl did too ha! So it was sold out and I had to wait for months until they had more  in stock. To make sure that didn’t happen again, I made a large order. I am so glad because it seems they have sold out again this year, twice. 

I have a few other things that I think are must have items to make your documenting life easier.

1.Project Life Pocket Pages – to me, the best part! Its the backbone to PL, premade slots so you don’t have to plan out a whole page, you can get as creative as you want or just slide the picture into place. I do a little of both.  2.Tags & Die Cuts  3.Washi Tape  4.A paint pen so you can write directly on a photo  5.Date Stamp and tiny alphabet stamps that I found in the $1 section of Walmart  6. Stickers  7.Tape Wheel  8.I keep a drawer of loose flyers, grocery lists, receipts, ticket stubs etc. to add to blank spots in the book.  9.scrap paper

I also print two iPhone pictures on one 4×6 page.

I am trying to sit down once a month for 2-3 hours and finish the previous month. So far, its going great! Also, I am working on last years book at the same time which is much harder, because I don’t remember anything haha! If you keep up with it, its faster and easier. 
Here are a few of my PL pages:

2012 Intro Page

a really simple layout, all I did was round the corners

6×12 half page

one of the boys many “monthly update” pages
Hopefully you found some helpful hints about documenting your family’s life. This is just how I do it but you have to find your own way and most importantly start at step one.. take pictures :)

Pin It


Filed Under: pictures Tagged With: crafting

Gold Dipped Wine Glasses

January 24, 2012 By Taylor 15 Comments

Have I told you about one of my favorite BBF’s? That’s short for best blog friends mmkay. Meet Melissa from Cupcakes OMG. She is beyond awesome, one of the most stylish people I know and she’s hilarious. Melissa is a self named “snarky narcissist” and isn’t afraid to tell it like it is, whats not to love? Not to mention she is an incredible cook – everything from healthy paleo recipes to decadent cupcakes. She is originally from Houston but lives in DC so when she was home for the holidays we got together to do a little craft project. 
Enter the Gold-Dipped Wine Glasses (tutorial found via Say yes to Hoboken)

View original tutorial HERE.
Melissa and I spent hours catching up and dining on my Pimento Cheese Sandwiches and Macaroons that she made. Then we got down to business. 
All you need is gold spray paint, tape, newspaper and the glasses.

 We wrapped the wine glasses with craft paper and painters tape. Can I just say how much easier it is to take pictures of a craft when you have a model.
 

Then we took them outside to spray them. Two lights coats worked better to prevent drips.

Wait to dry (and take pics of yourself or eat more)

Take the tape off. You could stop here and you would have some really pretty glasses, be we are over achievers. So we added a monogram with etching cream. 

I used my Cameo to cut out our initials but you could use vinyl and an exacto or even the negative space from a letter sticker. 

Then apply the etching cream, it can be found at most craft stores, I buy it online… its cheaper. Also it says to leave it on for like 5-10 minutes, but I keep mine on for 20-30 otherwise its too faint. And you really have to slather it on. As you know etching cream is my friend as seen HERE, HERE and HERE.

Rinse it off and we are done.

I definitely wouldn’t put these in the dishwasher. They have held up so far with a few hand washes. I am just really careful on the paint dipped part. They can really fancy up your boxed wine :/ 

And be sure to go check out Melissa’s Post about our crafting extravaganza HERE and tell her hi :)

Pin It


Filed Under: craft, etched, paint, Silhouette Tagged With: crafting

A Yo Gabba Gabba Invitation

July 20, 2011 By Taylor 9 Comments

It’s a Party, It’s a Party for FINN!
It’s almost here… my little baby is turning two. I know its super cliche and everyone warned me but I literally can not believe how fast he is growing up. I can remember every detail of his birth and feel like it was just a few months ago. At the same time it is hard to remember my life before he was here. If you are a parent you know I can’t begin to explain what he has taught me. I have learned to savor every moment with my 5 month old even more now. Uh enough with the “Mom” moment… :(
On to the Par-tay!!
Please excuse the next few posts if Yo Gabba Gabba creeps you out. Finn is obsessed so naturally it is the theme for his birthday party. We are having a “friend” party the evening of his birthday and then doing family stuff separately. I finished his invitation and sent them out a few days ago.

It is actually kind of hard to find Gabba stuff. I found some clip art and made this invitation and then I ordered some napkins, plates, streamers and balloons online. I am not going super crazy because he is only two (and wont even remember this anyway – isn’t that a bummer)

Finn loves Brobee the most so I am also making him a Brobee t-shirt. (You can see his Brobee pillow here). There are also some really cute ideas on Pinterest so I started a Yo Gabba Gabba board. I am going to do the DJ Lance Rock Radio favors. I found the wording for the invitation on Gabba Friends. Its pretty simple but if you would like to personalize it I am putting the file under  the “Freebies” menu or you can click HERE
You just need to fill in the name and info…

He is excited.

Related Posts Plugin for WordPress, Blogger...

Filed Under: birthday, kid stuff, paper, party Tagged With: crafting, parties

  • « Previous Page
  • 1
  • …
  • 4
  • 5
  • 6
  • 7
  • 8
  • …
  • 10
  • Next Page »

Welcome to Taylor Made

http://www.taylormadecreatesblog.com/about-me Hi Yall! I'm Taylor... an artsy mom of three from Houston, TX. I love sewing, collecting floral fabric, eating Mexican Food, photography, brights colors, rearranging, and rolling clay. Taylor Made Creates is all about creating a fun, colorful home, sewing cute things and eating good food. Check out my SHOP HERE HERE! Thanks for stopping by!

Search

Pin with me!

Like Me :)

Facebook Pagelike Widget

More Recent Posts

  • Kid's Animal Room
  • Kids Camping Shirts
  • Mermaid Birthday Party
  • Conversation Heart Cold Packs
  • Holiday Apple Tea Punch
  • Purple Princess Costume
  • Letterboard Costume
  • La Croix Costume

FAVORITES

  • Swan Wings + Hello Ollie Fabrics
  • Vintage Sheet Quilt
  • Adorable Girl Clothing (found on Amazon)
  • Color Wheel Clock
  • Winged Peasant Dress
  • How to Glaze Furniture
  • Siberian Husky Costume
  • Diaper Bag Tag
  • Casserole Carrier

Copyright © 2026 · Web Hosting By RFE Hosting