TaylorMade

DIY, Home Decor & Sewing

  • Home
  • SHOP
  • DIY & Sewing
    • For the Home
    • Sewing
    • Costumes and Holidays
    • Cricut Projects
    • Crafting
  • Parties
  • Recipes
  • Home Tour
  • Favorites
  • About

Silhouette Cameo Dust Cover (with pattern)

September 24, 2012 By Taylor 42 Comments

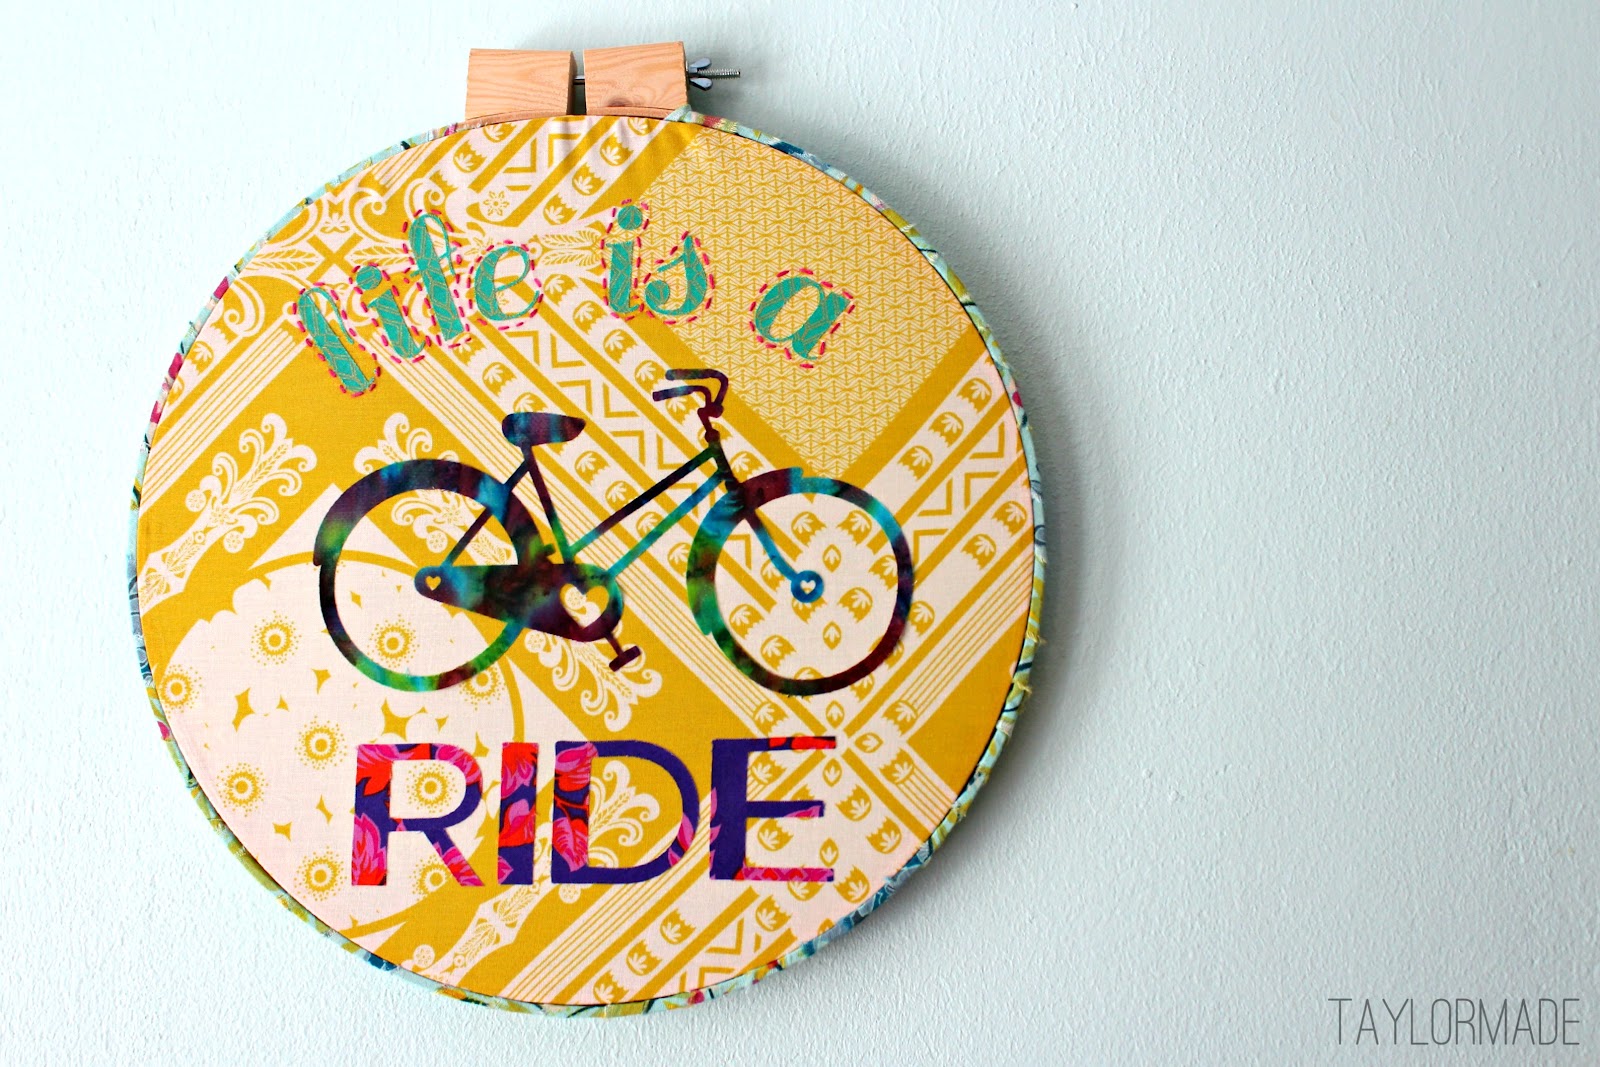
Remember last Thanksgiving when I WON a Silhouette Cameo? It was an exciting moment in my blogs life. I used to own a regular ole Silhouette and I was totally fine with it. I even made it a Dust Cover HERE. But when I won my new one, it went naked for a while. This has been on my to do list for about a year. Better late than never :) 
You will need a piece of fabric that is 22 1/2″ x 13″. Then you need to print out the Edge PATTERN PIECE HERE. Made sure your edge pieces are facing opposite directions, you can cut on the fold too. Disclaimer: I used a serger to finish my edges, however if you want to add a hem, you might want to add a 1/2″ to these measurements.

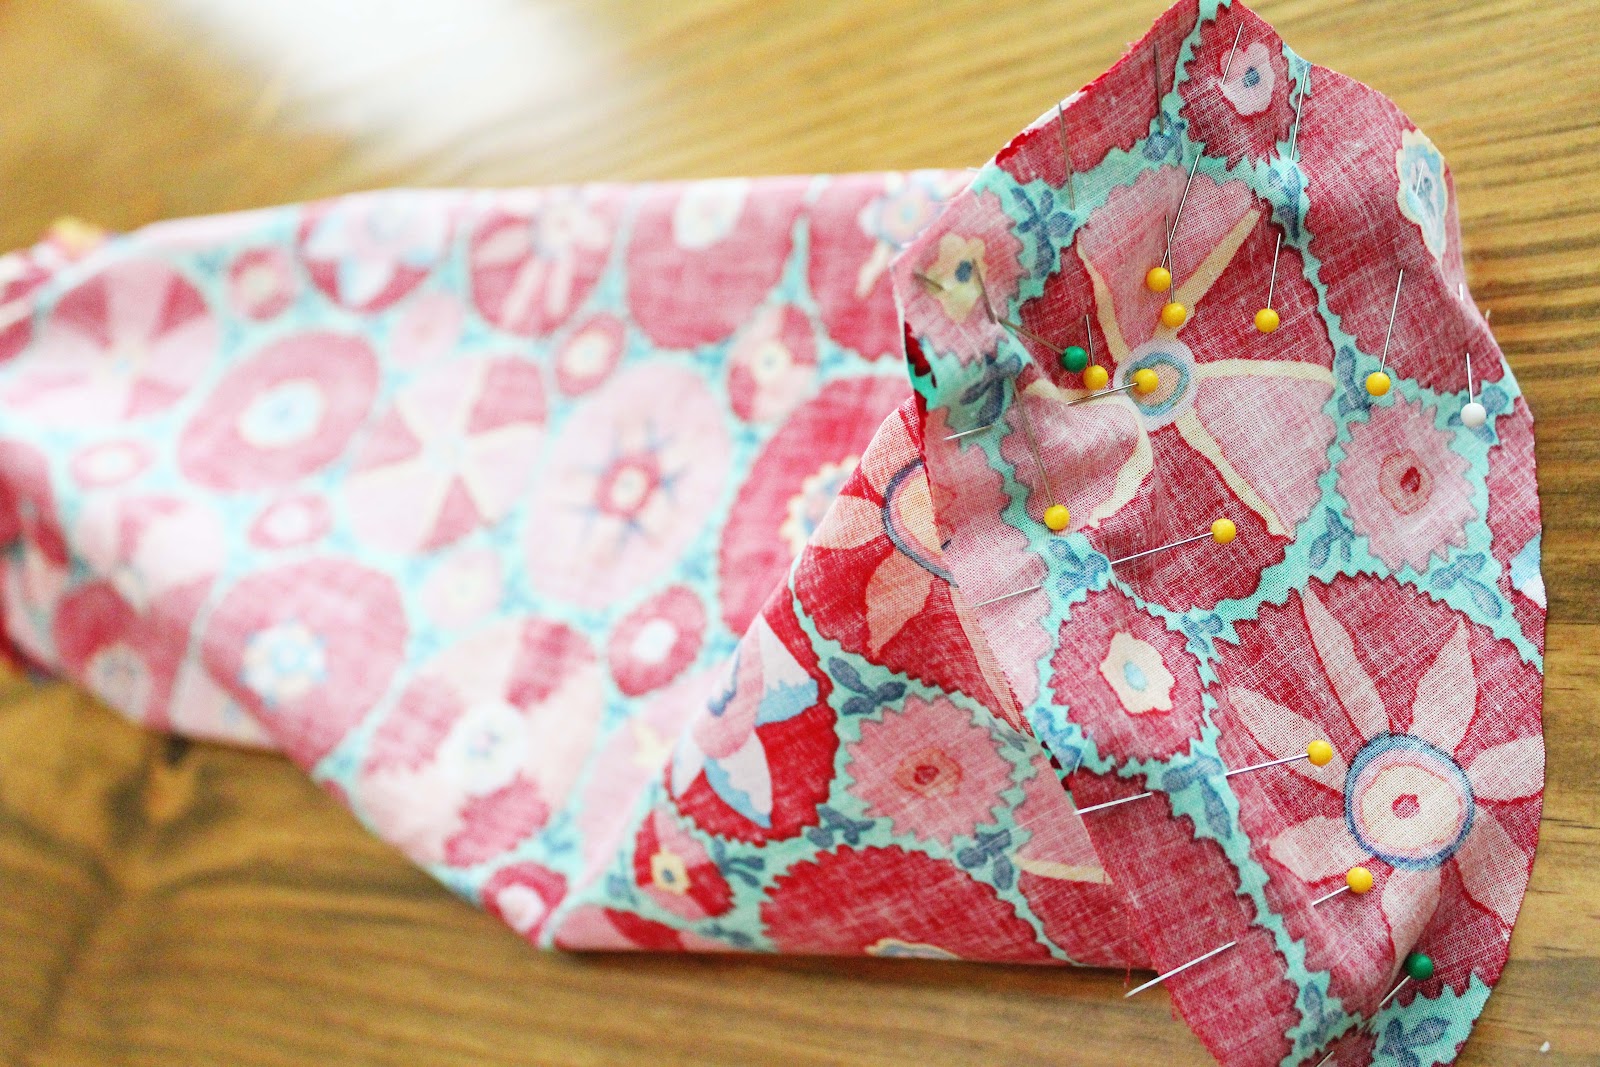
Then, with right sides together start pinning the edges to the main square of fabric. 

It will soon look like this, then you sew. Clip Your corners after you sew. 

Then I serged, or you could do 1/2″ hem.
Now she’s not naked, but she does have matching underwear :) Did anyone else make a custom face-plate or am I the only one? Oh come on guys, anyone?

Pin It

Filed Under: fabric, pattern, serger, sewing, Silhouette Tagged With: accessories

Embroidery Hoop Art

September 4, 2012 By Taylor 12 Comments

Remember when I jumped on the Embroidery Hoop Bandwagon, well I am still on it folks. And after the latest project, I’m not getting off any time soon. I wanted to add a quote about bikes to my Gallery Wall (random I know). And I needed something round. So, I broke out my trusty silhouette.
I used the clean cut interfacing, ironed my fabric to it, fed it into my machine and let it cut away.

Then I arranged my designed and ironed it down to my main fabric. I found the cute bike file in the Silhouette Store.

I hand embroidered around the words “life is a” to add a little something extra.

I wanted the “vintage” look of a wrapped hoop so I tore strips of fabric and glued them down to the embroidery hoop.


Then I just put my hoop back together, made sure my design was centered and cut the excess fabric off.

And of course in true TaylorMade style I had to rearrange part of my Gallery Wall. I also added something else that I got at Anthro… who can spot it?


Pin It

Filed Under: craft, fabric, home goods, Silhouette Tagged With: crafting

Gold Dipped Wine Glasses

January 24, 2012 By Taylor 15 Comments

Have I told you about one of my favorite BBF’s? That’s short for best blog friends mmkay. Meet Melissa from Cupcakes OMG. She is beyond awesome, one of the most stylish people I know and she’s hilarious. Melissa is a self named “snarky narcissist” and isn’t afraid to tell it like it is, whats not to love? Not to mention she is an incredible cook – everything from healthy paleo recipes to decadent cupcakes. She is originally from Houston but lives in DC so when she was home for the holidays we got together to do a little craft project. 
Enter the Gold-Dipped Wine Glasses (tutorial found via Say yes to Hoboken)

View original tutorial HERE.
Melissa and I spent hours catching up and dining on my Pimento Cheese Sandwiches and Macaroons that she made. Then we got down to business. 
All you need is gold spray paint, tape, newspaper and the glasses.

 We wrapped the wine glasses with craft paper and painters tape. Can I just say how much easier it is to take pictures of a craft when you have a model.
 

Then we took them outside to spray them. Two lights coats worked better to prevent drips.

Wait to dry (and take pics of yourself or eat more)

Take the tape off. You could stop here and you would have some really pretty glasses, be we are over achievers. So we added a monogram with etching cream. 

I used my Cameo to cut out our initials but you could use vinyl and an exacto or even the negative space from a letter sticker. 

Then apply the etching cream, it can be found at most craft stores, I buy it online… its cheaper. Also it says to leave it on for like 5-10 minutes, but I keep mine on for 20-30 otherwise its too faint. And you really have to slather it on. As you know etching cream is my friend as seen HERE, HERE and HERE.

Rinse it off and we are done.

I definitely wouldn’t put these in the dishwasher. They have held up so far with a few hand washes. I am just really careful on the paint dipped part. They can really fancy up your boxed wine :/ 

And be sure to go check out Melissa’s Post about our crafting extravaganza HERE and tell her hi :)

Pin It


Filed Under: craft, etched, paint, Silhouette Tagged With: crafting

Brobee Shirt

August 12, 2011 By Taylor 25 Comments

Last Yo Gabba Gabba Birthday post, I promise. I had a hard time finding anything for Finn’s party so, maybe this will help a fellow searcher.

All of the Brobee shirts I found were far too expensive for a boy. If you have a boy you know what I mean, after about 3 times, there will be a stain for sure. I also like any excuse to try new craft supplies and I have never used Iron-On Vinyl.. so, lets do this.
Inspiration: This $4 shirt from Target; Perfect Brobee

I used my favorite Silhouette feature and “traced” a Brobee Face that I found online. This file is specific to the Silhouette Software and I am super cool so I you can download it for free HERE :)

Just cut the different “facial features” in the three different colors.

Now… per the instructions on the Vinyl Packet, iron down the cut pieces with the shiny side up and press while gradually increasing the pressure of the iron. Only iron down the “first layer” of pieces.

Then pull up the plastic coating and add the “second layer pieces”.

Ok… sick of Brobee yet or will you miss him while he is gone? I’m sure he will be back, and Finn won’t miss him cause check out his new shoes… hehe.

More YGG posts HERE, HERE and HERE.

Related Posts Plugin for WordPress, Blogger...

Filed Under: birthday, boy, clothes, kid stuff, Silhouette Tagged With: cricut

  • « Previous Page
  • 1
  • 2
  • 3
  • 4
  • 5
  • Next Page »

Welcome to Taylor Made

http://www.taylormadecreatesblog.com/about-me Hi Yall! I'm Taylor... an artsy mom of three from Houston, TX. I love sewing, collecting floral fabric, eating Mexican Food, photography, brights colors, rearranging, and rolling clay. Taylor Made Creates is all about creating a fun, colorful home, sewing cute things and eating good food. Check out my SHOP HERE HERE! Thanks for stopping by!

Search

Pin with me!

Like Me :)

Facebook Pagelike Widget

More Recent Posts

  • Kid's Animal Room
  • Kids Camping Shirts
  • Mermaid Birthday Party
  • Conversation Heart Cold Packs
  • Holiday Apple Tea Punch
  • Purple Princess Costume
  • Letterboard Costume
  • La Croix Costume

FAVORITES

  • Briar Rose Strip Quilt
  • Mini Fabric Lamps
  • Barrel Chair Makeover
  • How to Shorten a Shirt
  • The Frozen Fox
  • Skunk Costume
  • Happy Rocks
  • DIY Leather Tote
  • More Casserole Carriers

Copyright © 2026 · Web Hosting By RFE Hosting