Is it baby/wedding shower season for your too? Our calendar is packed over here with showers and weddings (and I like it).
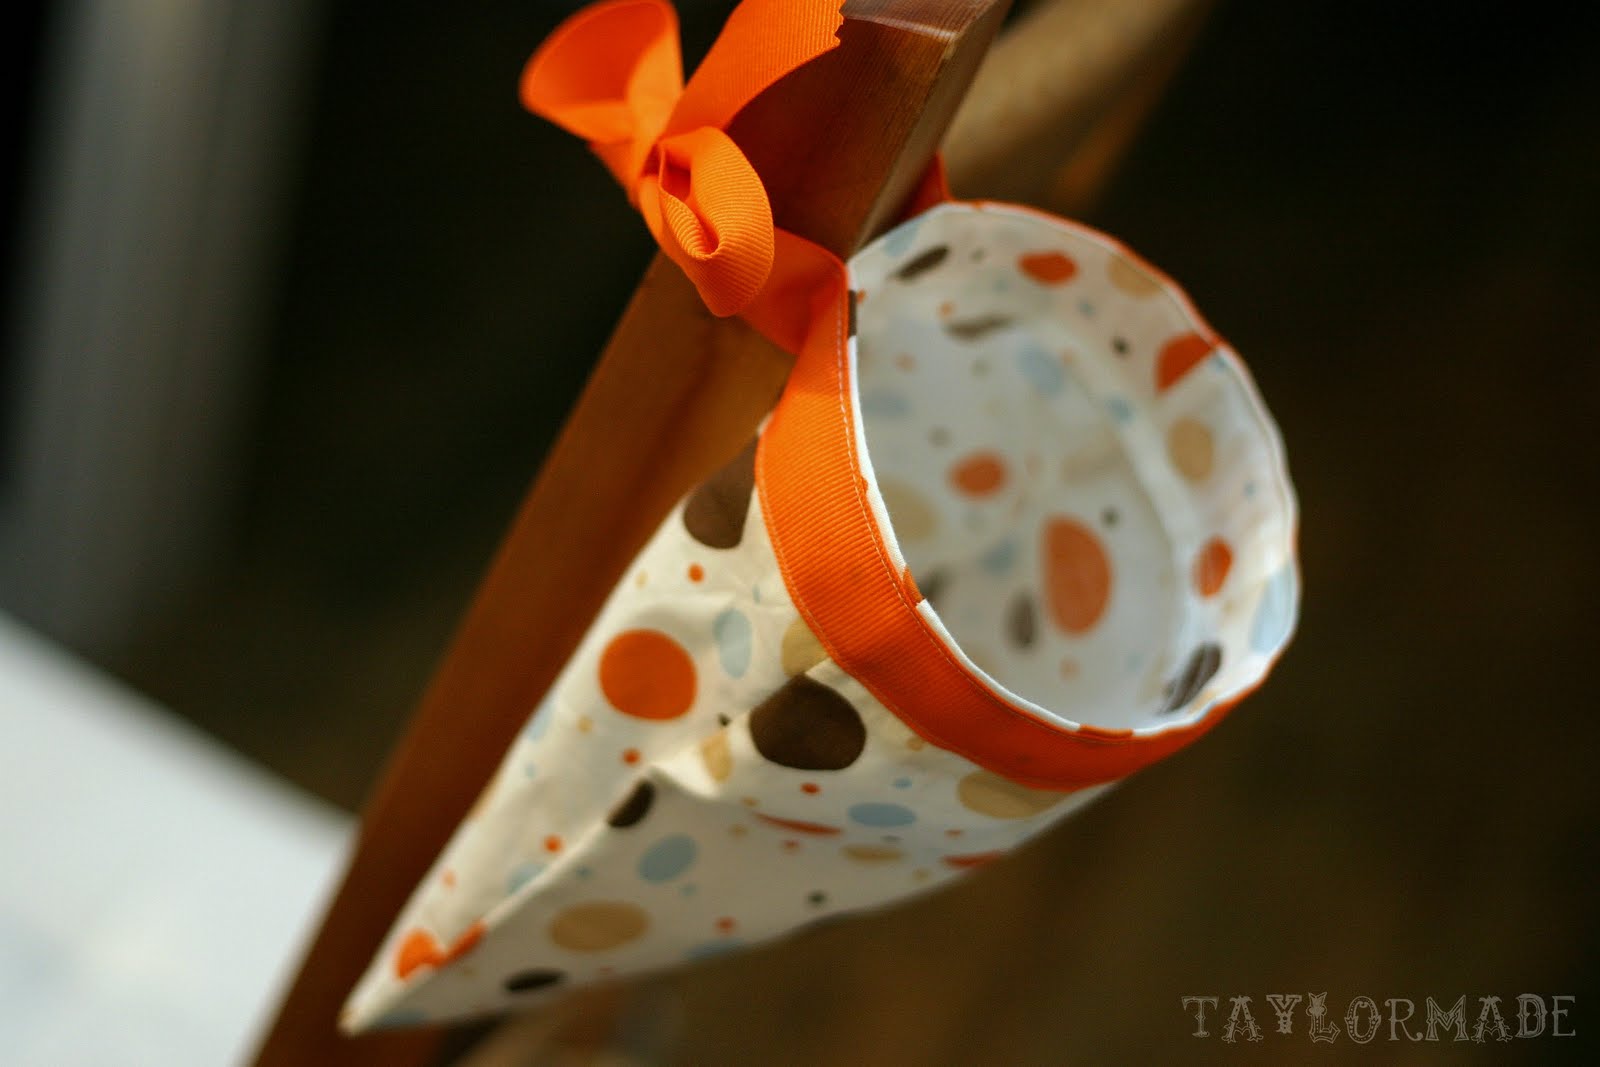
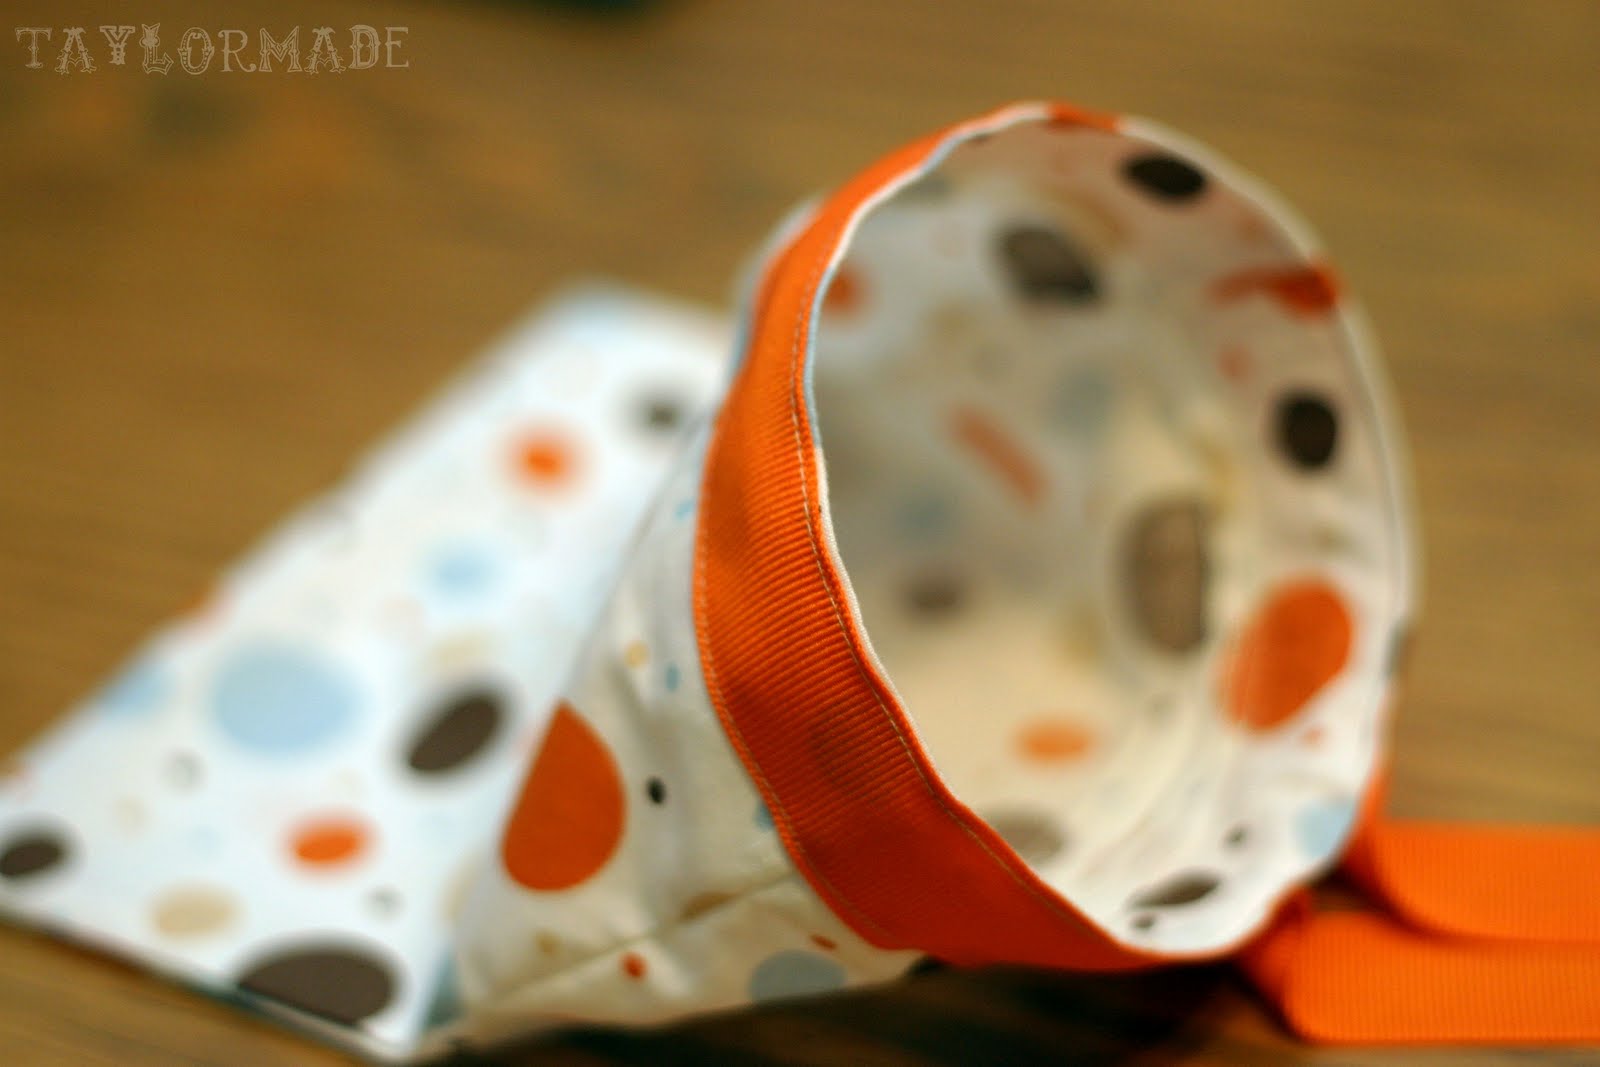
A common phrase at my house is… “where is the binky?”. So, I actually though about making something like this months ago for Clyde and his Binky Love (more of an obsession that I will regret later). We were invited to a diaper shower a few weeks ago and I always like to add something handmade. So I made a Binky Bag.
It is so easy I can barely even call this a tutorial- but I will :)
All you need is:
– a small piece of fabric (mine was 14″ x 10″)
– small piece of boning
-a ribbon
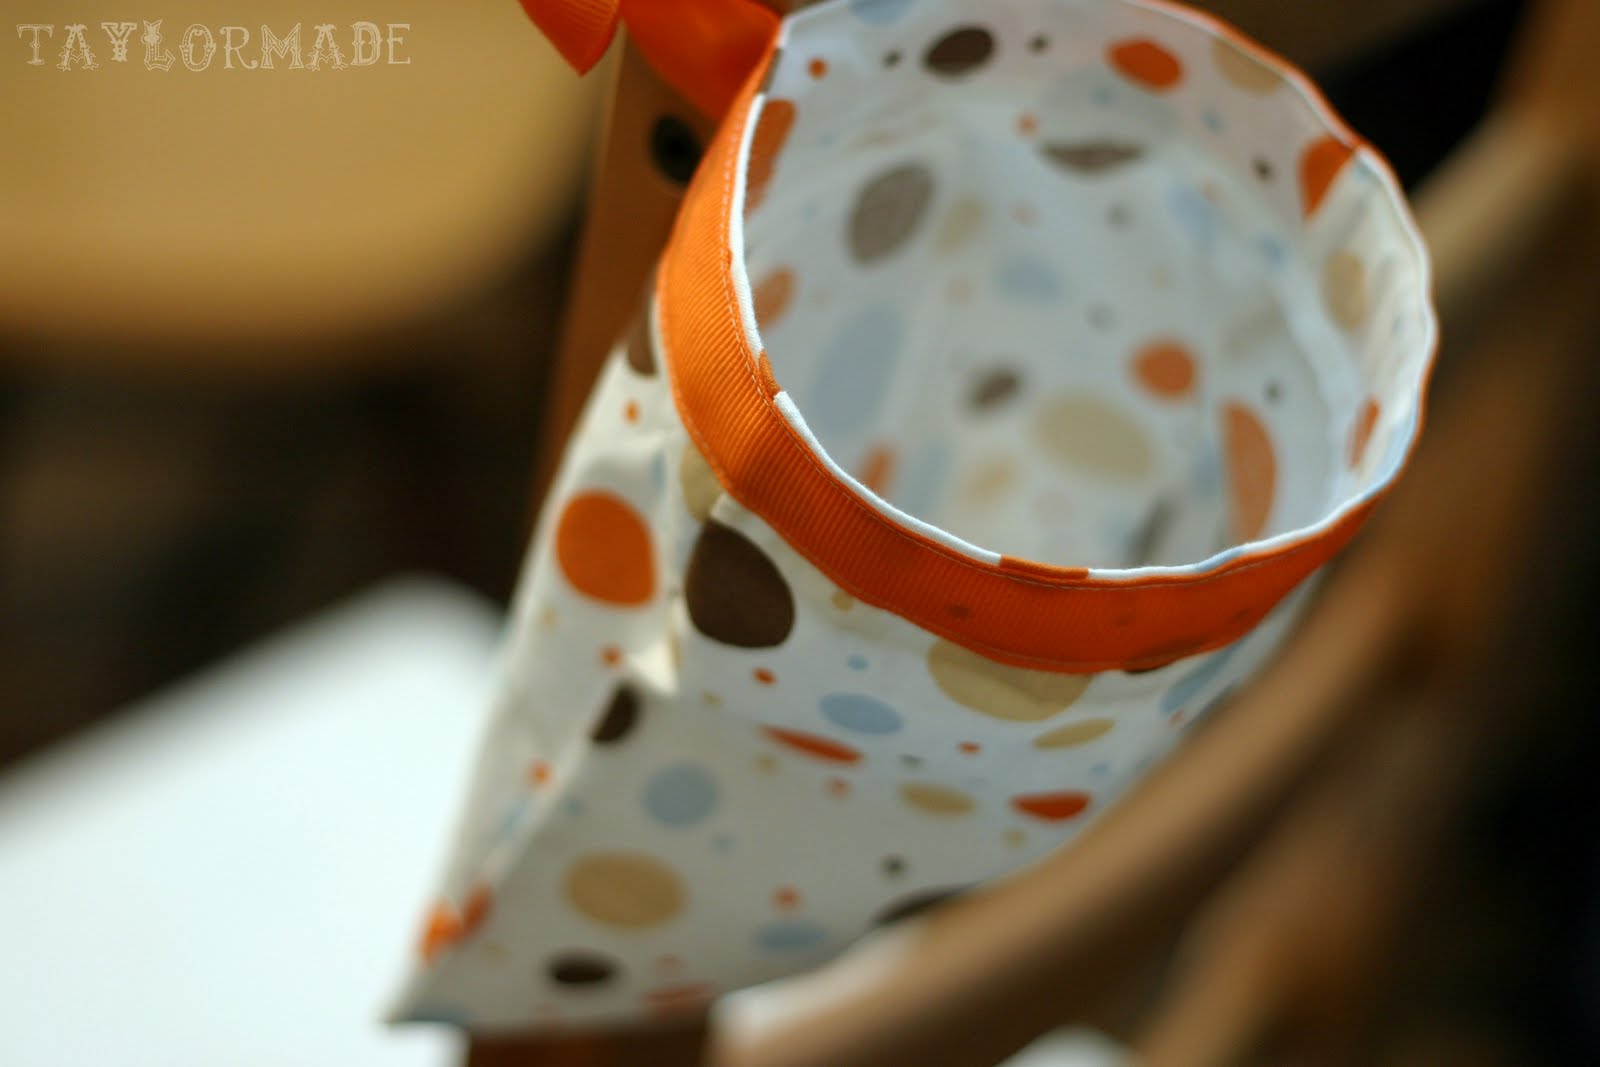
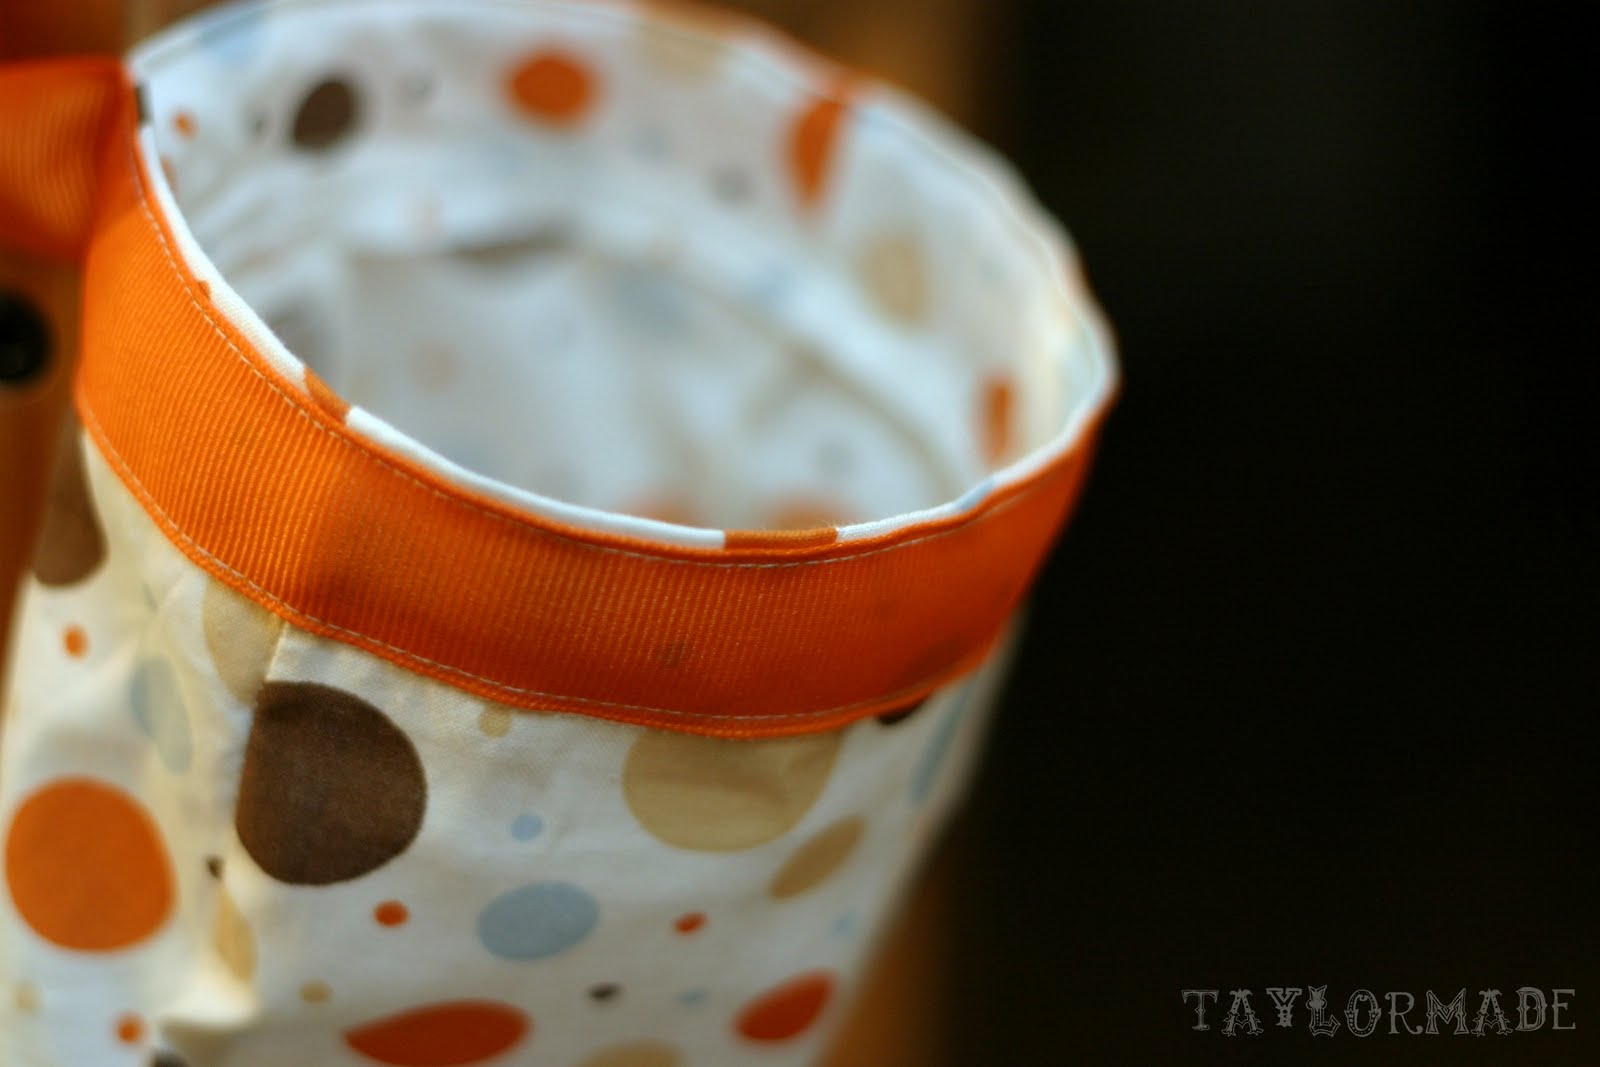
Basically all you do is create a pocket that is sewn on 3 sides and a 1″ hem on the 4th side so you can insert your boning inside and your bag will always be open. There are a ton of ways to modify it, here are the bare bones of the Binky Bag.
1. My piece of fabric was 14″x10″ and I folded it in half, right sides together, and stitched around 3 sides; leaving an entire side open
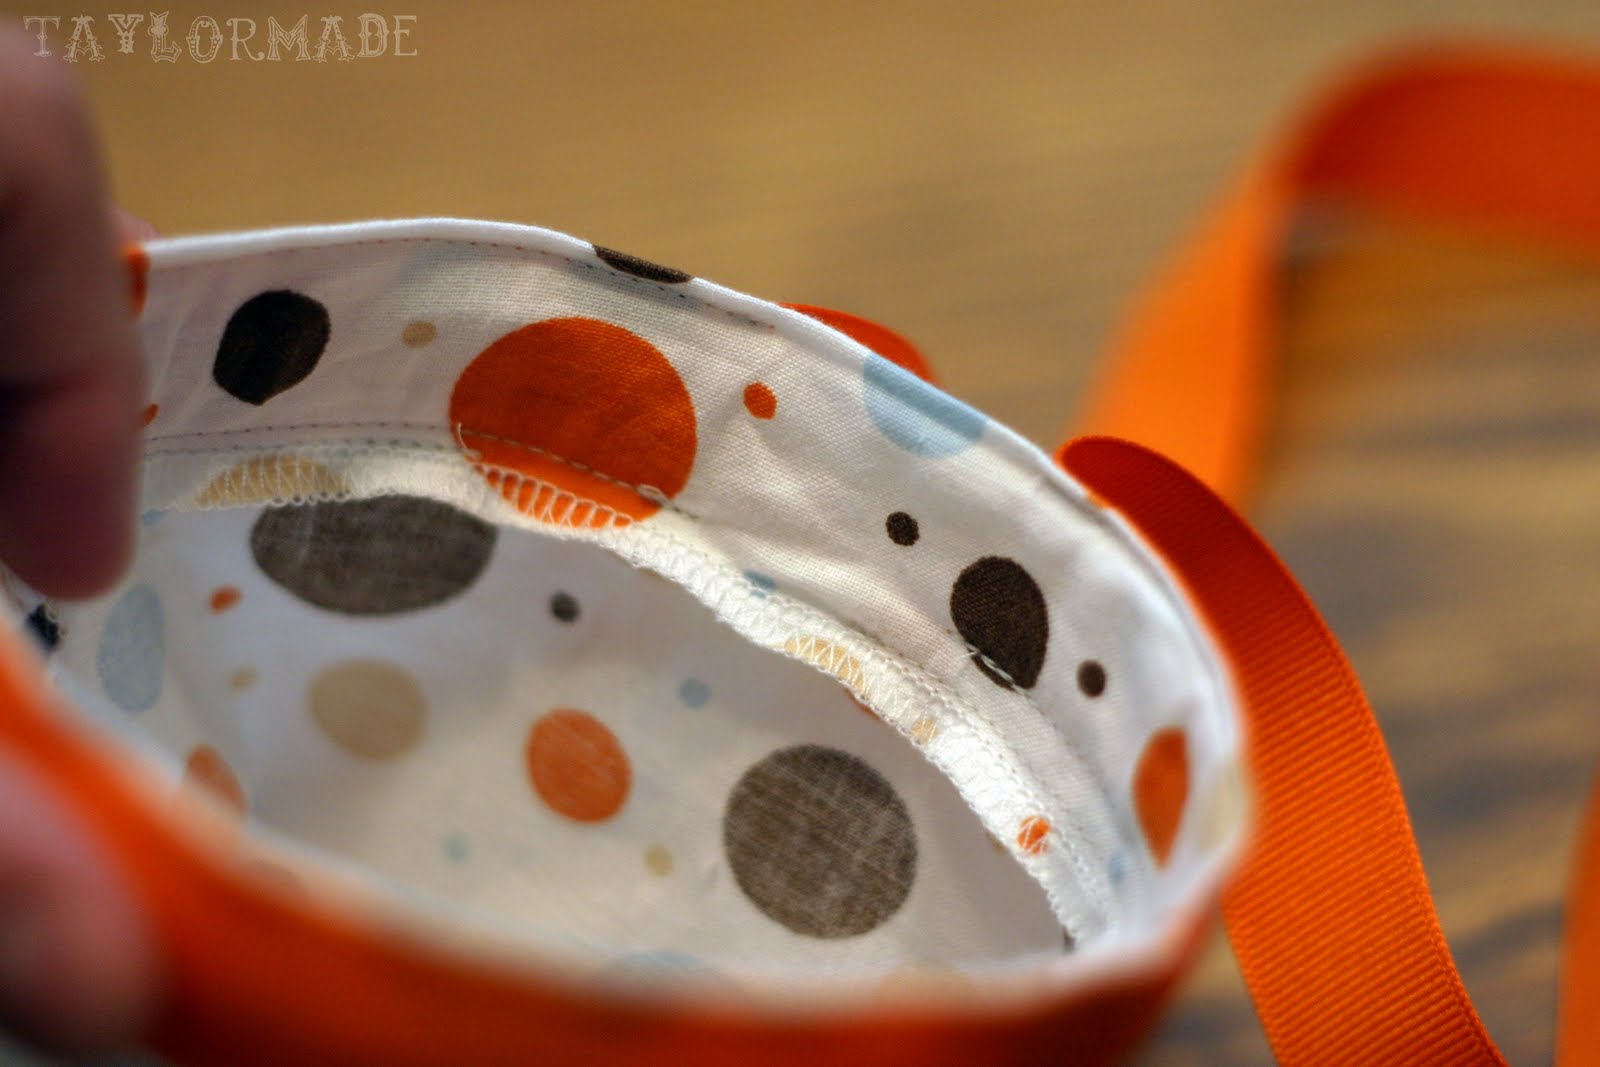
2. On the open side, serge around the top (or sew a hem)
3. With the bag still turned inside out, fold 1″ down
4. Sew around the fold leaving an opening
5. (the opening)
6. This is the boning that you will insert into that opening
7. Flip the bag right side out and pin a ribbon to the top of the bag
8. Make sure to leave a gap (about 1″) on the back of the bag so the ribbon doesn’t touch
9. Sew the ribbon to the bag
Lastly, insert the boning into the opening and stitch it closed.
Make sure to leave the gap in the ribbon so you can tie it to the side of the crib or changing table.
No more “where is the binky?” Happy Mommie, Happy Baby.
Have you noticed the “embroidery hoop craze” that is going around? Just search “embroidery hoop” on Pinterest and see what I mean… everything from chalkboards, cork boards, picture frames, and wall art. I thought I’d jump on the Embroidery Hoop bandwagon and I need a clock in the living room, perfect! Fun fact: I went through a small phase in 8th grade when I wanted to collect clocks then I realized they are really noisy at night and got rid of them all.
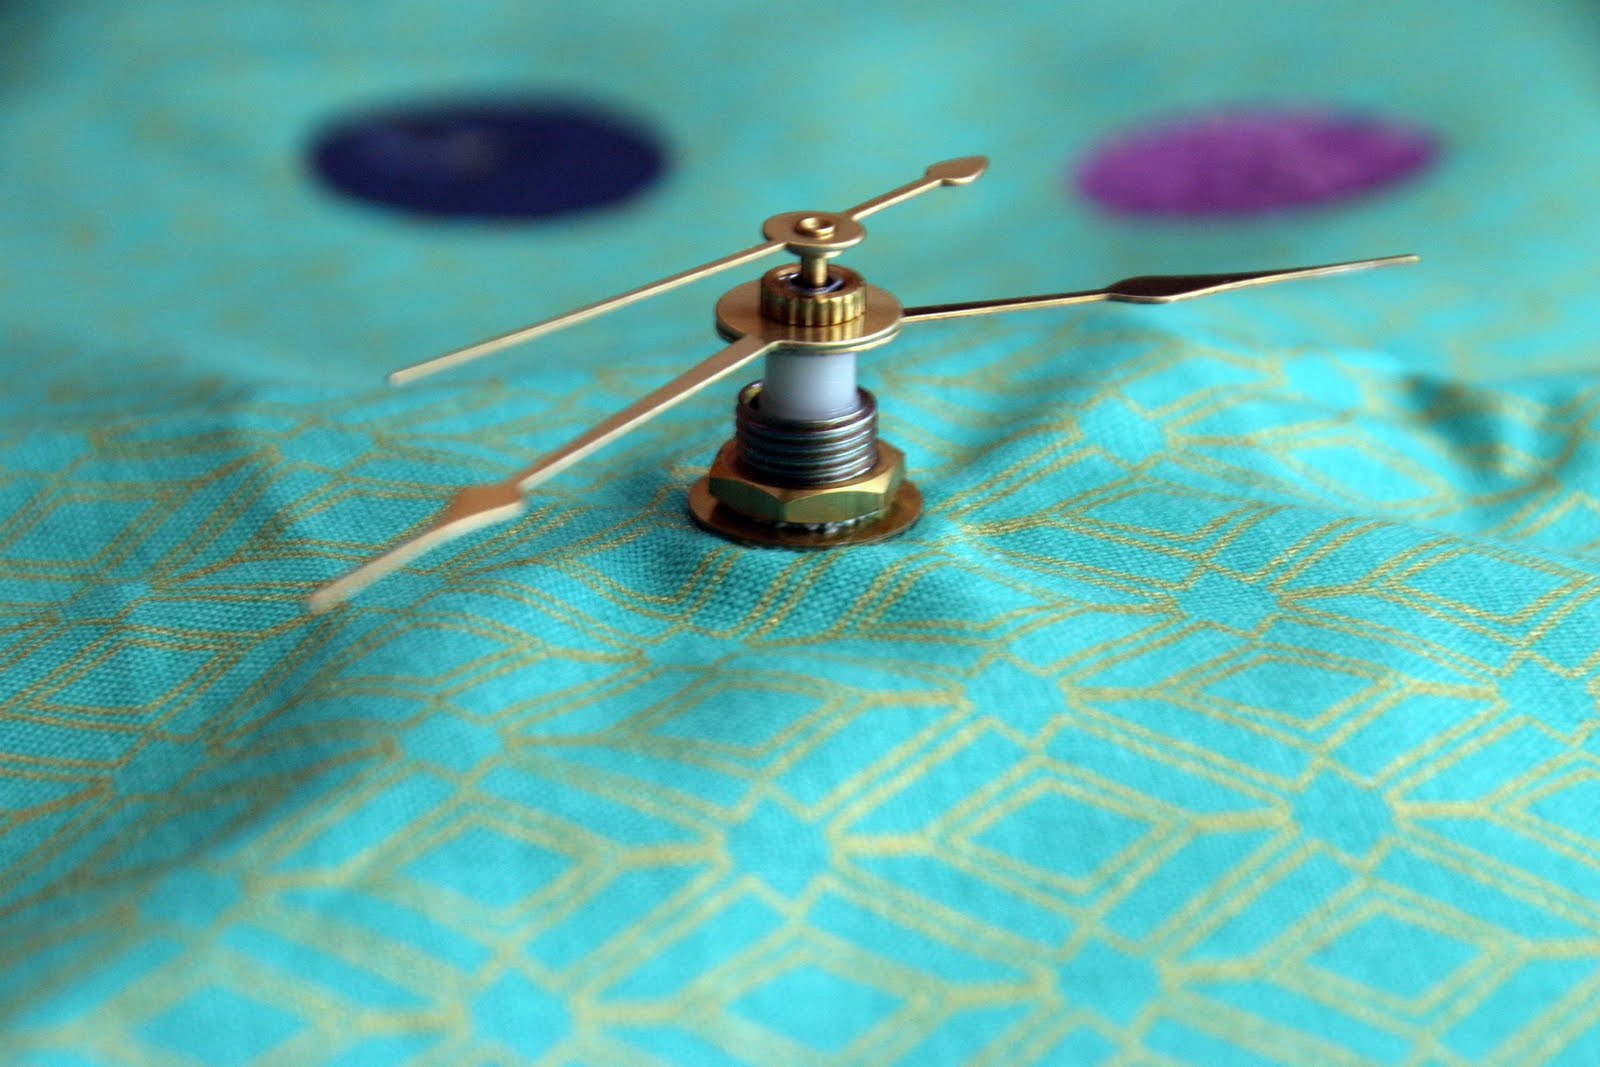
Meet The Color Wheel Clock.
You can get really creative with this, I actually went to the store for an embroidery hoop and a Clock Kit then came home and decided on the Color Wheel and fabric idea. You can use anything for the “hours” of the clock. I thought about buttons, rocks and abstract numbers. But being an art dork I really loved the Color Wheel.
What You Need:
-Clock Kit (I got mine at Hobby Lobby for $5.99)
– One fat quarter for the background of the clock
-Embroidery Hoop (mine is 10″)
-fabric scraps in 12 different colors
– fusible interfacing
Directions:
Cut your fabric Scraps out and iron the fusible interfacing to the wrong side of the fabric
Trace a 1″ circle on the back of the interfacing and cut it out
I painted the outside of my embroidery hoop gold to match the clock hands and the screw on the hoop
Fit your background fabric on the embroidery hoop. Measure 5″ from side to side and top to bottom to find the exact center and mark it.
Also mark the spots for each hour
Remove the fabric from the hoop and start placing the color wheel circles in place. Do this on your ironing board so you don’t have to move it once everything is in place. Don’t forget to remove the paper on the back of the interfacing. Iron them down.
Read the instructions on that came with your clock… (it was boring enough the first time so I don’t remember the exact steps; but I did take a pic) It looks daunting but it was really simple.
Cut a little “X” in the middle where you marked your center spot
Push the clock back through and assemble the clock.
Trim the excess fabric around the hoop
I think I am addicted to embroidery hoops now, I have already bought three more, good thing they are only about $2 each! What have you made with embroidery hoops that I need to know about? Or even better if you have a picture upload them to the Taylor Made flickr group and show me what ur workin with.
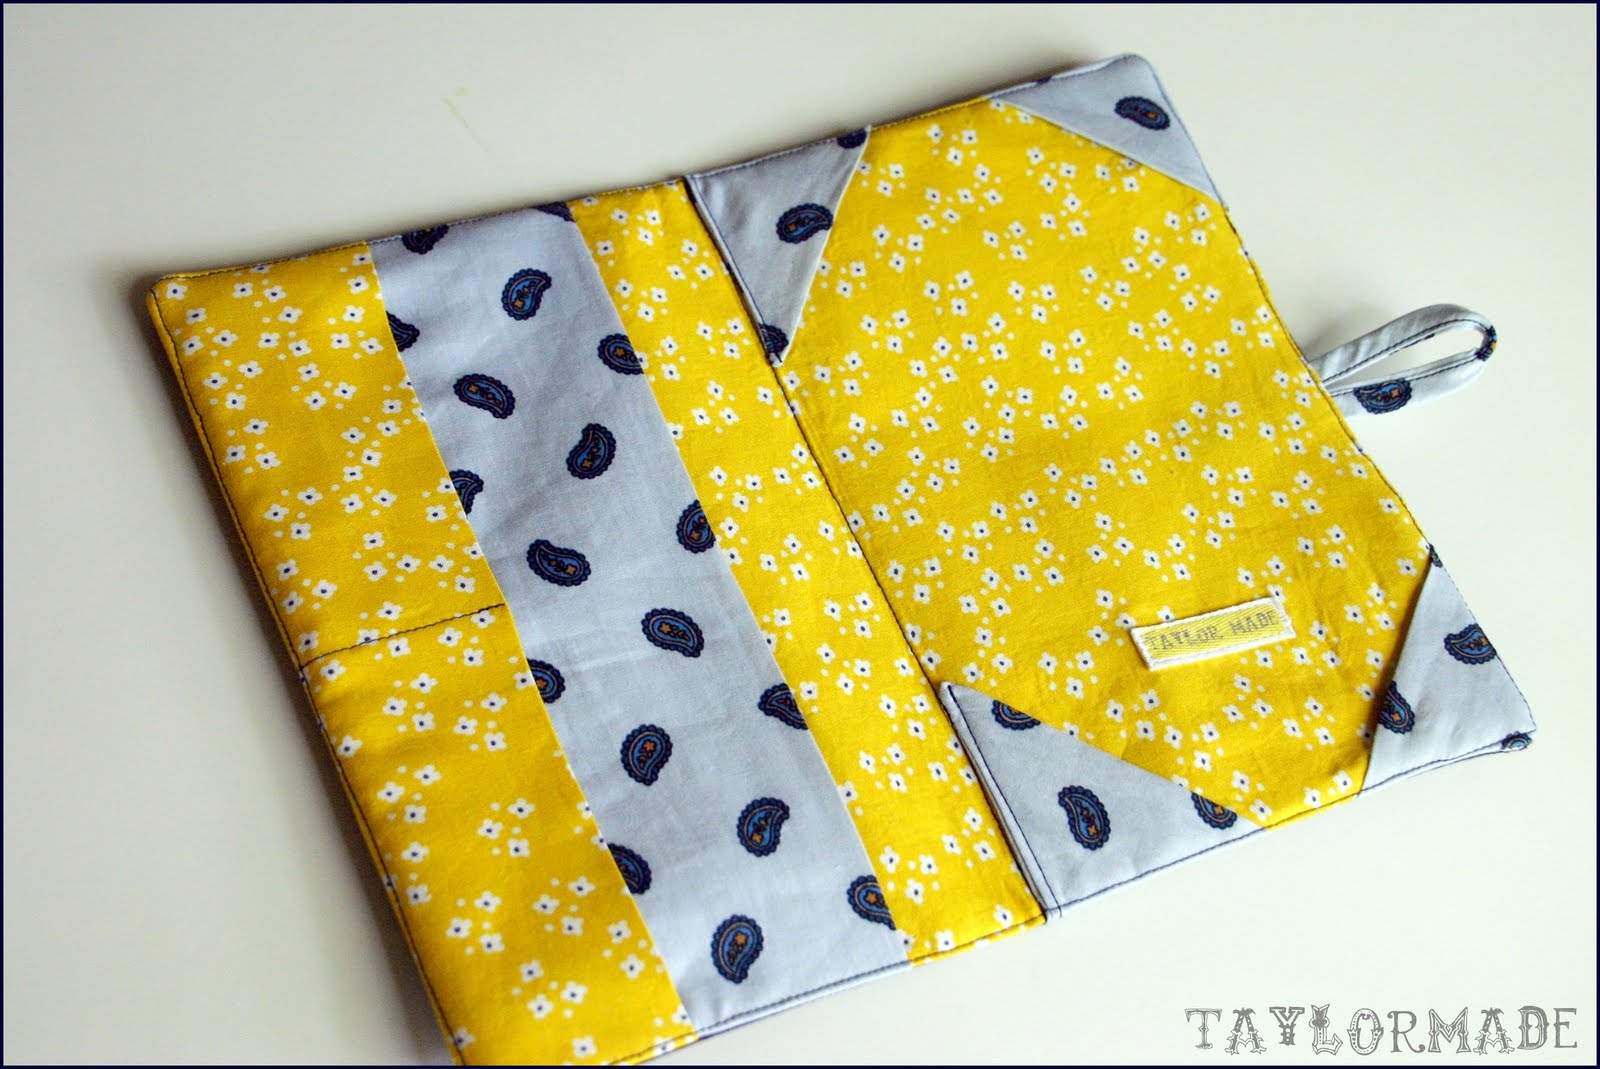
Happy Wednesday! I posted about my Nook Covers a few weeks ago HERE. I received quite a few emails and questions about the pattern and if I had a tutorial. Answer… I don’t because I actually purchased one on Etsy. I was going to make my own but I figured for $6 I would save myself some time :) The Etsy shop is called Birdiful Stitches. I love the pattern; it was really easy to follow, quick to sew and she even says you can resell them.
So, I made my third one last night; this time for my mom. I used my Silhouette with the iron-on interfacing and cut the bird out of fabric. Then I sewed it to the front cover before piecing the whole thing together. I found a picture of a bird on a branch that I liked from google images. Then I used the trace feature. Read my “How to Trace Tutorial” HERE.
I added an extra leaf and of course my Taylor Made Label to the back.
I love a good easy project that only takes a few hours but feels like you really accomplished something!
Do you have an E-reader? Because it is my new obsession. I can actually blame my current lack of crafts posts on my Nook. I guess reading is a good “new” hobby, right? Well, like any good nook owner I knew I needed a cover. I shopped around but didn’t find one that I loved. Then I found a DIY pattern on Etsy – yay. The pattern was very easy to follow. I have already made one for my sister too.
You can really add any sort of personal touch to your e-reader cover. My sister has a more classic style so hers is the navy one. And I wanted something more bold. The hardest part is picking out a button.
I used my Silhouette to cut out the “read” in fabric for the front of mine. I used Silhouette’s fabric interfacing and cut the fabric straight from the machine. How did I make the heart at the end of the word? Oh thanks for asking… I drew a heart and merged it into the end of the word in the Silhouette software. Then I just did a tight zig-zag stitch around the letters (not very perfectly).
Does any one have any must reads that I need to know about? I am reading Water for Elephants right now then I am going to read The Help. Since I am in my late twenties and just now taking up reading as a hobby I have some catching up to do…