TaylorMade

DIY, Home Decor & Sewing

  • Home
  • SHOP
  • DIY & Sewing
    • For the Home
    • Sewing
    • Costumes and Holidays
    • Cricut Projects
    • Crafting
  • Parties
  • Recipes
  • Home Tour
  • Favorites
  • About

Diaper Bag Tag

February 1, 2013 By Taylor 3 Comments

Welcome to the last installment of the baby shower :) You can read more about the shower HERE and about the Baby Quilt I made HERE. I just needed a little something to add to the baby’s basket. I always wanted to make one of these for my boys, but they are kind of too big now. Big boy backpacks and lunchboxes that they hold themselves…. so sad.
For the tag, I kind of added as I went but I did snap a new (night) pics. First, I used my PSA Monogram Stamps and stamped right on the solid pink fabric. I used really stiff interfacing and sandwiched each fabric with that in between.
Then I started layering by sewing directly onto the next fabric.
I traced a tag shape onto the base fabric with fabric marker. Then added a ribbon and backed it with felt. I sewed directly on that line.
Then I put it all together.
This is really cute added to the wrapping of a baby gift too!

I also made little tags for the headband bar at the shower.

Remember this.

For the “activity” all of the guests made Gabby a headband.  I made 3 different sized headbands and I wanted Gabby to know who made which band. So I made these little gift tags and used my Cameo to cut uniform circles quickly.

Then I used another PSA stamp to add the cute little animals.

I added bakers twine and just hand wrote “size” and “from” on the back.

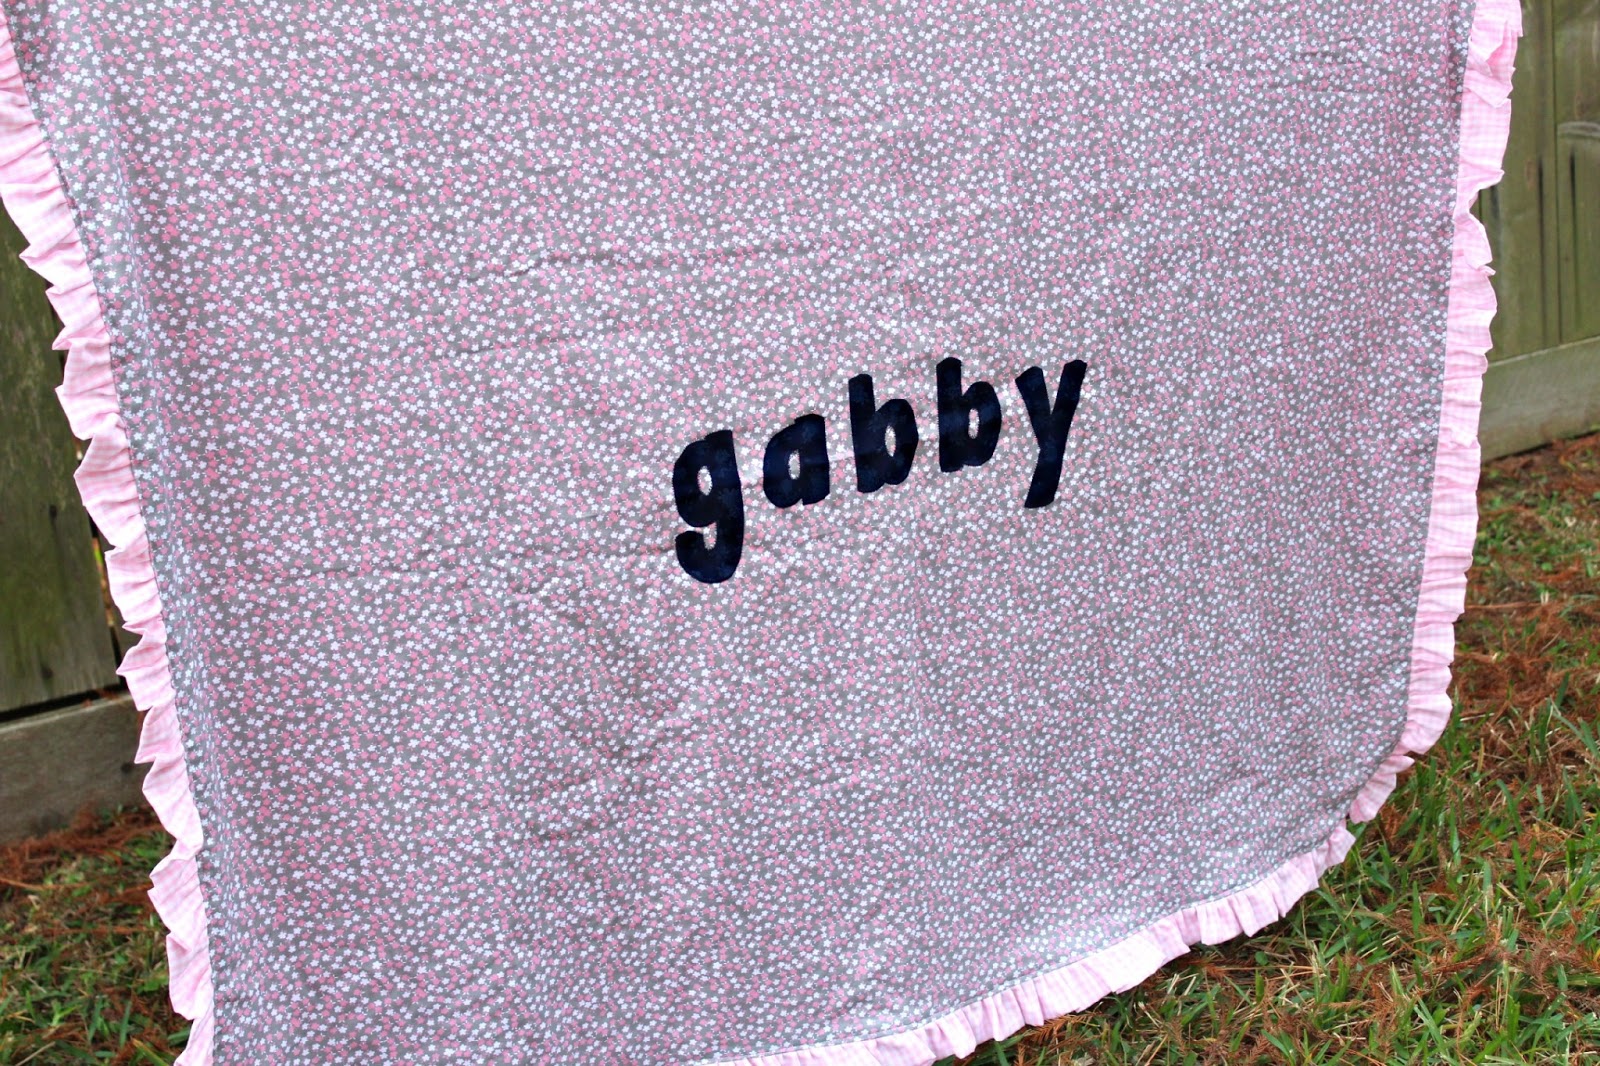
Last shot of what the new mommy got to take home :)

Whew… and there you have my (what took me two weeks) round up of the Baby Shower Events. It’s always fun to plan something crafty. I have another shower I’m co-hosting coming up in April, yay! 

For more ideas on how to use these stamps visit PSA Stamp Camp blog!

Pin It

Filed Under: baby stuff, fabric, felt, girl, paper Tagged With: kids

Baby Blanket with Name Applique

January 28, 2013 By Taylor 4 Comments


A new mom can never have too many baby blankets, right? Especially ones with names on them. You want every excuse to see your new baby’s name in action. And a handmade baby blanket is something you keep forever. Here is Gabby’s baby blanket I made for her Shower last week. (Shower details HERE)

I started by making the ruffled edges. I found pretty pink gingham and tore it into strips.

Then I used my ruffle foot. And ruffled, and ruffled and ruffled.

I used a yard of minky for the back and a yard of the floral print cotton for the front.
I rounded the corners with a bowl. Then, put the minky aside because its time for the appliqued name :)

For the applique, I ironed wonder-under to the back of the fabric. I printed out the name and traced the letters (BACKWARDS) on the back of the wonder-under.

Then I cut out the letters (and took the back of the WO off) and placed them on the fabric. Next, Iron.

Then I used a very sloooow zig zag stitch around each letter. Voila, easy applique done.

To put the quilt together, I actually sewed my ruffle to the minky first. The minky can get slippery and I tend to get messy so this made it nice and neat.

Then, put right sides together with the ruffle in between. The line from the ruffle serves as a guide, I used a 1/4″ seam allowance from that seam. Don’t forget to leave an opening to flip.

Once you have flipped, Press the seams down and top stitch all the way around.

What baby girl doesn’t love pink minky?

Pretty pink package :)

Stay tuned later this week for more shower details, including flag bunting that I may or may not have wanted to keep, a baby bag tag and some cute stamped gift tags!

Pin It


Filed Under: fabric, girl, quilt, sewing Tagged With: kids

Zig Zag Quilt

November 26, 2012 By Taylor 11 Comments

Sometimes I make stuff and think its OK. Then sometimes I make stuff and I like it. And every once in a while I make stuff and I love it! Well, I made this quilt and I am 120%  in love with it. Like, I think it’s one of my favorite things I have ever made. At least top 5.
Back in June, Ashley from Mommy by Day Crafter by Night, hosted a quilt-a-long. I had good intentions to stick with the time frame. But being my usual crafting slacker self, I didn’t. I learned a long time ago that when I craft on a time frame, it isn’t good. So, I let it go and teased with these instagrams over the past few months.

It is so me. Happy Colorful Grandma Chic :) If it wasn’t crazy, and I didn’t live with 3 boys, then my whole house would be bright floral print. So (with the exception of the polka dot border) every fabric in this quilt is a floral print that I love. I also started this quilt in June so I was HOT. I did a little research and I found out that sometimes in the south, ladies would just use a sheet instead of quilt batting to keep it cool. This quilt is the prefect temperature. It can breathe but even in the winter its just warm enough. I used our very first sheet that we bought when we moved in together. I never had the heart to throw it away. I’m so happy its in there.


Back shot. 

All of the boys have been caught cuddling up with it and Finn calls it his favorite blanket.  

I don’t blame them, what’s not to love? Now that I have finally quilted a top, I have plans to finish two tops that I never quilted and I am starting two I Spy quilts for the boys for Christmas. Over-Quilt-Commiter? Are you doing any Christmas quilting? Also if you have a quilt blog or know of a great one leave it in the comments- I’m all about them right now!

Pin It

Filed Under: fabric, quilt, sewing Tagged With: quilts

thanks & giving dish towels

November 19, 2012 By Taylor 17 Comments

What? How is it already Thanksgiving week? I’m totally not ready, mainly because October-December is my favorite time of year and I feel like it’s halfway gone. Anyway, I made these dishtowels to hang in the store but I ended up loving them- so I kept them :)

I went to Joann’s looking for “dishtowel” material (what ever that means) and found something perfect. Isn’t this waffle fabric such dishtowel material? I serged the edges, pressed them down and sewed a hem all the way around.

Then, I cut the fabric to fit over the dishtowel the same way I make my burp cloths. If you have a serger you can serge to the exact size, if not you will need just fold the edge over. Then I used a zig-zag stitch to attach the fabric to the edges of the dish towels.

Fold your towels the way they will hang to determine where you will stamp your words. Then tape off the section for the words.

Of course, I used my PSA Essentials. The great thing about these stamps is the “stamper” that comes with them. It gives you a perfect stamp each time but I wanted a more “rustic” looking letter so I used the stamp on an acrylic block. Also that helped me to line up the letters easier.

Center your words and stamp away.

I love how they turned out. Also, last week my son moved them and I walked by and they said “giving… thanks” Still works. For other PSA Stamps ideas, visit the blog HERE.

Pin It

Related Posts Plugin for WordPress, Blogger...

Filed Under: fabric, holidays, serger Tagged With: holidays

  • « Previous Page
  • 1
  • …
  • 12
  • 13
  • 14
  • 15
  • 16
  • …
  • 23
  • Next Page »

Welcome to Taylor Made

http://www.taylormadecreatesblog.com/about-me Hi Yall! I'm Taylor... an artsy mom of three from Houston, TX. I love sewing, collecting floral fabric, eating Mexican Food, photography, brights colors, rearranging, and rolling clay. Taylor Made Creates is all about creating a fun, colorful home, sewing cute things and eating good food. Check out my SHOP HERE HERE! Thanks for stopping by!

Search

Pin with me!

Like Me :)

Facebook Pagelike Widget

More Recent Posts

  • Kid's Animal Room
  • Kids Camping Shirts
  • Mermaid Birthday Party
  • Conversation Heart Cold Packs
  • Holiday Apple Tea Punch
  • Purple Princess Costume
  • Letterboard Costume
  • La Croix Costume

FAVORITES

  • Swan Wings + Hello Ollie Fabrics
  • How to Glaze Furniture
  • Color Wheel Clock
  • Pippa Peplum Piggy Dress
  • Mini Fabric Lamps
  • Triangle Baby Quilt
  • DIY Chalkboard
  • DIY Roach Costume
  • Christmas Candy Tablecloth

Copyright © 2026 · Web Hosting By RFE Hosting