TaylorMade

DIY, Home Decor & Sewing

  • Home
  • SHOP
  • DIY & Sewing
    • For the Home
    • Sewing
    • Costumes and Holidays
    • Cricut Projects
    • Crafting
  • Parties
  • Recipes
  • Home Tour
  • Favorites
  • About

Baby Onesie Refashion

August 19, 2011 By Taylor 16 Comments

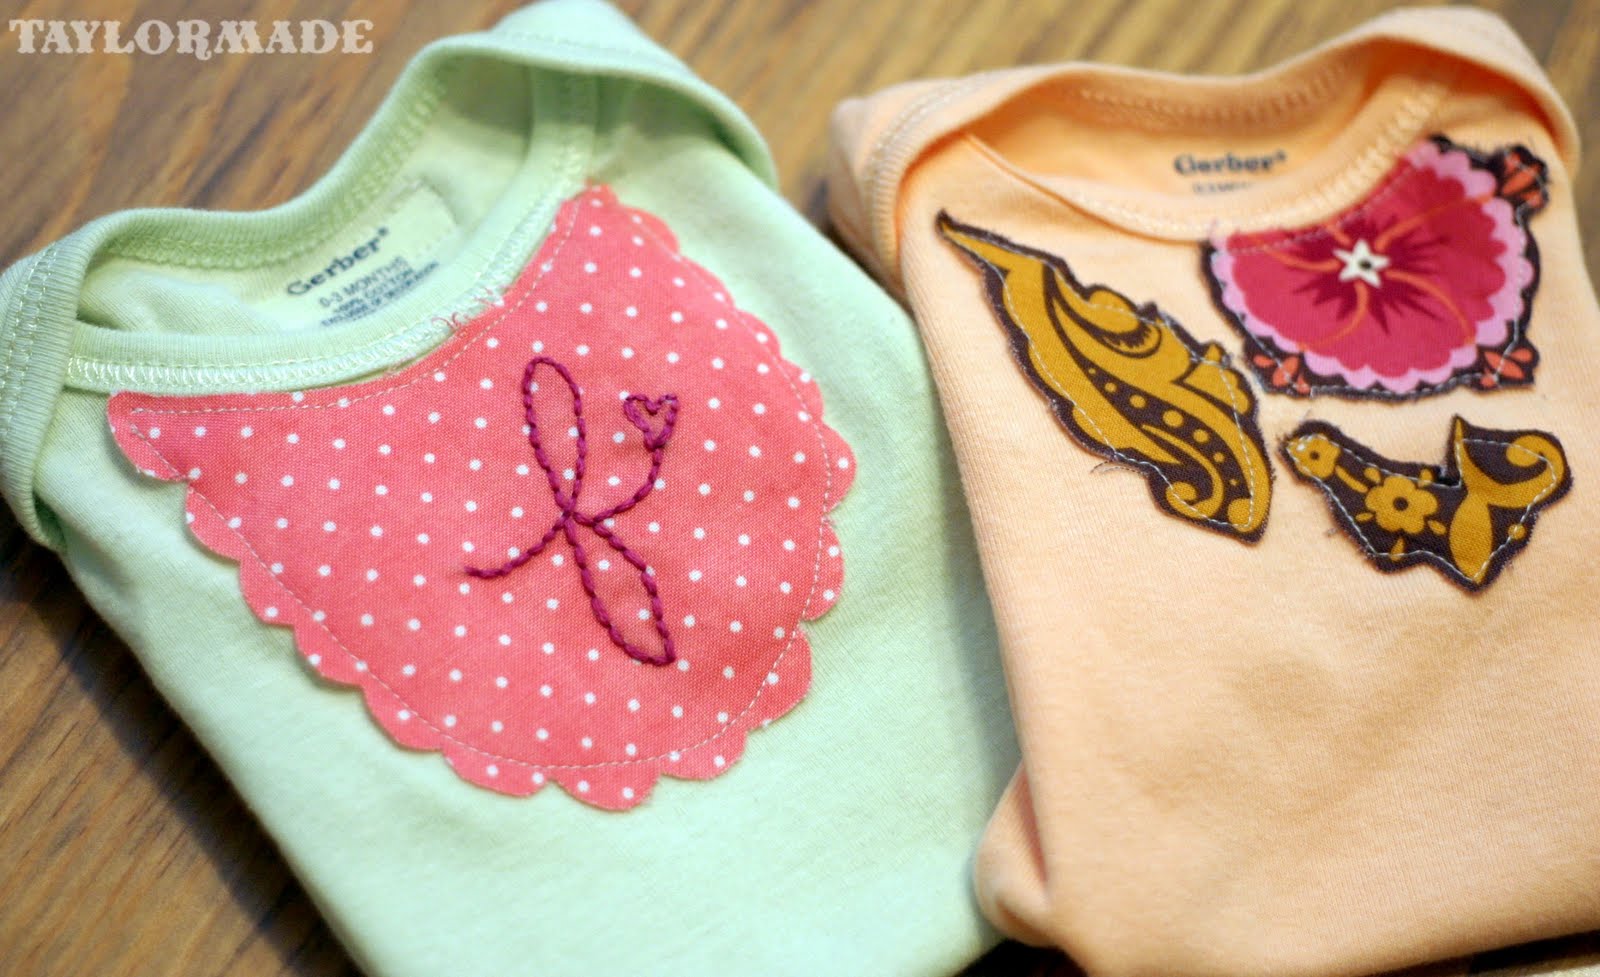
Take plain onesies and turn them into a baby fashion statement.
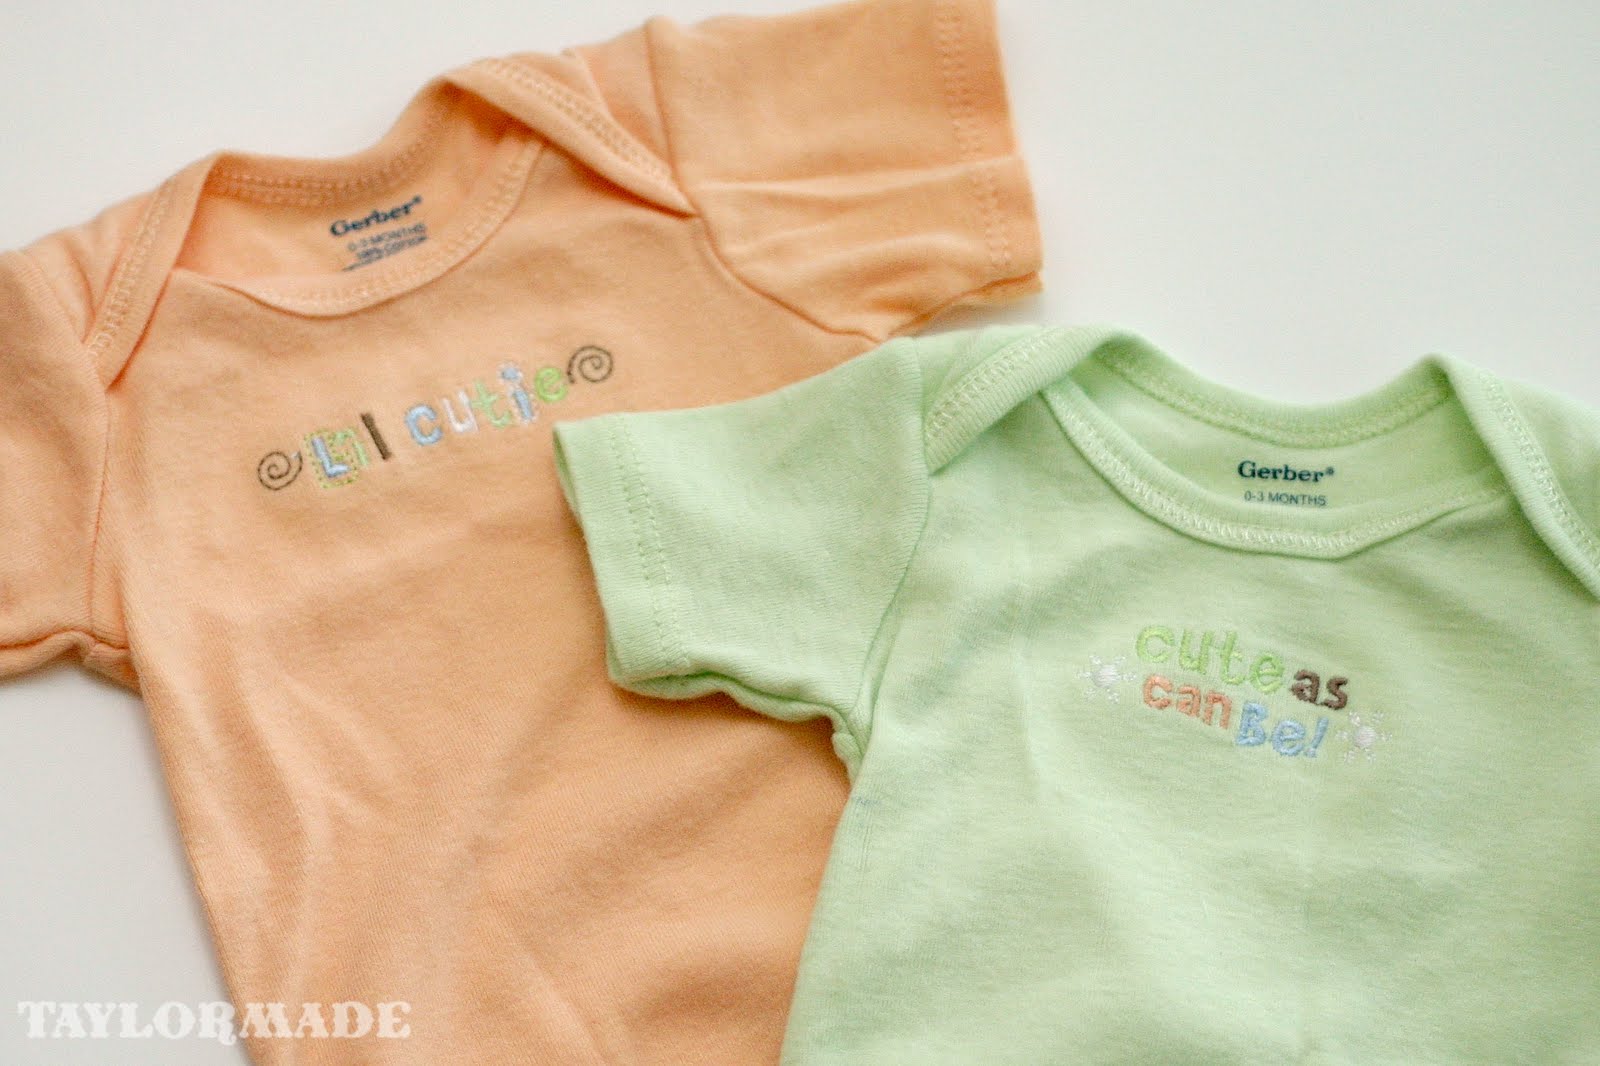
Babies need a little refashion sometimes too. These onesies were originally embroidered with a little “baby saying”… cute but I thought the colors were a little too girly for my Clyde. He never wore them, I refashioned and re-gifted! I just used some fabric scraps and some imagination.
Before:
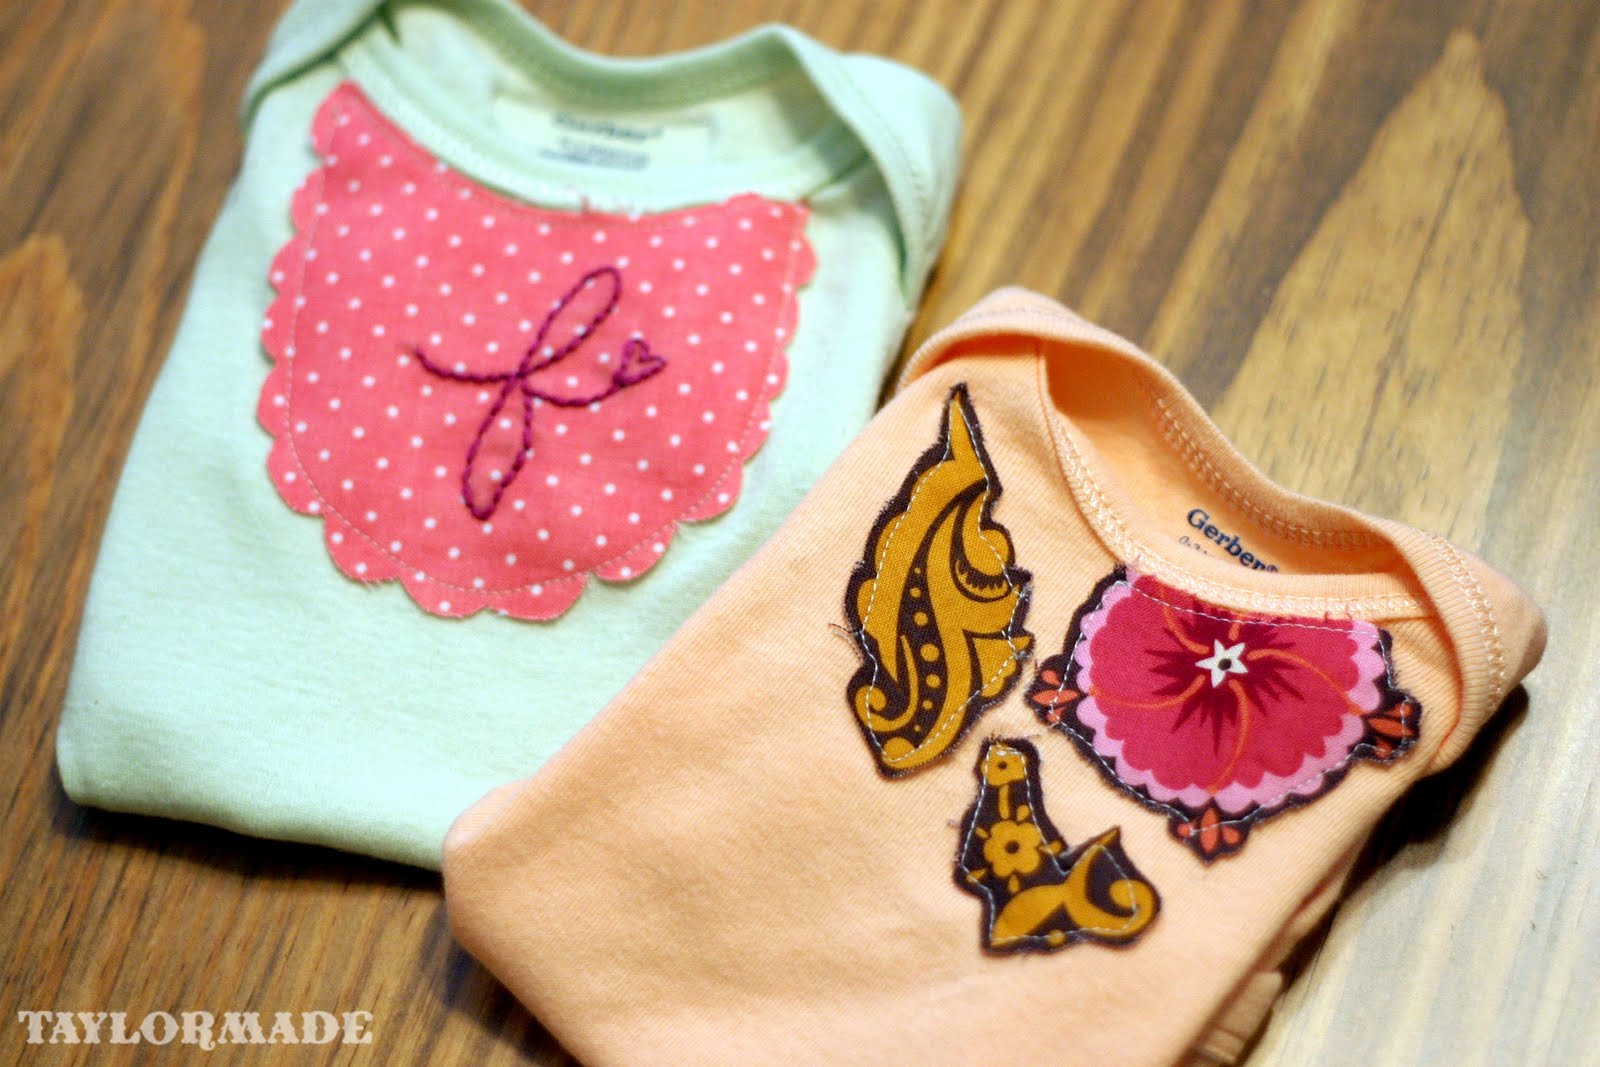
I made two; here is how I made the first one:
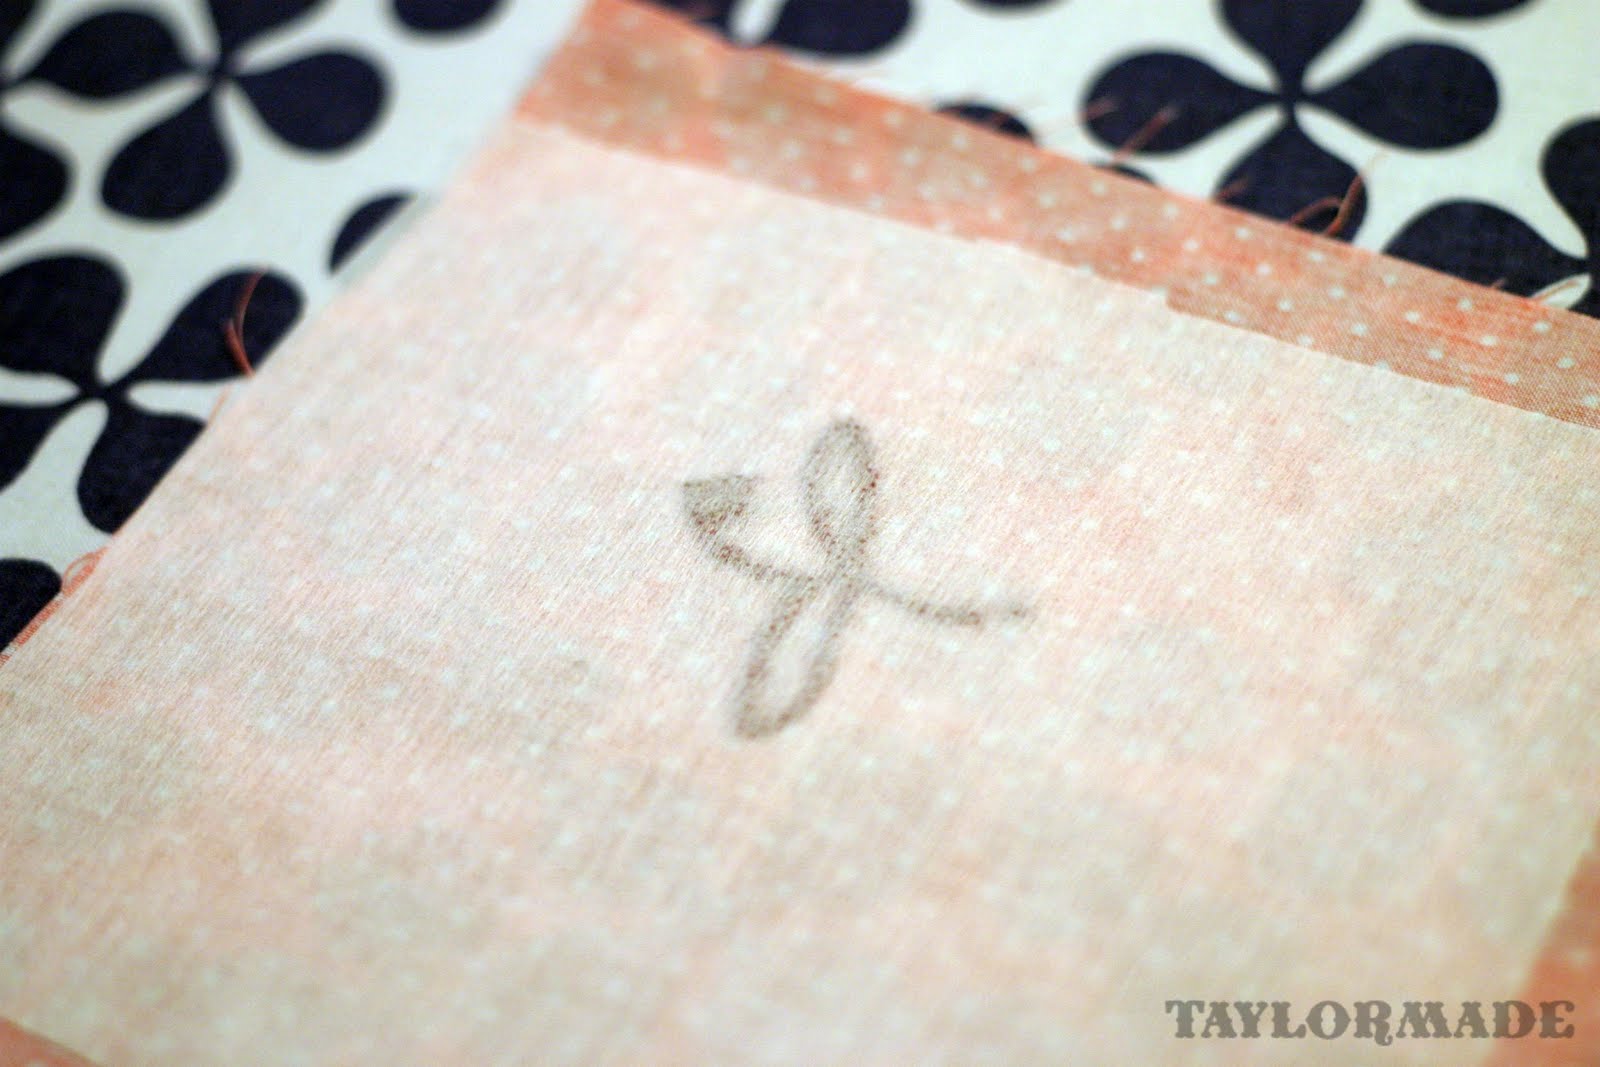
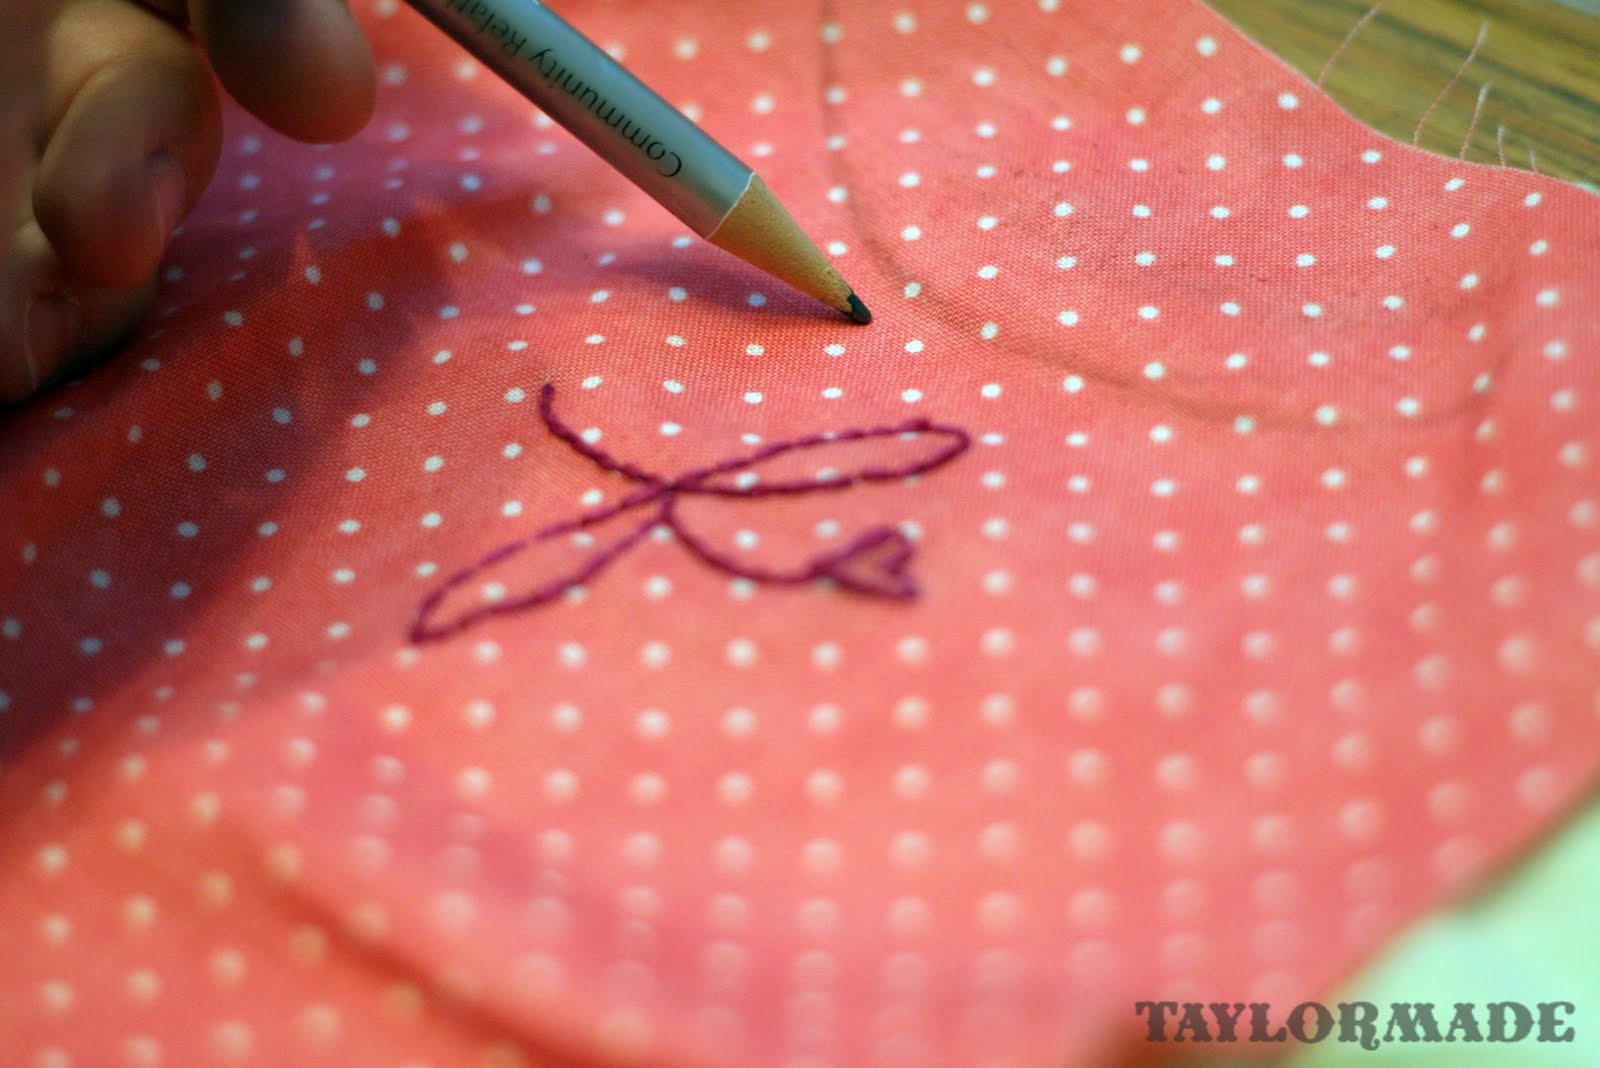
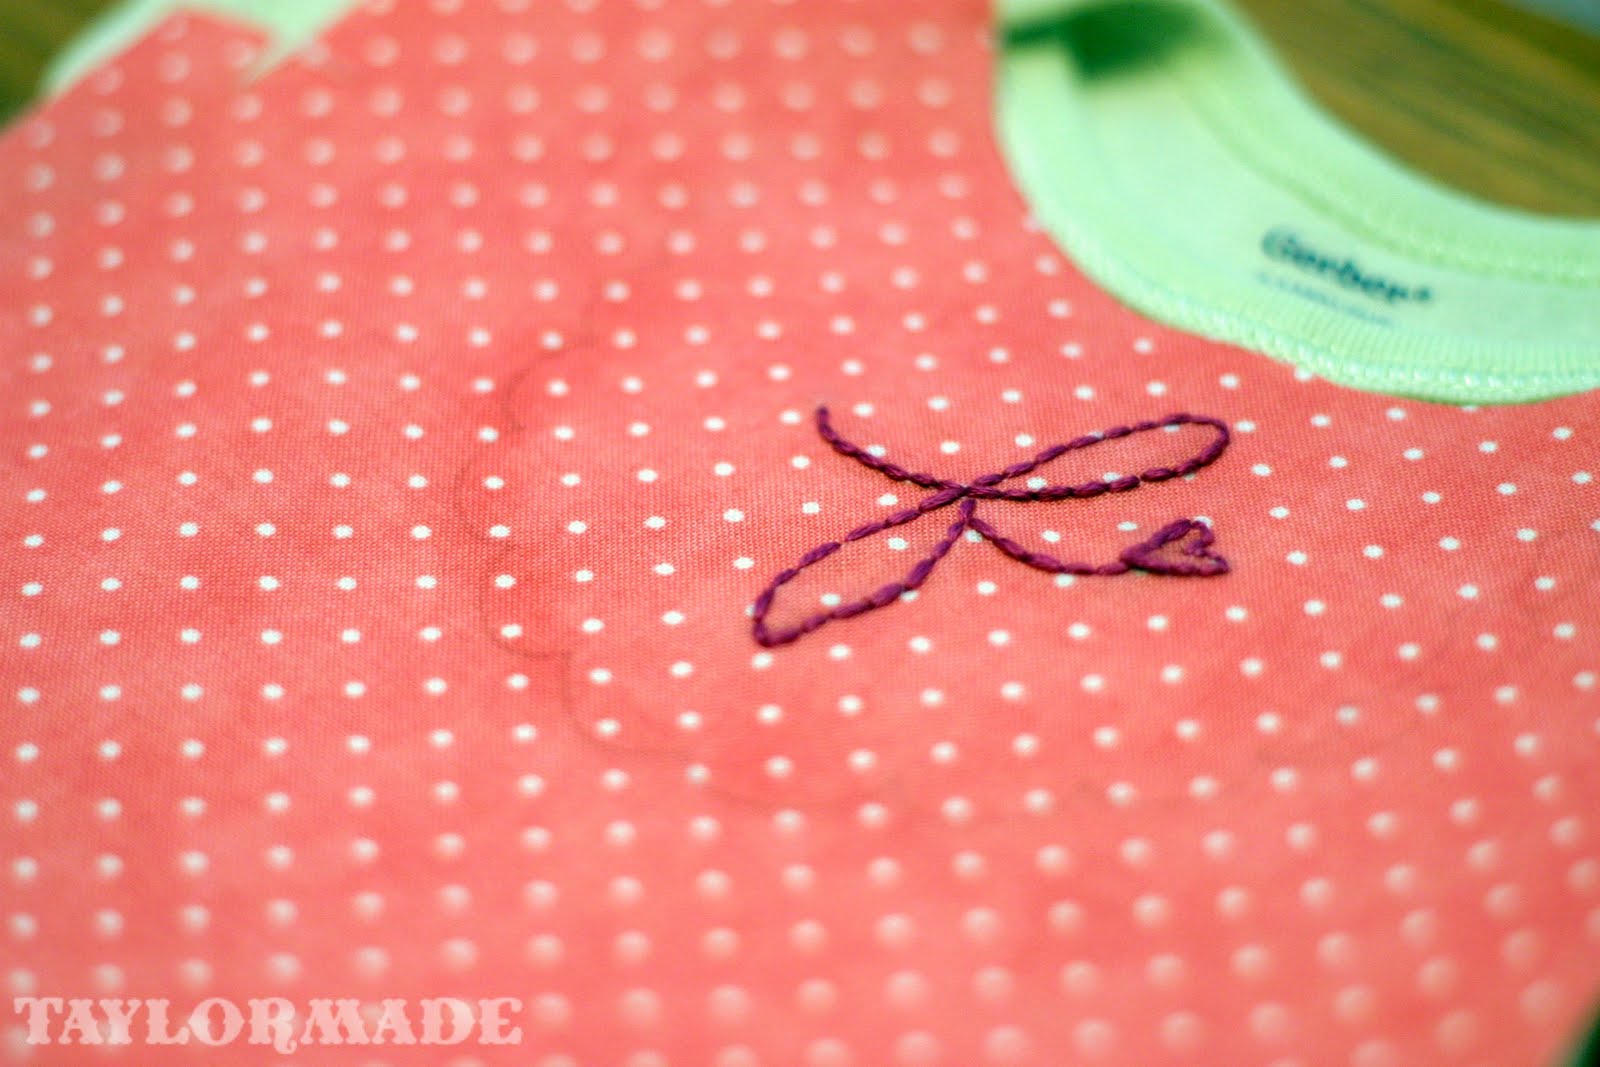
I started by embroidering the letter “f” on my fabric, I just penciled it freehand right on the fabric.
Next step is to iron interfacing to the back of the fabric. I went for the raw edge look and this way the fabric won’t fray as much.
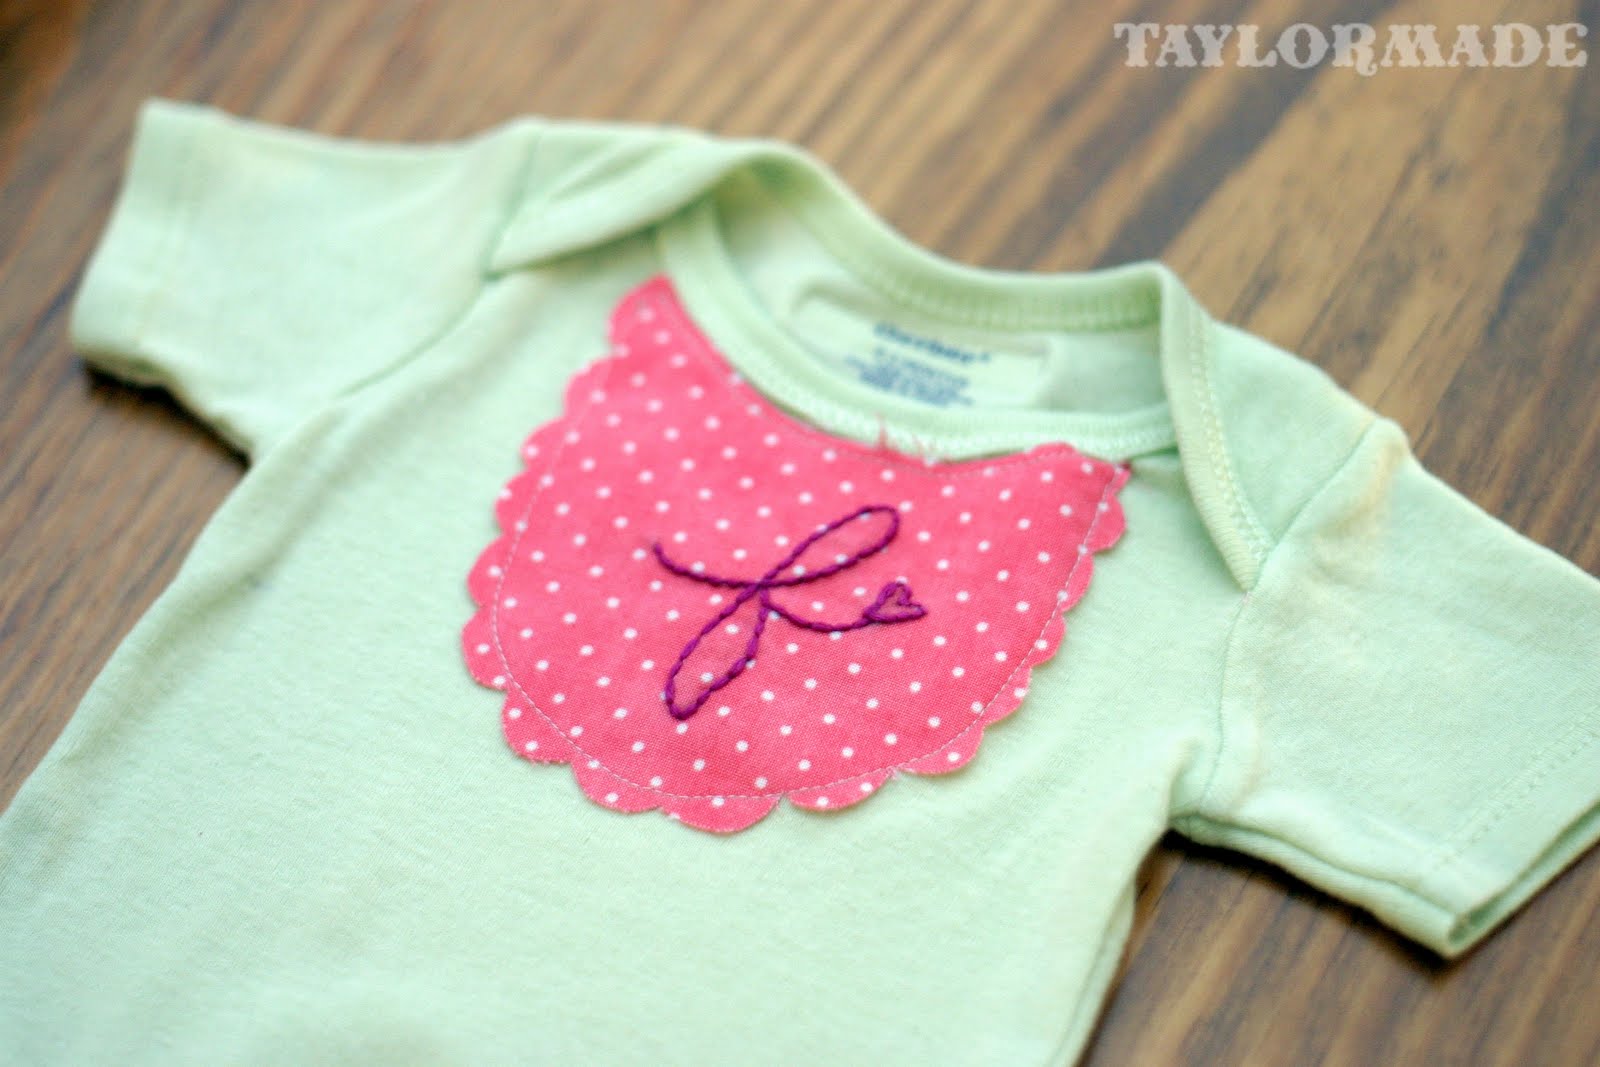
Next, line the fabric up to the onesie and  mark with a pencil where you will cut.
Sew around the new fabric that you are attaching.
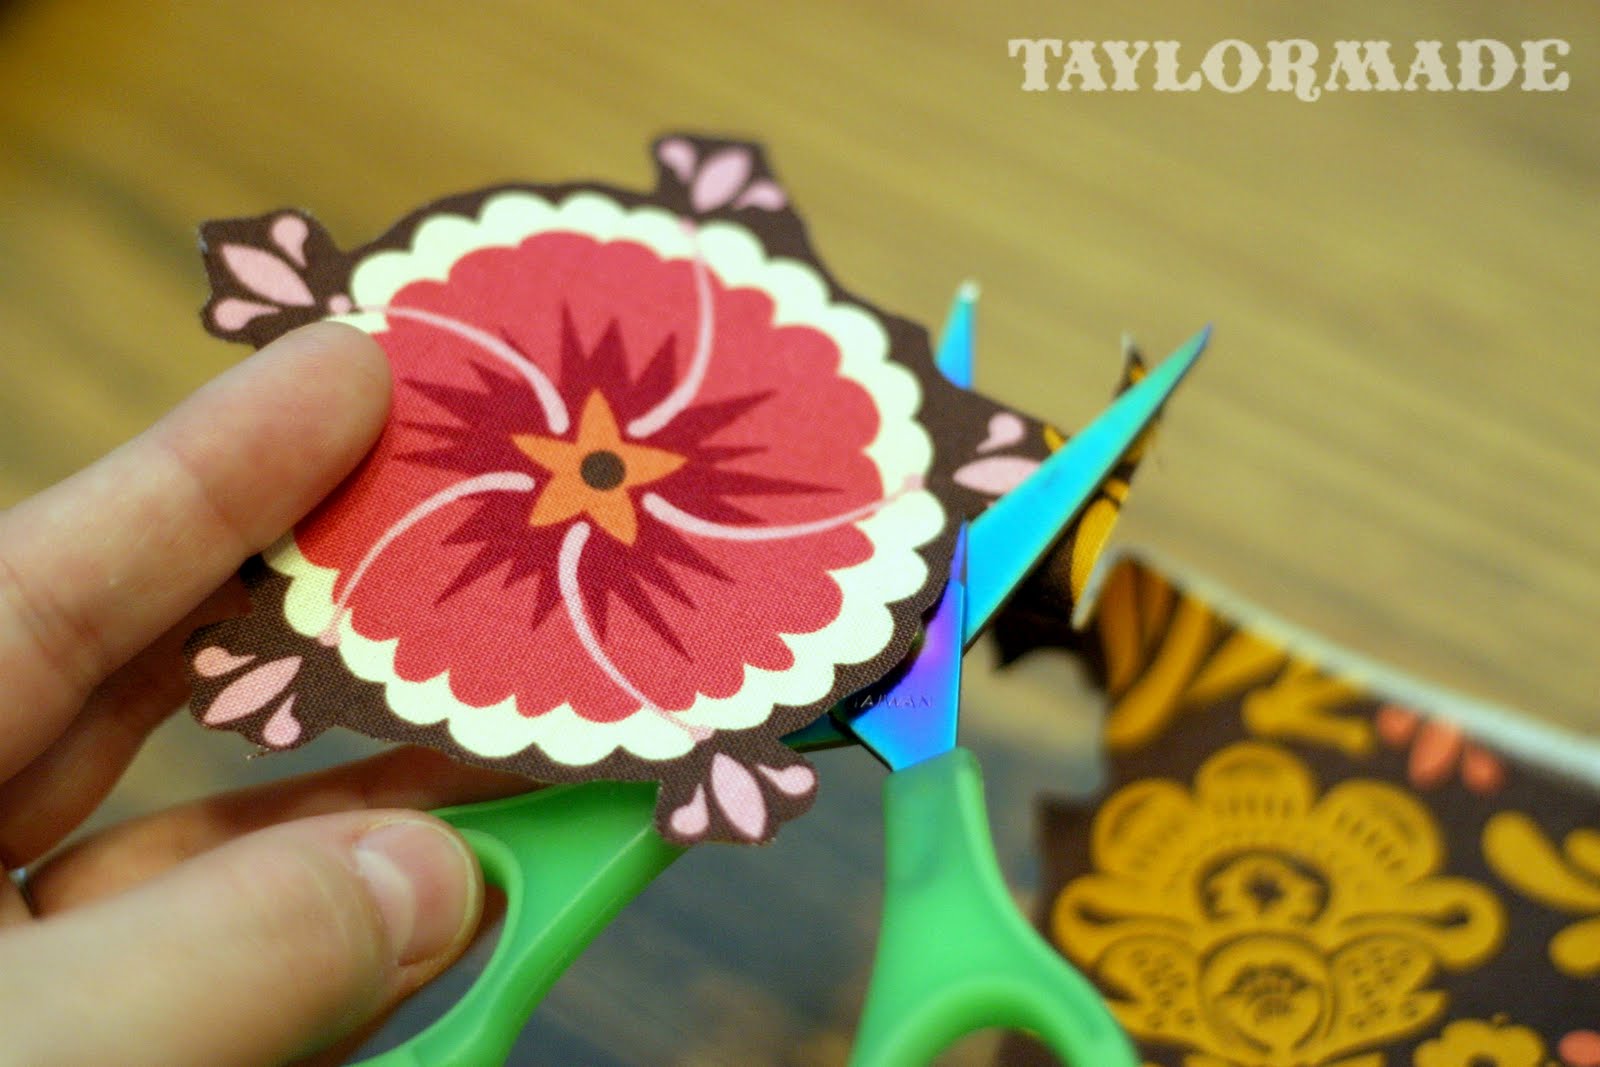
Onesie refashion number 2…
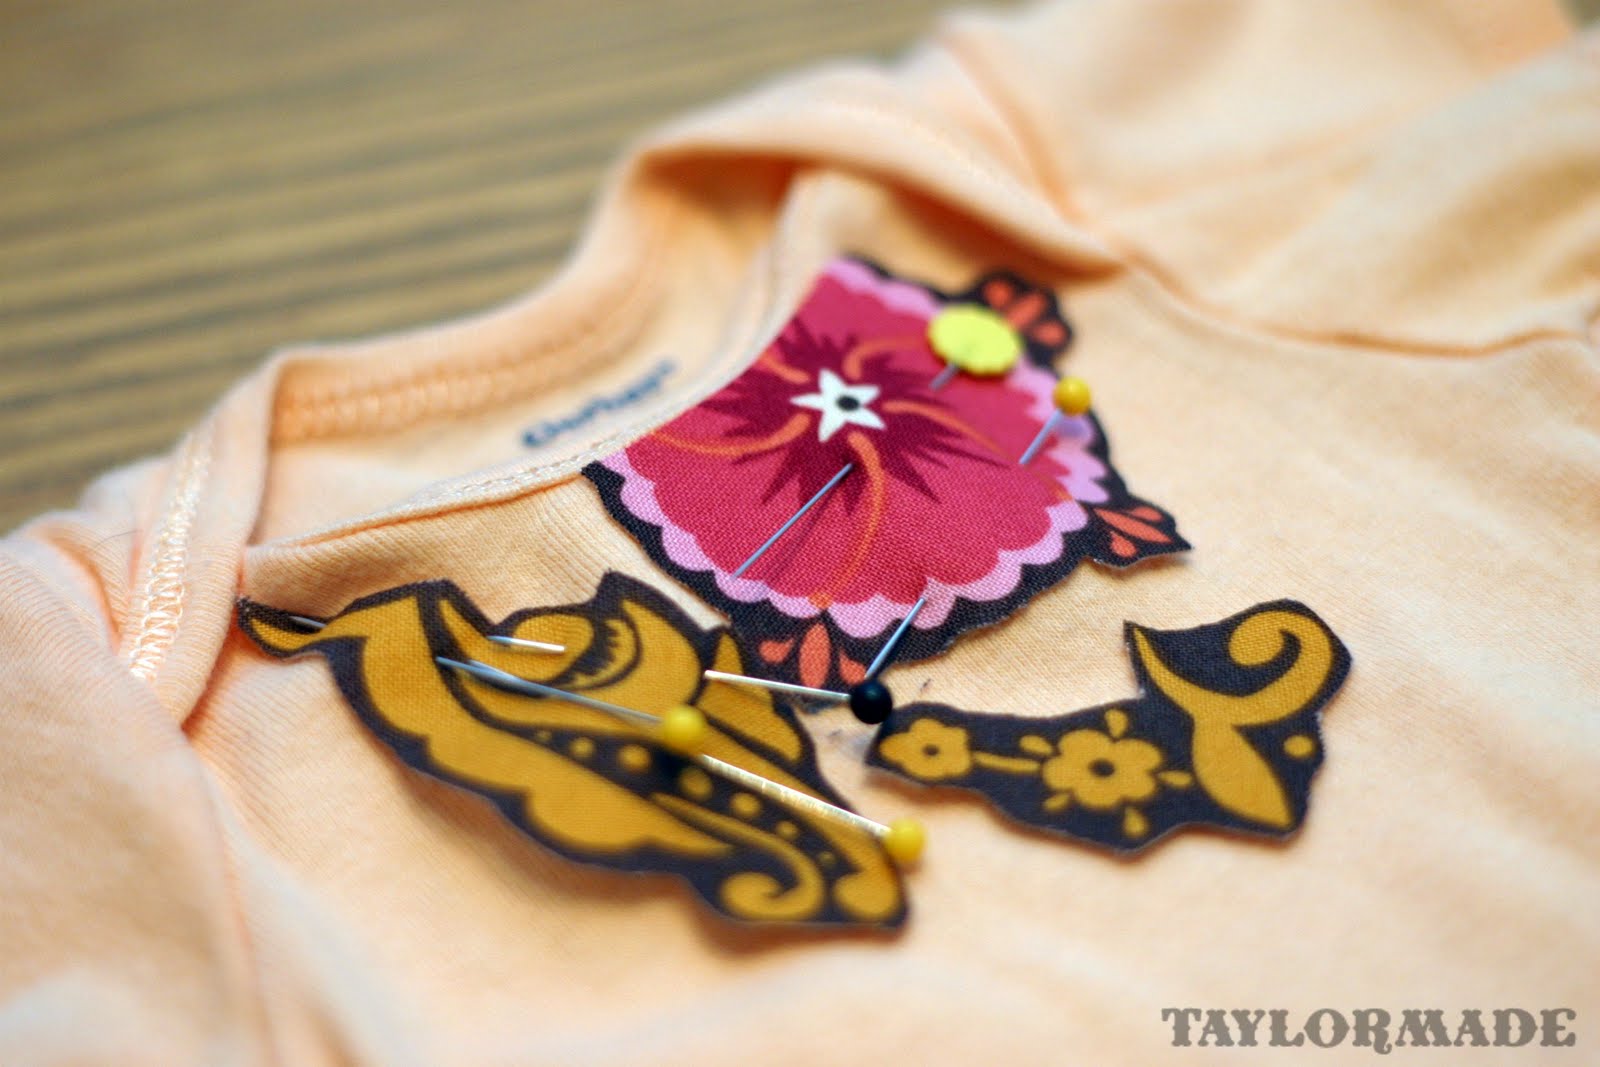
Add interfacing to the back of the fabric again and cut out some pieces of the pattern.
Pin the pieces on the onesie so you cover the old design.
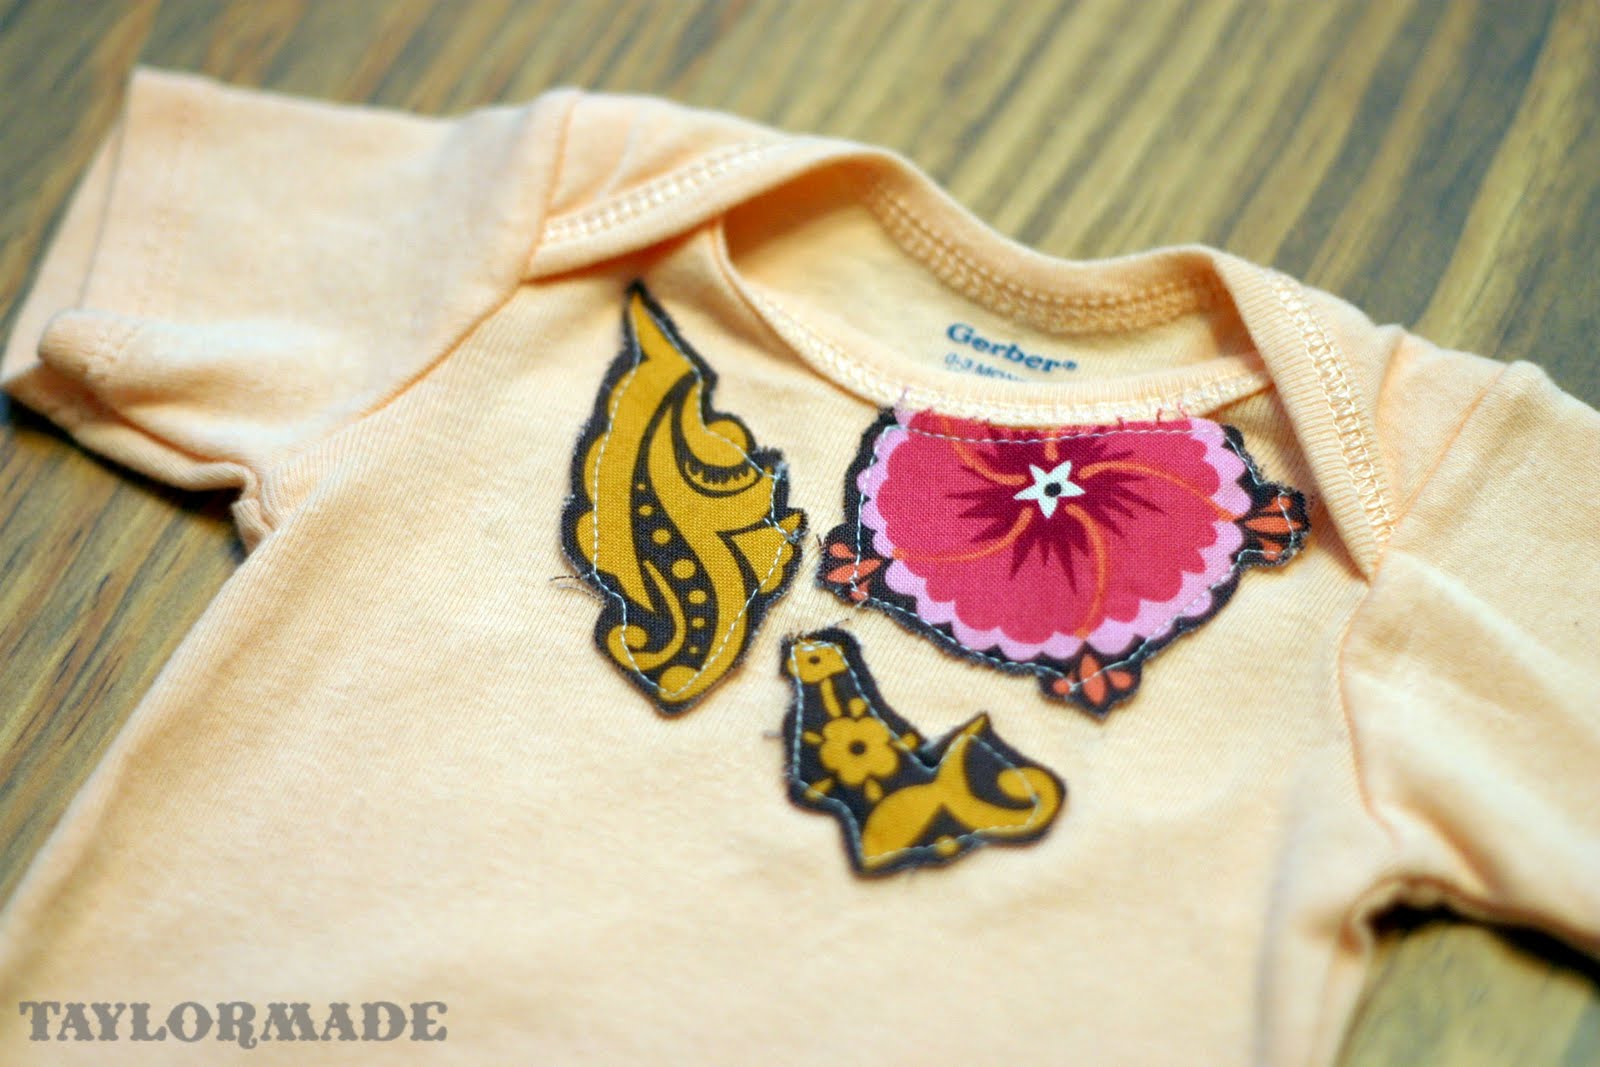
And sew. I again went for a messy sewn look. If you like a neater look you could do a tight zig-zag stitch around the perimeter of the fabric.
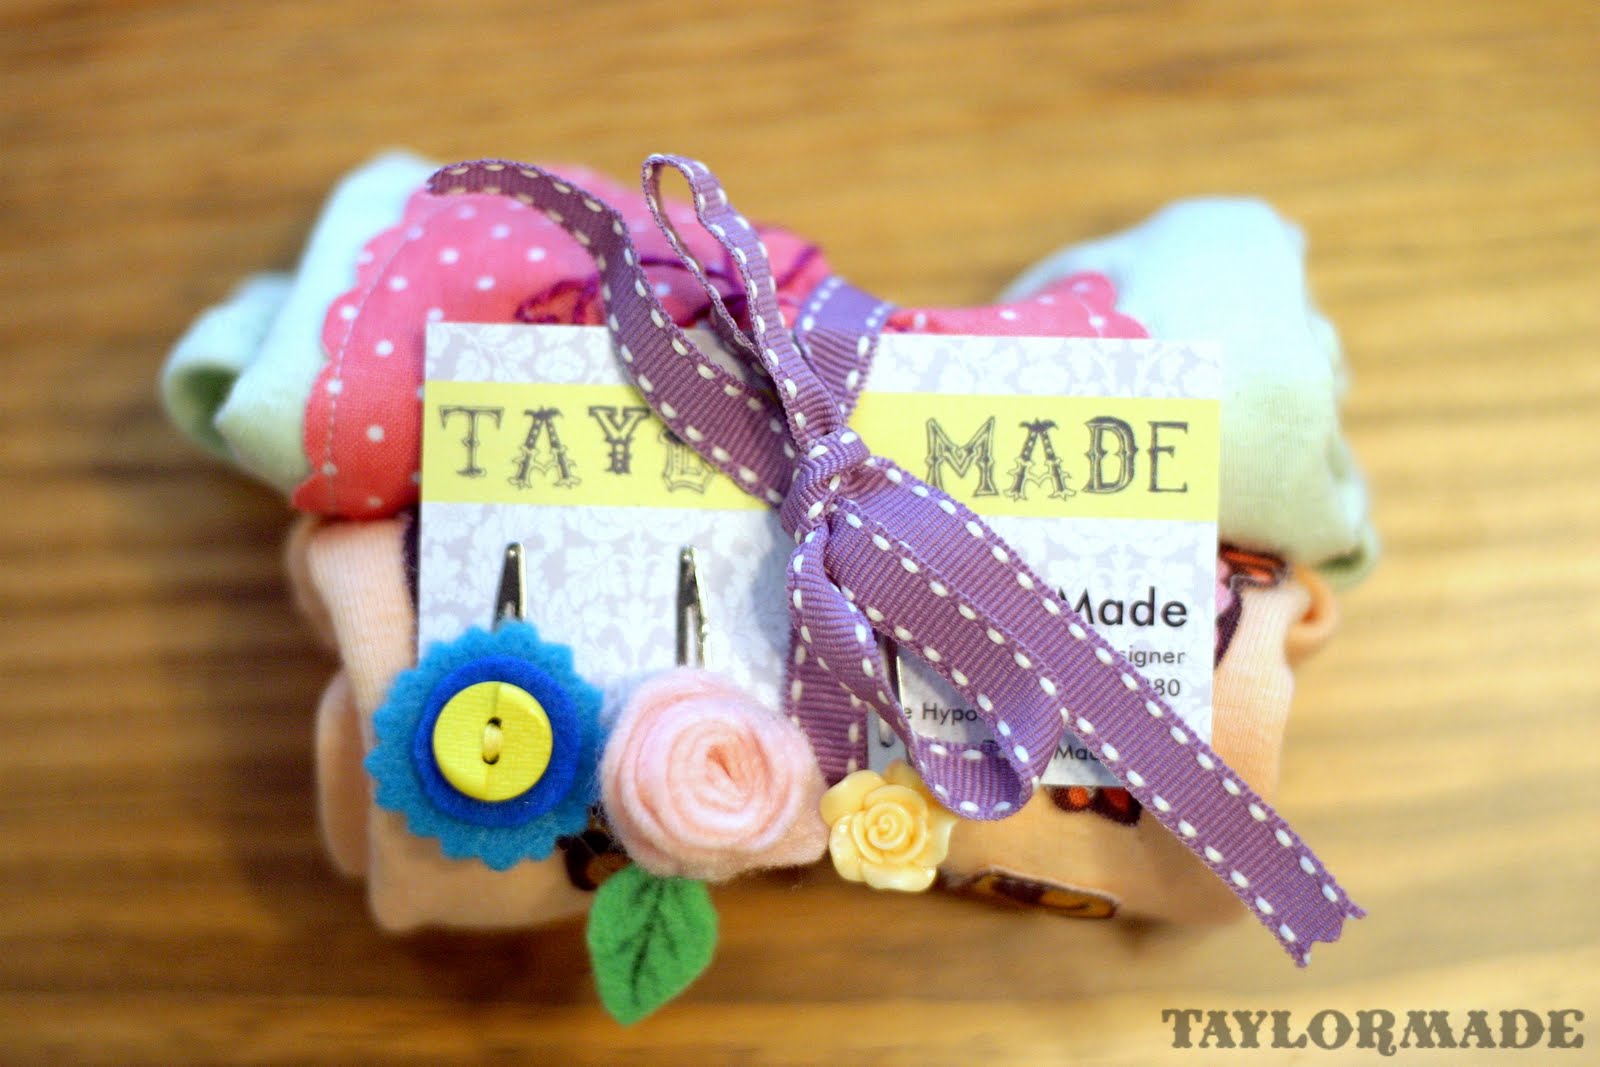
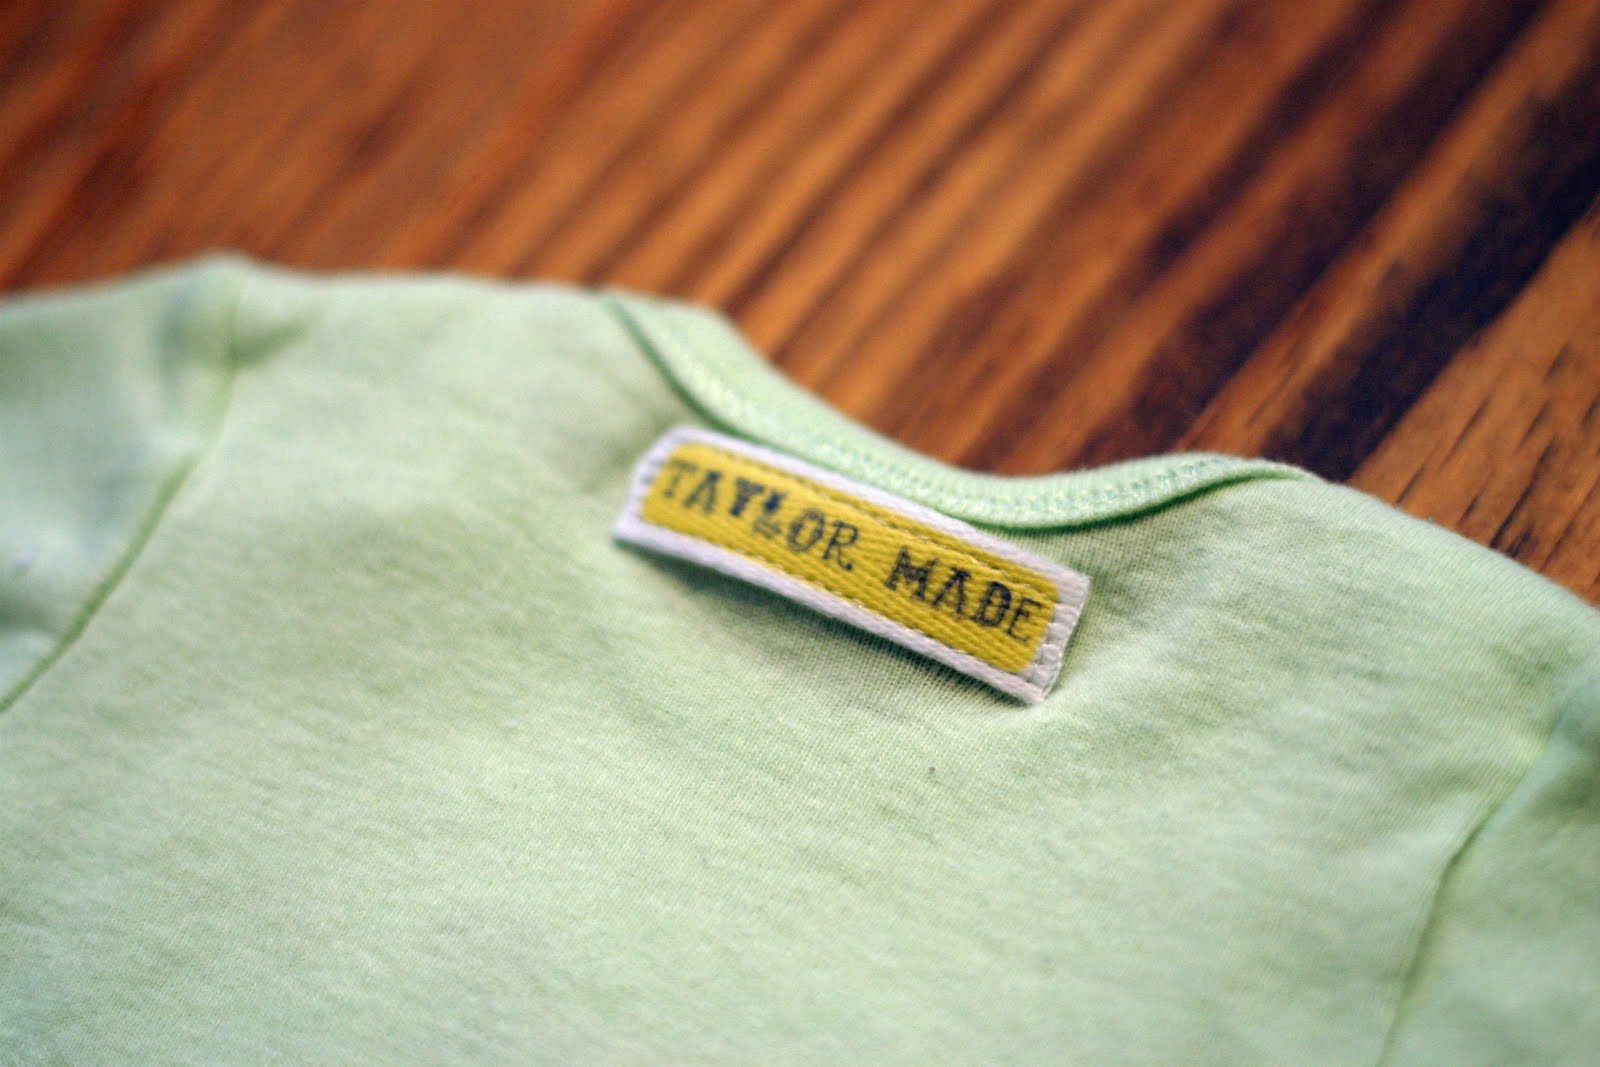
I added my fabric label…
and wrapped them up in a cute little package. Add some clips and you have a perfect baby gift.
There are more Onesie ideas HERE and HERE.

Filed Under: baby stuff, clothes, gift, girl, sewing, tutorial Tagged With: kids

Brobee Shirt

August 12, 2011 By Taylor 25 Comments

Last Yo Gabba Gabba Birthday post, I promise. I had a hard time finding anything for Finn’s party so, maybe this will help a fellow searcher.

All of the Brobee shirts I found were far too expensive for a boy. If you have a boy you know what I mean, after about 3 times, there will be a stain for sure. I also like any excuse to try new craft supplies and I have never used Iron-On Vinyl.. so, lets do this.
Inspiration: This $4 shirt from Target; Perfect Brobee

I used my favorite Silhouette feature and “traced” a Brobee Face that I found online. This file is specific to the Silhouette Software and I am super cool so I you can download it for free HERE :)

Just cut the different “facial features” in the three different colors.

Now… per the instructions on the Vinyl Packet, iron down the cut pieces with the shiny side up and press while gradually increasing the pressure of the iron. Only iron down the “first layer” of pieces.

Then pull up the plastic coating and add the “second layer pieces”.

Ok… sick of Brobee yet or will you miss him while he is gone? I’m sure he will be back, and Finn won’t miss him cause check out his new shoes… hehe.

More YGG posts HERE, HERE and HERE.

Filed Under: birthday, boy, clothes, kid stuff, Silhouette Tagged With: cricut

Baby Onesie Cutoffs

July 8, 2011 By Taylor 6 Comments

When Clyde was born and I realized I had another boy in the house I thought to myself, perfect! I have a closet full of boy clothes. Well… Finn was born on August 6th and Clyde was born on February 6th. Their dates are exactly six months apart to the day. 
So, we got home from the hospital with Clyde, I opened the closet and BAM a closet full of sleeveless and short sleeved shirts on the only day that Houston ever had a “hard freeze”.  Why didn’t I realize that all of these clothes were for the opposite season? Now once again all of Finn’s old 9 month onesies are for winter and I am about to die of a heat stroke. My poor little poopsie is hot natured just like his Mommy. Solution… Baby Cutoffs!

I did this to some pants a few weeks ago too. I am now on a Baby Cutoff Spree at my house and nothing is safe. Watch out old baby jeans… its over 100 degrees and mama’s hot. 
These make me hot just looking at them… (I really can’t describe my hatred for the heat enough)

I really wanted Clyde to be able to wear this shirt because it has a special meaning. When I first found out I was pregnant with Finn this was the first thing I bought, so really the first “baby thing” I ever bought in my life :)

Use a short-sleeved onesie as your pattern and mark 1/2″ past the edge of the sleeve. (Yes I use a sharpie, I don’t like tailor’s chalk)

Serge around the edge and then pin and sew two parallel lines for the seam. 

Ahhh…. relief! 

How cute is this little model of mine? What a Happy Boy! So, what sort of summer refashioning have you done lately? And are you now going to run through your house with scissors looking for clothes to cutoff?

Filed Under: baby stuff, boy, clothes, kid stuff, serger, sewing, tutorial Tagged With: kids

Bow Ties

June 1, 2011 By Taylor 3 Comments

What is cuter than a little boy in a boy tie?… Nothing is… I tell you NOTHING!
Remember when I won Runner-Up in the Knock it Off contest? Well, I did and one of my prizes was my choice of two patterns from Little Lizard King, a cute Etsy shop. I knew I wanted to make the boys some bow ties for a wedding. It was perfect when I saw that she had a Bow Tie Pattern in her Etsy Shop. Less work when I don’t have to think of how to do something.
I followed the “bow” part just like the pattern said. The only thing I changed was the middle loop to make it a little wider. It was a very easy-to-follow pattern.
The boys looked super geek-chic in their little bow ties… ahhh little men going to their first wedding!
Instead of doing elastic around the neck, I just added an alligator clip to the back with felt and some E-6000 (best glue ever). That way I can use them again on a cardigan or in my hair.
I love these bow ties so I think I might be making more in the near future just for funsies.
What else can I do with them?
Related Posts Plugin for WordPress, Blogger...

Filed Under: baby stuff, clothes, fabric, kid stuff, pattern, sewing Tagged With: accessories, clothing, kids

  • « Previous Page
  • 1
  • …
  • 5
  • 6
  • 7
  • 8
  • Next Page »

Welcome to Taylor Made

http://www.taylormadecreatesblog.com/about-me Hi Yall! I'm Taylor... an artsy mom of three from Houston, TX. I love sewing, collecting floral fabric, eating Mexican Food, photography, brights colors, rearranging, and rolling clay. Taylor Made Creates is all about creating a fun, colorful home, sewing cute things and eating good food. Check out my SHOP HERE HERE! Thanks for stopping by!

Search

Pin with me!

Like Me :)

Facebook Pagelike Widget

More Recent Posts

  • Kid's Animal Room
  • Kids Camping Shirts
  • Mermaid Birthday Party
  • Conversation Heart Cold Packs
  • Holiday Apple Tea Punch
  • Purple Princess Costume
  • Letterboard Costume
  • La Croix Costume

FAVORITES

  • More Casserole Carriers
  • Swan Wings + Hello Ollie Fabrics
  • Documenting Life… How I Do It
  • Mini Fabric Lamps
  • Cider Beetles: A Teacher Gift
  • The Succulence Lillian Dress
  • Playroom Reveal
  • Happy Rocks
  • Batman and Robin

Copyright © 2026 · Web Hosting By RFE Hosting