TaylorMade

DIY, Home Decor & Sewing

  • Home
  • SHOP
  • DIY & Sewing
    • For the Home
    • Sewing
    • Costumes and Holidays
    • Cricut Projects
    • Crafting
  • Parties
  • Recipes
  • Home Tour
  • Favorites
  • About

Nook Covers

June 10, 2011 By Taylor 17 Comments

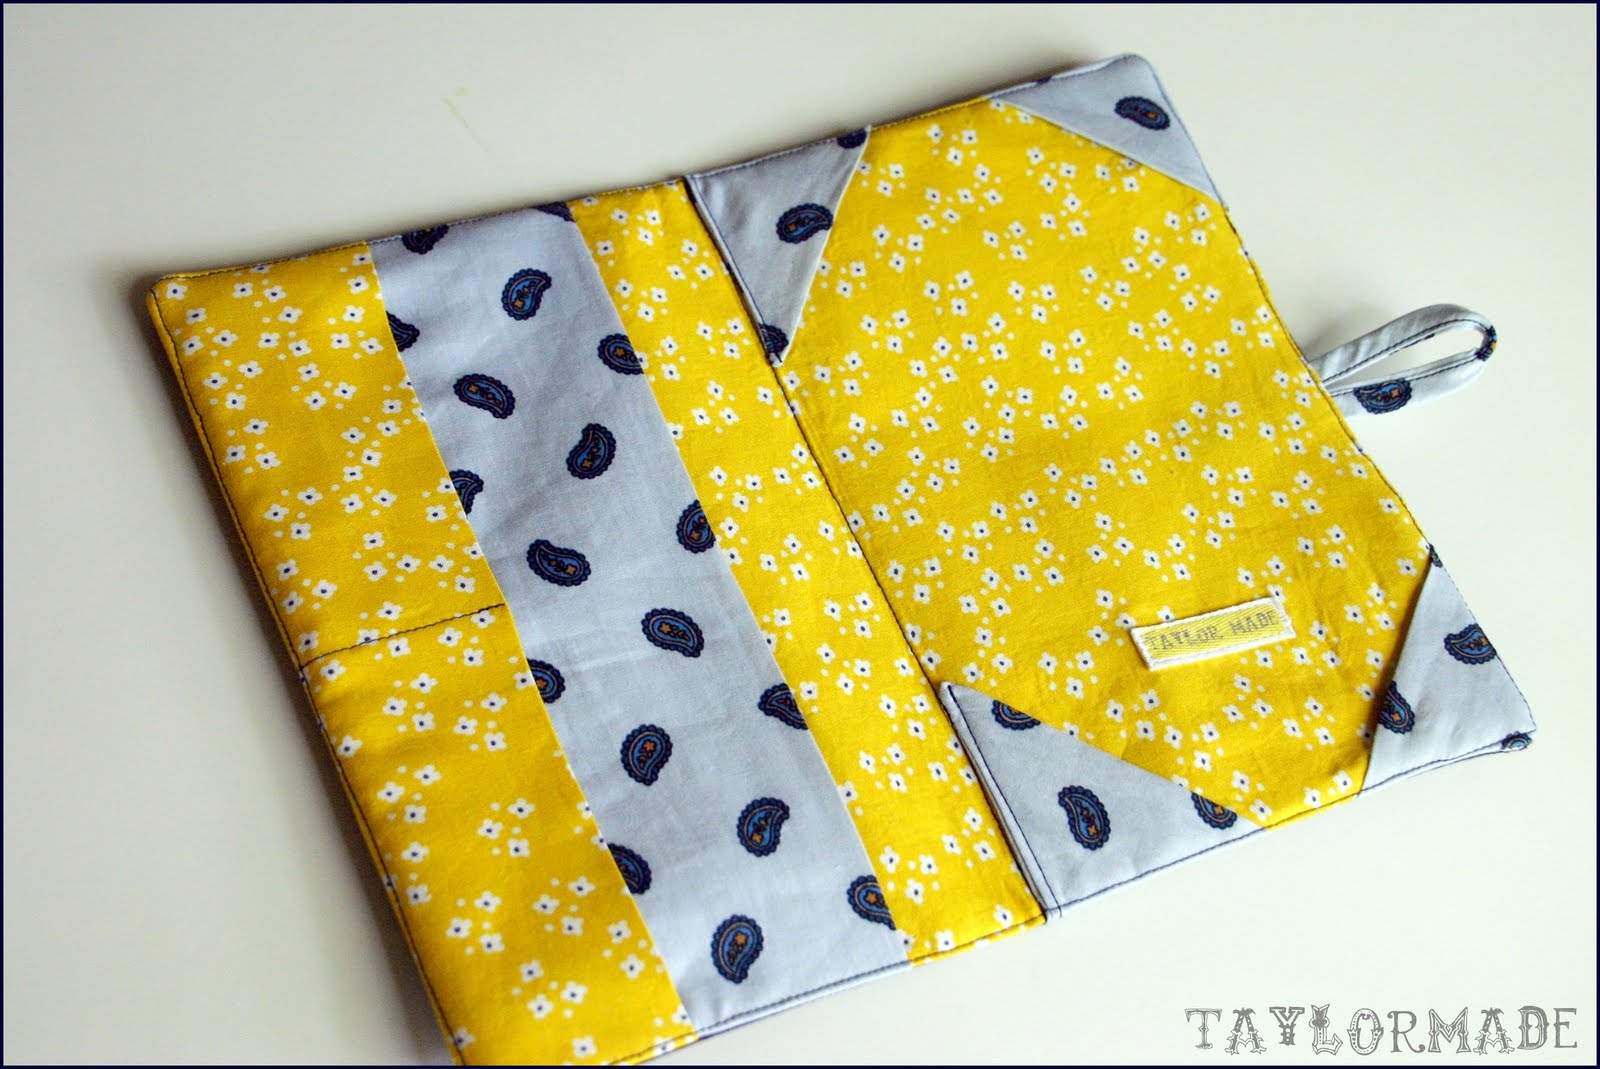
Do you have an E-reader? Because it is my new obsession. I can actually blame my current lack of crafts posts on my Nook. I guess reading is a good “new” hobby, right? Well, like any good nook owner I knew I needed a cover. I shopped around but didn’t find one that I loved. Then I found a DIY pattern on Etsy – yay. The pattern was very easy to follow. I have already made one for my sister too.
You can really add any sort of personal touch to your e-reader cover. My sister has a more classic style so hers is the navy one. And I wanted something more bold. The hardest part is picking out a button.
I used my Silhouette to cut out the “read” in fabric for the front of mine. I used Silhouette’s fabric interfacing and cut the fabric straight from the machine. How did I make the heart at the end of the word? Oh thanks for asking… I drew a heart and merged it into the end of the word in the Silhouette software. Then I just did a tight zig-zag stitch around the letters (not very perfectly).
Does any one have any must reads that I need to know about? I am reading Water for Elephants right now then I am going to read The Help. Since I am in my late twenties and just now taking up reading as a hobby I have some catching up to do…

Filed Under: fabric, pattern, sewing, Silhouette Tagged With: accessories

Mexican Cheesecake

June 6, 2011 By Taylor 24 Comments

Disclaimer: do not blame me for how much you like this dessert because it is not low fat!
I like to take Mexican Cheesecake when I go somewhere and I know that I can’t eat more than one piece. In fact no one should even be allowed to have more than one piece because not only is it buttery and flaky, but the cream cheese makes it super rich. (I might know from personal experience that you will not feel good about yourself after two pieces). Anyway, I like it because it is very easy to make and its a crowd pleaser every time.
Ingredients:
2 (8oz) cans of Crescent Rolls
2 (8oz) Blocks of Cream Cheese – softened
2 cups Sugar (missed the cut for the pic?)
2 tsp Vanilla
1/2 cup Melted Butter
Cinnamon
Directions:
Spray a 9×13 pan with Pam and spread one of the cans of crescent rolls on the bottom of the pan.
Mix the 2 blocks of cream cheese, 1 cup of the sugar, and 1 tsp of vanilla until fluffy.
Spread the mixture on top of the crescent roll bottom. Roll out the other can of crescent rolls and place them on top of the other two layers. Press the edges to form a seal.
Melt the butter and remaining 1 cup of sugar together until sugar is dissolved. Add 1 tsp vanilla to the butter/sugar mixture. Pour that Mixture on top of cheesecake. Sprinkle with cinnamon.
Bake at 350 for 30 mins and enjoy

Filed Under: dessert, recipe Tagged With: desserts

Bow Ties

June 1, 2011 By Taylor 3 Comments

What is cuter than a little boy in a boy tie?… Nothing is… I tell you NOTHING!
Remember when I won Runner-Up in the Knock it Off contest? Well, I did and one of my prizes was my choice of two patterns from Little Lizard King, a cute Etsy shop. I knew I wanted to make the boys some bow ties for a wedding. It was perfect when I saw that she had a Bow Tie Pattern in her Etsy Shop. Less work when I don’t have to think of how to do something.
I followed the “bow” part just like the pattern said. The only thing I changed was the middle loop to make it a little wider. It was a very easy-to-follow pattern.
The boys looked super geek-chic in their little bow ties… ahhh little men going to their first wedding!
Instead of doing elastic around the neck, I just added an alligator clip to the back with felt and some E-6000 (best glue ever). That way I can use them again on a cardigan or in my hair.
I love these bow ties so I think I might be making more in the near future just for funsies.
What else can I do with them?

Filed Under: baby stuff, clothes, fabric, kid stuff, pattern, sewing Tagged With: accessories, clothing, kids

The Napkin Apron

May 24, 2011 By Taylor 4 Comments

Do you have an obsession  a healthy love for aprons like I do (seriously, I have too many)? Well here is the easiest apron you will ever make. I made this for a craft competition and the theme was “Under $5″… I made this for $4.97. Easy and cheap; what’s not to like?
All you need is:
2 cloth Napkins (I found these on sale at World Market)
2-3 yards of cotton twill tape
One napkin will be left alone for the bottom half of the apron. The other napkin will make up the top of the apron and the ruffles.
To make the top, serge and sew (or just sew) two of the sides so that your dimensions are 10″x10″. The best part of this apron is that the napkins are almost totally sewn for you!
Now you need to sew the top square to the bottom square. Center the top square on the bottom square with right sides together and sew.
Sew down the seam that you just made all the way across the bottom square.
Add the twill tape to the top of the square, hold it up to your body to determine the length. Then do the same for the side straps, make sure to tie it in a bow because it will need to be longer than you think. Remember you can always cut more later but you cant add on to it.
Now, you will have over half of the top square left over and that will be used for our ruffle. Sew it into one large rectangle and ruffle it however you like. You will need to piece two long pieces together but you wont see the seam because of the ruffleyness (new word of the day?). I like to use my serger because I don’t have a ruffle foot…whomp whomp whomp. Make sure you make two different ruffles, one for the bottom of the apron and one for the top. With the serger, I have to kind of “pleat” as I sew because it doesn’t do a very tight ruffle. Sew the ruffle to the bottom and the top of the apron.
So simple right? It is my new painting apron because I already have too many cooking ones and I don’t garden.
Related Posts Plugin for WordPress, Blogger...

Filed Under: clothes, fabric, kitchen, serger, sewing, tutorial Tagged With: clothing

  • « Previous Page
  • 1
  • …
  • 53
  • 54
  • 55
  • 56
  • 57
  • …
  • 66
  • Next Page »

Welcome to Taylor Made

http://www.taylormadecreatesblog.com/about-me Hi Yall! I'm Taylor... an artsy mom of three from Houston, TX. I love sewing, collecting floral fabric, eating Mexican Food, photography, brights colors, rearranging, and rolling clay. Taylor Made Creates is all about creating a fun, colorful home, sewing cute things and eating good food. Check out my SHOP HERE HERE! Thanks for stopping by!

Search

Pin with me!

Like Me :)

Facebook Pagelike Widget

More Recent Posts

  • Kid's Animal Room
  • Kids Camping Shirts
  • Mermaid Birthday Party
  • Conversation Heart Cold Packs
  • Holiday Apple Tea Punch
  • Purple Princess Costume
  • Letterboard Costume
  • La Croix Costume

FAVORITES

  • Swan Wings + Hello Ollie Fabrics
  • Vintage Sheet Quilt
  • How to Glaze Furniture
  • Siberian Husky Costume
  • Adorable Girl Clothing (found on Amazon)
  • Color Wheel Clock
  • DIY Chalkboard
  • Easy Light Switch Covers
  • DIY Roach Costume

Copyright © 2026 · Web Hosting By RFE Hosting