TaylorMade

DIY, Home Decor & Sewing

  • Home
  • SHOP
  • DIY & Sewing
    • For the Home
    • Sewing
    • Costumes and Holidays
    • Cricut Projects
    • Crafting
  • Parties
  • Recipes
  • Home Tour
  • Favorites
  • About

Super easy Midi Apron

April 10, 2010 By Taylor 3 Comments

I made my 1st Hobby Lobby run (for the blog) with my Mom today. I could have put something in the cart from every aisle but, I stopped myself!
I have a few full length aprons but I wanted to make a “Midi Apron” too! You can not only use it for cooking but it is perfect for crafting or gardening too. I made this for under $6.00 and in about an hour!

All you need is:
-2 contrasting fabrics (5/8 yd of each)
-2 yards on ribbon (for top strap)

-1 yard of ribbon for accent piece
-quilt binding
 

Start with your 2 contrasting fabrics. They should be about 24″ each. Pin and sew right sides together but on one side, leave a 2″ opening (just like you would if you were sewing a pillow).

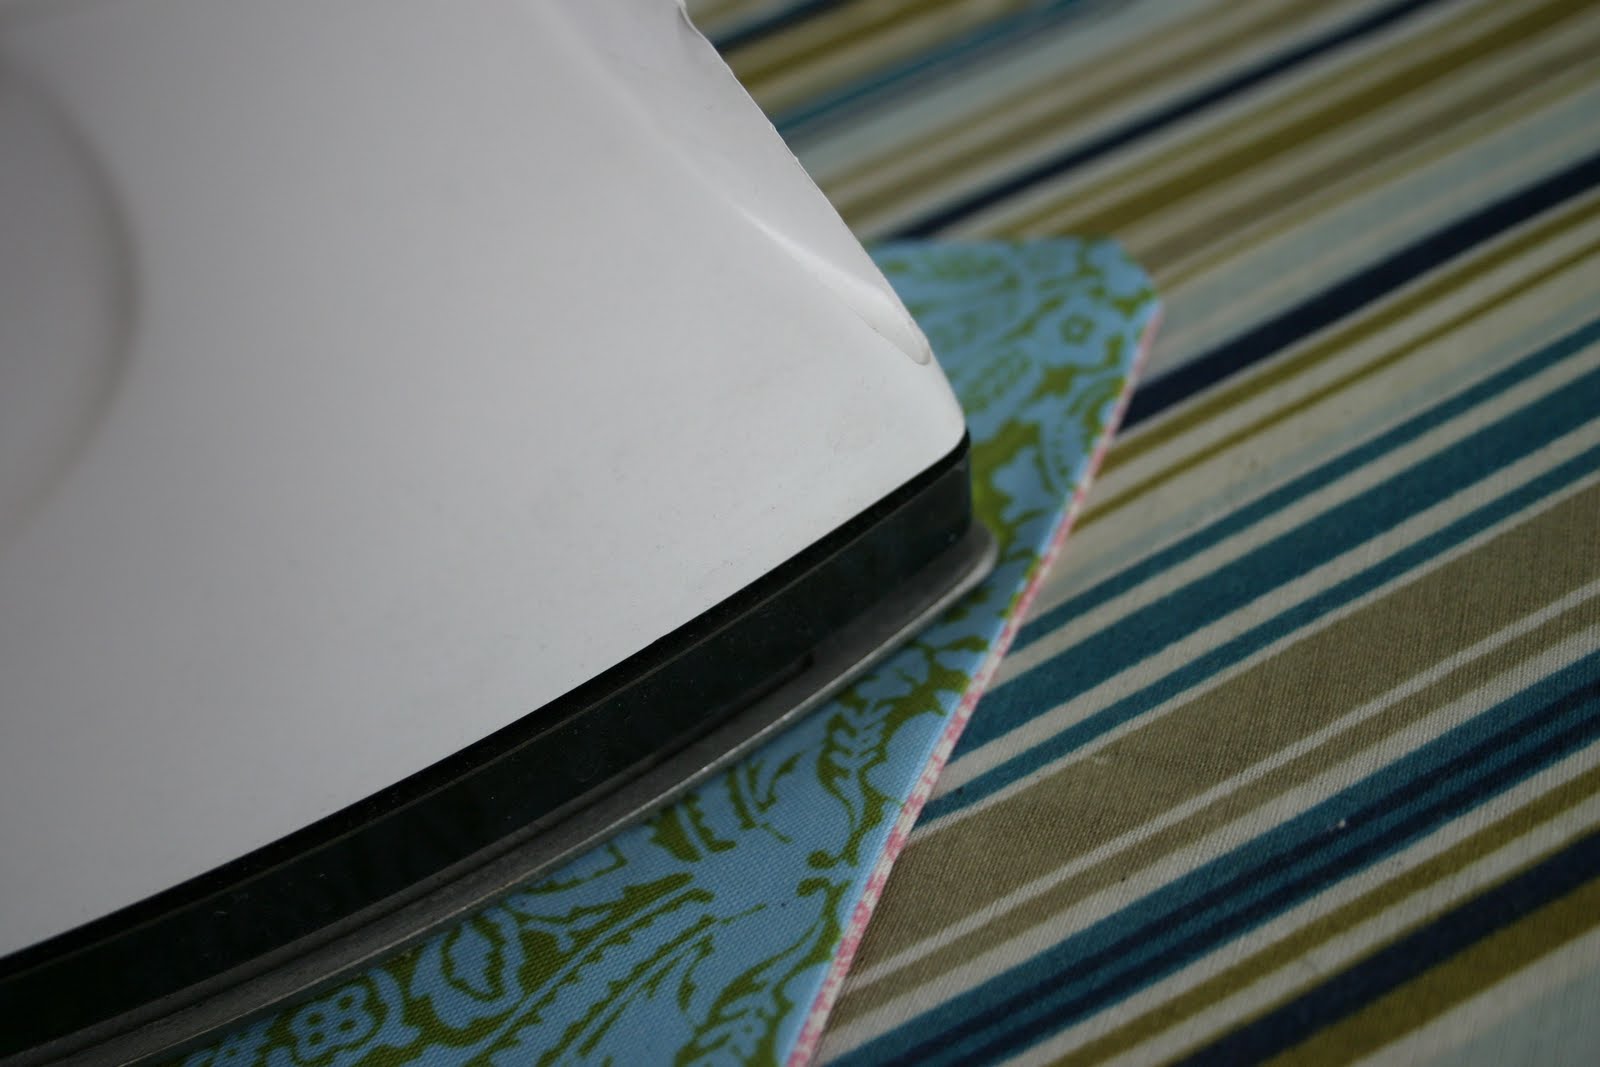
Turn the apron inside-out (really right side-out) by pushing all of the fabric through the opening. Once apron has been all turned out, put your finger inside to push out the corners. Iron the apron flat (and pretty!)

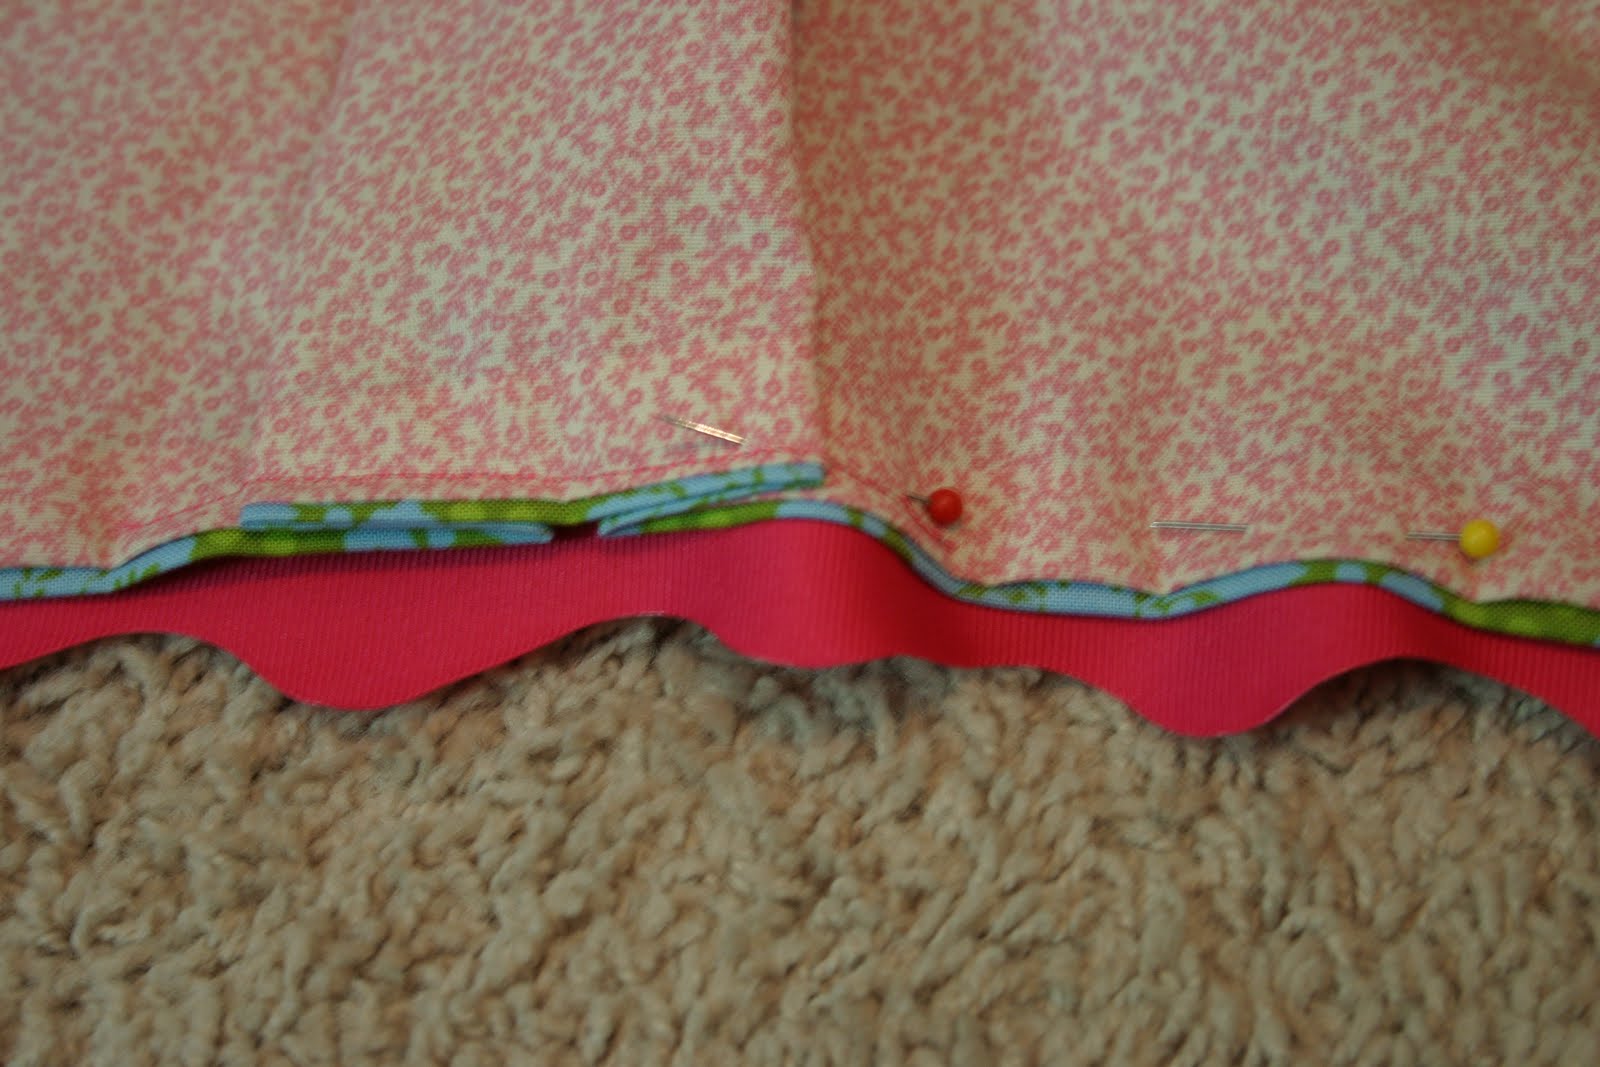
Now you need to add the accent ribbon. Measure (or don’t) about 5″ from the bottom of the apron. Pin the accent ribbon and sew it on. Don’t worry about the edges because you will finish it with the quilting binding.

Time for pleats. I learned a bunch of “fancy” ways to pleat in college but, sorry Prof. Hargrove… Just find the center of the apron. Pull about 2-2.5″ back, fold fabric in to meet in the middle then then lay the sides down to make little “doors” on the fabric.

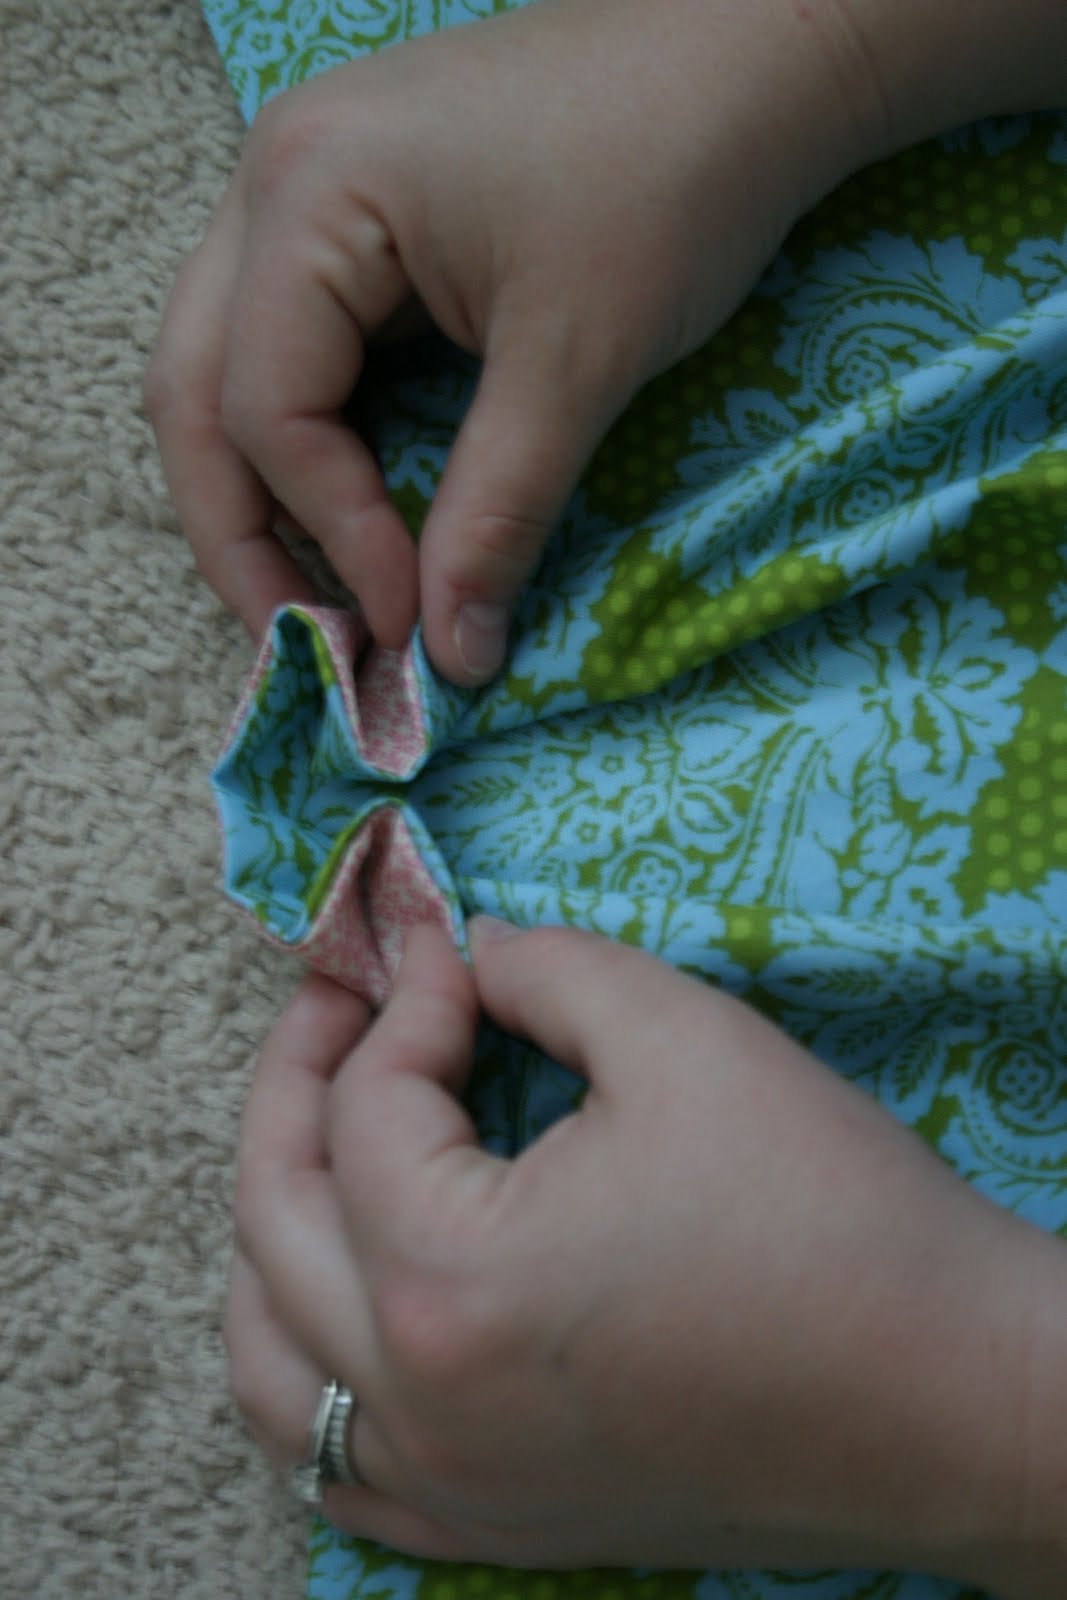
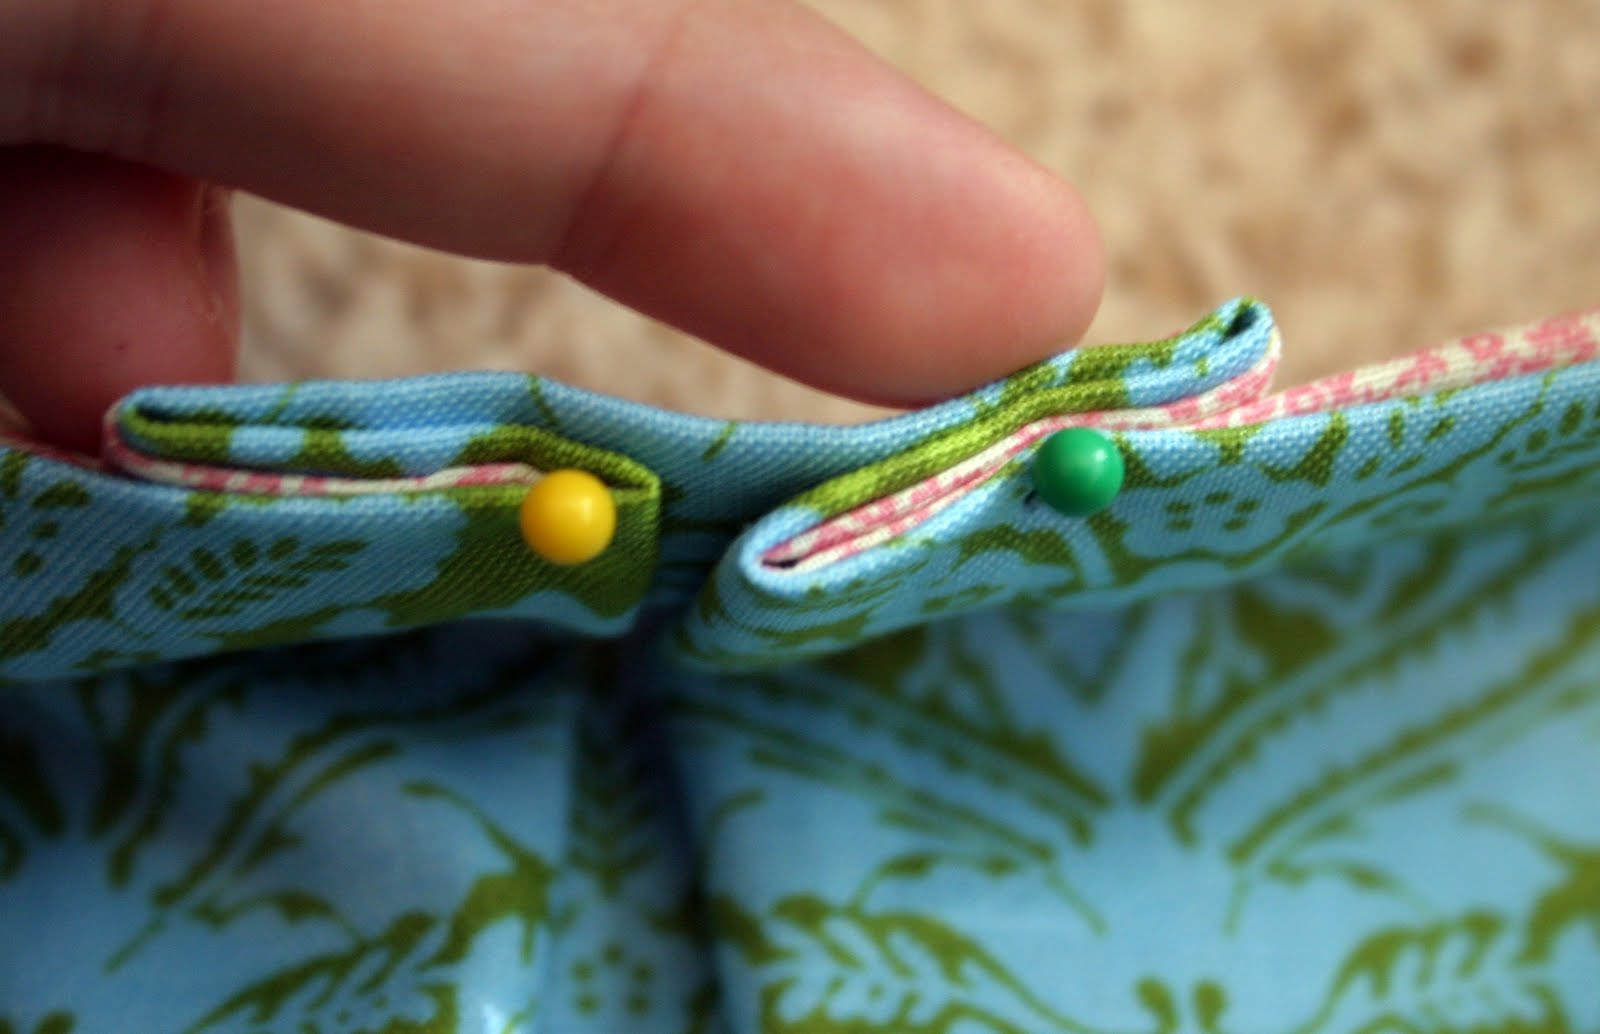
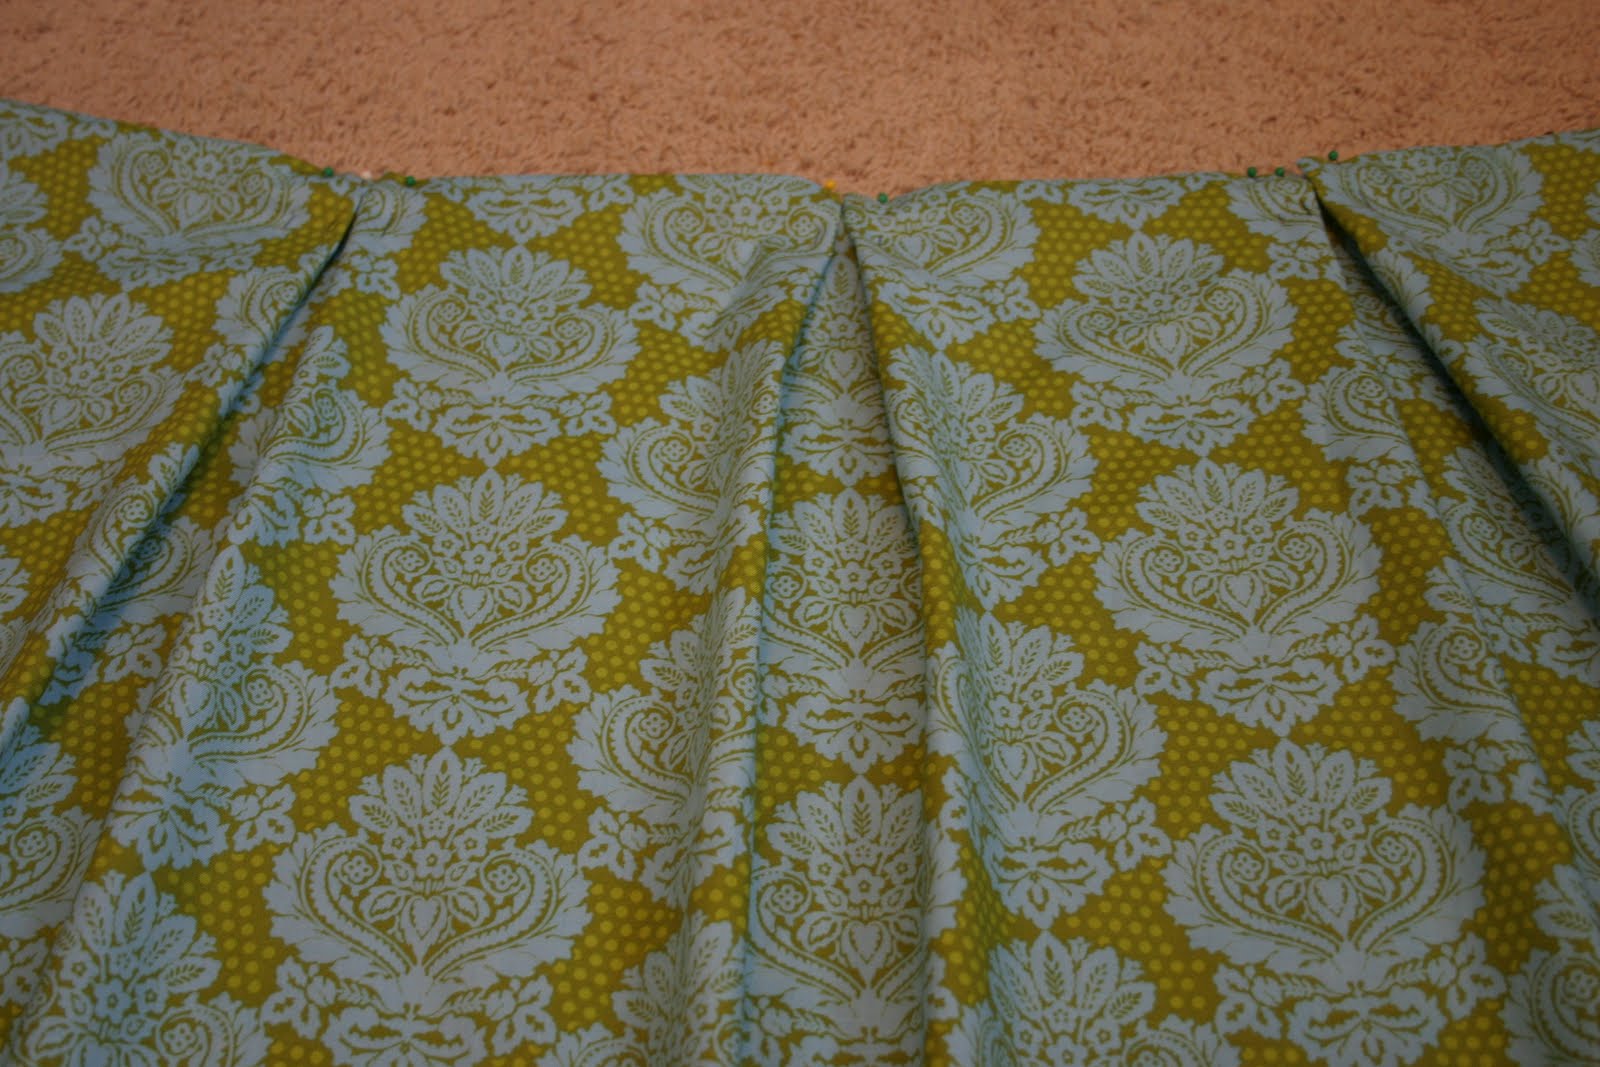
Do this 2 more times… measure about 4-5 inches on both sides of the middle to make a total of 3 pleats.

Almost done… pin your quilt binding on the 2 sides and the bottom (not the top!). When you come to the corners, fold them under and down like you are making the corner of a bed.

Lastly, time to pin the ribbon (which will be the wait-tie) onto the apron. You will sew it right onto the front. I pinned mine from the back because with my ribbon it was easier from the back to line up and sew a straight line.

Fold the ends of the ribbon and sew to prevent fraying…. and voila! A Midi apron!


Related Posts Plugin for WordPress, Blogger...

Filed Under: sewing, tutorial Tagged With: clothing

Eggplant Parmesan »

Comments

  1. Carrie @ Dittle Dattle says

    April 16, 2010 at 12:45 pm

    Excellent tutorial! Love having so many pixs!

    Reply
  2. Kylee says

    June 4, 2010 at 3:08 pm

    This is so awesome!

    Reply
  3. Kylee says

    June 4, 2010 at 3:08 pm

    or should I SEW. muhaha

    Reply

Leave a Reply Cancel reply

Your email address will not be published.

This site uses Akismet to reduce spam. Learn how your comment data is processed.

Welcome to Taylor Made

http://www.taylormadecreatesblog.com/about-me Hi Yall! I'm Taylor... a crafty mom of three from Houston, TX. I love sewing, collecting floral fabric, eating Mexican Food & Margaritas, photography, brights colors, rearranging, and decorating. Taylor Made Creates is all about creating a fun, colorful home, sewing cute things and eating good food. Check out my SHOP HERE HERE! Thanks for stopping by!

Search

Pin with me!

Like Me :)

Facebook Pagelike Widget

More Recent Posts

  • Kids Camping Shirts
  • Mermaid Birthday Party
  • Conversation Heart Cold Packs
  • Holiday Apple Tea Punch
  • Purple Princess Costume
  • Letterboard Costume
  • La Croix Costume
  • Phineas and Ferb Costume

FAVORITES

  • Briar Rose Strip Quilt
  • How to do a Patterned Dot Wall
  • a Happy Birthday Quilt Block
  • Mini Fabric Lamps
  • Stethoscope Covers
  • DIY Leather Tote
  • Built in Bunkbeds
  • Winged Peasant Dress
  • Triangle Baby Quilt

Copyright © 2021 · Web Hosting By RFE Hosting