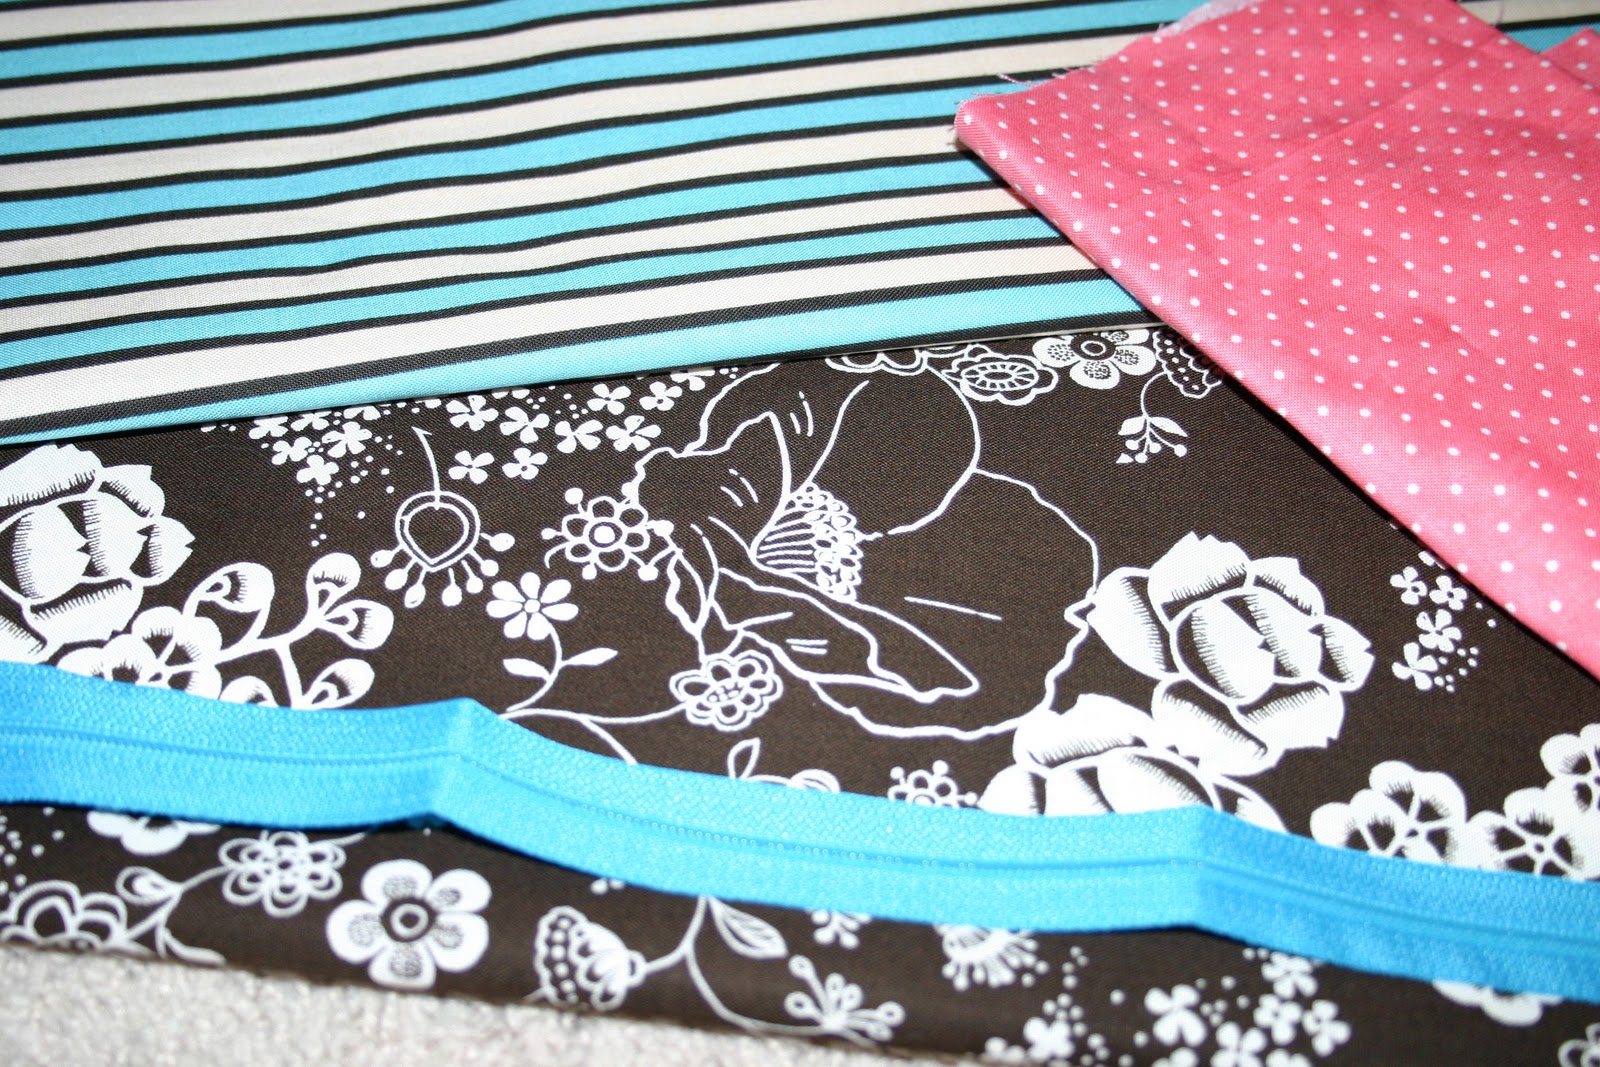

Step 2: Make your background squares for the names “clean” and “dirty”. I used a completely different fabric because my inner fabric was so busy. They need to be 4″ x 5″. Fold and iron all the way around then sew them both on one of the outer fabric panels.


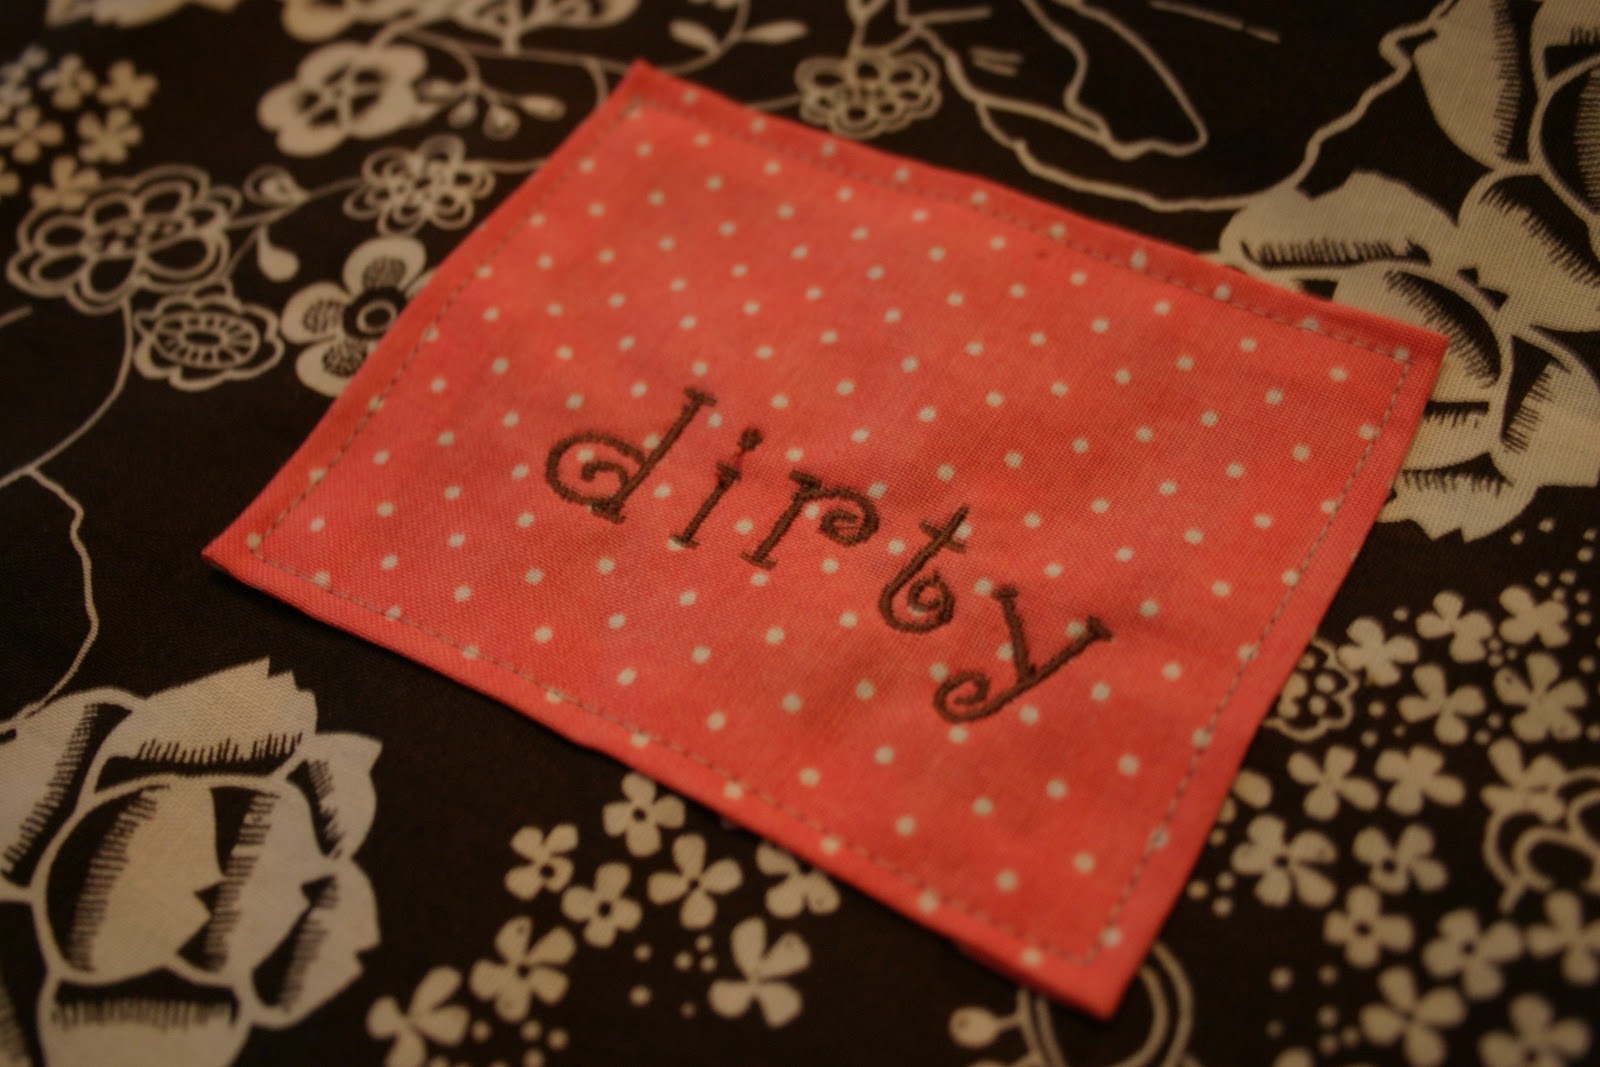
*Here is where I messed up. I kept on making the bag BUT I should have embroidered at this point! I had a friend embroider the words “clean” and “dirty” on after I was totally done but it was really hard for her because of the bag’s shape. Also, some of you might just want to sew a “C” or a “D” on it. Either way, it will look better if you do it now because you wont see the back.*
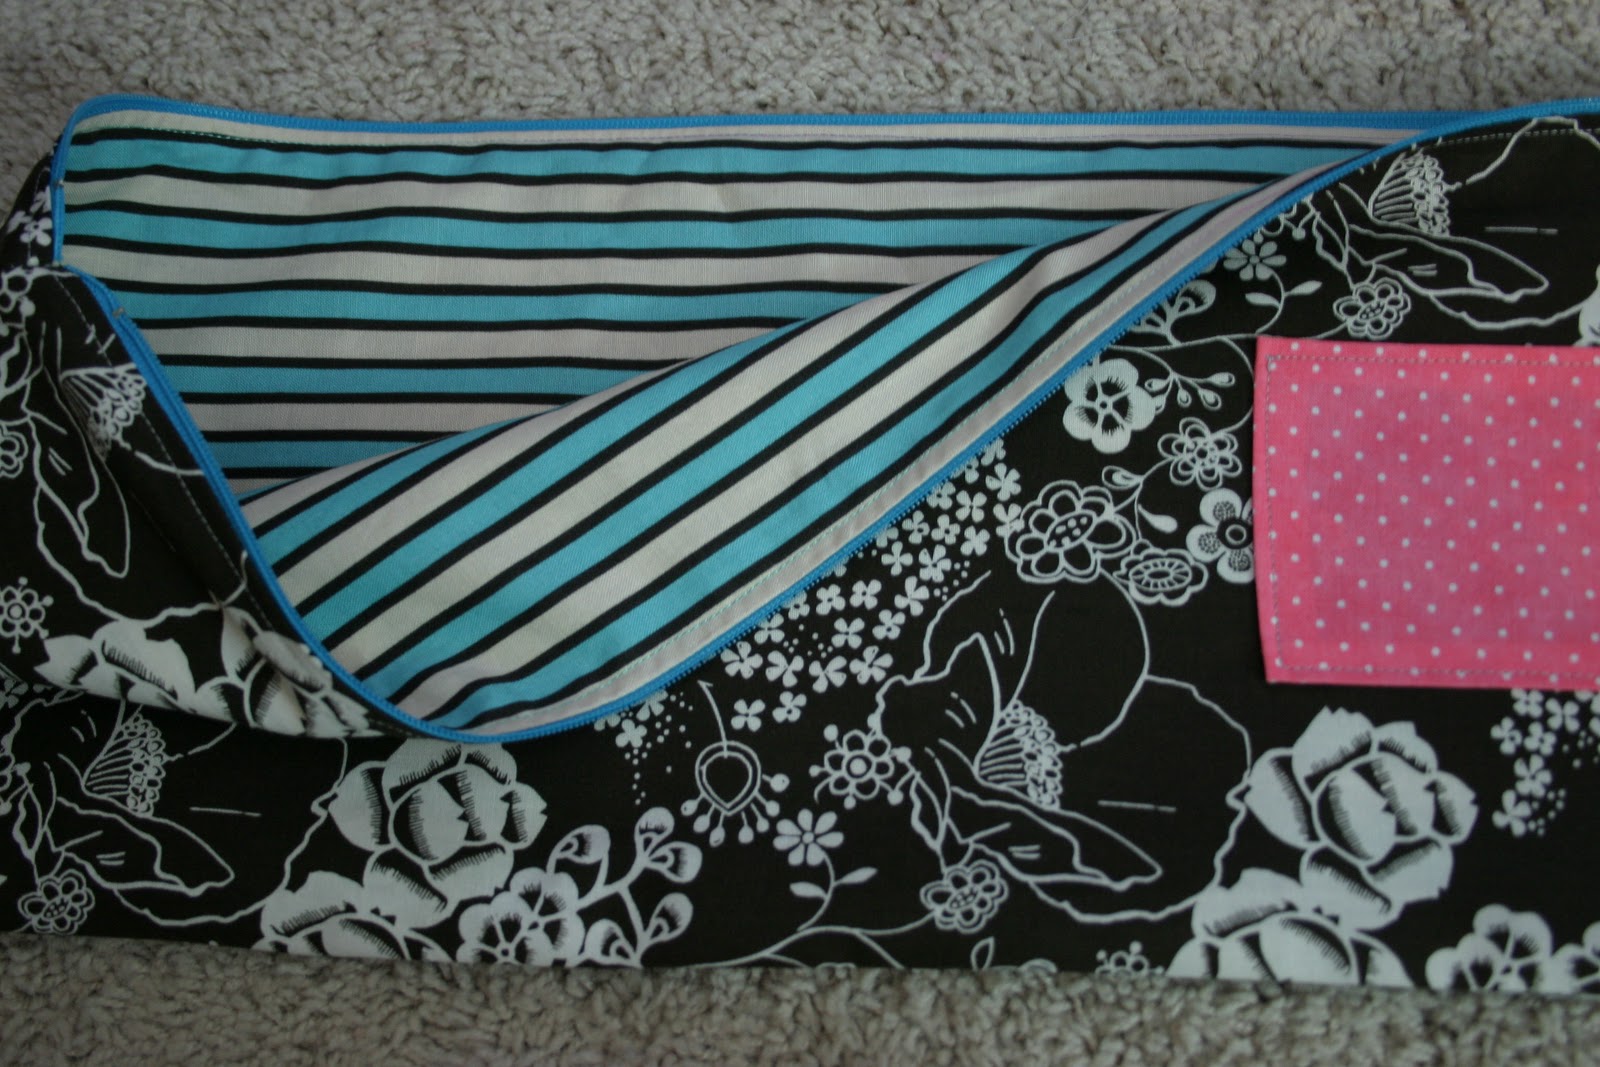
Step 3: Layer one side of the bag in this order; inner fabric right side up, zipper lined up with the top of the fabric and then the outer fabric wrong side up. Sew along the top line making sure to sew all the way to the end.

Step 4: Flip the fabric around so that the wrong sides are together. Repeat the same order on the other side of the zipper. Sew across the top line in the same way.
Step 5: Unzip the zipper half-way ( a crucial part or you will not be able to flip your bag. Now sew the outer fabric together (right sides together). Then sew the inner fabric panels together leaving a 2″ opening on one of the sides. Flip the bag inside out. Sew the 2″ hole closed. You should now have a lined zipper bag, but we wont stop now….
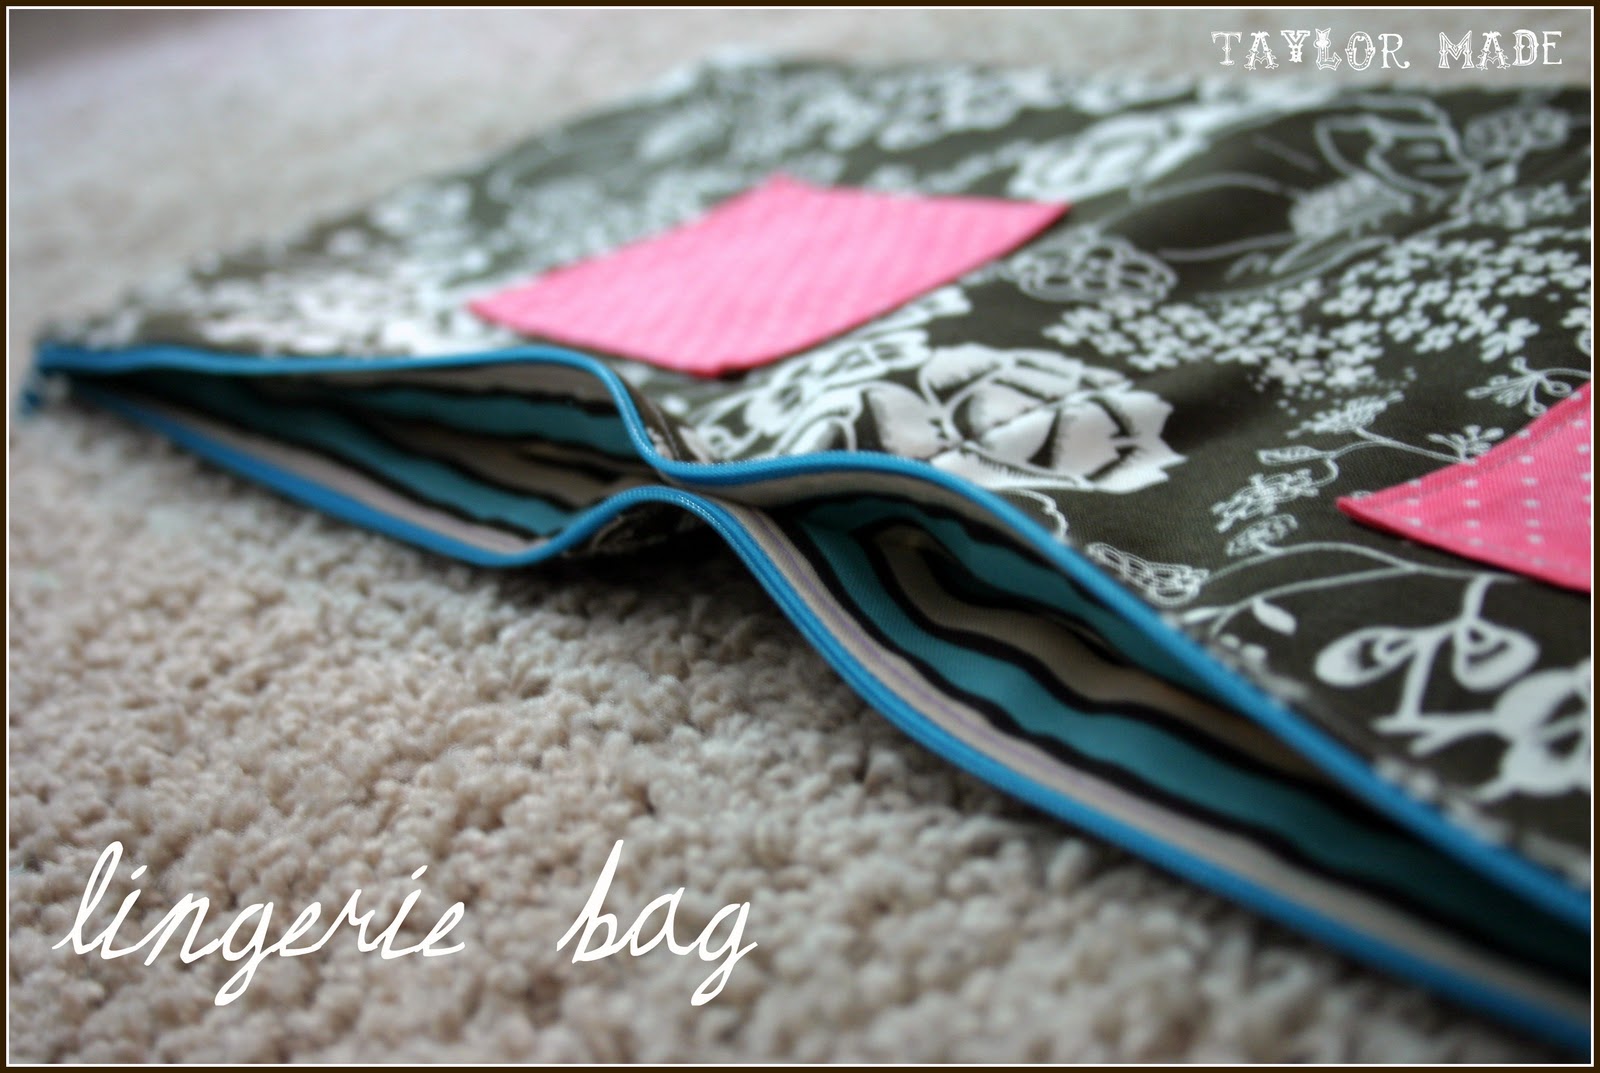
Step 6: Now you will sew a line right down the middle of the bag to make two individual compartments. Measure to the center of the bag and mark with pins. I used a decorative stitch because it will be seen anyway. I also went over it 3 times to make sure it is good and stable. Across the top, (parallel to the zipper but right under it) sew about 1″ long.


Step 7: Get your lovely friend to embroider the works on for you. However, if you do not have that option, there are many other cute things you can do! You could sew the letter “C” and “D” on it. You could use an iron-on. You could paint or silk screen… the possibilities are endless. Here is my finished product…


Happy lingerie bag making!!

Thanks for my Bday present sis! :) Love ya
This is seriously such a great idea! Would make great gifts for a group of girls going on a trip together!
Love this idea! I’m planning on using this for my bridesmaids at our destination wedding. It’s perfect! You’re sooo creative Taylor!
Nice information you’ve provided within the article. Readers should locate similar information at a website like more info. That kind of website is of help for people looking for used panties.
Nice information you have discussed within the article. One can locate related info at a site like visit site. That kind of website will be helpful for people thinking of buying real dolls.