I have a group of girlfriends who I have remained close with through the years and we all are living back in the same area again. We go by the “coyotes” – don’t judge I think we made up the name when we were 14ish. We grew up together and have been a group since 6th grade, some of us were even in the same kindergarten class! I am lucky to have them because I know its rare. Once a month, we take turns hosting “Coyote Night” and this past month it was my turn… craft hour and wine… yes please.
How to host your own Ornament Party:
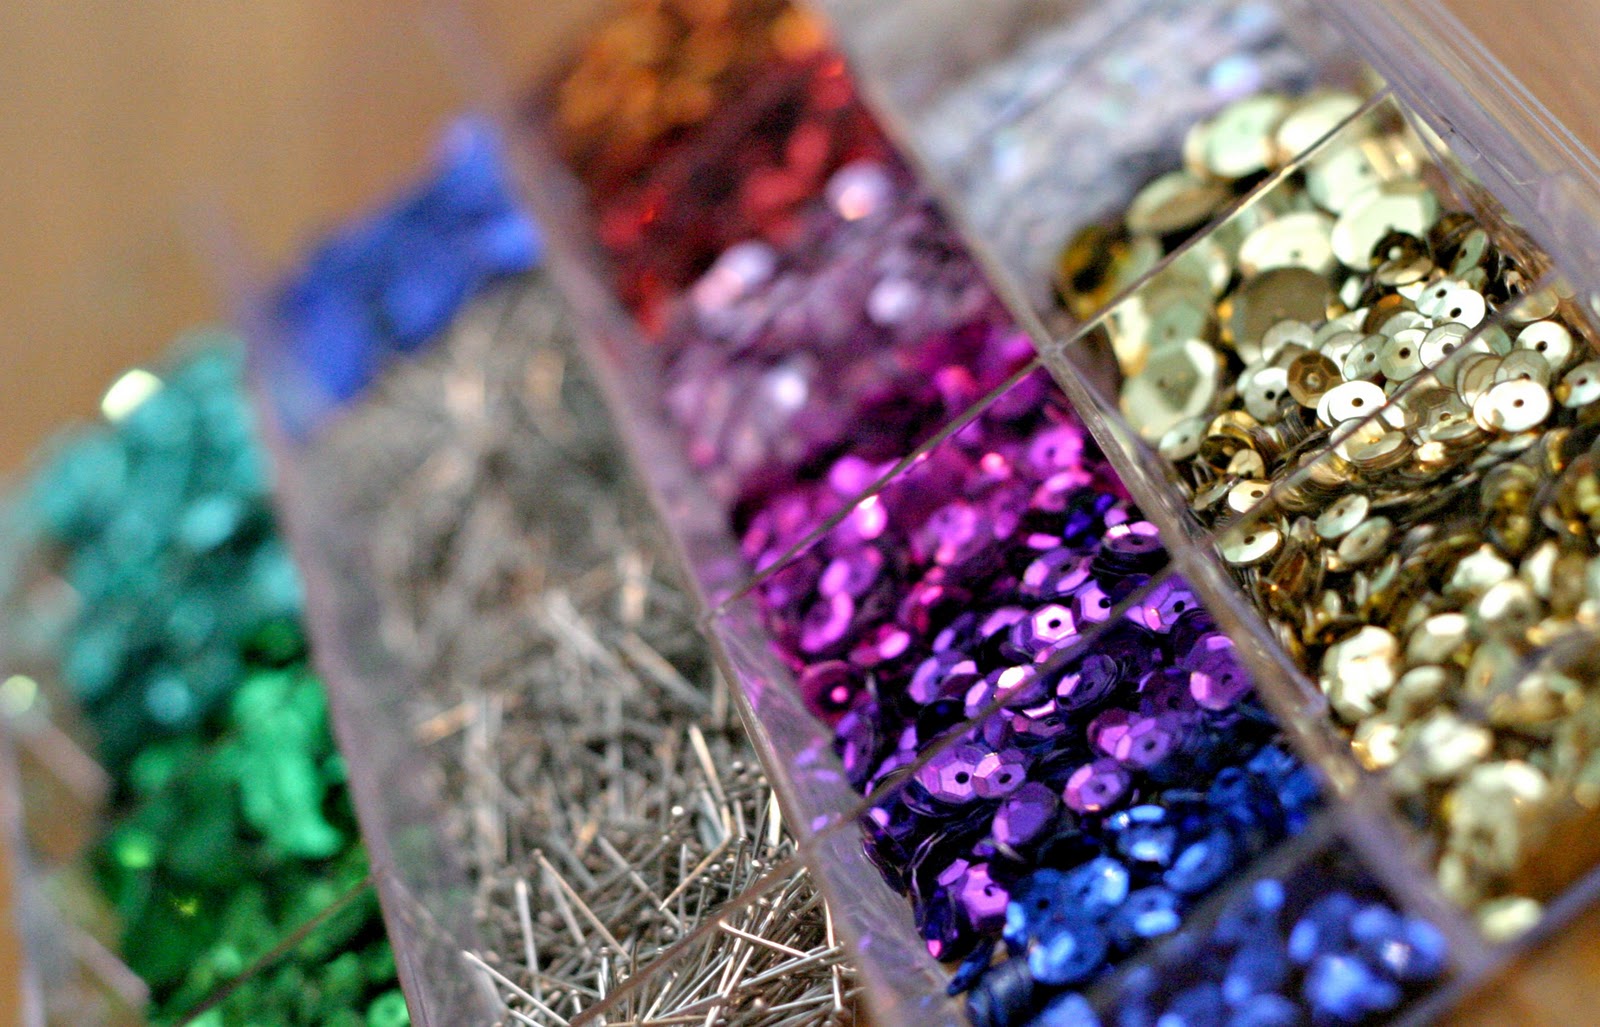
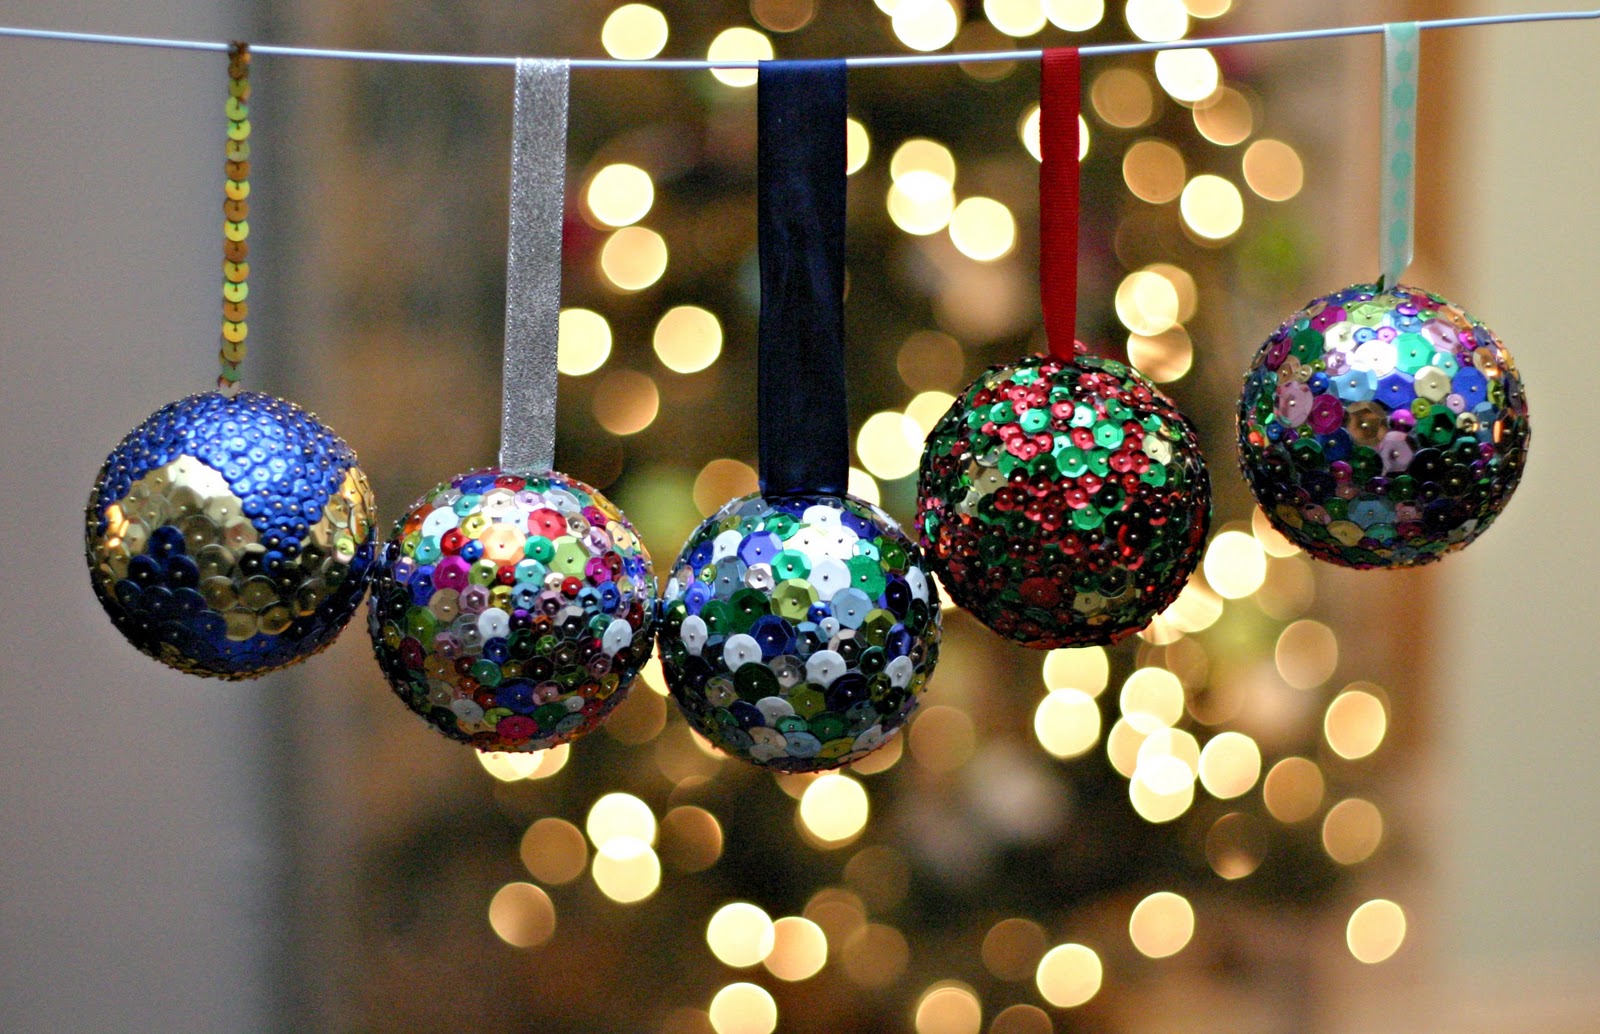
sequins, sequins, sequins – I got an array of colors and sizes
I also got a variety pack
You need sequin pins, which are not the same as sewing pins and will be located by the sequins at the craft store. I bought gold and silver, and we were picky about which ones we used, then we realized you couldn’t even tell the difference.
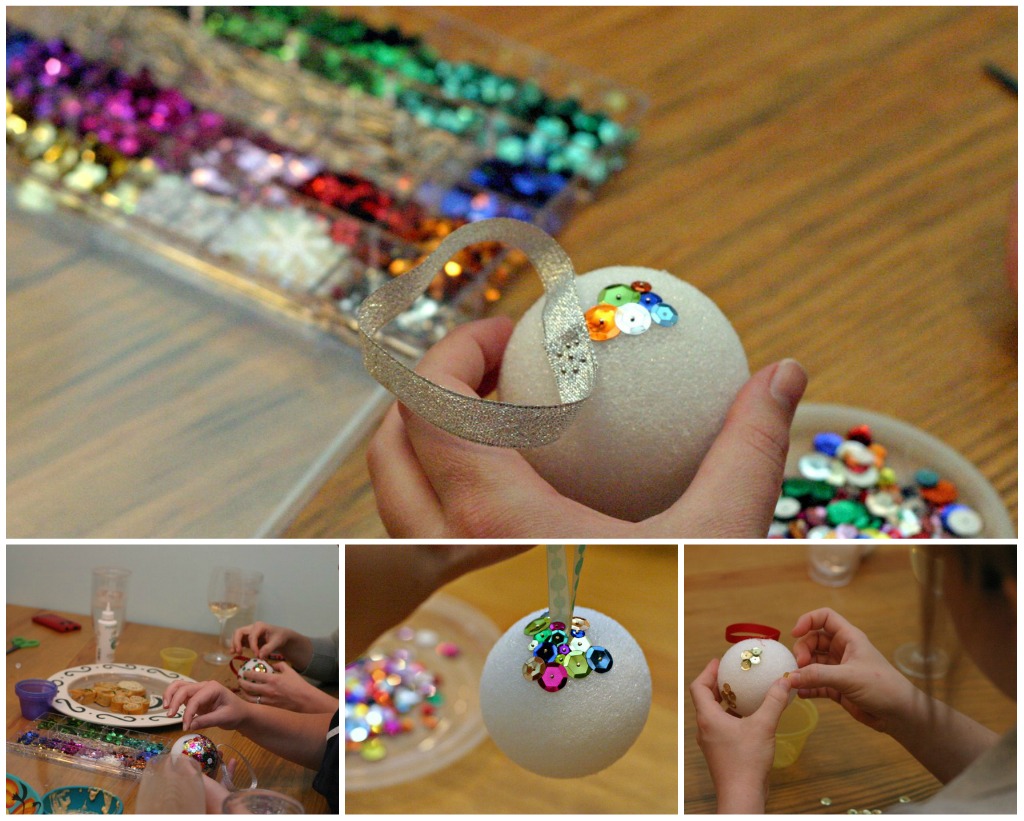
Styrofoam Balls, these came in a 6 pack
extras: ribbon for the hanging part, foam glue is optional, extra little dishes for each person
There doesn’t have to be any rhyme or reason to the ornament making and that is why it was fun. It is perfect for a girl get together because it it mindless so you can still talk, eat and drink :)
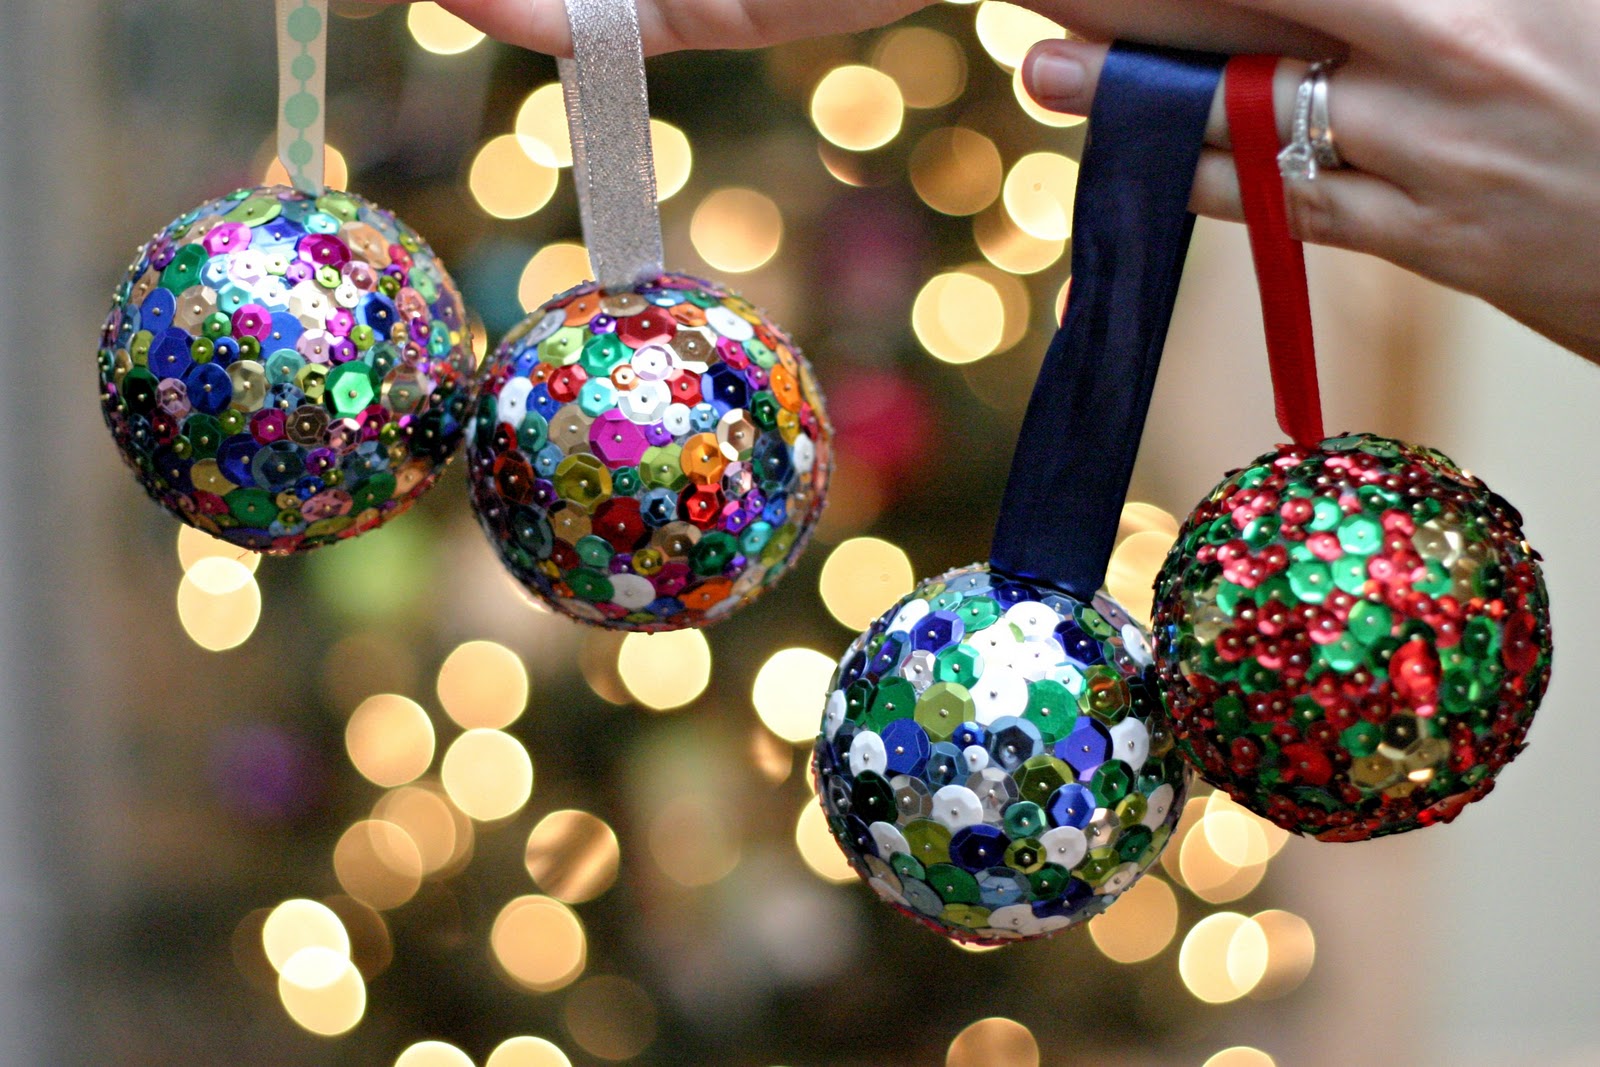
Some of us had a color scheme, some did a pattern, and some were totally random, I love them all!
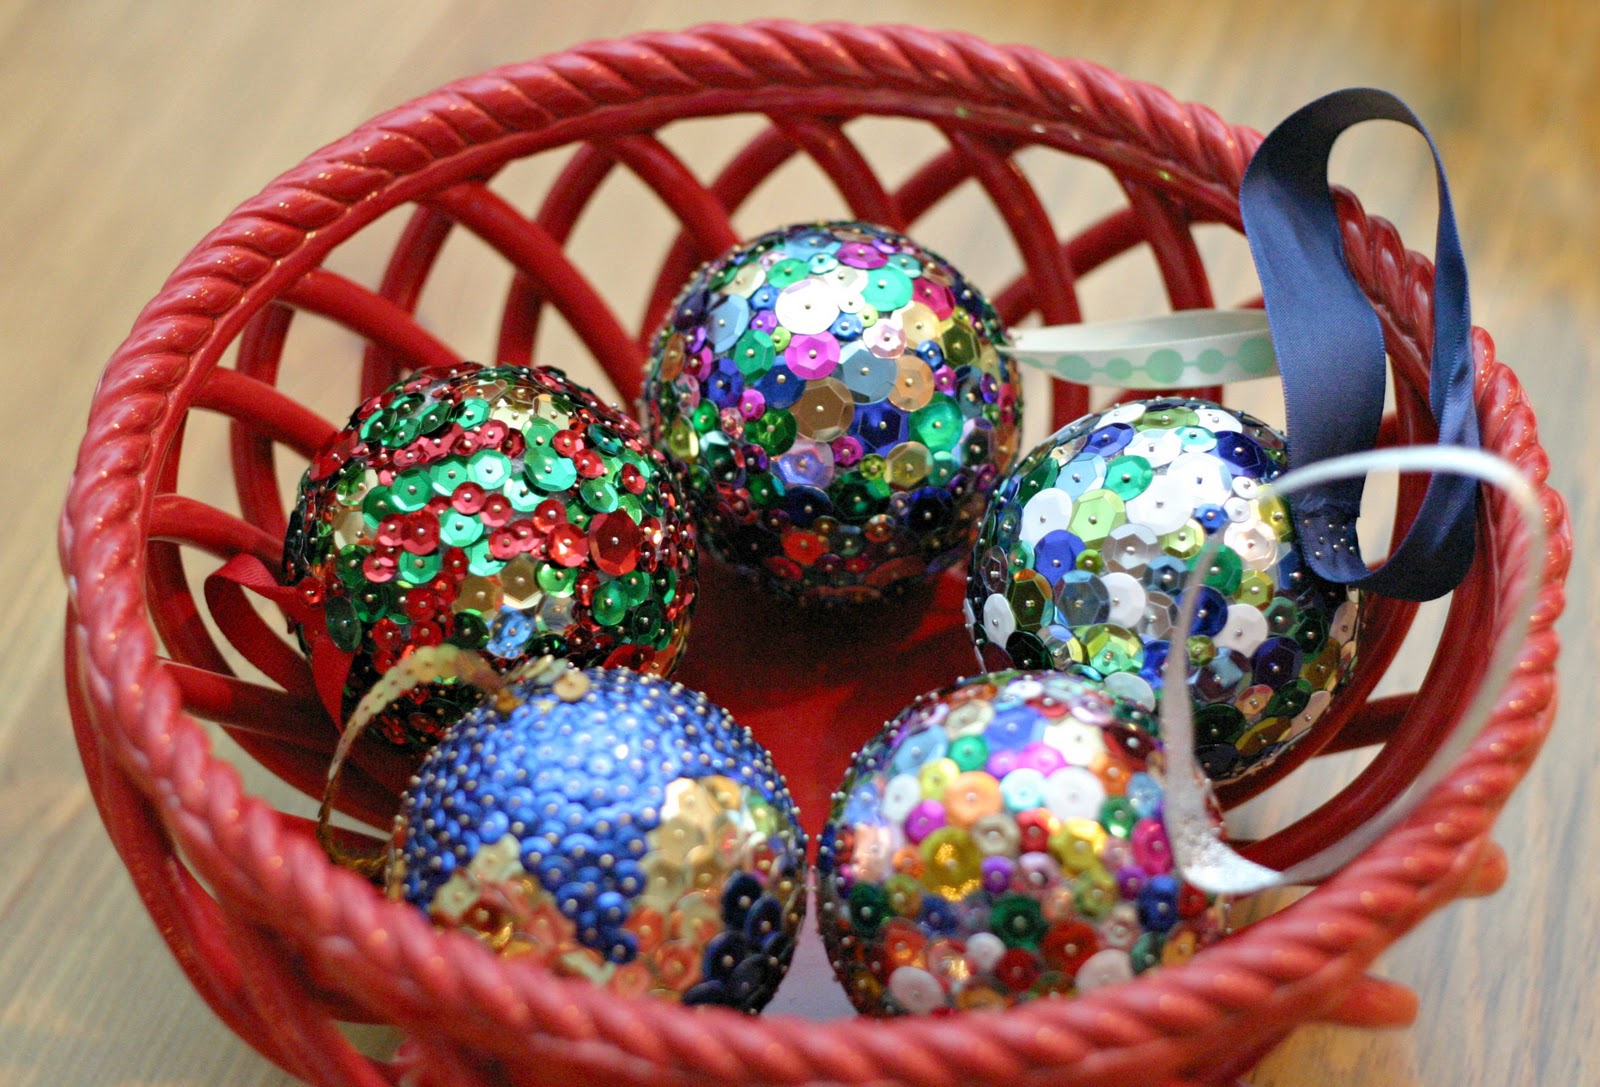
Progress… it does take a while, thankfully for us we never run out of things to say.
A little later…
I wanted to keep all of them :)
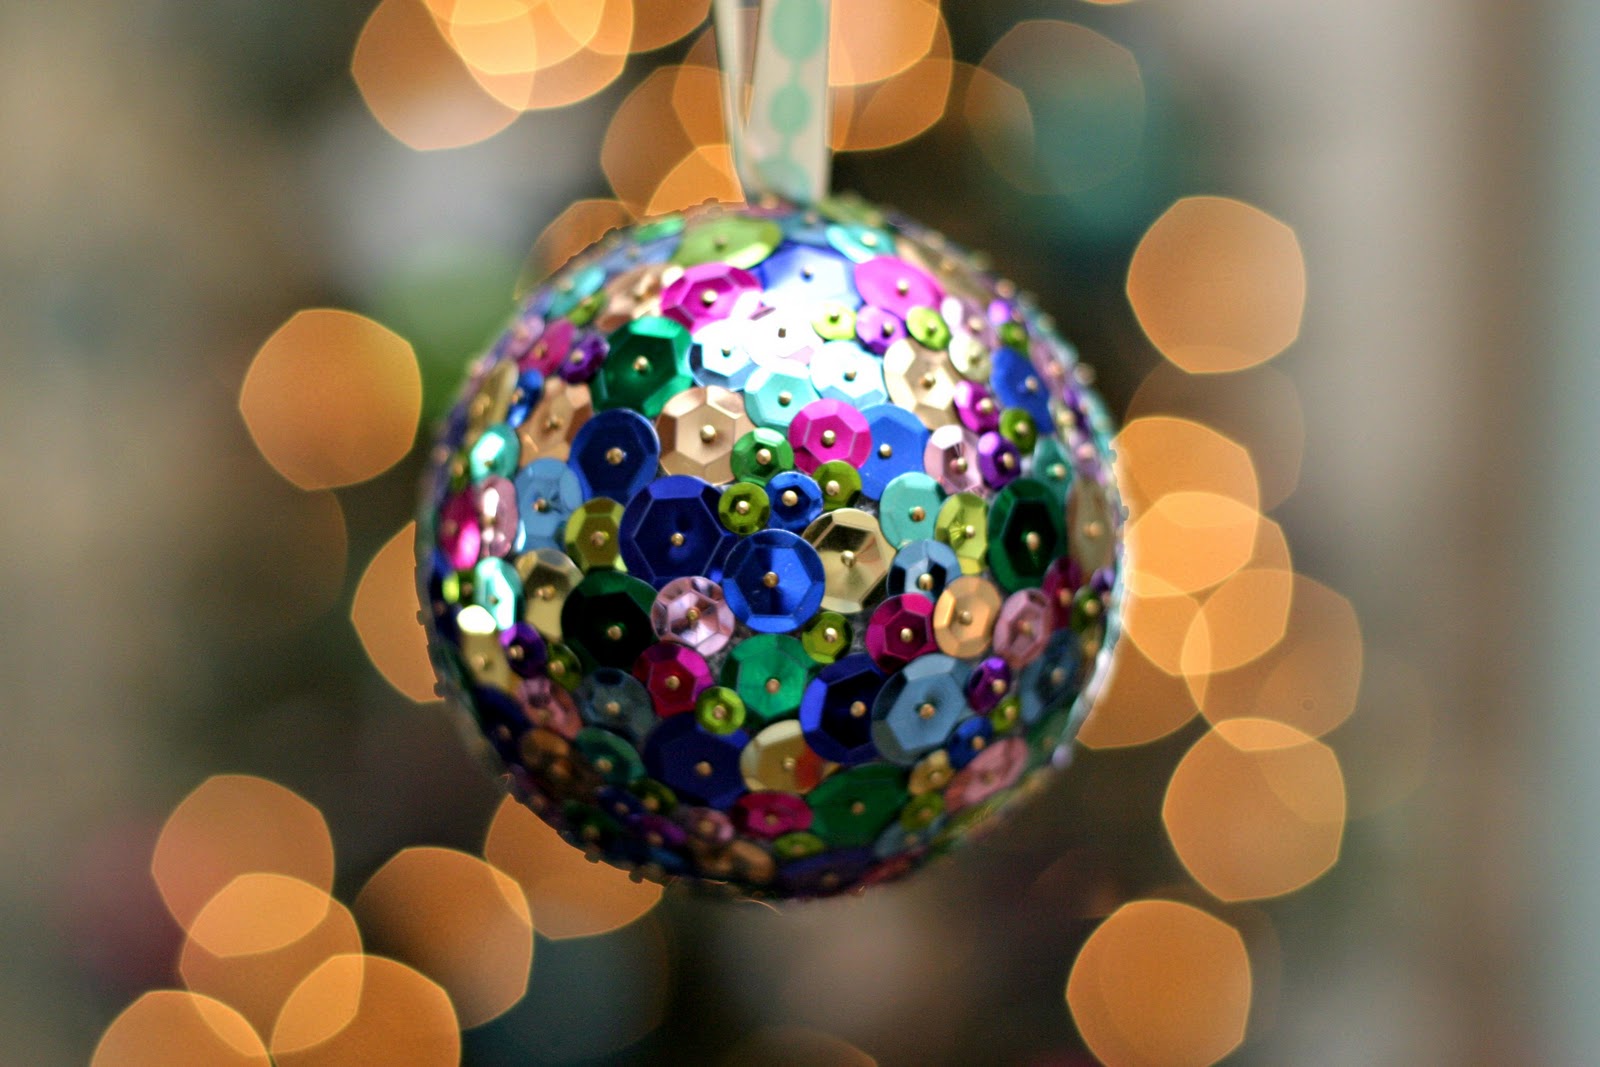
This is the one I made, happy on my tree.
Has anyone else had a “make your own ornament party” yet? I think you should.
Say whaaaat? It’s true, I made some girl clothes a few weeks ago.
Finn’s friend had a birthday and I took it as an opportunity to make girl clothes :) Here is how the conversation went in my head. “Oh your daughter wants a certain toy and will be bored if she has to open clothes? Welp, I have two boys and would like to make a skirt.” I think it’s the perfect situation- I get my two funny, rowdy, crazy boys and I will make all of our girl friends dresses so I won’t have to miss out on that. One thing I will gladly miss out on… the drama-filled, moody, teenage girl years.
I used Dana’s Simple Skirt Pattern for the skirt. Her pattern is for 3-4T so I just subtracted 2 inches or so for a 2T. It was really easy and quick.
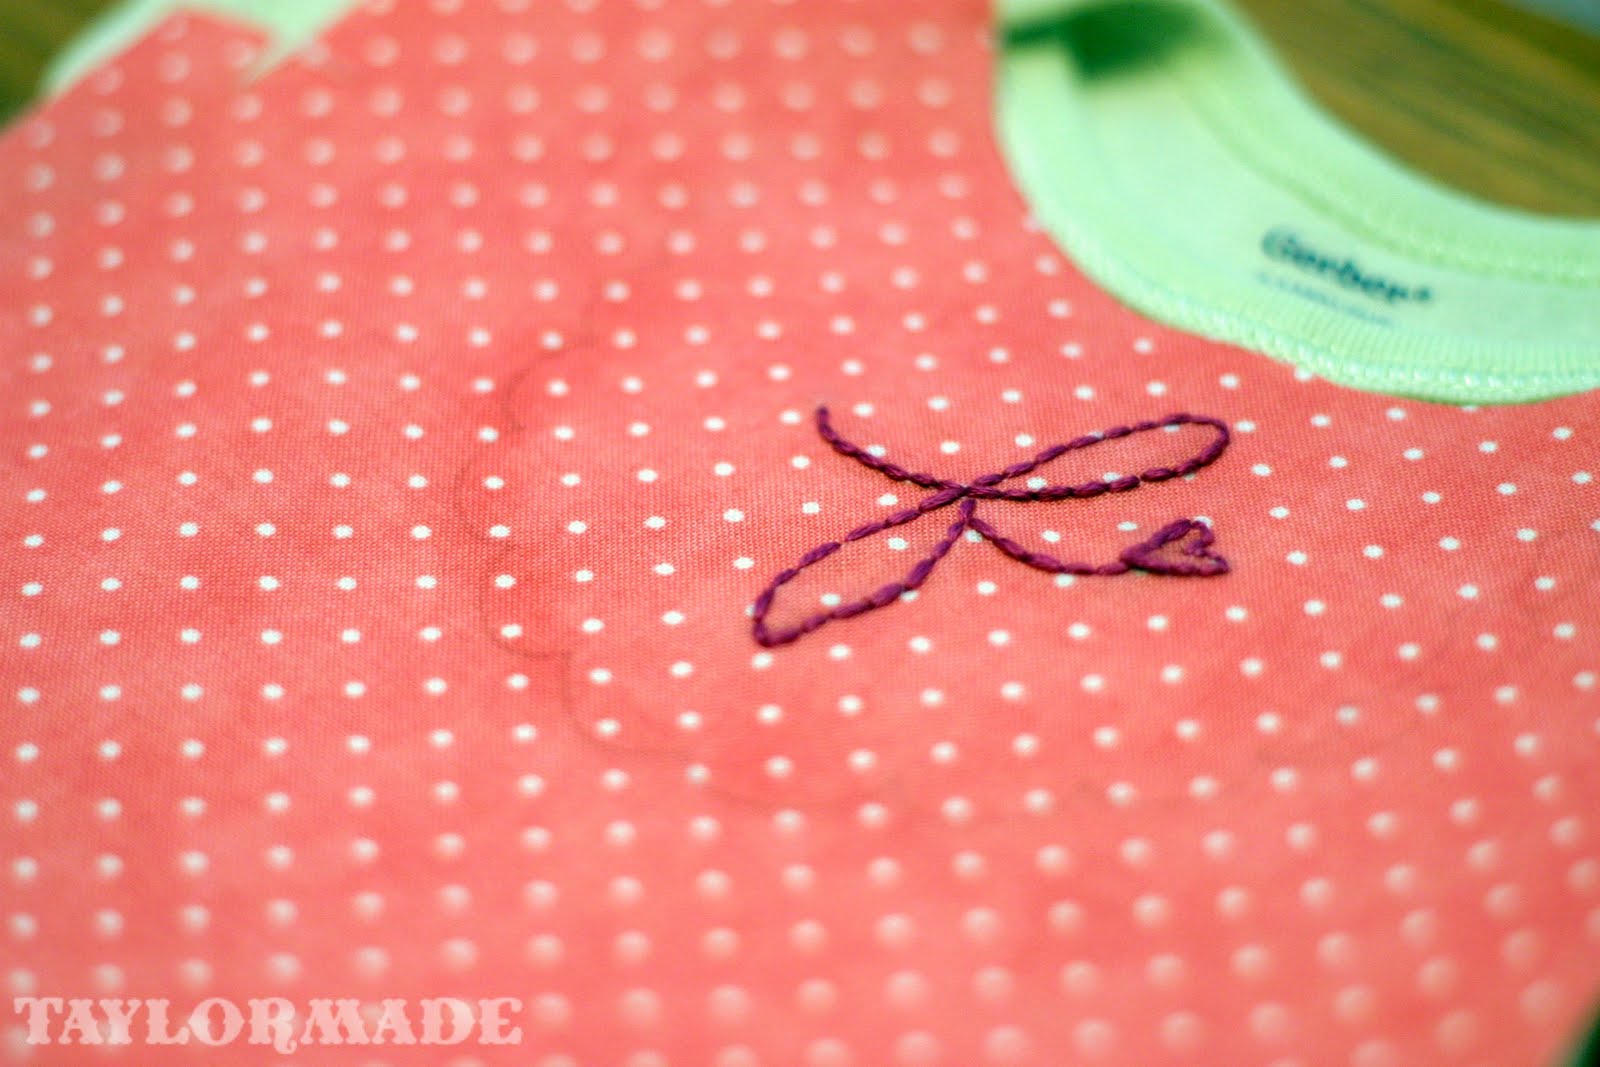
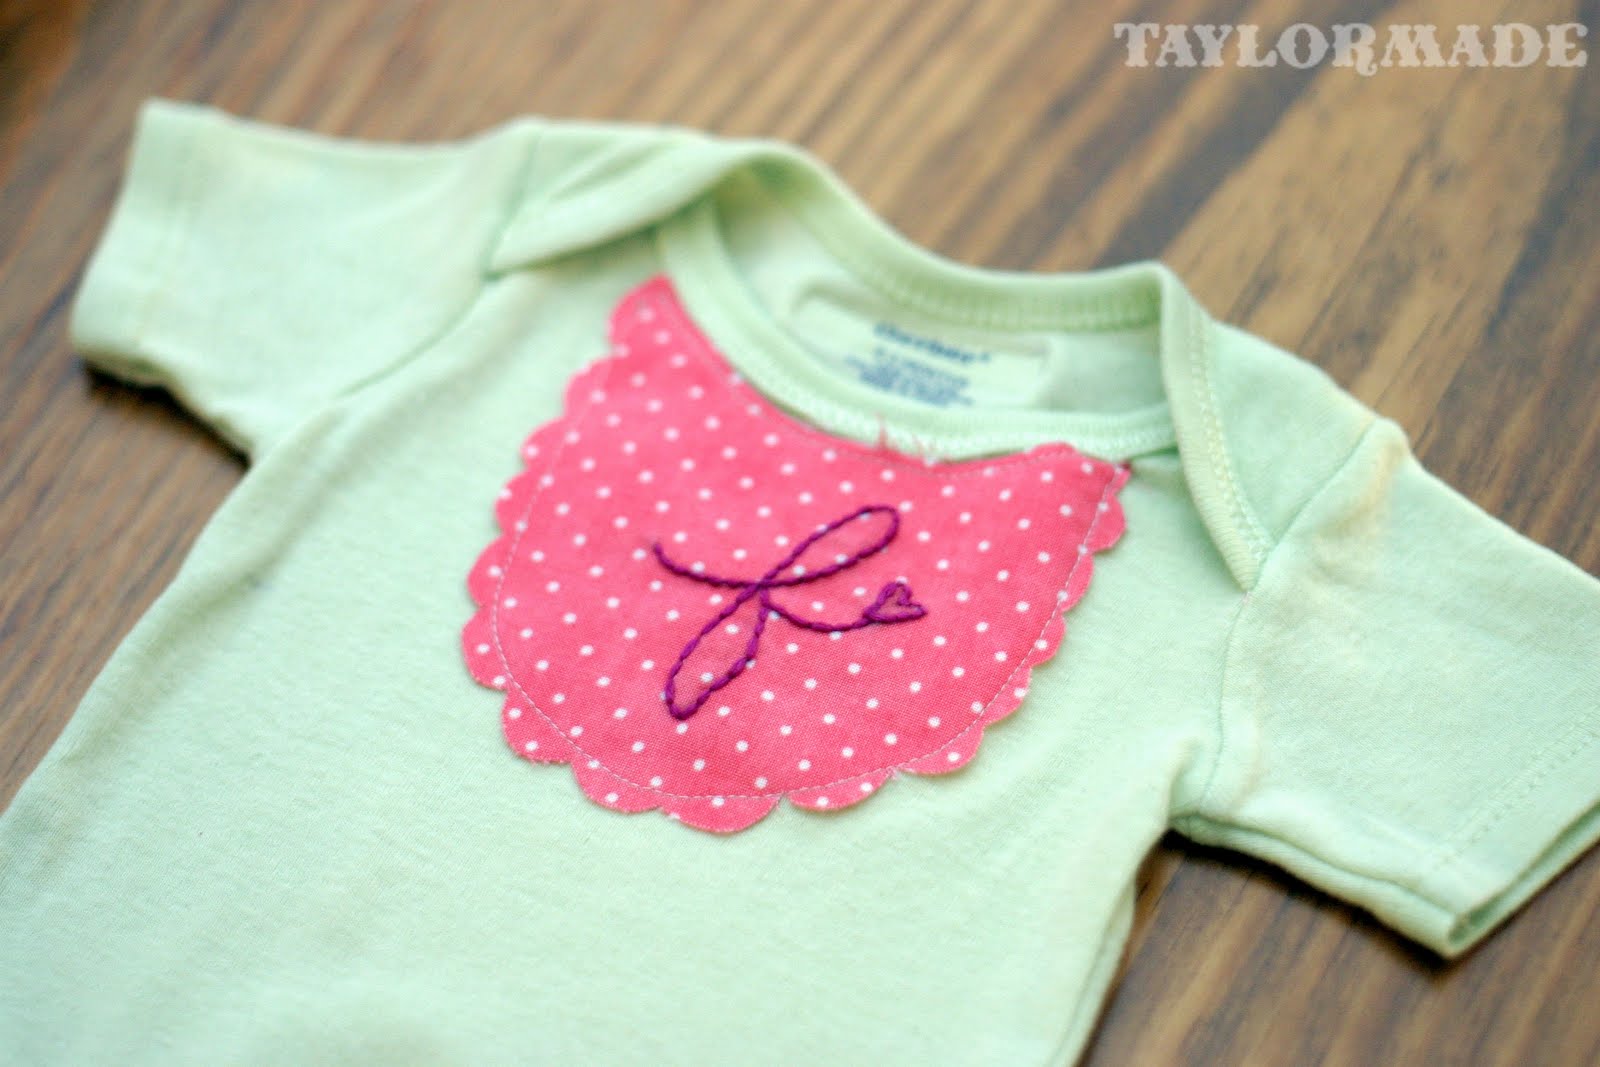
For the top, I started with a plain off white t-shirt. Ironed fusible web to a scrap piece of the skirt. Cut out the letter “K” and ironed it in place. Then I hand embroidered around the edge of the letter. Lastly, I added a little heart just to girl it up even more.
Take plain onesies and turn them into a baby fashion statement.
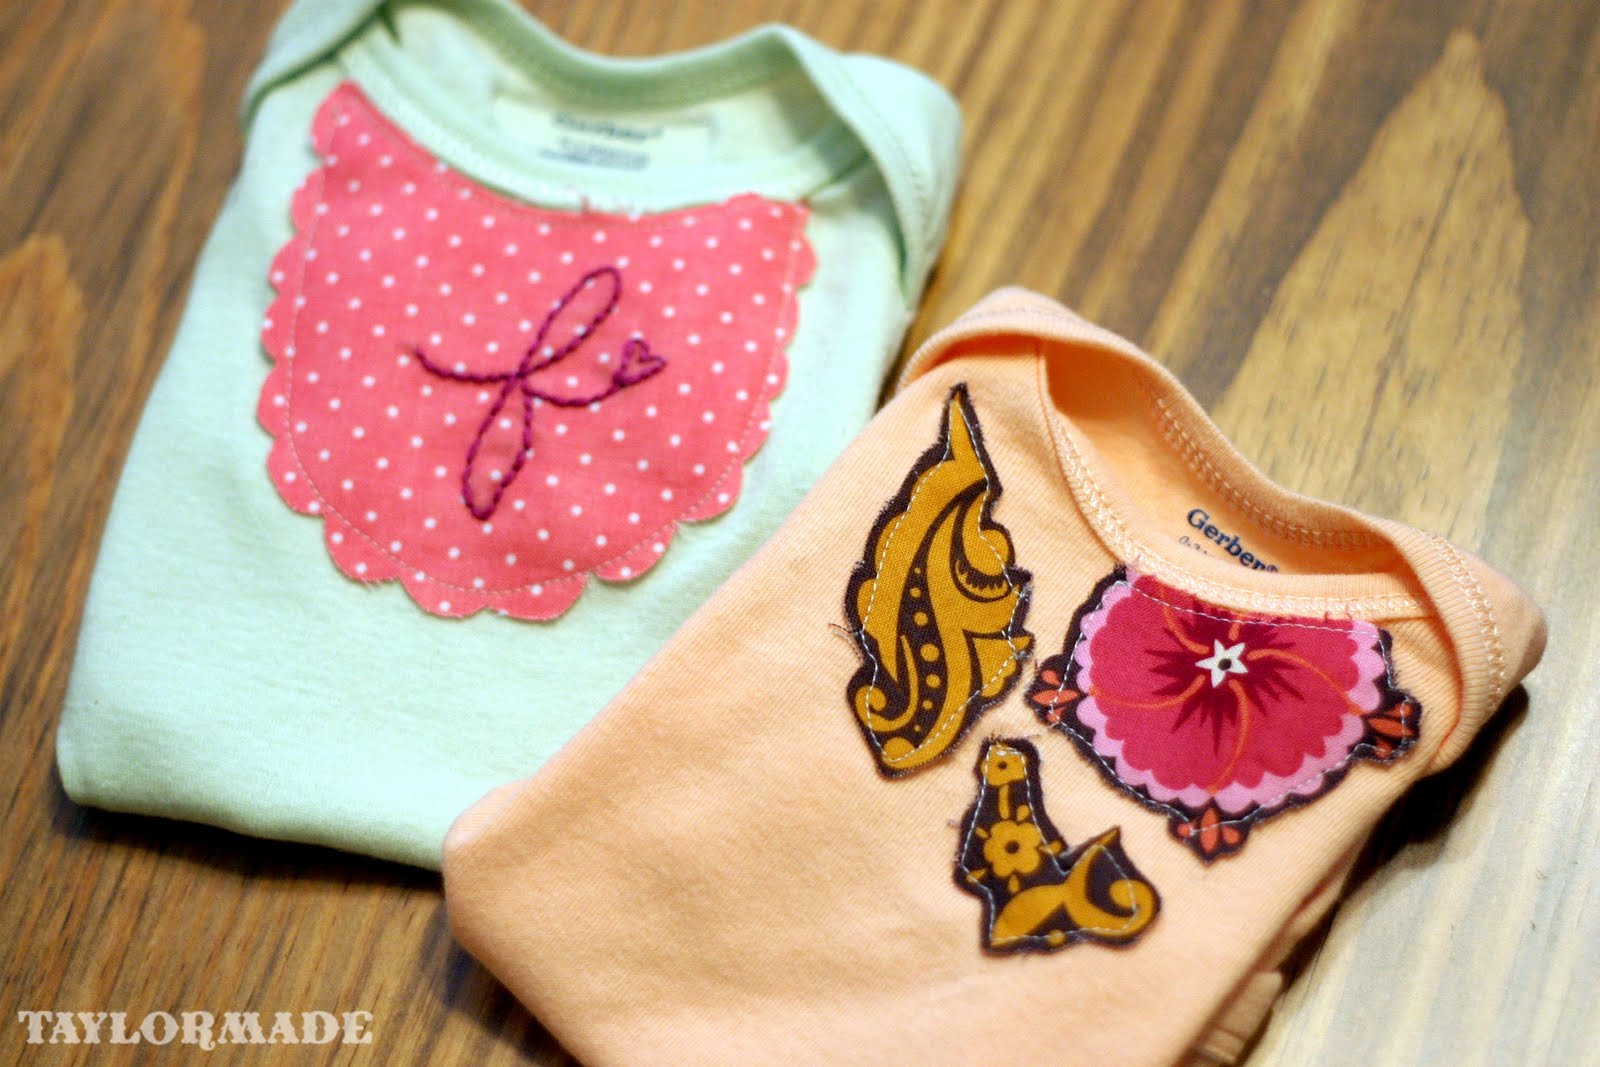
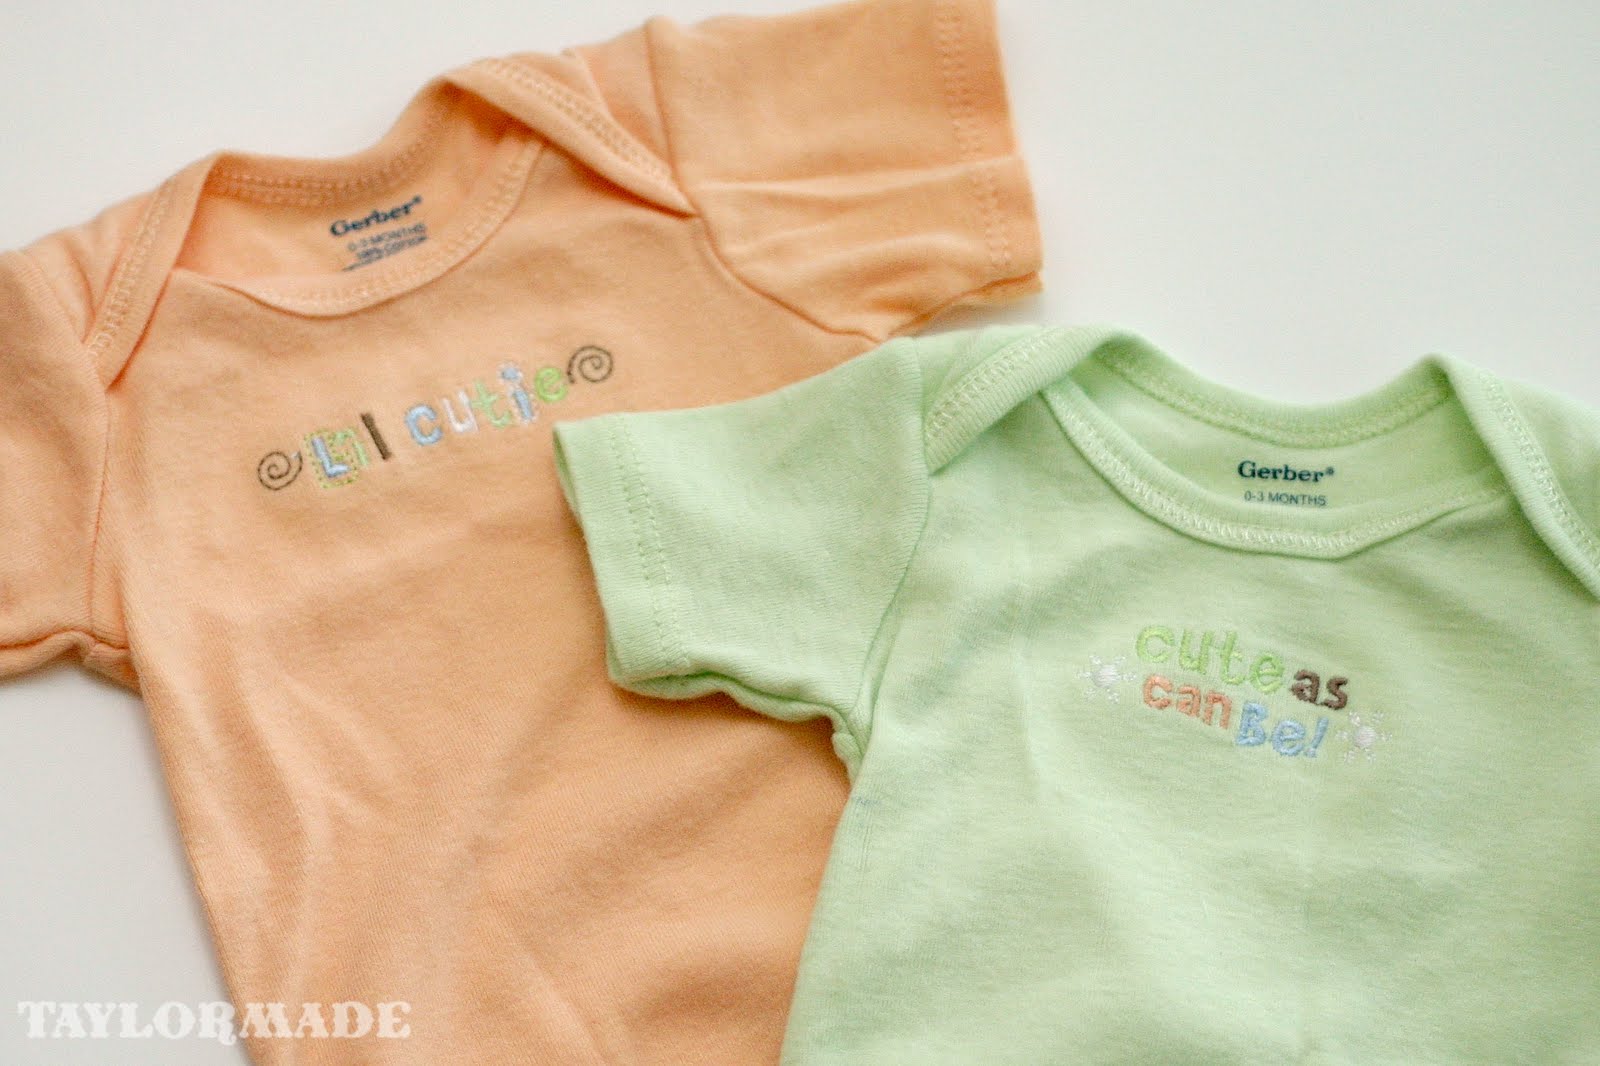
Babies need a little refashion sometimes too. These onesies were originally embroidered with a little “baby saying”… cute but I thought the colors were a little too girly for my Clyde. He never wore them, I refashioned and re-gifted! I just used some fabric scraps and some imagination.
Before:
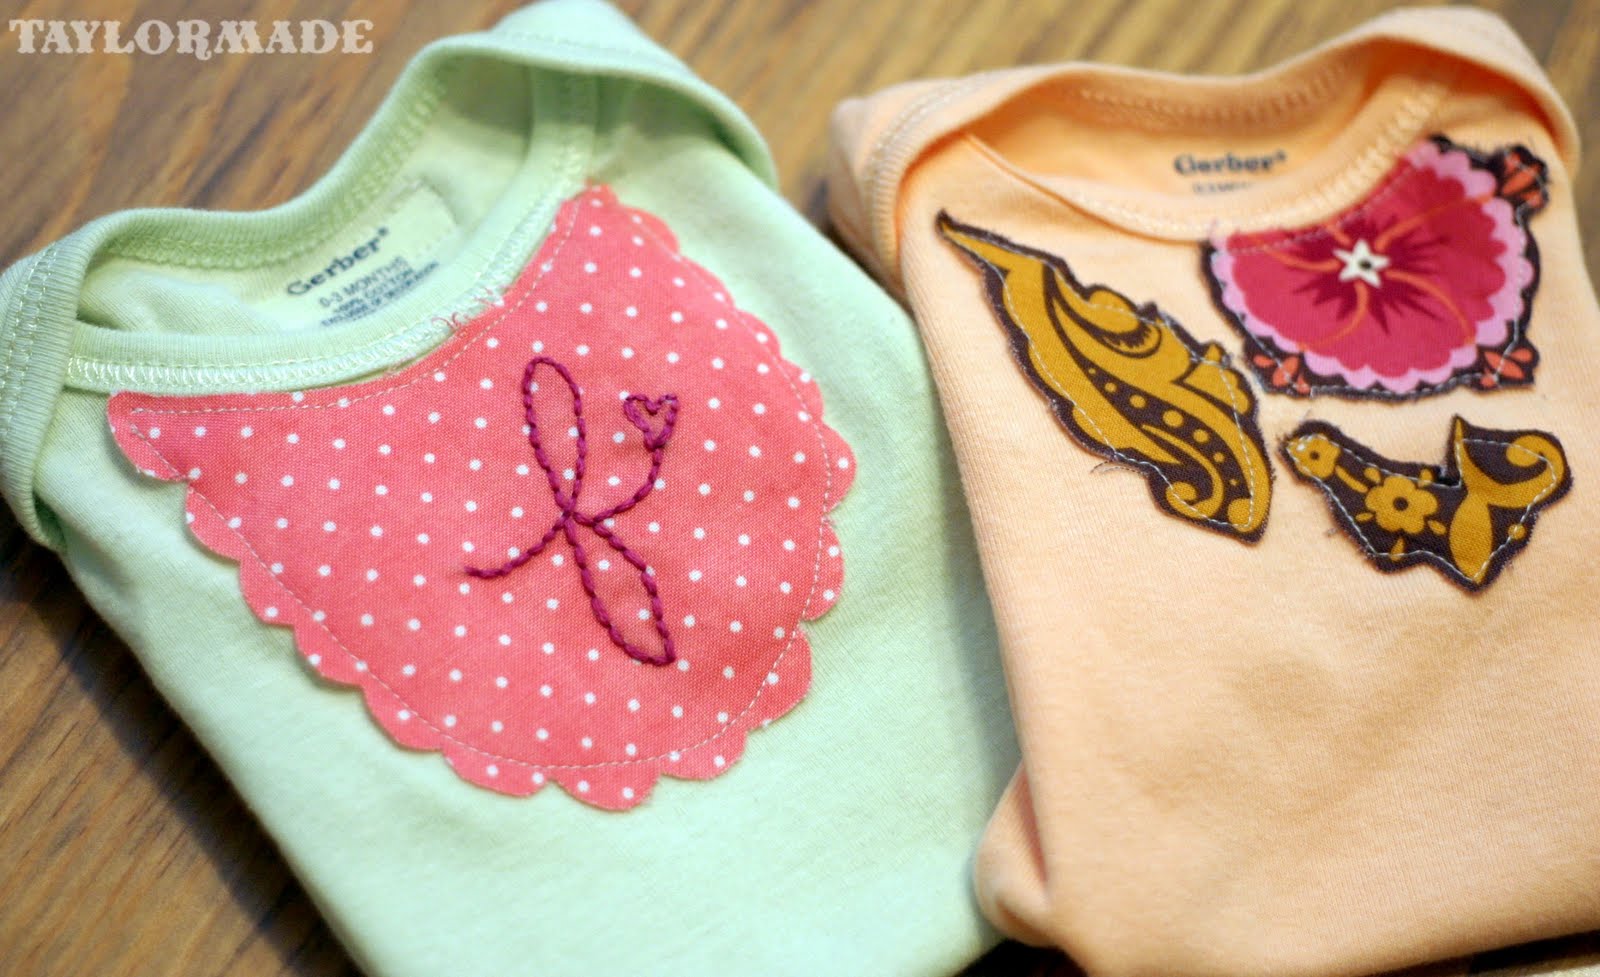
I made two; here is how I made the first one:
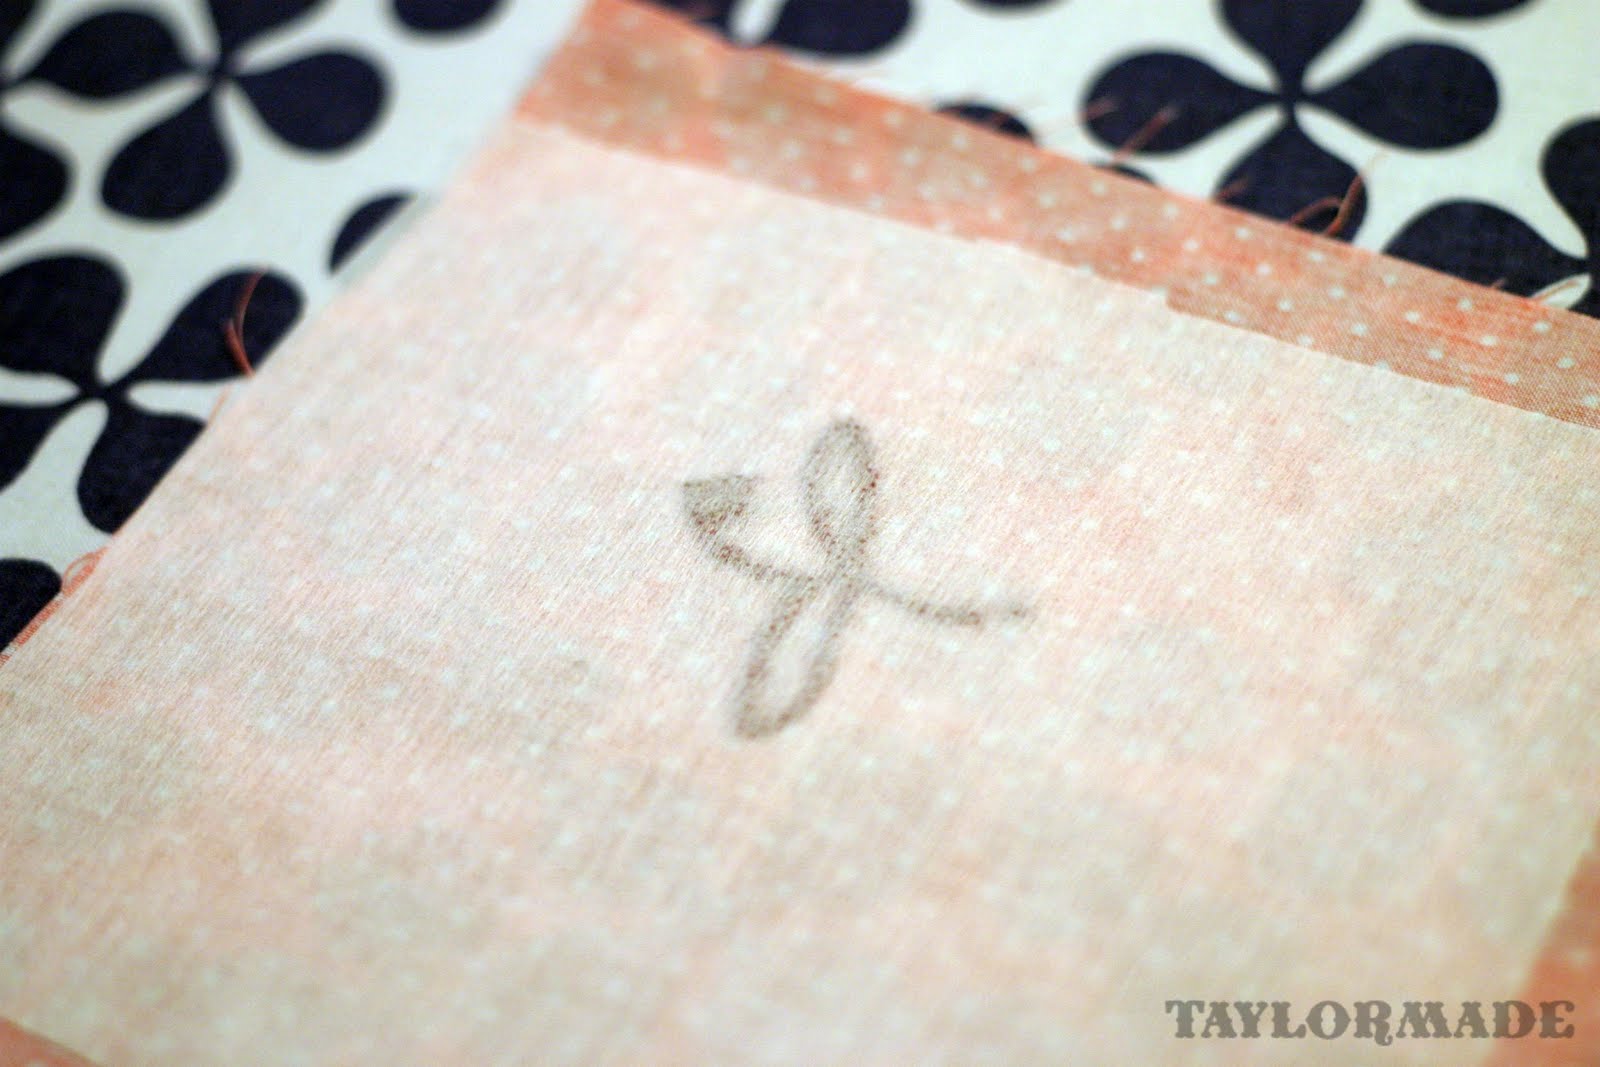
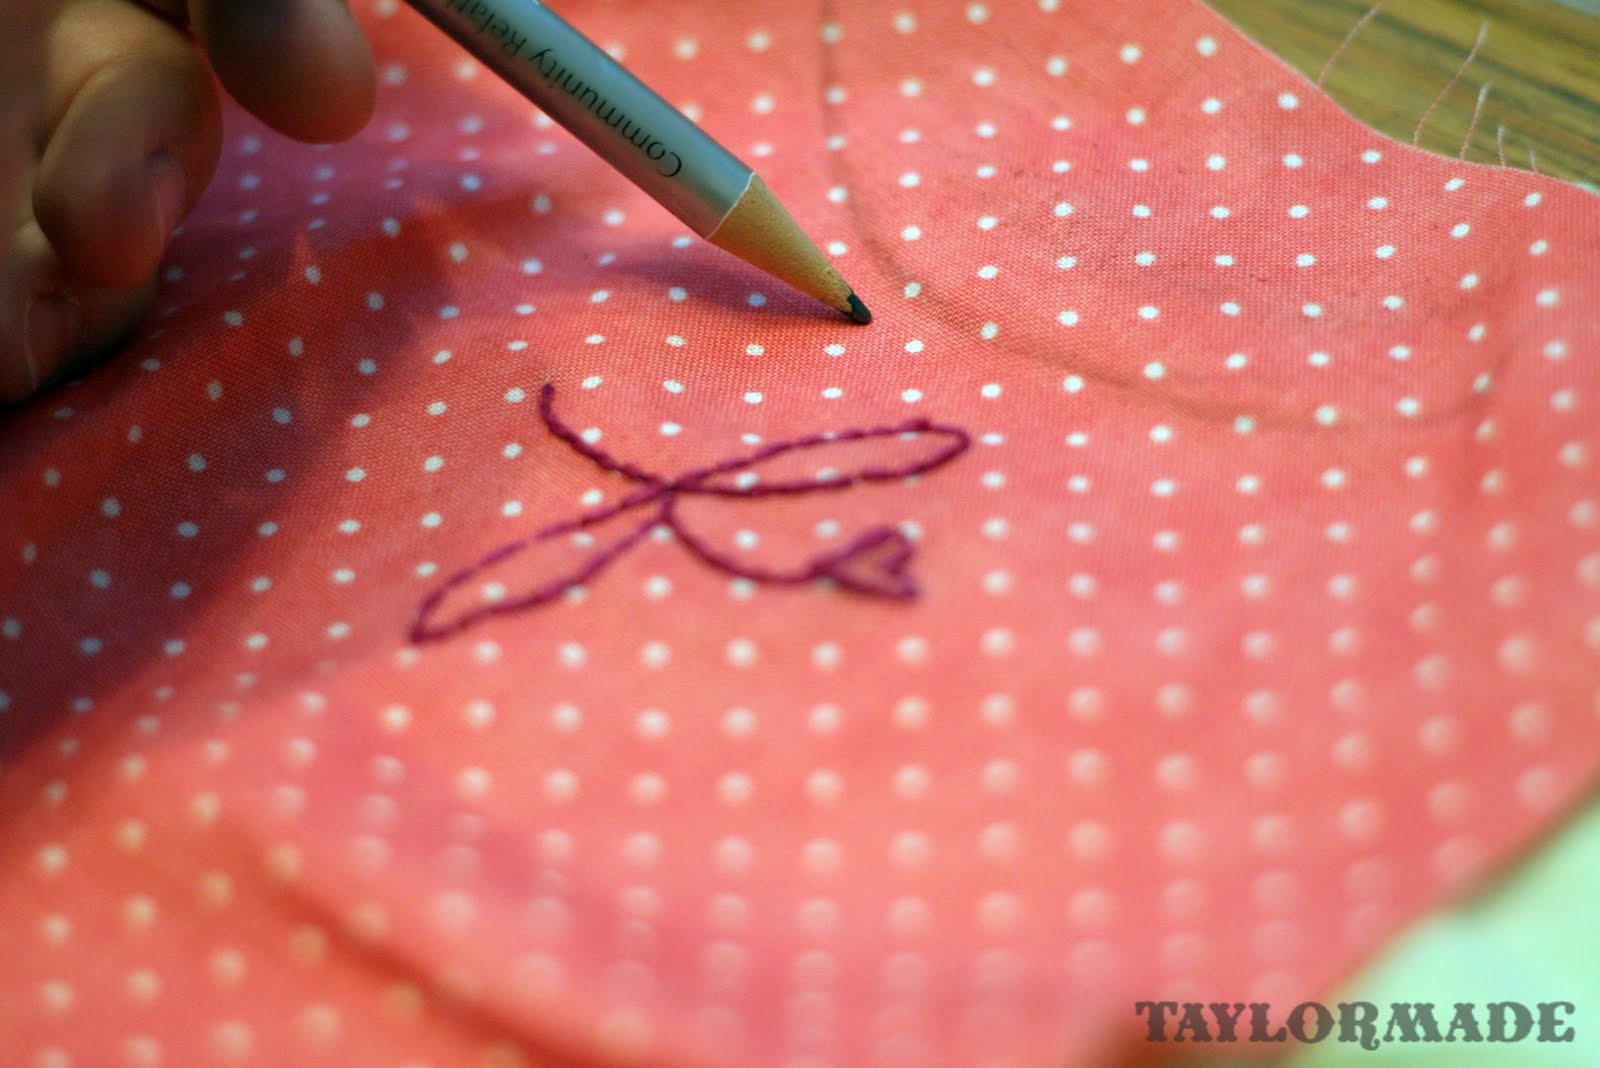
I started by embroidering the letter “f” on my fabric, I just penciled it freehand right on the fabric.
Next step is to iron interfacing to the back of the fabric. I went for the raw edge look and this way the fabric won’t fray as much.
Next, line the fabric up to the onesie and mark with a pencil where you will cut.
Sew around the new fabric that you are attaching.
Onesie refashion number 2…
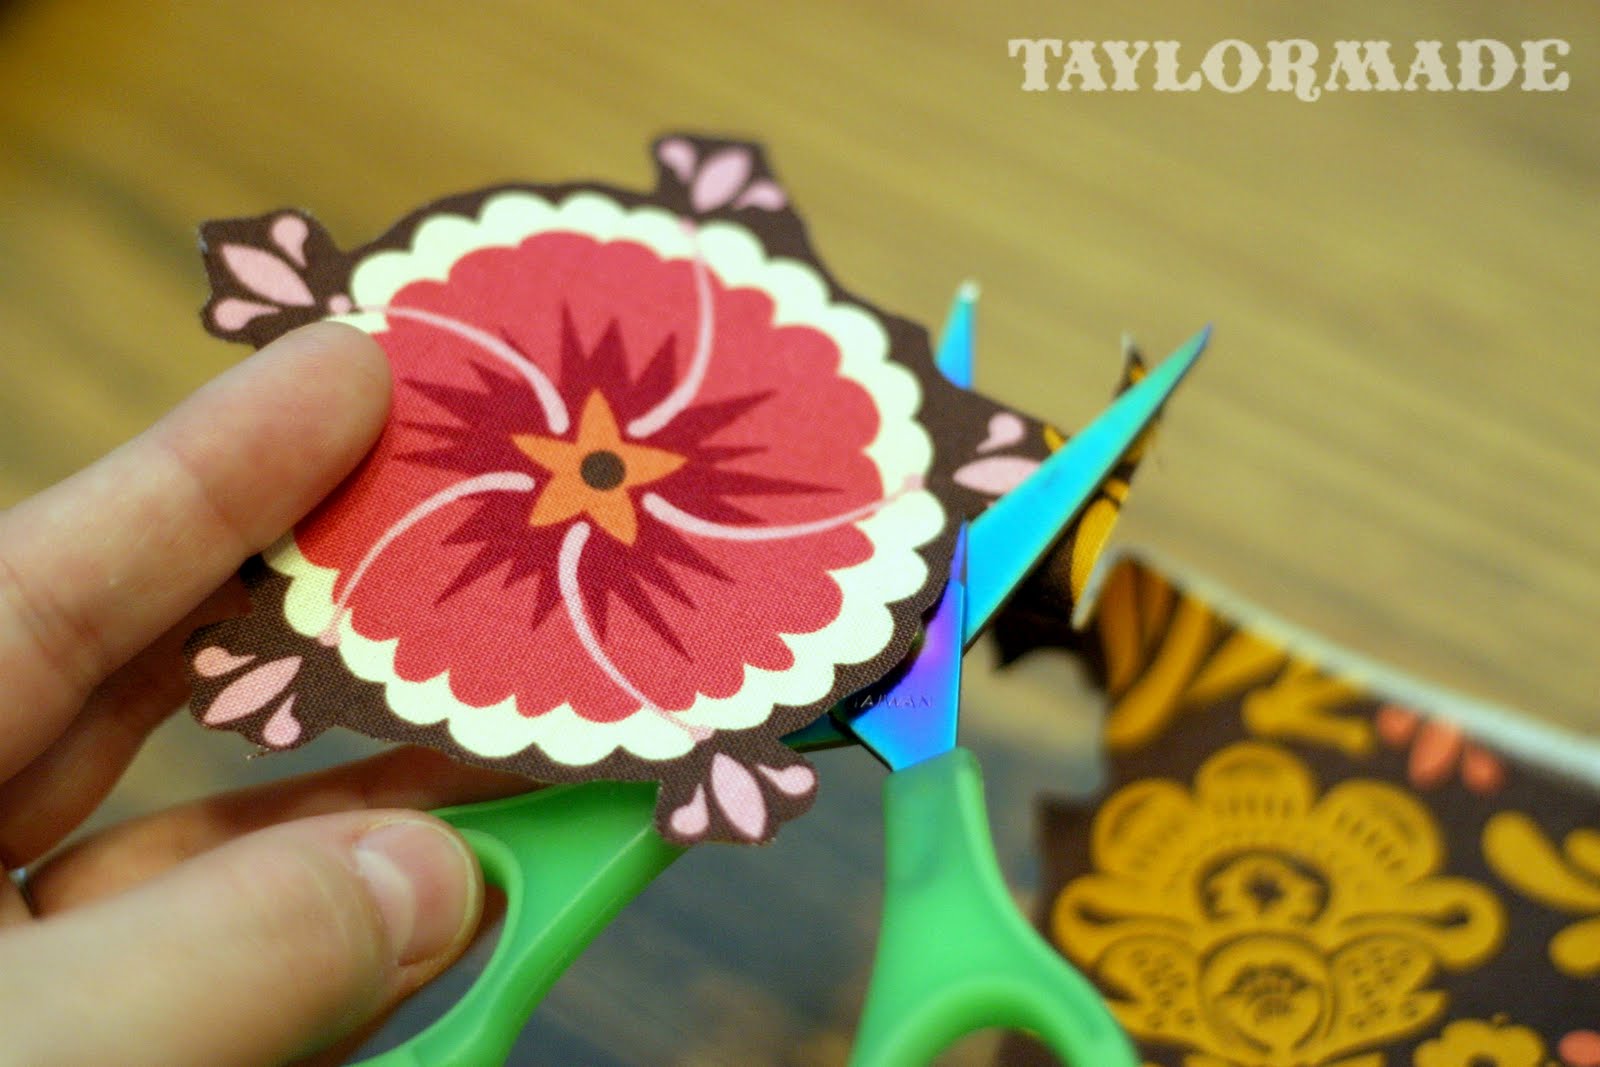
Add interfacing to the back of the fabric again and cut out some pieces of the pattern.
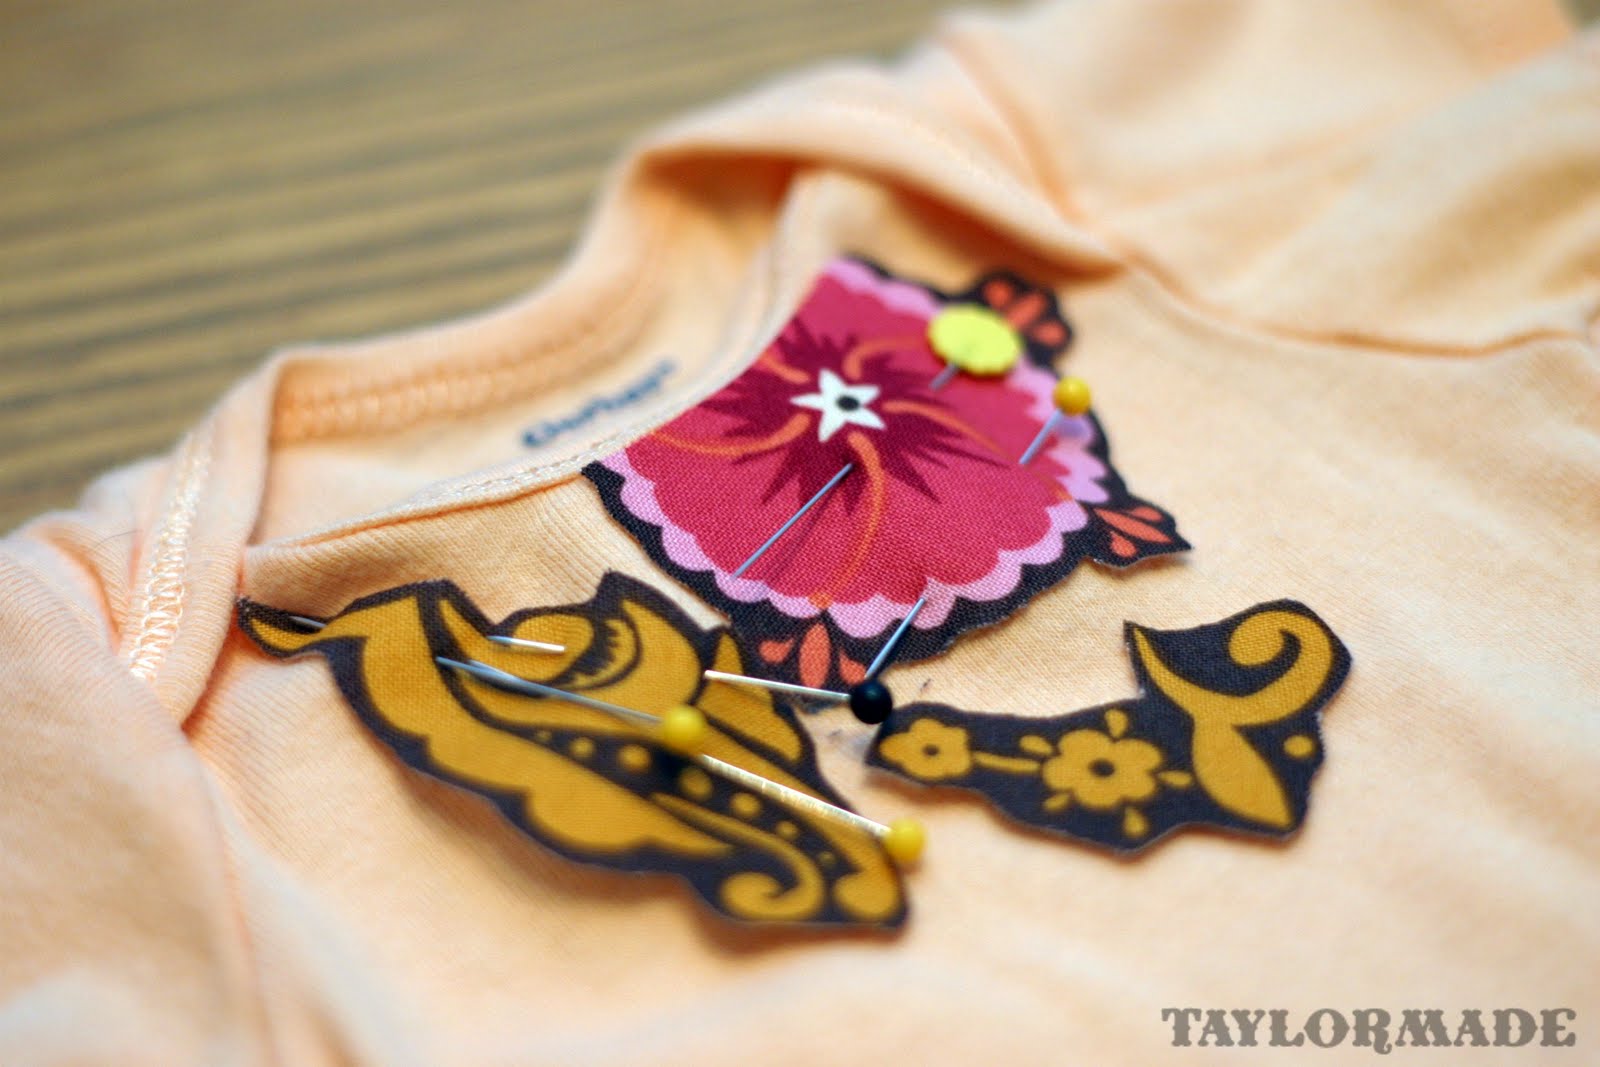
Pin the pieces on the onesie so you cover the old design.
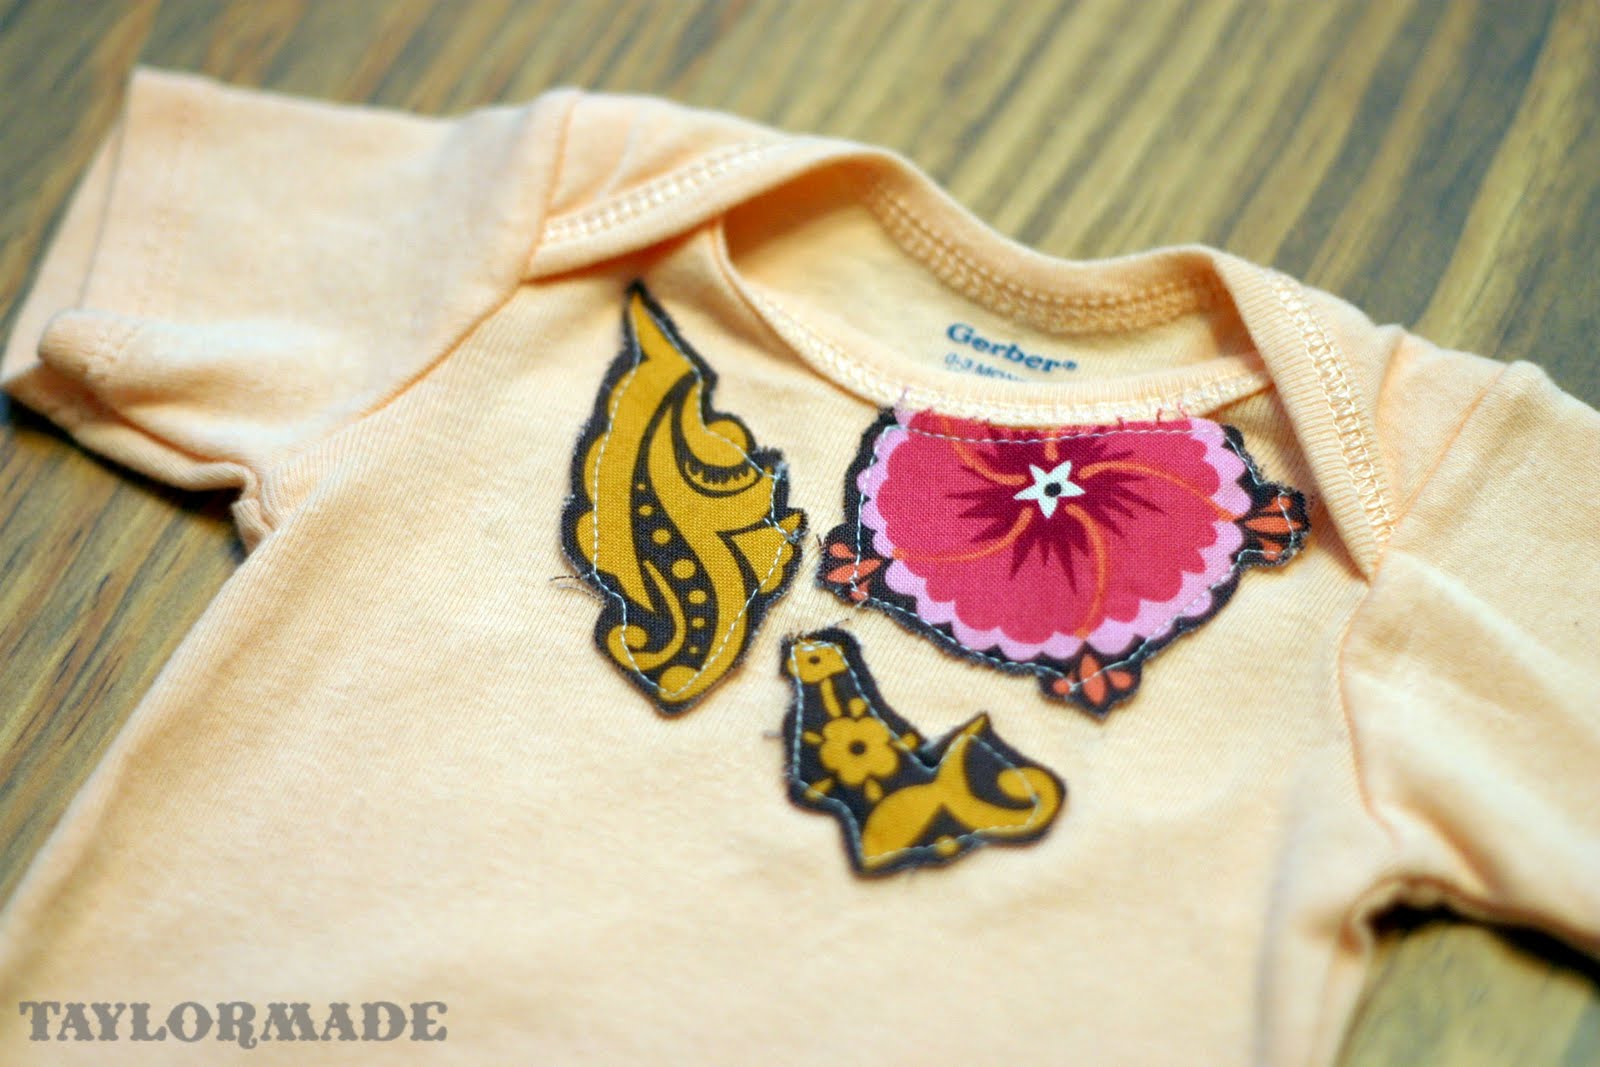
And sew. I again went for a messy sewn look. If you like a neater look you could do a tight zig-zag stitch around the perimeter of the fabric.
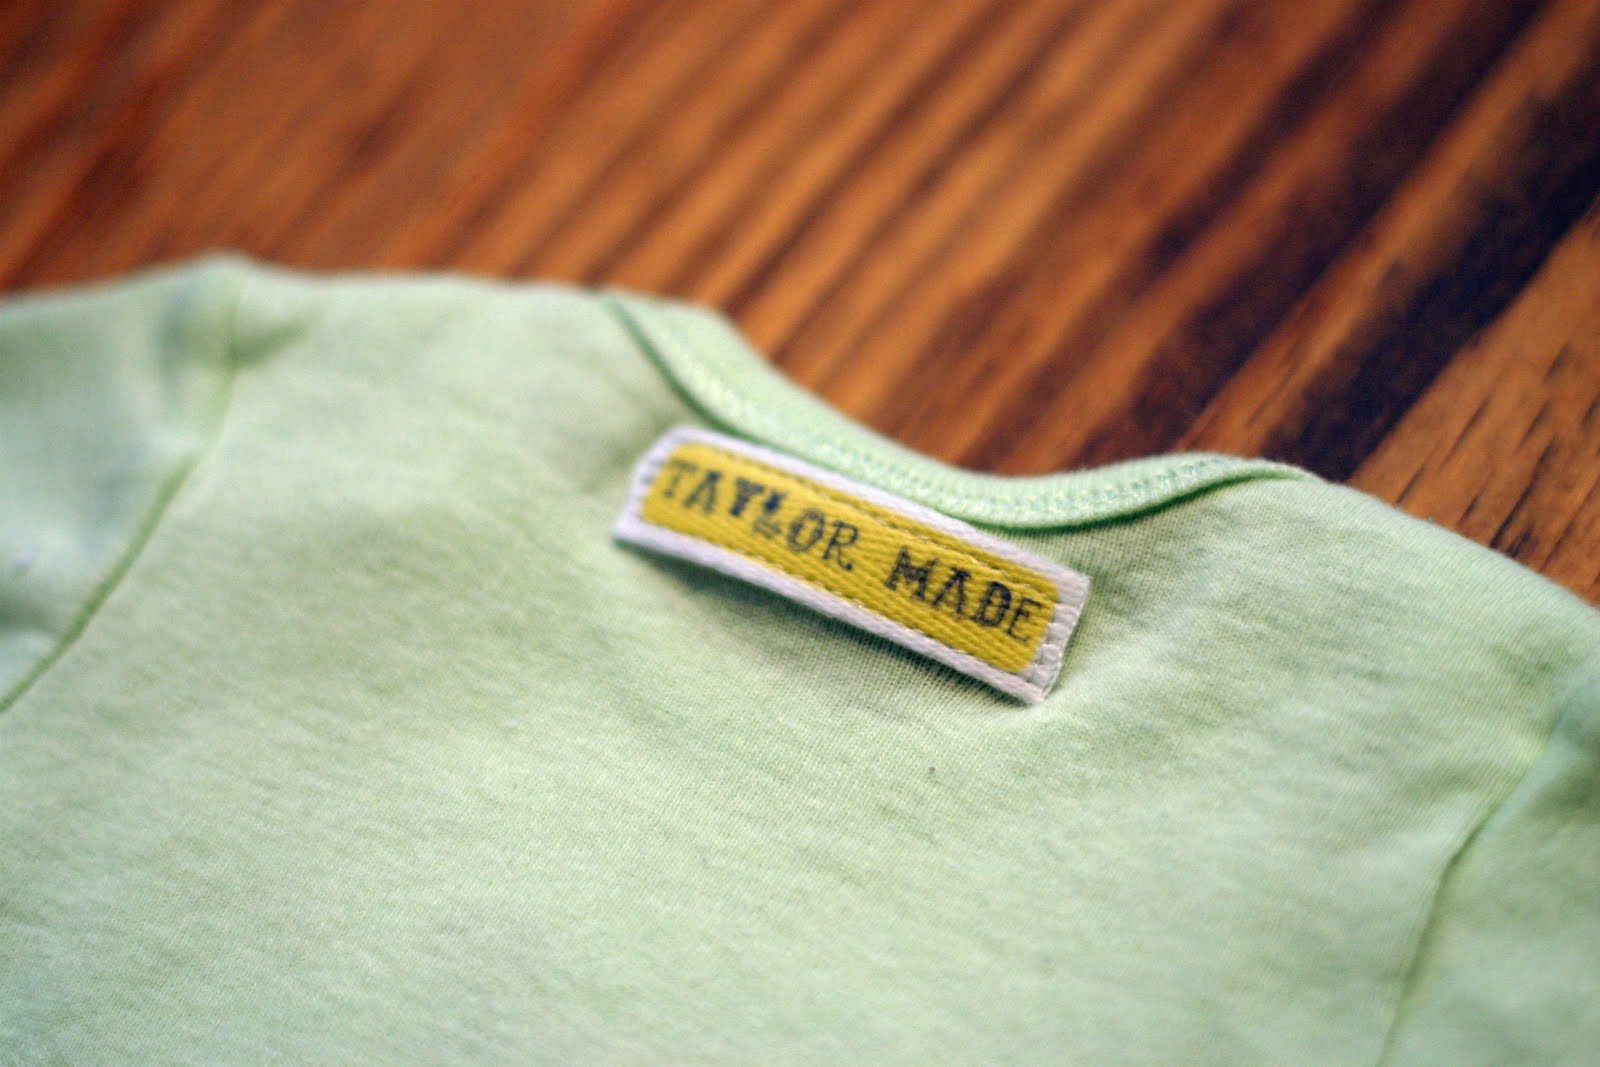
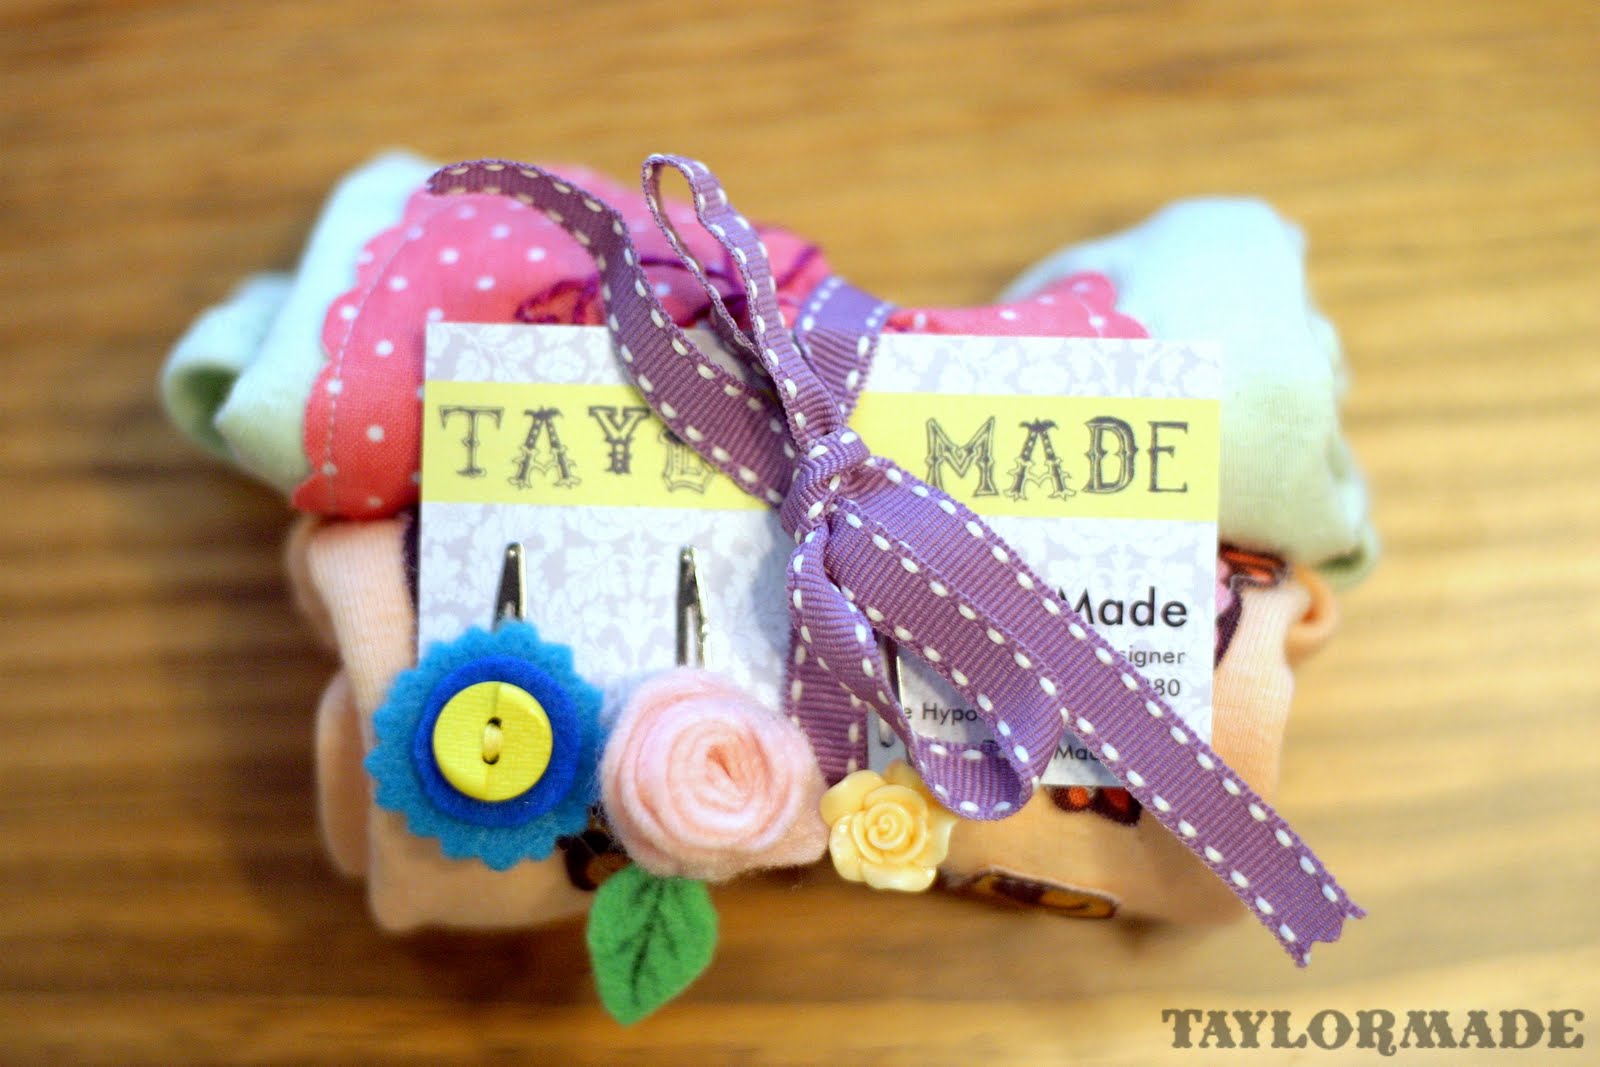
I added my fabric label…
and wrapped them up in a cute little package. Add some clips and you have a perfect baby gift.