TaylorMade

DIY, Home Decor & Sewing

  • Home
  • SHOP
  • DIY & Sewing
    • For the Home
    • Sewing
    • Costumes and Holidays
    • Cricut Projects
    • Crafting
  • Parties
  • Recipes
  • Home Tour
  • Favorites
  • About

Stake Your Claim Beach Towel

July 11, 2011 By Taylor 15 Comments

This “Stake Your Claim Beach Towel” just might be a genius idea. I know it is a very simple idea but how many times have you been to the beach and had to struggle to keep your beach towel down because of the wind then it gets all sandy? Here is your solution!

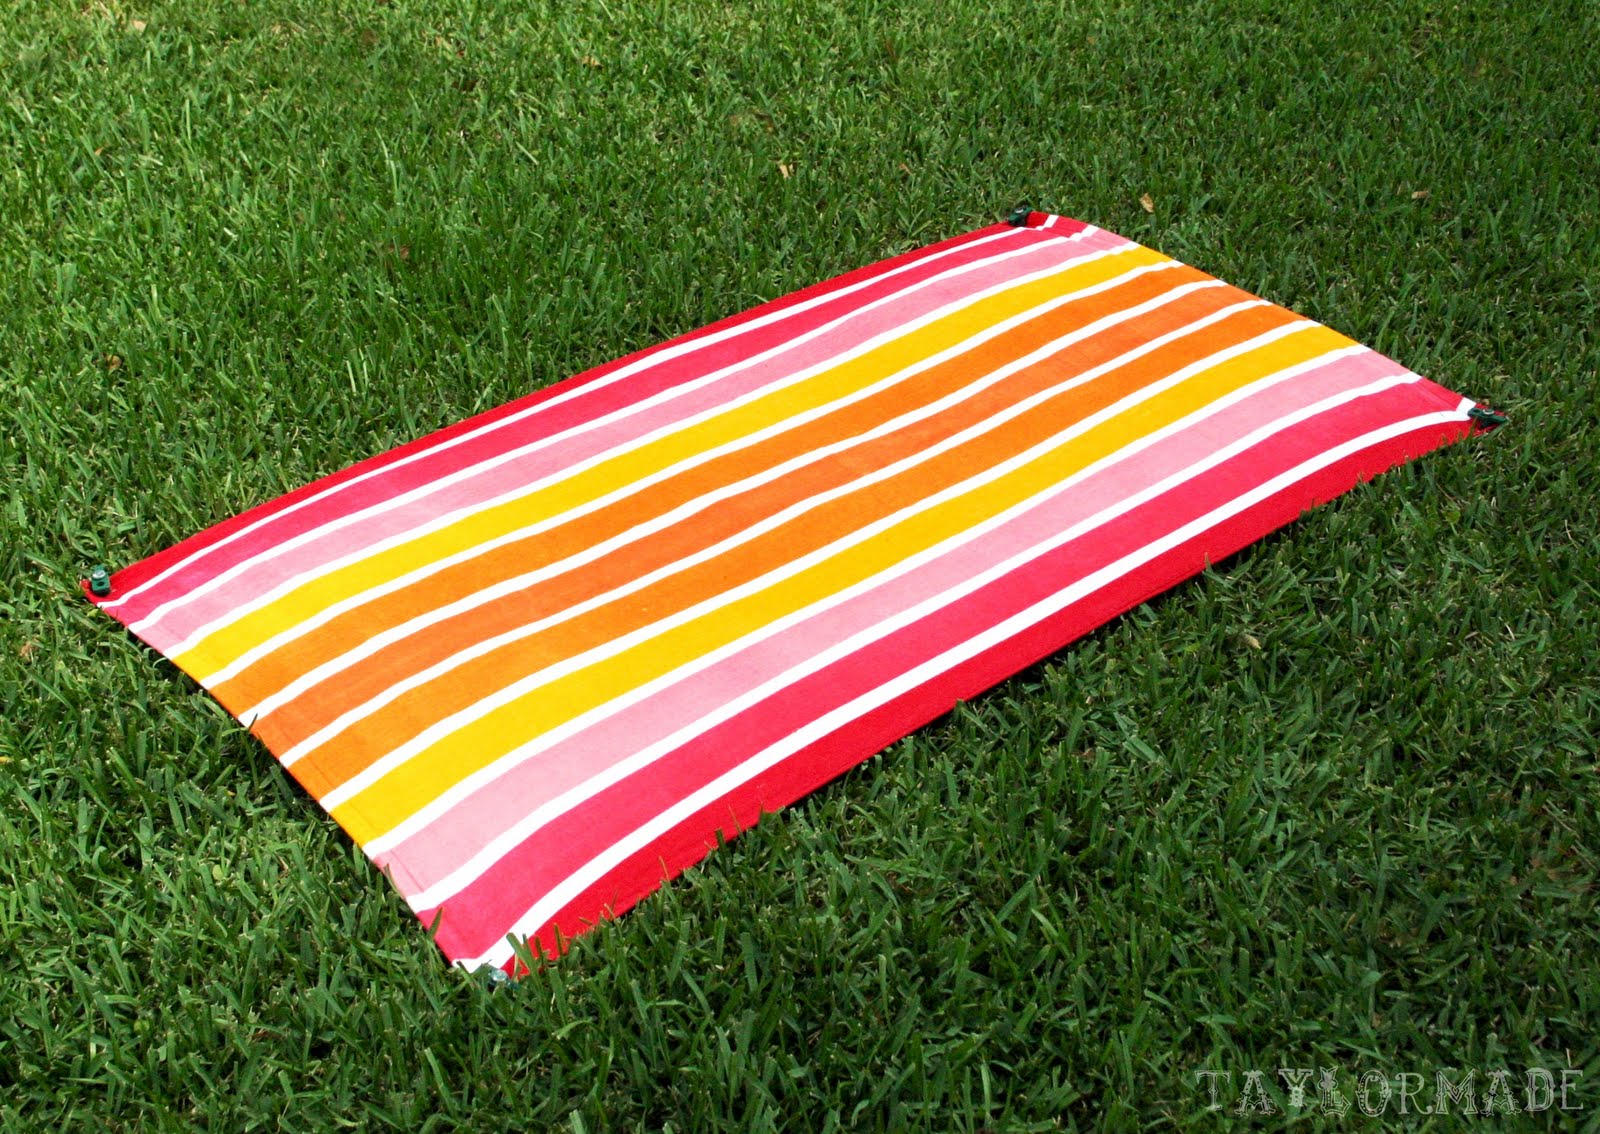
The Stake Your Claim beach towel is one of the most simple/useful crafts I have done all summer. I have already used it a handful of times, even in my backyard. All you need are a few supplies. I found my tent stakes ($1.50) and my beach towel ($6) at Academy.

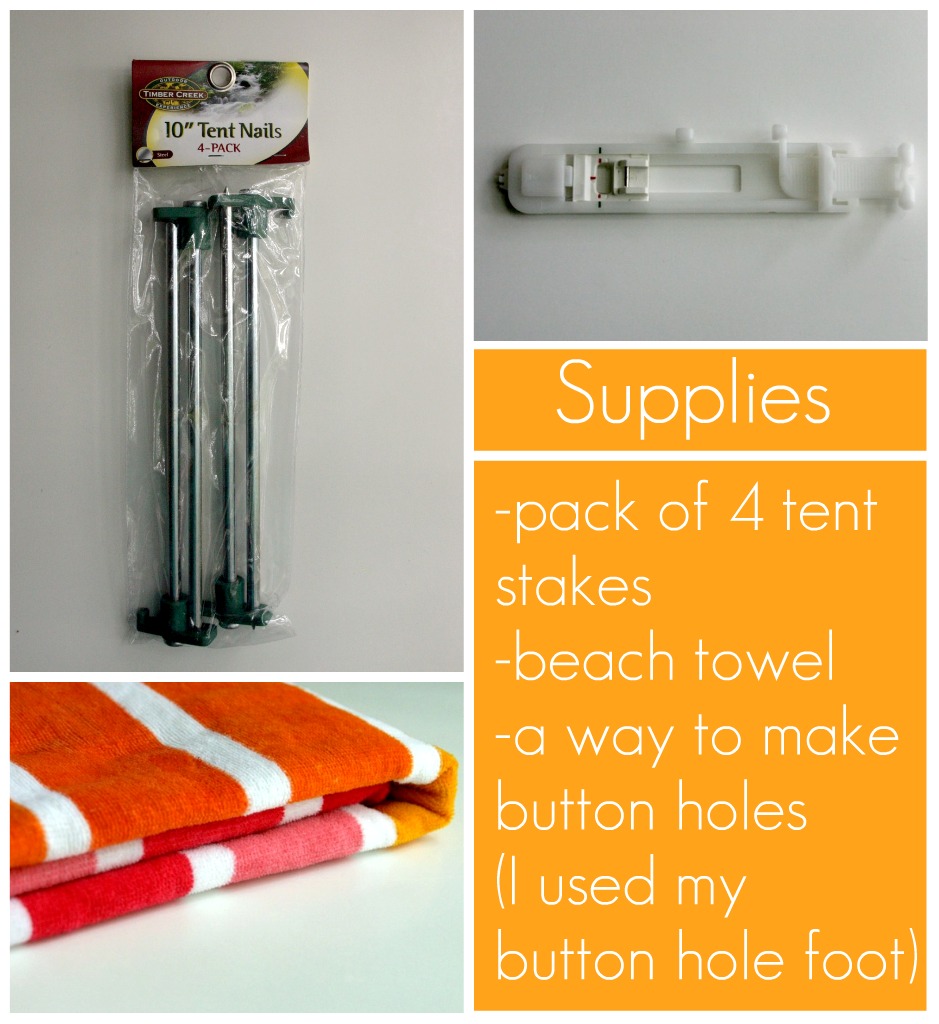
Do you have a button hole foot on your machine? I don’t know what I would do without mine. You have to use a button in the button hole foot because that tells your machine how long to make the button hole. I chose a button slightly larger than my stakes. Just put your button in the slot and pull down.

Mark a dot on all of the four corners of your beach towel. Line the dot up with the center of the button hole foot, choose the button hole stitch and just start sewing; it does all of the work for you!

Now you have your stitched button hole. Take a seam ripper and carefully open the hole.

You now have your button holes so you can Stake Your Claim. In your backyard or at the Beach.

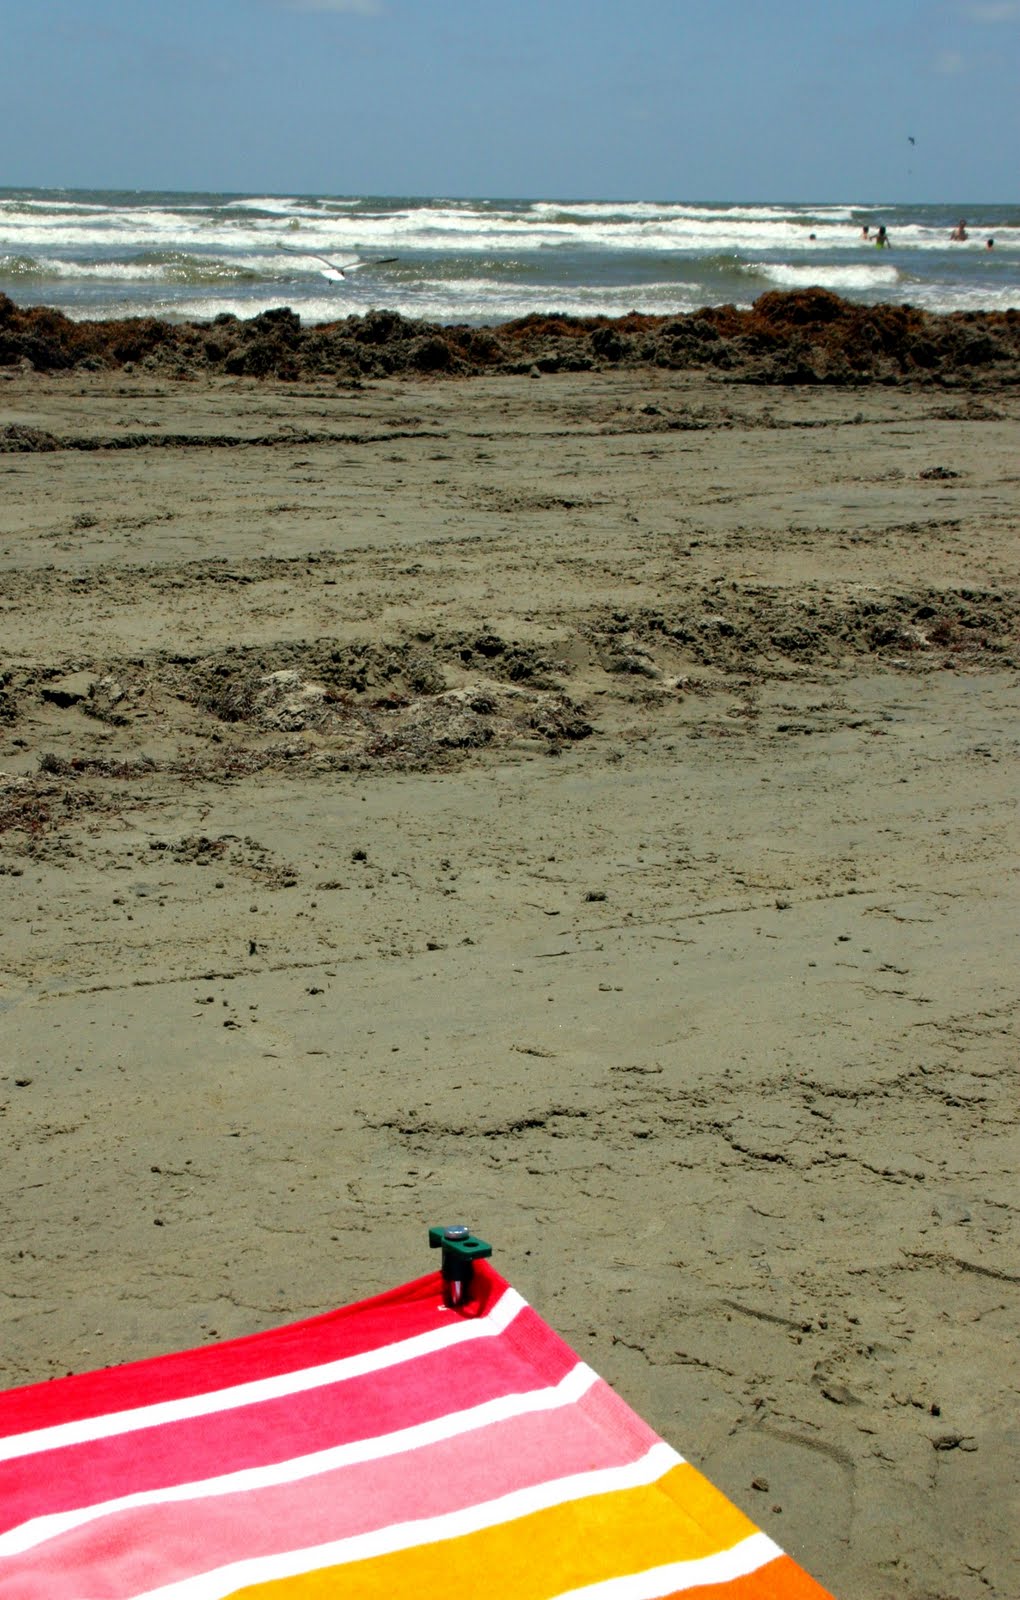
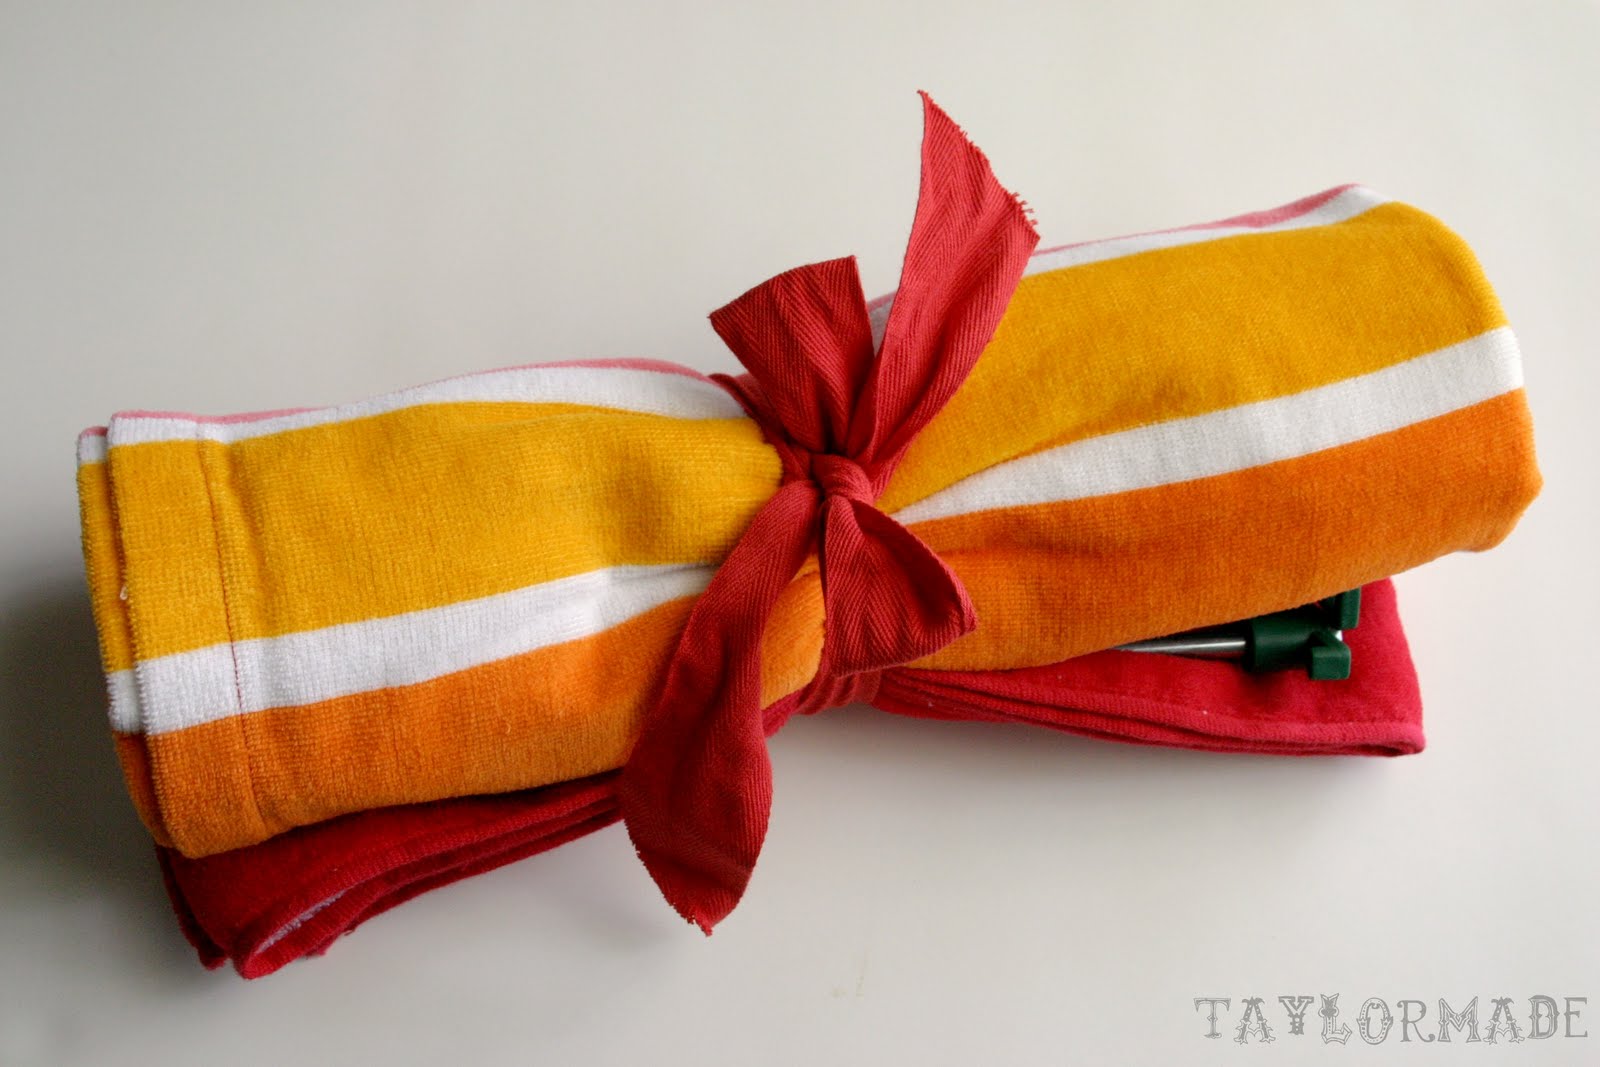
There you have the super simple/genius Stake Your Claim Beach Towel :) I think it would work perfect as a fun summer Birthday Gift too.

Some people have asked if grommets would work. Of course they would. To be honest, I planned with grommets and went to Hobby Lobby then they were sold out :( But a good crafter always has a back up plan. So, if you don’t have a button hole foot or don’t sew, just put your grommets in the corners and make sure they are slightly larger than your stakes.

Filed Under: craft, gift, sewing Tagged With: crafting

Nook Covers Part 2

June 29, 2011 By Taylor 5 Comments

Happy Wednesday! I posted about my Nook Covers a few weeks ago HERE. I received quite a few emails and questions about the pattern and if I had a tutorial. Answer… I don’t because I actually purchased one on Etsy. I was going to make my own but I figured for $6 I would save myself some time :) The Etsy shop is called Birdiful Stitches. I love the pattern; it was really easy to follow, quick to sew and she even says you can resell them.
So, I made my third one last night; this time for my mom. I used my Silhouette with the iron-on interfacing and cut the bird out of fabric. Then I sewed it to the front cover before piecing the whole thing together. I found a picture of a bird on a branch that I liked from google images. Then I used the trace feature. Read my “How to Trace Tutorial” HERE.
I added an extra leaf and of course my Taylor Made Label to the back.
I love a good easy project that only takes a few hours but feels like you really accomplished something!

Filed Under: fabric, gift, pattern, Silhouette Tagged With: accessories

Father’s Day Tree Art

June 17, 2011 By Taylor 5 Comments

This year I thought the boys could help me make Bryan’s Fathers Day gift. That thought might have been a little premature considering my boys are 4 months and almost 2 years old. This project didn’t turn out exactly as I had planned in my head, but they boys were actually involved so that’s even better right :) Aren’t the little hand prints so cute?
I saw this cute picture on Pinterest a few weeks ago. Then, I drilled down to where it came from and it was an Etsy Shop called Personalized Prints. She has some really cute stuff (love the wedding fingerprint tree). Her example was for a bare tree and you add your kids hand prints for the leaves. She must not have a two year old boy because this is not what happened to me. I couldn’t even take a picture of it because the picture’s life was on the line and I had to act quickly to save it.
I cut the tree and letters out from my Silhouette. Use tweezers for the thin paper branches and tiny letters.
I placed everything backward on a piece of scrap paper and used spray adhesive to stick the letters and tree to the paper.
Stick the tree and letters to the page. Love those pudgy little hands! He even helped me with the letters.
Six very messy hands (mine included) and a few hours later, here is what we came up with…
My “2001” had a little fight with Clyde and Clyde won, so I added a thumbprint heart and wrote the year in the corner.
I used a 13″x10″ frame and used white paper behind our painting.
Happy Father’s Day to all of the daddy’s out there.

Filed Under: craft, gift, holidays, paint, paper, Silhouette, tutorial Tagged With: crafting

Etched Mommy Tree Plate

May 11, 2011 By Taylor 34 Comments

I made this cute little plate for my mom for Mother’s Day. Super simple but I think it was a hit. I made a stencil with my Silhouette, vinyl and transfer paper and used etching cream to etch the glass plate. My mom is the “M” at the bottom of the tree and the initials of her “kids” are in the branches. My husband is an honorary “kid” and of course we couldn’t leave off Clyde and Finn- her grand kids.
Have you used the transfer paper with the vinyl? I was like, what is this roll of white stuff? Then I tried it and it really helps. With a plate like this you have to etch the back of the plate, therefore you need to mirror the image. Also, this is my second time with etching cream (first project here) and just a tip, the bottle says leave it on for 10 mins, I did 30… last time I thought it was too light.
Happy Mother’s Day Mom! xoxo
Related Posts Plugin for WordPress, Blogger...

Filed Under: craft, etched, gift, monogram, Silhouette Tagged With: crafting, decor

  • « Previous Page
  • 1
  • …
  • 3
  • 4
  • 5
  • 6
  • Next Page »

Welcome to Taylor Made

http://www.taylormadecreatesblog.com/about-me Hi Yall! I'm Taylor... an artsy mom of three from Houston, TX. I love sewing, collecting floral fabric, eating Mexican Food, photography, brights colors, rearranging, and rolling clay. Taylor Made Creates is all about creating a fun, colorful home, sewing cute things and eating good food. Check out my SHOP HERE HERE! Thanks for stopping by!

Search

Pin with me!

Like Me :)

Facebook Pagelike Widget

More Recent Posts

  • Kid's Animal Room
  • Kids Camping Shirts
  • Mermaid Birthday Party
  • Conversation Heart Cold Packs
  • Holiday Apple Tea Punch
  • Purple Princess Costume
  • Letterboard Costume
  • La Croix Costume

FAVORITES

  • More Casserole Carriers
  • Swan Wings + Hello Ollie Fabrics
  • White Wine Sangria
  • Documenting Life… How I Do It
  • Handmade Mother’s Day: Recipe Oven Mitt
  • Mini Fabric Lamps
  • Happy Rocks
  • DIY TeePee with Forest Fables Fabric
  • Playroom Reveal

Copyright © 2026 · Web Hosting By RFE Hosting