TaylorMade

DIY, Home Decor & Sewing

  • Home
  • SHOP
  • DIY & Sewing
    • For the Home
    • Sewing
    • Costumes and Holidays
    • Cricut Projects
    • Crafting
  • Parties
  • Recipes
  • Home Tour
  • Favorites
  • About

Husband Valet

February 27, 2011 By Taylor 19 Comments

Ok I know I am a little late posting my husband’s Vday present but I have been busy. I did actually give it to him on Valentine’s Day,  just now posting it however. Better late than never and not only that but you could make this for any occasion. I had more exciting plans but as I have mentioned, little Clyde had plans of his own :) So we decided to just make each other something. I got a really sweet acrostic sign with my name, so cute! So here is what Bryan got; the Husband Valet. I wanted to give him a place to put all of his “stuff” (seriously guys should have to carry purses too!).

 
You need a 1/2 of felt, a piece of cross stitch plastic, some regular thread and embroidery thread


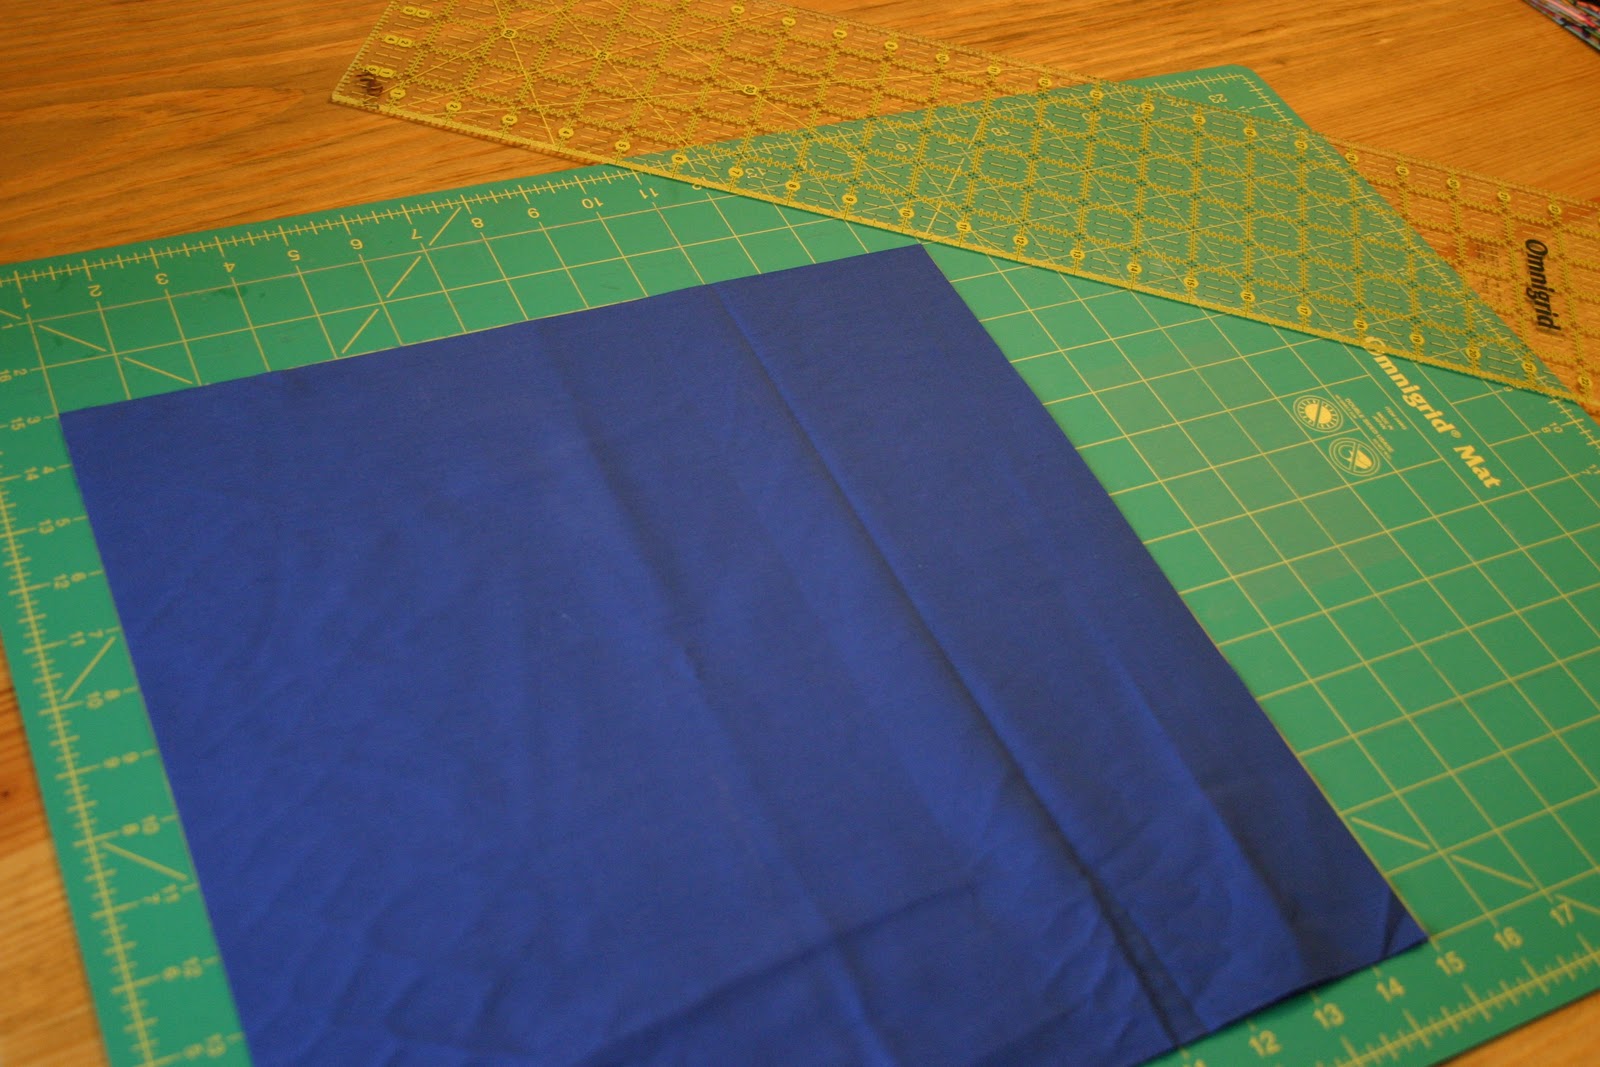
Start with the cross stitch plastic. Cut it into 5 pieces, the bottom of the valet, and the 4 sides. Here are my dimensions:


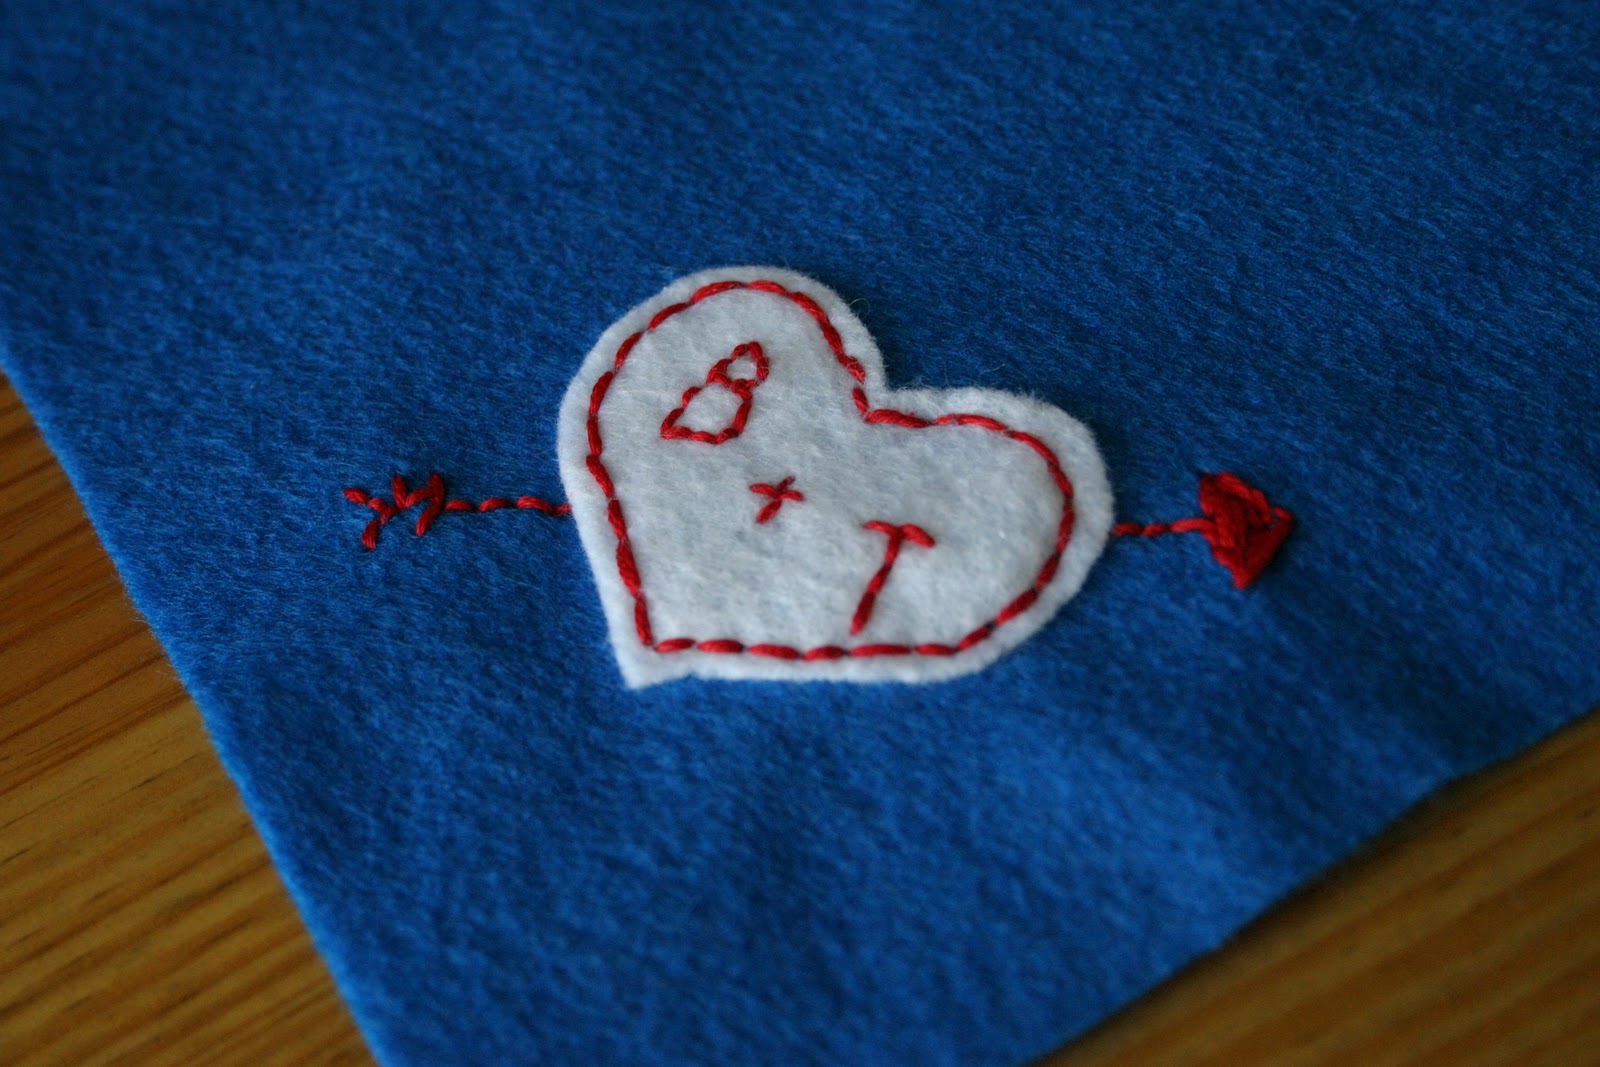
Next, you need to cut a piece of felt out for the top and bottom of each piece. Cut each with extra felt because you will be sewing around the plastic inside so you will need the extra fabric. I started with the bottom – for the sides I folded the felt over so it was less cutting for me. Also on the bottom piece, I personalized the inside with a little embroidered heart. That is optional but definitely do it before sewing because it will be too thick with the plastic inside.


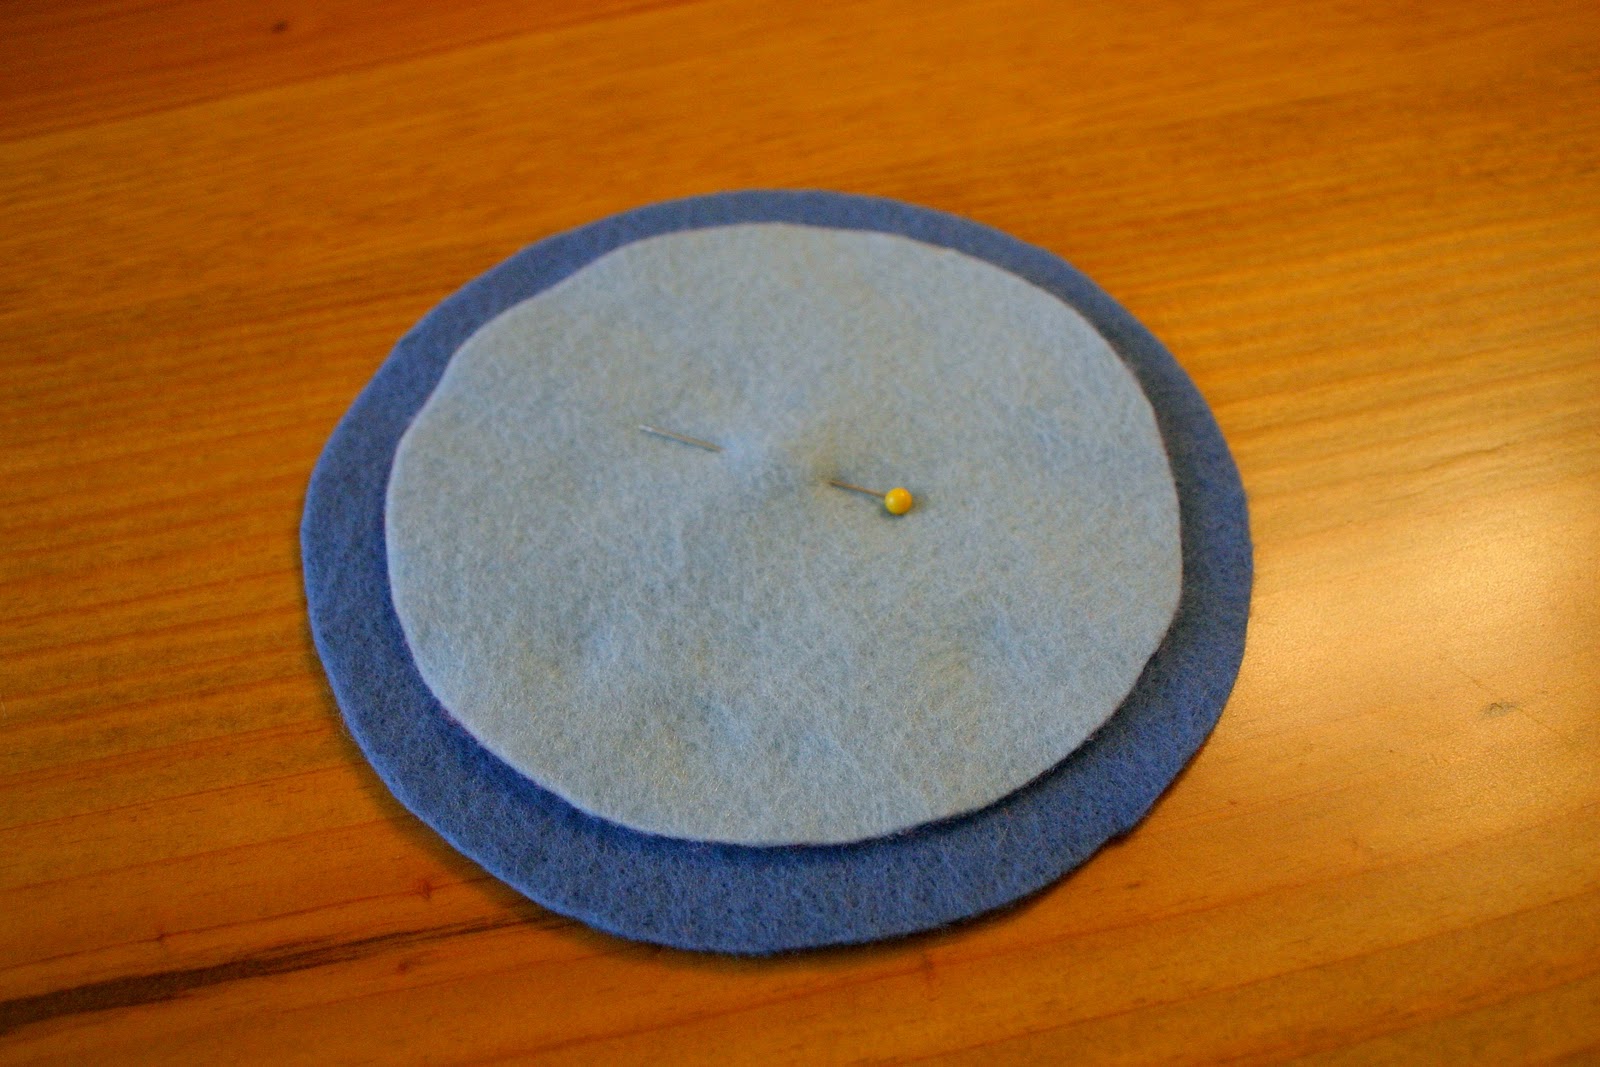
Layer all of the pieces together (felt-plastic-felt) and pin them together to get ready to be sewn. Pin them as close to the piece of plastic as you can. You will sew right along the edge of the plastic.


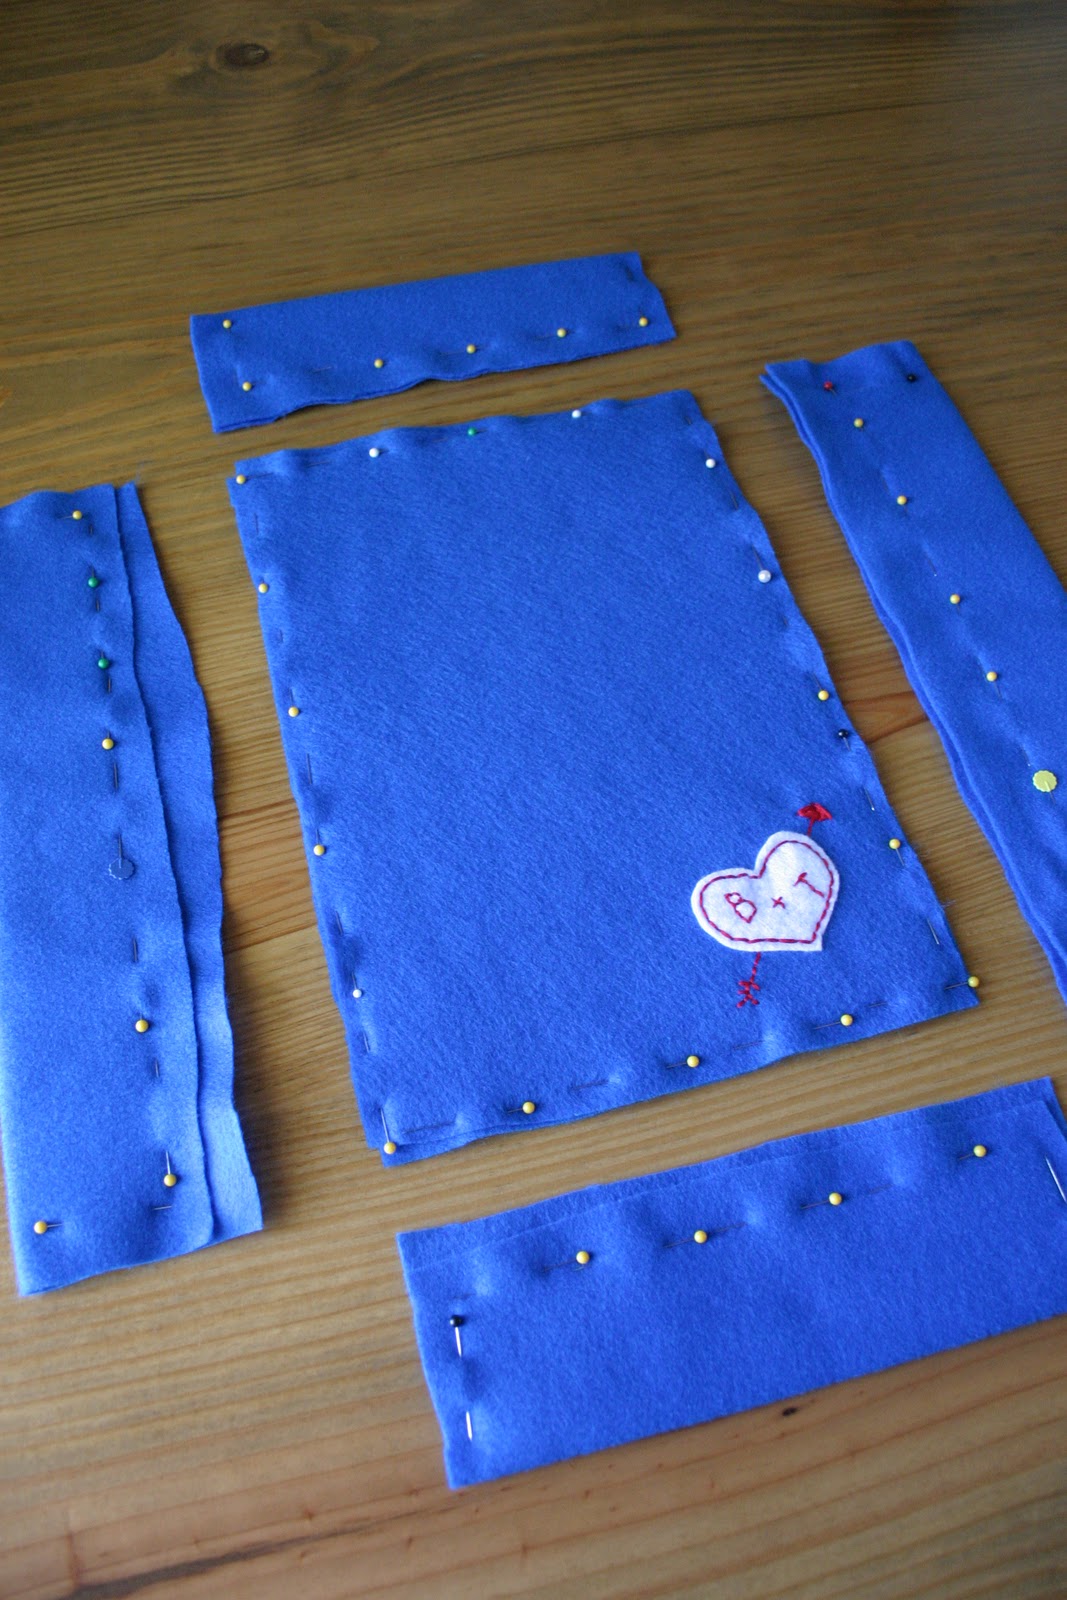
It doesn’t matter if the edges aren’t straight on the fabric for this step because they will be trimmed later. Now sew the plastic sandwich together. Remember as close to the plastic as you can get your needle!


All of your pieces are done, now you have to hand sew them together with embroidery thread. Trim each piece so that there is only about 1/4″ of fabric on the edge. Use that 1/4″ to sew the valet together. I started with the long sides to the bottom then the short sides to the bottom. Then I sewed the sides together last.


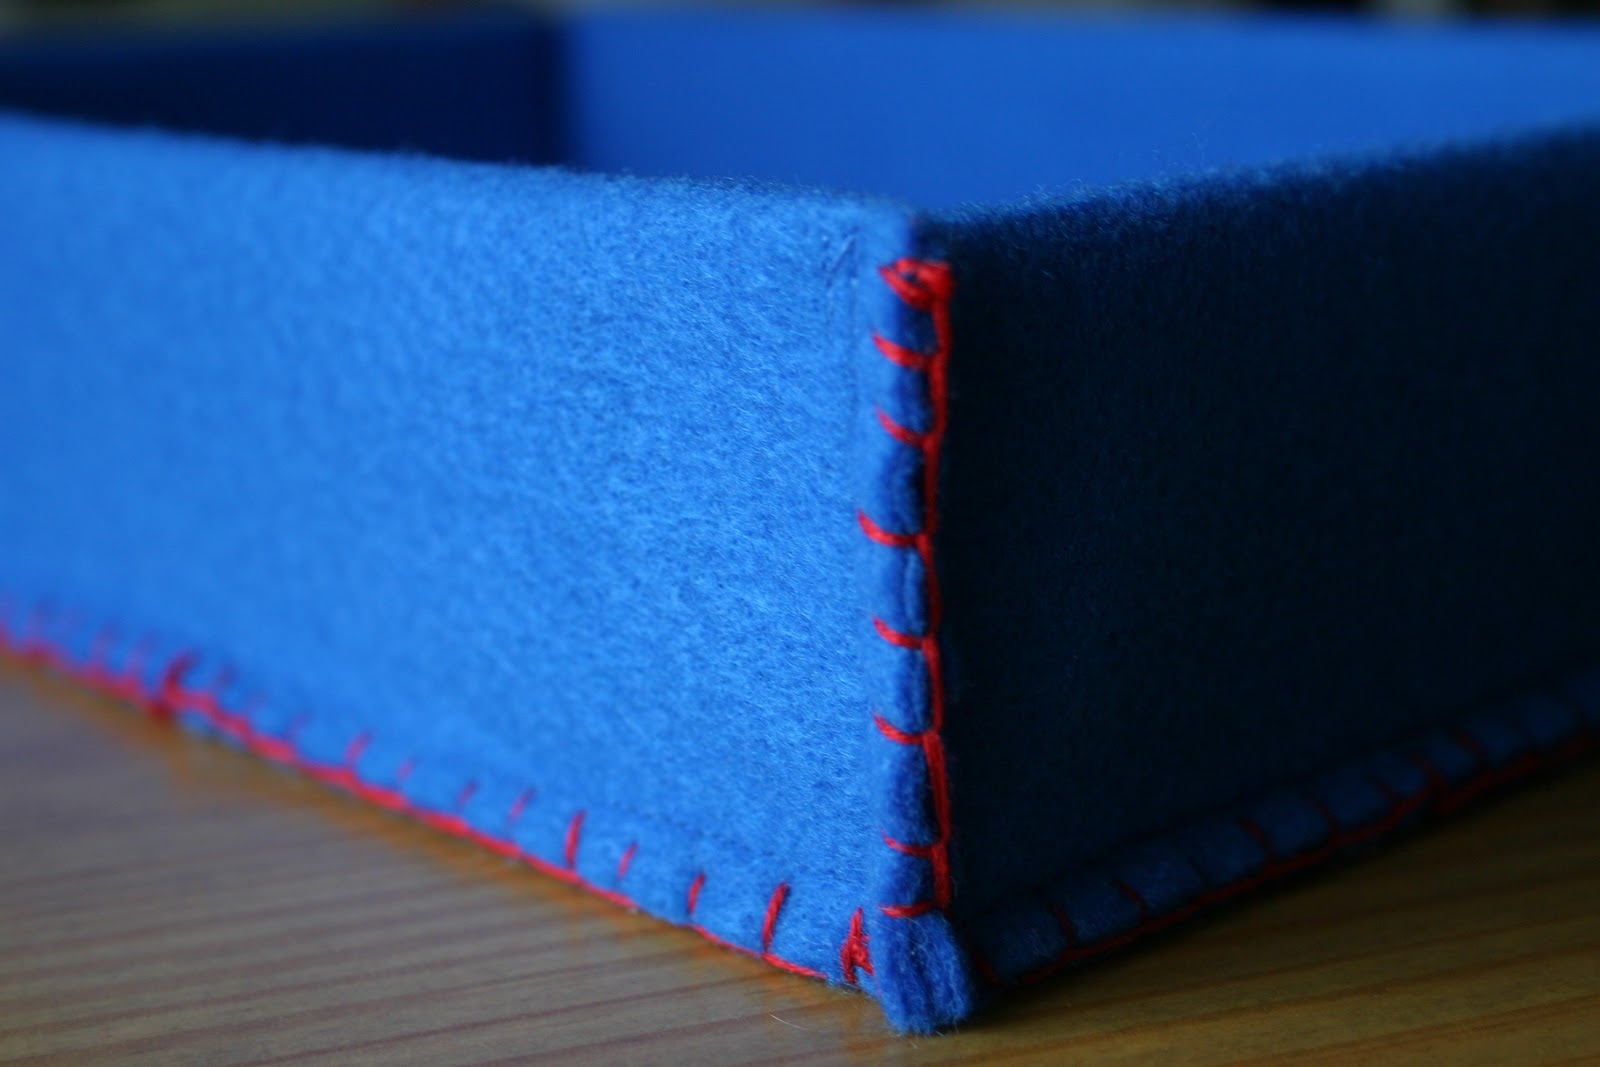
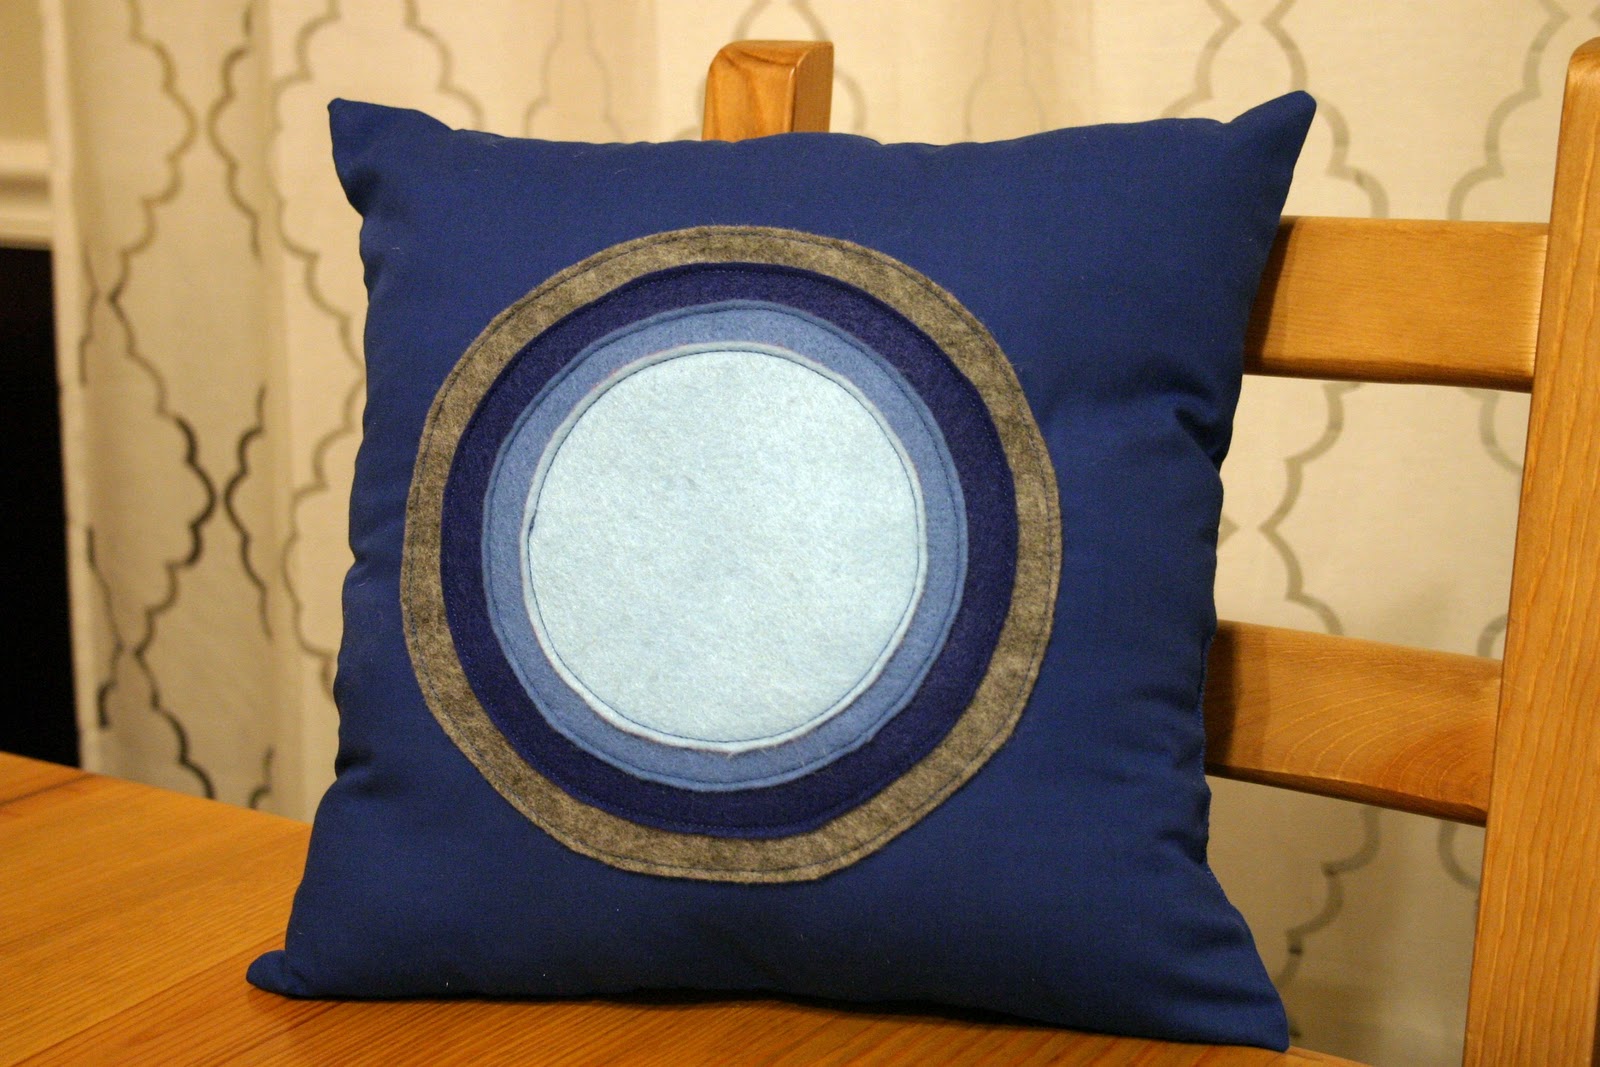
There you have the husband valet, which my husband actually uses by the way!


Filed Under: craft, fabric, felt Tagged With: accessories

Bulls-eye Pillow

January 12, 2011 By Taylor 6 Comments

My house is feeling the effects of the “nesting phase”. I had a productive weekend and almost have the “babies” rooms switched out (Yes, I am still calling Finn an baby!). With all the baby preparedness I have been doing, I thought I would take a little break and do a quick craft for my own room. I whipped out this super easy pillow in 40 minutes! I saw something yesterday that reminded me of my Mom’s old bedding from when she was little (because she still has the pillowcases to prove it). So here is the 60’s inspired Bulls-eye Pillow.

 
This is the most unscientific tutorial ever!
 
Supplies:
– 4 pieces of felt
– stuffing
– 1/2 yd of solid fabric
 
Directions:
-Cut 2 14″ squares from your solid fabric
 
 
-Pick out 4 pieces of felt (in a monochromatic family and sort lightest to darkest)
 
 
– Use a template of some sort (even a bowl) to trace your smallest circle. Mine is about 5″ in diameter. Sew that circle onto your next color. Use a very small seam allowance. Then carefully cut around it about 1/2″ all the way around. (I told you this is not scientific)


-Keep doing this with all of the “layers”. Then pin the bulls-eye to the front of the pillow and sew into it the same way you were sewing onto the felt.
 
 
– Finish just like you would any pillow, pin and sew right sides together leaving room for flipping. Stuff and hand-sew the opening. Voila!


Look at it’s new happy home :)


Filed Under: bedroom, fabric, felt, home goods, sewing, tutorial Tagged With: home goods

Yo Gabba Gabba… Yoooooooo

December 10, 2010 By Taylor 1 Comment

 
Finn loves Yo Gabba Gabba, at first I thought it was a little creepy, but I have to admit I kind of like it too. The other day we were playing a game online at Nick Jr.com and I saw a little section called crafts. So, of course, I had to interrupt the game and see what it was all about. My eye was suddenly drawn to… a Brobee Snuggle Pillow! Are you serious, Finn would love that. The Nick Jr website even has a template for all of the parts of the face and has all of the characters. Brobee is Finn’s favorite so I made him but I might make the others soon. Their version is a “No Sew” version, but sewing it will make it last so much longer. I also used a thin fleece for the back instead of felt so it will be even softer. 


You can print the template right from the website HERE! Hi Brobee.


Finn is going to be so excited… I hope I cant wait until Christmas, only 14 days!

Filed Under: craft, fabric, felt, kid stuff Tagged With: kids

Christmas Calendar

December 2, 2010 By Taylor 2 Comments

My calendar that is!! Aaaand I made it by December 1st. This is exciting because it only took 4 weeks, geez I didn’t think all of those little ornaments would take so long. I am so happy with the finished product and I know “the kids” will love it when they get older. I didn’t take a picture of the tree with ornaments on it because I want to be surprised :)
 
 
Here are the remaining ornaments I made; I don’t love the presents but I wanted something hanging from under the tree.
 
 
I made an ornament to “represent” everyone in my family; Bryan got a t-bone steak, Finn of course got a ball and I got 2 because I made the calendar he-he
 
 
My Mom is the acorn, my sister is the diamond, and my dad is the football, also the heart is a replica of the tattoo on my foot!
 
 
I loved Katie’s hot cocoa from her blog so I had to make my own. The star is the tree topper.
 
 
For some reason, this one is my favorite so it got its own picture.
 
 
And there you have it, my finished Advent Calendar that we will have forever! Look at all the little “surprises” in their squares… Happy December!
 
 
Related Posts Plugin for WordPress, Blogger...

Filed Under: Christmas, craft, felt, holidays Tagged With: holidays

  • « Previous Page
  • 1
  • 2
  • 3

Welcome to Taylor Made

http://www.taylormadecreatesblog.com/about-me Hi Yall! I'm Taylor... a crafty mom of three from Houston, TX. I love sewing, collecting floral fabric, eating Mexican Food & Margaritas, photography, brights colors, rearranging, and decorating. Taylor Made Creates is all about creating a fun, colorful home, sewing cute things and eating good food. Check out my SHOP HERE HERE! Thanks for stopping by!

Search

Pin with me!

Like Me :)

Facebook Pagelike Widget

More Recent Posts

  • Kid's Animal Room
  • Kids Camping Shirts
  • Mermaid Birthday Party
  • Conversation Heart Cold Packs
  • Holiday Apple Tea Punch
  • Purple Princess Costume
  • Letterboard Costume
  • La Croix Costume

FAVORITES

  • Easy DIY Lizard Costume
  • DIY Roach Costume
  • How to do a Patterned Dot Wall
  • Ombré Baby Quilt
  • DIY Leather Tote
  • DIY Bee Costume
  • Stethoscope Covers
  • Skunk Costume
  • Triangle Baby Quilt

Copyright © 2023 · Web Hosting By RFE Hosting