TaylorMade

DIY, Home Decor & Sewing

  • Home
  • SHOP
  • DIY & Sewing
    • For the Home
    • Sewing
    • Costumes and Holidays
    • Cricut Projects
    • Crafting
  • Parties
  • Recipes
  • Home Tour
  • Favorites
  • About

Gleeful Summer Baby Dress

July 27, 2014 By Taylor 1 Comment

Welcome to the Taylor Made stop on the Gleeful Fabric Blog Hop :)

gleeful summer baby dressA few months ago my friend Caroline made me insanely jealous and designed her own fabric line! Kidding… I’m so happy for her, and her new line, Gleeful is just that. So happy, bright and fun… perfect for summer. I asked for a fat quarter bundle because there is no way I could just choose one of these fabrics!

gleeful summer baby dressCaroline sent the fabric a few months ago and I knew I wanted to make a baby dress. I thought the Summer Baby Dress by Kate and Gleeful were a match made in heaven. Also a perfect match… these buttons!!!

gleeful summer baby dress

I actually didn’t have enough of any one fabric for the skirt part of the dress so I just used two different fabrics which I thought looked really cute for this pattern.

gleeful summer baby dress

I LOVE the fabric on the straps. I also love this pattern from Kate! So easy and so cute. I did add the buttons but other than that I stuck to the pattern.

gleeful summer baby dress

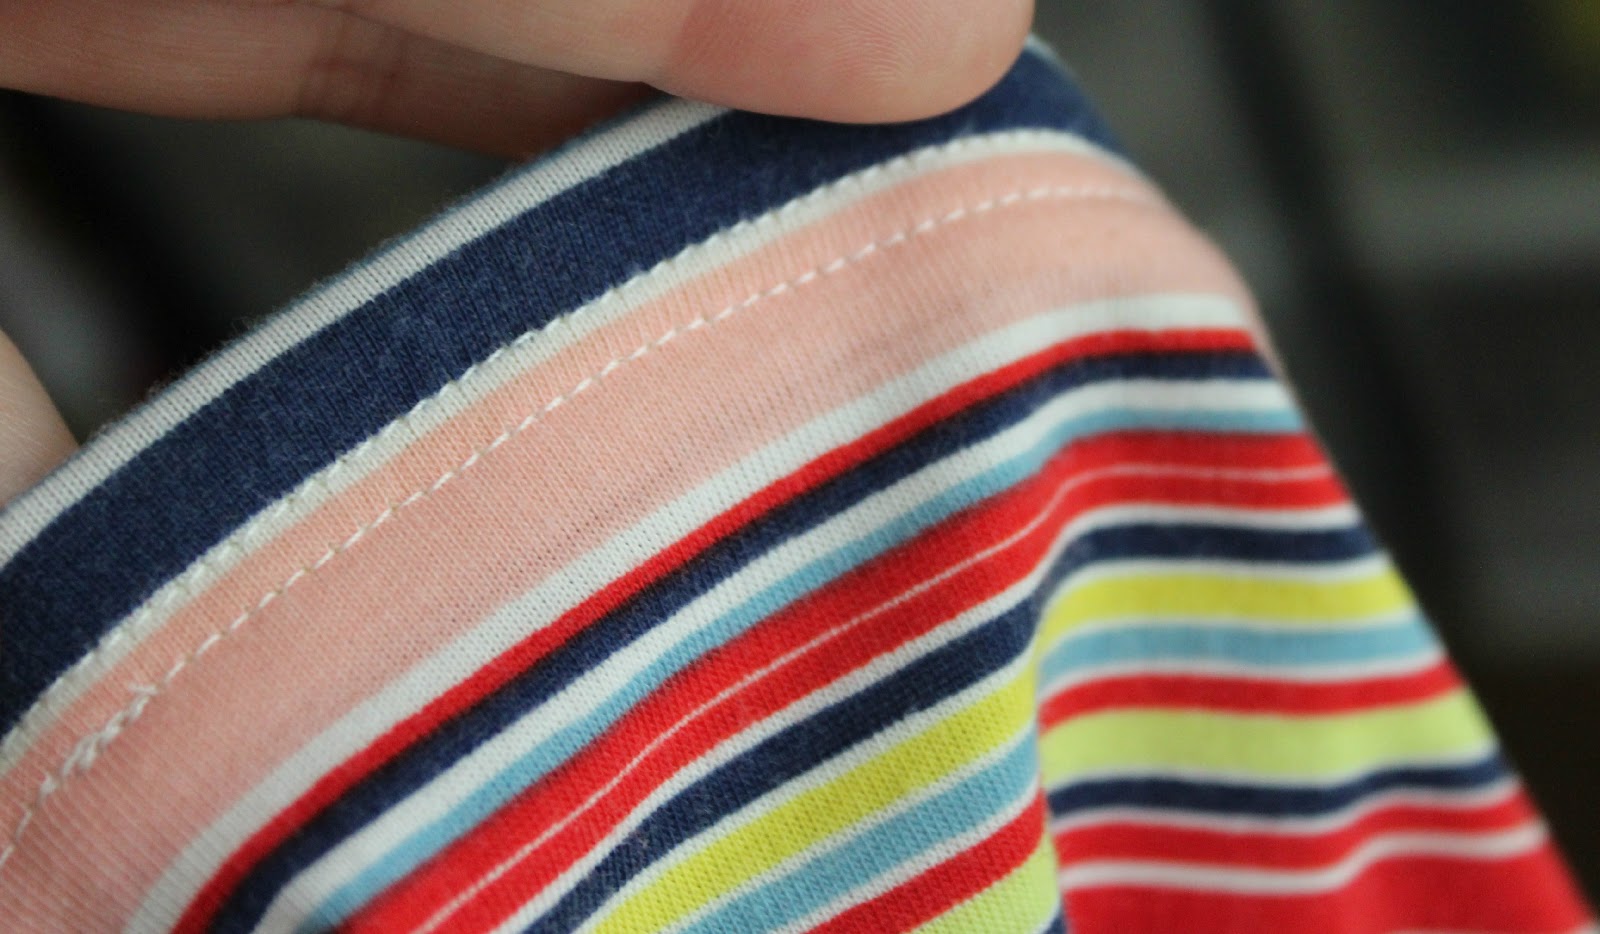
I even pulled out my double needle for the hem, so you know I meant business :)

gleeful summer baby dress

gleeful summer baby dress

I really wanted to have pictures of her in the dress but she is still too tiny… I’m thinking another month or so, thankfully (or not thankfully)  it will be hot here for a while so she will get some good use out if it!

gleeful summer baby dress

Thanks for having me Caroline! You can check out the full Gleeful line HERE

gleeful summer baby dress

Filed Under: baby stuff, clothes, fabric, sewing Tagged With: kids

DIY Baby Leggings

June 11, 2014 By Taylor 4 Comments

diy baby leggings

It’s feeling very “nesty” around here- on the blog and in real life. I don’t have a ton of energy left so all of my more recent crafty projects have been baby related, I promise I do other things besides obsess over my baby (not a lot of other things but some). In fact we have been swimming a ton, we went to the beach last week and we are getting tile installed in our master bath next week, yay!

Anyway, I wanted some more leggings to go with Baby Bee’s newborn onesies. All of the cute online legging shops have inspired me, but not enough to pay over $30 for something she won’t be able to wear long. Don’t get me wrong, I’m all about supporting small craft businesses and paying a little more for something handmade. I will just wait until shes a little older so she can wear it for longer than a few weeks :)

diy baby leggings

I found this pattern online but the crotch to waist length seemed a little short. Then after I finished my first pair,  I found this tutorial (which is funny because Ashley had the exact same picture that I had already taken, great minds) So, I kind of made my own pattern based on another pair of leggings just like she says and I used her tutorial. Its a great tutorial by the way, super easy to follow and very fast!

diy baby leggings

I even broke out my twin needle.

diy baby leggings

I found the black & white fabric and the red & white polka dot fabric at Girl Charlee. The colorful stripes on grey is an old skirt Ive had for 10+ years. I didn’t have enough of it to match the pattern so I hope my girl isn’t a stickler for details ;)

diy baby leggings

diy baby leggings

After trying this first batch I will definitely be making more but I will see how these fit first. Now if my model would just come out so she can try them on.

Filed Under: baby stuff, clothes, sewing Tagged With: kids

How to Shorten a Shirt

May 16, 2012 By Taylor 3 Comments

I found this shirt/dress a few weeks ago and I like to print but it was a weird length for me. It also came with a waist tie but it seemed way too long for a shirt on me but way too short for a dress. DIY to the rescue :) And thankfully because of the stripes, the hard part was already done for me, yay! (I also did this on the way out to a party with the boys waiting on me so excuse my quick photos :)
How to Shorten a Long Shirt:
First, cut your shirt a little longer than you want it.

A serger really helps with this project but it isn’t necessary, you could just press and sew. But thankfully I do have a serger, total time saver. Serge/sew, fold over and press.

Sew the hem under, so lucky to follow the lines! 

Here is the first line I did, I really think it looks much more professional if you use the double needle. I love using it but to be honest I think the setup takes too long and like I said I was literally leaving, I like to live on the edge, ha. So this time I just sewed another line but I do highly recommend the double needle for a professional looking hem. 

Next line…

All done :) 

I even had time for a cell phone pic as I ran out the door. This length is much better for me! Has anyone refashioned lately, and if so did you do it as you were walking out the door leaving no room for error :/ 

Pin It


Filed Under: clothes, serger, sewing Tagged With: clothing

The Bandit Bib

October 10, 2011 By Taylor 6 Comments


The Bandit Bib. It might be the next big thing :) I get bored with “regular” bibs so this is a little more exciting.

What you need:
– 1 fat quarter for the front
– 1 fat quarter for the back (I use flannel, jersey or terrycloth for the backs)
– snap kit
– TaylorMade Bandit Bib Pattern
Lets get started:
Print the pattern for the Bandit Bib HERE (just save it to your computer and print on a full page :) Cut out a front and a back. I like to use an absorbent fabric for the backs of my bibs like terry cloth or flannel. 

Put right sides together, pin and sew. Leave a small opening so you can flip it. 

Don’t forget to clip the corners and the round tip. 

Press and top stitch around the bib.

Time for snaps (which I love). If you have never used them, they are very simple and your kit will come with instructions on the back. Each snap has two parts and the fun part is hammering them together :)

Most importantly, make sure your snaps are facing opposite directions so you can snap them together correctly. The first time I did a snap, I made this mistake. 

Admire your new and more exciting Bandit Bib. And make a few.

Look at my cute little Bandit :) 
Pin It

Related Posts Plugin for WordPress, Blogger...

Filed Under: baby stuff, boy, clothes, fabric, kid stuff, sewing Tagged With: kids

  • « Previous Page
  • 1
  • …
  • 4
  • 5
  • 6
  • 7
  • 8
  • Next Page »

Welcome to Taylor Made

http://www.taylormadecreatesblog.com/about-me Hi Yall! I'm Taylor... an artsy mom of three from Houston, TX. I love sewing, collecting floral fabric, eating Mexican Food, photography, brights colors, rearranging, and rolling clay. Taylor Made Creates is all about creating a fun, colorful home, sewing cute things and eating good food. Check out my SHOP HERE HERE! Thanks for stopping by!

Search

Pin with me!

Like Me :)

Facebook Pagelike Widget

More Recent Posts

  • Kid's Animal Room
  • Kids Camping Shirts
  • Mermaid Birthday Party
  • Conversation Heart Cold Packs
  • Holiday Apple Tea Punch
  • Purple Princess Costume
  • Letterboard Costume
  • La Croix Costume

FAVORITES

  • Casserole Carrier
  • Embroidery Hoop Art
  • Cobb Salad with Red Wine Vinaigrette
  • Cute Little Girl Clothing… found on Amazon!
  • How to do a Patterned Dot Wall
  • DIY Roach Costume
  • A Chevron Painting + a Video
  • The Bow Clutch
  • Stethoscope Covers

Copyright © 2026 · Web Hosting By RFE Hosting