TaylorMade

DIY, Home Decor & Sewing

  • Home
  • SHOP
  • DIY & Sewing
    • For the Home
    • Sewing
    • Costumes and Holidays
    • Cricut Projects
    • Crafting
  • Parties
  • Recipes
  • Home Tour
  • Favorites
  • About

GPS Case Tutorial

November 22, 2011 By Taylor 4 Comments

It’s not too often around here that my husband gets something “TaylorMade”. Sad but true. It’s hard enough to sew for boys let alone old boys. But last week he actually had a special request. That never happens. He asked for a case for his new GPS. 

I came up with this…

Is it manly enough? Houndstooth is about as boyish as my fabric stash gets. And black is always masculine. 
This is so easy I can hardly call it a tutorial but, you need:
-outer fabric
-inner fabric (something soft, I used flannel)
-small piece of batting
-snap set
-scrap piece of trim is optional
For Bryan’s GPS’s size I cut my fabric to 14″ x 8″.  Layer the fabric with right sides together and the batting on bottom. Y’all… I had a serious flannel lint problem! I had to use my lint roller between every step. Once its together its not so bad but during construction, I almost threw the whole thing away… see!

Sew the bundle together leaving an opening and clip the corners.

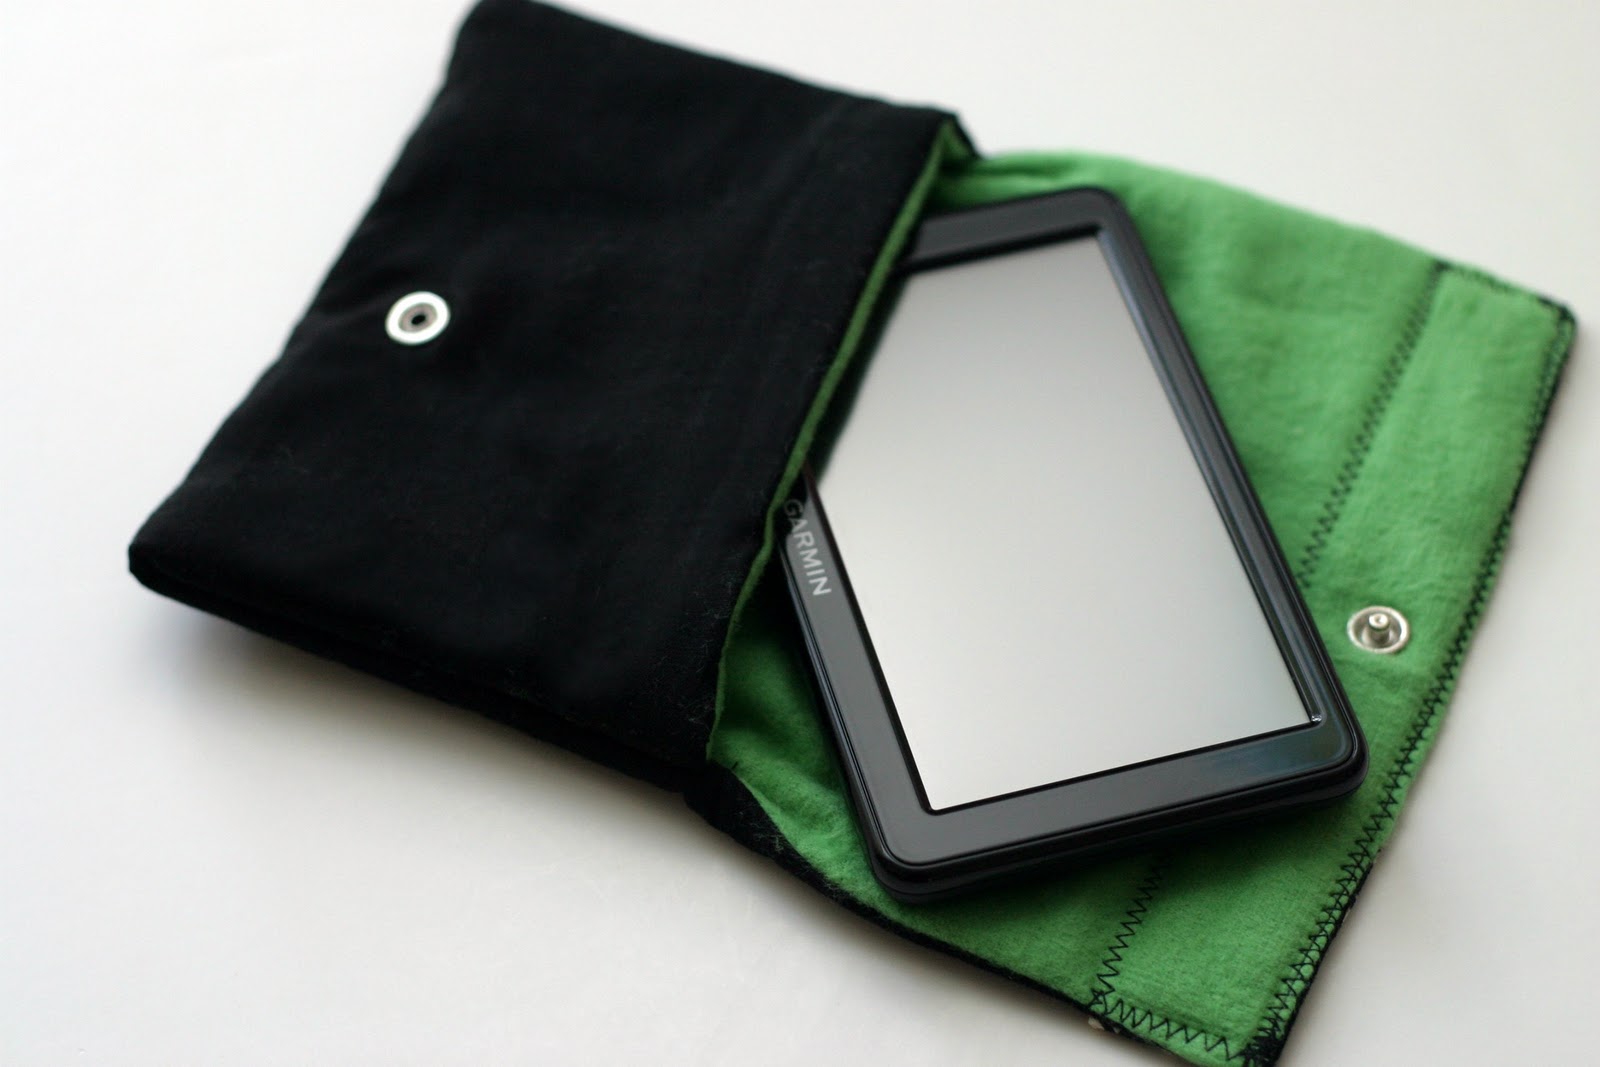
Flip it right side out.

With the outer fabric touching the GPS, place the GPS in the center of the rectangle and fold one side up to form a pocket.

Pin and sew up the sides of the pocket. Then flip right side out.

Add your snaps.
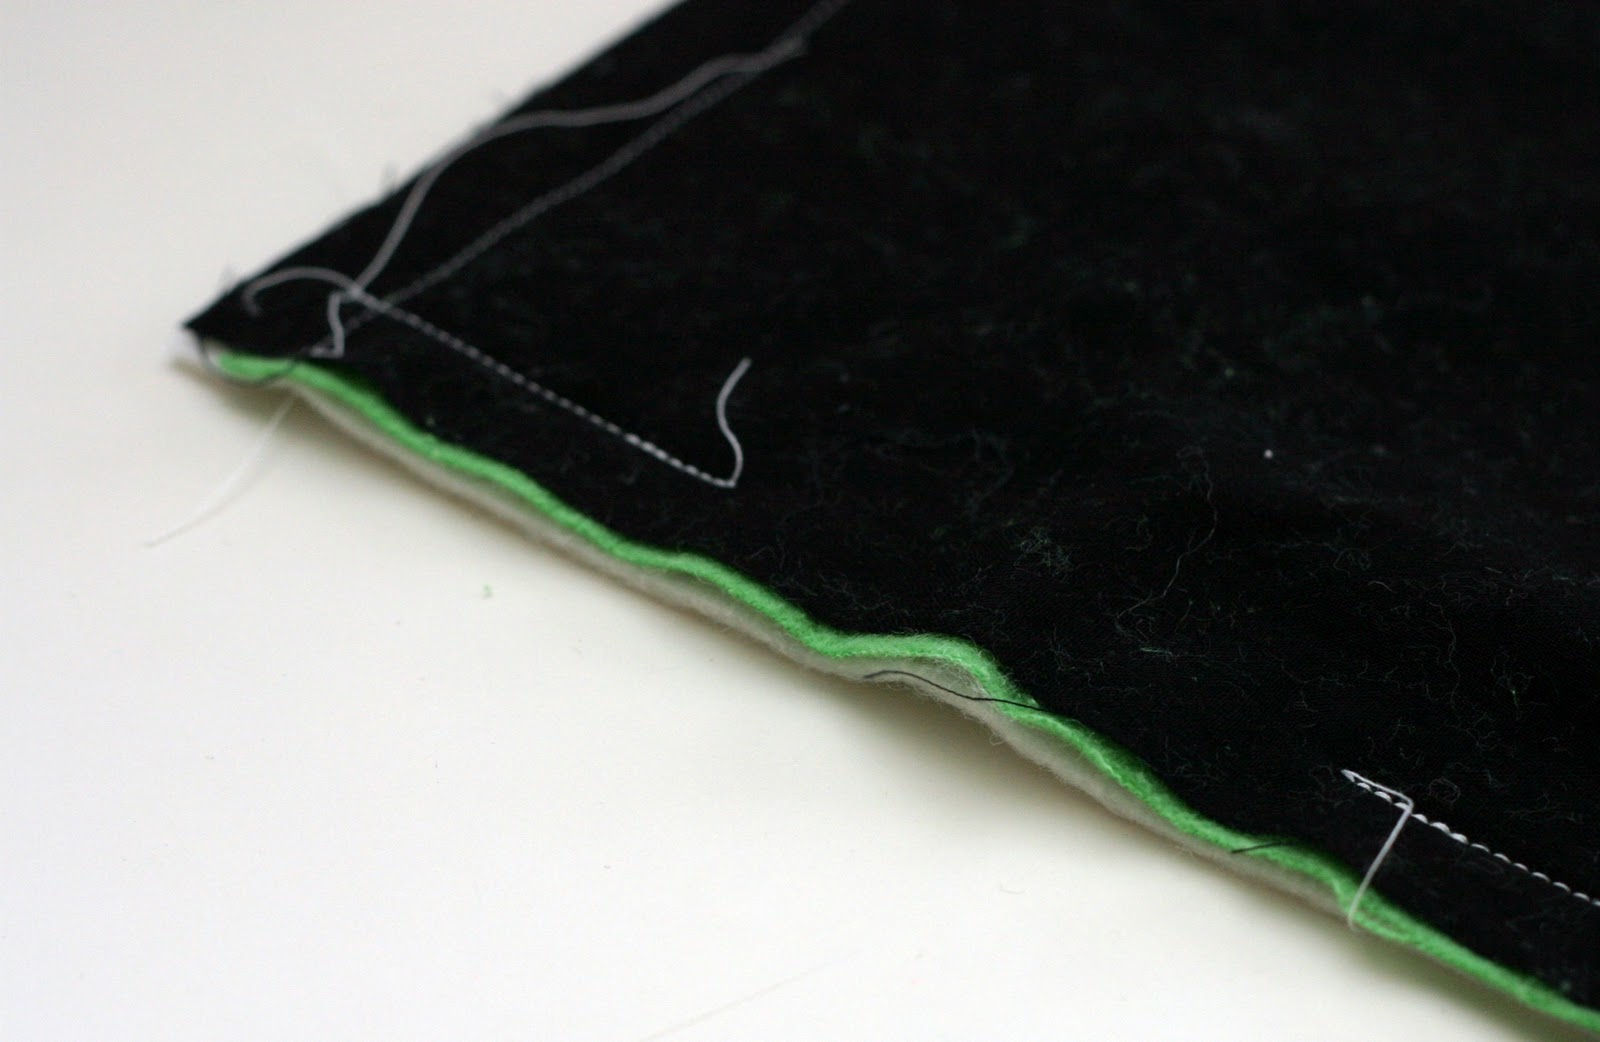
I added a scrap to the outside by folding and pressing a scrap to fit the outer flap them sewing it on with a zig-zag stitch. This will also close up the opening that you made to flip the rectangle.
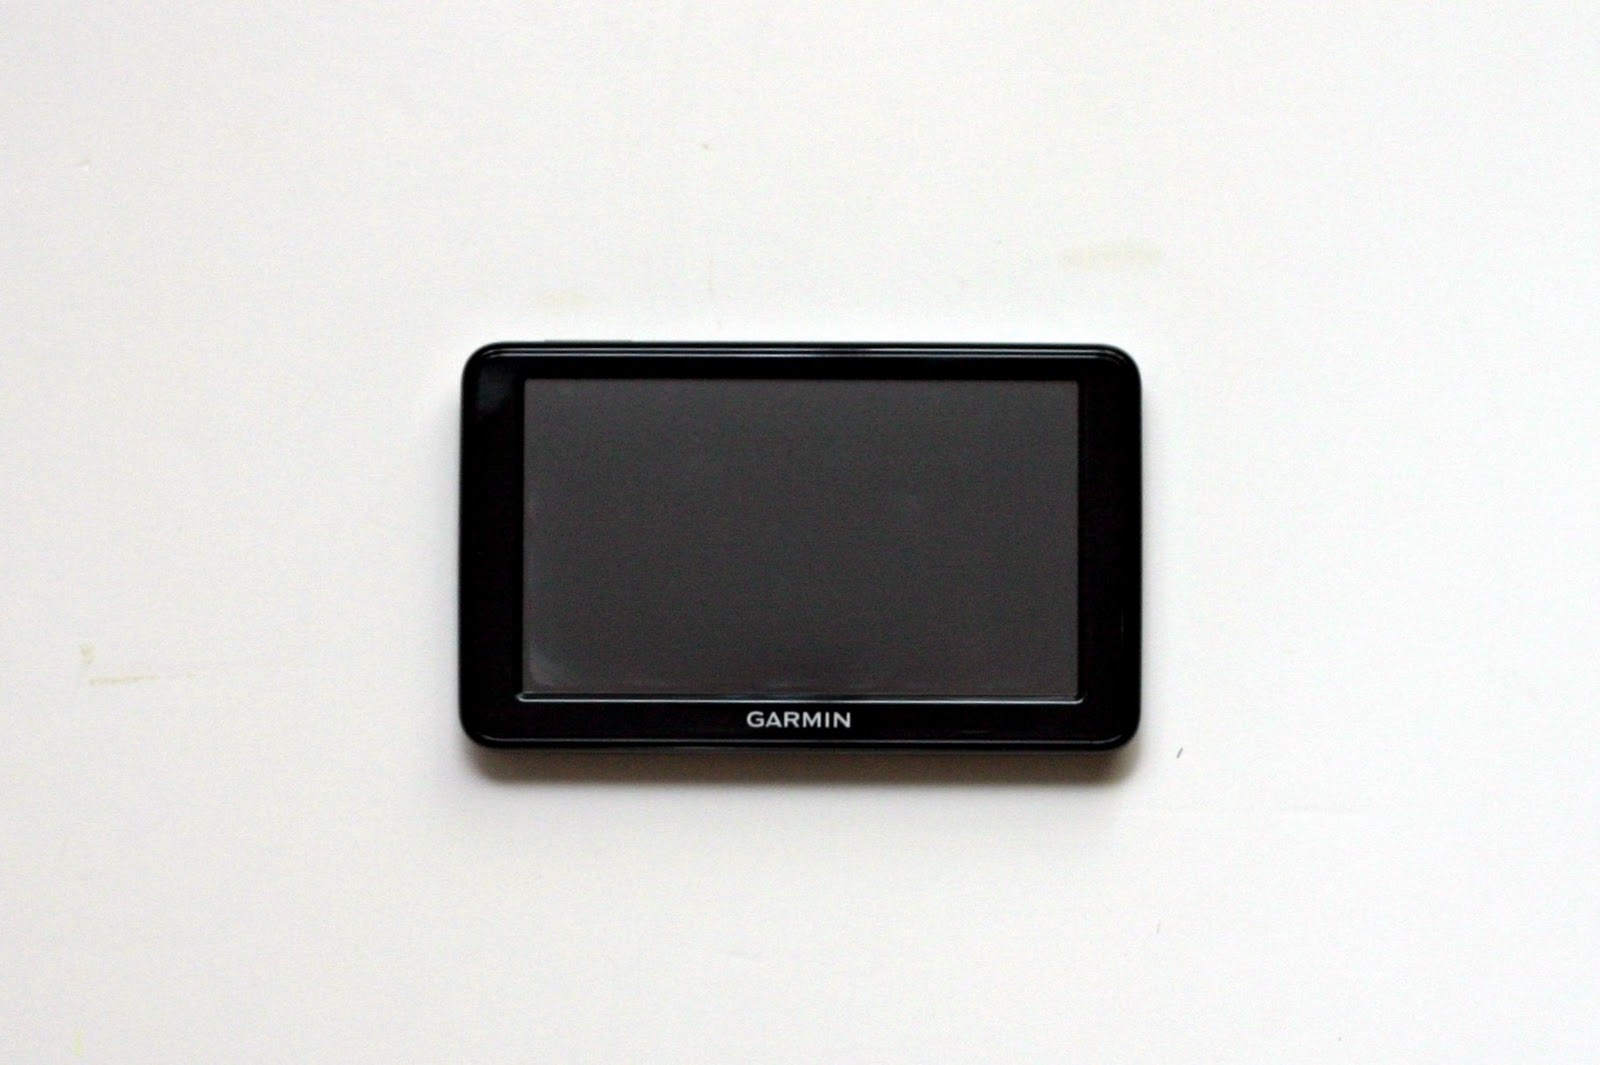
The GPS now has a manly home :)
This could be a good stocking stuffer, quick and easy. What kind of man crafting do you do?
Pin It
Related Posts Plugin for WordPress, Blogger...

Filed Under: boy, fabric, gift, sewing Tagged With: accessories

« How to Glaze Furniture
Cranberry Chutney Recipe »

Comments

  1. Lindsay says

    November 23, 2011 at 9:39 am

    This is adorable! And I love how functional it is! Thanks for the tutorial!

    Reply
  2. Emily says

    November 24, 2011 at 4:21 pm

    What a great idea. We’ve just been using an old (but clean!) sock for ours, a case like this would be so much better. Thanks for the tutorial!

    Reply
  3. Michelle @ Sweet Something Design says

    November 27, 2011 at 10:26 am

    How cute! I love the added houndstooth, great job!

    Reply
  4. Kirsty Whitehouse says

    December 19, 2011 at 12:03 am

    Oh this is very neat!

    I’ve done a couple of ‘boy’ things, like a masculine version of this http://blog.mummybrain.com/2011/12/towel-wrap-tutorial.html but not really ‘manly’ persay. Maybe I need to make some things?!

    Reply

Leave a Reply Cancel reply

Your email address will not be published.

This site uses Akismet to reduce spam. Learn how your comment data is processed.

Welcome to Taylor Made

http://www.taylormadecreatesblog.com/about-me Hi Yall! I'm Taylor... an artsy mom of three from Houston, TX. I love sewing, collecting floral fabric, eating Mexican Food, photography, brights colors, rearranging, and rolling clay. Taylor Made Creates is all about creating a fun, colorful home, sewing cute things and eating good food. Check out my SHOP HERE HERE! Thanks for stopping by!

Search

Pin with me!

Like Me :)

Facebook Pagelike Widget

More Recent Posts

  • Kid's Animal Room
  • Kids Camping Shirts
  • Mermaid Birthday Party
  • Conversation Heart Cold Packs
  • Holiday Apple Tea Punch
  • Purple Princess Costume
  • Letterboard Costume
  • La Croix Costume

FAVORITES

  • Briar Rose Strip Quilt
  • Mini Fabric Lamps
  • Barrel Chair Makeover
  • More Casserole Carriers
  • Etched Mommy Tree Plate
  • Salt Dough Napkin Holders
  • How to Shorten a Shirt
  • The Frozen Fox
  • Winged Peasant Dress

Copyright © 2026 · Web Hosting By RFE Hosting