TaylorMade

DIY, Home Decor & Sewing

  • Home
  • SHOP
  • DIY & Sewing
    • For the Home
    • Sewing
    • Costumes and Holidays
    • Cricut Projects
    • Crafting
  • Parties
  • Recipes
  • Home Tour
  • Favorites
  • About

Nook Covers Part 2

June 29, 2011 By Taylor 5 Comments

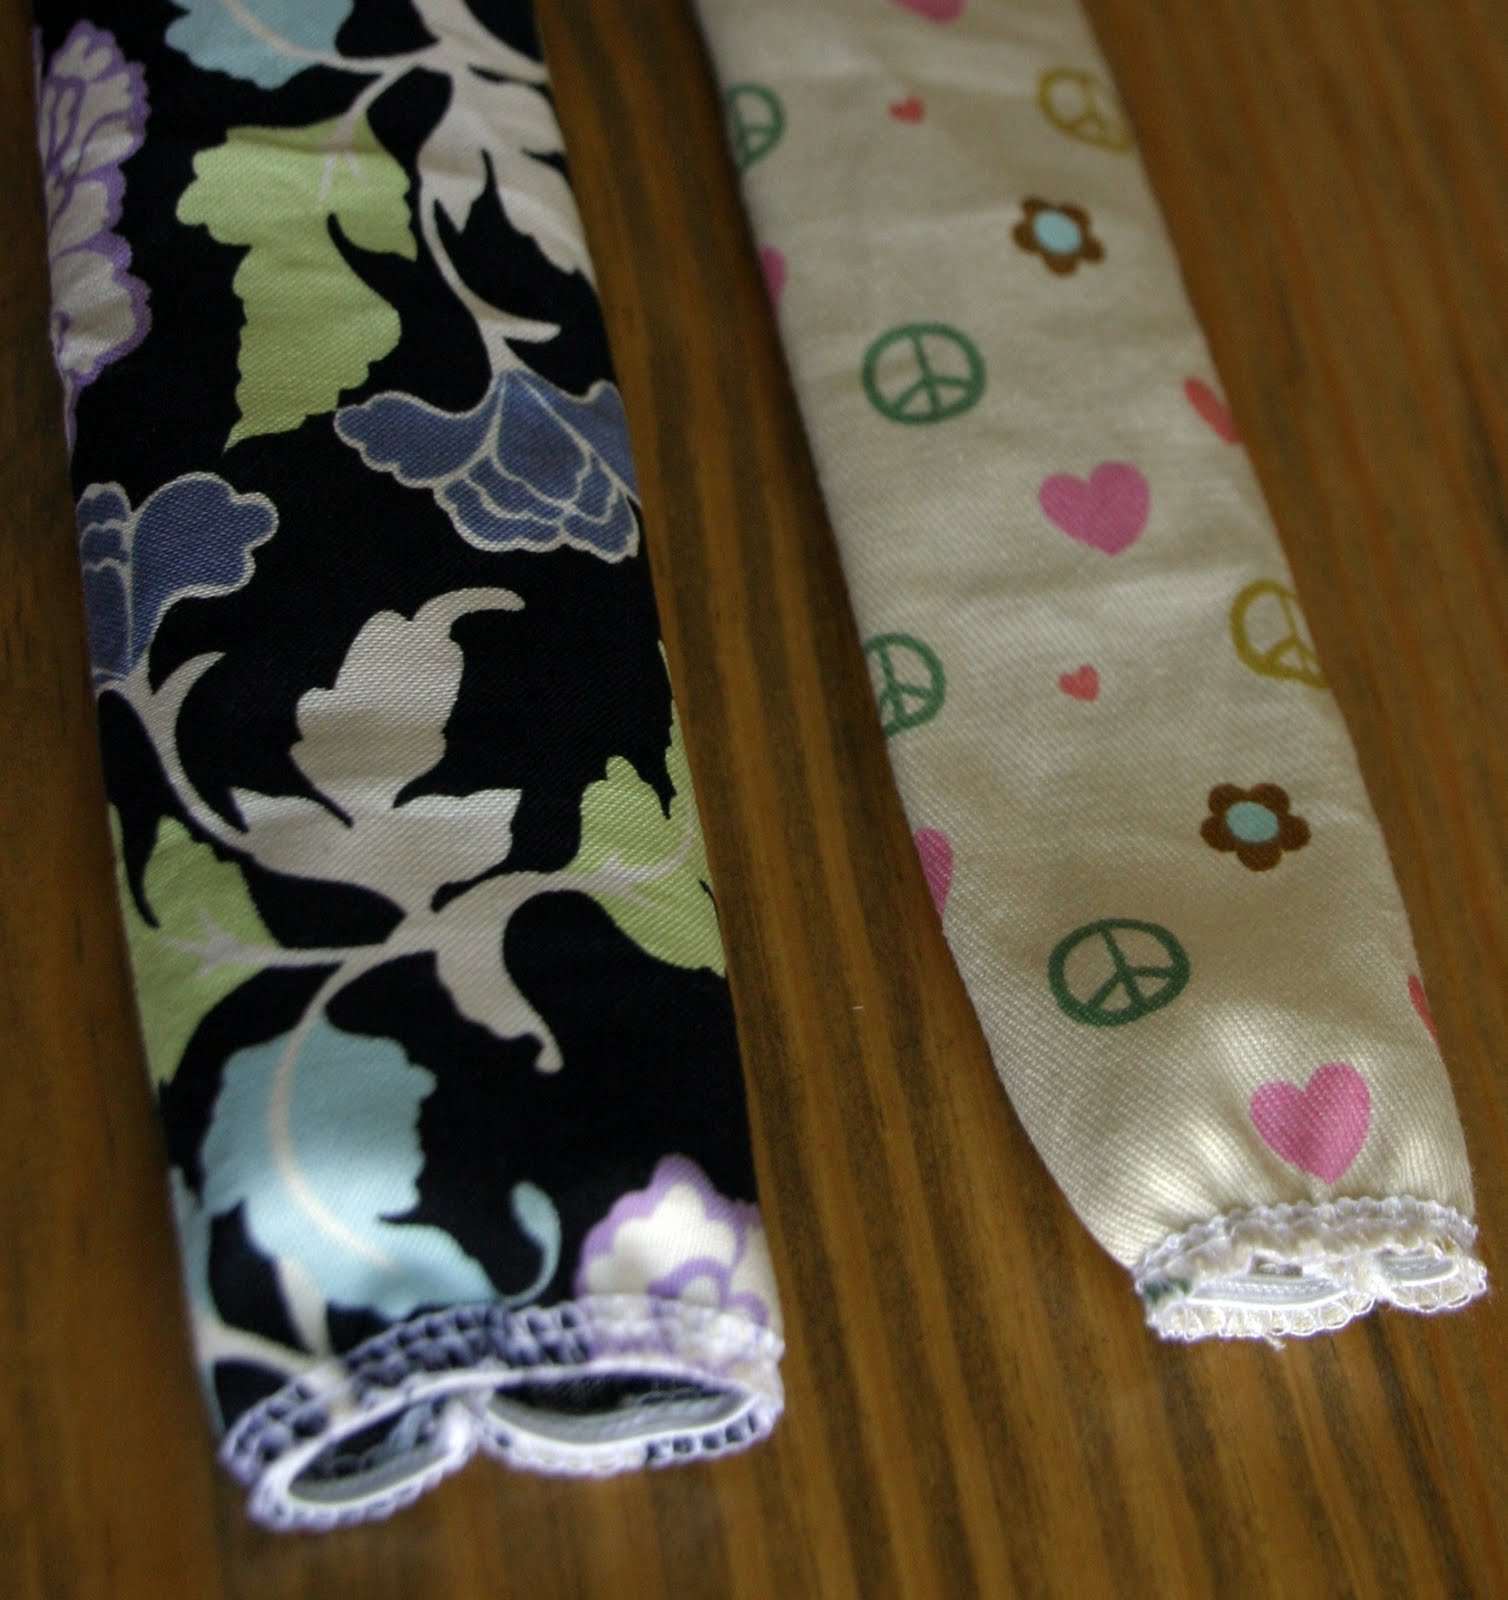
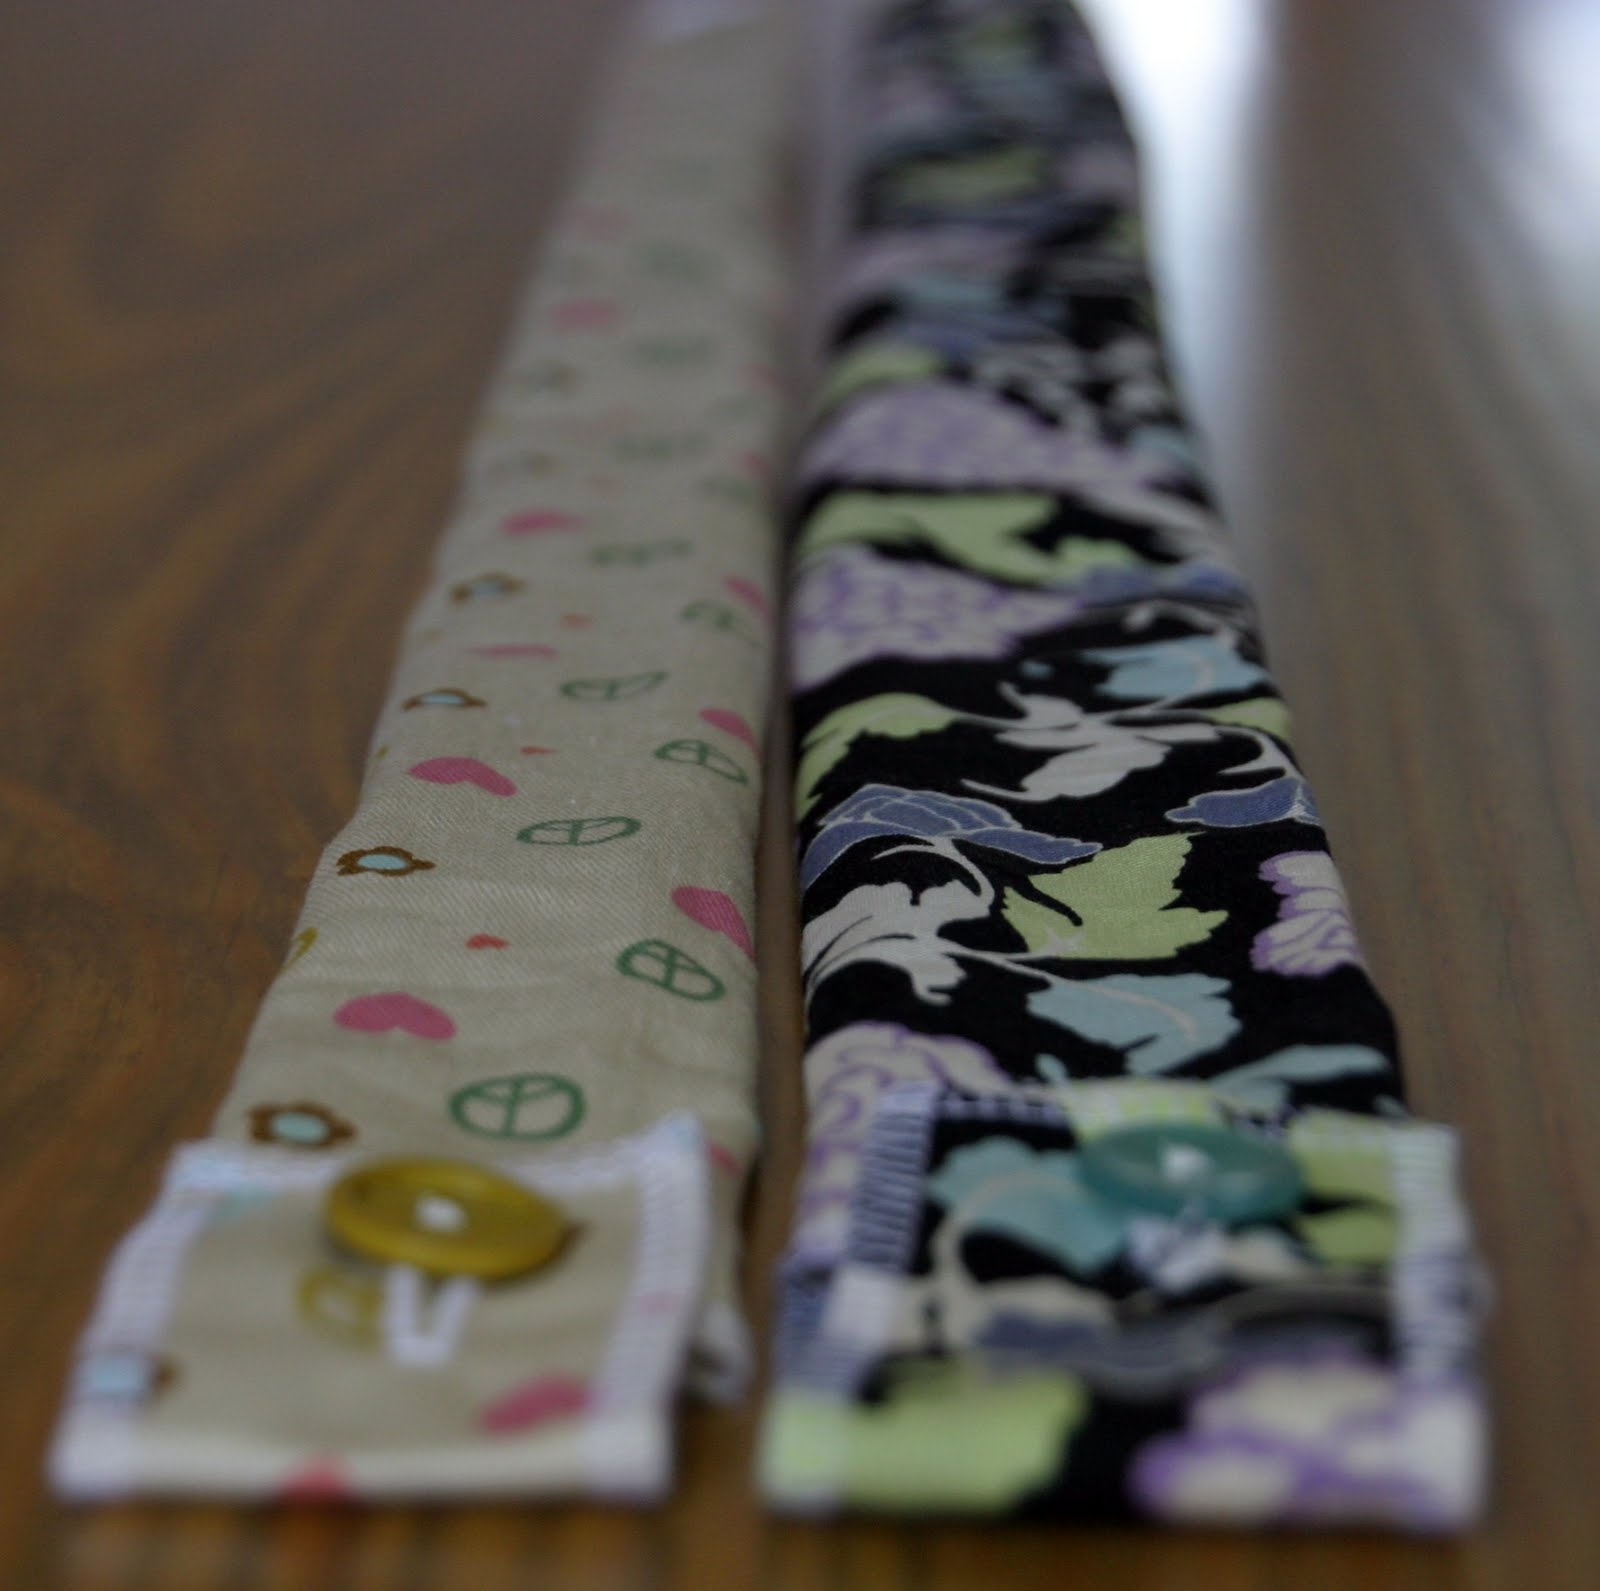
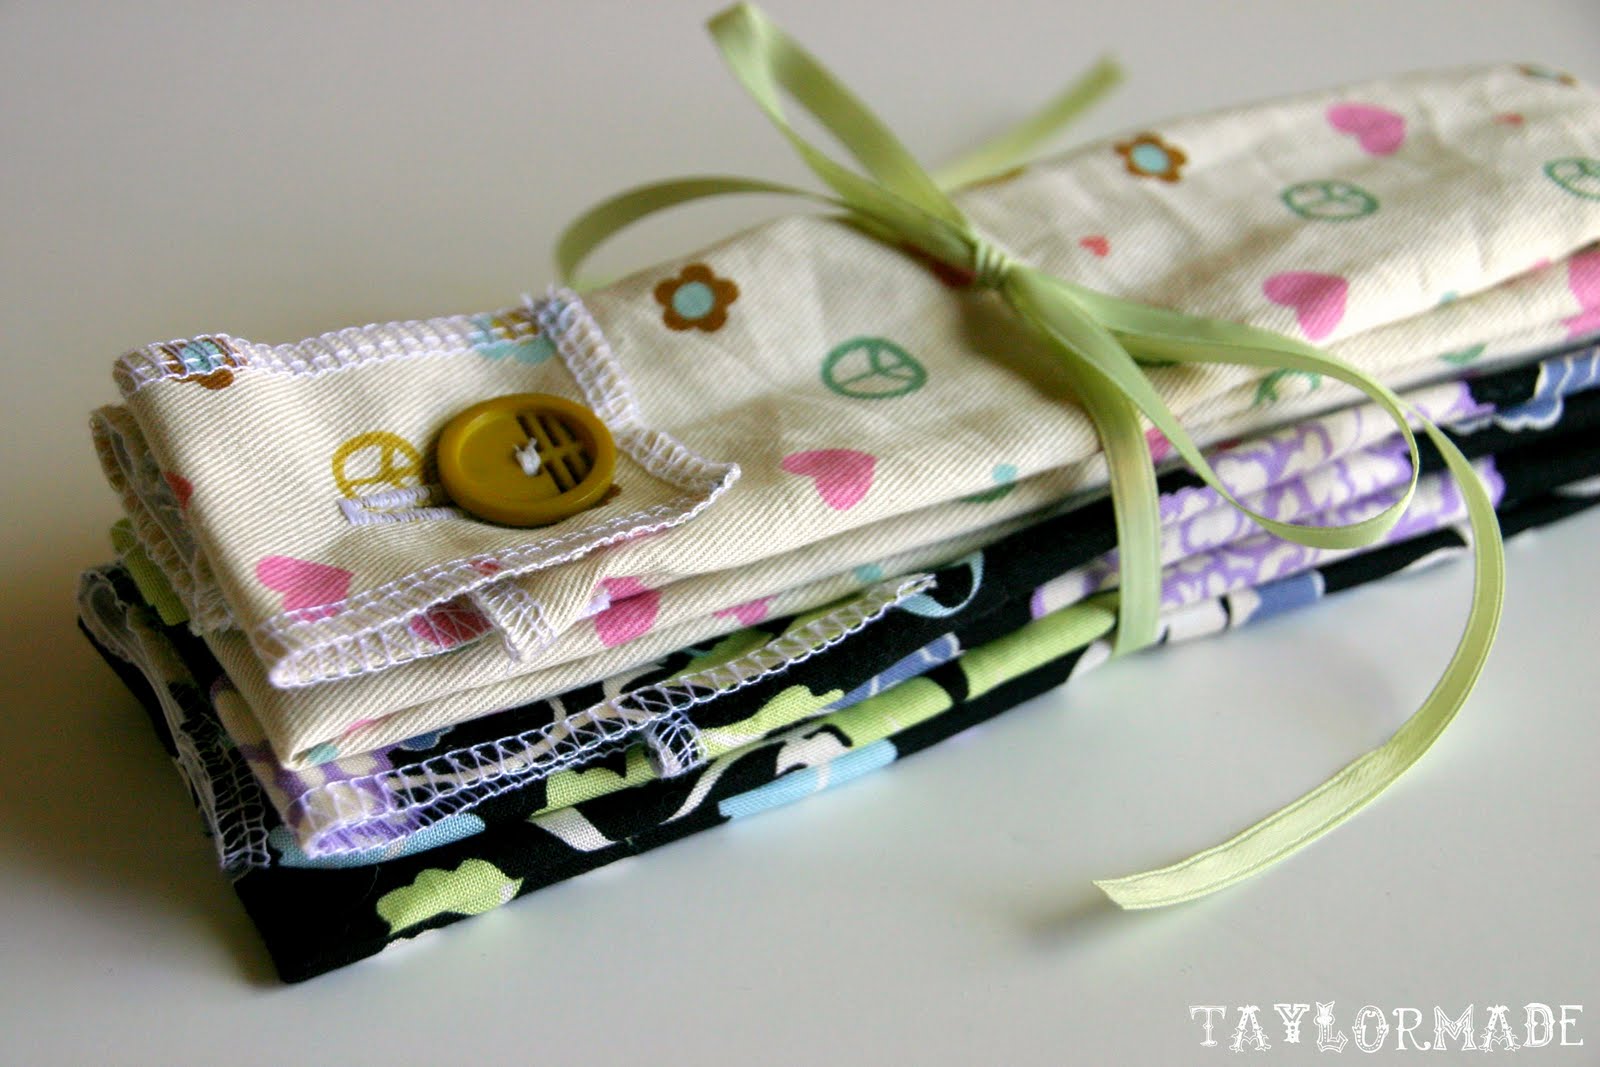
Happy Wednesday! I posted about my Nook Covers a few weeks ago HERE. I received quite a few emails and questions about the pattern and if I had a tutorial. Answer… I don’t because I actually purchased one on Etsy. I was going to make my own but I figured for $6 I would save myself some time :) The Etsy shop is called Birdiful Stitches. I love the pattern; it was really easy to follow, quick to sew and she even says you can resell them.
So, I made my third one last night; this time for my mom. I used my Silhouette with the iron-on interfacing and cut the bird out of fabric. Then I sewed it to the front cover before piecing the whole thing together. I found a picture of a bird on a branch that I liked from google images. Then I used the trace feature. Read my “How to Trace Tutorial” HERE.
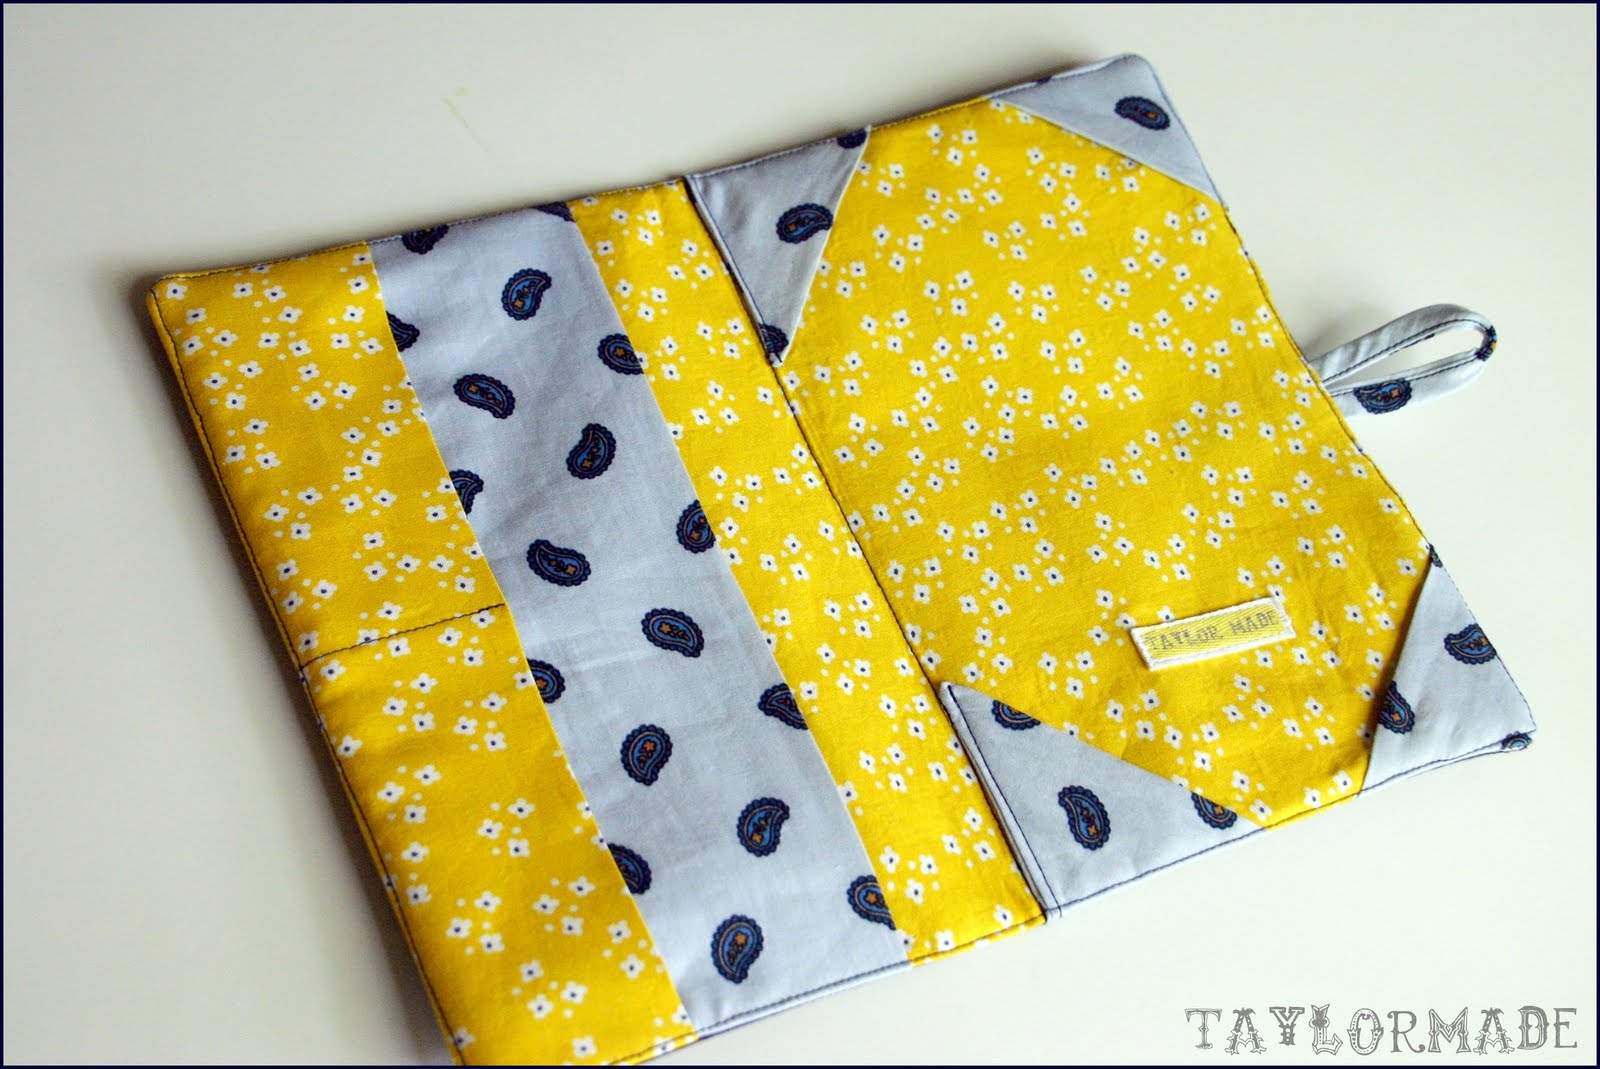
I added an extra leaf and of course my Taylor Made Label to the back.
I love a good easy project that only takes a few hours but feels like you really accomplished something!

Filed Under: fabric, gift, pattern, Silhouette Tagged With: accessories

Nook Covers

June 10, 2011 By Taylor 17 Comments

Do you have an E-reader? Because it is my new obsession. I can actually blame my current lack of crafts posts on my Nook. I guess reading is a good “new” hobby, right? Well, like any good nook owner I knew I needed a cover. I shopped around but didn’t find one that I loved. Then I found a DIY pattern on Etsy – yay. The pattern was very easy to follow. I have already made one for my sister too.
You can really add any sort of personal touch to your e-reader cover. My sister has a more classic style so hers is the navy one. And I wanted something more bold. The hardest part is picking out a button.
I used my Silhouette to cut out the “read” in fabric for the front of mine. I used Silhouette’s fabric interfacing and cut the fabric straight from the machine. How did I make the heart at the end of the word? Oh thanks for asking… I drew a heart and merged it into the end of the word in the Silhouette software. Then I just did a tight zig-zag stitch around the letters (not very perfectly).
Does any one have any must reads that I need to know about? I am reading Water for Elephants right now then I am going to read The Help. Since I am in my late twenties and just now taking up reading as a hobby I have some catching up to do…

Filed Under: fabric, pattern, sewing, Silhouette Tagged With: accessories

Bow Ties

June 1, 2011 By Taylor 3 Comments

What is cuter than a little boy in a boy tie?… Nothing is… I tell you NOTHING!
Remember when I won Runner-Up in the Knock it Off contest? Well, I did and one of my prizes was my choice of two patterns from Little Lizard King, a cute Etsy shop. I knew I wanted to make the boys some bow ties for a wedding. It was perfect when I saw that she had a Bow Tie Pattern in her Etsy Shop. Less work when I don’t have to think of how to do something.
I followed the “bow” part just like the pattern said. The only thing I changed was the middle loop to make it a little wider. It was a very easy-to-follow pattern.
The boys looked super geek-chic in their little bow ties… ahhh little men going to their first wedding!
Instead of doing elastic around the neck, I just added an alligator clip to the back with felt and some E-6000 (best glue ever). That way I can use them again on a cardigan or in my hair.
I love these bow ties so I think I might be making more in the near future just for funsies.
What else can I do with them?

Filed Under: baby stuff, clothes, fabric, kid stuff, pattern, sewing Tagged With: accessories, clothing, kids

Stethoscope Covers

April 13, 2011 By Taylor 25 Comments

Do you have a special nurse in your life? ‘Cause I do… my sister hehe! Not only is she about to graduate from nursing school but it is also her birthday this week. (Last year I made her this) So, I cant think of a better gift than some handmade Stethoscope Covers. The sad part is after I decided to make her a few, I realized – I don’t have a stethoscope to try them onto. Oops, I hope they fit.

Materials:
– one yard of fabric (you wont use it all, you just need it for length)
– button
– elastic
– sewing machine
– serger (optional)

Directions:

Cut your fabric into a piece that is 34″ x 6″
Serge the ends (the sides that are 6″ in length) If you do not have a serger, get online right now and buy one you will have to press the ends and sew a clean edge. Do this to both the top and bottom of the cover.
Next we will add the elastic to the bottom of the cover. If your fabric is a print like the floral one I have then just pick a bottom. My other fabric with the hearts has a specific bottom and top so don’t confuse the ends.
1. Cut the elastic about 2″ shorter than your width, so in our case 4″. Pin it to the bottom of the cover.
2. Start sewing it on.
3. Once it is on, pull the elastic with your hand while you are sewing.
4. It will look like this when you are done.
Next, pin right sides together lengthwise all the way down the cover and sew.
Turn the cover right side out. This is the main part of our cover. You can tell that my covers are a little different in width. I used two different seam allowances only because I wanted them to look a little different.
At this point I realized I had to come up with a way for the cover to stay on the Stethoscope. Do you see where it has a “Y” in the top. I decided to use a little flap with a button and a button hole. You could use Velcro, snaps, etc.
 I had scraps left over from the original cutting of the fabric so I used these two scraps. I folded it in half with wrong sides together and serged it into a rectangle flap. Sorry, I don’t have an exact measurement. Again if you don’t have a serger then you will have to sew right sides together leaving an opening, turn it right side out and sew again. Make sure the flap is the same width as your cover, length does not matter.
1. I added my TaylorMade label (tutorial here) to the back of the flap
2. Make a button hole on the flap
3. Pin the flap to the back of the cover
Sew the flap to the back of the cover
Last step is to add the button to the front side of the cover
Don’t you love this vintage mustard button?
Happy Birthday Sis!
Related Posts Plugin for WordPress, Blogger...

Filed Under: birthday, fabric, gift, serger, sewing, tutorial Tagged With: accessories

  • « Previous Page
  • 1
  • …
  • 3
  • 4
  • 5
  • 6
  • Next Page »

Welcome to Taylor Made

http://www.taylormadecreatesblog.com/about-me Hi Yall! I'm Taylor... an artsy mom of three from Houston, TX. I love sewing, collecting floral fabric, eating Mexican Food, photography, brights colors, rearranging, and rolling clay. Taylor Made Creates is all about creating a fun, colorful home, sewing cute things and eating good food. Check out my SHOP HERE HERE! Thanks for stopping by!

Search

Pin with me!

Like Me :)

Facebook Pagelike Widget

More Recent Posts

  • Kid's Animal Room
  • Kids Camping Shirts
  • Mermaid Birthday Party
  • Conversation Heart Cold Packs
  • Holiday Apple Tea Punch
  • Purple Princess Costume
  • Letterboard Costume
  • La Croix Costume

FAVORITES

  • Happy Rocks
  • A Yo Gabba Gabba Birthday Party
  • A Yo Gabba Gabba Invitation
  • Bow Ties
  • Winged Peasant Dress
  • Casserole Carrier
  • How to do a Patterned Dot Wall
  • DIY Roach Costume
  • La Croix Costume

Copyright © 2026 · Web Hosting By RFE Hosting