Presenting Little Miss Frida! I don’t want to play favorites but this Frida Kahlo Costume might be my new favorite to date! The dress, the headpiece, the braids…. I can’t handle it!


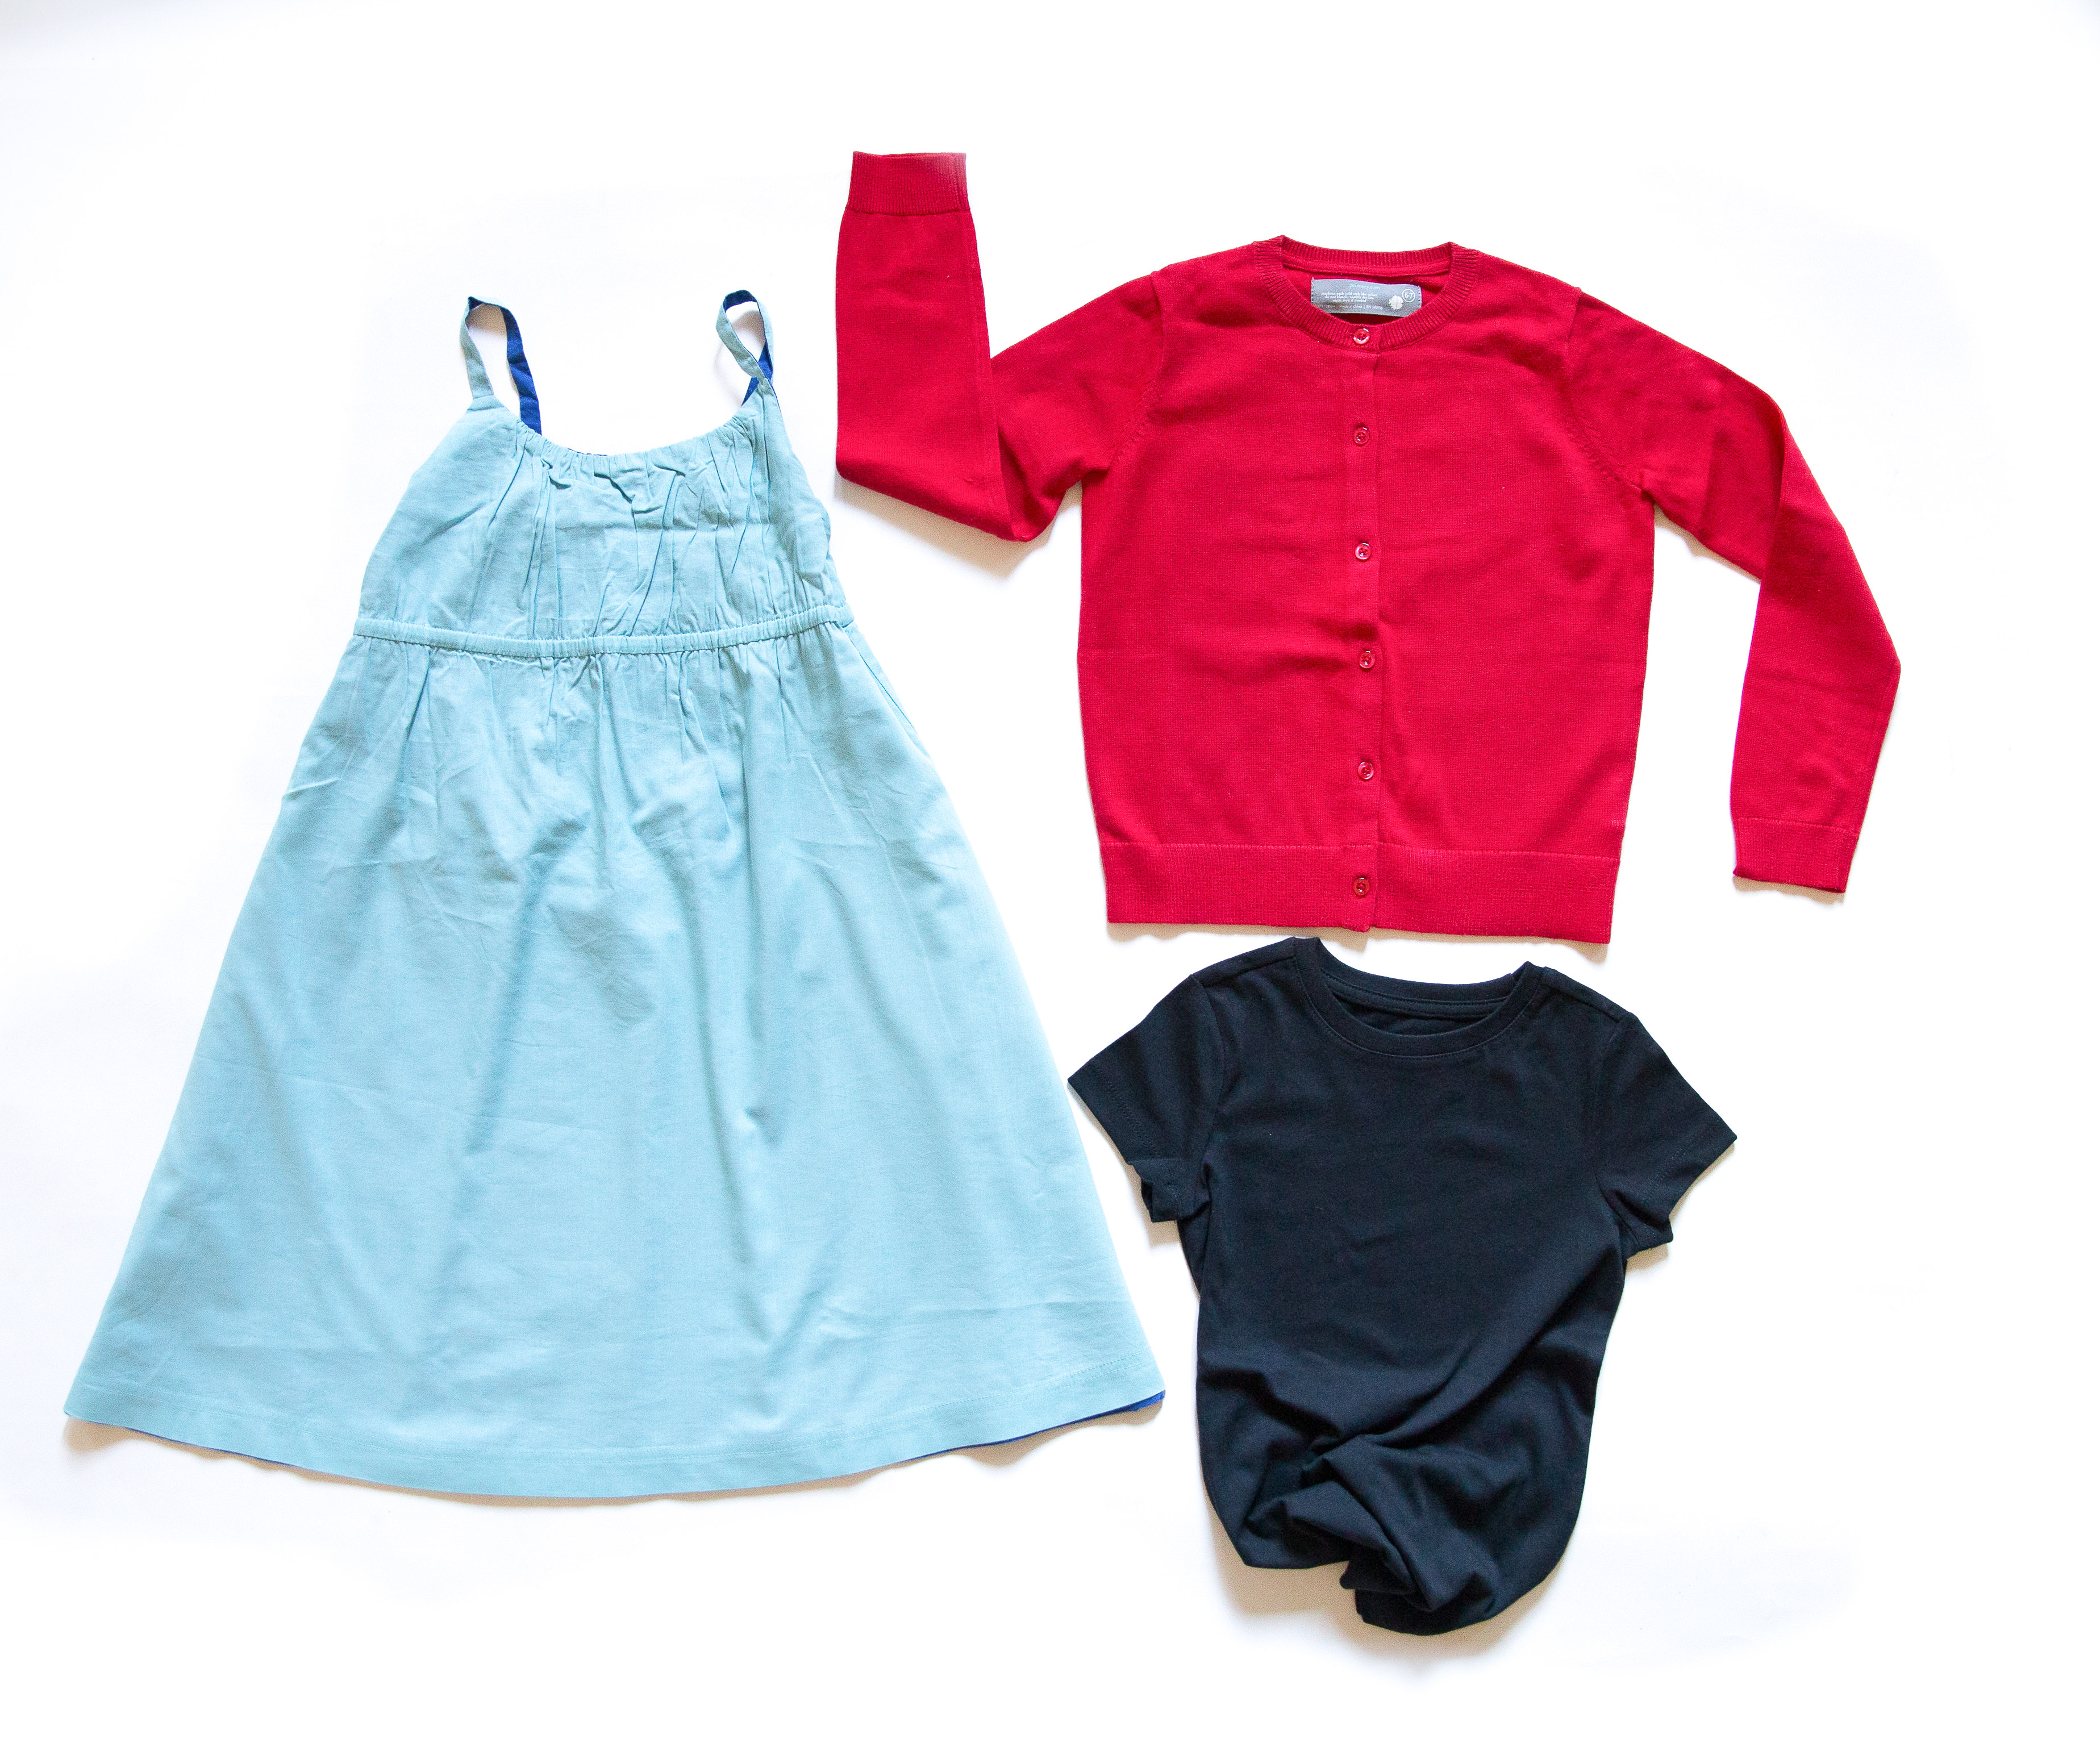
 This costume could be as intricate or as last minute as you want; you can’t do Frida wrong! Here is how I made mine: I used a few basics from Primary; the Cardi Sweater in Cherry, the Reversible Sundress in Cobalt and Pool and the Jersey Slim Tee in Black. You for sure want the red sweater, but the color options for the dress and shirt are endless!
 These were my inspiration photos. I love the photo of Frida on the left and I really love the Frida Barbie’s outfit so that is what I based this costume on. I’d say Bee nailed it right?!

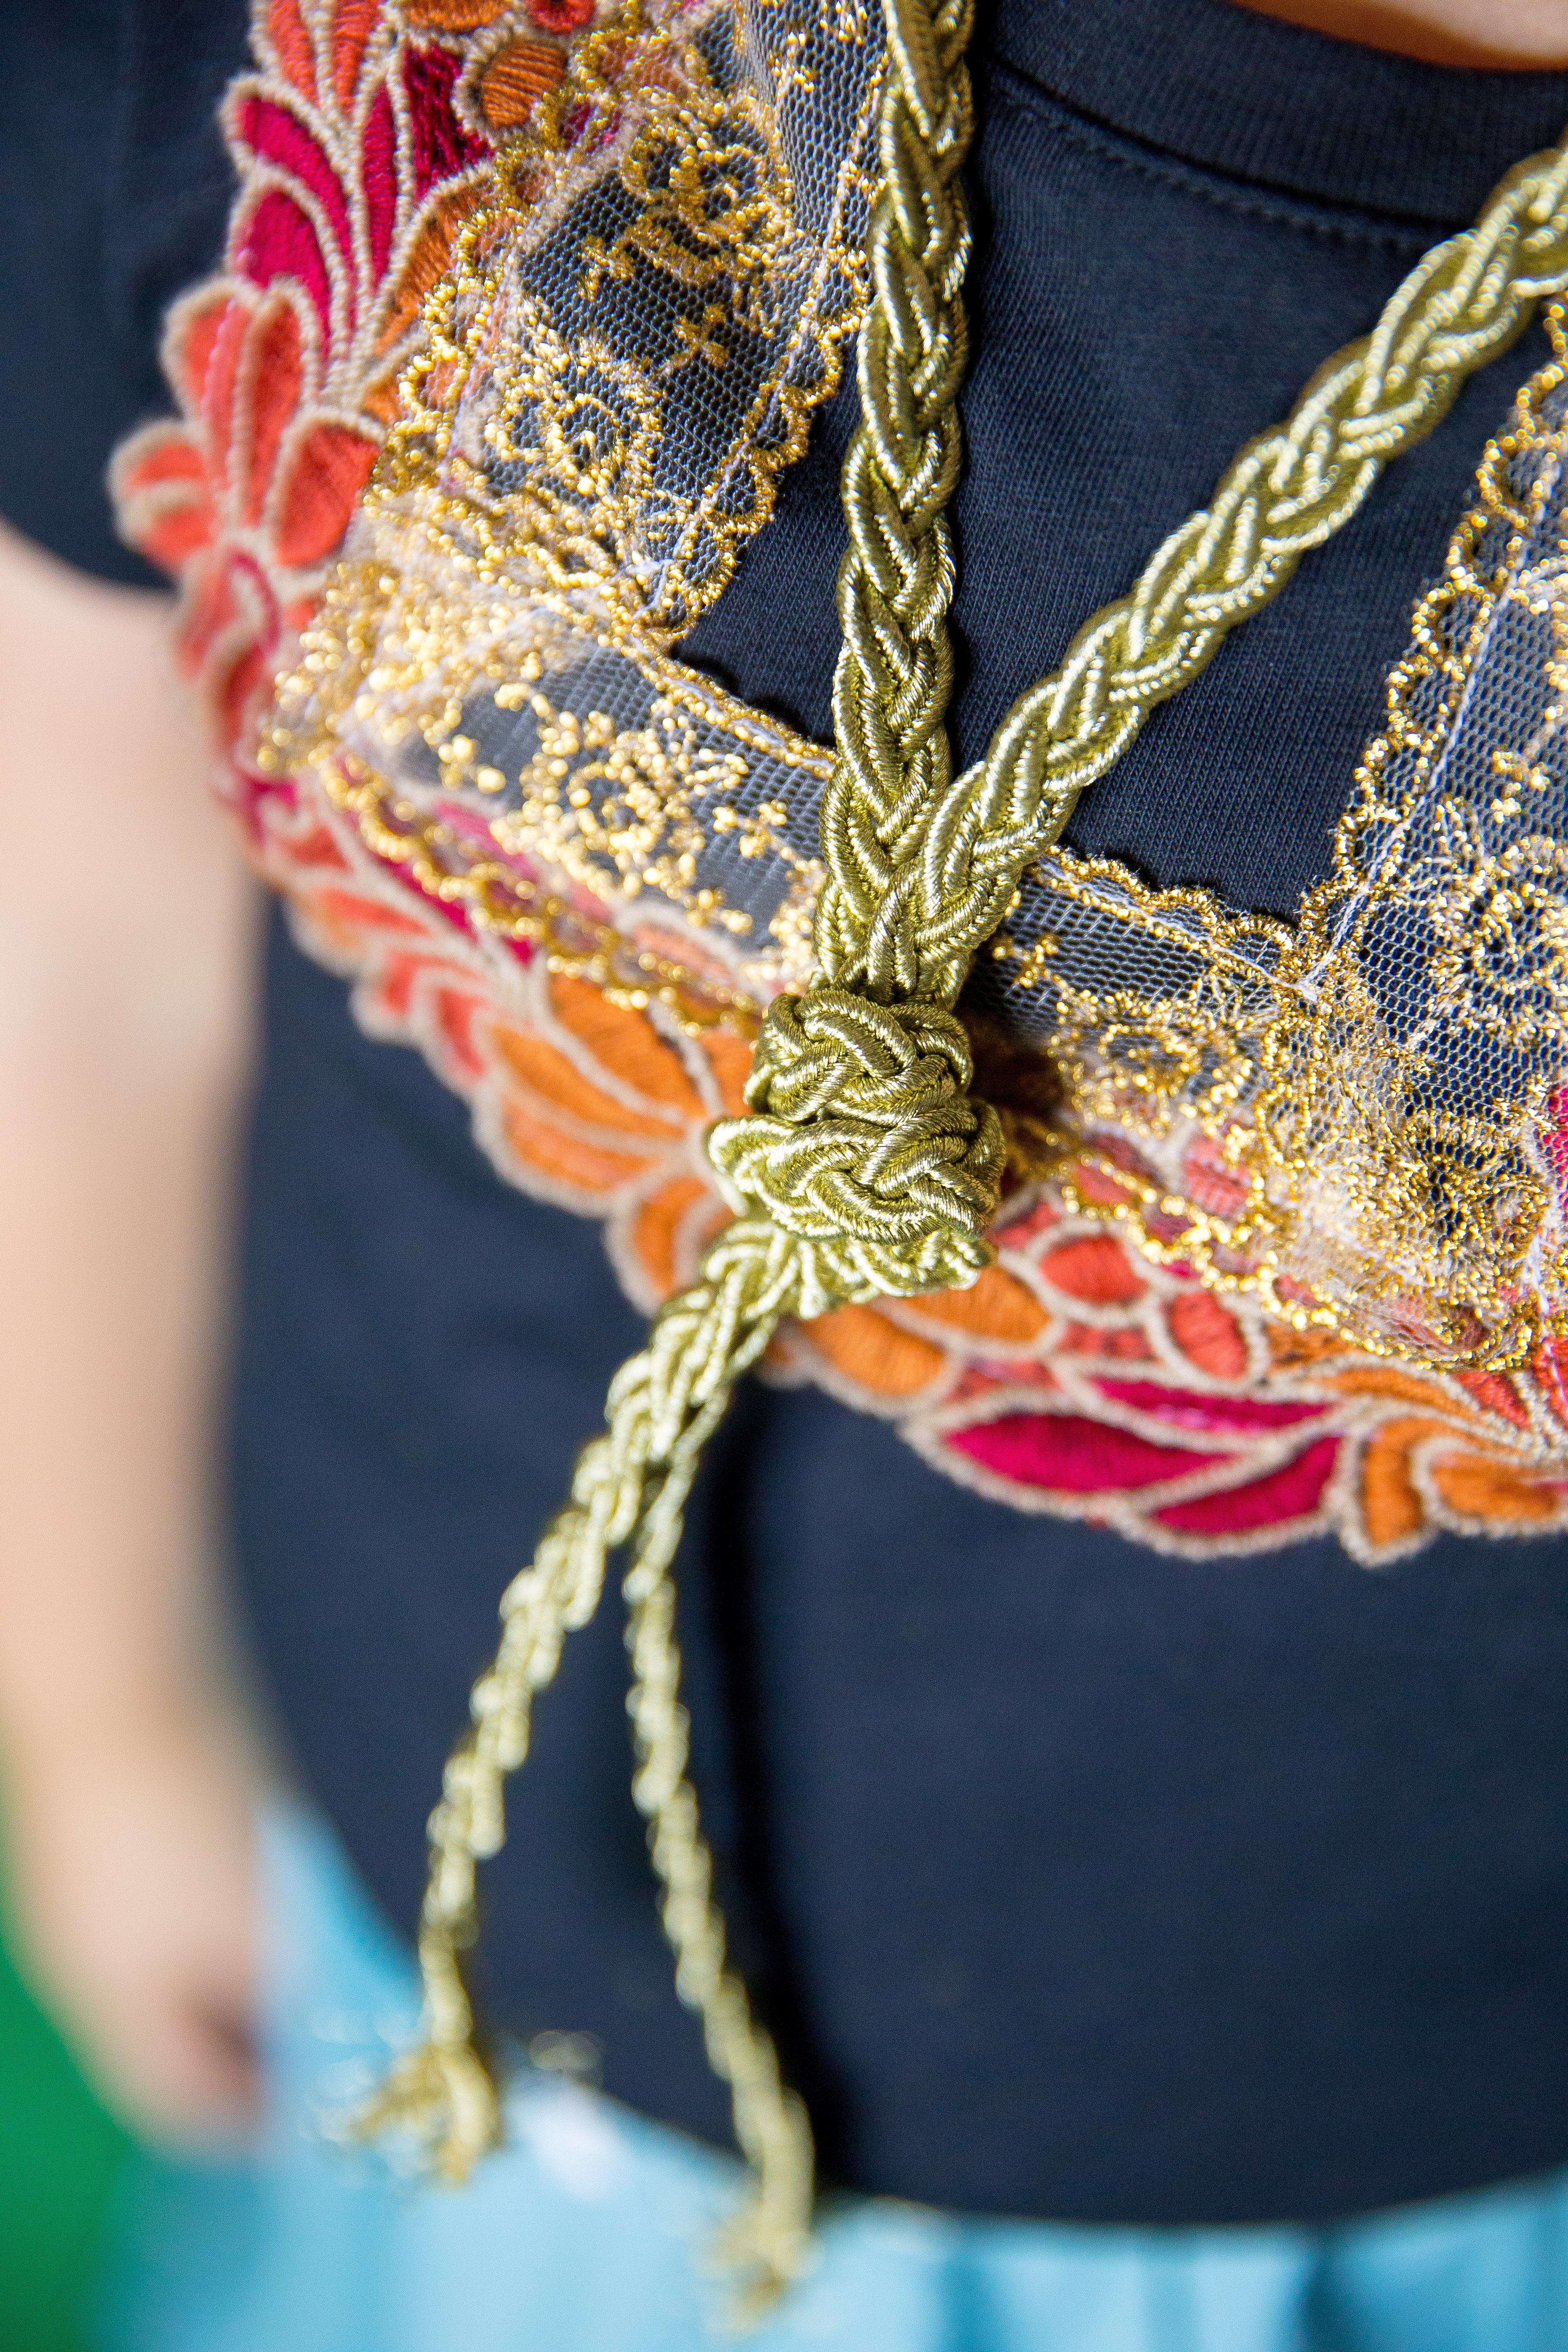
 I started with the shirt and found a few pieces of trim at Joann and sewed the trim on the black tee. You could definitely use fabric glue or wonder under. I also got a little piece of gold rope for her bolo necklace.

 I really liked the blue dress with the little white flowers on it so I cut some tiny white flowers out of heat transfer vinyl and pressed it on to the dress. Then I added a little trim to the bottom. Again, I sewed it on but fabric glue would work here as well!
 Lastly, is my favorite part… the headpiece. I bought some fake flowers from the dollar store and hot glued them to a solid black headband. I did a “faux crown braid”, not really sure what it’s called, I think I just made that term up. Good thing I’m not a beauty blogger because I barely know what I’m talking about haha! I think I’ll stick to crafts and costumes :)


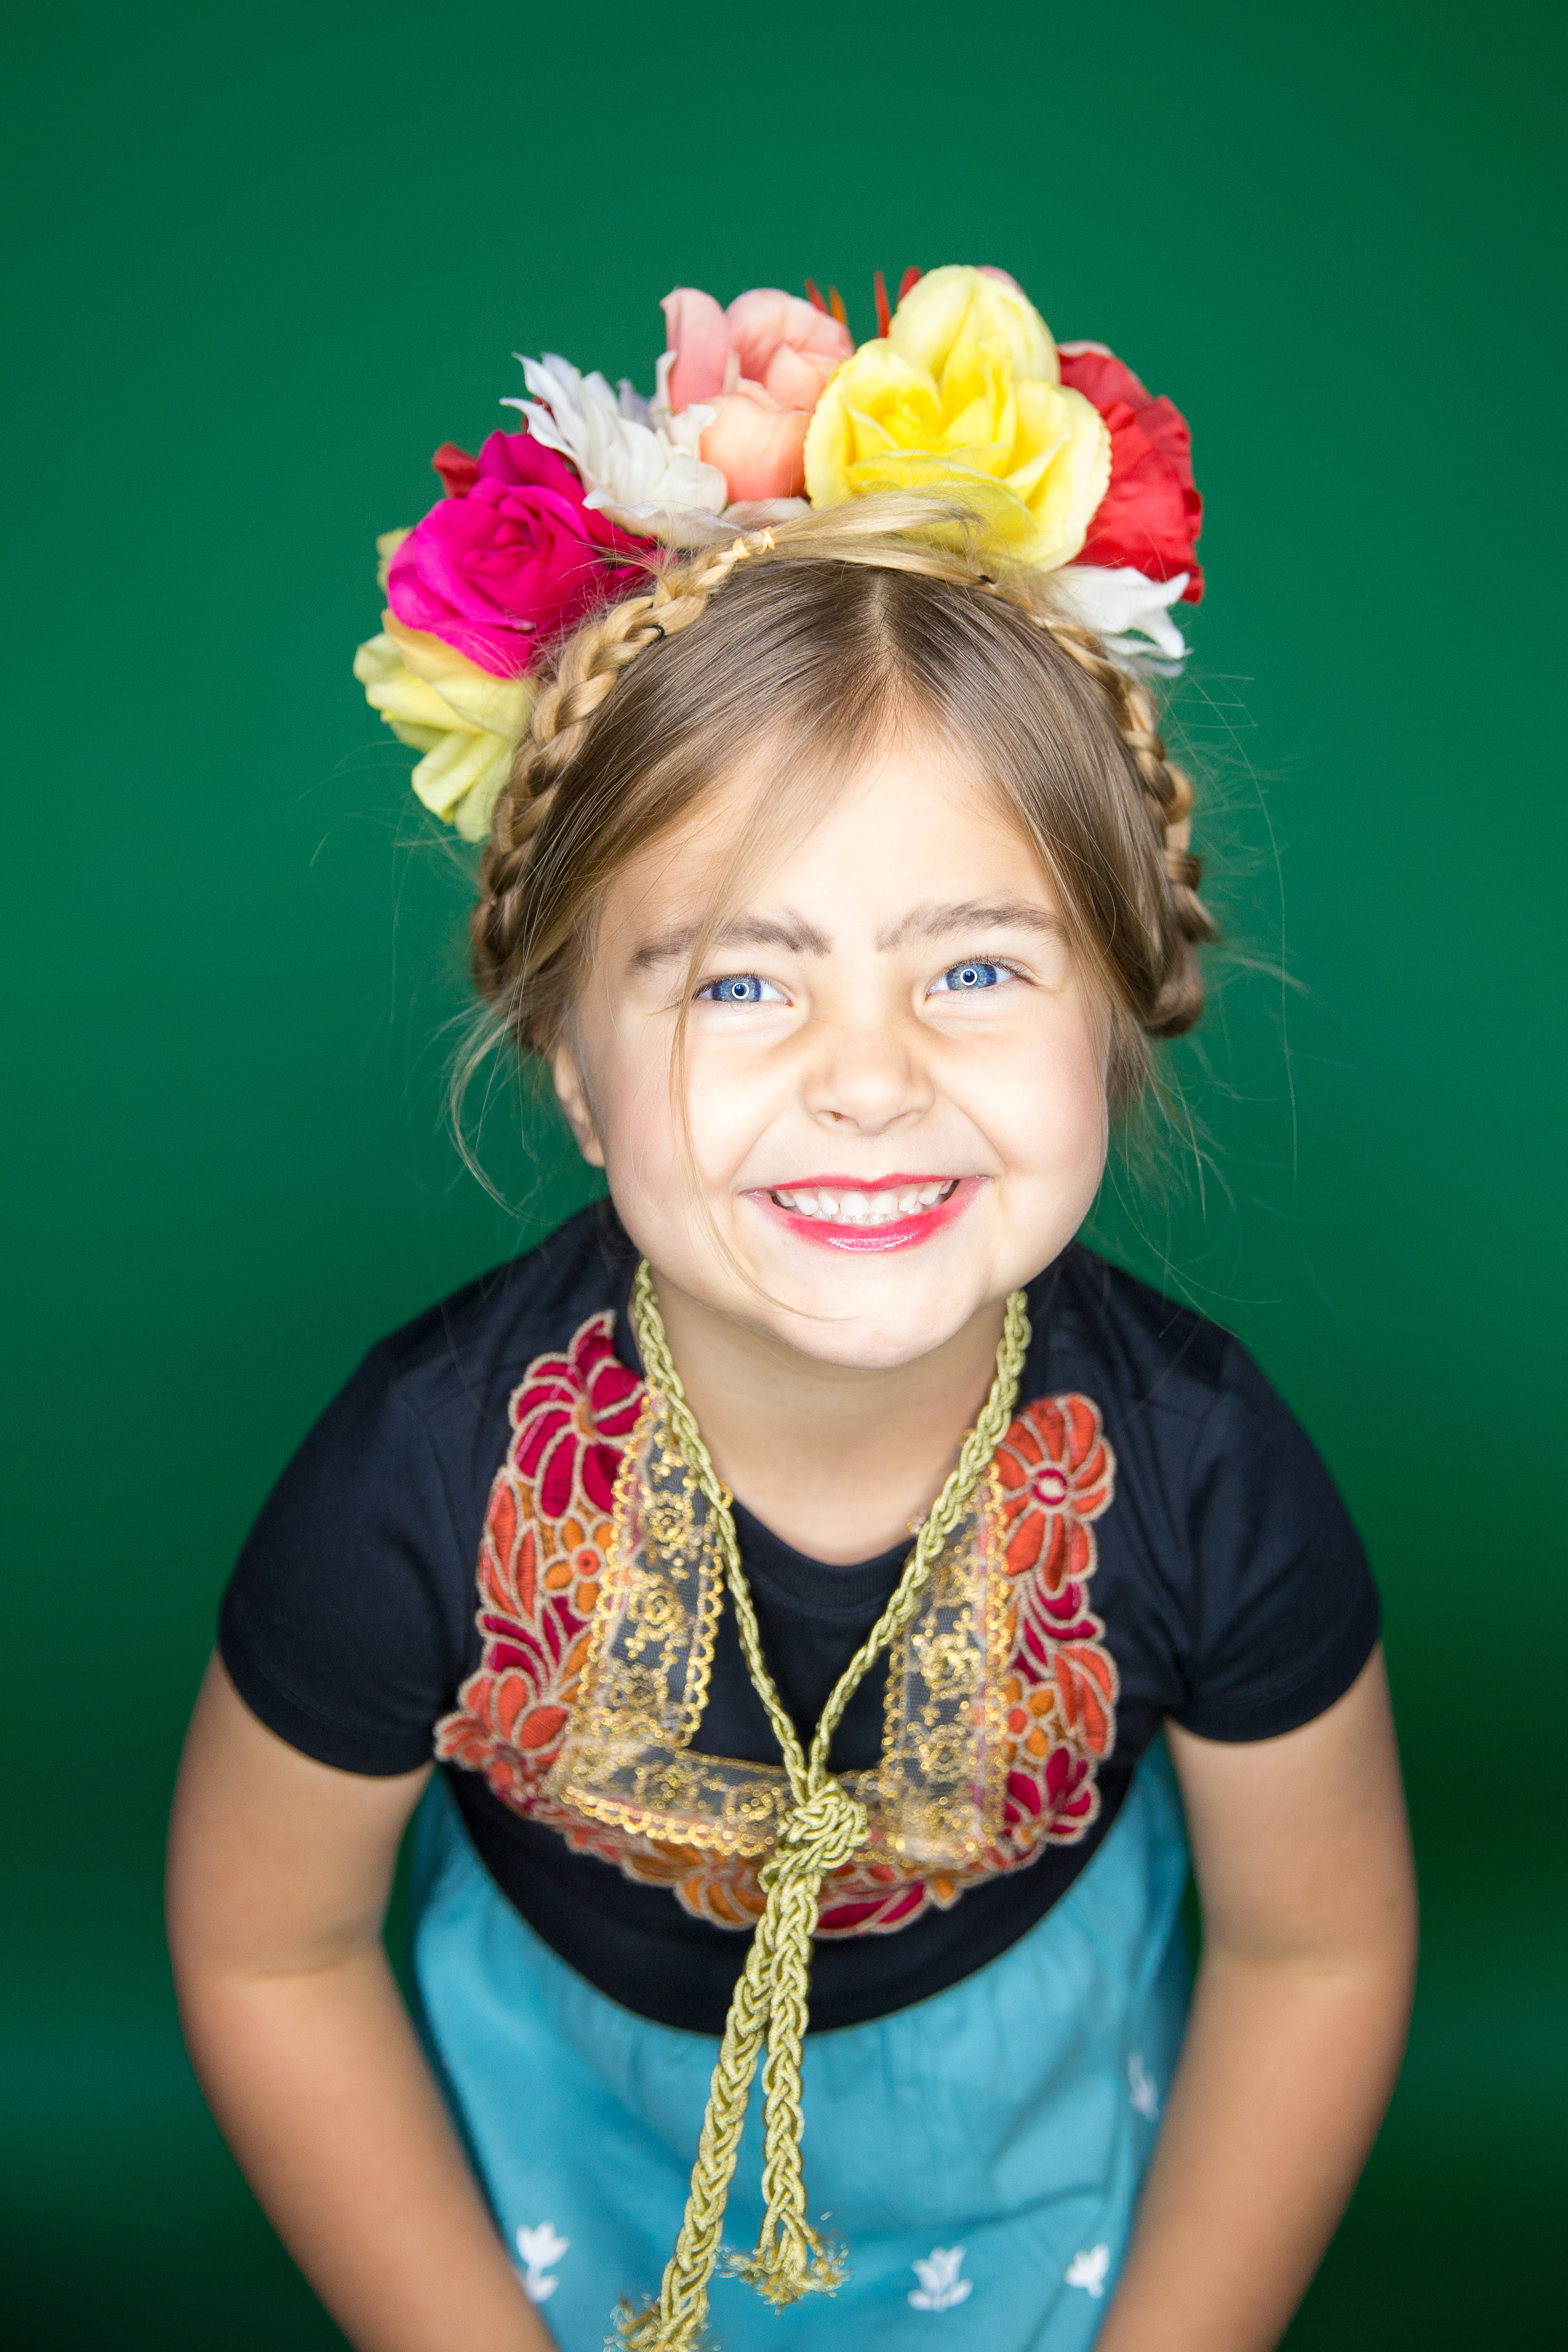 Don’t forget Frida’s signature thick brow. I used dark brown (almost black) eyeshadow and a q-tip to create the heavy eyebrow look. I also added a little pinky-orange lipstick which was Bee’s favorite part of this modeling session ha!

This whole costume took me around an hour or so to pull together! I did do a little sewing because sewing is easy for me and I have everything set up but this could easily be a no-sew costume.

 Special thanks from me and my little Frida Girl to Primary.com for the clothes! Let me know if you have an questions and Happy Halloween!


 You guys… this animal might be my favorite room makeover yet! If you remember a few months ago (on
 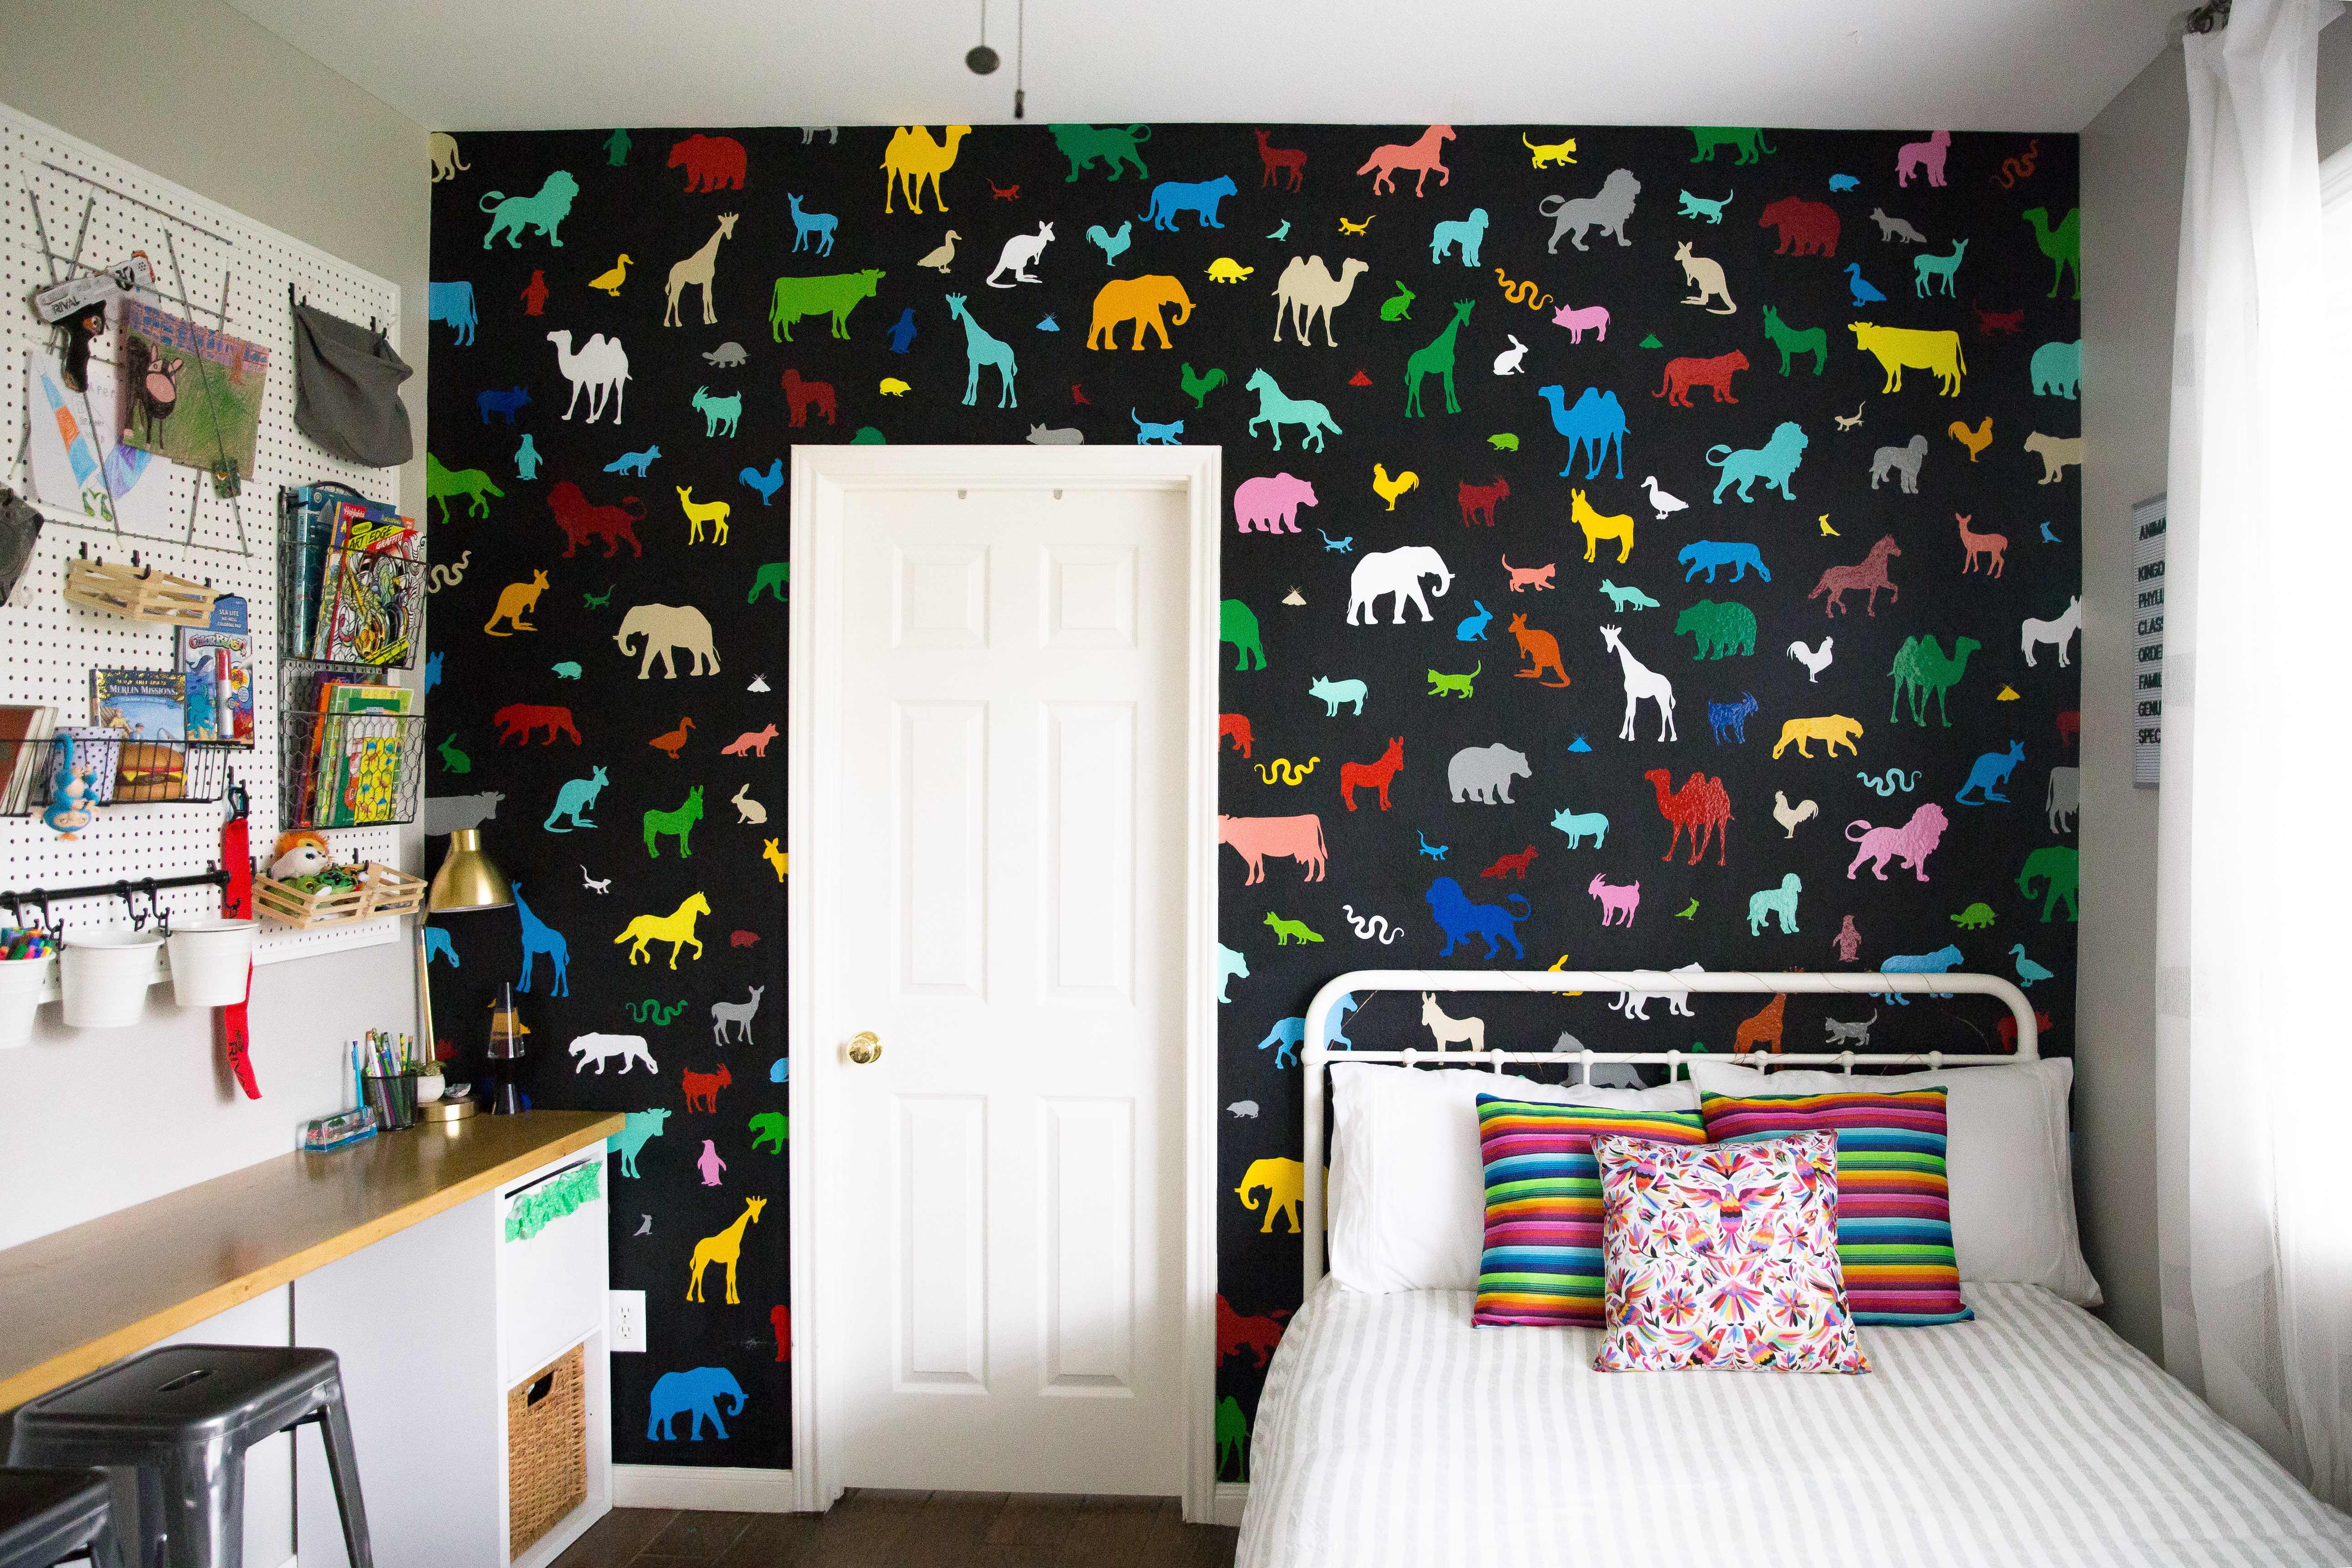 We have a local vinyl store in the area so I went and got 2 sheets of every single color they carried which ended up being around 30 different colors, so 60ish 12×12″ sheets. Then, in my Silhouette software I created 6 different pages of animal silhouettes. I just google searched random animals and used the trace feature until the page was full. I did that until I had 6 pages of different types of animals in different sizes. I had the kids help me think of both common and obscure animals. Then, making sure we didn’t have two colors of the same animal sheet, I fed them all through and cut them out making approximately seven billion stickers… kidding. But there were A LOT! Fun Fact: because I only had 2 sheets of each color and made sure not to cut the same page in the same color… no two animals on the wall are alike!
 When I started placing the animals on the wall I made sure to spread out the big animals so I started with those and filled in with little animals as I went. I also ended up cutting some of the vinyl stickers in half on the edges of the walls and door (both horizontally and vertically) to make it look more wallpaper-like. Once I finished the big animals that needed 2 hands the kids pitched in and helped. Who doesn’t want to spend a Friday night applying 800 stickers to a wall am I right haha?? But honestly it was very easy and I absolutely LOVE how it turned out… and I love that it was all under $30!
 I knew the wall would be the bright focal point of the room so I didn’t want to go too crazy with the accessories, I tried to stay as neutral as I could :). I DIYed the “mexican pancho” pillows from an old costume we had lying around and I found the Otami pillow on amazon. I will link all sources at the bottom of this post.
 I’m really in love with this bed too! It has a vintage feel but it’s brand new (from Walmart of all places). It was super affordable but it’s very sturdy and seems really well built… I highly recommend it!
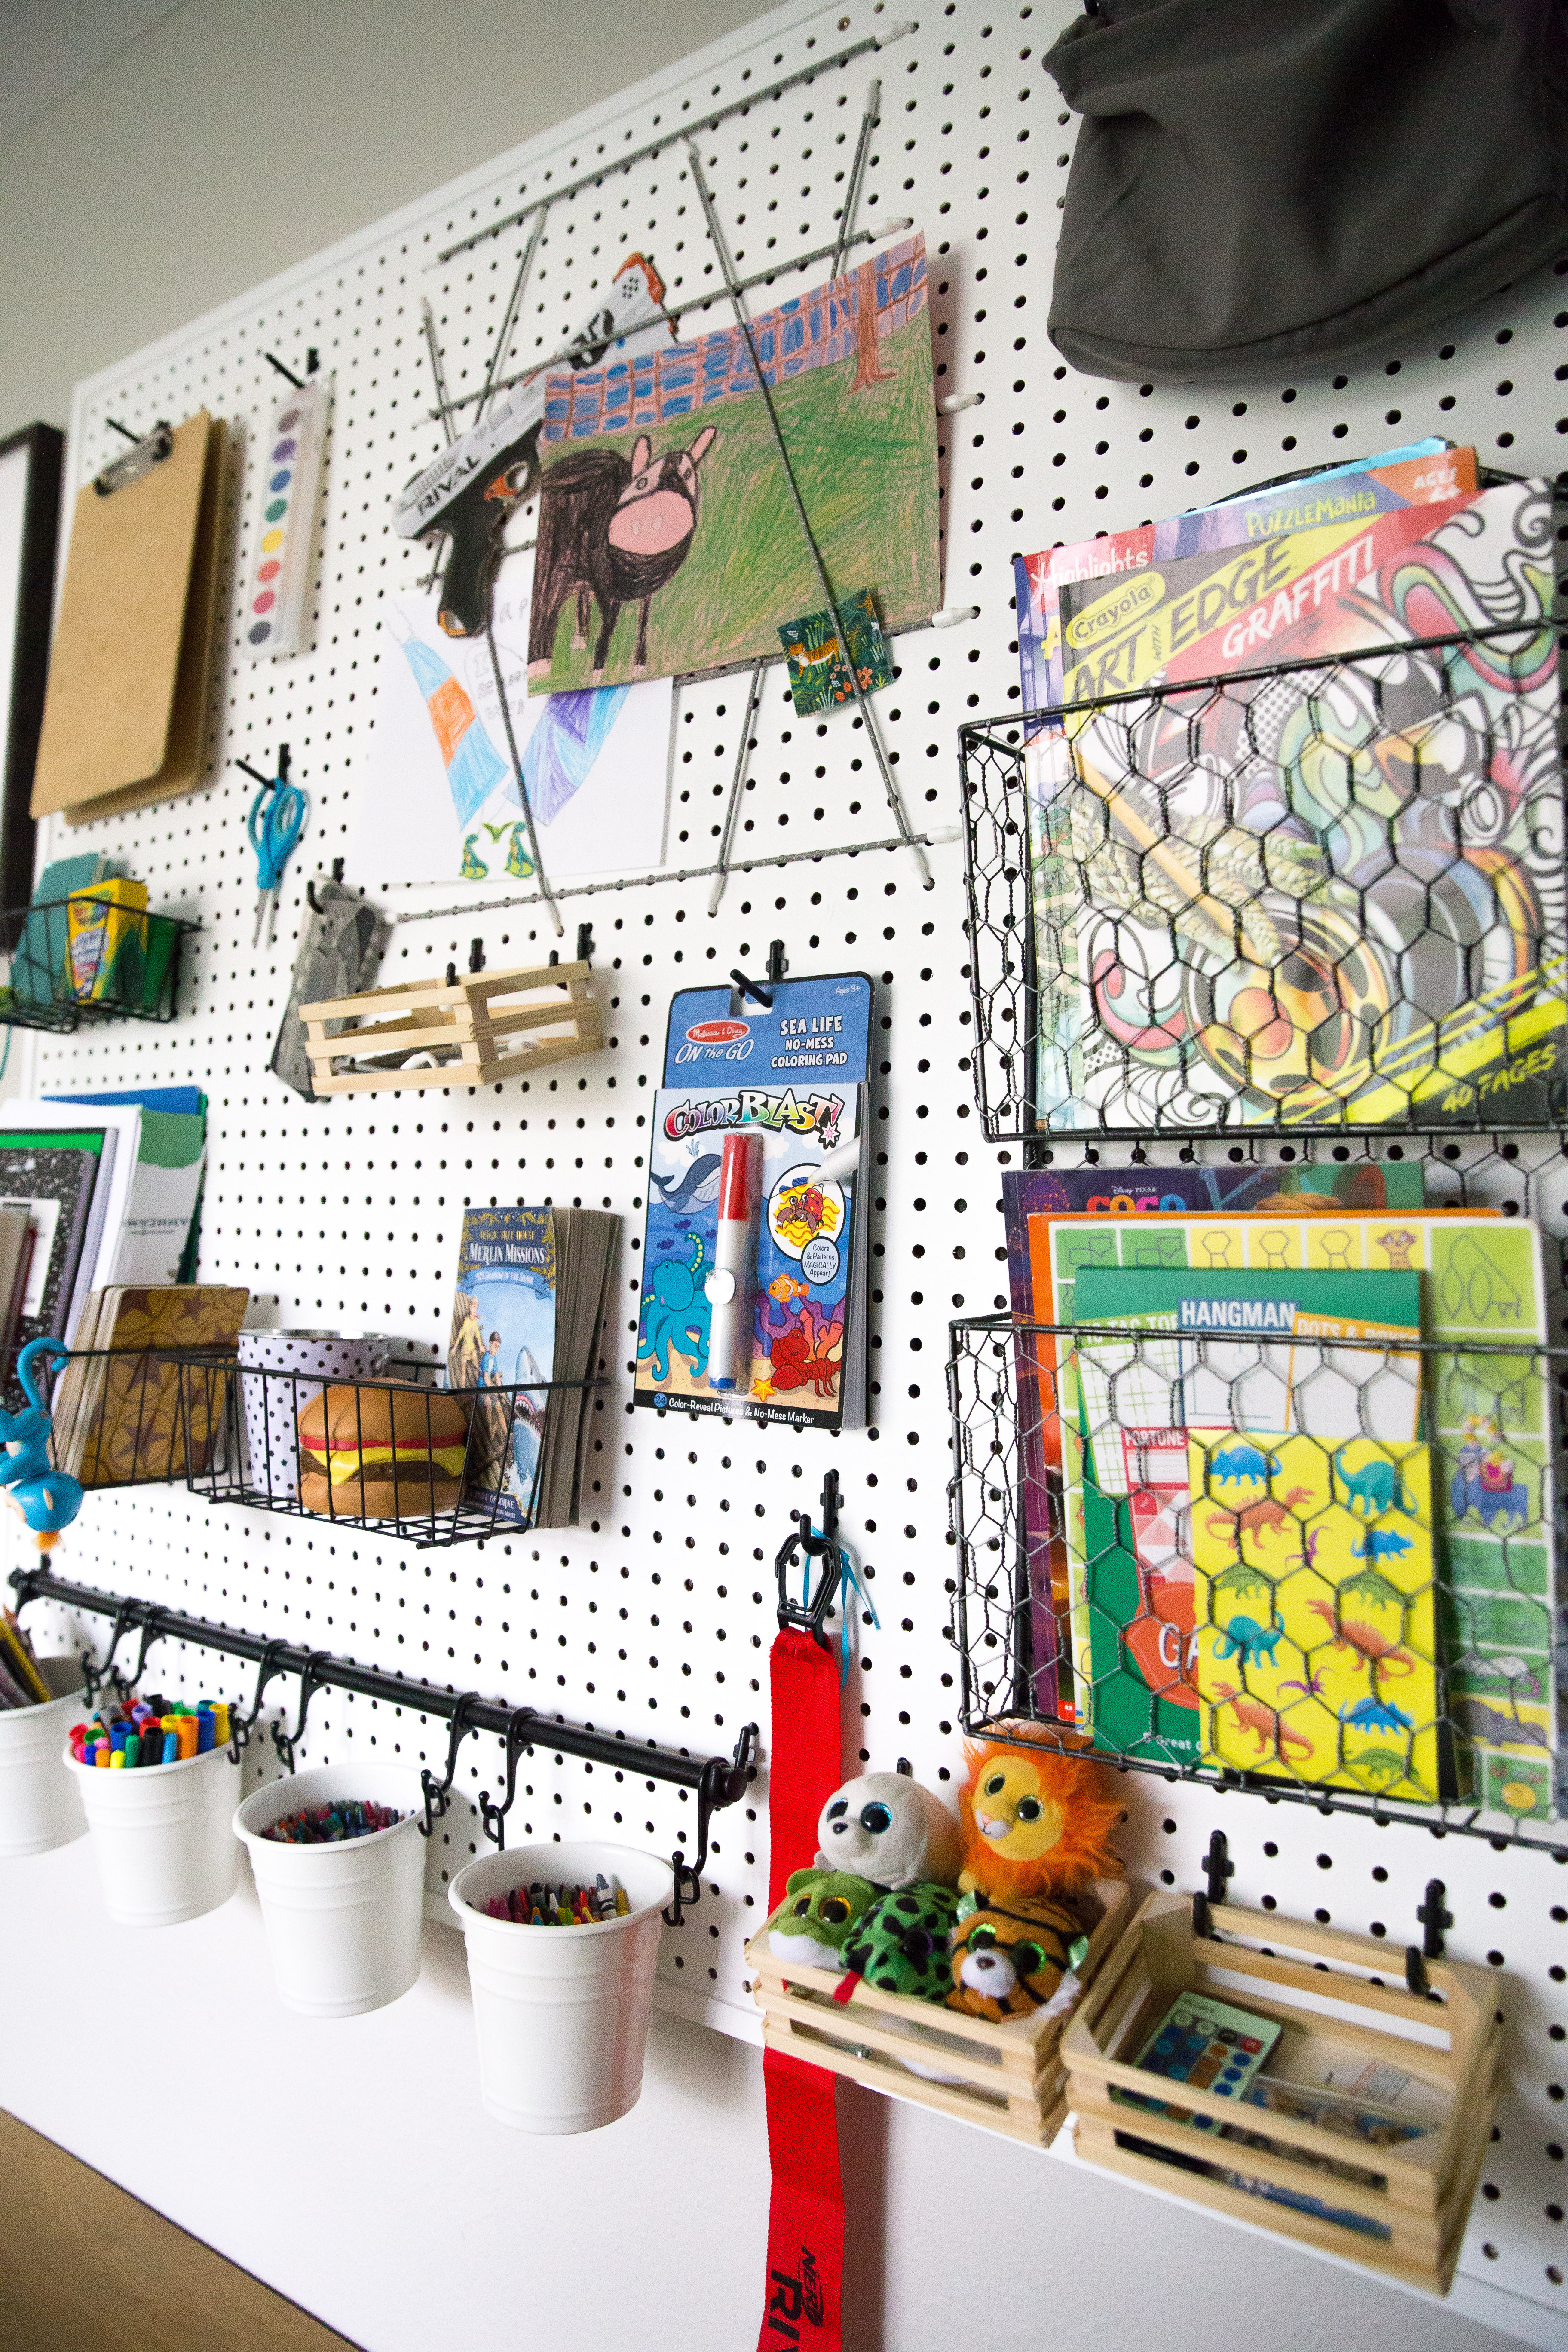
 This room has a funny layout because of where the bathroom door is on the wall so I was left with one more skinny area and a huge open wall. Besides animals my son’s other loves are legos and art. He is very creative so I thought a long skinny desk with a pegboard wall would be a great use of space.
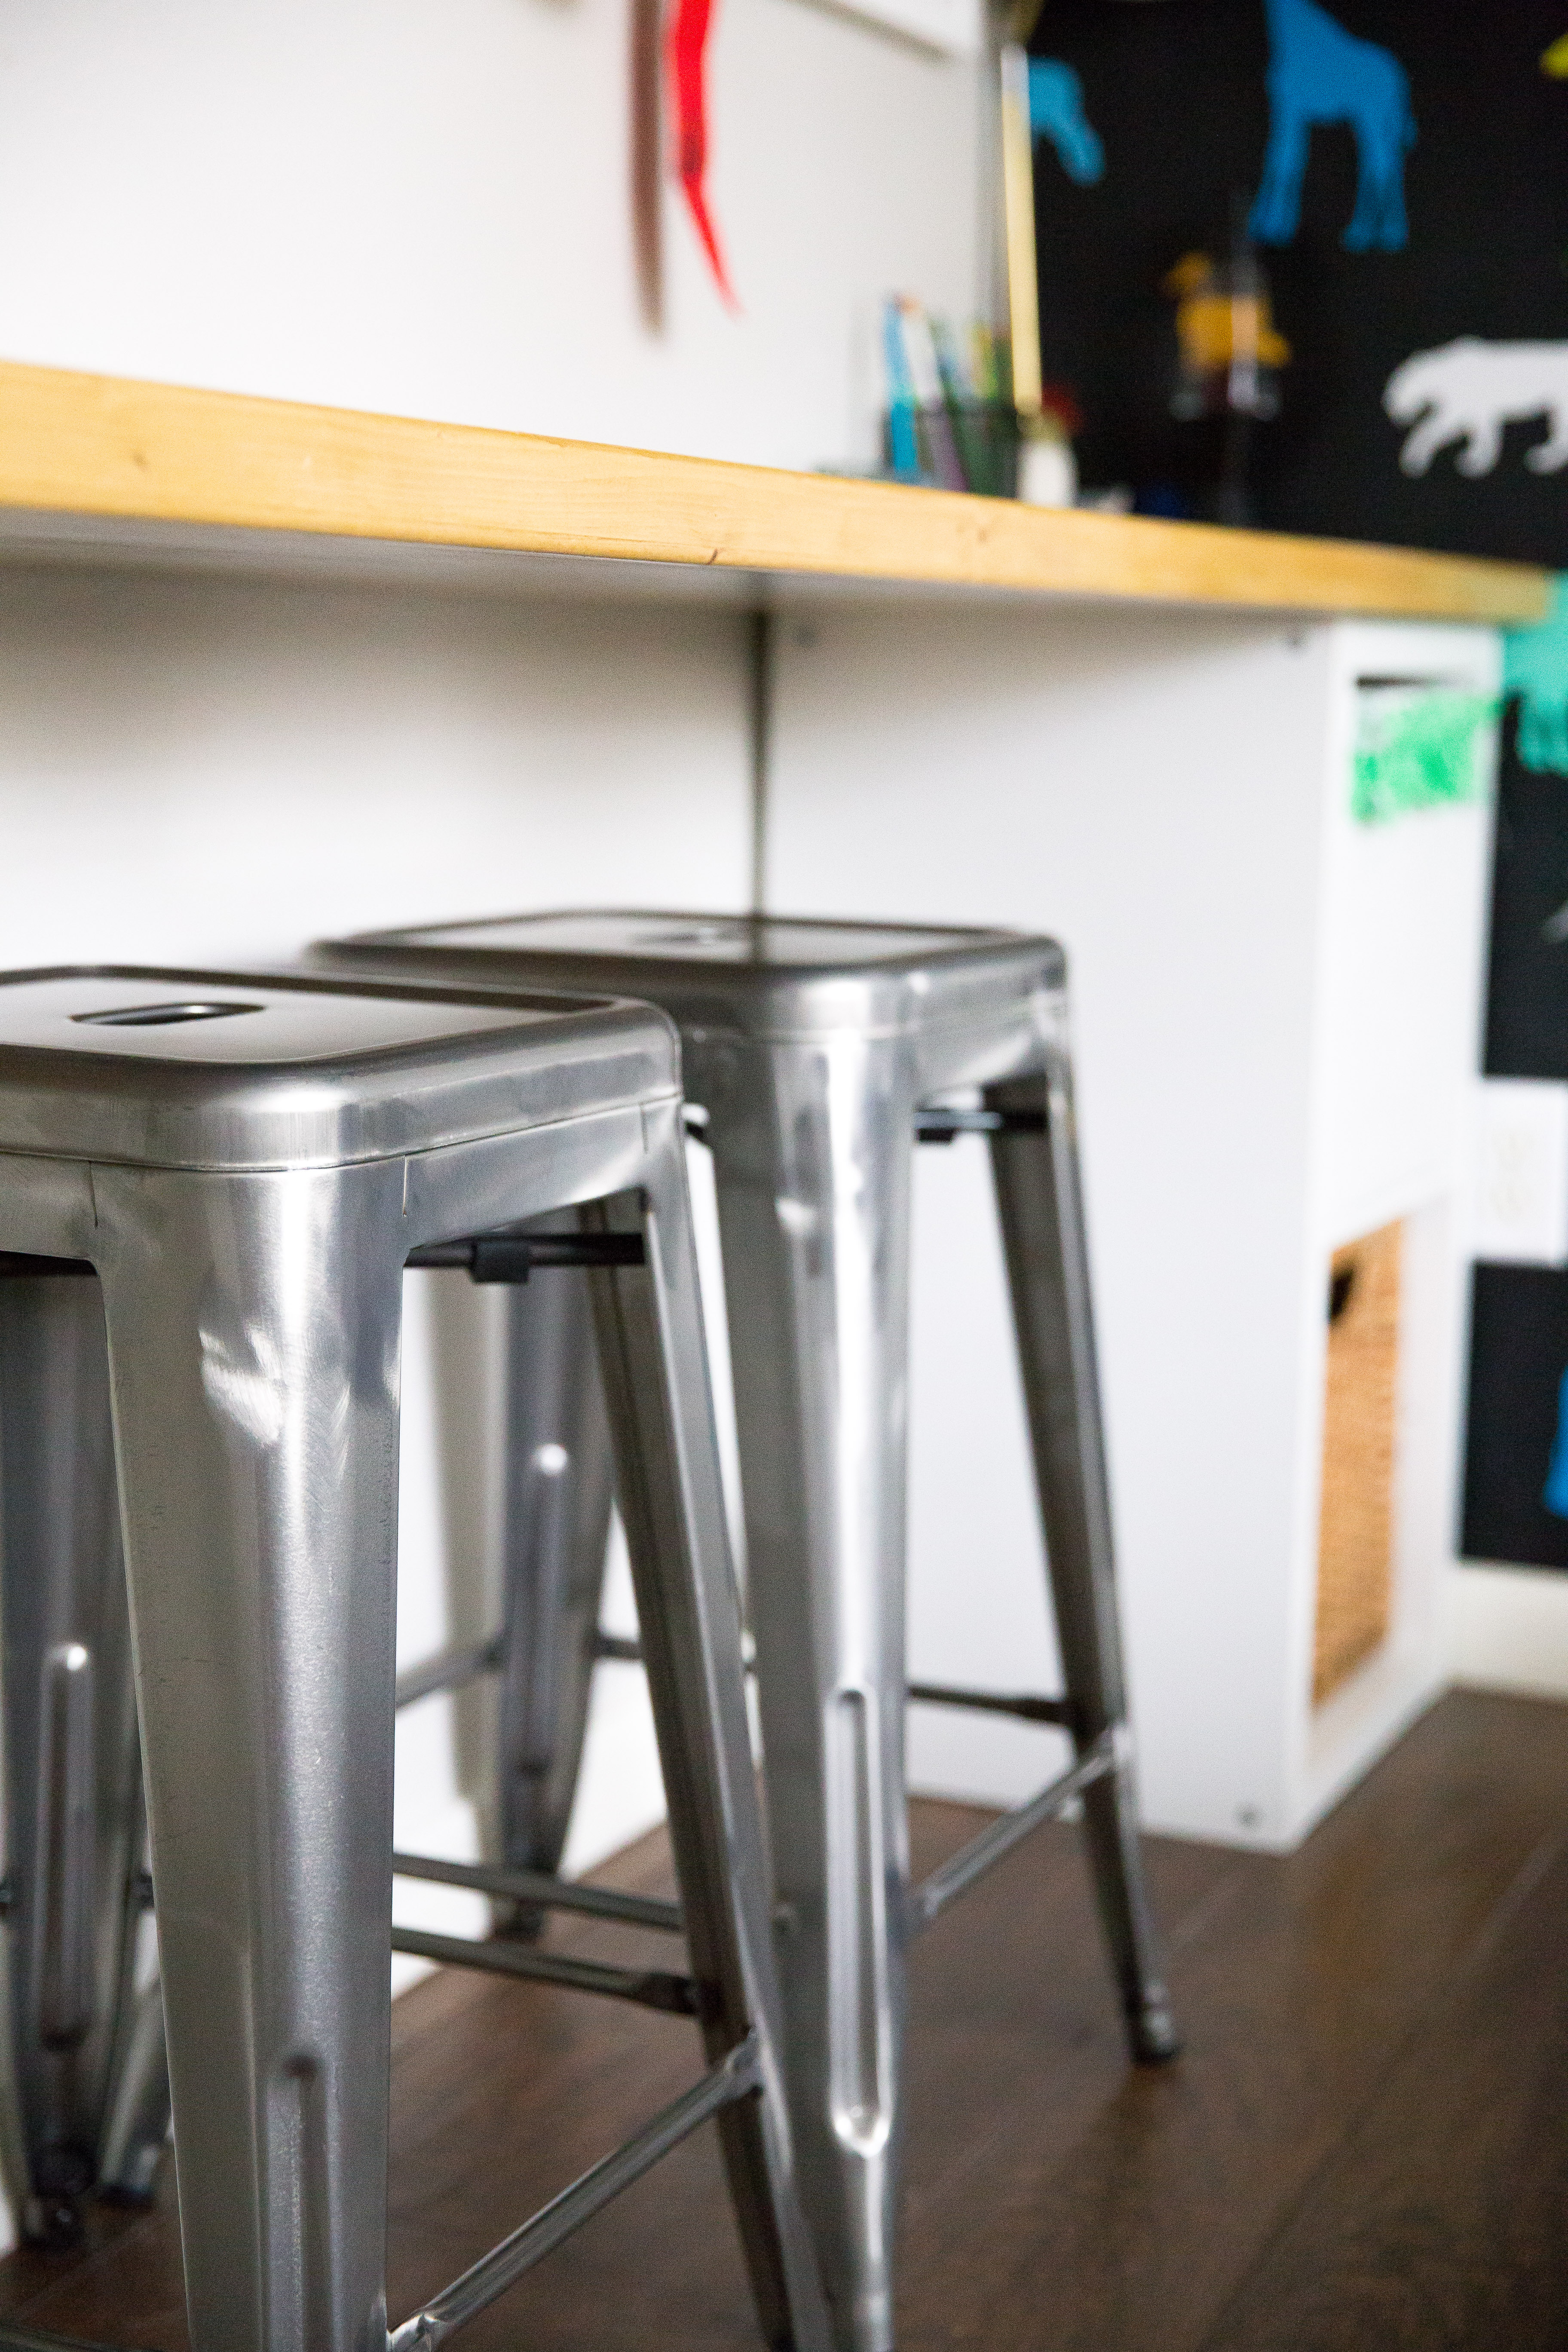
 My father in law cut, sanded and finished the wooden top piece of the desk for us. Then I just got two little end cabinets and the board is just siting on top of them. He also framed out the pegboard and painted it white for us. I got most of the pegboard accessories from Amazon and Ikea. The desk is a huge hit, in fact all three kids love it and they are often all in there coloring or drawing together! I should have bought 3 stools instead of 2 haha.
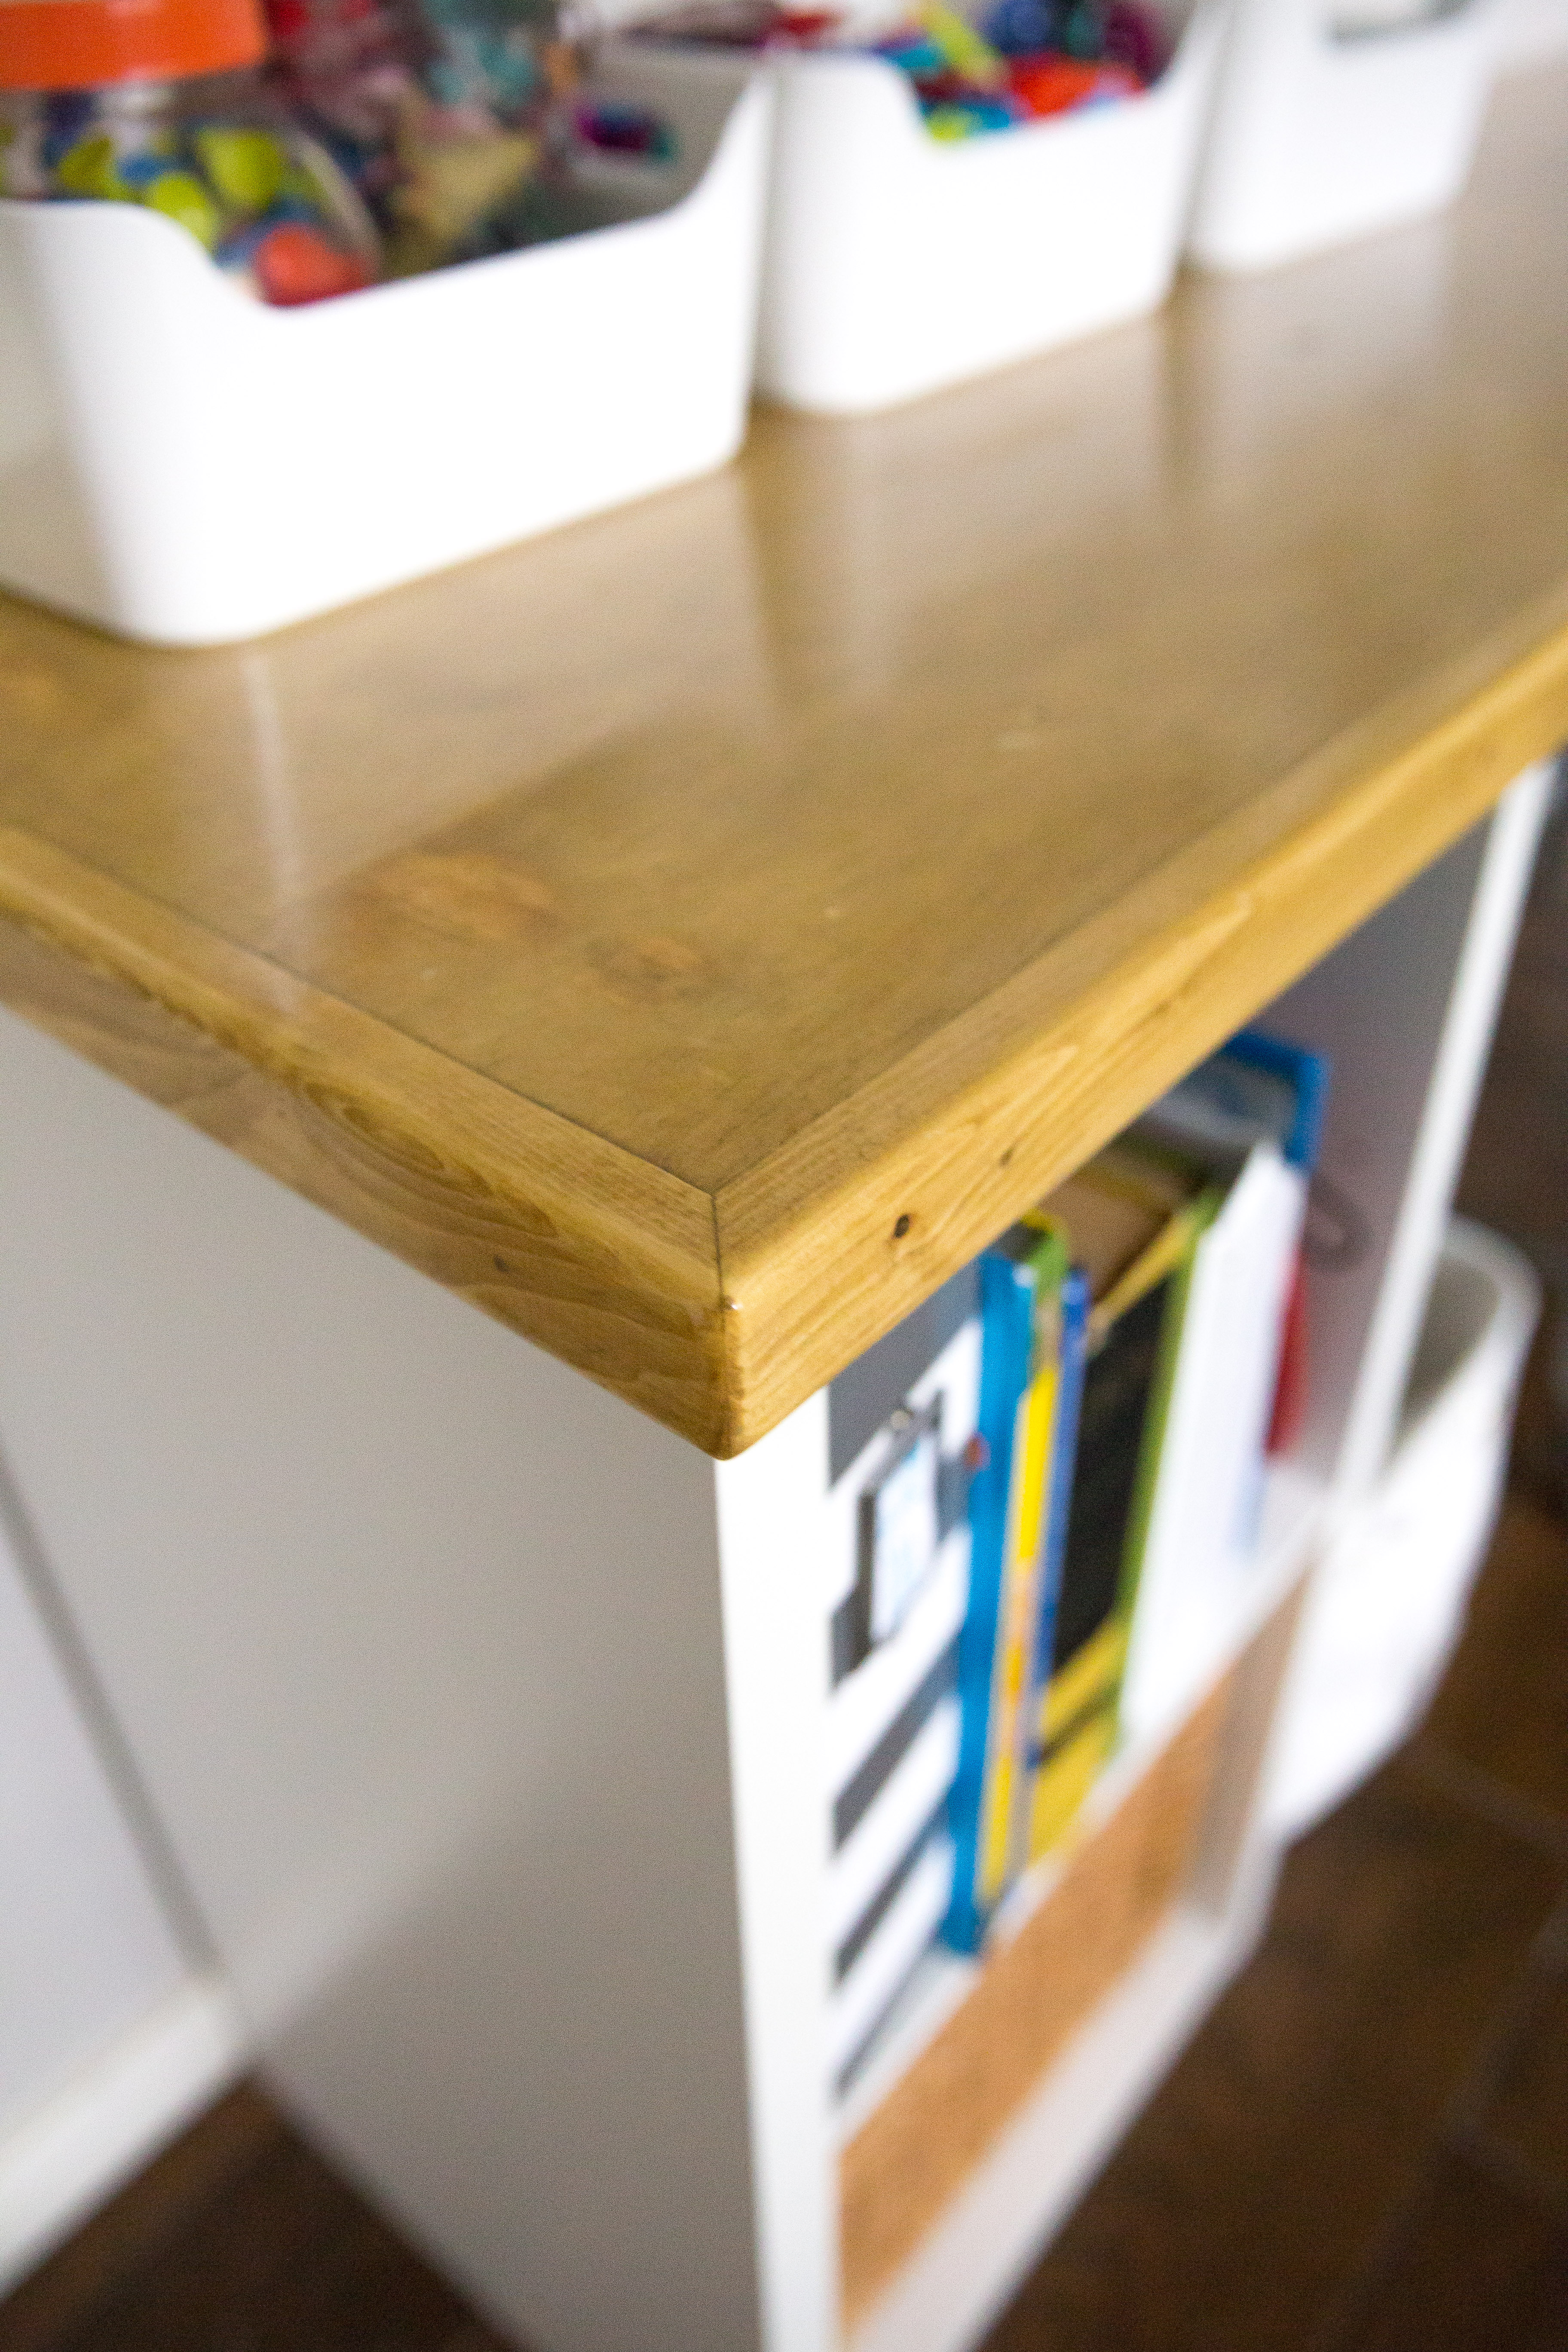


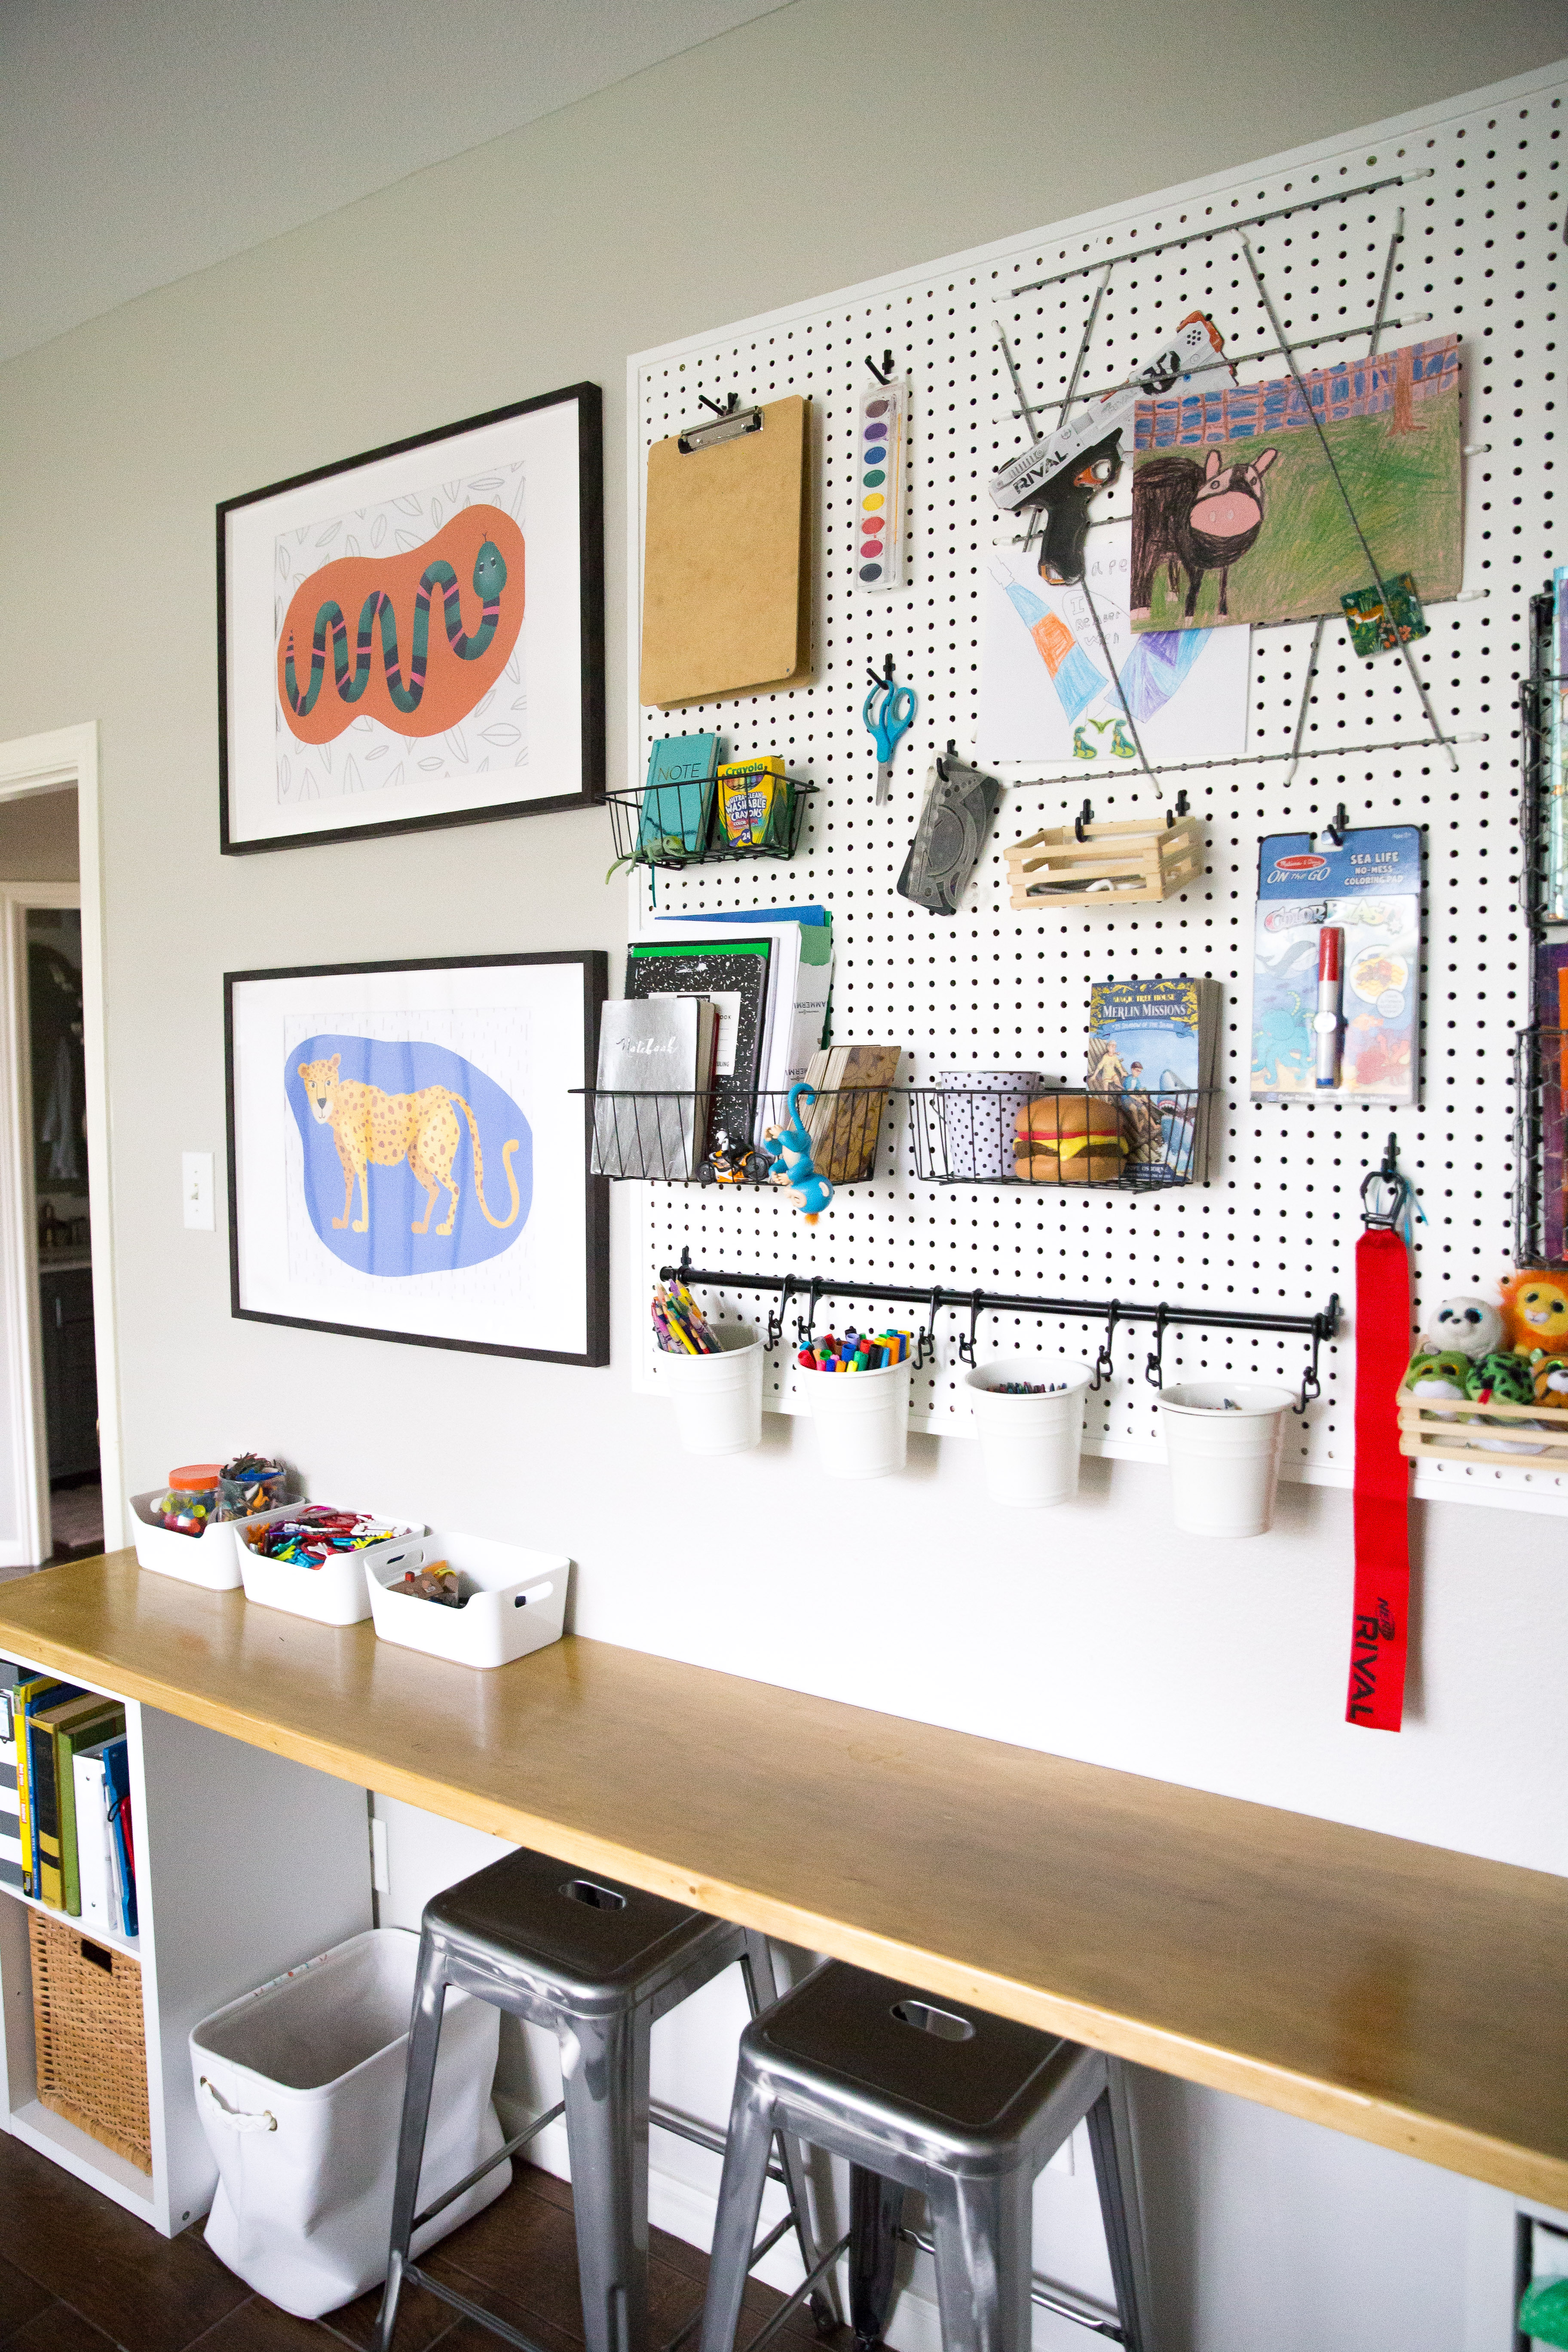 I needed something on the left of the pegboard wall so I drew my son’s favorite animals (inspired by some prints I had seen on instagram) on my iPad Pro, sent them to a local print shop and had them printed in poster size.
 The last little area was all I had left for a small dresser so I was so happy to find one that fit the dimensions I needed! I’m telling you, this room design is weird. It had to be shallow enough to fit behind the closet door but short enough to fit under the window sill… tough job! I also left the Ikea book rails up from the playroom days because I still love them!

 I found this rug at Target and although it’s a little grown up for a boy’s room I thought it went really well in here. One good thing is it camouflages stains well haha!
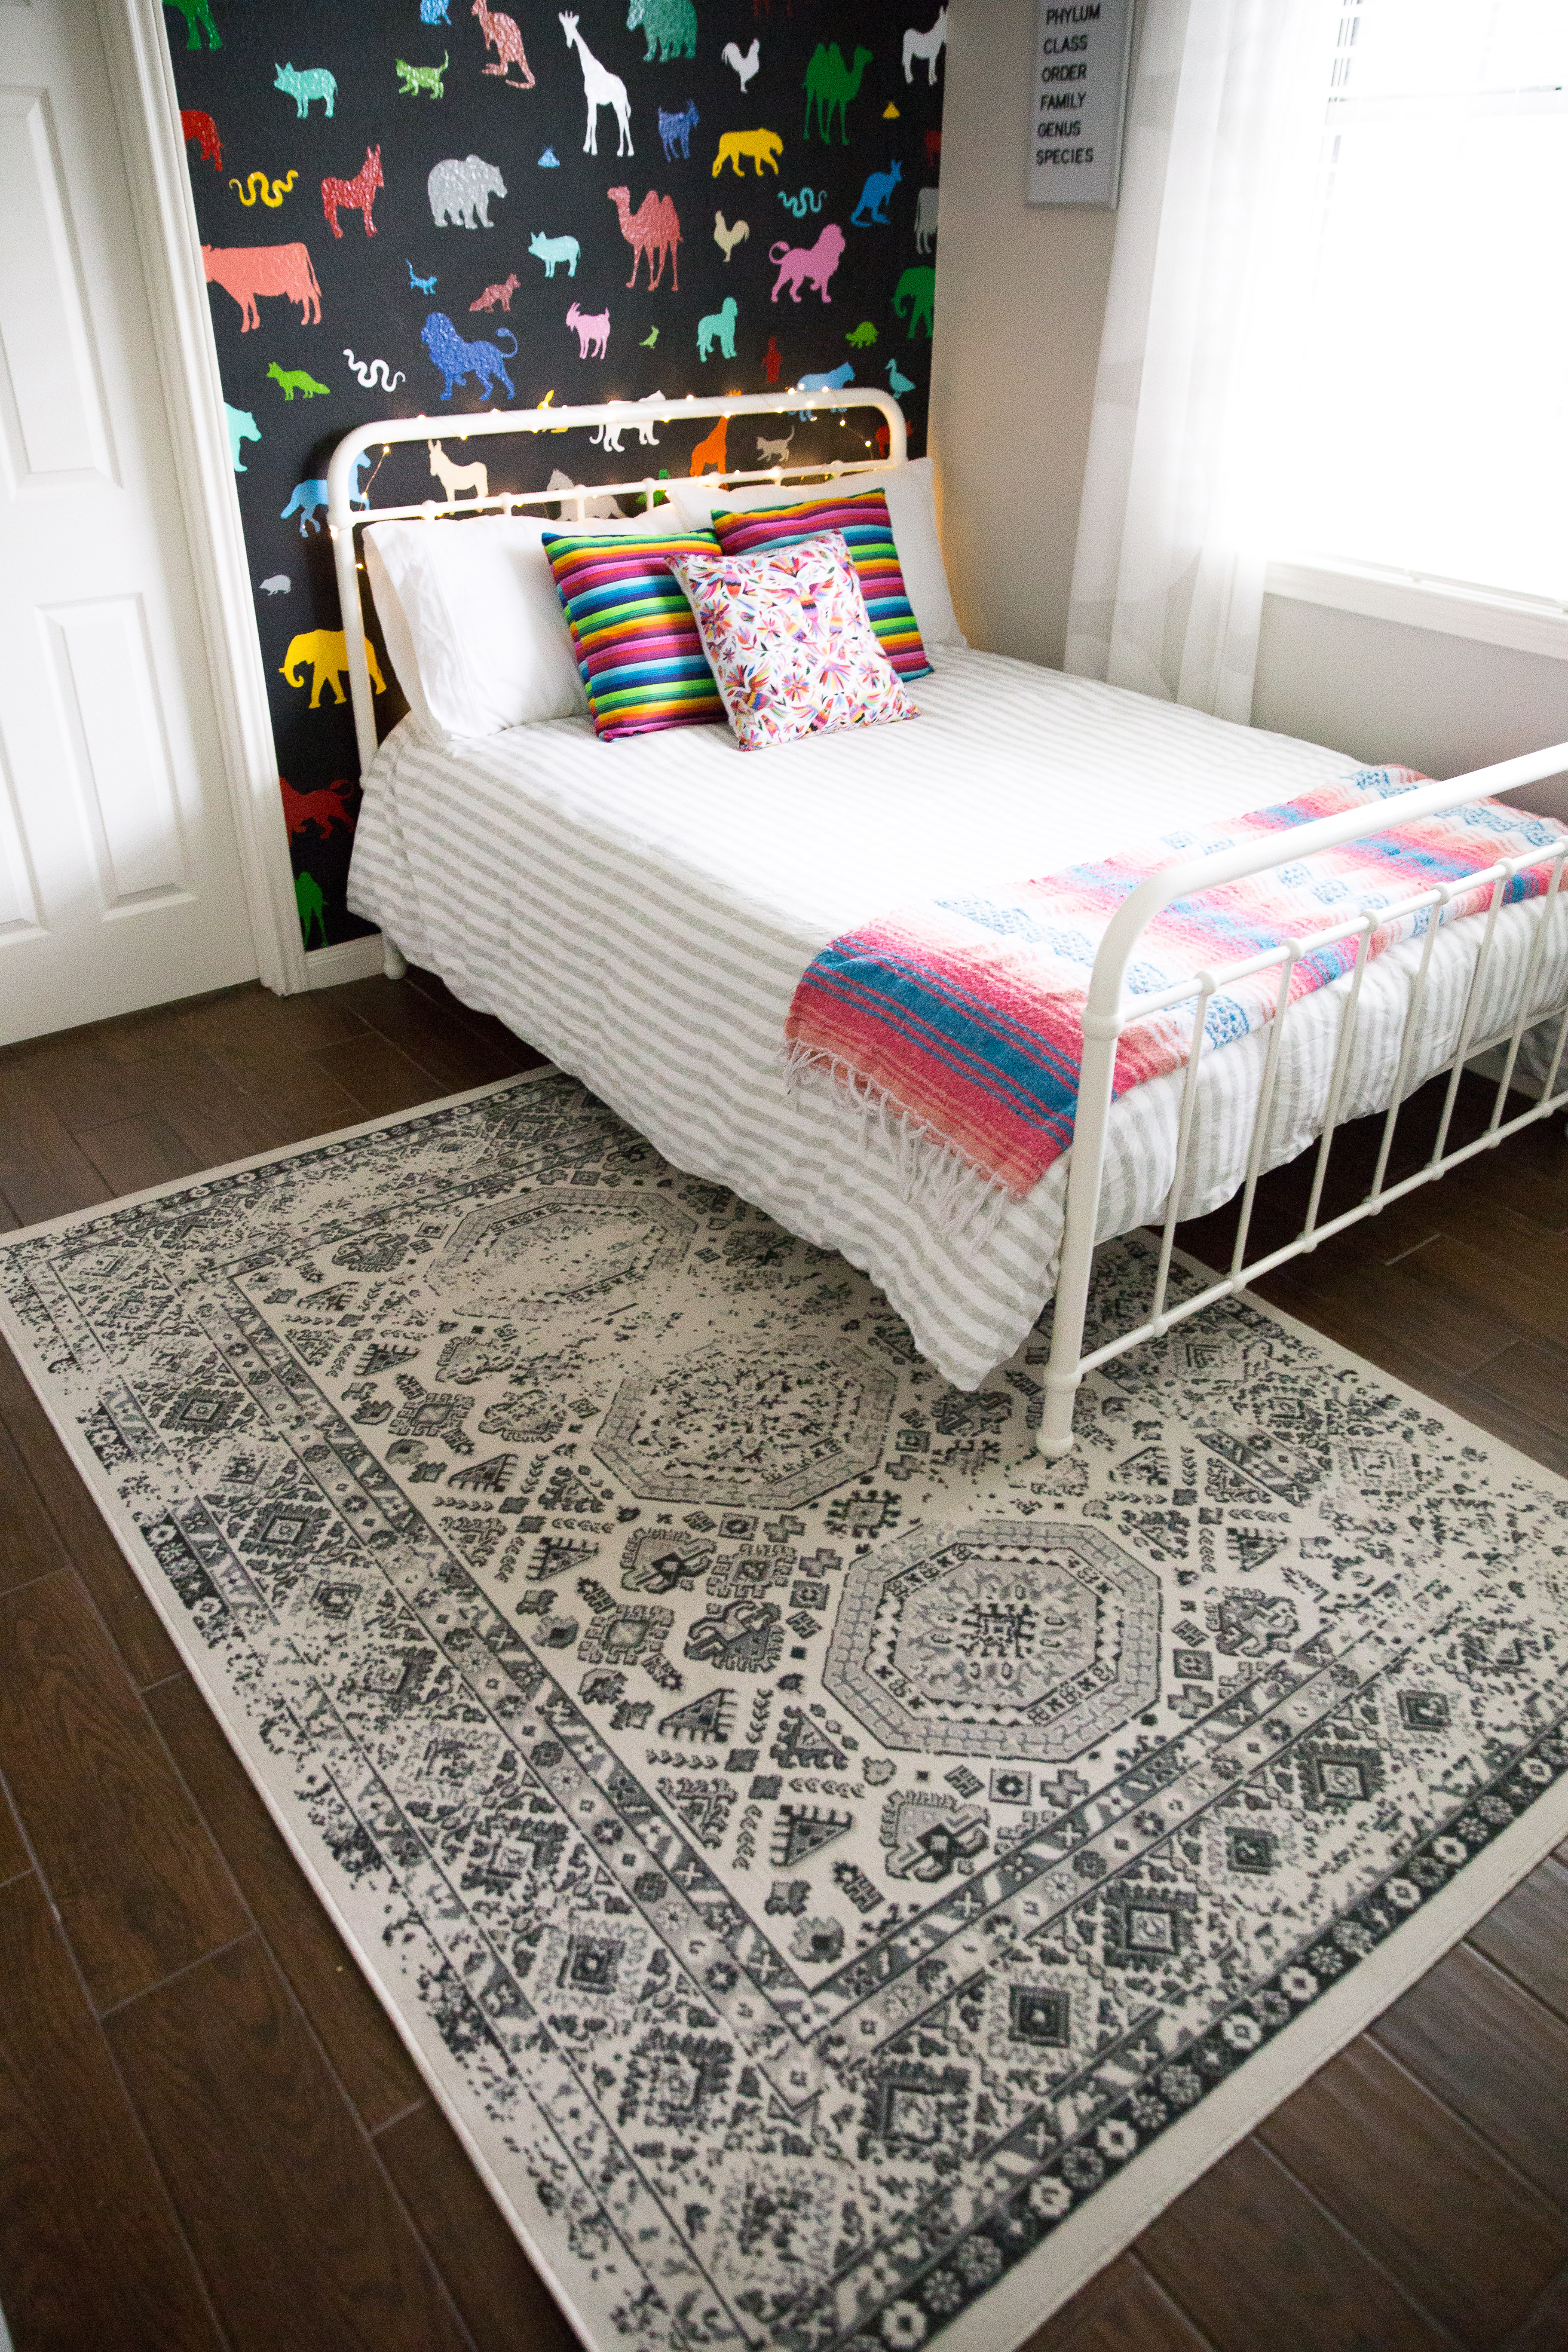 Of everything I spent time on in this room, these lights right here are my son’s favorite part of the room! We leave them plugged in but they have a remote, so you can dim them or turn on timers etc! They really are so pretty… I guess the saying is right, it is the little things. Speaking of… I love his personal touch that he left on the door :)
 Needless to say, he is LOVING his new room. I secretly think it’s the coziest room in the house (honestly this “cheap” foam mattress we got him is heaven). I will link all the sources below but let me know if you have any questions about where I found something :)
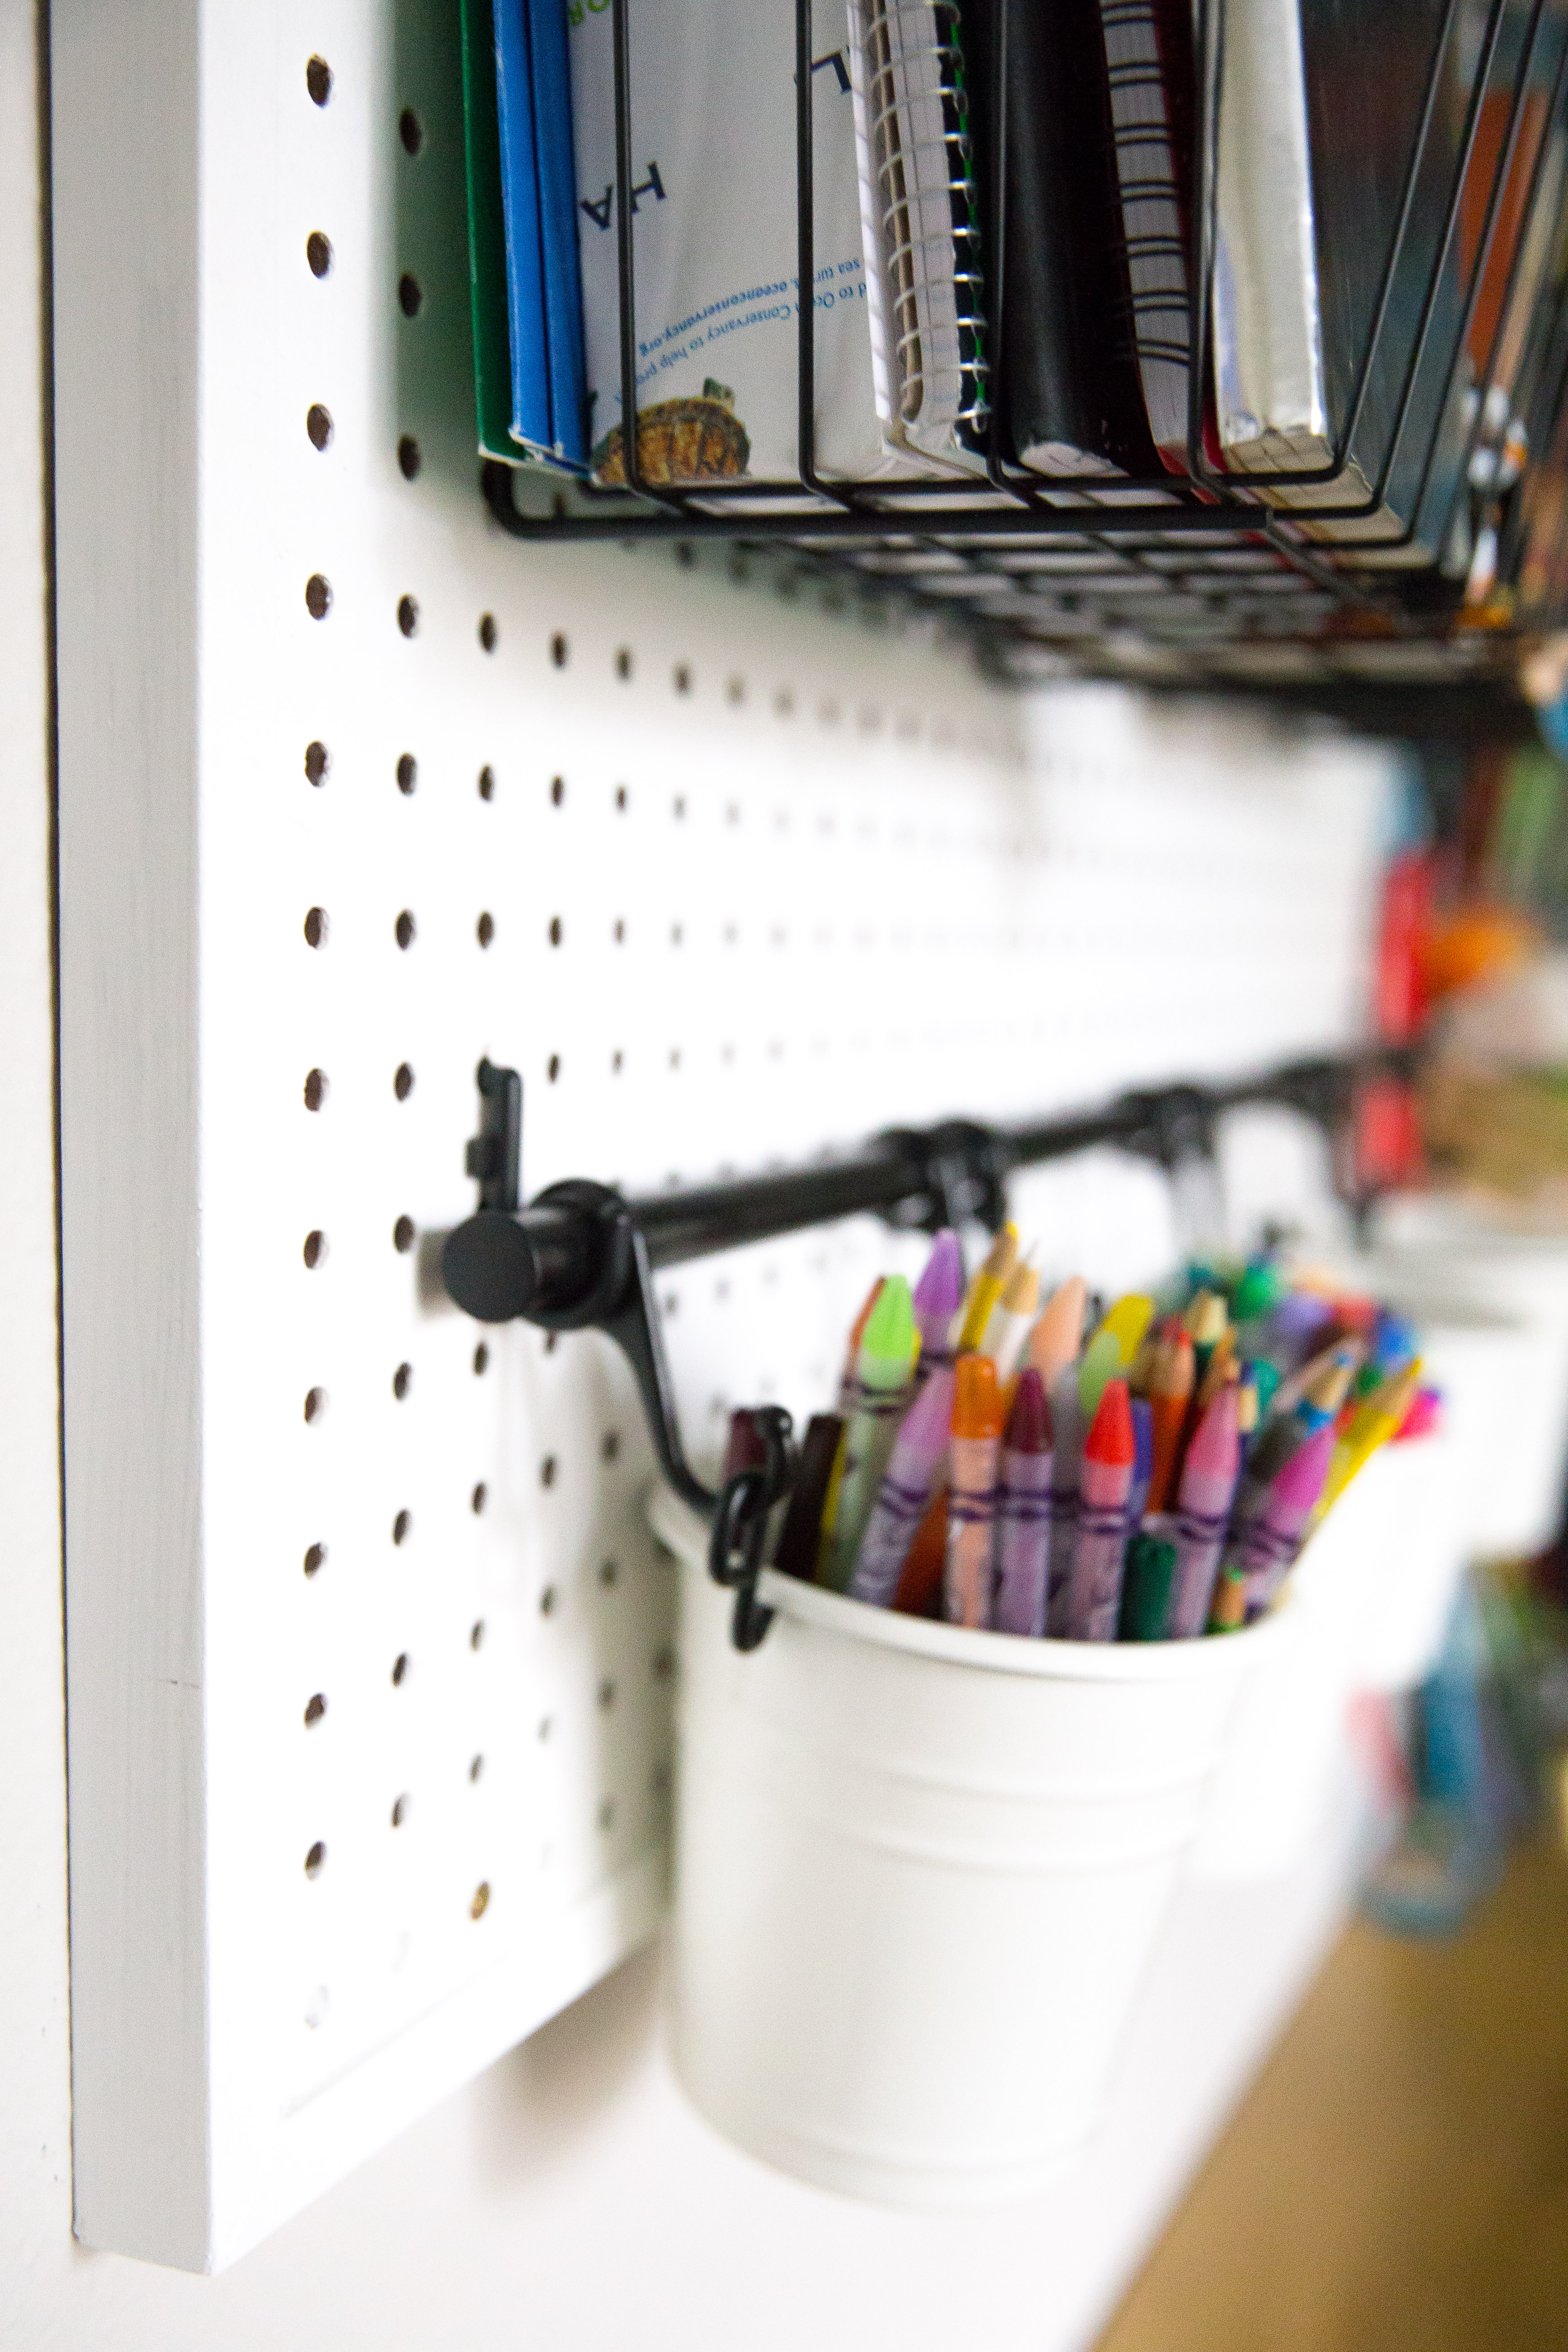

 We love camping! Seriously, we can’t live without it! In honor of our love for camping I’m sharing some Kids Camping Shirts today with a free download to make your own!
 For our last trip we decided to make “official” camp shirts. I made the adults matching shirts but made something a little different for the kids and I just love how they turned out!
 All the moms picked a different colored solid tee for their kid. They are super simple but that’s kind of how camping is so it works :) I used black heat transfer vinyl and a heat press so they will hold up well, we are very hard on our camping clothes as you can imagine! (

 This last week Bee turned 4! We had a weekday playdate party at our house with some friends and fun was had by all! She requested a Mermaid Birthday Party months ago so I went with it… thankfully there is a ton of Mermaid stuff out right now :) For the decor I just did a balloon arch, one food table and then we had some fun party favors! We blew up a big kiddie pool, a slip and slide and we also had a mobile Snowcone Truck come to our house so that was a big hit!
 If you follow me on Instagram (


 I usually make all of our invitations but this year I was in a time crunch and I found this one on Etsy and thought it was pretty perfect…
  Total party planner fail.. I didn’t take any pics of the table once the food was all out but I promise it was pretty haha! We had a “brunch” theme. I made an egg casserole, lemon vinaigrette salad, chick fil a tray for the kids, goldfish and chips and fruit salad. The only thing I made that was on theme and cute were these little oyster cookies that I found all over pinterest. I just piped strawberry frosting between nilla wafers and added a candy pearl. I found the tablecloth, happy birthday banner, plates and napkins all from Target’s party area.


 I added just a few drops of blue food coloring to some lemonade to make it look mint and called that “mermaid lemonade”. I had some champagne and OJ for the moms because #brunch. The pink bevnaps are from amazon
 Bee and I have the same birthday so I always like to do something matchy matchy for us ;) This year I made us matching shirts for the party.
 Speaking of shirts… I made the cutest party favors. I found a place online who sells very affordable blank tees in tons of colors and sizes so for under $3 a piece I made all the party goers a tee with my silhouette machine, vinyl and my heat press. The boys got sharks and the girls got shells. I even had some mini guests :) I hung them up with twine and clothespins and the kids had fun finding their name after they swam.

 My mom is always in charge of the kids cake… thank God for her because I am no baker! This year she had a cake planned then a few days before the party while at Kroger she spotted this one just knew it would be perfect for the queen of flashy, I mean perfect for Bee :) She also got her matching cupcakes and of course Bee LOVED it!

 Just in case the kids didn’t have enough sugar, I found a snowcone company who comes to your party in a truck:) They make the ice part of the snowcone then the kids get to top it with their own flavor on the side of the truck… it was super cute!


 How cute is this little mermaid swimsuit?! Guess where I found it?? Amazon haha…
  We had such a fun and festive time! Thanks to everyone to who came to help us celebrate… our little mermaid loved it!
 Check out Bee’s past parties here!: