TaylorMade

DIY, Home Decor & Sewing

  • Home
  • SHOP
  • DIY & Sewing
    • For the Home
    • Sewing
    • Costumes and Holidays
    • Cricut Projects
    • Crafting
  • Parties
  • Recipes
  • Home Tour
  • Favorites
  • About

Vintage Book Bunting

July 10, 2013 By Taylor 14 Comments

IMG_6417intro
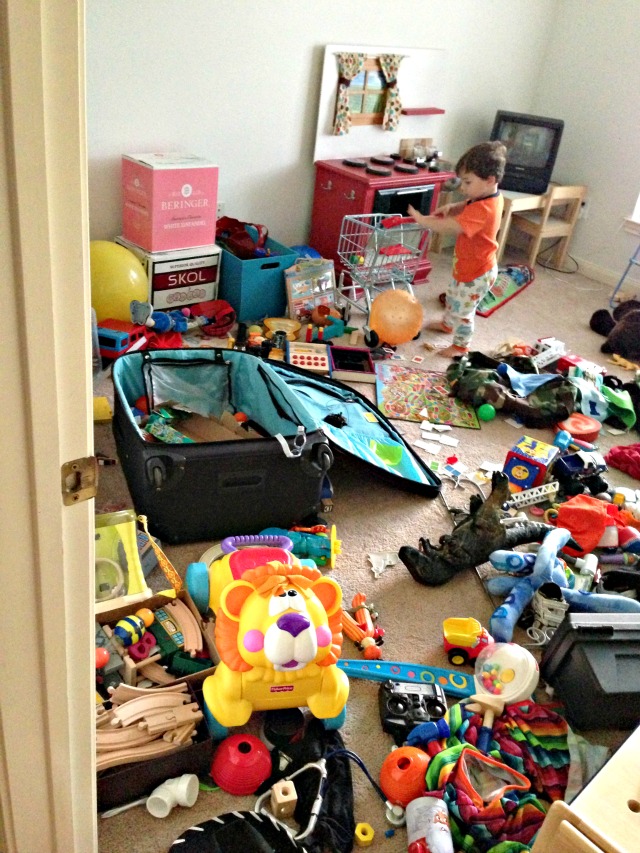
We are still unpacking boxes over here but that doesn’t mean I can’t decorate. We spend a lot of time in this room. When we were looking for a house, a playroom was something I really wanted. It wasn’t a deal breaker but I thought it would be nice. Now that I have had one for a month… I am all about the playroom. It is one of the bedrooms which is also nice because it isn’t in the main living area. The boys love it and I hang out in here a lot too. This room will change in the coming years but for now, its perfect for us. It needs some love… paint the trim, curtains,  stuff on the walls. I have a fun closet organization post coming soon too.

My Moms’s Mom gave me a big box of old family books a few years ago and I have been saving them for something special. We read the ones from my childhood. But there were a few from when my mom was little, so pretty and vintage but falling apart.

PicMonkey Collage

IMG_6409

I wanted to display them but preserve them too so I made a bunting to go around two walls of the playroom.

IMG_6427

I started by carefully removing the pages from the binding. Some of the pages were especially loved and I tried to include those too. IMG_6411

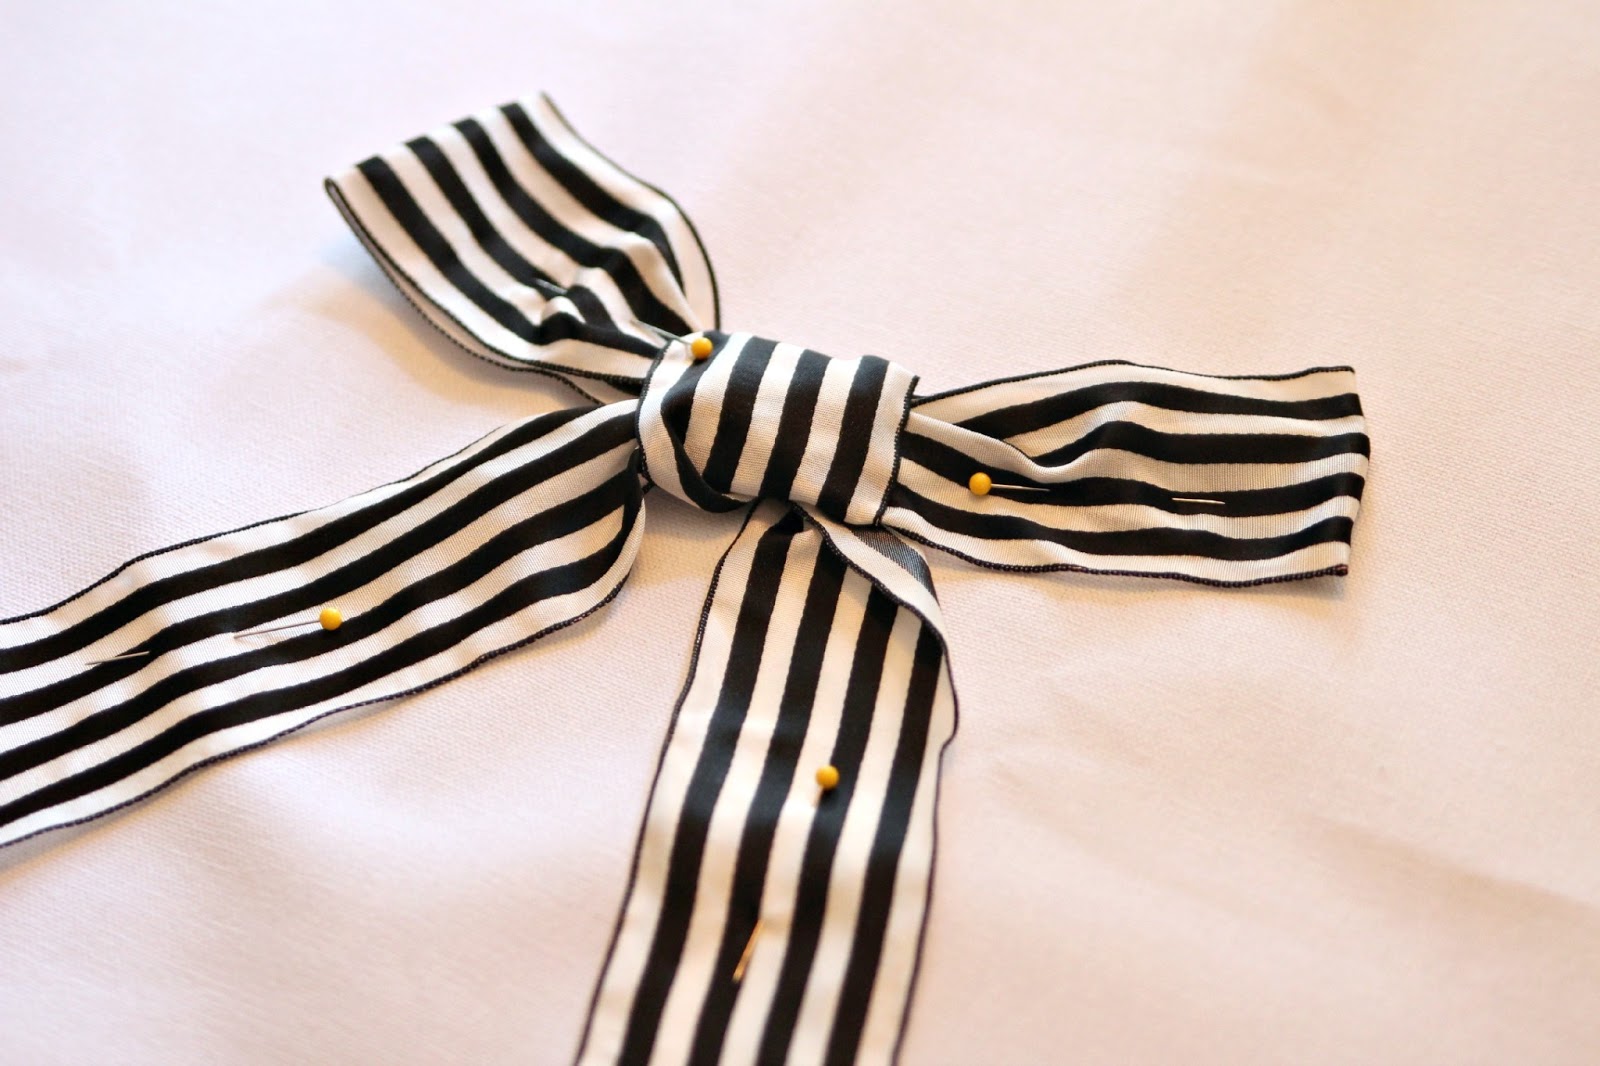
Then I cut them all into a flag shape using my paper cutter.

IMG_6413

IMG_6414

Then my favorite part, I sewed them together.

IMG_6415

I love how it turned out!

IMG_6421

IMG_6420

IMG_6431

IMG_6435Happy boy and a happy room. How many of you have playrooms, do you find yourself spending a lot of time there? And do you have any special books that are just begging to become bunting?

Filed Under: home goods, kid stuff, Uncategorized Tagged With: crafting

DIY Black and White Curtains

July 2, 2013 By Taylor 39 Comments

IMG_6382

We are finally getting into the swing of things over here at the new house. How long does that take by the way? We have been here a month and stuff is coming together! Our dining room is one of first rooms you see when you walk in to the house and I wanted a graphic punch. I mean, once I found the “plate wall box” and pushed the chairs in I felt pretty good.

naked before shot:

IMG_6359 dining room

But over a year ago I saw some big black and white striped curtains and I knew I wanted them for my next dining room. I found some no-sew options, and thought about sewing black and white fabric together, and even painting some. But then I came across this tutorial with a link to the perfect fabric.  Catharine at “Your Modern Couple” has a great tutorial, I even ordered the same amount of fabric and pretty much followed just what she did. I ordered 5 yards, cut them in half twice and sewed the length together.

IMG_6363

I love how they turned out in our dining room. They make the ceiling look so tall and it dresses up our casual but modern room.  I kept the plate wall from my old house. Next on our list is getting rid of that bad light fixture. plate wall

IMG_6370

And I added this… my mom bought it for me last October, it was my 5th wedding anniversary and she found a dish towel from Anthro that is marked with our wedding date, so perfect.

IMG_6378

black and white curtains

IMG_6366

Down the road we hope to not have carpet in here but it’s in pretty good shape so we are fine with it.  Right before I started sewing, I showed my husband the fabric and he said “well, isn’t it a little loud?” But I thought nothing of it because he is a boy and he is traditional. But then I showed my mom and I said don’t you love them? And she replied, “well yes but they remind me of the Hamburglar”. Which I think is an awesome name for them. So far I don’t have rave reviews but they make me so happy. What do you think? Too loud and clown-esque or do you love them like I do?

Filed Under: fabric, home goods, sewing Tagged With: home goods

Home Sweet Home

June 25, 2013 By Taylor 6 Comments

Guess what, we moved. If you follow me on instagram or facebook you have already been bombarded with pictures. But that is why the ole blog has been a little on the light side. That, and it’s summer so my kids are crazy.
We are so in love with our new house. I still can’t believe we live here. It feels so grown up. I took this picture the day we closed. This is the entrance when you walk in the front door. And this is our new paint (that we paid people to do- not very DIY of us).

We moved ourselves which is a fun activity with 2 & 3 year old boys (not). We couldn’t have done anything without our families and we are so lucky that they all live within 10 minutes of us! We only moved a mile away so we kind of just loaded our cars, trucks and my dad’s trailer with everything (sometimes not even in boxes) and threw everything in the new house. Which led to things like this…

We put a lot of extra stuff in storage to stage our old house to sell it. My kids thought it was Christmas when they got their old toys back again 2 months later. This is the new play room. The house is a 4 bedroom and the boys wanted to share a room. There are two bedrooms connected with a jack-and-jill bathroom, so we have one room for beds and clothes and one room for toys and games. It’s working out great so far! We have never had a “playroom” and I spent half my day at our old house picking up toys. I love having it out of sight (however I still try to clean it daily) what is wrong with me? It is looking better these days, still needs a lot of help but that’s every room. 
Here is a little glimpse of the house via bad iphone photos, lets call these the “before” pictures:
Kitchen: 
I LOVE our huge kitchen, it’s the center of everything. We can’t wait to do something about the wallpaper, bad office lighting, and the flooring, that will all be down the road

Breakfast and Laundry: 
again with the wallpaper, new light and we want to do built in cubbies in the laundry room down the road

Dining:
we need a new lighting fixture asap, but I did just make curtains :) I will share those soon
Living:
here is the day we closed… after pictures coming soon, I have actually done some stuff to that room :)
Craft Room:
it needs so much help, but its first on the list, mainly because it is such a mess! Built in desks and a huge work table are coming soon
Master:
we need everything, don’t even know where to start haha… for example my nightstand is currently a filing cabinet :/ DIY plans include a new headboard that I’m really excited for
Boys room:
 I’ve actually done a lot to this room and I will share the pretty pictures soon
Guest Room:
looks like a bomb of junk exploded- that and I could probably open a day care in there with the amount of baby stuff

Playroom: 
needs decor, like stat! I have a few ideas that include vintage books, a chalkboard wall 
and a pegboard tool area 

Backyard: 
we love it and there are a ton of cool plants and trees out here! we want to build a little deck and awning eventually

and there you have the grainy iphone tour – I can’t wait until next year at this time so I can look back at this post and say “look how much it’s changed!”

Follow on Bloglovin

Filed Under: home goods

put a bow on it – pillow slipcovers

June 19, 2013 By Taylor 33 Comments

Last month, Midori Ribbon contacted me about making a craft out of their ribbon. Because I am a boy mom, I don’t have a lot of practice with ribbon- but I accepted and I’m so glad because these aren’t just any ribbons -These are nice ribbons. They let me pick which ones I wanted the receive in the mail. Isn’t real mail always fun?

 My favorite is this Dupioni Silk in Dandelion. 

I knew I wanted to make a few throw pillow slipcovers. These slipcovers couldn’t be easier. I started with some fabric that was cut to the same size as my pillow form for the front and a few inches longer for the back. 

Then take the back piece and cut it in half right down the middle. Fold and press the sides down twice and then sew those up to create two hems. I did this for both of my pillows.

For the fronts I just used ribbon two create the designs. First up, I made some smashed flowers. There isn’t an exact science to sewing “smashed flowers” but I started with the “leaves” – I made long loops and pinned them down. Then I started just smashing the silk ribbon in the center and worked outwards folding the ribbon over as I went. I also used a lot of pins. Then I just sewed in the same messy swirled pattern making sure to catch the “leaf loop” too. 


Front number one.

Piece the pillow together by placing the right sides together and lining up the edges of the back. This will mean the two sides on the back will overlap and that’s what you want. 

Sew that all the way around, then clip your corners and flip.

Stuff your pillow form in there and you are done. I might never make a “real” throw pillow again :) 

For the second pillow I used my other favorite ribbon the Black and Cream Ascot.  I made a free hand bow and left long tails while it was still attached to the spool. 

Once I got it where I liked it, I cut the bow from the spool,  placed it on the front of my pillow and pinned it down.


Then I sewed around the perimeter of the bow and made sure to sew around the inside “knot” too. 

I marked the white thread on the black stripes with permanent marker so it looks more uniform. 

I sewed the pillow the same way as before. Meet my new favorite:

I love how they both turned out!

So do you have a lot of ribbon expertise? Also do you love pillow slipcovers as much as I do? Anything that means no hand sewing is for me :) 
Follow on Bloglovin

Related Posts Plugin for WordPress, Blogger...

Filed Under: Uncategorized Tagged With: home goods

  • « Previous Page
  • 1
  • …
  • 27
  • 28
  • 29
  • 30
  • 31
  • …
  • 66
  • Next Page »

Welcome to Taylor Made

http://www.taylormadecreatesblog.com/about-me Hi Yall! I'm Taylor... an artsy mom of three from Houston, TX. I love sewing, collecting floral fabric, eating Mexican Food, photography, brights colors, rearranging, and rolling clay. Taylor Made Creates is all about creating a fun, colorful home, sewing cute things and eating good food. Check out my SHOP HERE HERE! Thanks for stopping by!

Search

Pin with me!

Like Me :)

Facebook Pagelike Widget

More Recent Posts

  • Kid's Animal Room
  • Kids Camping Shirts
  • Mermaid Birthday Party
  • Conversation Heart Cold Packs
  • Holiday Apple Tea Punch
  • Purple Princess Costume
  • Letterboard Costume
  • La Croix Costume

FAVORITES

  • Vintage Sheet Quilt
  • Color Wheel Clock
  • Adorable Girl Clothing (found on Amazon)
  • How to Glaze Furniture
  • Winged Peasant Dress
  • Siberian Husky Costume
  • Octopus Costume
  • DIY Leather Tote
  • Diaper Bag Tag

Copyright © 2026 · Web Hosting By RFE Hosting