TaylorMade

DIY, Home Decor & Sewing

  • Home
  • SHOP
  • DIY & Sewing
    • For the Home
    • Sewing
    • Costumes and Holidays
    • Cricut Projects
    • Crafting
  • Parties
  • Recipes
  • Home Tour
  • Favorites
  • About

Casserole Carrier

October 18, 2011 By Taylor 68 Comments

I like to make homemade wedding gifts whenever I can. I saw this Casserole Carrier Tutorial from Two Little Hooligans and I was allll over it. She has really detailed instructions. The only thing that I didn’t do (and should have) was add a little extra length because the Pyrex that I found had built in glass handles. But I still love how it turned out. Halfway through I remembered an old post from Jill where she added belting instead of making the handles. She also etched the couples last name into the Pyrex. Done. I shamelessly copied two crafters!

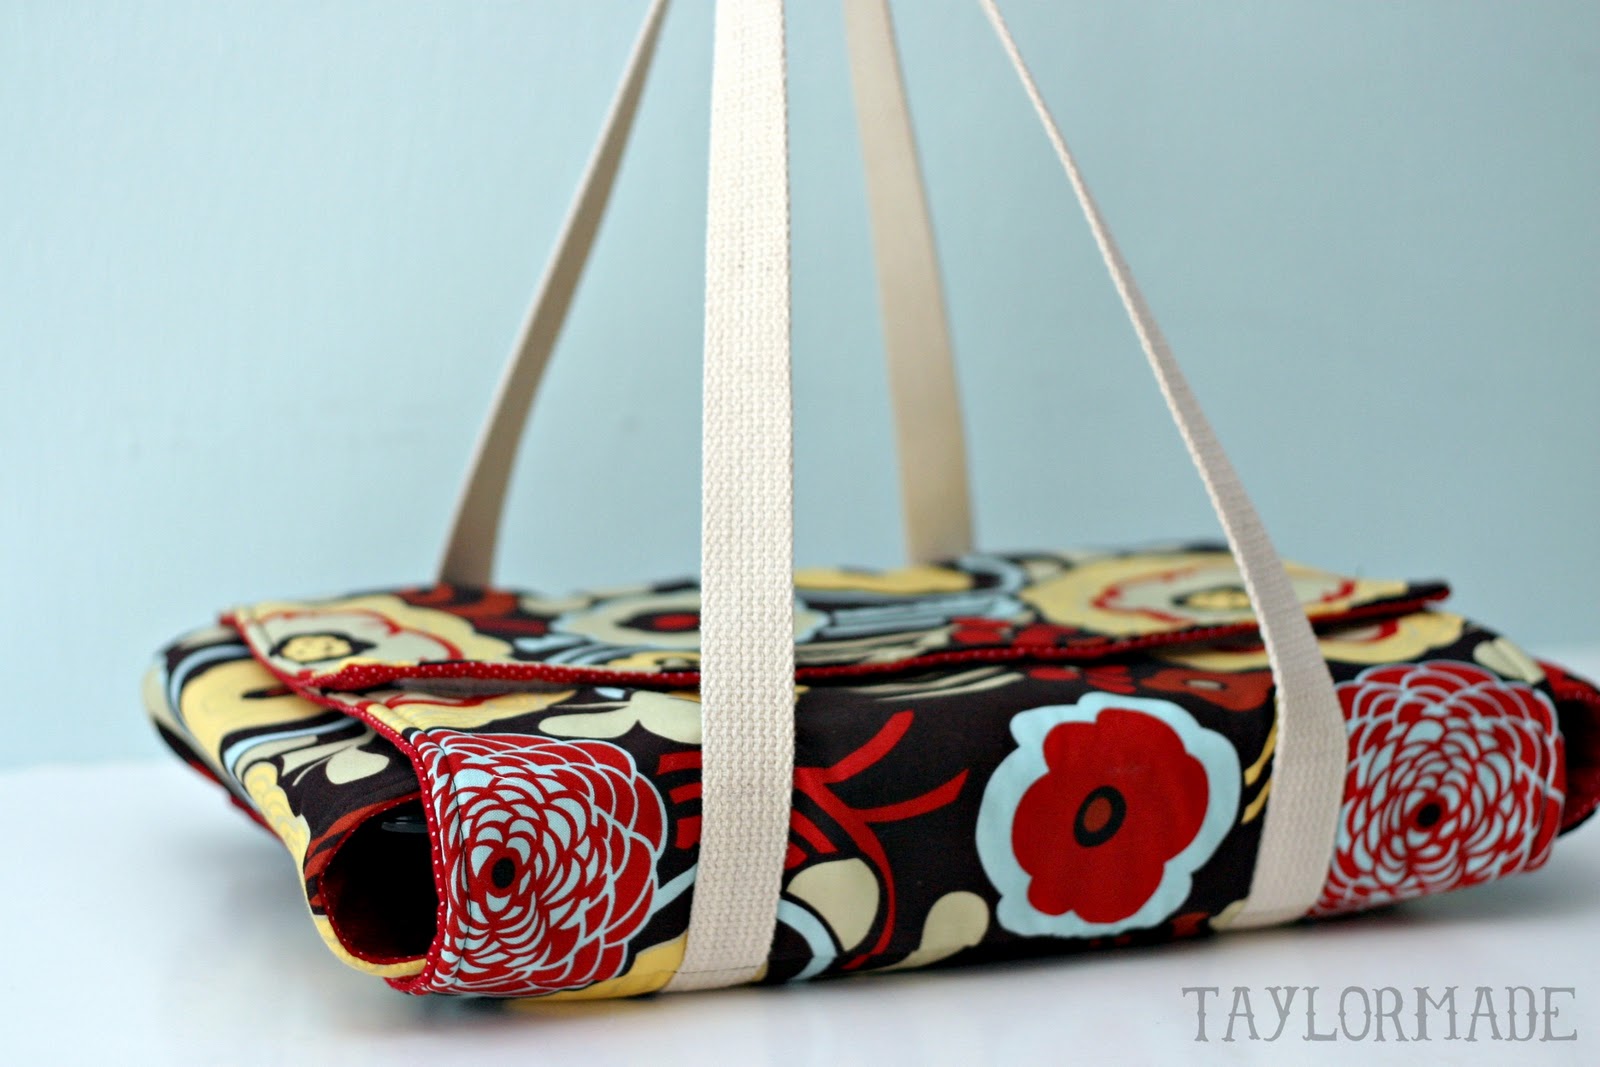
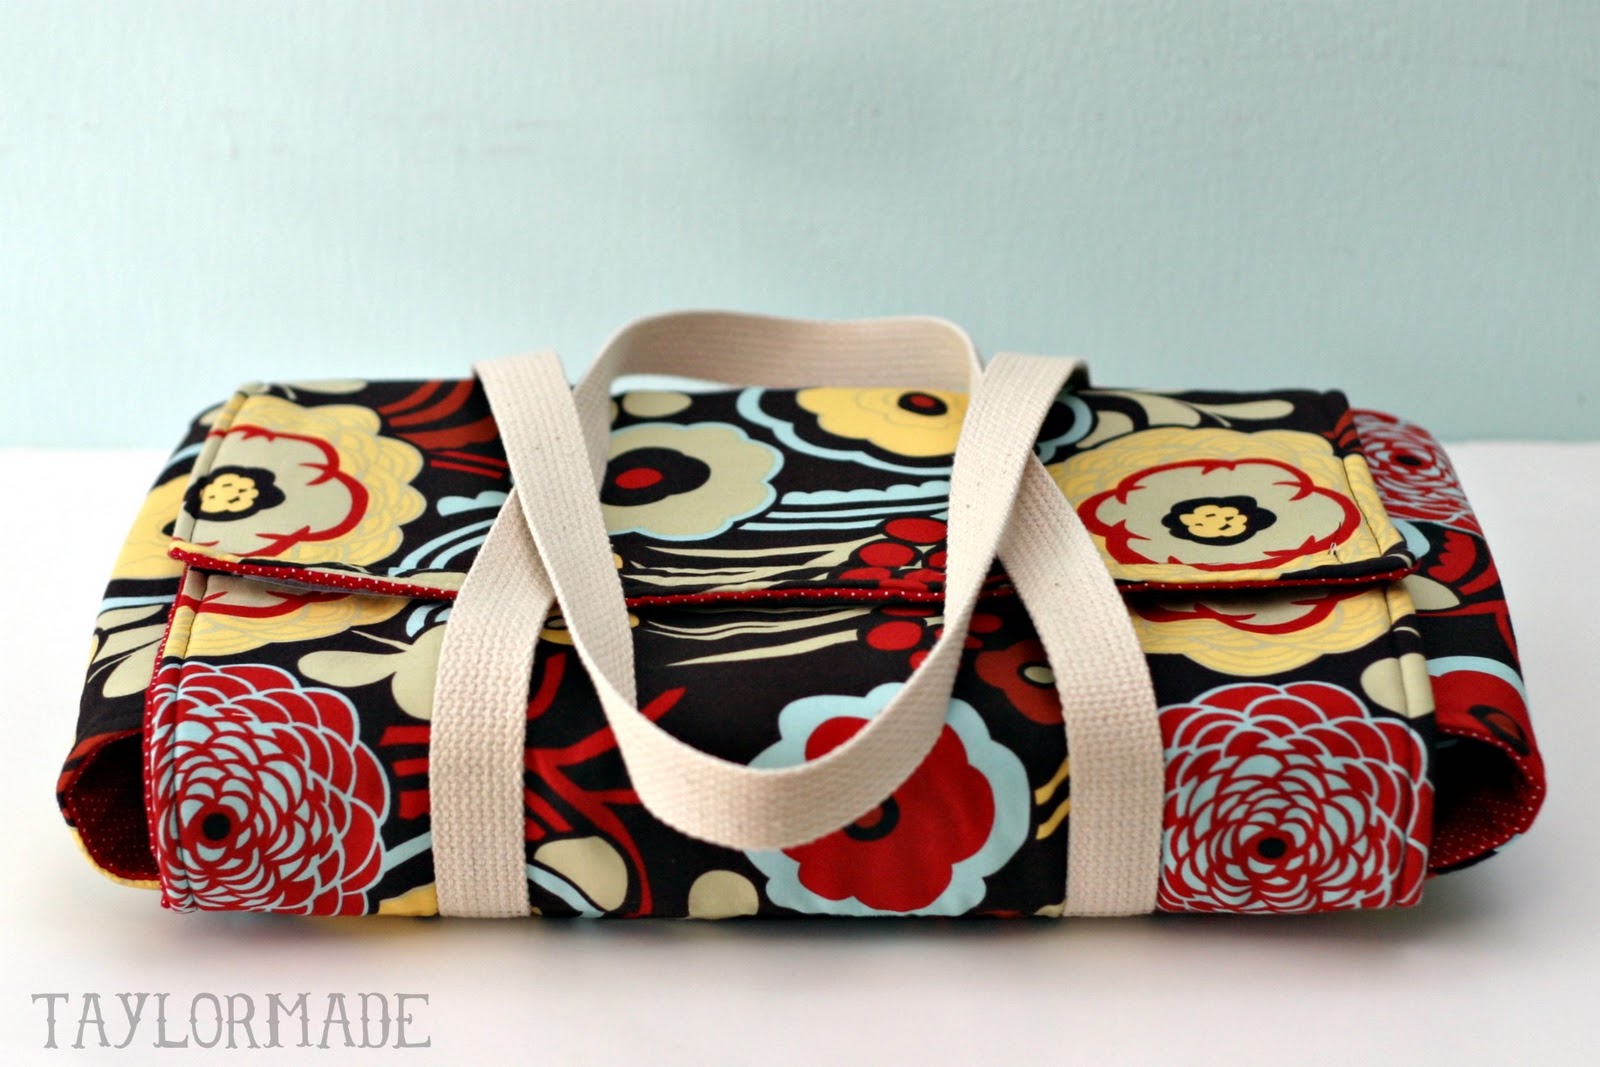
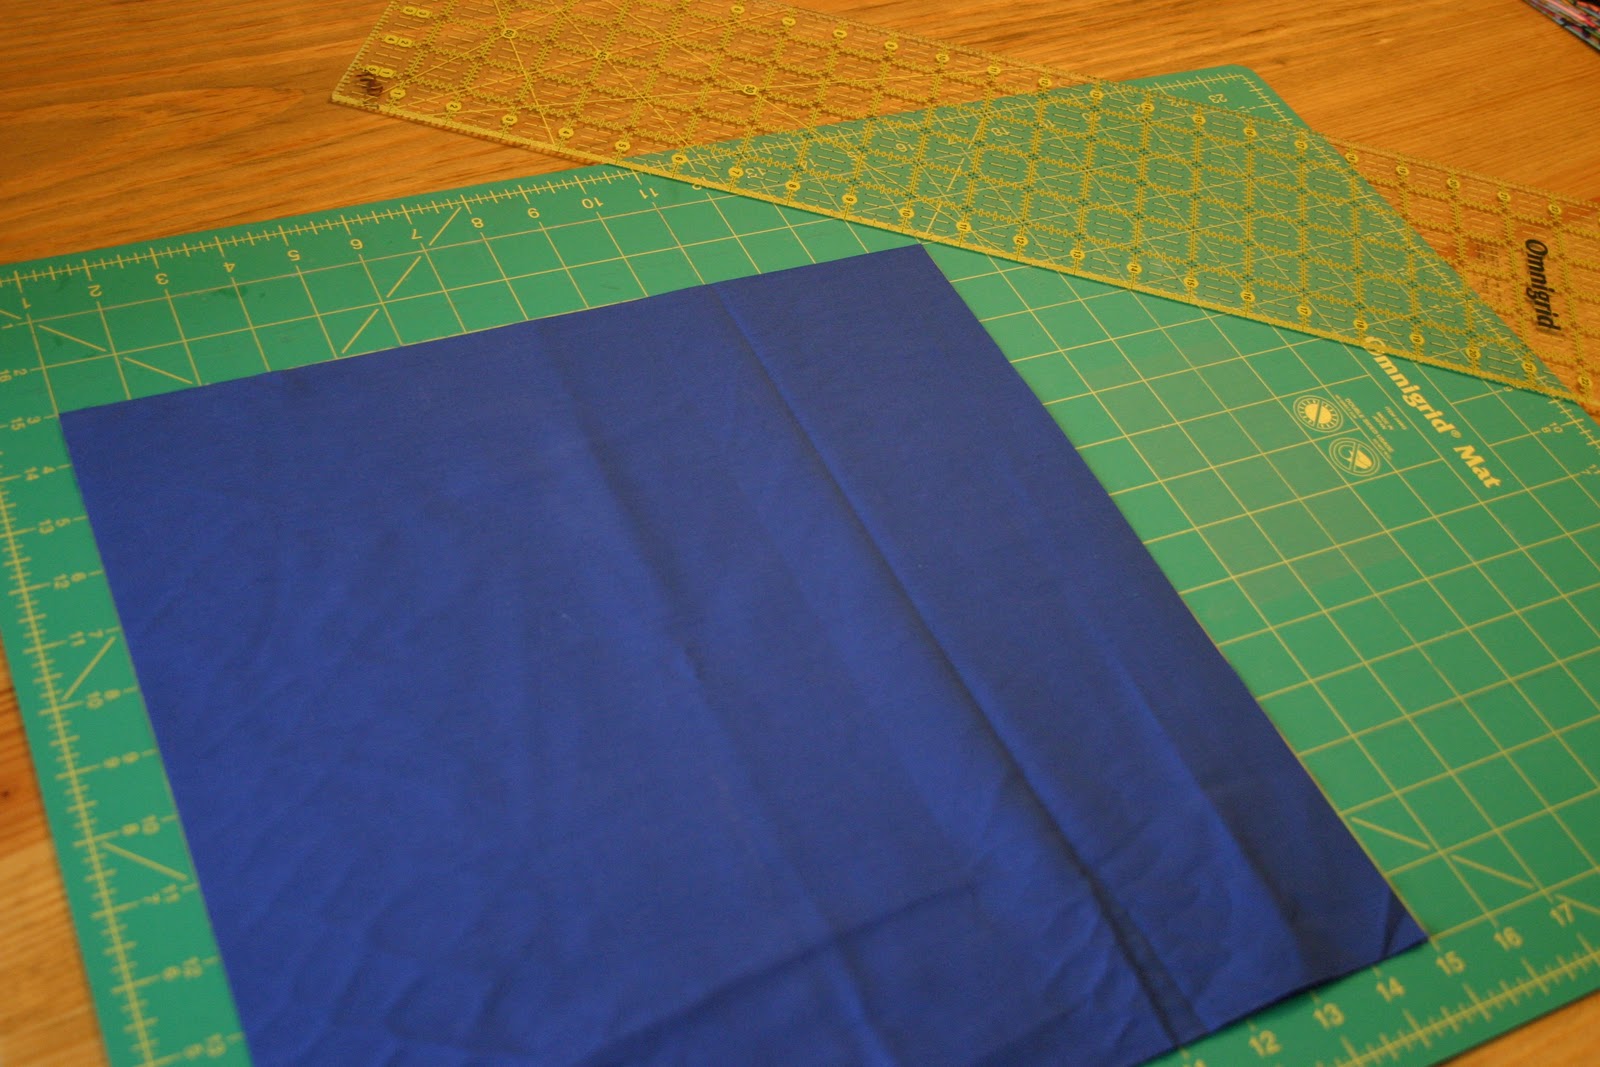
I used a super bold print for the outside and a cute little dot pattern for the inside.

I also added a label.

And etched the glass.

And now I want one :) Have you made any homemade wedding gifts lately?
Pin It

Filed Under: etched, fabric, gift, sewing Tagged With: home goods

DIY Anthropologie Flamenco Shower Curtain in Sunshine

April 7, 2011 By Taylor 61 Comments

Best Shower Curtain Ever

I have been eyeing these from Anthropologie for years…

But I have some problems:
#1 I don’t want to spend $118.00 on a shower curtain
#2 Those colors don’t match my room

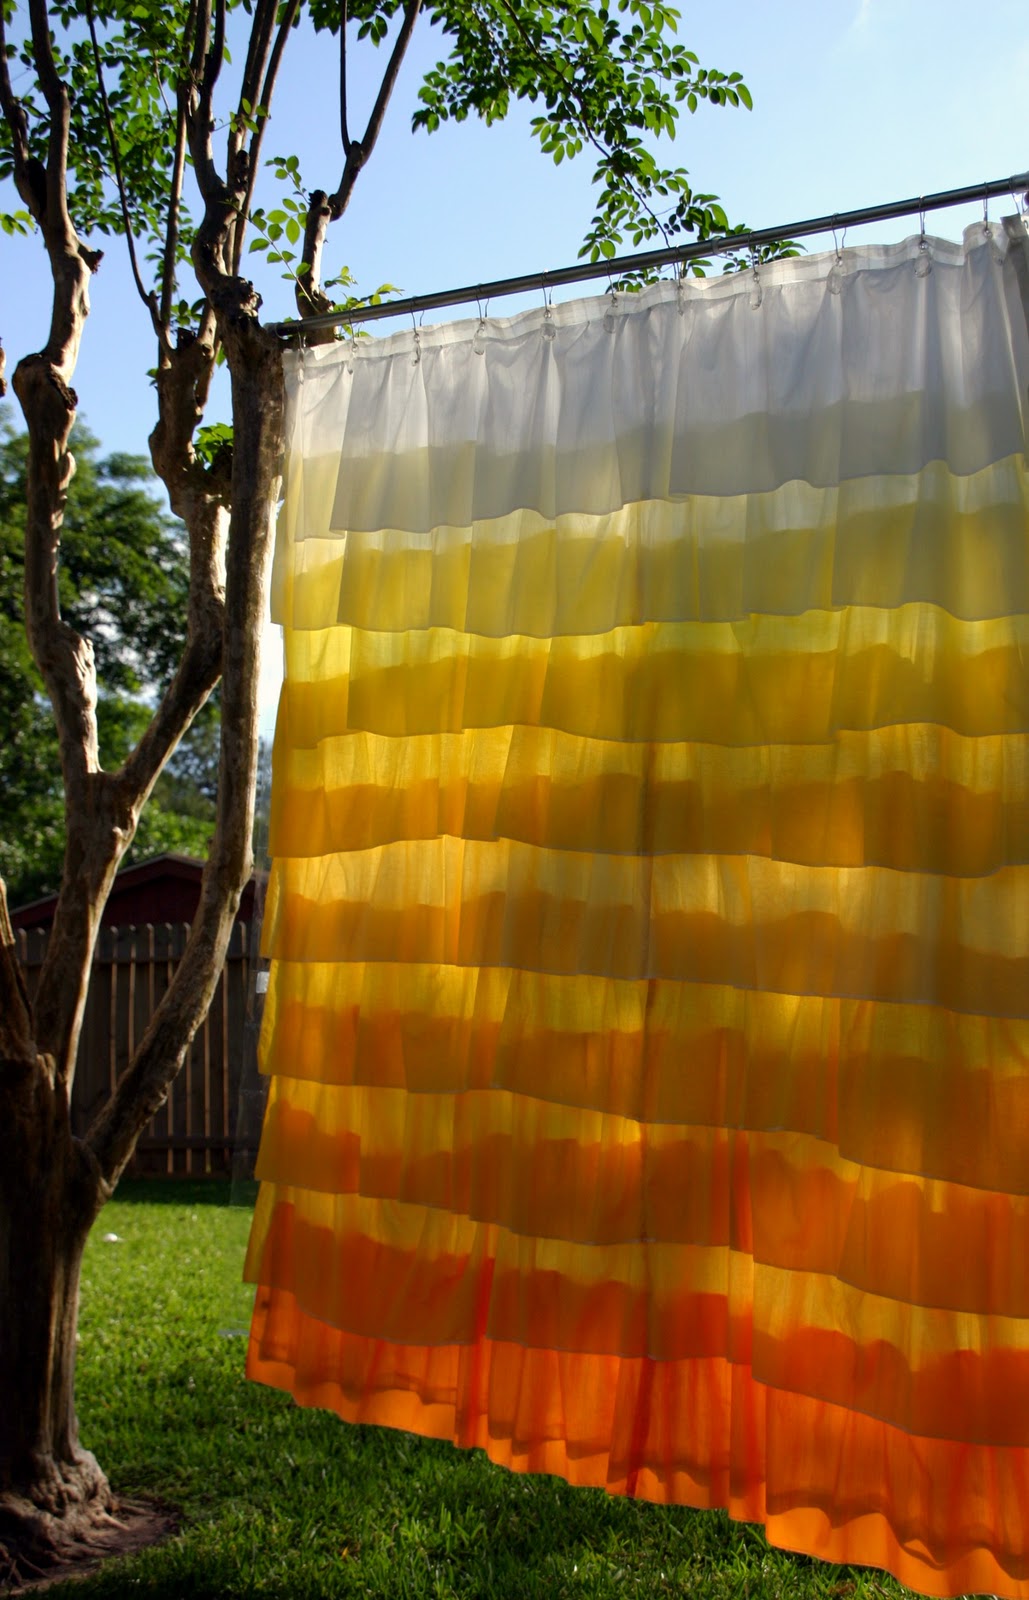
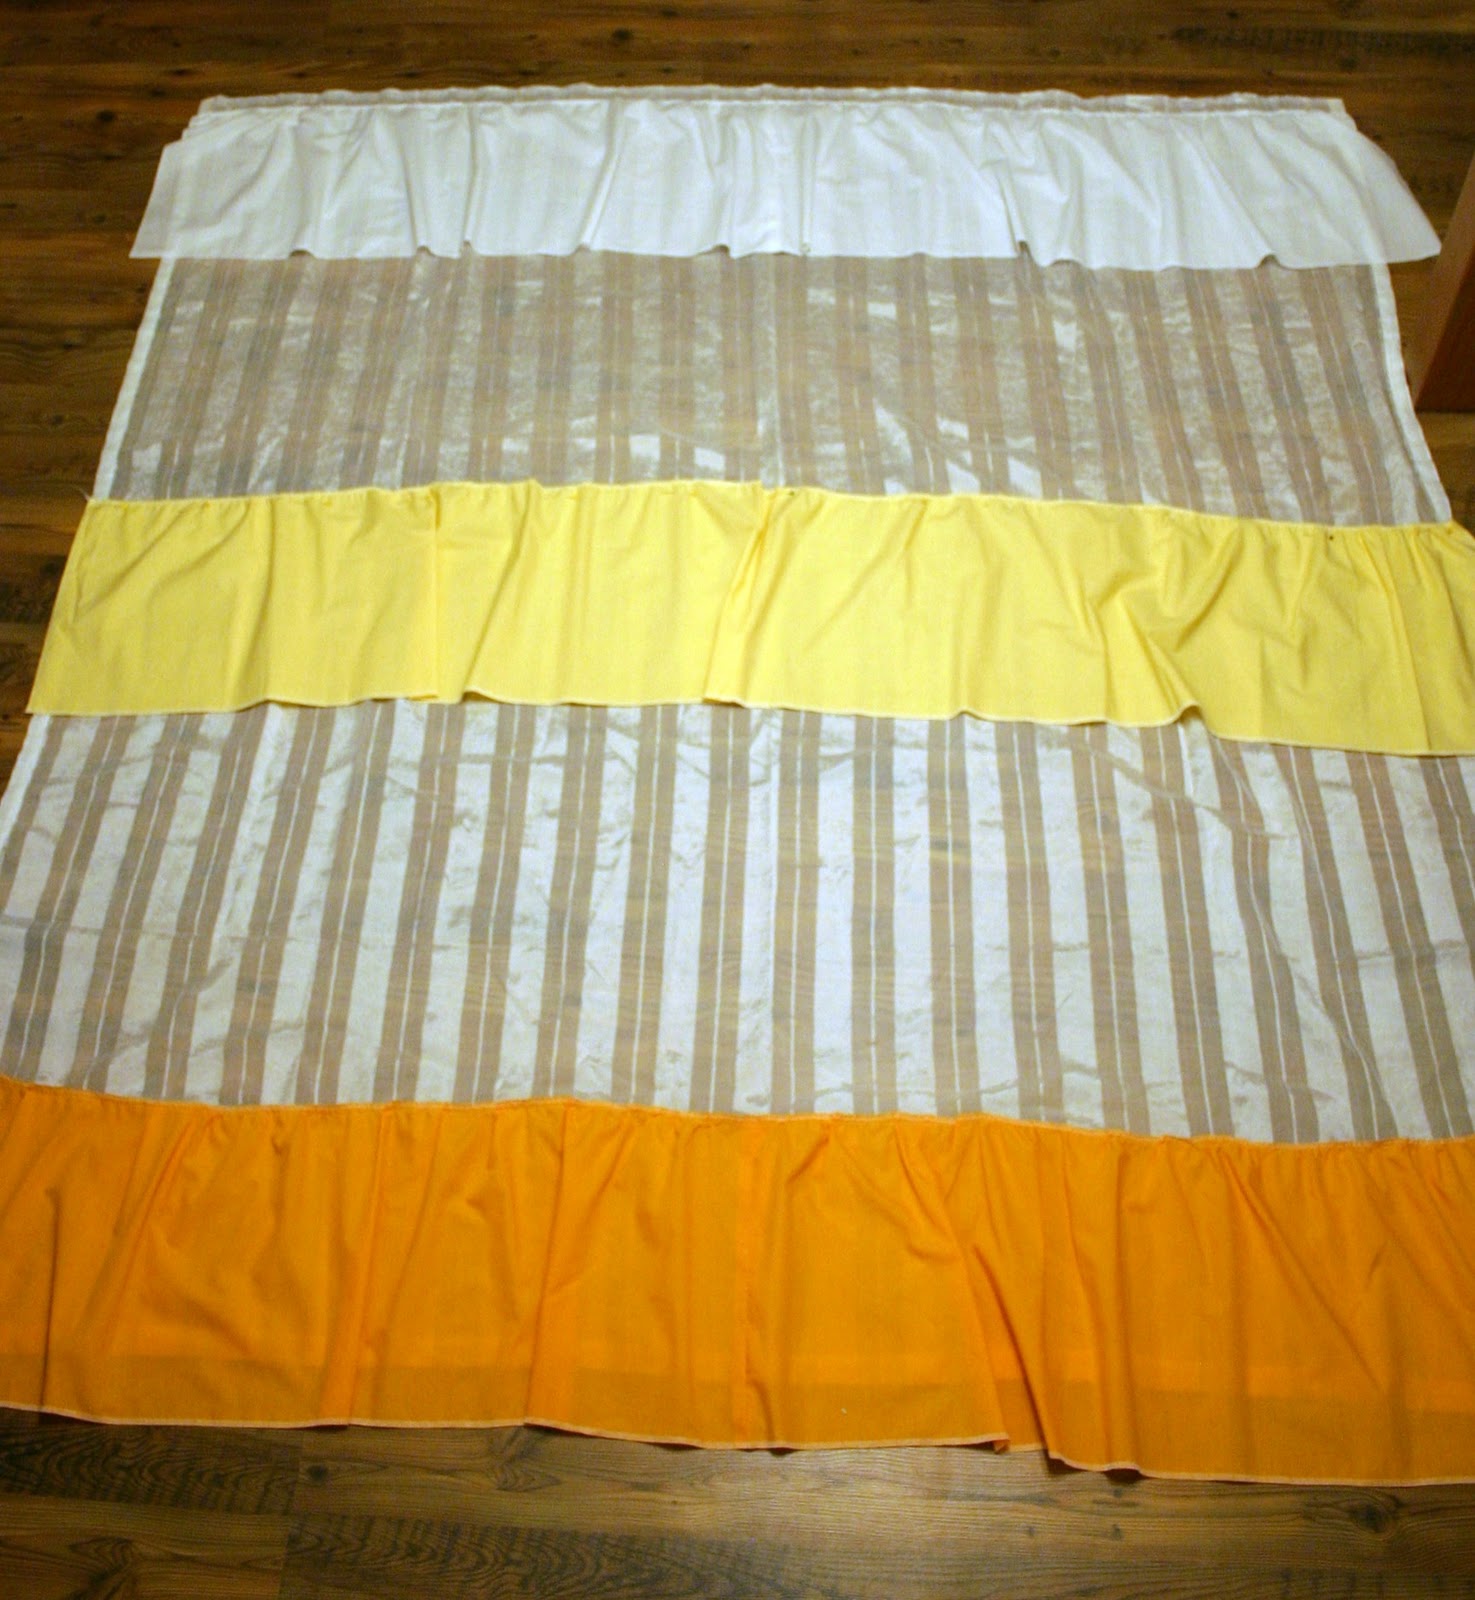
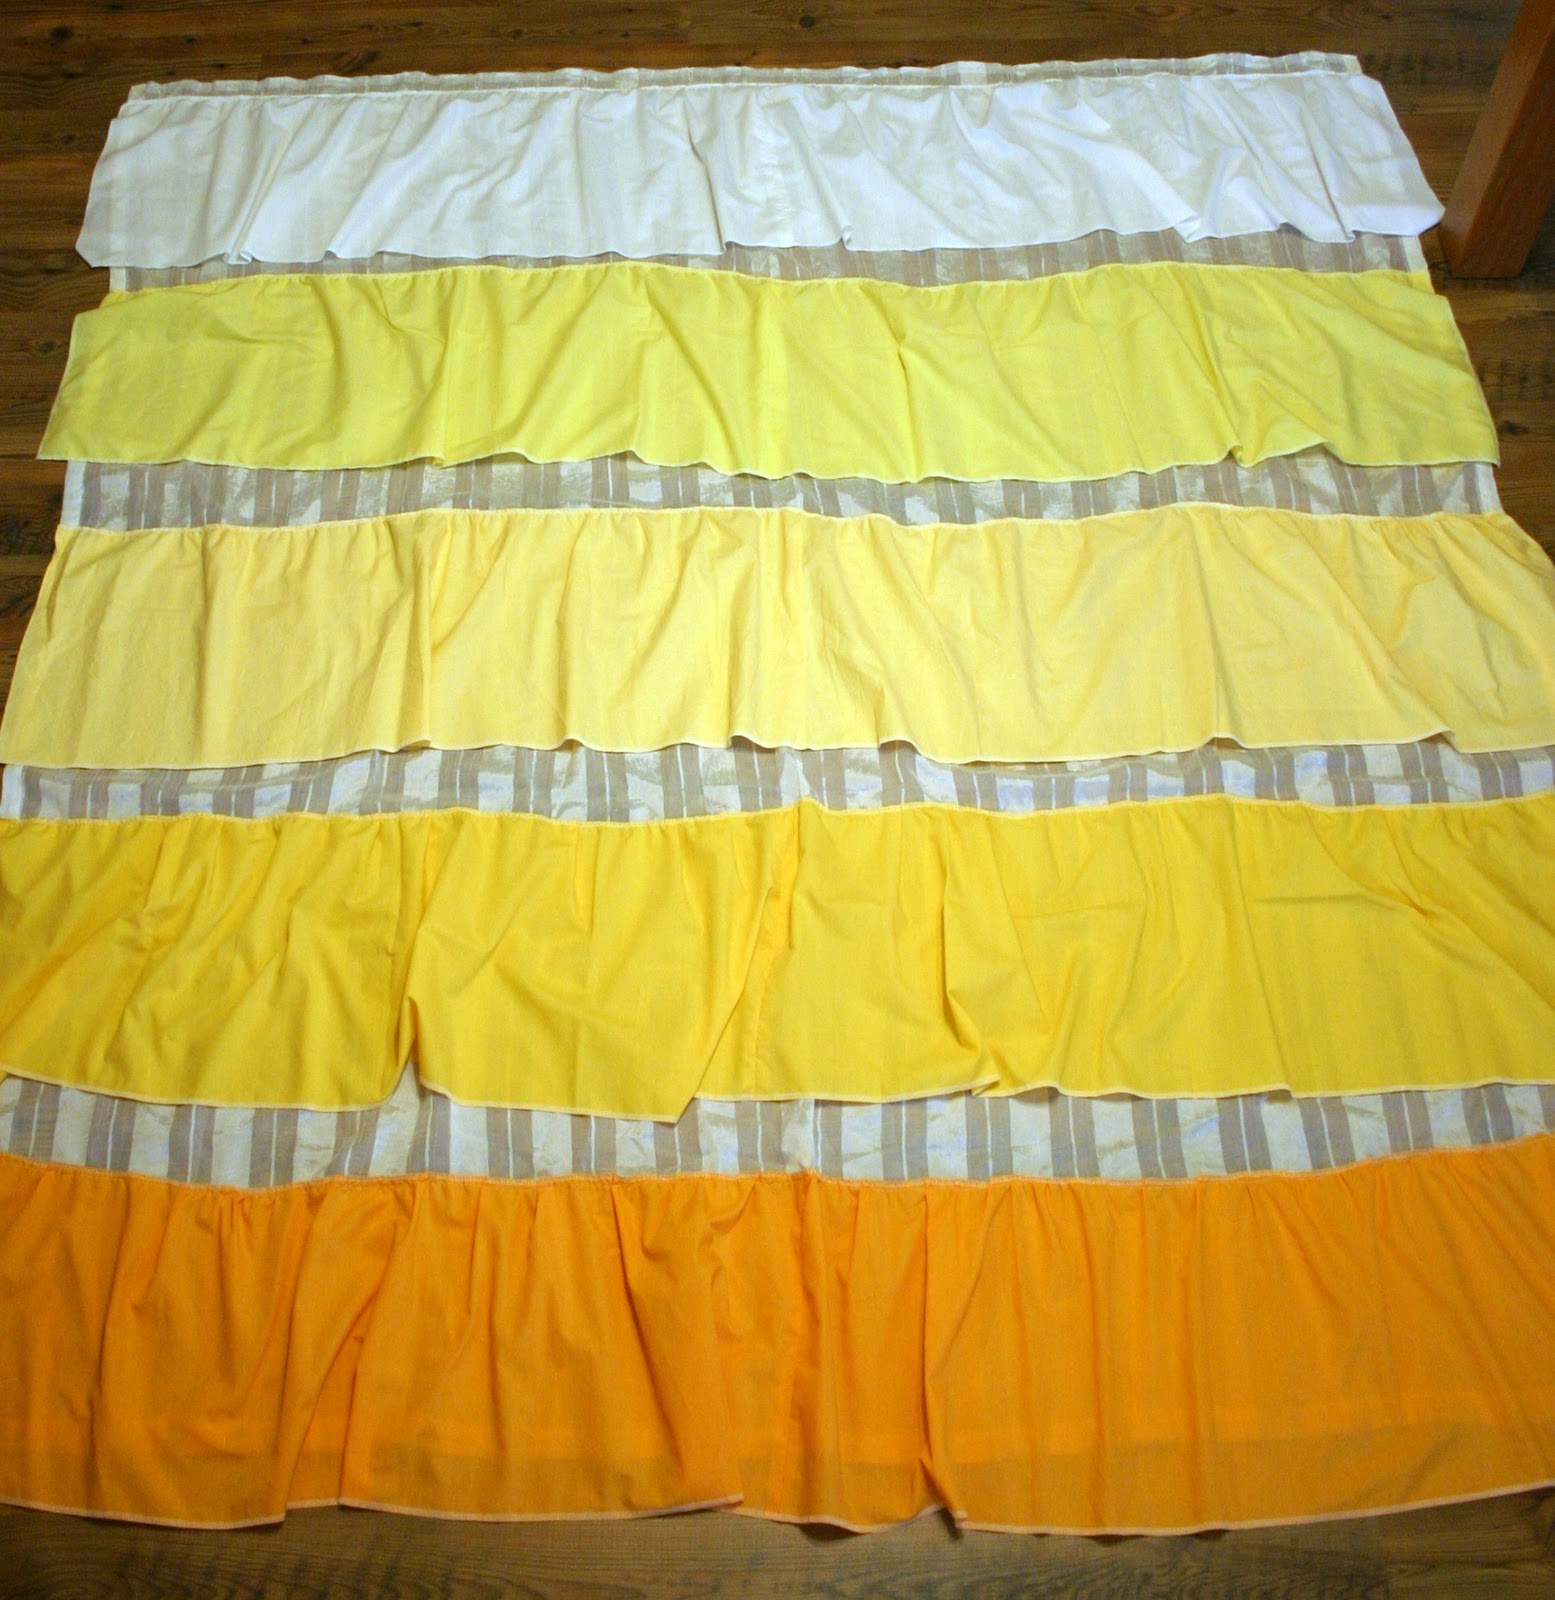
So what is a girl to do… how about make one. And I call mine “Sunshine”. Anthropologie’s Shower Curtain has ten “panels” of descending color. I could only find nine fabrics that I thought  really worked so mine has nine. Also, please don’t judge me on the TERRIBLE photos in this tutorial, my bathroom has no windows and it was a rainy day! That’s why I named her Sunshine.

What you need:
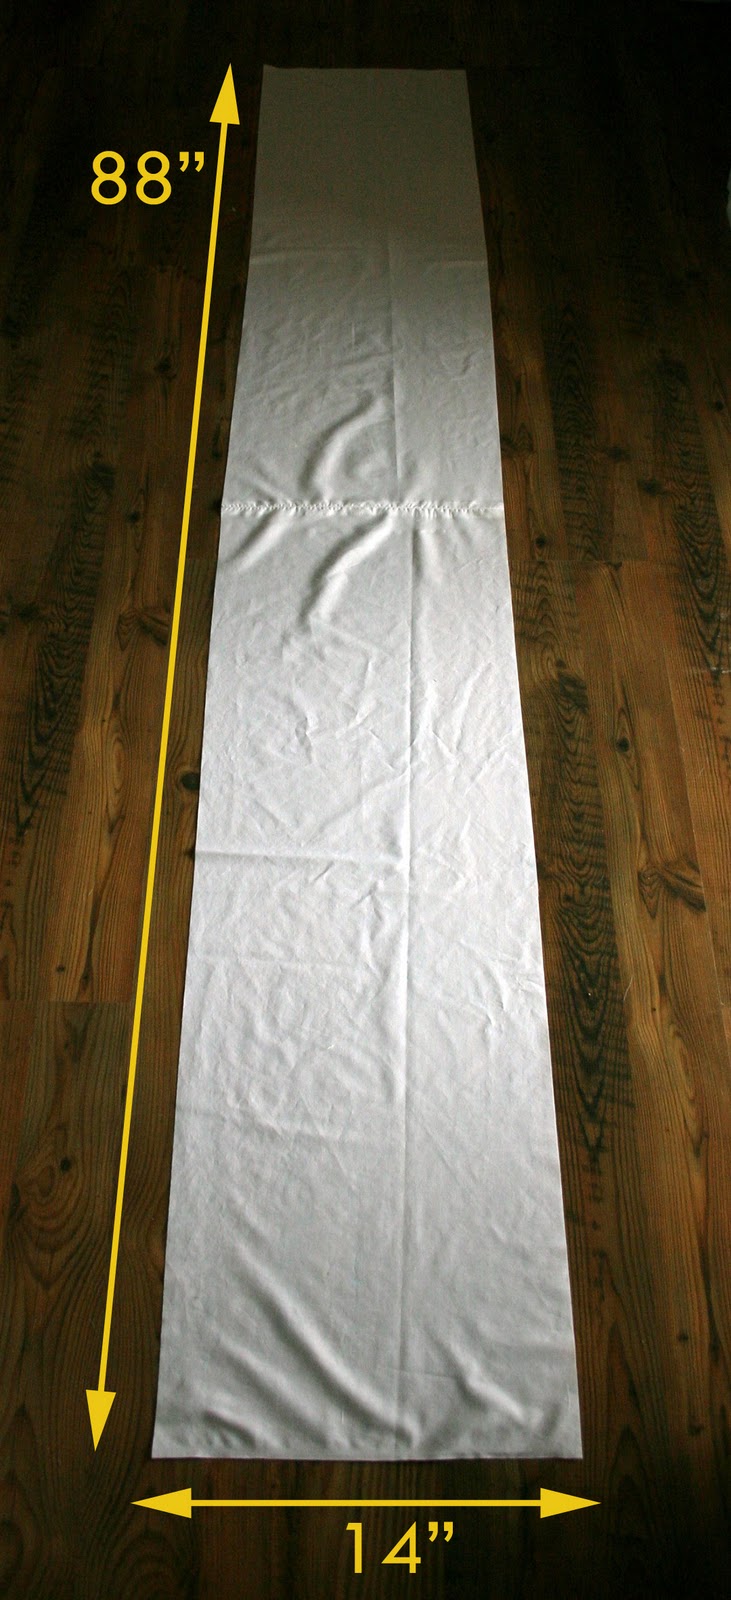
– 9 yards of solid fabric in a monochromatic color palate; light to dark
– light colored shower curtain to cover
– sewing machine
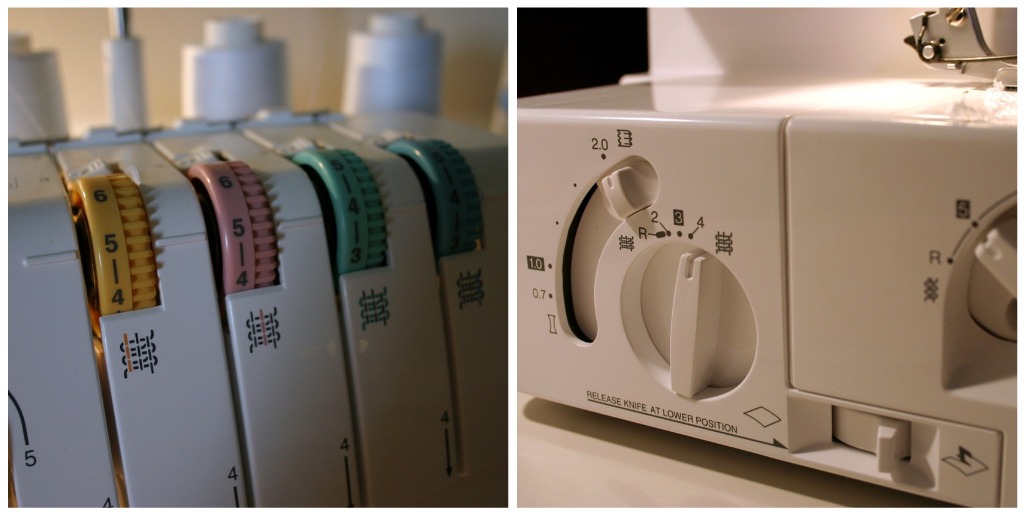
– serger (optional but makes it 10x easier)

Wash and iron all of your fabric
I am going to call each color a “panel”. So, each panel needs to be 88″ x 14″. Most fabric is either 44″ or 60″ wide. I was at Hobby Lobby and I found broadcloth in a bunch of colors that were 44″ wide. So that is why the panels are 88″ long. Cut your yards in half with the selvages on the short ends. Do this to all of the panels. (This is the longest & most boring part)
Now each panel has two sides, a top and a bottom. Serge the bottom of every panel.
Now it is time for ruffles and who doesn’t love a good ruffle? I used my serger to make them, and here were my settings, (click to make it larger). Do this to every panel. You will have to play around with your settings. The panels should now measure 71″ wide. If they are too long that is ok, you can “ruffle” them more when you sew them on to the shower curtain. If they are too short, you will have to pull the ruffle out a little.
Now we will sew the panels on to the shower curtain. You could just make one yourself out of solid fabric. The dimensions of a regular shower curtain are 71″ x 71″. Start with the very bottom panel and lay it down so that the bottom of the ruffle comes about an inch past the bottom of the shower curtain and pin it down. Sew this panel on. (These pictures make me cringe)
Now do the same with the top panel. Start the ruffle just under the holes in the shower curtain.
Now here are my lovely math skills… I’m sure there is a better way to do this but I like to eyeball. I measured from the “sew line” of the top panel to the “sew line” of the bottom panel and cut that number in half.
For example: The distance between my two sew lines was 60″. So half of that is 30″ so I marked 30″ with a pencil on the edge of the shower curtain and that was the middle. That is where I sewed my middle panel. Be sure NOT to measure from the bottom of the ruffle and measure from the actual sew line. Also maybe number your panels in order so to not confuse them.
You will continue with this method until you have added all of the panels. So again, measure from the middle panel’s sew line to the bottom’s sew line and mark halfway then sew that panel there.
Pin It

Filed Under: fabric, home goods, serger, sewing, tutorial Tagged With: home goods

Bulls-eye Pillow

January 12, 2011 By Taylor 6 Comments

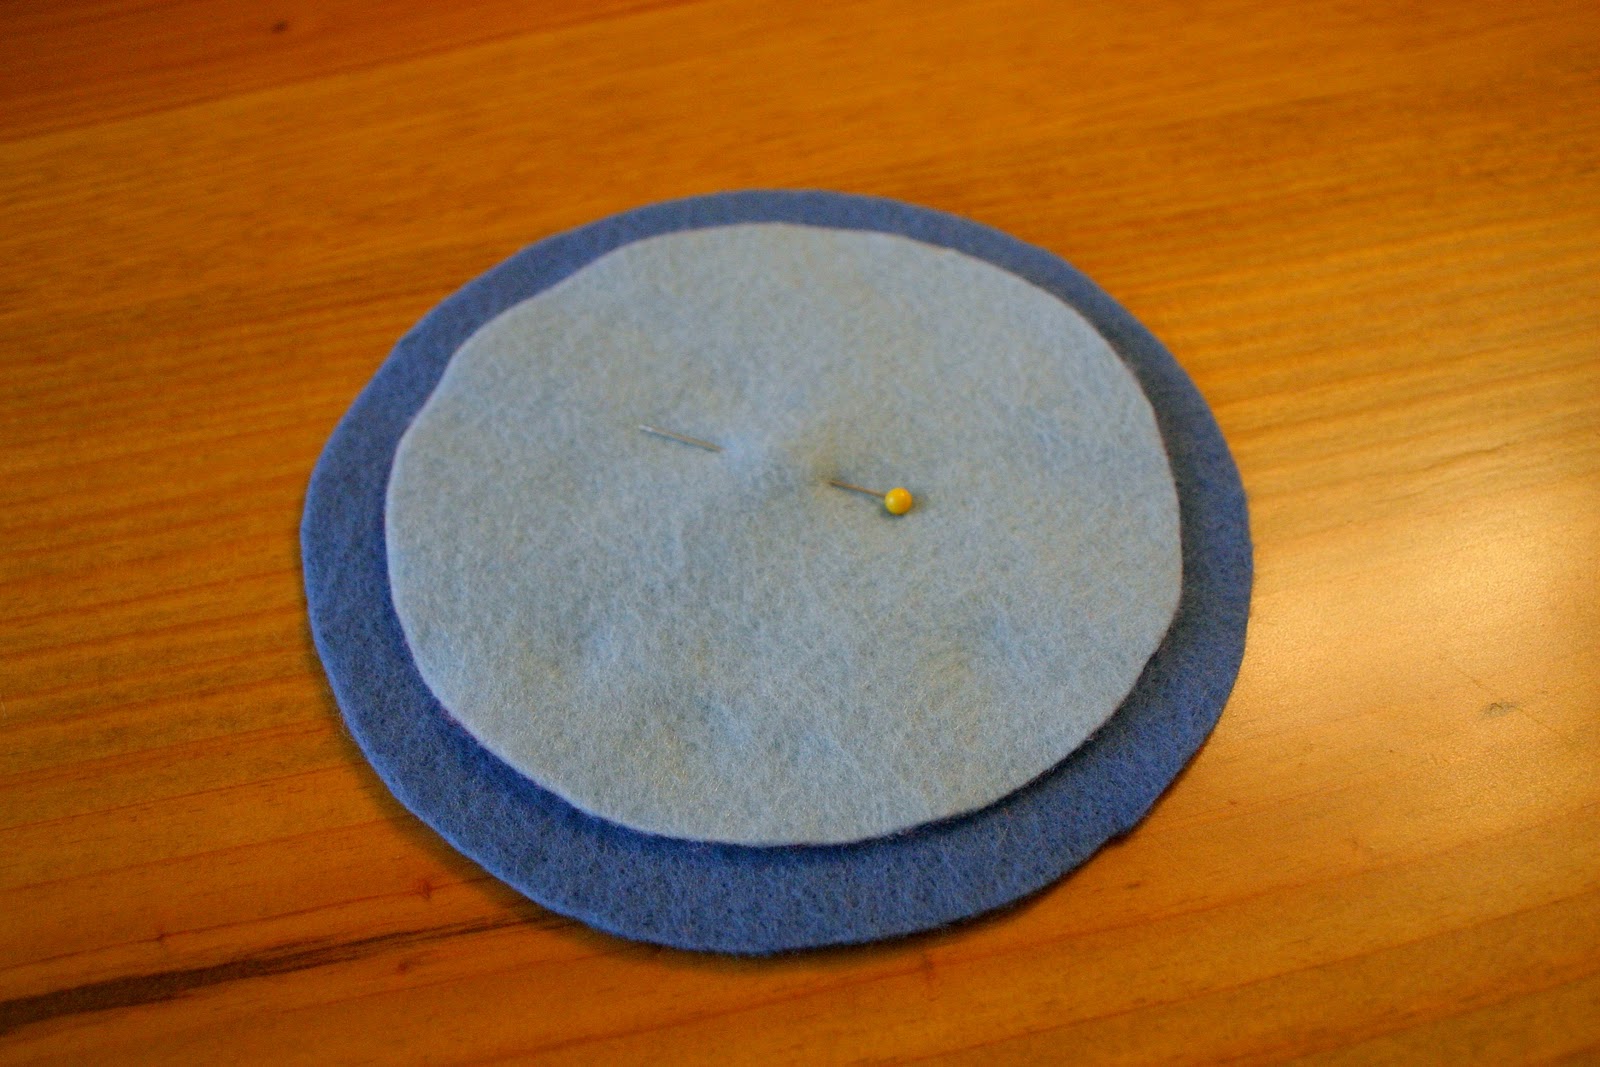
My house is feeling the effects of the “nesting phase”. I had a productive weekend and almost have the “babies” rooms switched out (Yes, I am still calling Finn an baby!). With all the baby preparedness I have been doing, I thought I would take a little break and do a quick craft for my own room. I whipped out this super easy pillow in 40 minutes! I saw something yesterday that reminded me of my Mom’s old bedding from when she was little (because she still has the pillowcases to prove it). So here is the 60’s inspired Bulls-eye Pillow.

 
This is the most unscientific tutorial ever!
 
Supplies:
– 4 pieces of felt
– stuffing
– 1/2 yd of solid fabric
 
Directions:
-Cut 2 14″ squares from your solid fabric
 
 
-Pick out 4 pieces of felt (in a monochromatic family and sort lightest to darkest)
 
 
– Use a template of some sort (even a bowl) to trace your smallest circle. Mine is about 5″ in diameter. Sew that circle onto your next color. Use a very small seam allowance. Then carefully cut around it about 1/2″ all the way around. (I told you this is not scientific)


-Keep doing this with all of the “layers”. Then pin the bulls-eye to the front of the pillow and sew into it the same way you were sewing onto the felt.
 
 
– Finish just like you would any pillow, pin and sew right sides together leaving room for flipping. Stuff and hand-sew the opening. Voila!


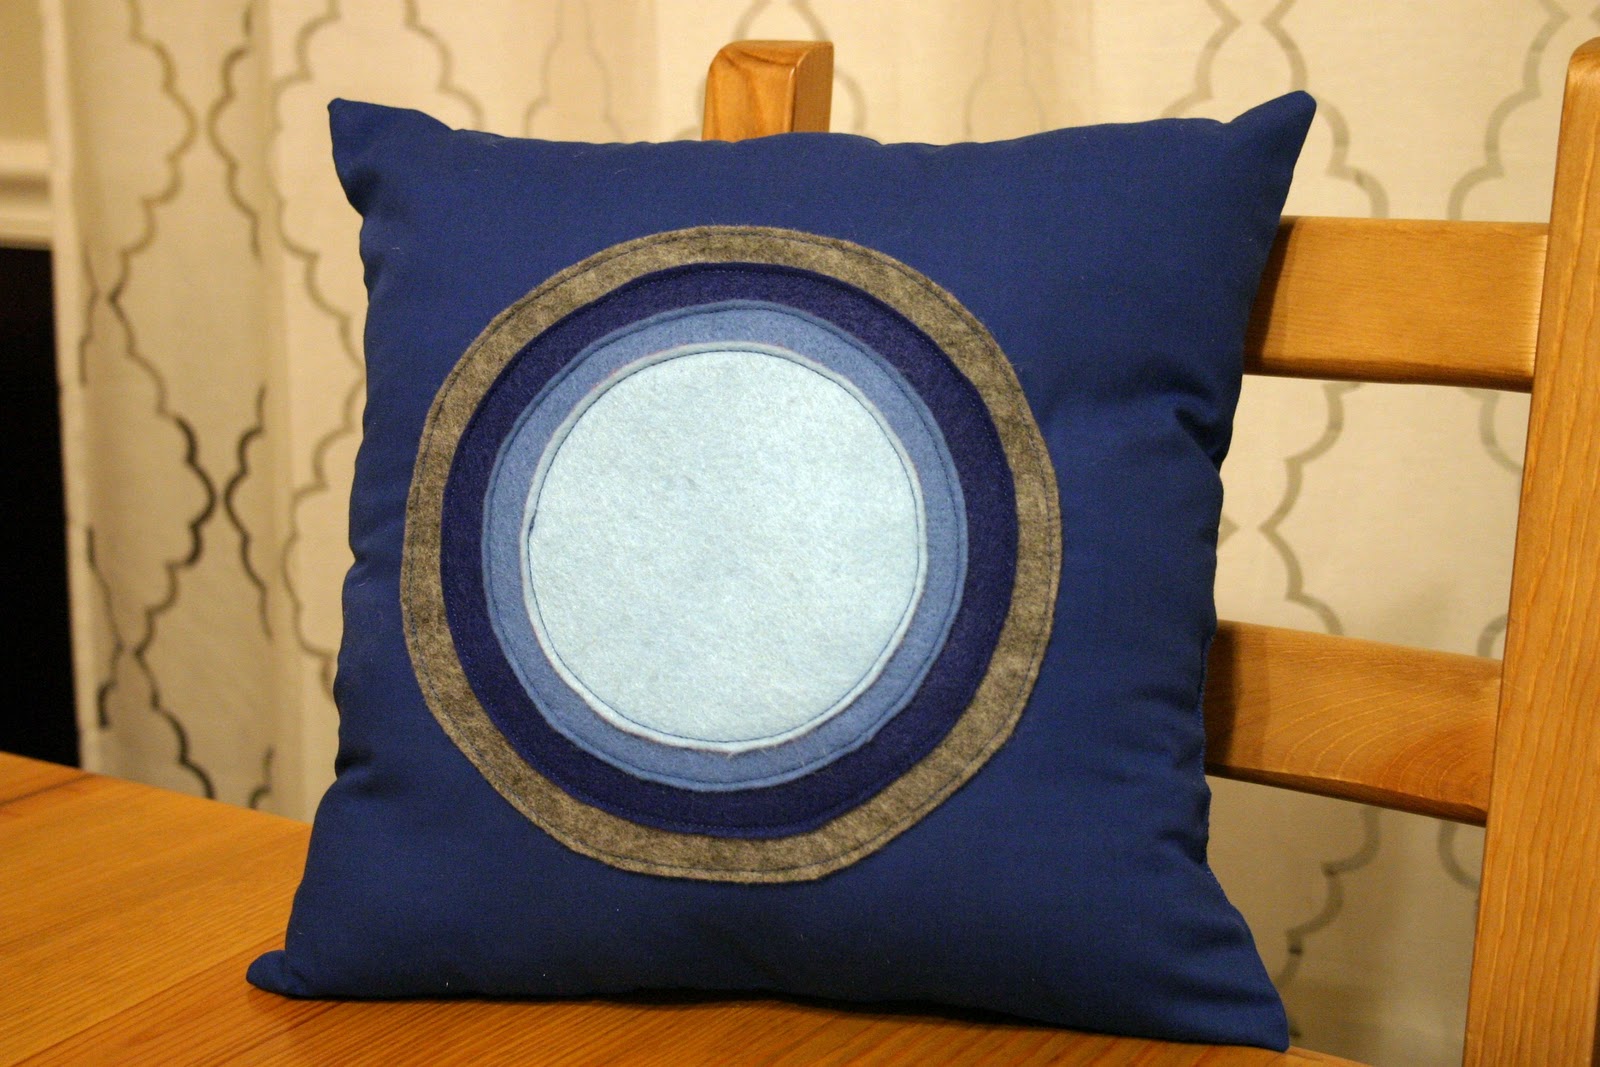
Look at it’s new happy home :)


Filed Under: bedroom, fabric, felt, home goods, sewing, tutorial Tagged With: home goods

Framed Tablecloth

June 10, 2010 By Taylor 1 Comment

This Friday I am having a Dinner party for my friends who are moving :( Sad that they are leaving… but excited to host a dinner party! It is going to be super casual, we are having a Taco Bar with Fresh Mojitos and Tres Leches! Pics and recipes soon to come….
I need to get to work on some stuff for the Dinner Party, so meet the Framed Tablecloth. This couldn’t be easier!
All you need is : (This fits a breakfast area table that seats 4)
1 1/2 yds. of fabric
6 yds. of quilt binding.
Only 2 “ingredients”! The binding usually comes in 3 yd packs and it is about $2.00 a pack from JoAnn Fabrics. I found this amazing floral fabric at Garden Ridge Pottery of all places and it was $3 for 3 yards! I think I might make half-curtains for our kitchen out of the extra fabric. I like to mix colors, so for the binding I got a buttery yellow. All you have to do is attach your quilt binding all the way around. 
There you have the Framed Tablecloth, custom made and under $7.00! Looking at the picture of the Tablecloth laid out makes me think that it would be super cute as a picnic blanket! Too bad I live in Houston and it is 200 degrees and I hate being outside… but it would still be cute. Now I need to get to work on my never ending to-do list! Wish me luck!
Related Posts Plugin for WordPress, Blogger...

Filed Under: fabric, home goods, sewing Tagged With: home goods

  • « Previous Page
  • 1
  • 2
  • 3

Welcome to Taylor Made

http://www.taylormadecreatesblog.com/about-me Hi Yall! I'm Taylor... an artsy mom of three from Houston, TX. I love sewing, collecting floral fabric, eating Mexican Food, photography, brights colors, rearranging, and rolling clay. Taylor Made Creates is all about creating a fun, colorful home, sewing cute things and eating good food. Check out my SHOP HERE HERE! Thanks for stopping by!

Search

Pin with me!

Like Me :)

Facebook Pagelike Widget

More Recent Posts

  • Kid's Animal Room
  • Kids Camping Shirts
  • Mermaid Birthday Party
  • Conversation Heart Cold Packs
  • Holiday Apple Tea Punch
  • Purple Princess Costume
  • Letterboard Costume
  • La Croix Costume

FAVORITES

  • Swan Wings + Hello Ollie Fabrics
  • Mini Fabric Lamps
  • Triangle Baby Quilt
  • How to Glaze Furniture
  • Color Wheel Clock
  • Pippa Peplum Piggy Dress
  • Diaper Bag Tag
  • Super easy Midi Apron
  • DIY Chalkboard

Copyright © 2026 · Web Hosting By RFE Hosting