Happy February


happy garland (tutorial at MADE)


DIY, Home Decor & Sewing

What? How is it already Thanksgiving week? I’m totally not ready, mainly because October-December is my favorite time of year and I feel like it’s halfway gone. Anyway, I made these dishtowels to hang in the store but I ended up loving them- so I kept them :)
I went to Joann’s looking for “dishtowel” material (what ever that means) and found something perfect. Isn’t this waffle fabric such dishtowel material? I serged the edges, pressed them down and sewed a hem all the way around.

Then, I cut the fabric to fit over the dishtowel the same way I make my burp cloths. If you have a serger you can serge to the exact size, if not you will need just fold the edge over. Then I used a zig-zag stitch to attach the fabric to the edges of the dish towels.


Fold your towels the way they will hang to determine where you will stamp your words. Then tape off the section for the words.

Of course, I used my PSA Essentials. The great thing about these stamps is the “stamper” that comes with them. It gives you a perfect stamp each time but I wanted a more “rustic” looking letter so I used the stamp on an acrylic block. Also that helped me to line up the letters easier.

Center your words and stamp away.


I love how they turned out. Also, last week my son moved them and I walked by and they said “giving… thanks” Still works. For other PSA Stamps ideas, visit the blog HERE.

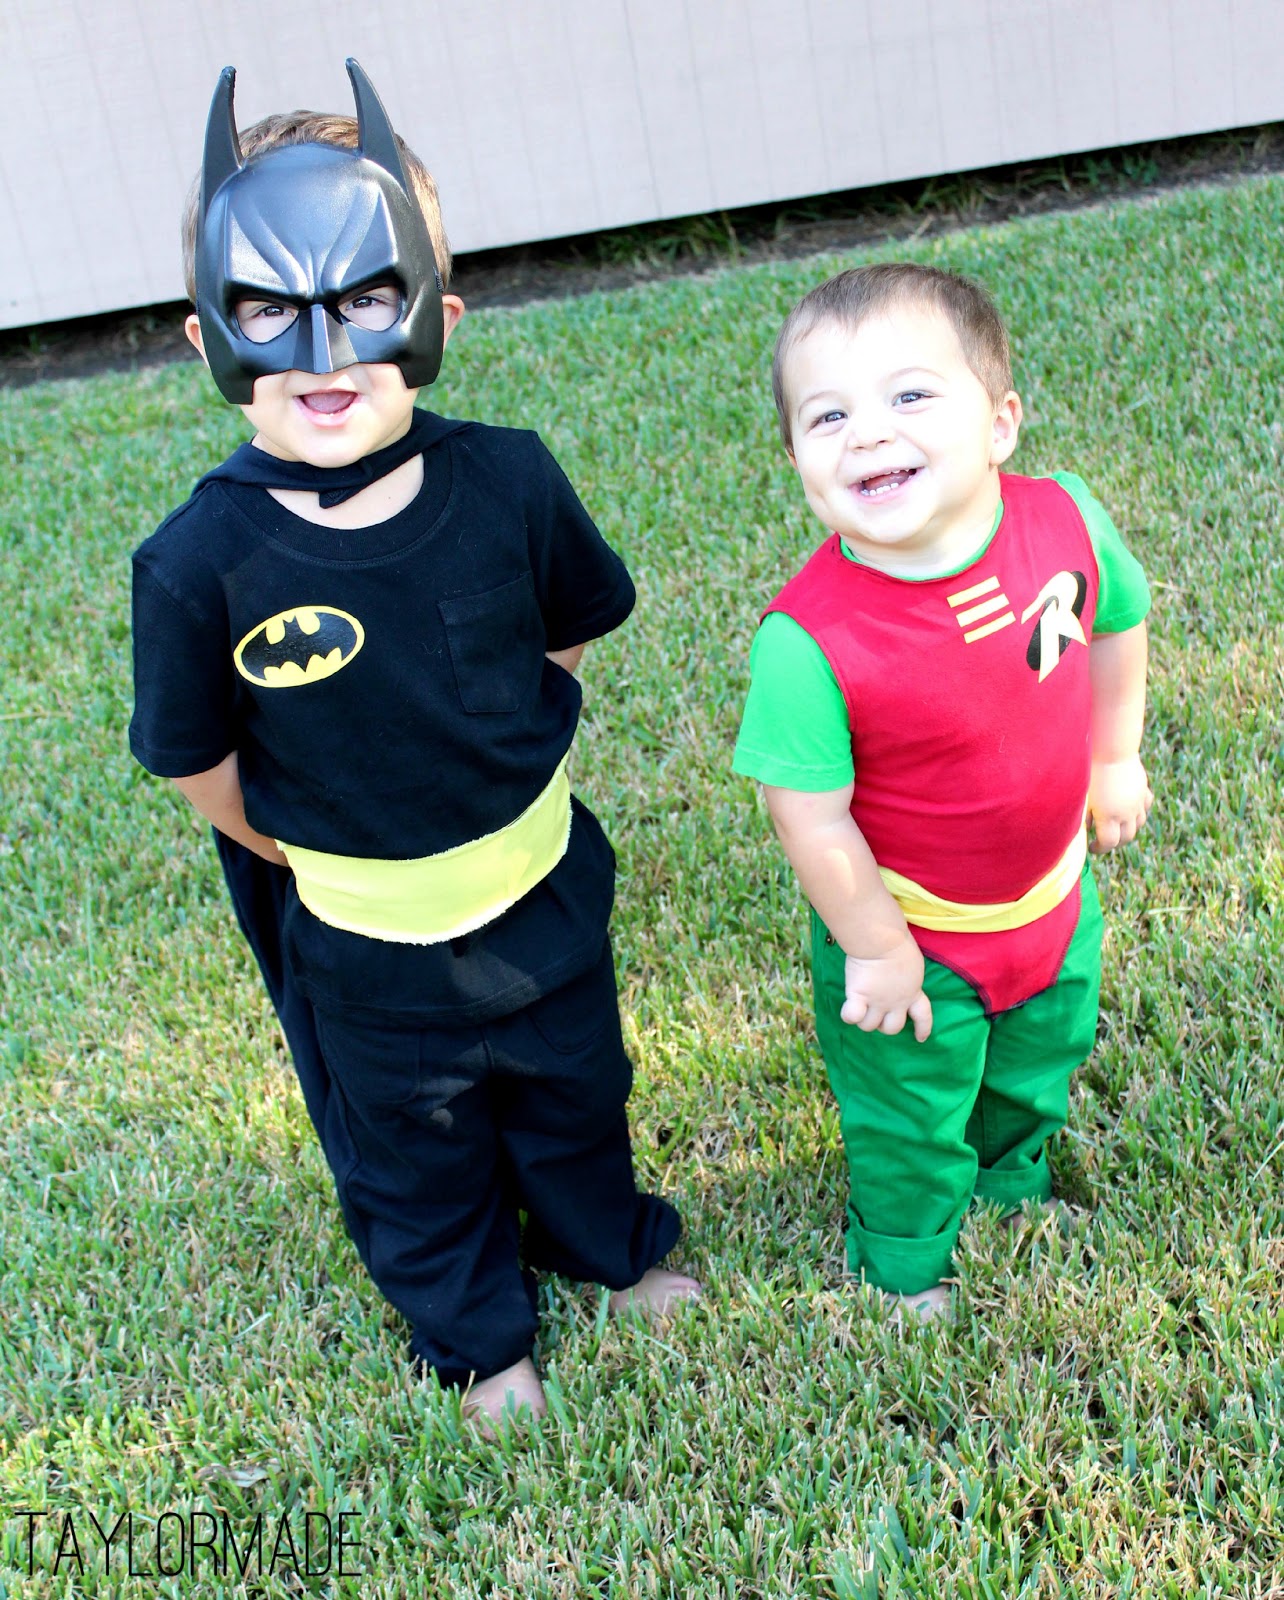
I know I’m a little biased but they look stinking cute! However, that Robin is a little stubborn, he doesn’t like his mask or his cape (or pictures)… oh sure just don’t wear it, its not like I spent any time on it or anything :/ I used green pants and a green shirt that he had and I made the “vest” part. I used an old red shirt that I had and drafted a pattern up using a sleeveless shirt and underwear… go me! Then I used iron on transfer for the logo and the stripes on top. The belt is just yellow fabric on top.

Batman on the other hand would live in his costume if I would let him. I know how much he loves Batman and that is why I made his costume out of normal clothes that he can wear after Halloween. He has on plain black pants and I used layered iron on transfer material on his shirt. Then I just made a separate belt out of yellow fabric.

I love the way the capes came out, I used black jersey and used a bib for a pattern around the neck. The logos are just felt. At least one of them loves his cape haha.

If you are wondering how I ever got two toddler boys to be still for “this long” here is my answer… I bribed. I’m not really above anything for a good picture.

I hope everyone has a safe and Happy Halloween! You can check out last years costumes HERE and HERE.


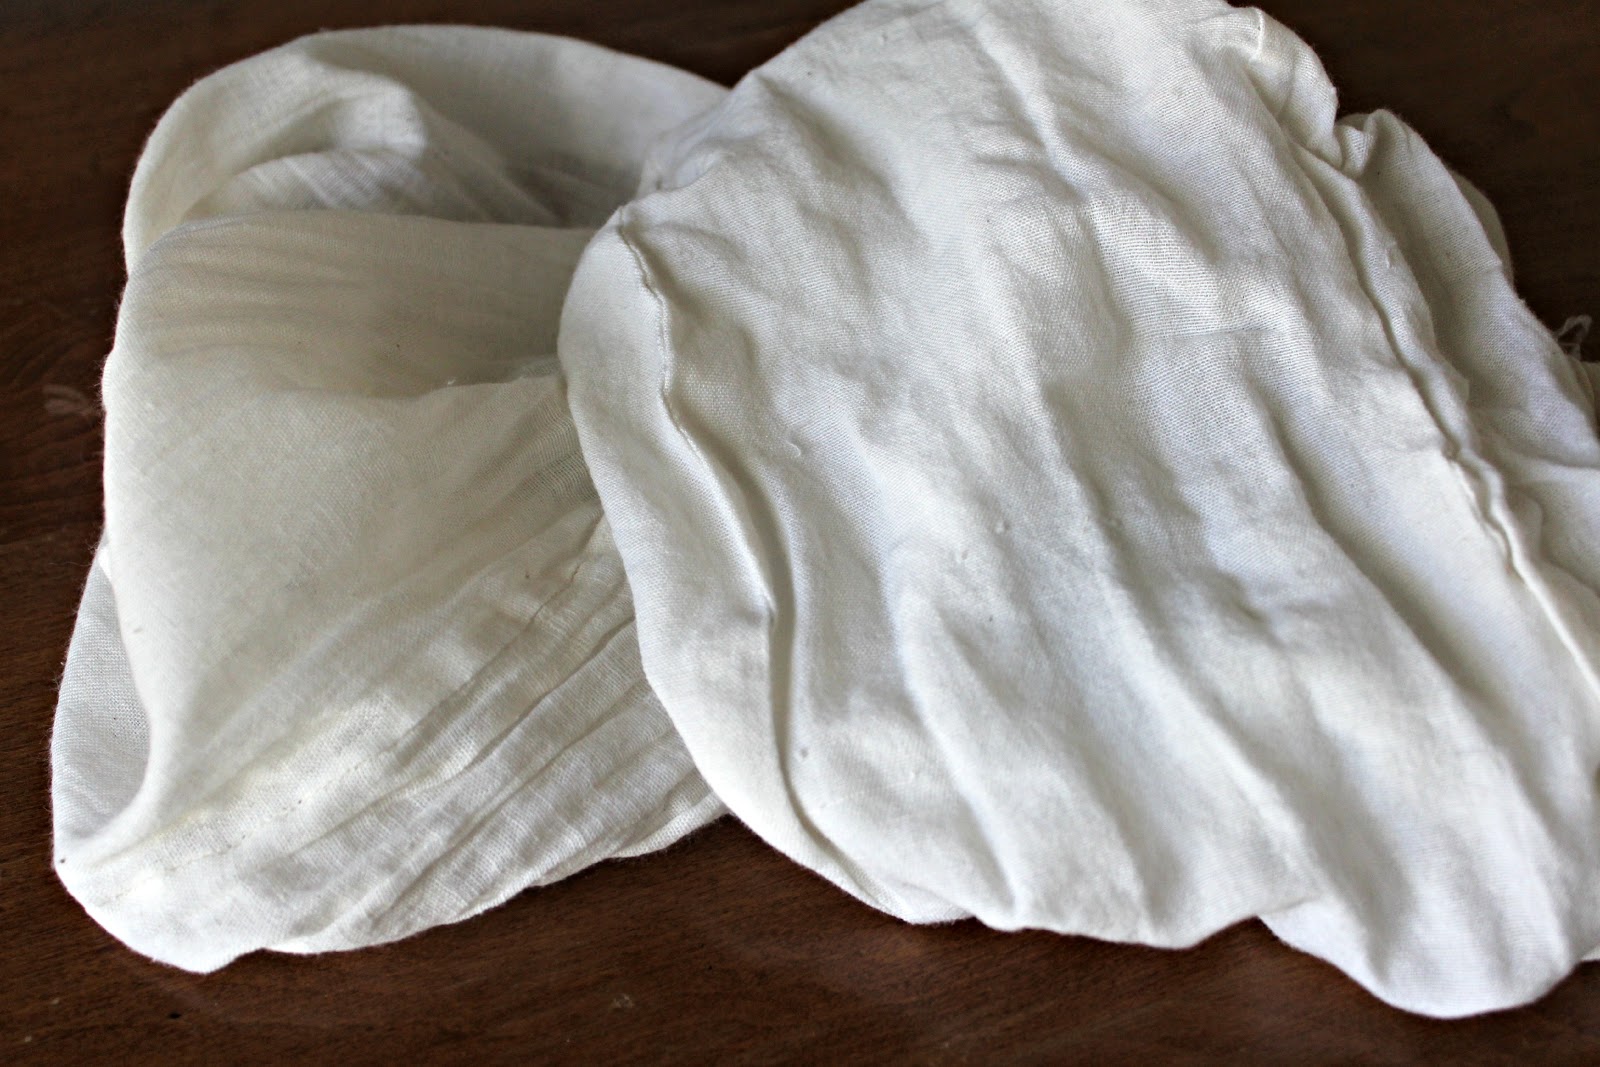
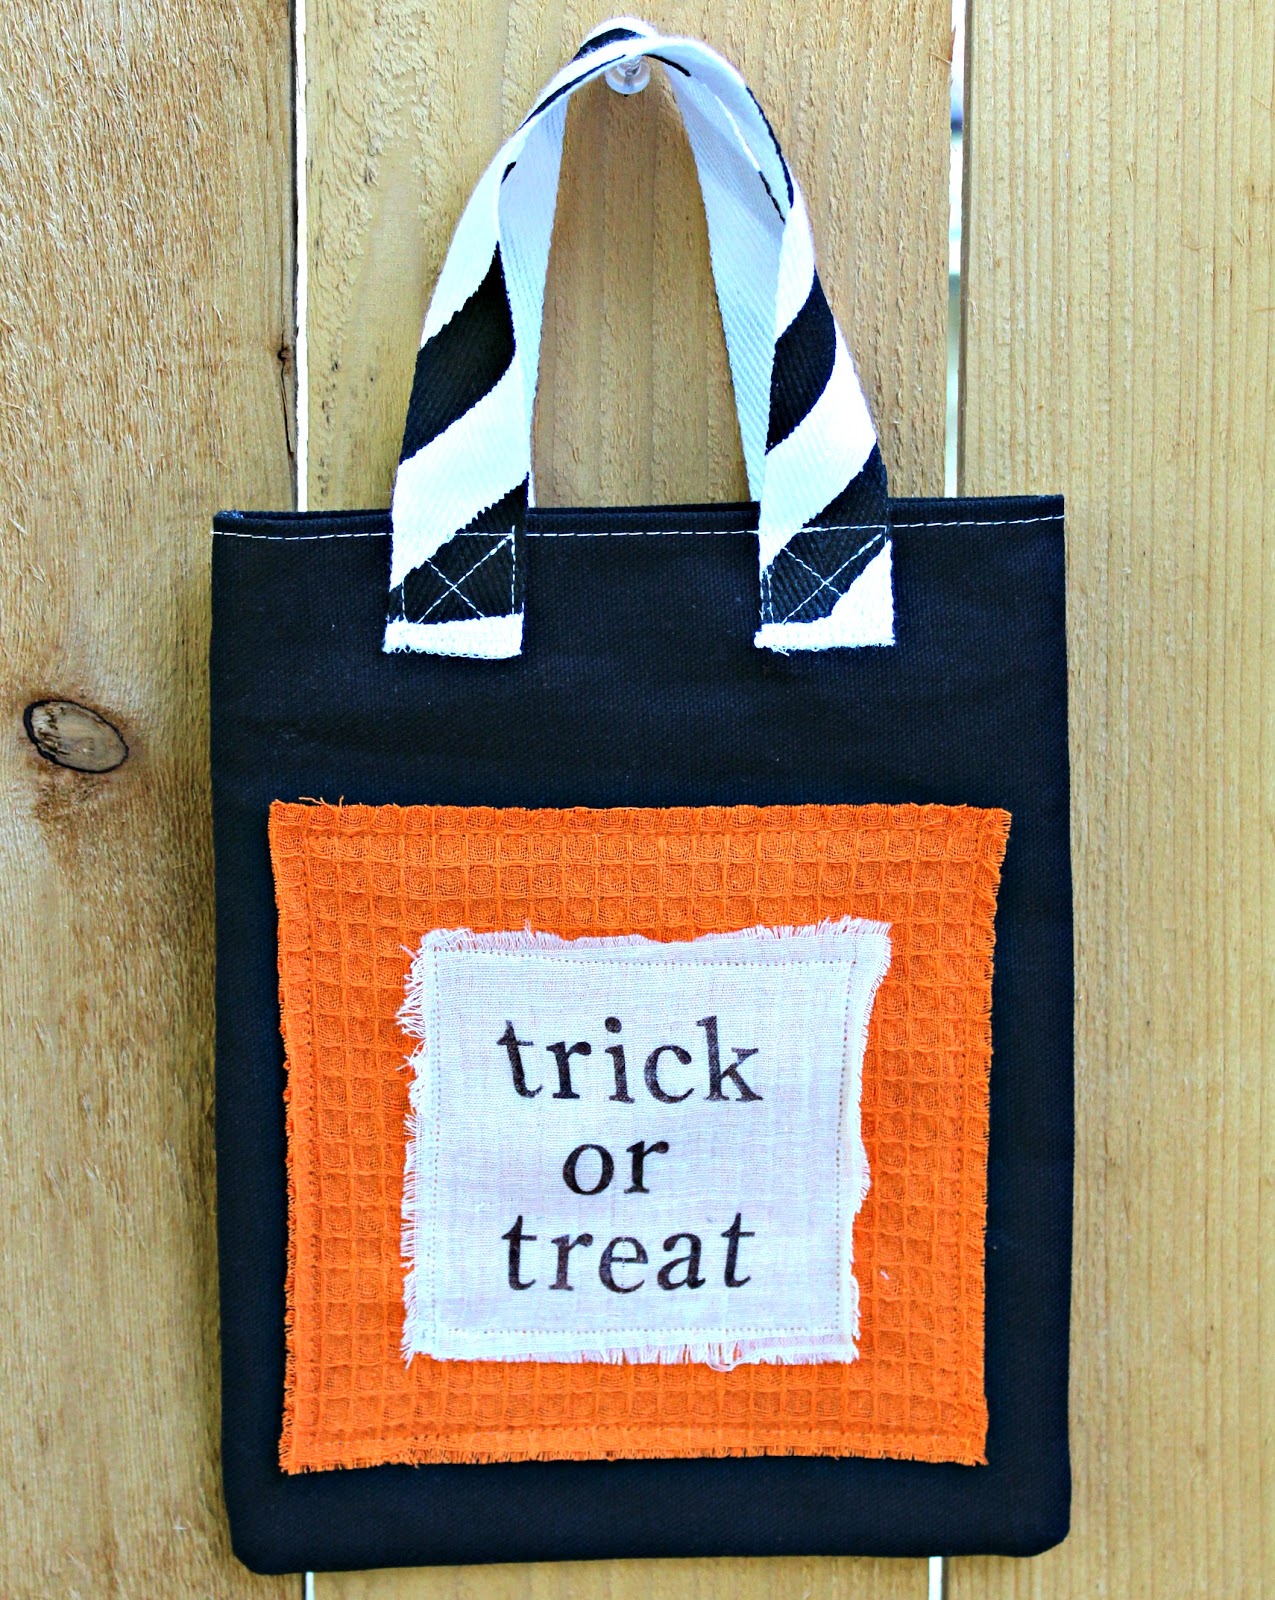
Halloween really snuck up on me this year. I thought I was so ahead of the game when I made the boys these bags last month then I just stopped and I’m still not done with their costumes :/ I will be done by Halloween because I have to be. Anyway, I love how these turned out.. really easy and I only spent about $2 total for both bags.
I had these little muslin bags that something came it and I didn’t want to throw them away because I thought they were pretty. I cut them and taped them down to a board.
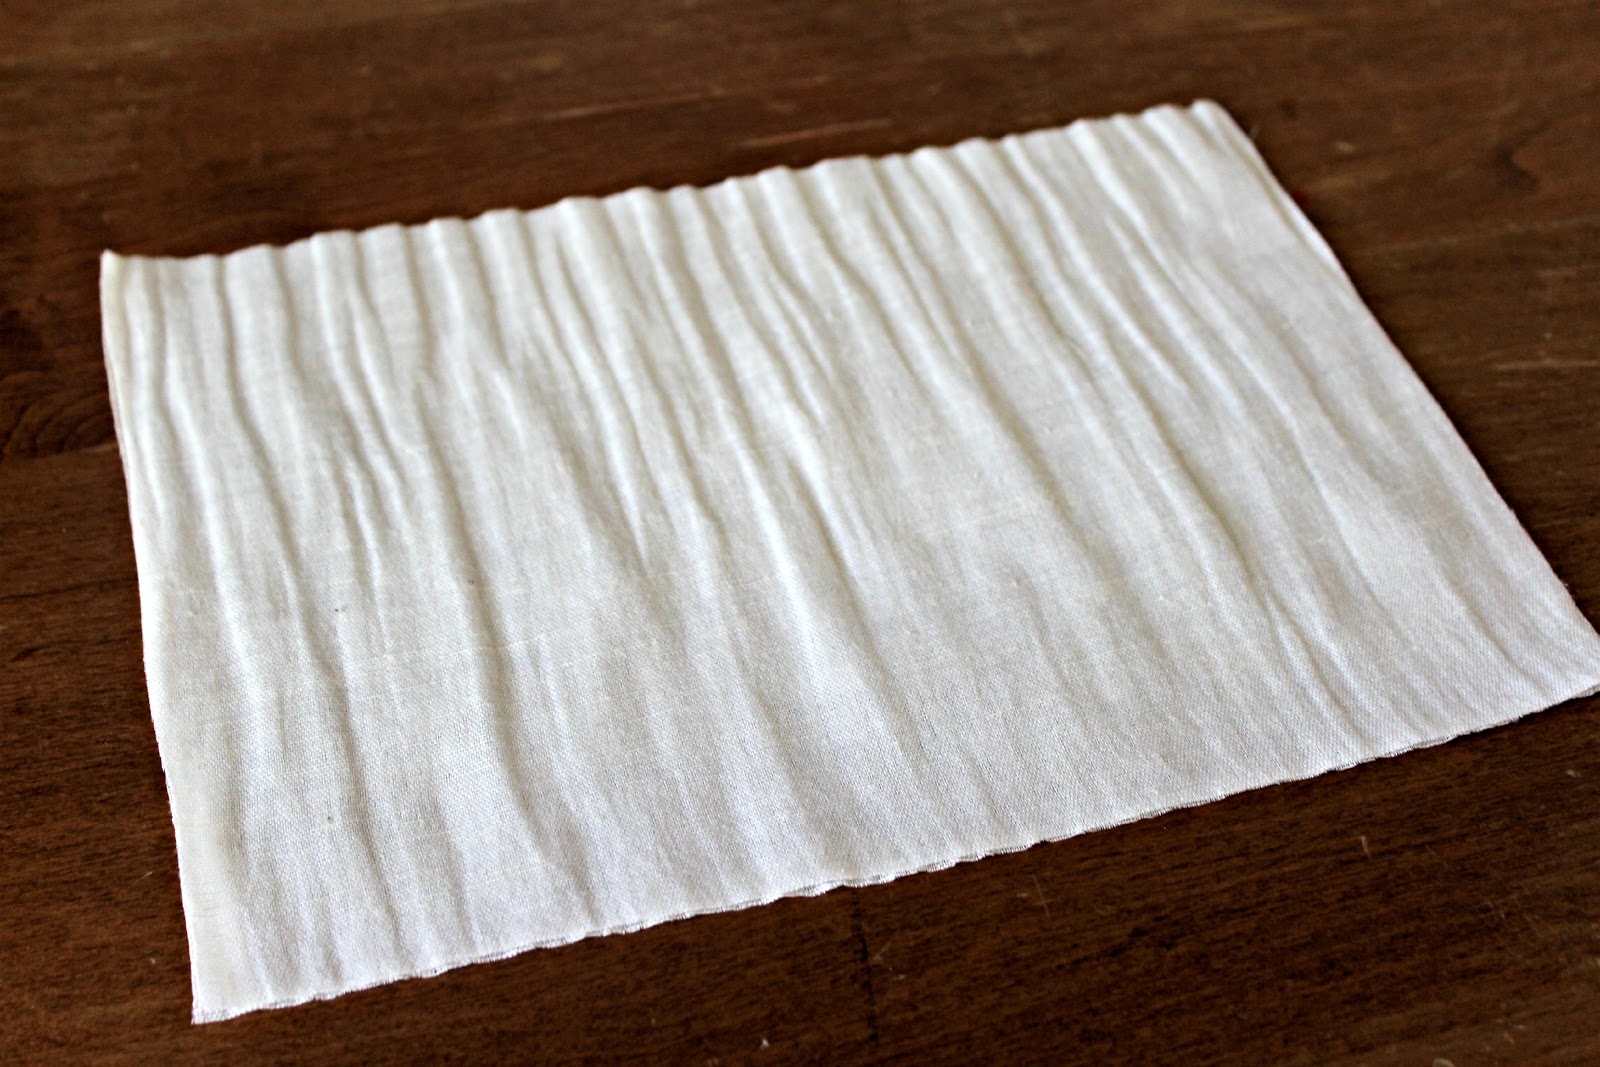
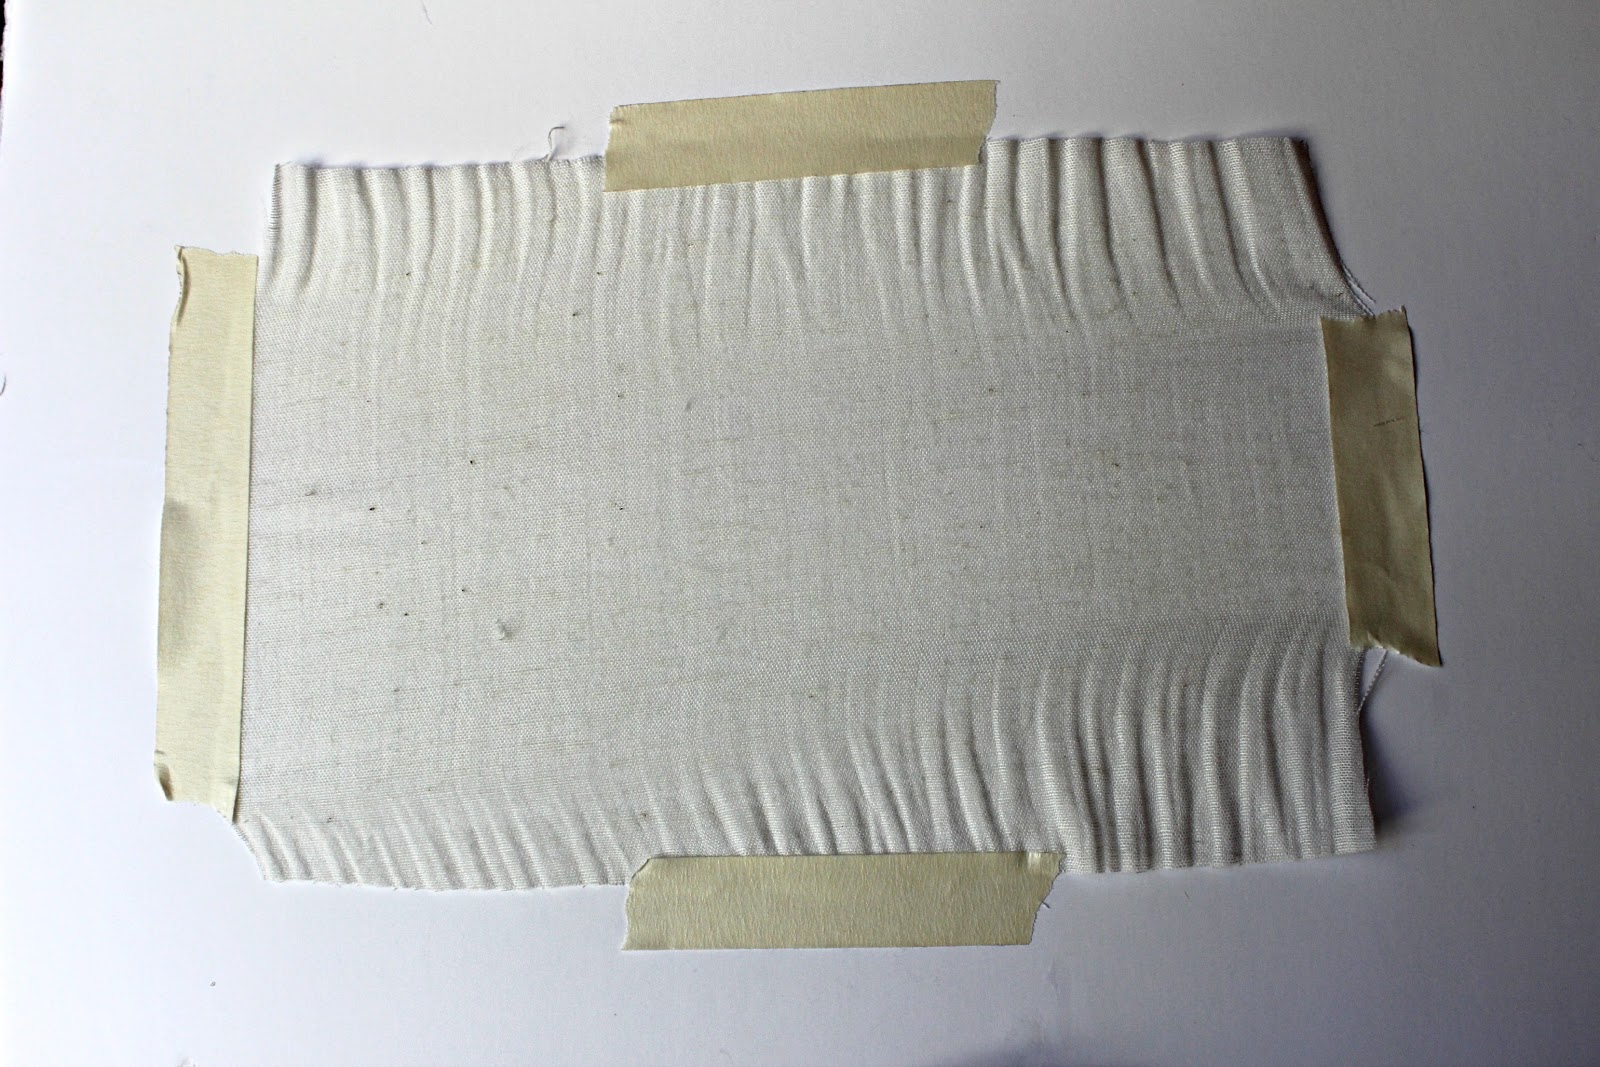
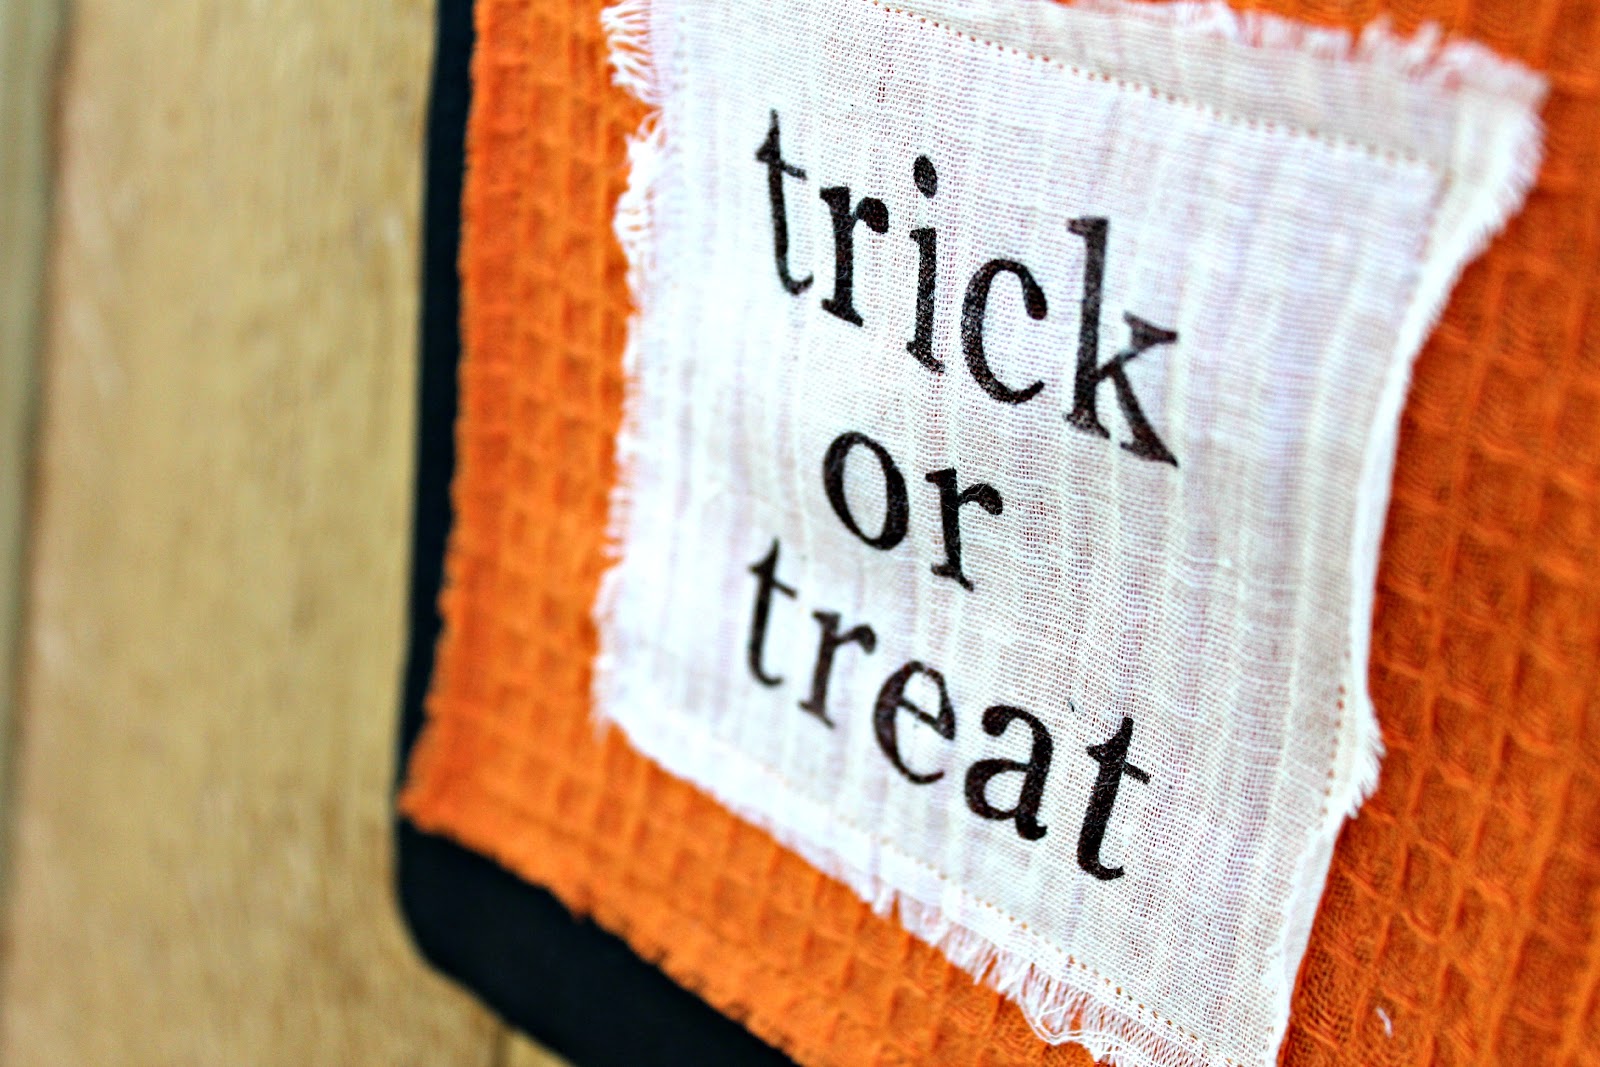
I used my PSA Alphabet stamps to stamp “trick or treat” on the muslin (I use staz on for fabric stamping). I sewed that to an orange dishcloth I found in the $ section of target.
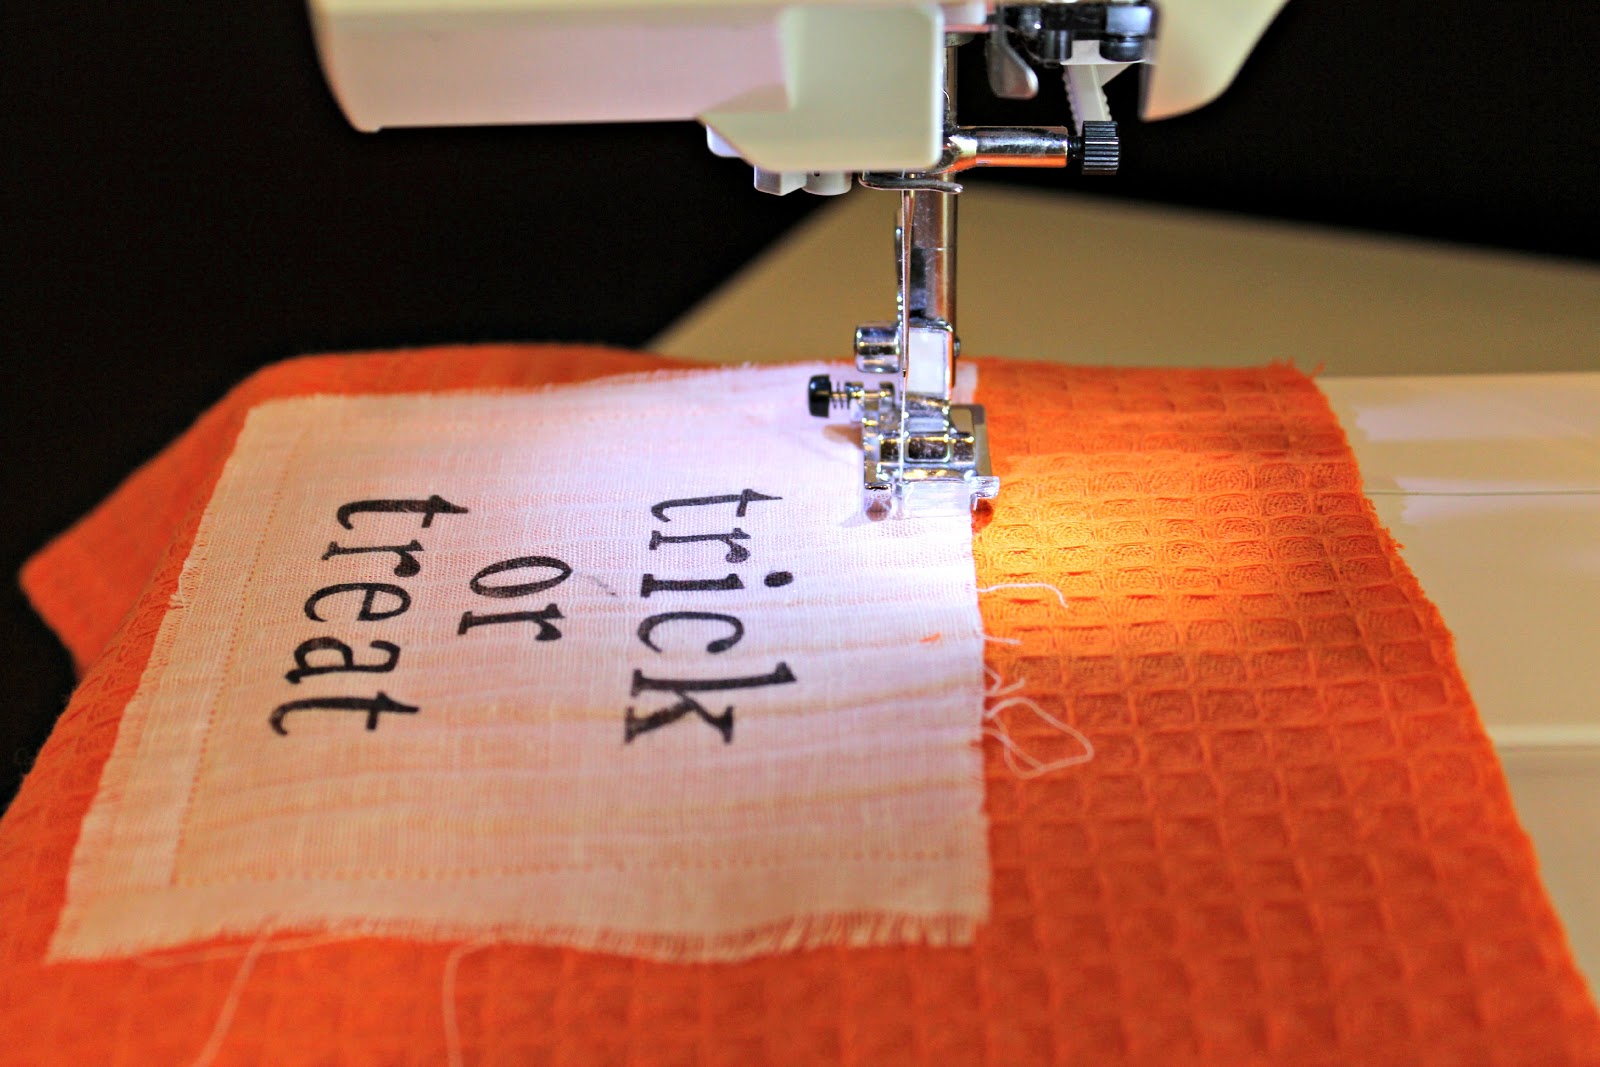

Then I sewed that to some black duck cloth.

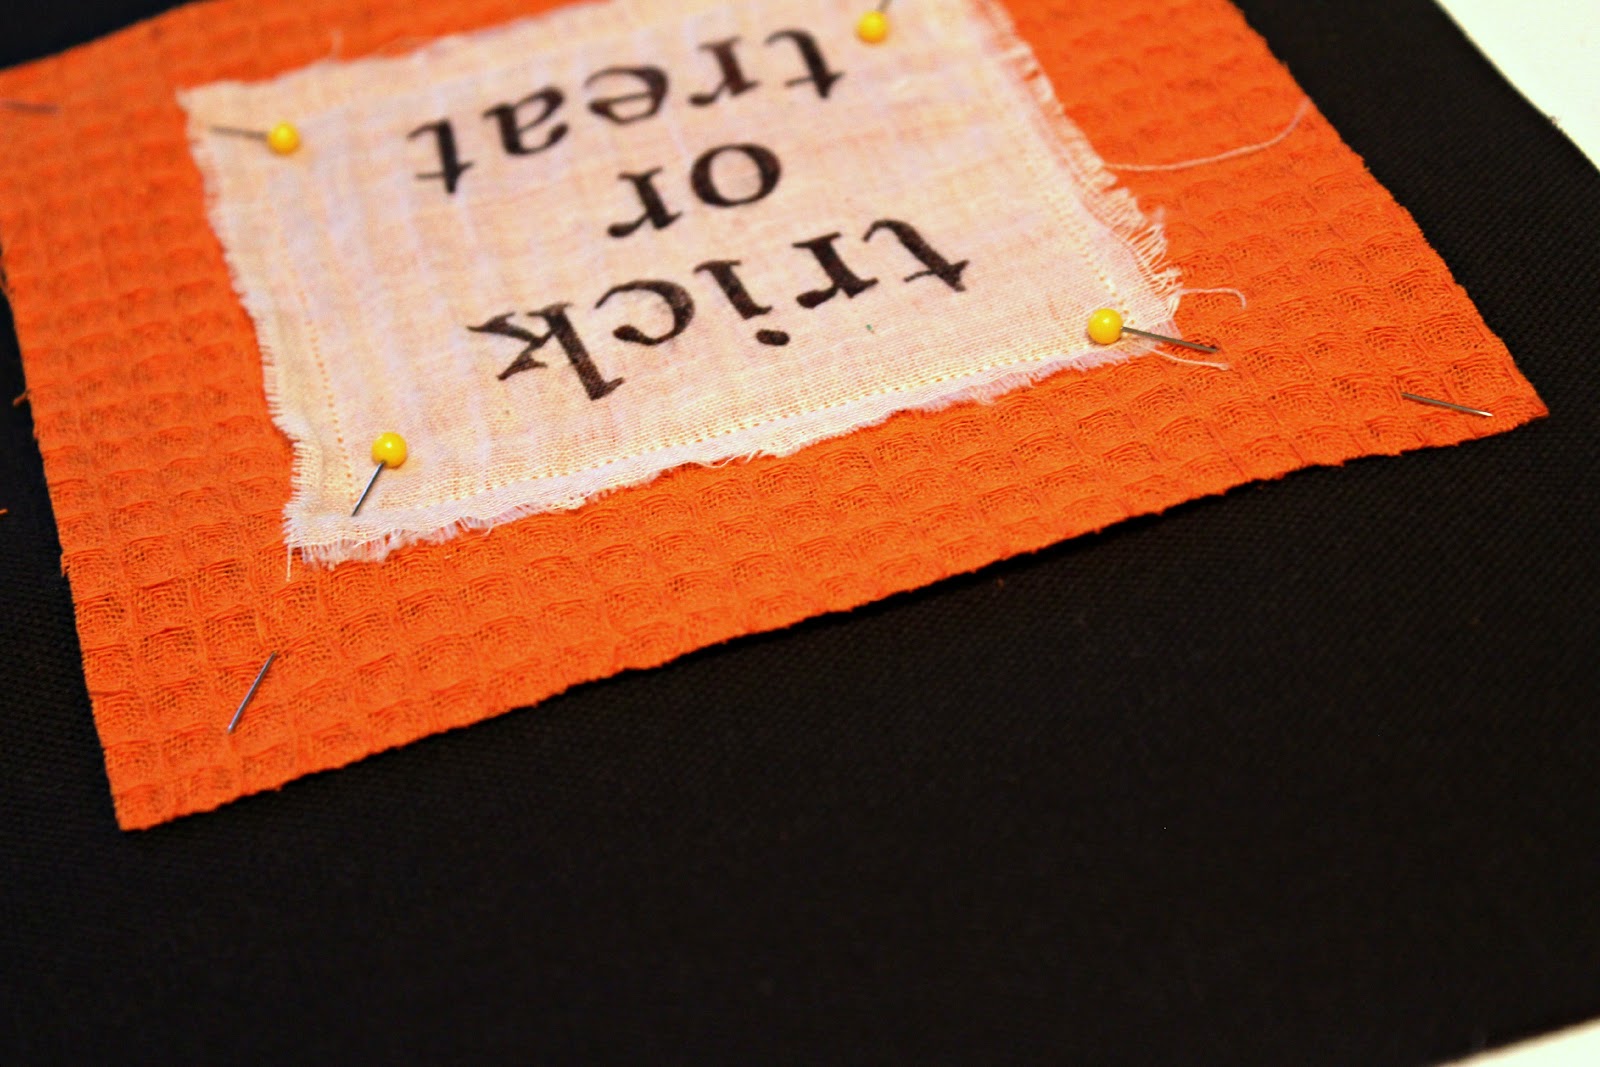
Then sewed the black duck cloth together to make a bag. Then I used cotton belting for the straps but I taped them off and used black fabric paint to make stripes.

Yay, so easy… and of course I had to make two that look identical. I am at the stage where I know way better than to make different colors, styles, prints etc. Because it so much cooler if it’s your brother’s right?
Is everyone else ready for Halloween? What do your kids use for candy bags?
I’m going to share one more easy stamp project tomorrow before the big “costume reveal” if you haven’t been following along on Instagram yet. For more great ideas on how to use these stamps visit PSA Stamp Camp blog :)