Documenting life is beyond important to me. I am super visual so if I don’t have pictures to go along with my memories, they start to fade. I have been a “journaler/scrapbooker/documenter for as long as I can remember. I still have my scrapbook from 3rd grade. Its not that anyone sat down and said now, Taylor, put these pictures and memorabilia in this photo album and write a little something about it here. It comes naturally. I write in both of my boy’s baby books every month. I have pregnancy albums and high school scrapbooks. And I love it, but it can get overwhelming. Its like OK you have to live life to be able to document it and with kids and jobs and friends and events it can get hard to stop and make time to keep a record. So, I thought I would share my method and how I keep up with it (or try to).
How I Document Life and Still Have One
1. Take lots and lots of pictures. Of everything. All the time, everyday. Seriously, you can always delete the ones you don’t need, but just take pictures, even if they just sit on your computer that is the first step. If you are a parent you probably already do this, if you aren’t a parent you will start to do this when you are a parent. Its like “awww hes sleeping”.
2. Upload the pictures to your computer and also upload them to an online photo server. If you have had your computer crash with your precious photos on them you know how important this is! I use snapfish.com and each time I upload pics I just upload them there too, its easy. On my computer I have my photos organized by month or event and date.
3. (and this is the hardest part) Print the photos. Seriously, they are meant to be printed out guys. This is what I do… Lets use today for example – its the end of February, so I have all of my February pictures in my February folder. I also had Clyde’s Bday or lets say I had a wedding or another party. What I will do is around the end of February or beginning of March I will make sure all of my photos are uploaded to a “February” order. Like I said I use snapfish but there are a ton of equally great places online. I like it because I don’t have to leave my house haha. Some months I have hundreds of photos and its never been over $10 a month. I know some “scrapbookers” do, but I don’t really bother with planning pages and sizes yet, I just print most of the pictures I like and I will place them later.
4. (the fun part) Put them in a book. Last year I discovered Becky Higgins Project Life. If you have discovered Becky and her stuff, yay us! I have no affiliation with Project Life other than I can’t say enough good things about it. Before I had kids I had time to do traditional scrapbooking and I still love my scrapbooks but no way can I spend 1-2 hours on each page now. I need to get the pictures in their homes quick and this method has been awesome for me so far. Here a little glimpse into what I do:
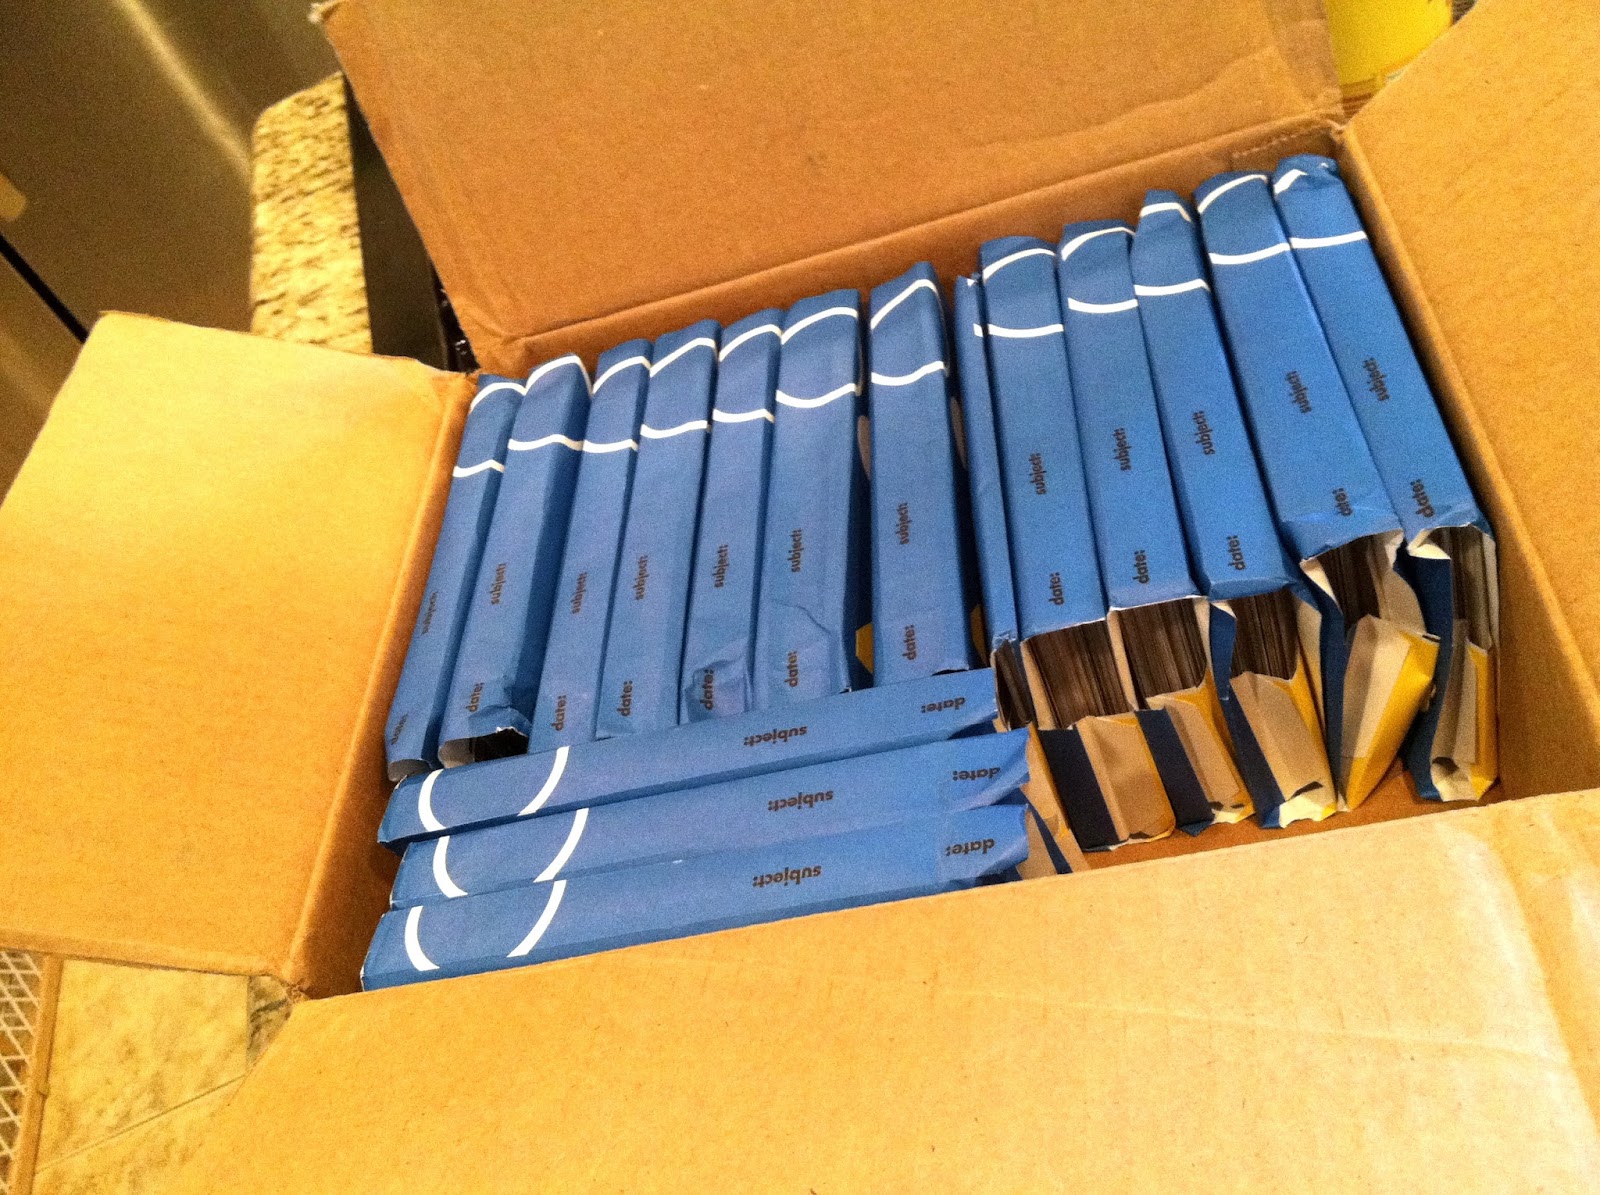
I have to stay organized and I don’t have a ton of space. So, my husband built this little Project Life Cubby. I store the kits and the books here. It all fits right under my fabric bin in the craft room.
I keep all of my printed photos in photo boxes and I use post its as dividers for the months.
I have the Black Signature Binder and I also have 3 of the core kits. I am playing catch-up for 2 years while I keep up with my 2012 album. Some might call it crazy, but you know I like to live on the craft edge :) Also, when I discovered PL, turns out a bunch of other ppl did too ha! So it was sold out and I had to wait for months until they had more in stock. To make sure that didn’t happen again, I made a large order. I am so glad because it seems they have sold out again this year, twice.
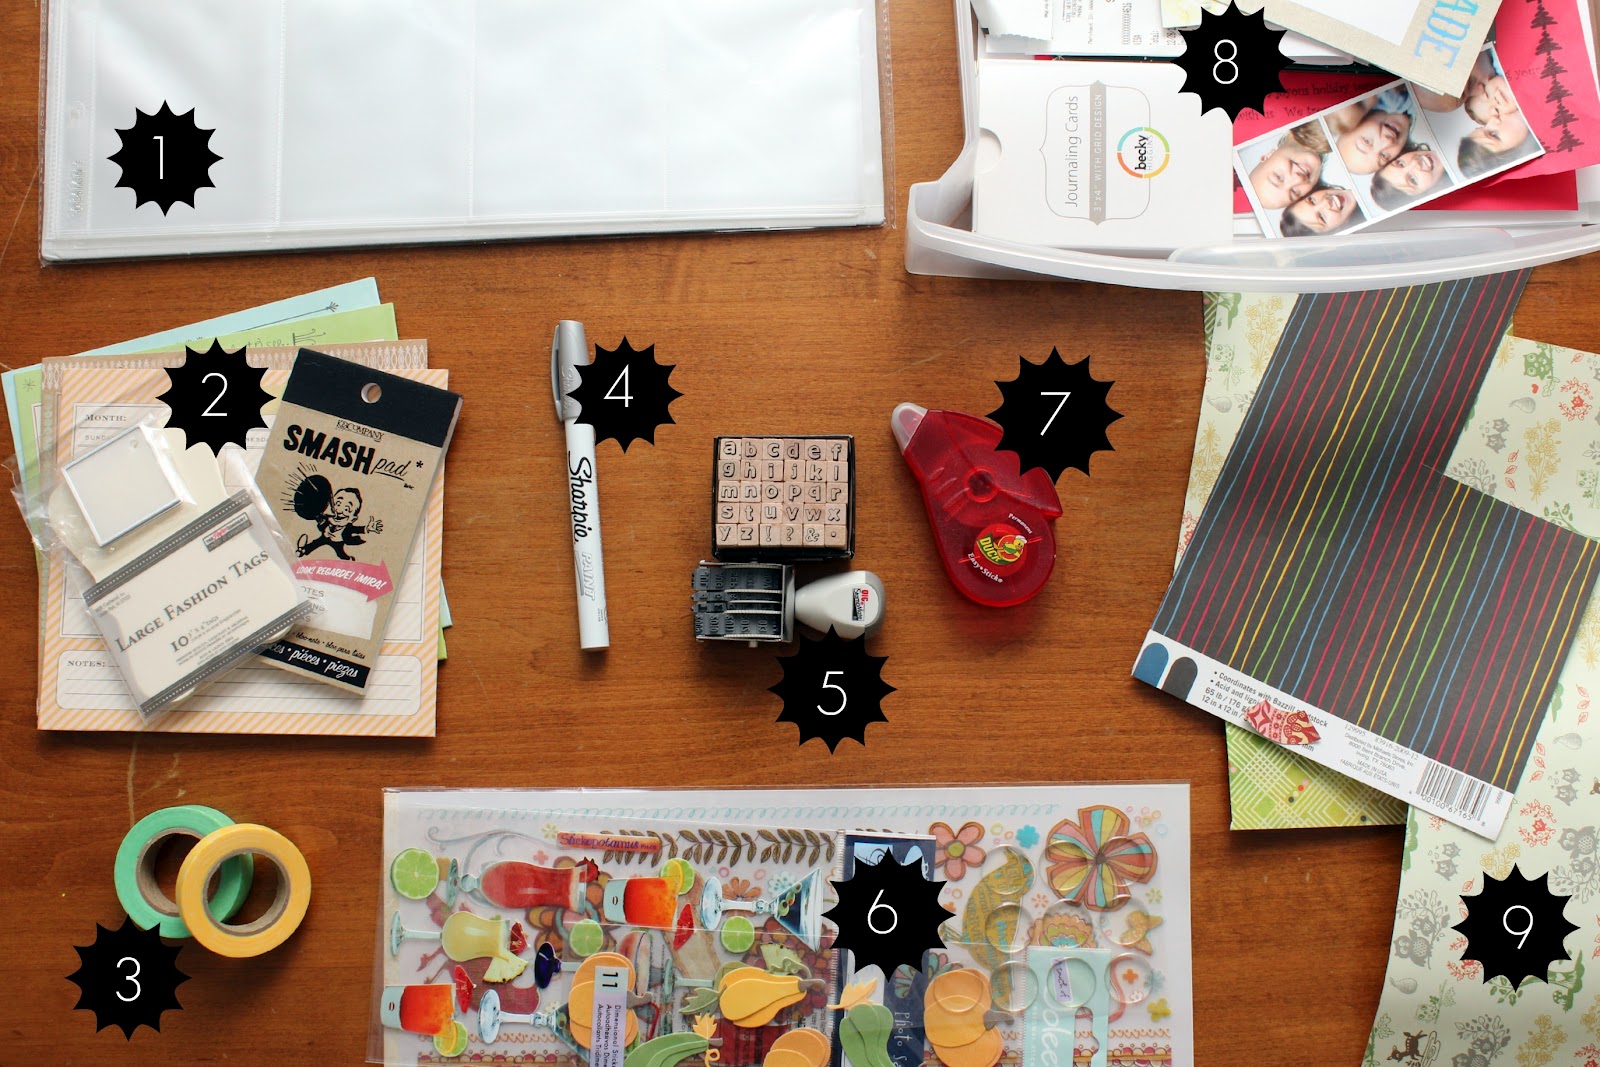
I have a few other things that I think are must have items to make your documenting life easier.
1.Project Life Pocket Pages – to me, the best part! Its the backbone to PL, premade slots so you don’t have to plan out a whole page, you can get as creative as you want or just slide the picture into place. I do a little of both. 2.Tags & Die Cuts 3.Washi Tape 4.A paint pen so you can write directly on a photo 5.Date Stamp and tiny alphabet stamps that I found in the $1 section of Walmart 6. Stickers 7.Tape Wheel 8.I keep a drawer of loose flyers, grocery lists, receipts, ticket stubs etc. to add to blank spots in the book. 9.scrap paper
I also print two iPhone pictures on one 4×6 page.
I am trying to sit down once a month for 2-3 hours and finish the previous month. So far, its going great! Also, I am working on last years book at the same time which is much harder, because I don’t remember anything haha! If you keep up with it, its faster and easier.
Here are a few of my PL pages:
2012 Intro Page
a really simple layout, all I did was round the corners
6×12 half page
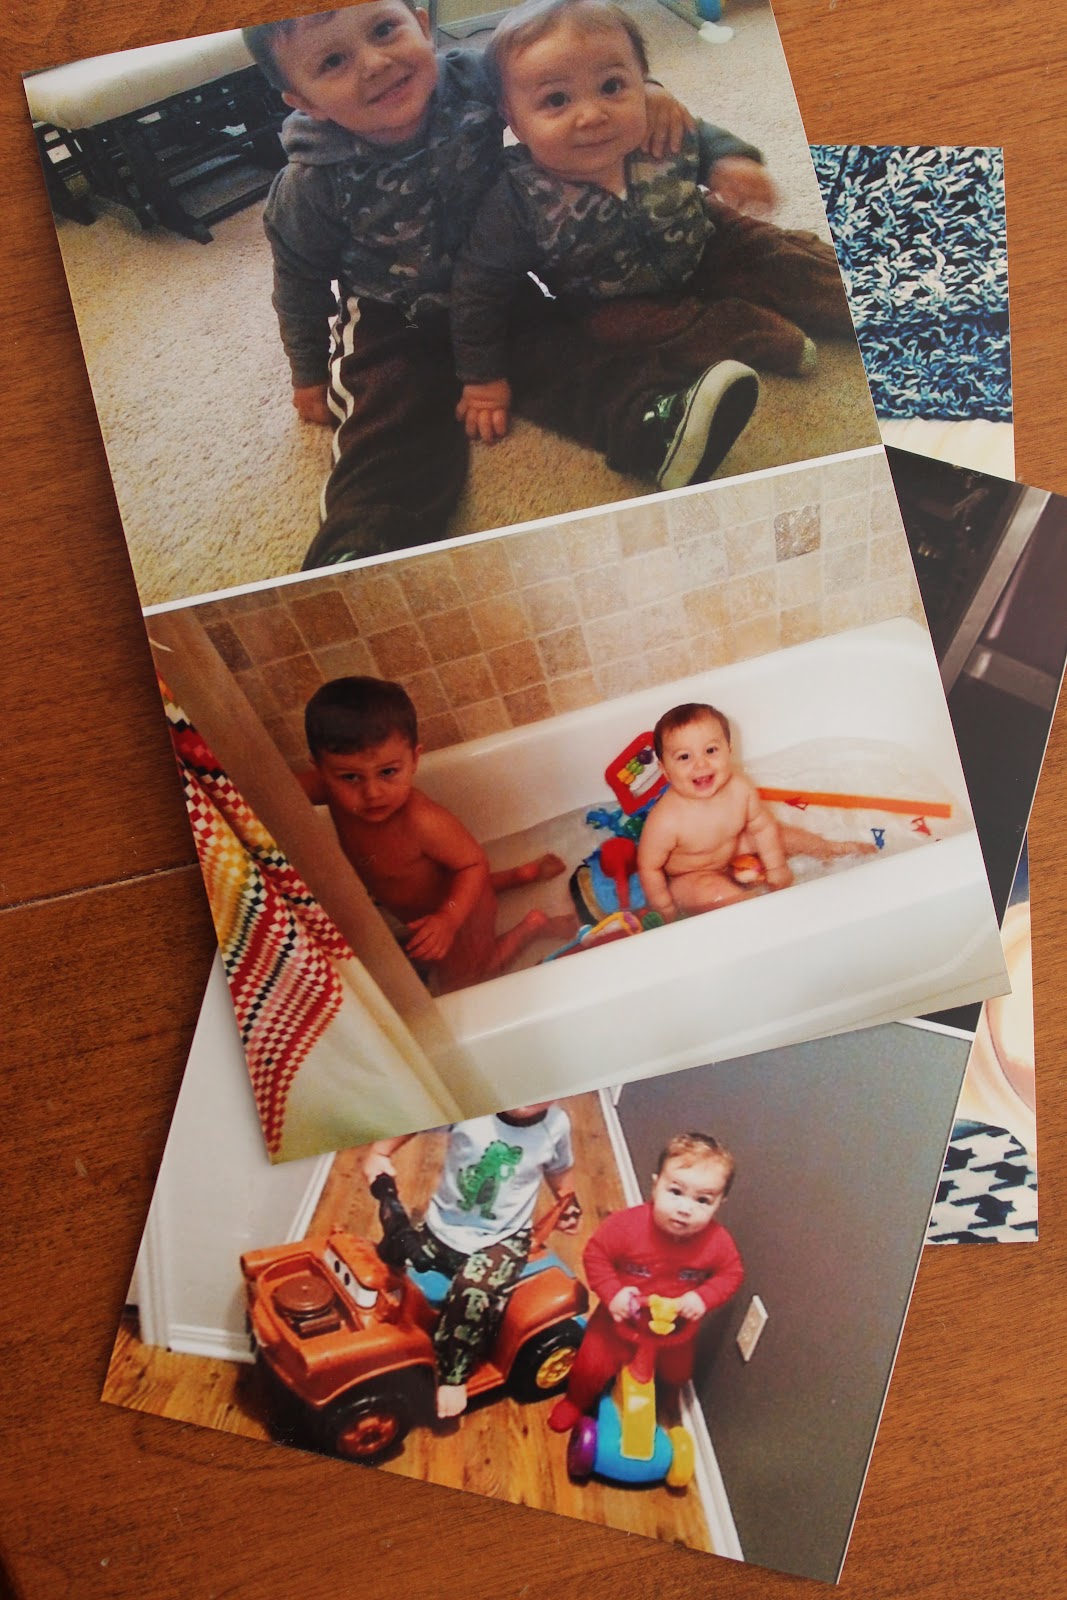
one of the boys many “monthly update” pages
Hopefully you found some helpful hints about documenting your family’s life. This is just how I do it but you have to find your own way and most importantly start at step one.. take pictures :)
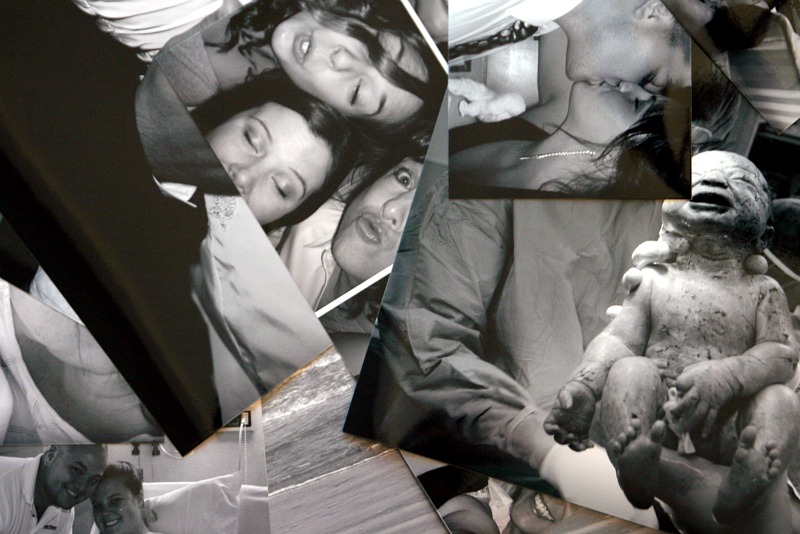
Happy Monday, today, I give you my Memory Hall. My favorite moments of all time. No boring portraits or fake smiles here, all of the pictures I chose are real moments that represent something to me. I can’t think of a better way to give life to the hall in our home. I love the colorful frames on the grey wall.
How I did it:
I started by painting our hall Slate Grey. So much better than a boring white hallway already!
I added a chair rail, painted it white and hung it at eye level.
I collected different sized frames (super cheap from Good Will) and primed them with white
primer. I used the spray paint for plastic because I think the paint sticks better.
Then I painted the frames bright colors.
Printed out my “Favorite Memories” in black and white. This was the hardest part because I had to pick only ten pictures with a good mix, naturally I wanted them all of my babies!
Then I hung the pictures to the wall, with the bottoms resting on the chair rail.
(lovely camoflauged a/c controler?)
I love the way it turned out, now I am reminded of my favorite moments everyday