TaylorMade

DIY, Home Decor & Sewing

  • Home
  • SHOP
  • DIY & Sewing
    • For the Home
    • Sewing
    • Costumes and Holidays
    • Cricut Projects
    • Crafting
  • Parties
  • Recipes
  • Home Tour
  • Favorites
  • About

Gold Dipped Wine Glasses

January 24, 2012 By Taylor 15 Comments

Have I told you about one of my favorite BBF’s? That’s short for best blog friends mmkay. Meet Melissa from Cupcakes OMG. She is beyond awesome, one of the most stylish people I know and she’s hilarious. Melissa is a self named “snarky narcissist” and isn’t afraid to tell it like it is, whats not to love? Not to mention she is an incredible cook – everything from healthy paleo recipes to decadent cupcakes. She is originally from Houston but lives in DC so when she was home for the holidays we got together to do a little craft project. 
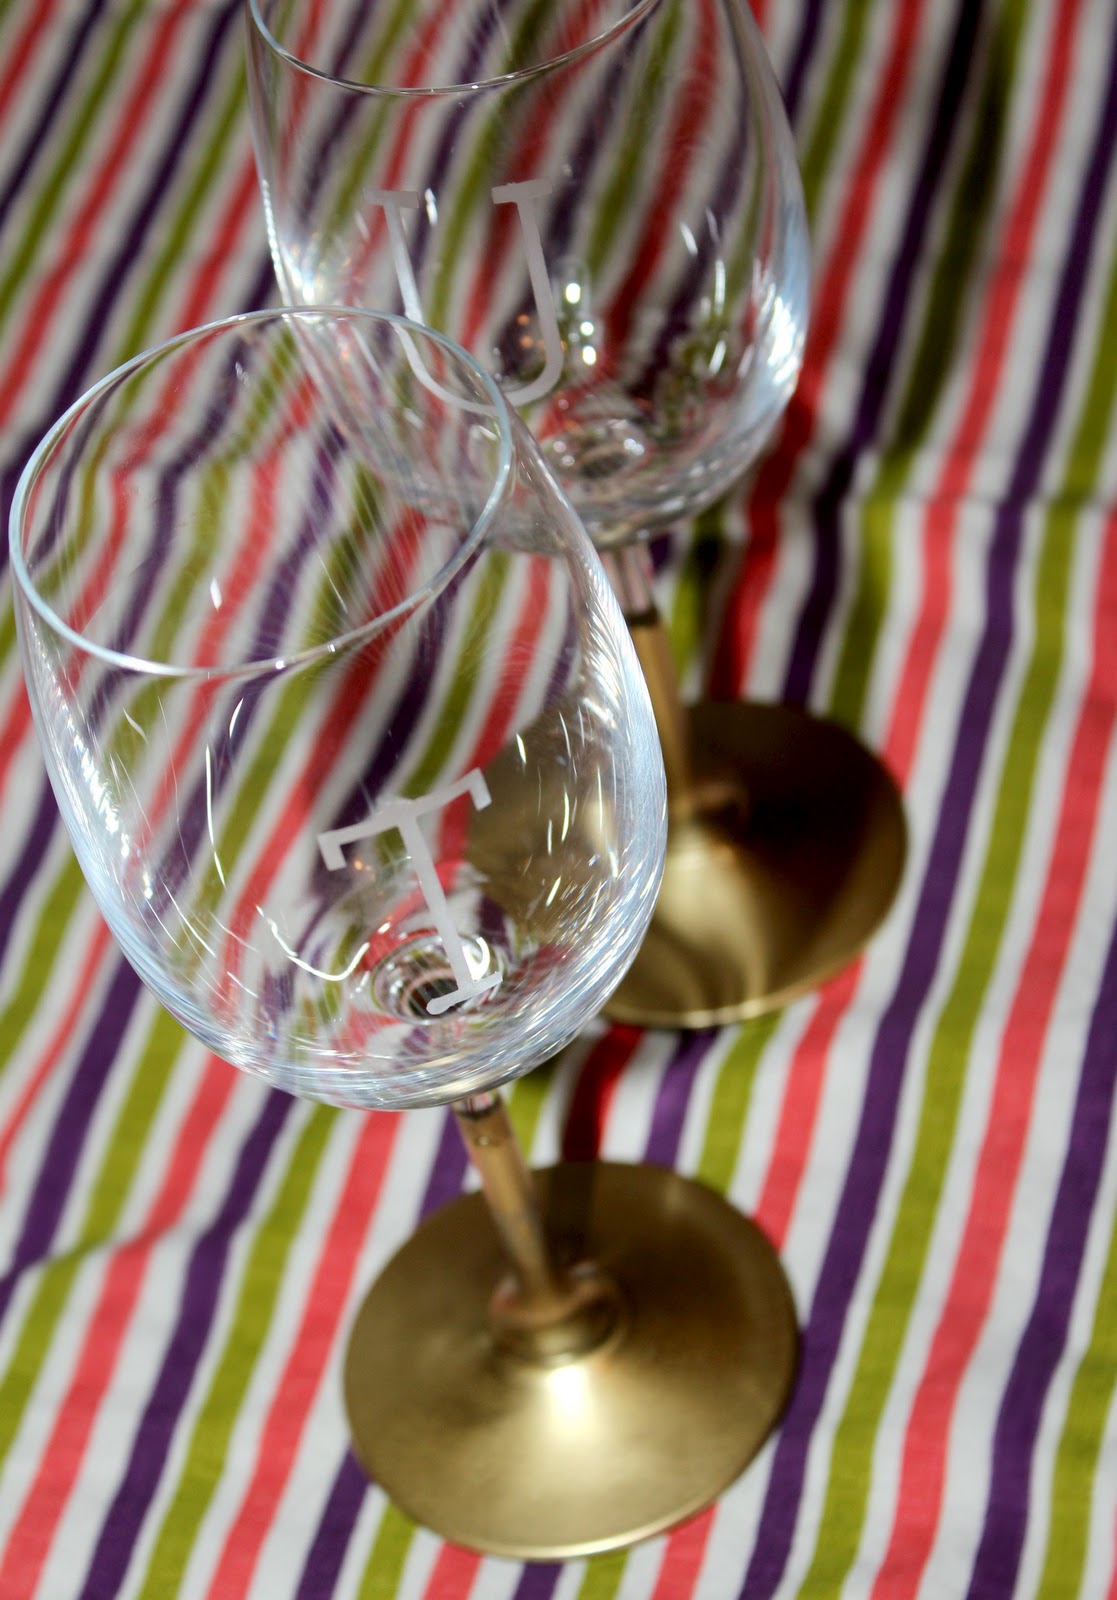
Enter the Gold-Dipped Wine Glasses (tutorial found via Say yes to Hoboken)

View original tutorial HERE.
Melissa and I spent hours catching up and dining on my Pimento Cheese Sandwiches and Macaroons that she made. Then we got down to business. 
All you need is gold spray paint, tape, newspaper and the glasses.

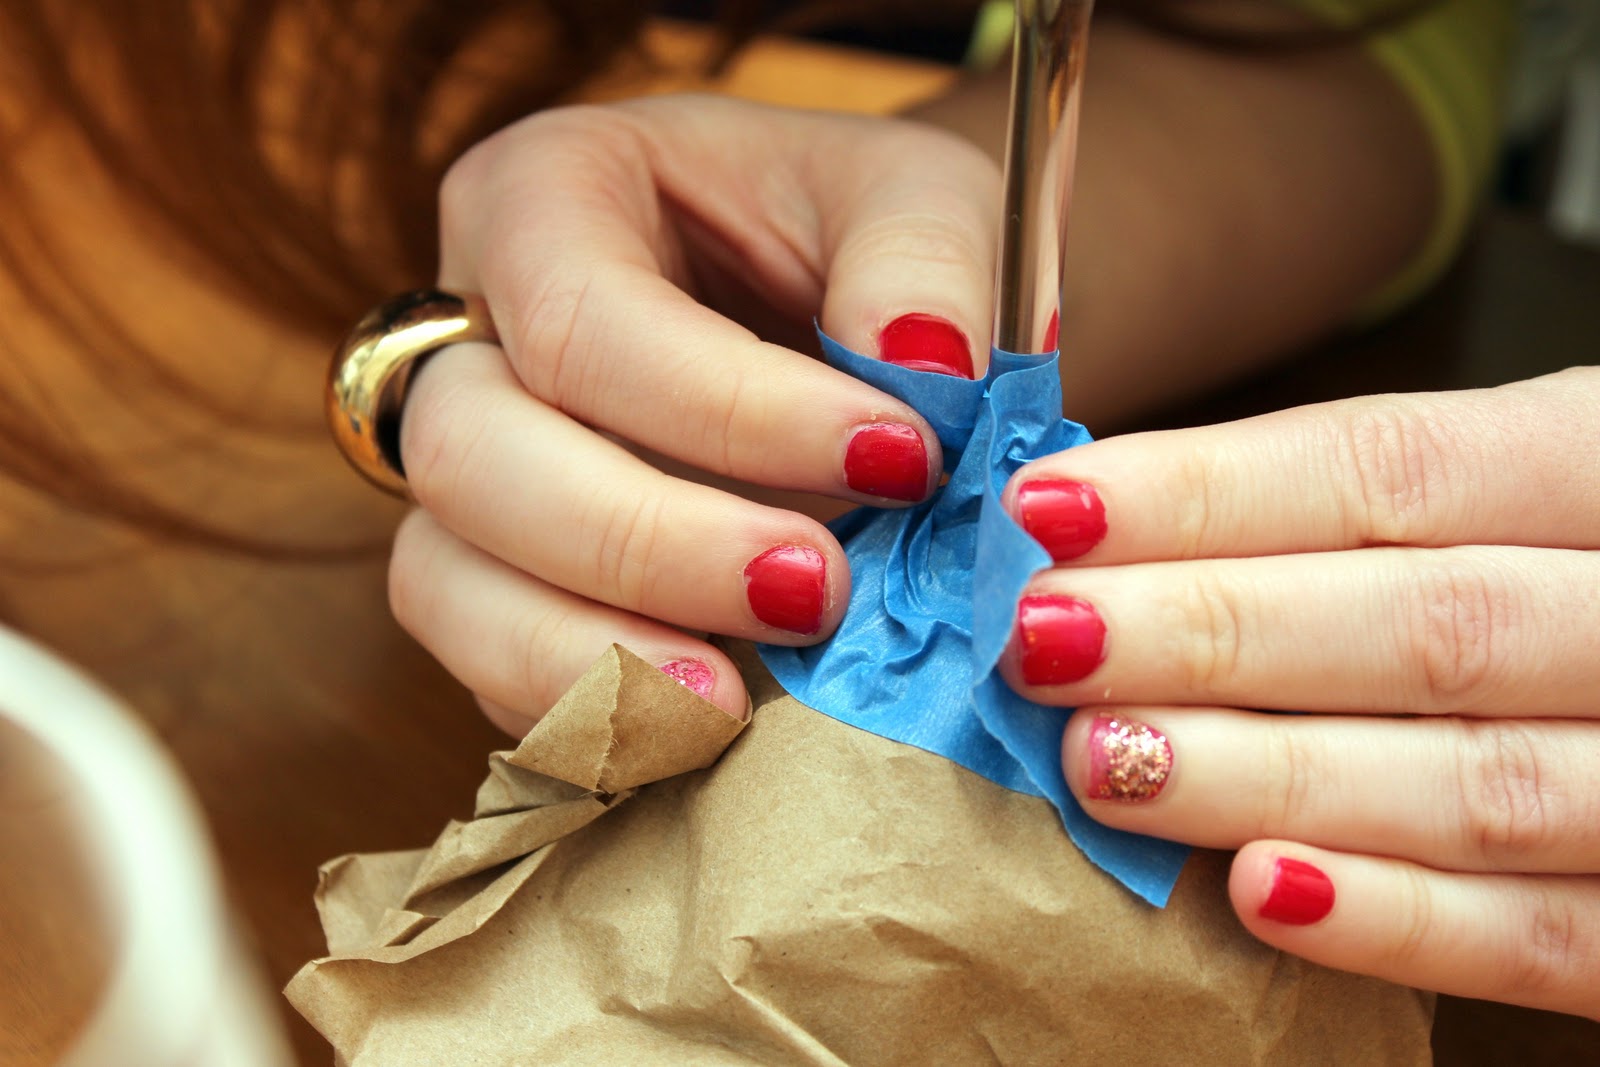
 We wrapped the wine glasses with craft paper and painters tape. Can I just say how much easier it is to take pictures of a craft when you have a model.
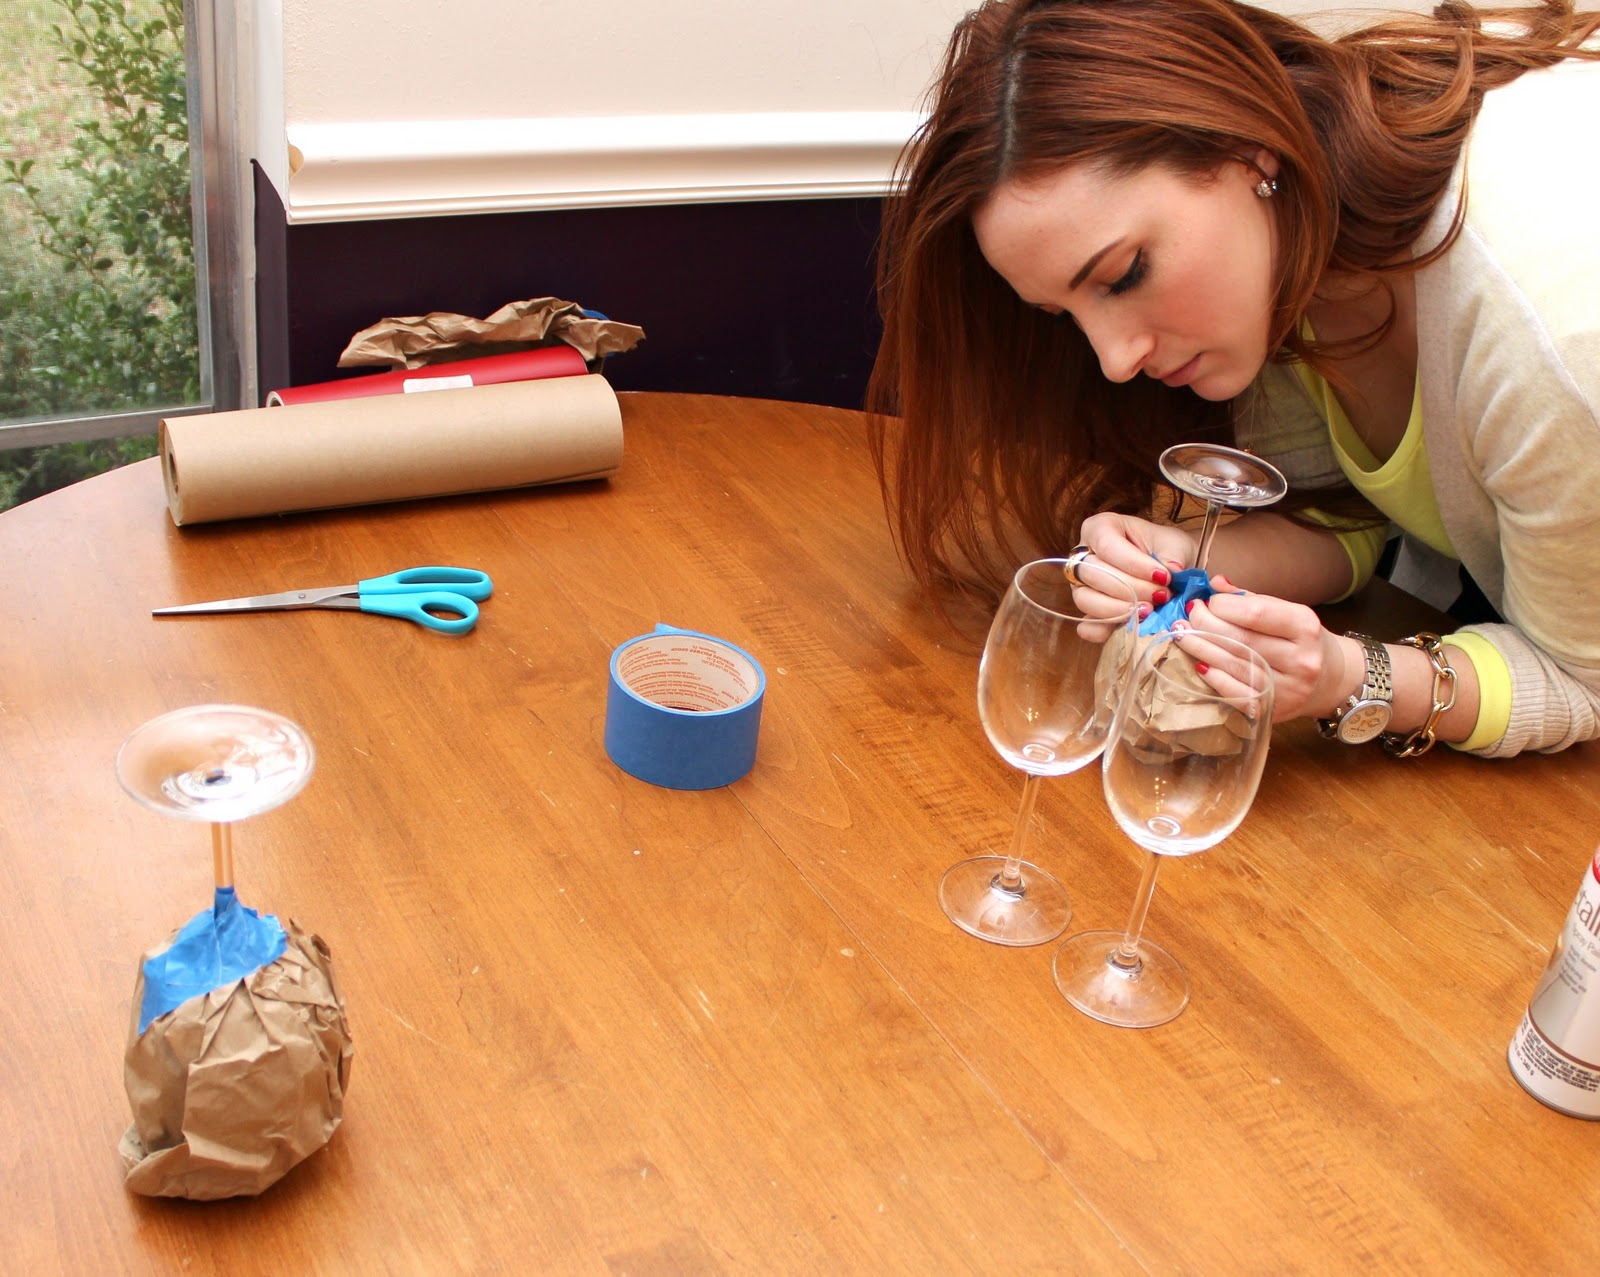
 

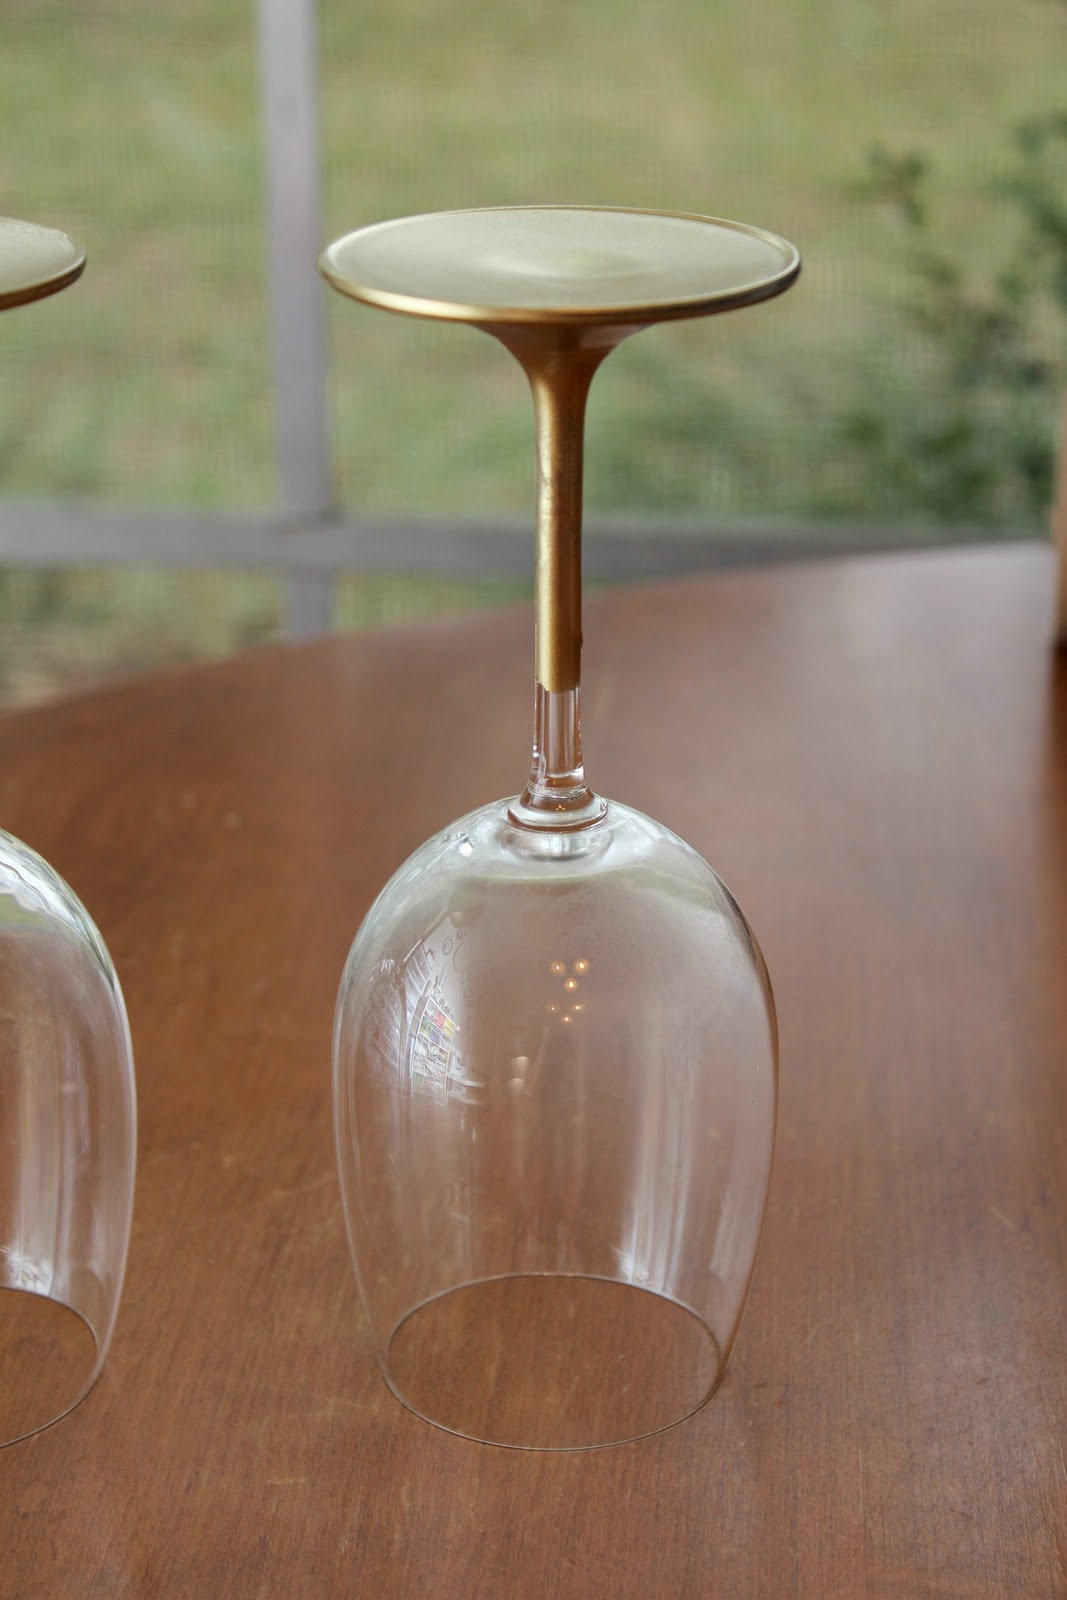
Then we took them outside to spray them. Two lights coats worked better to prevent drips.

Wait to dry (and take pics of yourself or eat more)

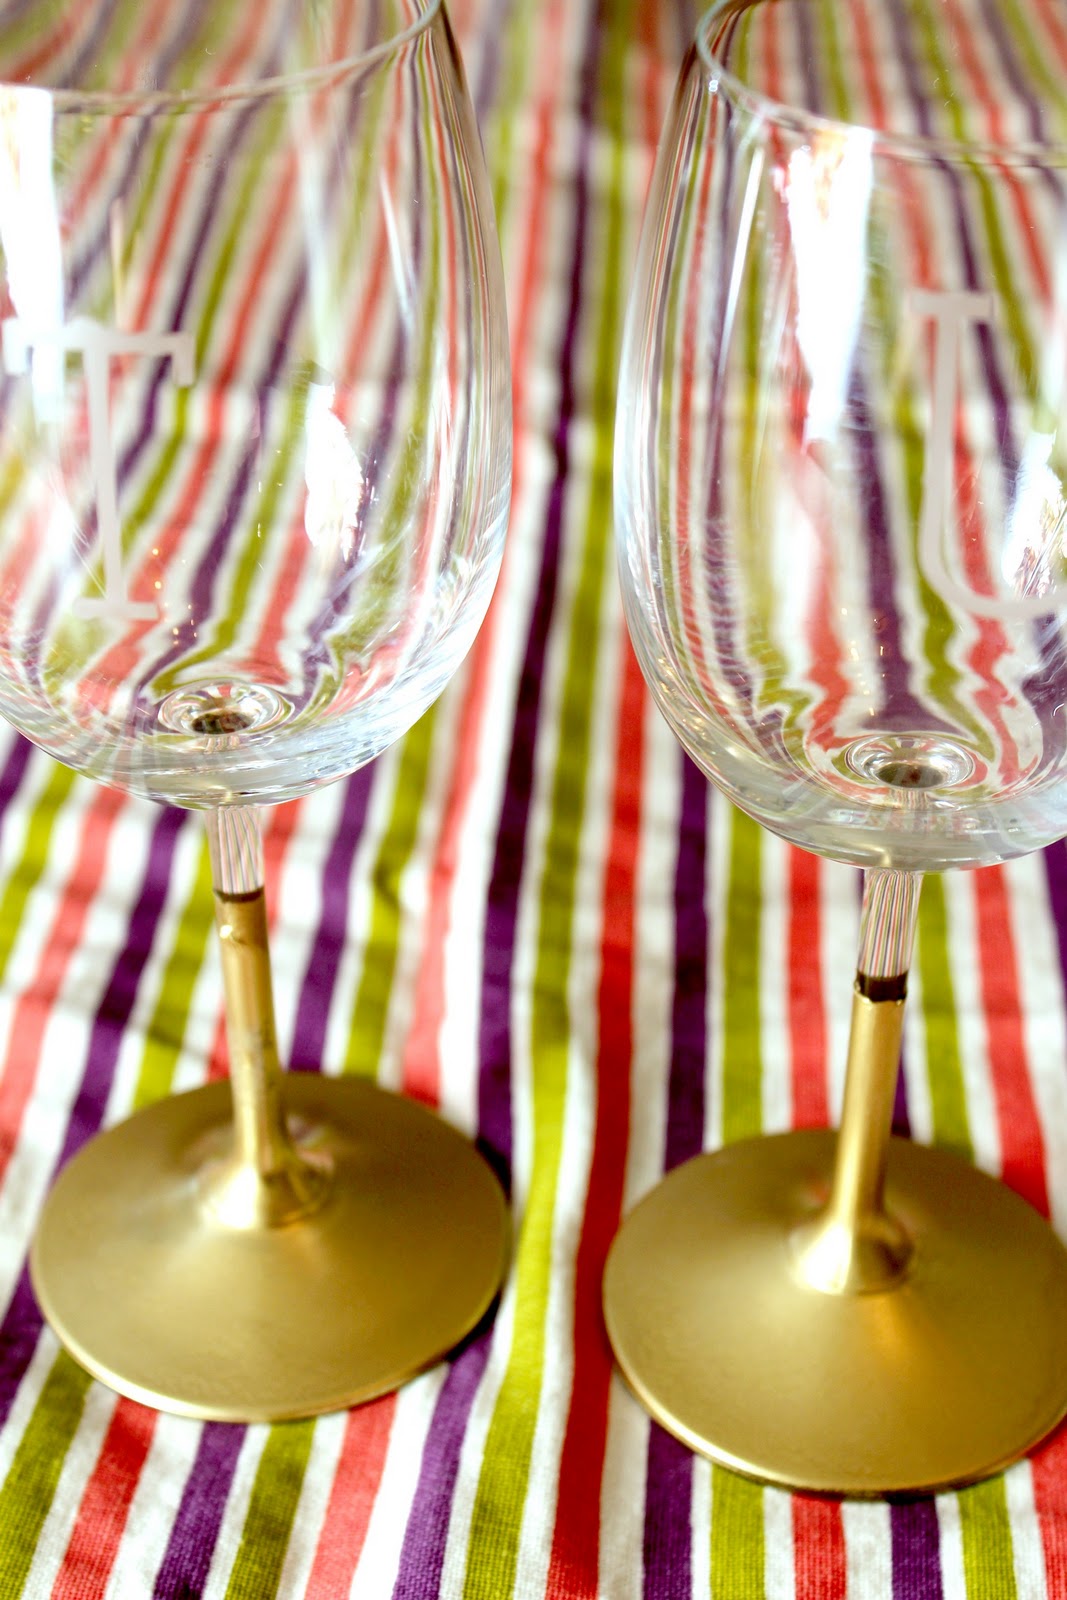
Take the tape off. You could stop here and you would have some really pretty glasses, be we are over achievers. So we added a monogram with etching cream. 

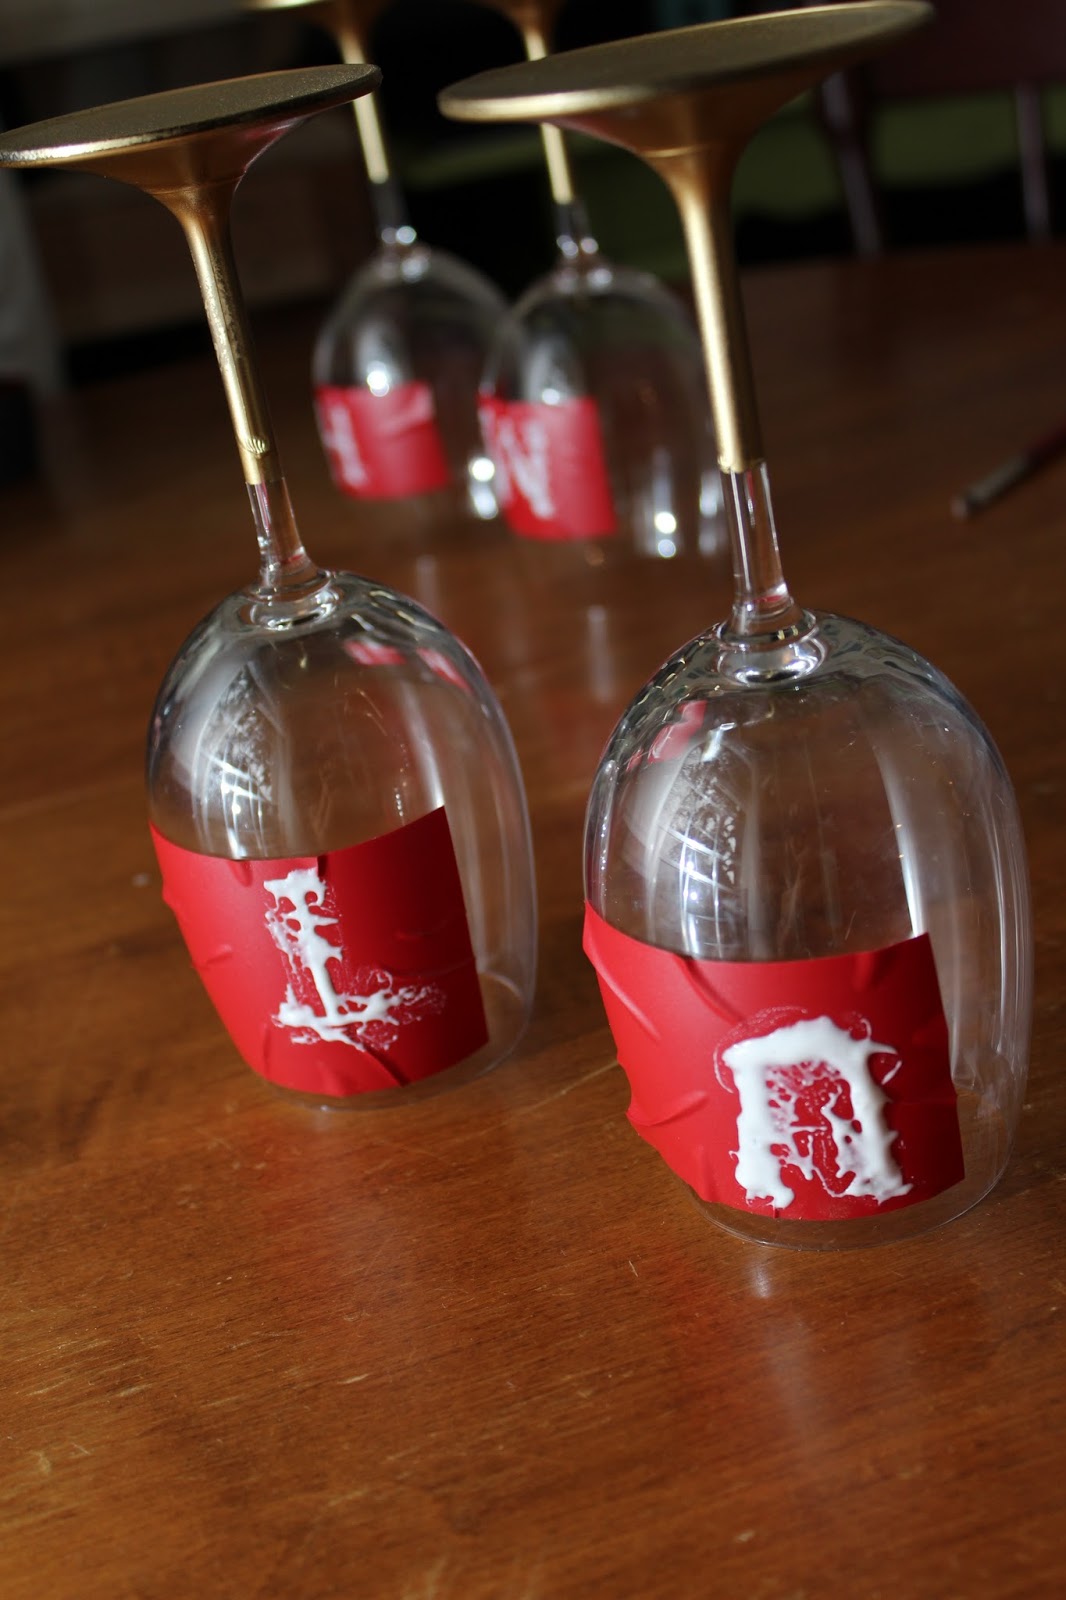
I used my Cameo to cut out our initials but you could use vinyl and an exacto or even the negative space from a letter sticker. 

Then apply the etching cream, it can be found at most craft stores, I buy it online… its cheaper. Also it says to leave it on for like 5-10 minutes, but I keep mine on for 20-30 otherwise its too faint. And you really have to slather it on. As you know etching cream is my friend as seen HERE, HERE and HERE.

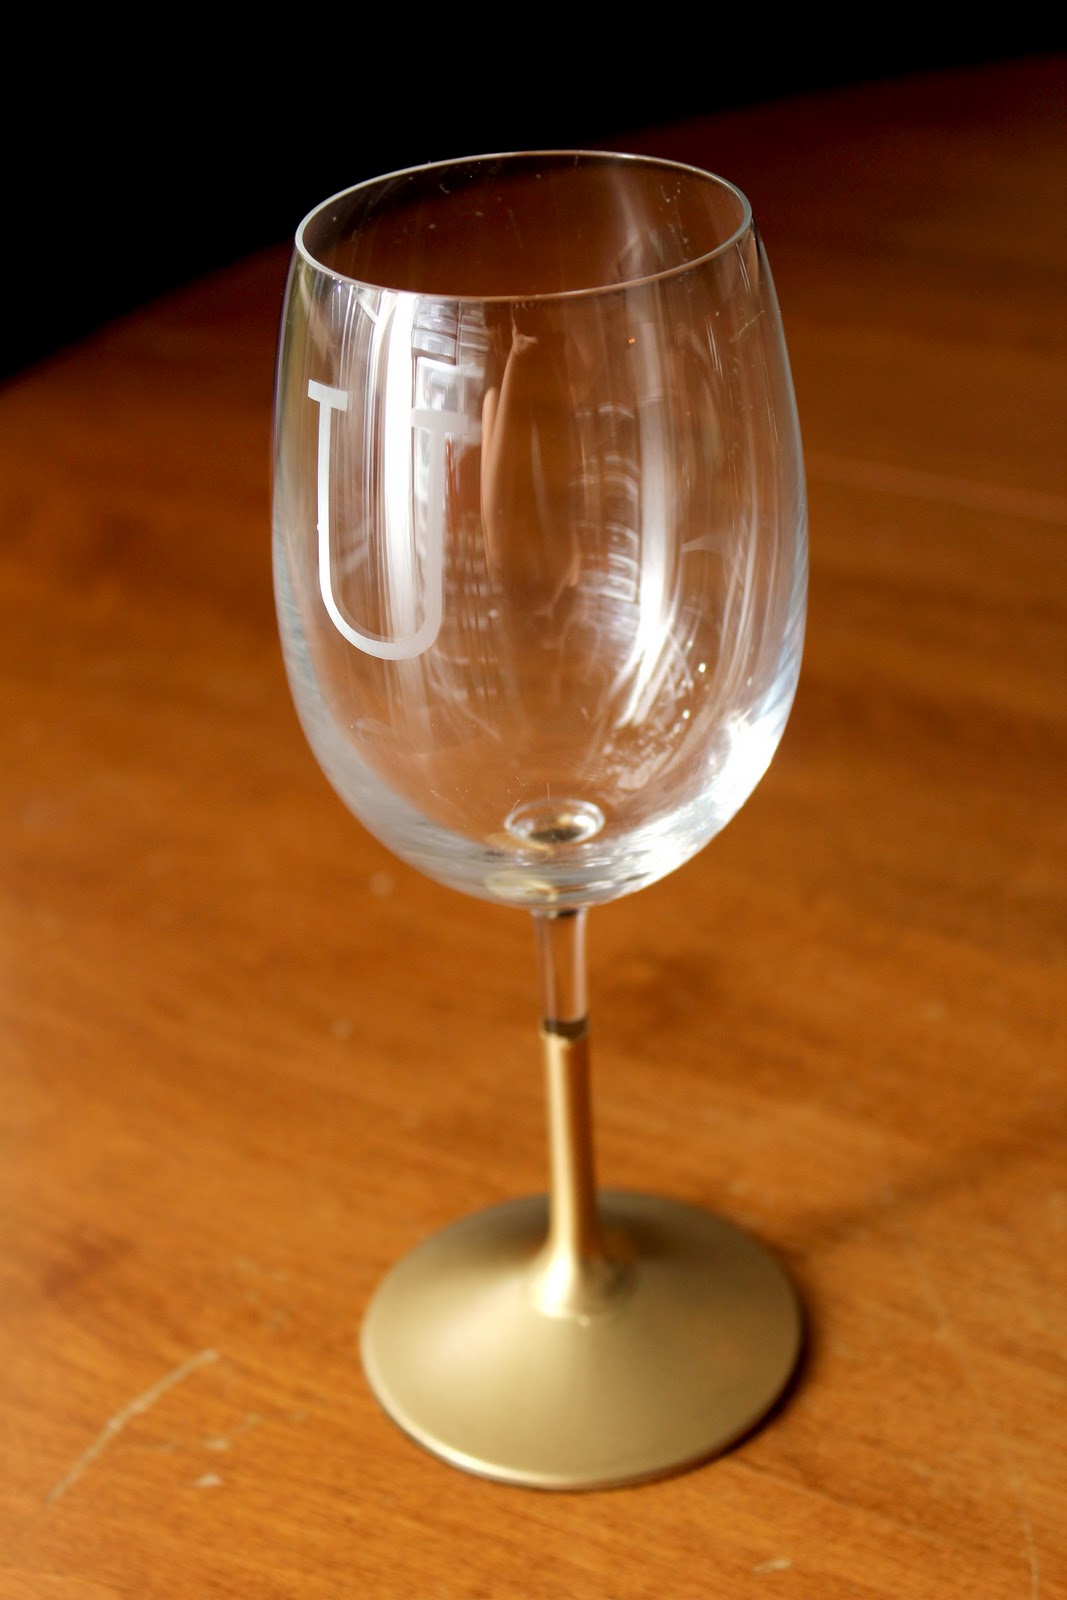
Rinse it off and we are done.

I definitely wouldn’t put these in the dishwasher. They have held up so far with a few hand washes. I am just really careful on the paint dipped part. They can really fancy up your boxed wine :/ 

And be sure to go check out Melissa’s Post about our crafting extravaganza HERE and tell her hi :)

Pin It


Filed Under: craft, etched, paint, Silhouette Tagged With: crafting

How to Glaze Furniture

November 7, 2011 By Taylor 24 Comments

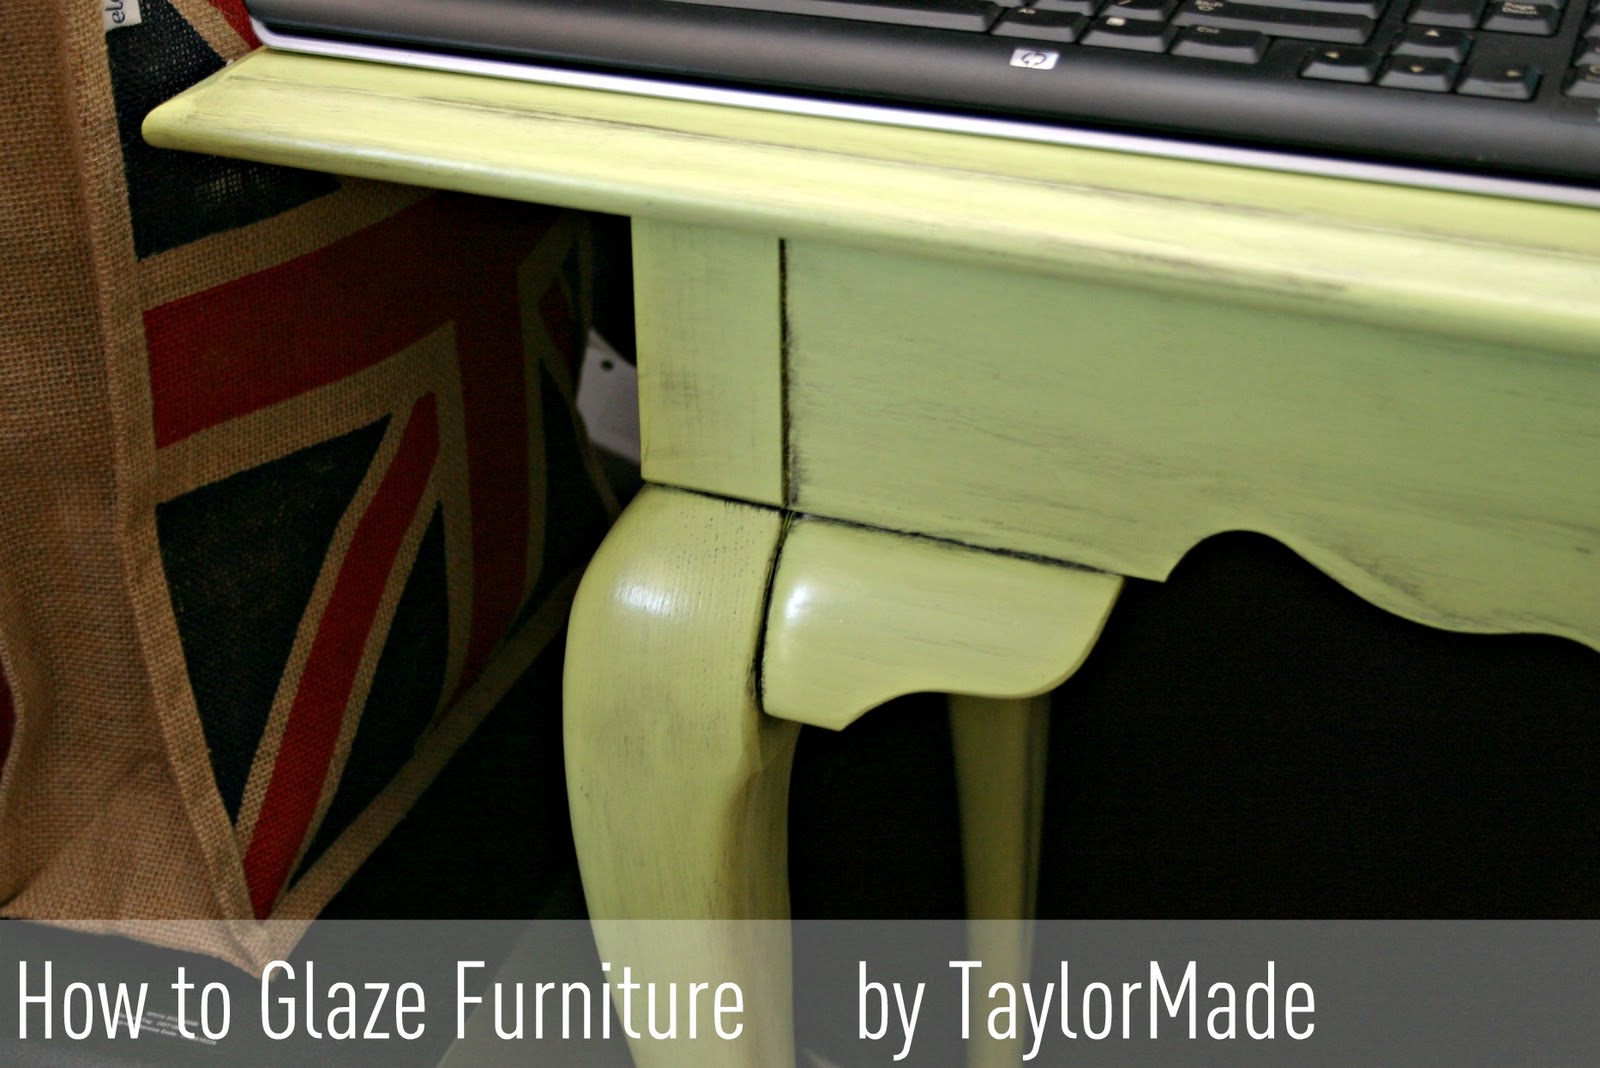
I love that a blog post can jump-start the finishing of a project. This series, Craft Spaces, made me finish my green table that I thought about painting for a long time. So, I finally did. Yay for making goals and actually completing them, even if it is only painting a table :) So here is a little “How To” for your Monday enjoyment.

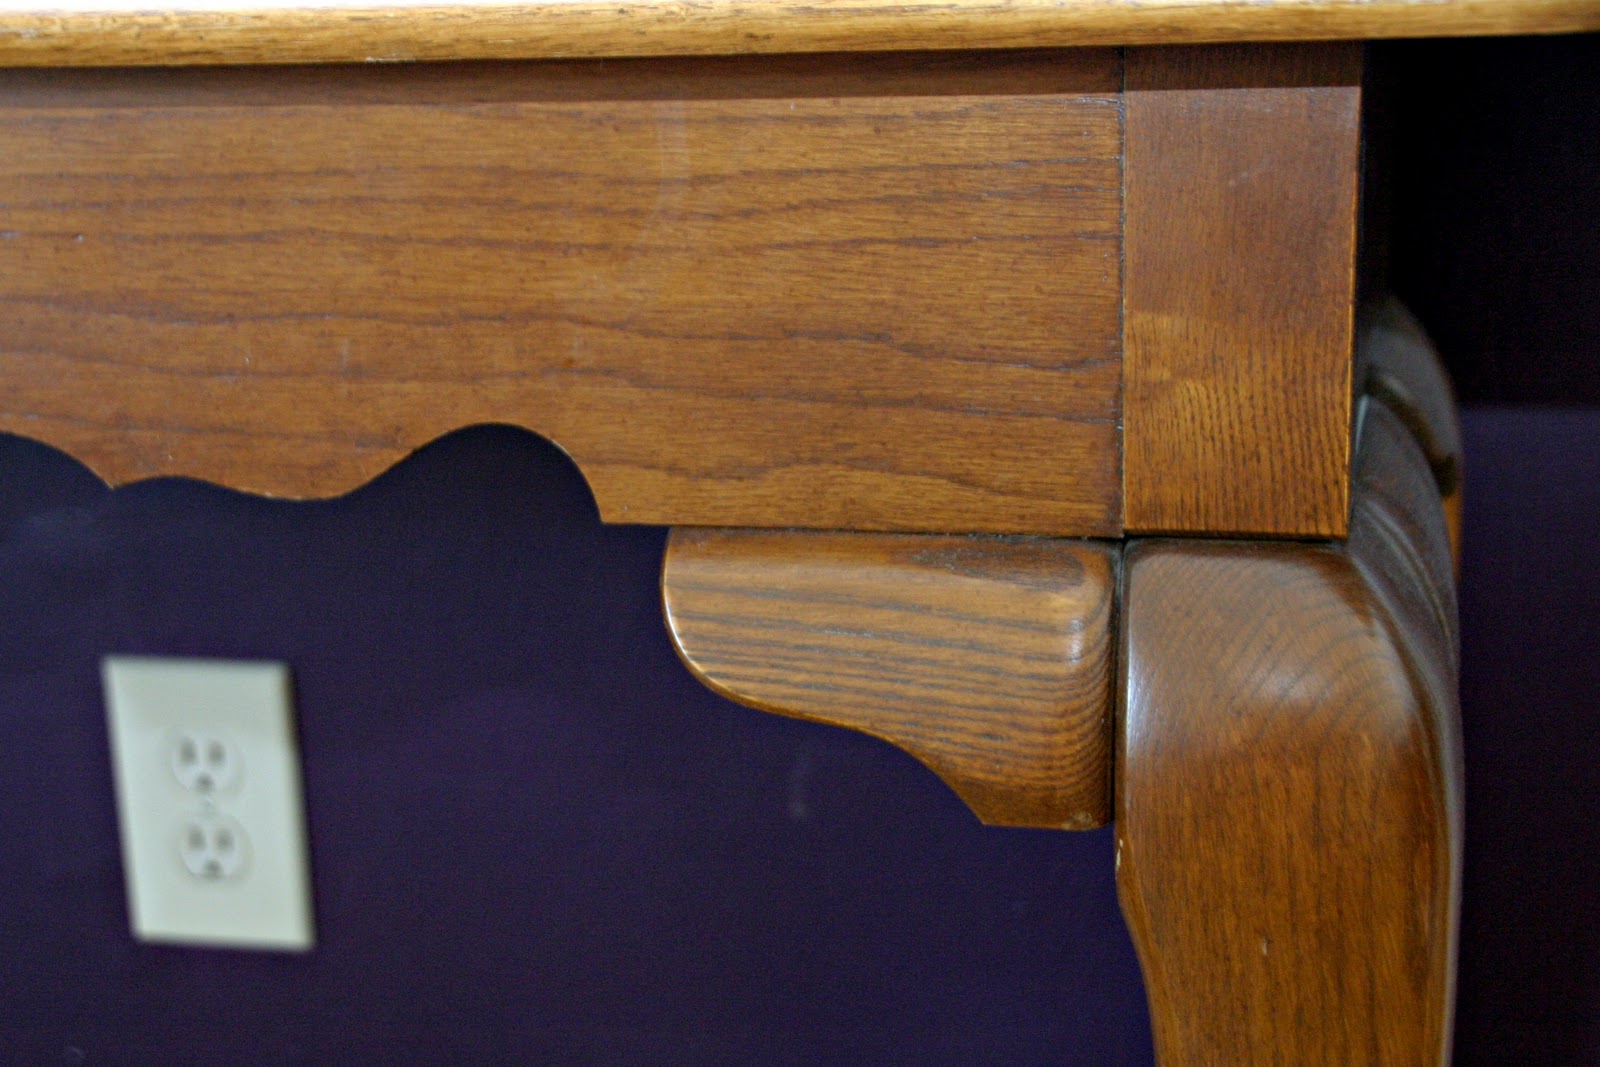
I really like the look of Glazed Furniture, I think it adds the perfect amount of dullness to a bright paint color. That and I have an issue with too many conflicting wood colors. The key to glazing is finding the right piece of furniture. Make sure there are a lot of nooks and crannies. This table almost doesn’t have enough but I was OK with that. The glaze sticks into the cracks to give it the antiqued look. 
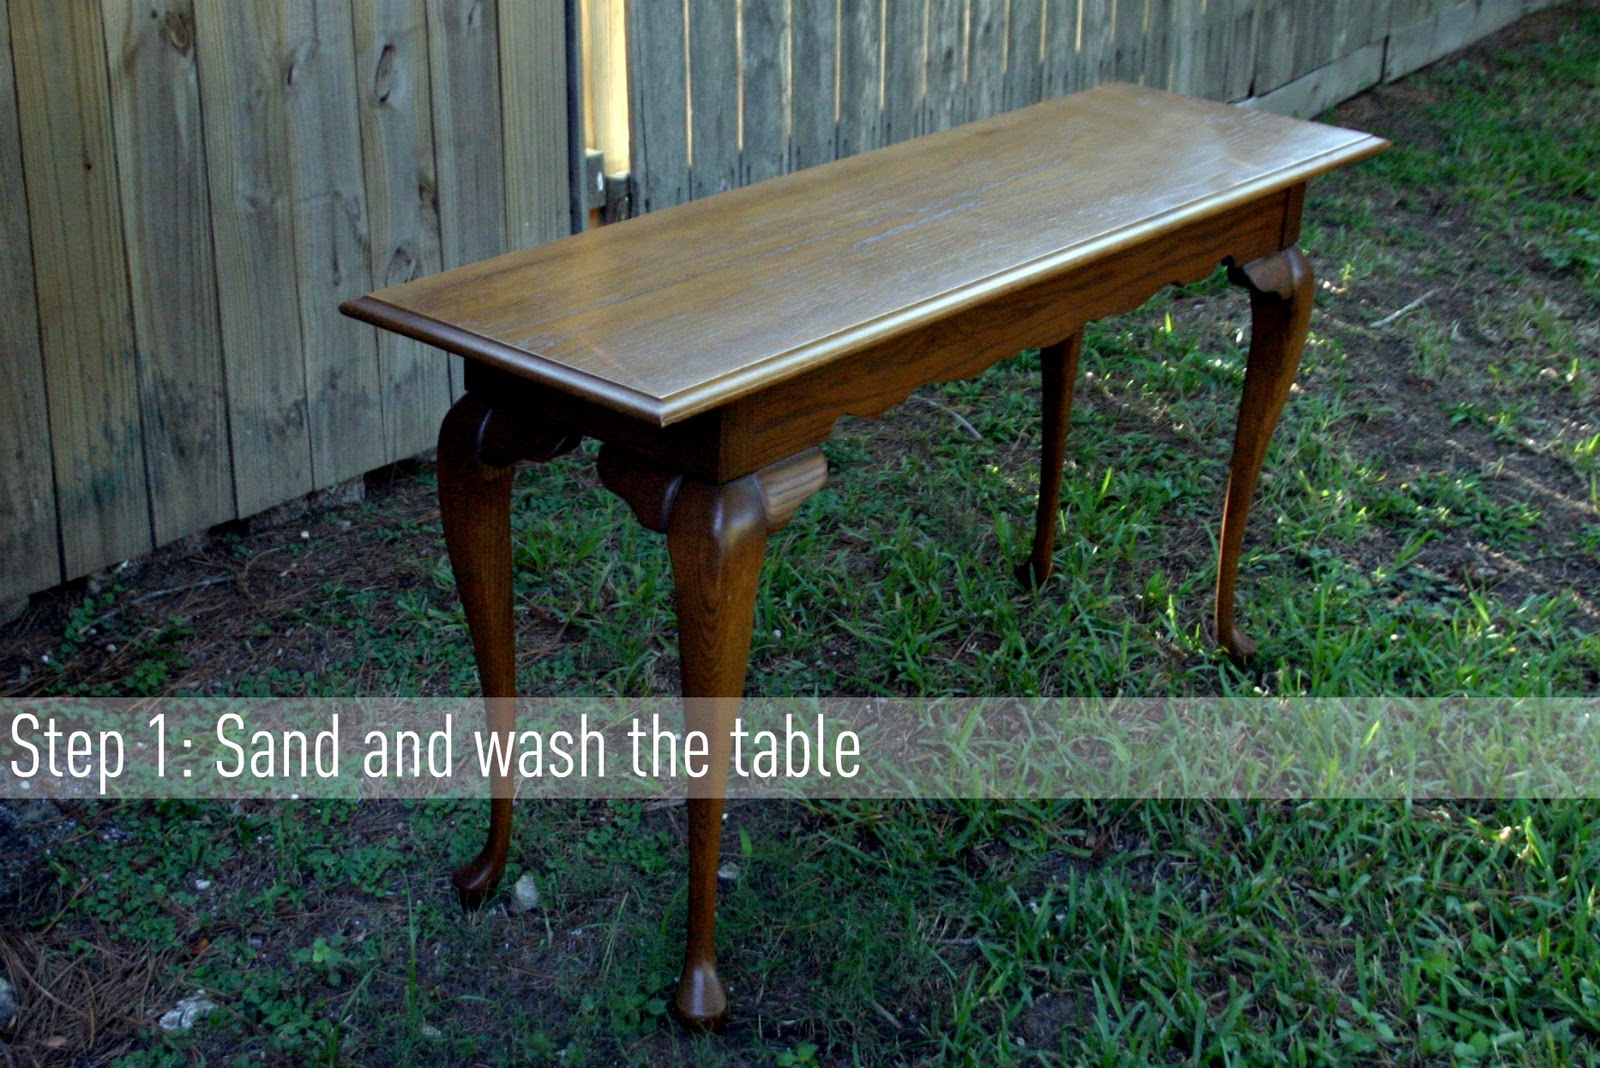
This Queen Ann Table was in our house growing up, it was modern in the early 90’s. And I LOVE the lines and the scroll of it. My Mom let me have it when we bought our first house. She is good about getting rid of outdated furniture. And that it was, super solid but just a little outdated…

Supplies:
– sandpaper
– base paint (I used Behr in Granny Smith Apple)
– metallic glaze (I used Martha Stewart in Black Coffee)
– paint brush and foam brush
– an old rag

Directions:

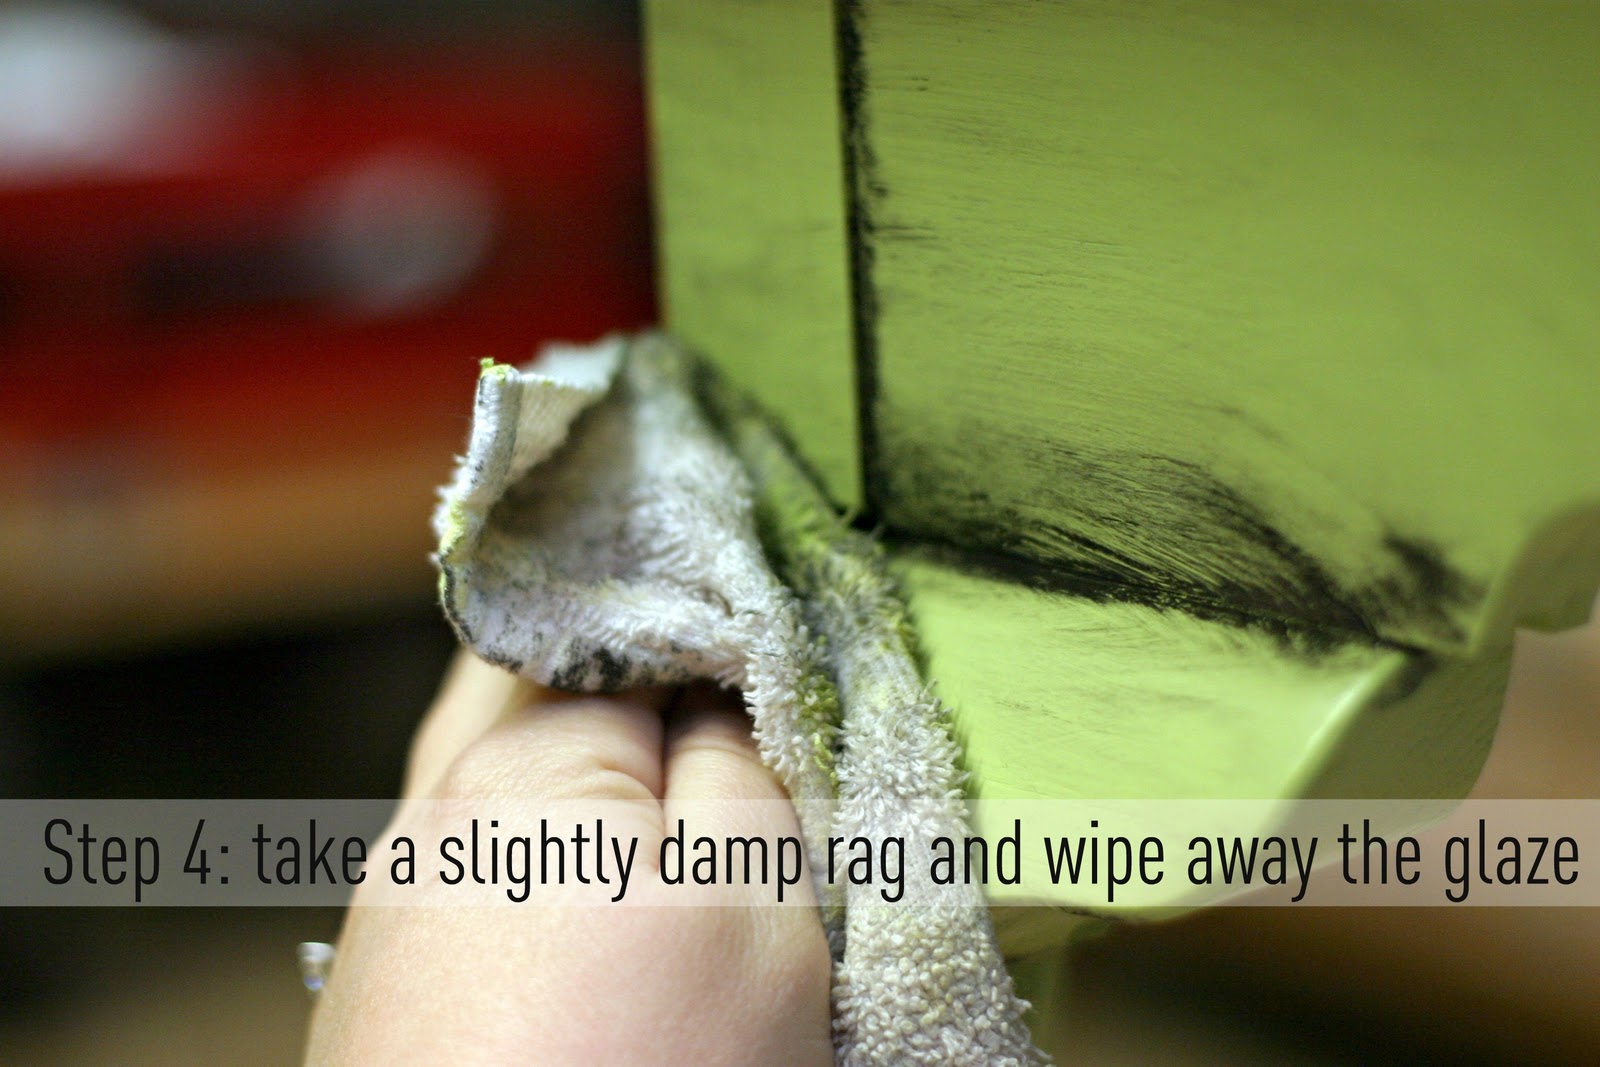
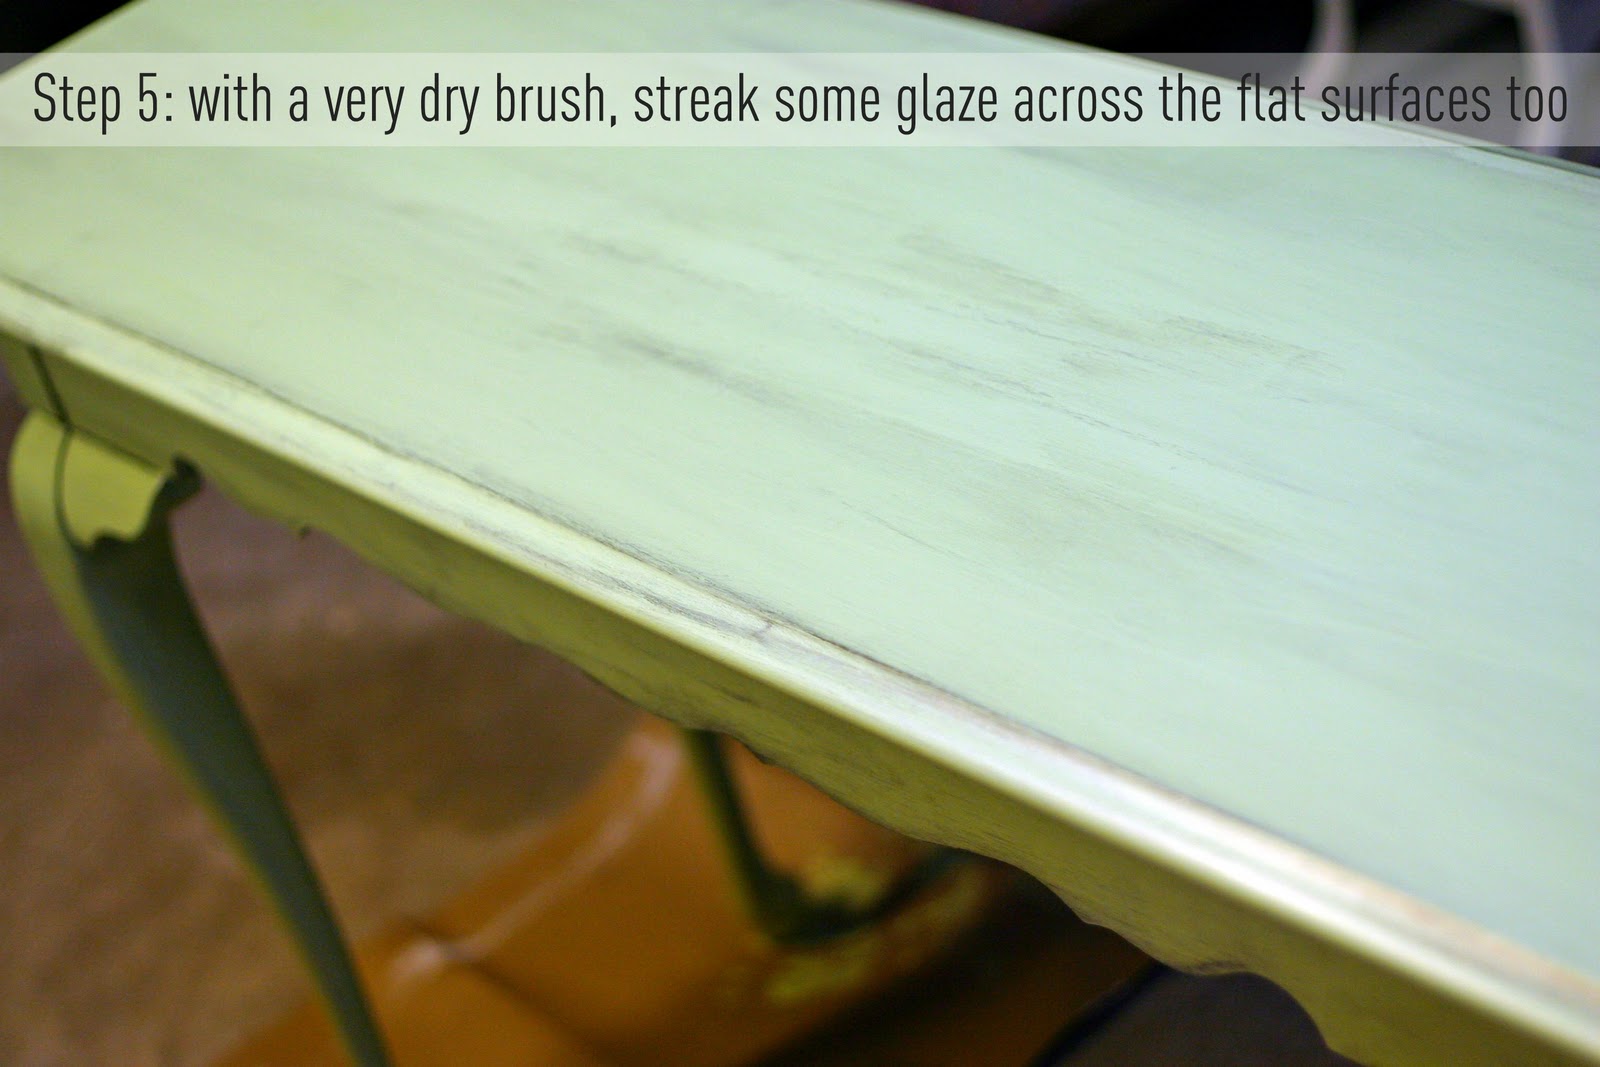
I sometimes had to do this step a few times, I would wipe too much off. I tried it with a damp towel and a dry one, they have different effects so play around with it.

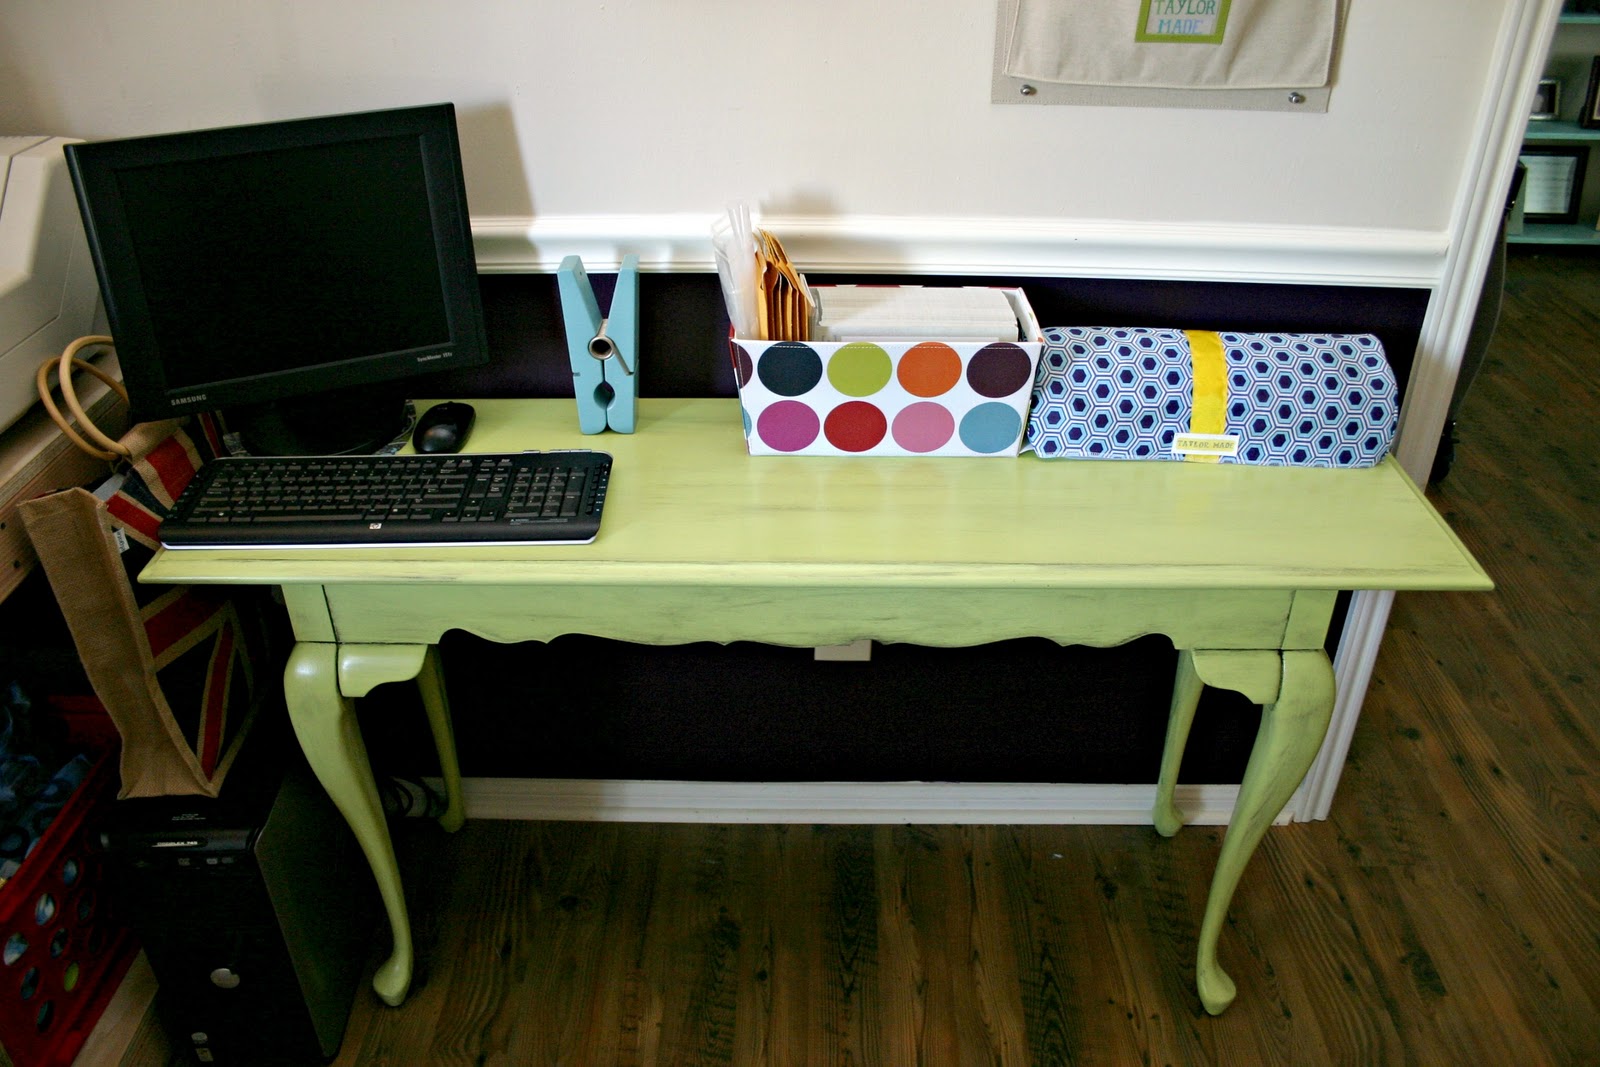
And here she is in lighting up the Craft Room.

Very doable and I love the outcome… perfect for garage sale finds, do you think you can do it?
Pin It

Filed Under: furniture, home goods, paint Tagged With: furniture

Truck Table

September 5, 2011 By Taylor 20 Comments

If you ask my son, “What do you want to do today?” you will get the same answer every single day. “Pway Twucks “. So in order to have even more truck playing time in my life, I made him a truck table for his birthday. I actually started out looking to buy one but they were all so bulky and expensive… DIY to the rescue.

Here is how the truck table magic happened:
I started with a cheap coffee table from Walmart. First step is to prep the table top. I did most of this but I had my husband pose for the pictures. The man can build anything but can’t take a picture to save his life.

Tips for the table prep:
– Don’t attach the legs
– Brush off the extra dust after sanding
– Make sure the tape goes all the way to the edge
– Apply 2-3 thin coats of primer and let that dry overnight
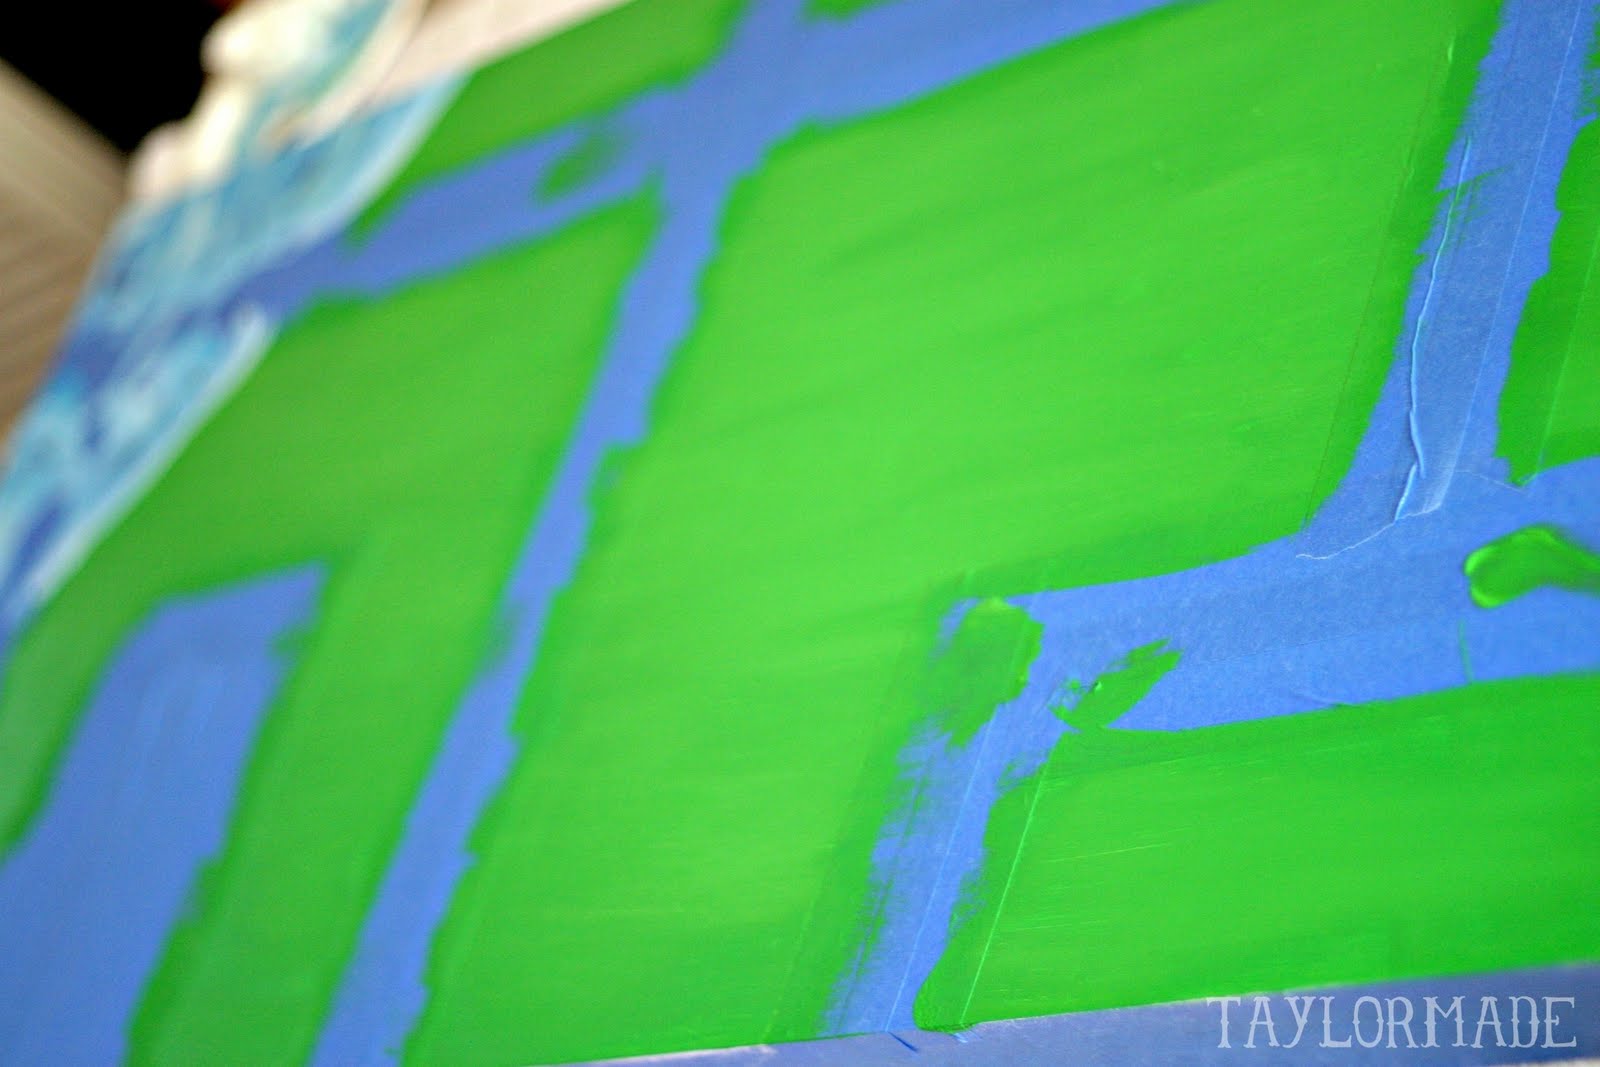
Now you want to tape off your “roads”. Just get creative. I measured two matchbox cars side by side and figured 3″ could be a good width for the cars to pass each other. So all of my roads are 3″ wide. Use painters tape to cover where the roads will be. I made a big square for the parking lot.

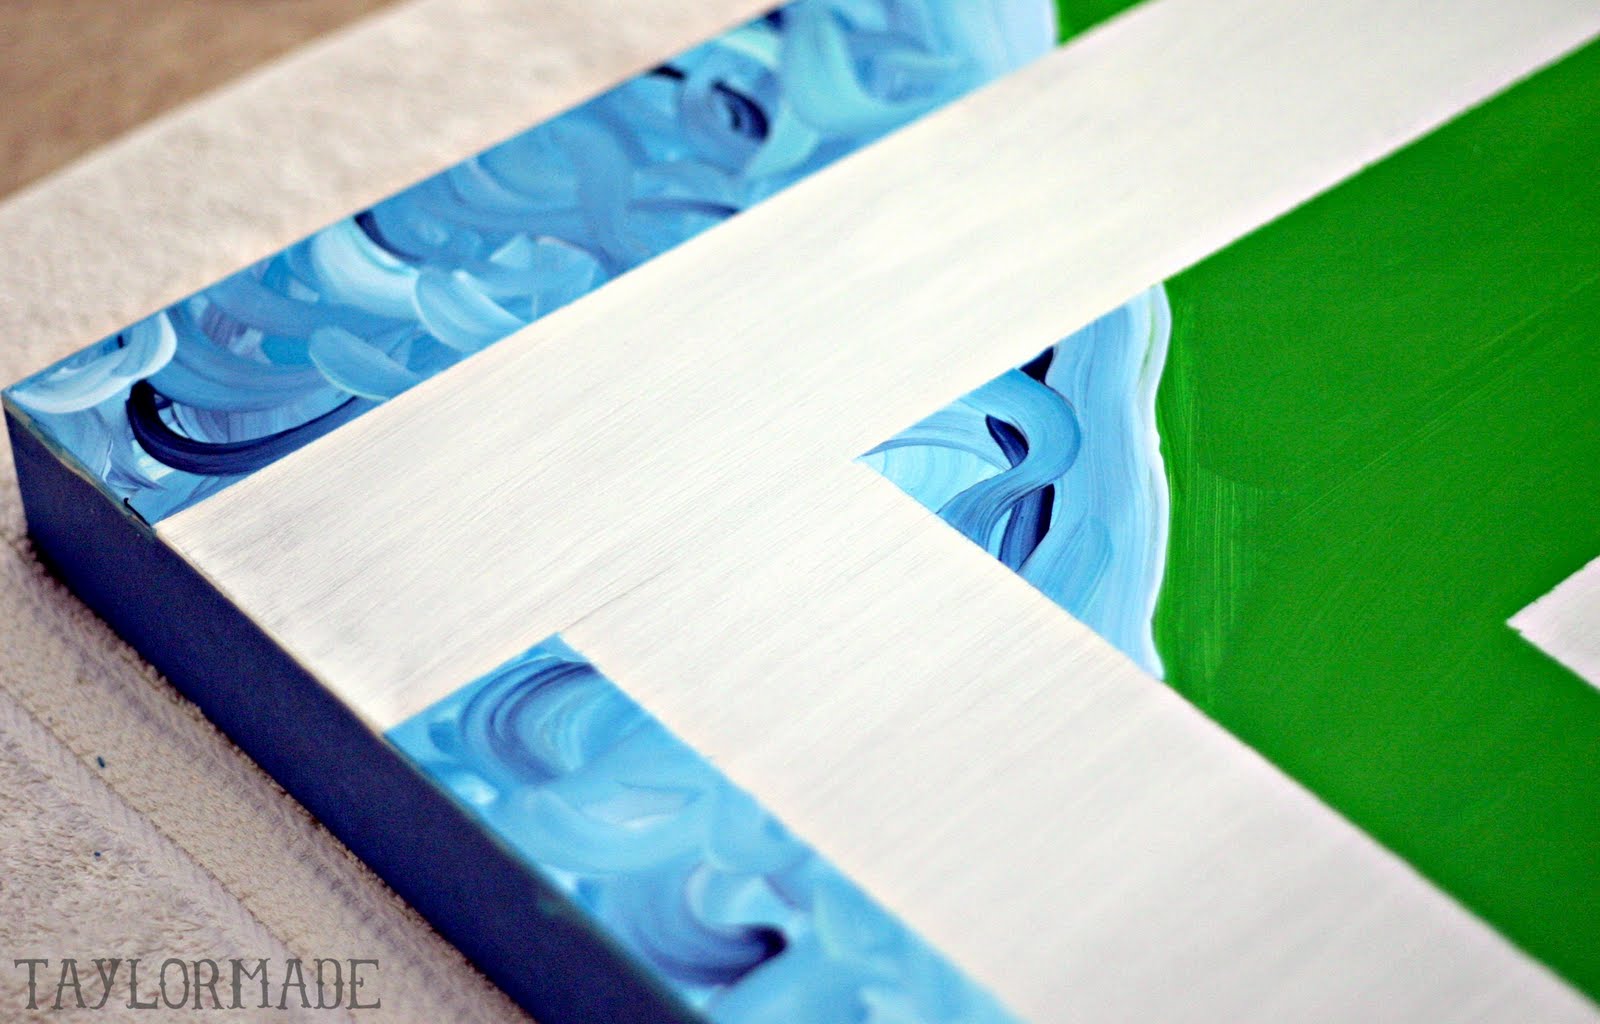
I painted green for the grass and added a lake in the corner. 

Remove the tape…

Paint your roads in with black paint.

For the street lines, I used white vinyl and cut it into tiny strips.

Cover the whole table with a clear coat.

My favorite part is the drawer that I thought of  :) Pretty much just an “L” shaped rail that we screwed to the bottom of the table. Make sure to get a tupperware with a lip so it can slide in and out.

I would say it was a successful bday present! I knew about sports but no one warned me when I had boys  I would play trucks every day :) But I am ok with it. 

Filed Under: birthday, boy, furniture, gift, paint, wood Tagged With: DIY

Father’s Day Tree Art

June 17, 2011 By Taylor 5 Comments

This year I thought the boys could help me make Bryan’s Fathers Day gift. That thought might have been a little premature considering my boys are 4 months and almost 2 years old. This project didn’t turn out exactly as I had planned in my head, but they boys were actually involved so that’s even better right :) Aren’t the little hand prints so cute?
I saw this cute picture on Pinterest a few weeks ago. Then, I drilled down to where it came from and it was an Etsy Shop called Personalized Prints. She has some really cute stuff (love the wedding fingerprint tree). Her example was for a bare tree and you add your kids hand prints for the leaves. She must not have a two year old boy because this is not what happened to me. I couldn’t even take a picture of it because the picture’s life was on the line and I had to act quickly to save it.
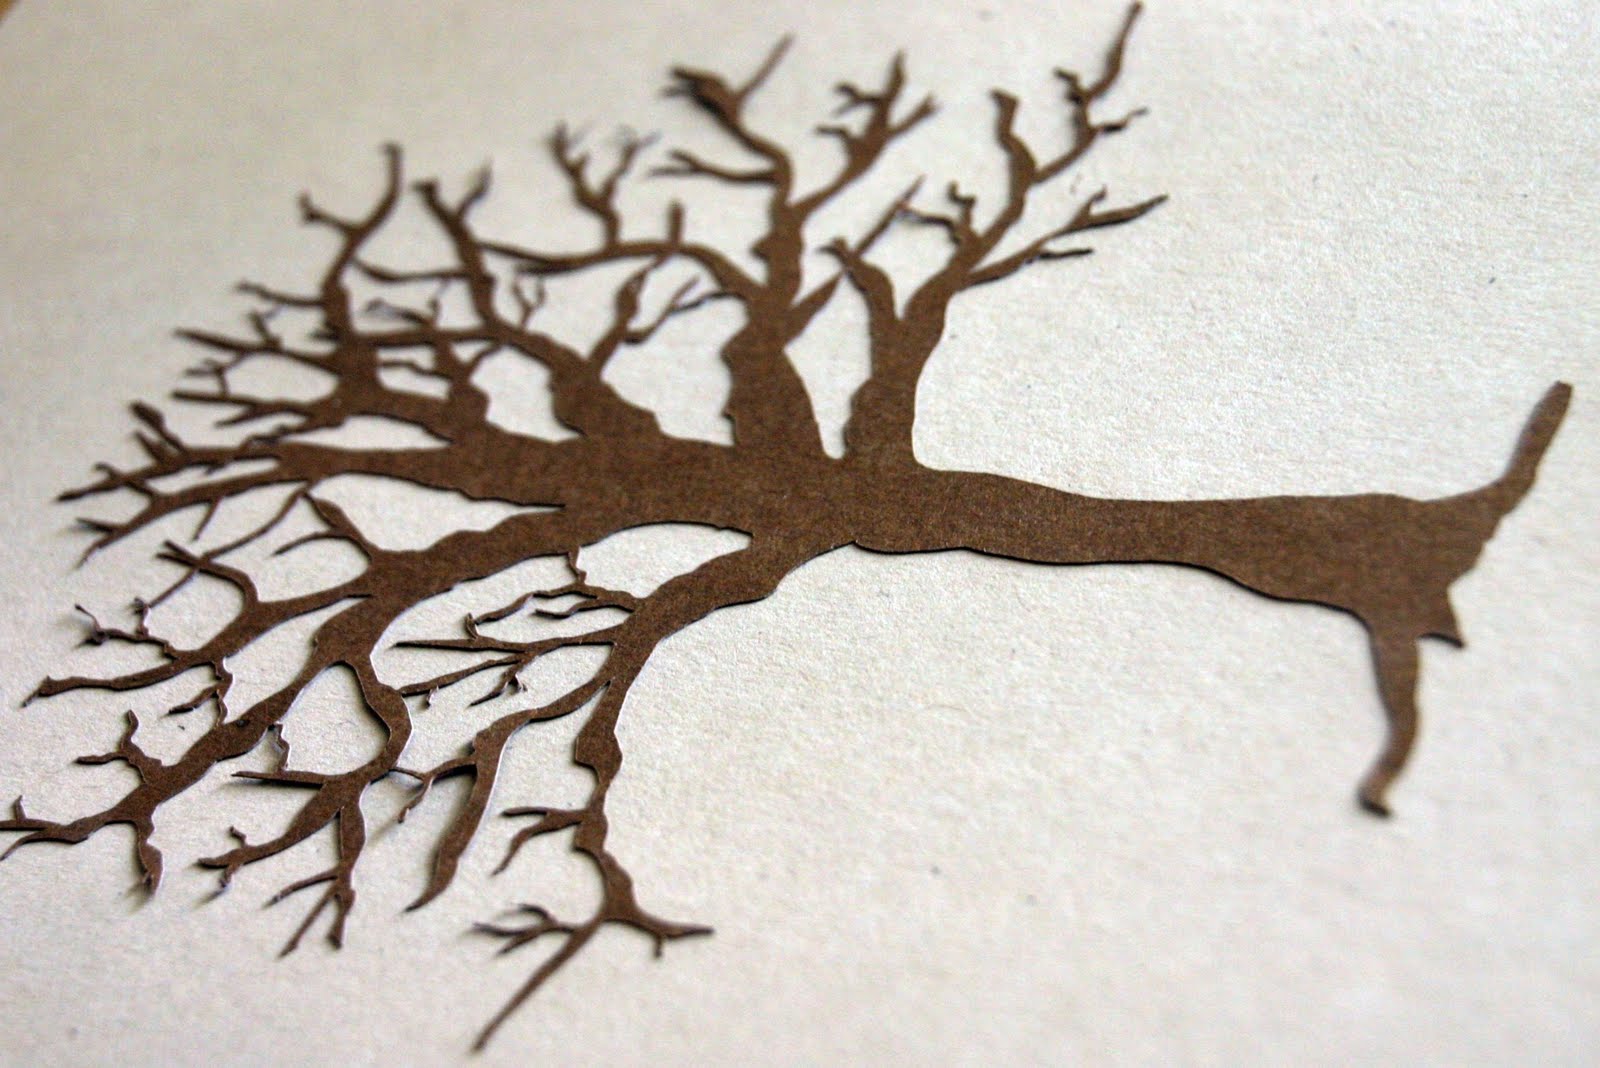
I cut the tree and letters out from my Silhouette. Use tweezers for the thin paper branches and tiny letters.
I placed everything backward on a piece of scrap paper and used spray adhesive to stick the letters and tree to the paper.
Stick the tree and letters to the page. Love those pudgy little hands! He even helped me with the letters.
Six very messy hands (mine included) and a few hours later, here is what we came up with…
My “2001” had a little fight with Clyde and Clyde won, so I added a thumbprint heart and wrote the year in the corner.
I used a 13″x10″ frame and used white paper behind our painting.
Happy Father’s Day to all of the daddy’s out there.
Related Posts Plugin for WordPress, Blogger...

Filed Under: craft, gift, holidays, paint, paper, Silhouette, tutorial Tagged With: crafting

  • « Previous Page
  • 1
  • 2
  • 3
  • 4
  • Next Page »

Welcome to Taylor Made

http://www.taylormadecreatesblog.com/about-me Hi Yall! I'm Taylor... an artsy mom of three from Houston, TX. I love sewing, collecting floral fabric, eating Mexican Food, photography, brights colors, rearranging, and rolling clay. Taylor Made Creates is all about creating a fun, colorful home, sewing cute things and eating good food. Check out my SHOP HERE HERE! Thanks for stopping by!

Search

Pin with me!

Like Me :)

Facebook Pagelike Widget

More Recent Posts

  • Kid's Animal Room
  • Kids Camping Shirts
  • Mermaid Birthday Party
  • Conversation Heart Cold Packs
  • Holiday Apple Tea Punch
  • Purple Princess Costume
  • Letterboard Costume
  • La Croix Costume

FAVORITES

  • Triangle Baby Quilt
  • Happy Rocks
  • Casserole Carrier
  • Winged Peasant Dress
  • Love Sign with a Fence Frame
  • Foodie Napkin Rings
  • Mini Fabric Lamps
  • Baby Onesie Cutoffs
  • Peacock-ish Painting

Copyright © 2026 · Web Hosting By RFE Hosting